Articles
How To Redo Old Kitchen Pantry Cabinet
Modified: August 24, 2024
Looking for articles on how to redo your old kitchen pantry cabinet? Find helpful tips and step-by-step guides to transform your space into a functional and stylish storage solution.
(Many of the links in this article redirect to a specific reviewed product. Your purchase of these products through affiliate links helps to generate commission for Storables.com, at no extra cost. Learn more)
Introduction
Welcome to the ultimate guide on how to redo an old kitchen pantry cabinet! If you have an outdated or worn-out pantry cabinet in your kitchen, don’t worry – with a little bit of time, effort, and creativity, you can transform it into a stylish and functional piece once again.
The kitchen pantry cabinet is an essential storage solution in any kitchen. Over time, though, it may start to show signs of wear and tear. The good news is that you don’t have to spend a fortune on a brand-new cabinet – instead, you can breathe new life into your old pantry cabinet with a few simple steps.
This article will guide you through the process of assessing the condition of your old kitchen pantry cabinet, removing the old cabinet hardware and shelves, repairing and restoring the cabinet surfaces, priming and painting the cabinet, installing new hardware and shelves, and finally adding the finishing touches.
Before embarking on this project, it’s important to have a clear idea of the end result you want to achieve. Take some time to gather inspiration and think about the style and color scheme you want for your pantry cabinet. Whether you prefer a vintage, rustic, modern, or eclectic look, planning ahead will ensure a more cohesive and satisfying outcome.
It’s also essential to gather the necessary tools and materials before starting. Some commonly used items for this project include paint of your choice, sandpaper, primer, paintbrushes, tape, screwdrivers, and new cabinet hardware and shelves if desired.
Remember, while the process outlined in this guide is applicable to most kitchen pantry cabinets, there may be slight variations based on the size, material, and construction of your specific cabinet. Always consult the manufacturer’s guidelines or seek professional advice if necessary.
Now that you’re equipped with the basic information, it’s time to assess the condition of your old kitchen pantry cabinet and determine the best course of action to restore it to its former glory. Let’s get started!
Key Takeaways:
- Revive your old kitchen pantry cabinet with a DIY transformation, from assessing its condition to installing new hardware and shelves. Enjoy a stylish and functional storage solution tailored to your personal style.
- Unleash your creativity and DIY skills to breathe new life into your tired pantry cabinet. Follow the comprehensive steps to assess, repair, paint, and maintain your revamped cabinet for years of functional and beautiful use.
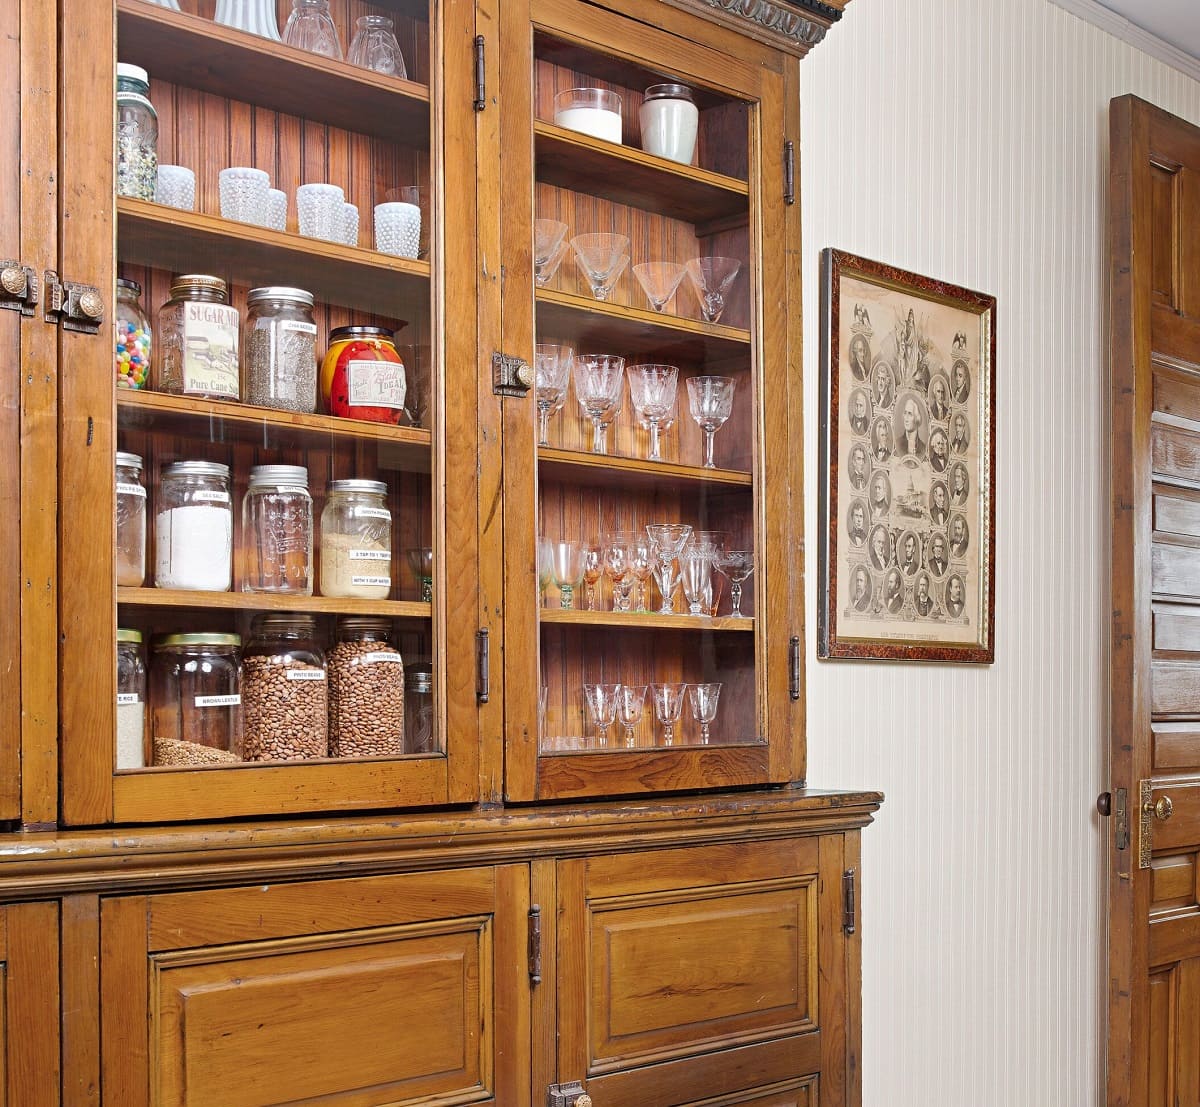
Assessing the Condition of Your Old Kitchen Pantry Cabinet
Before diving into the process of redoing your old kitchen pantry cabinet, it’s important to assess its current condition. This step will help you identify any issues that need to be addressed before moving forward with the restoration process. Here are some key aspects to consider during the assessment:
- Structural Integrity: Start by checking the overall stability and sturdiness of the cabinet. Look for any loose or wobbly parts, such as doors, shelves, or hinges. Take note of any areas that require reinforcement or repair.
- Surface Damage: Examine the surfaces of the cabinet for any scratches, dents, or water damage. These imperfections may need to be repaired or filled before painting or refinishing. Pay attention to areas with peeling or chipped paint as well.
- Hardware Condition: Evaluate the state of the cabinet hardware, including handles, knobs, hinges, and latches. Determine whether they can be reused or need to be replaced with new ones. Consider the style and functionality of the existing hardware when making this decision.
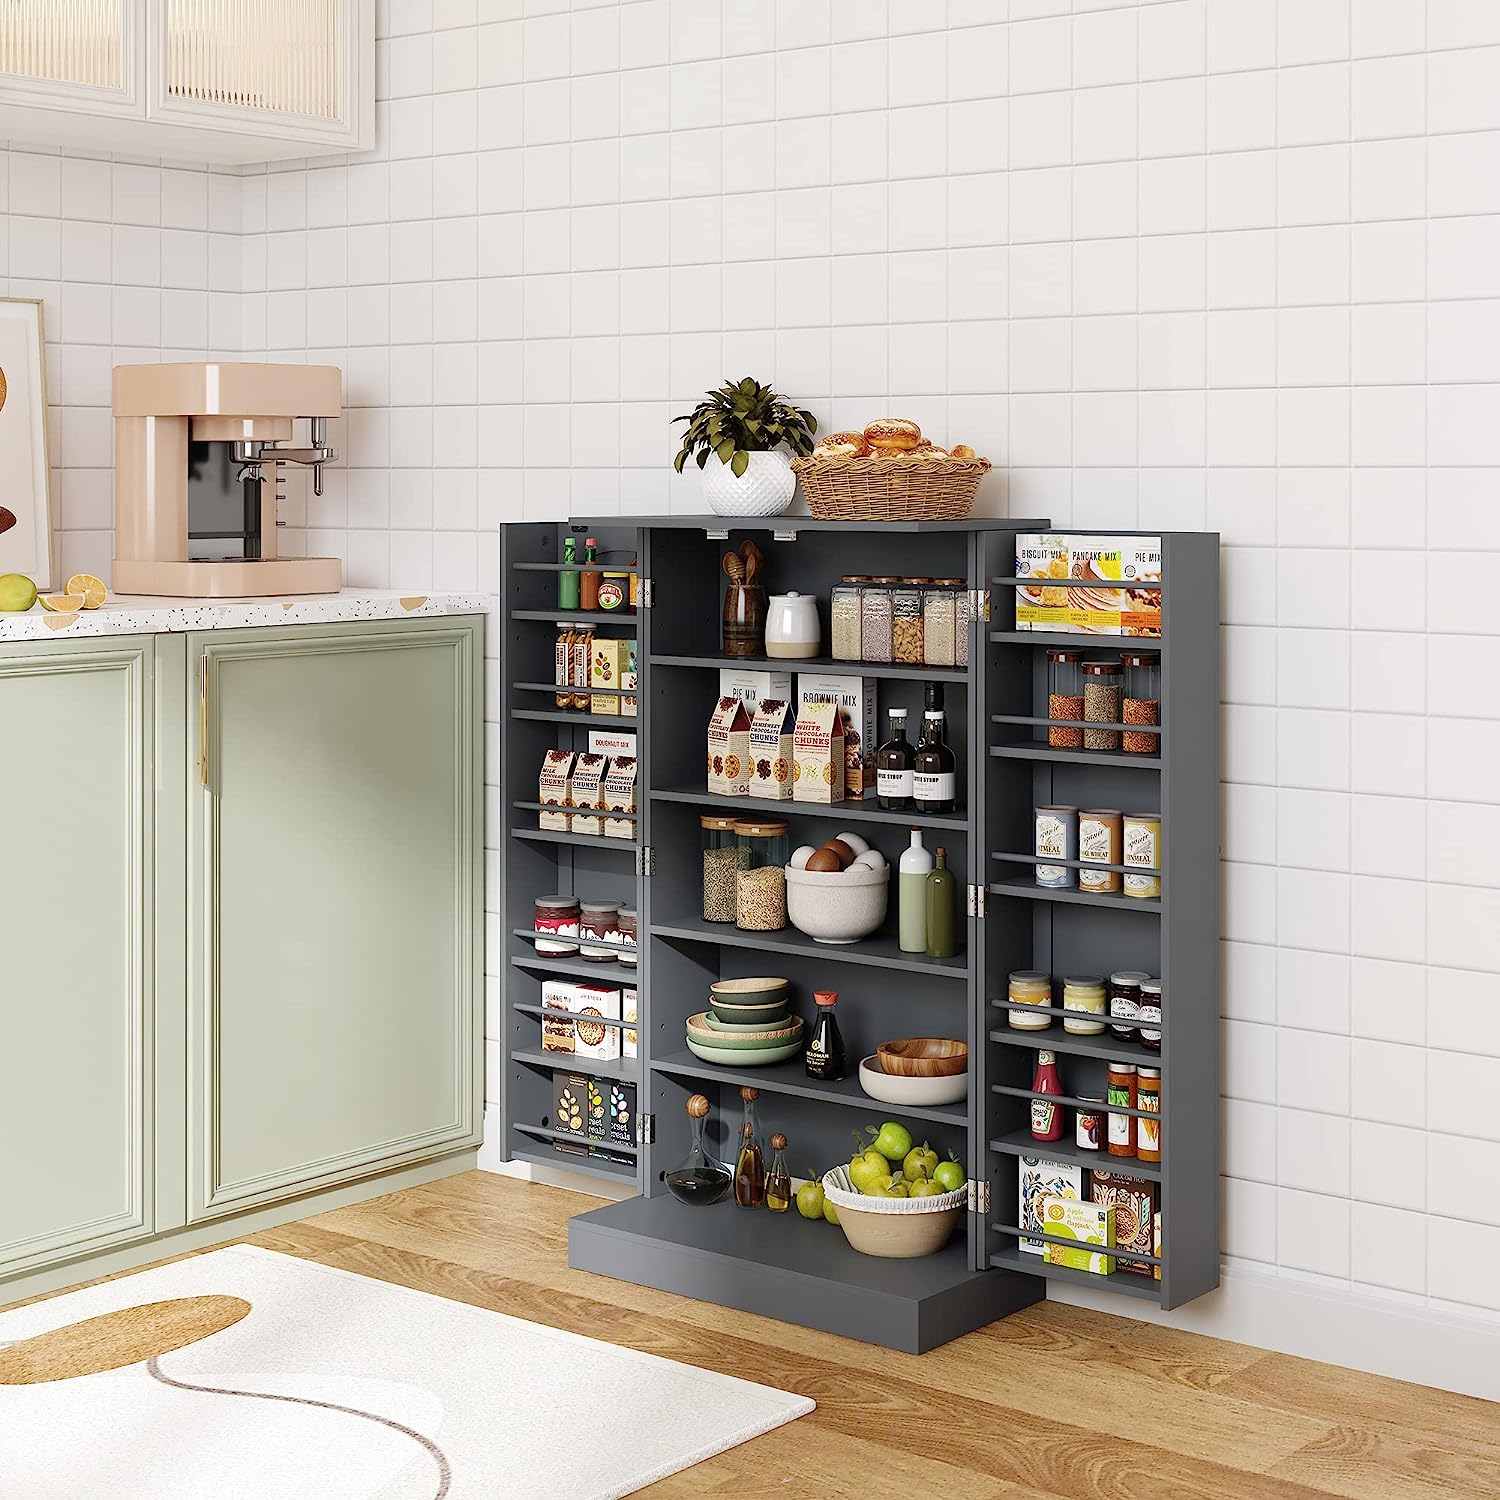
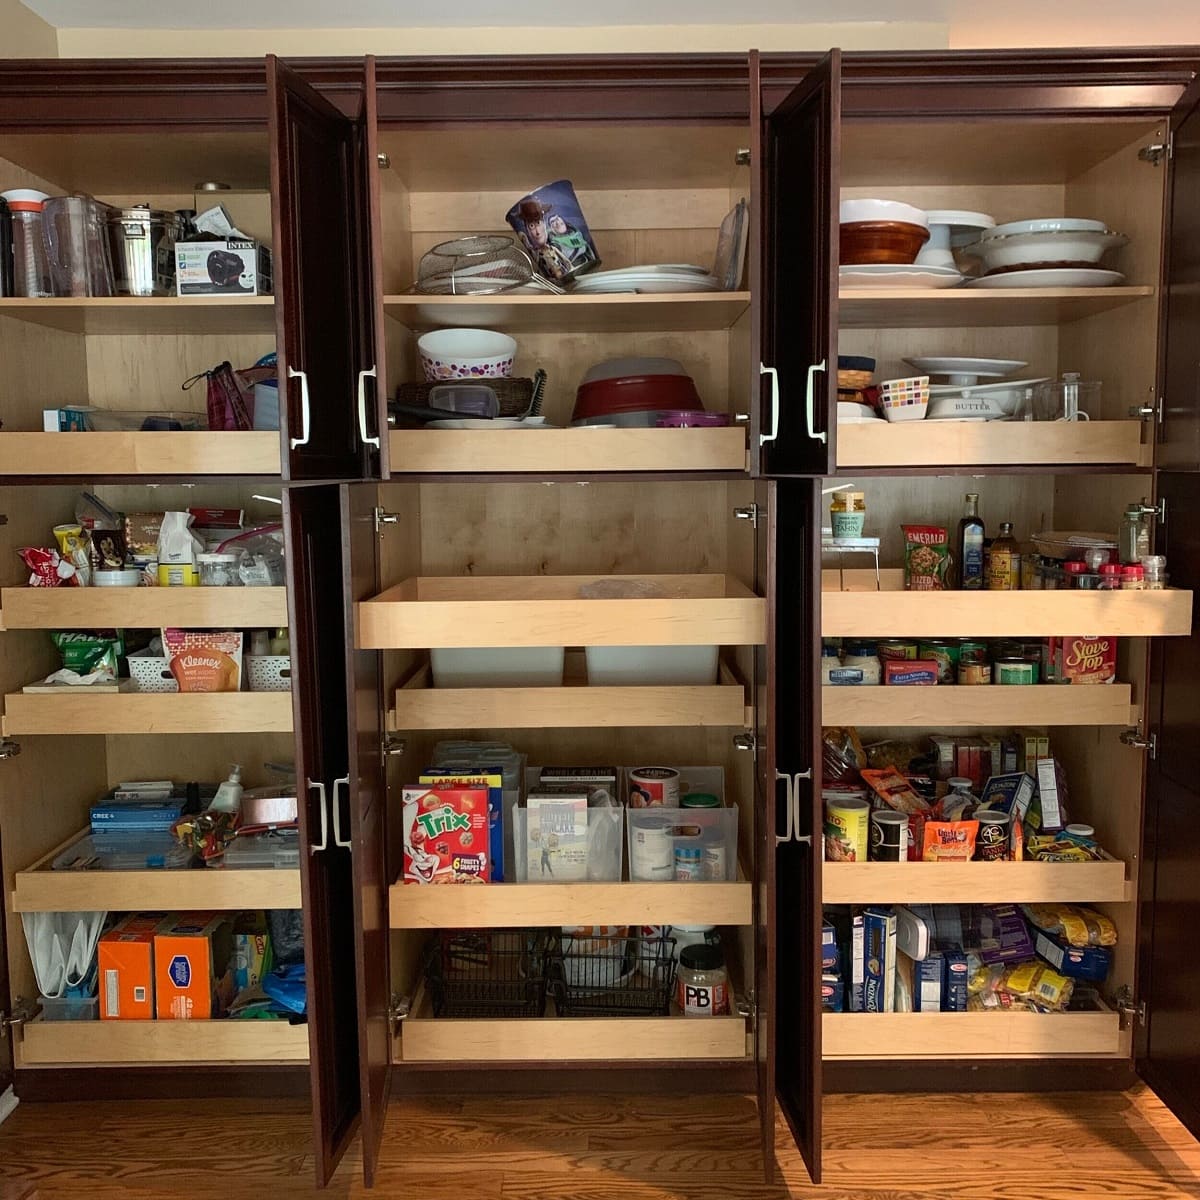
- Interior Organization: Assess the layout and functionality of the cabinet’s interior. Determine if the existing shelves and compartments are sufficient for your storage needs or if modifications, such as adding additional shelves or organizers, are necessary.
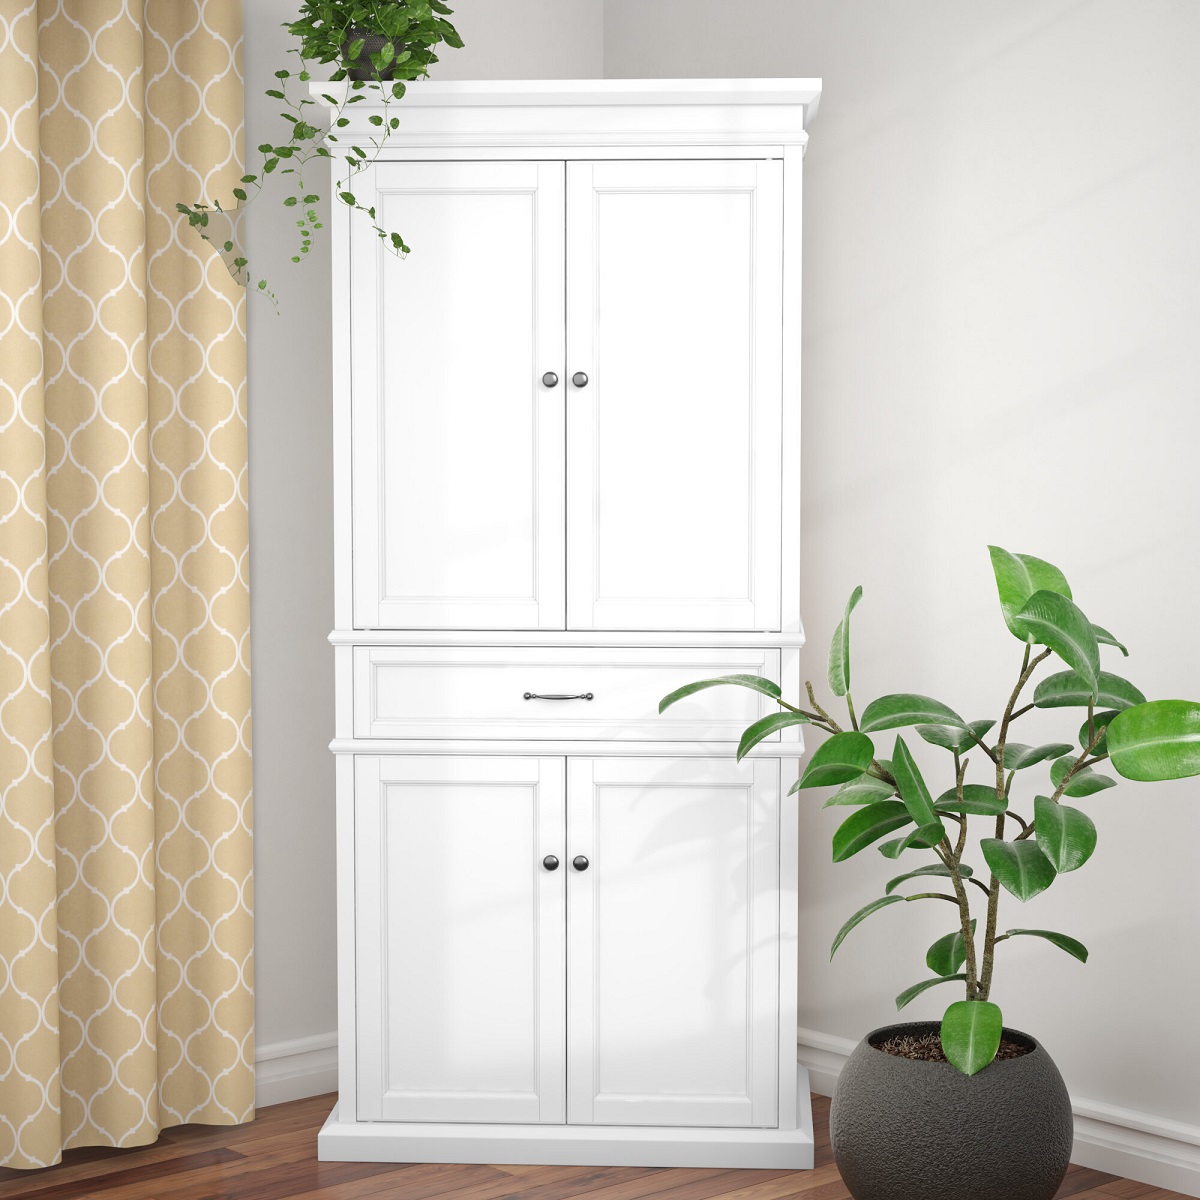
- Style and Design: Evaluate the overall aesthetic of the cabinet and how well it fits with your kitchen’s style and design. Consider whether you want to keep the existing look or if you prefer a different color, finish, or design for the cabinet.
As you conduct the assessment, make a list of any repairs, replacements, or modifications needed for your old pantry cabinet. This list will serve as a guide for the subsequent steps in the restoration process and will help you prioritize your tasks.
Remember that the condition of your cabinet will determine the amount of work required to restore it. While some cabinets may only need a fresh coat of paint and some basic repairs, others may require more extensive restoration work. Be prepared to invest time and effort into transforming your cabinet into a functional and visually pleasing piece.
Once you have thoroughly assessed the condition of your old kitchen pantry cabinet, you’re ready to move on to the next step: removing the old cabinet hardware and shelves.
Removing the Old Cabinet Hardware and Shelves
Now that you have assessed the condition of your old kitchen pantry cabinet, it’s time to start the restoration process by removing the old cabinet hardware and shelves. This step is crucial as it allows you to work on each component separately and ensures a clean canvas for the upcoming repairs and refinishing. Here’s how you can efficiently remove the old hardware and shelves:
- Clear out the cabinet: Begin by removing all items from the pantry cabinet. This includes food, dishes, and any other contents that may be stored inside. Take this opportunity to declutter and reorganize your kitchen essentials.
- Remove the cabinet doors: Use a screwdriver to unscrew the hinges from the cabinet frame. Be sure to support the doors as you remove the screws to prevent them from falling or getting damaged. Place the removed hardware in a safe place for reuse or replacement.
- Take out the shelves: Depending on the design of your pantry cabinet, the shelves may be removable or fixed in place. If they are adjustable shelves, carefully lift and tilt each shelf to remove them from the supports. For fixed shelves, use a screwdriver or pry tool to detach them from the cabinet.
- Remove the hardware: Next, it’s time to remove the remaining hardware, such as handles, knobs, and latches. Use a screwdriver or power drill to loosen and remove the screws holding them in place. Take note of any special mechanisms or additional attachments that may need to be detached.
- Label the hardware and shelves: To keep things organized, label each piece of hardware and the corresponding shelf it came from. This will make it easier to reassemble everything later on. You can use masking tape or small adhesive labels to mark each item.
- Clean the cabinet: After removing all the hardware and shelves, take the time to clean the cabinet thoroughly. Use a mild cleaning solution and a sponge or cloth to remove any dirt, grime, or grease that may have accumulated over time. This step will prepare the cabinet for repairs and refinishing.
By following these steps, you will successfully remove the old cabinet hardware and shelves, making way for the next phase of the restoration process. Remember to keep the removed components in a safe place and label them properly to avoid any confusion when reinstalling or replacing them later on.
With the old hardware and shelves out of the way, it’s time to move on to the next step: repairing and restoring the cabinet surfaces.
Repairing and Restoring the Cabinet Surfaces
With the old hardware and shelves removed from your kitchen pantry cabinet, it’s time to focus on repairing and restoring the surfaces. This step is crucial to ensure that your cabinet looks fresh and appealing once the restoration process is complete. Here’s how you can effectively repair and restore the cabinet surfaces:
- Fill in any gaps or holes: Use wood filler or putty to fill in any gaps, cracks, or holes in the cabinet surfaces. Apply the filler with a putty knife, and make sure to smooth it out evenly. Allow the filler to dry according to the manufacturer’s instructions, and then sand it down until it is smooth and level with the rest of the surface.
- Sand the cabinet: Use sandpaper or a sanding block to sand the entire cabinet, including the doors and shelves. This step helps remove any roughness, imperfections, or old paint layers from the surfaces. Start with a coarse-grit sandpaper to effectively remove the existing finish, and then switch to a finer grit to achieve a smooth finish.
- Address water damage: If you notice any areas with water damage, take the time to repair them properly. This may involve replacing damaged wood or using wood filler to fill in the affected areas. Ensure that the repaired spots are smooth and even with the rest of the surface.
- Fix loose or broken parts: If you identified any loose or broken parts during the assessment, now is the time to address them. Use wood glue or screws to secure loose joints or reinforce weak areas. Replace broken or damaged components as necessary to ensure the structural integrity of the cabinet.
- Smooth out rough edges: Check for any rough or splintered edges on the cabinet surfaces and doors. Use sandpaper to smooth them out and create a seamless and polished appearance. Pay attention to corners and edges to achieve a professional finish.
- Clean the surfaces: Once you have completed all the necessary repairs, take a damp cloth or sponge and wipe down the surfaces to remove any dust or debris. This will prepare the cabinet for the priming and painting process.
By following these steps, you will effectively repair and restore the surfaces of your kitchen pantry cabinet, ensuring that it looks refreshed and ready for the next phase of the restoration process. Take your time during this step to achieve the best results, as the surface preparation will greatly impact the final outcome.
Now that you have repaired and restored the cabinet surfaces, it’s time to move on to the exciting part of the process: priming and painting the kitchen pantry cabinet.
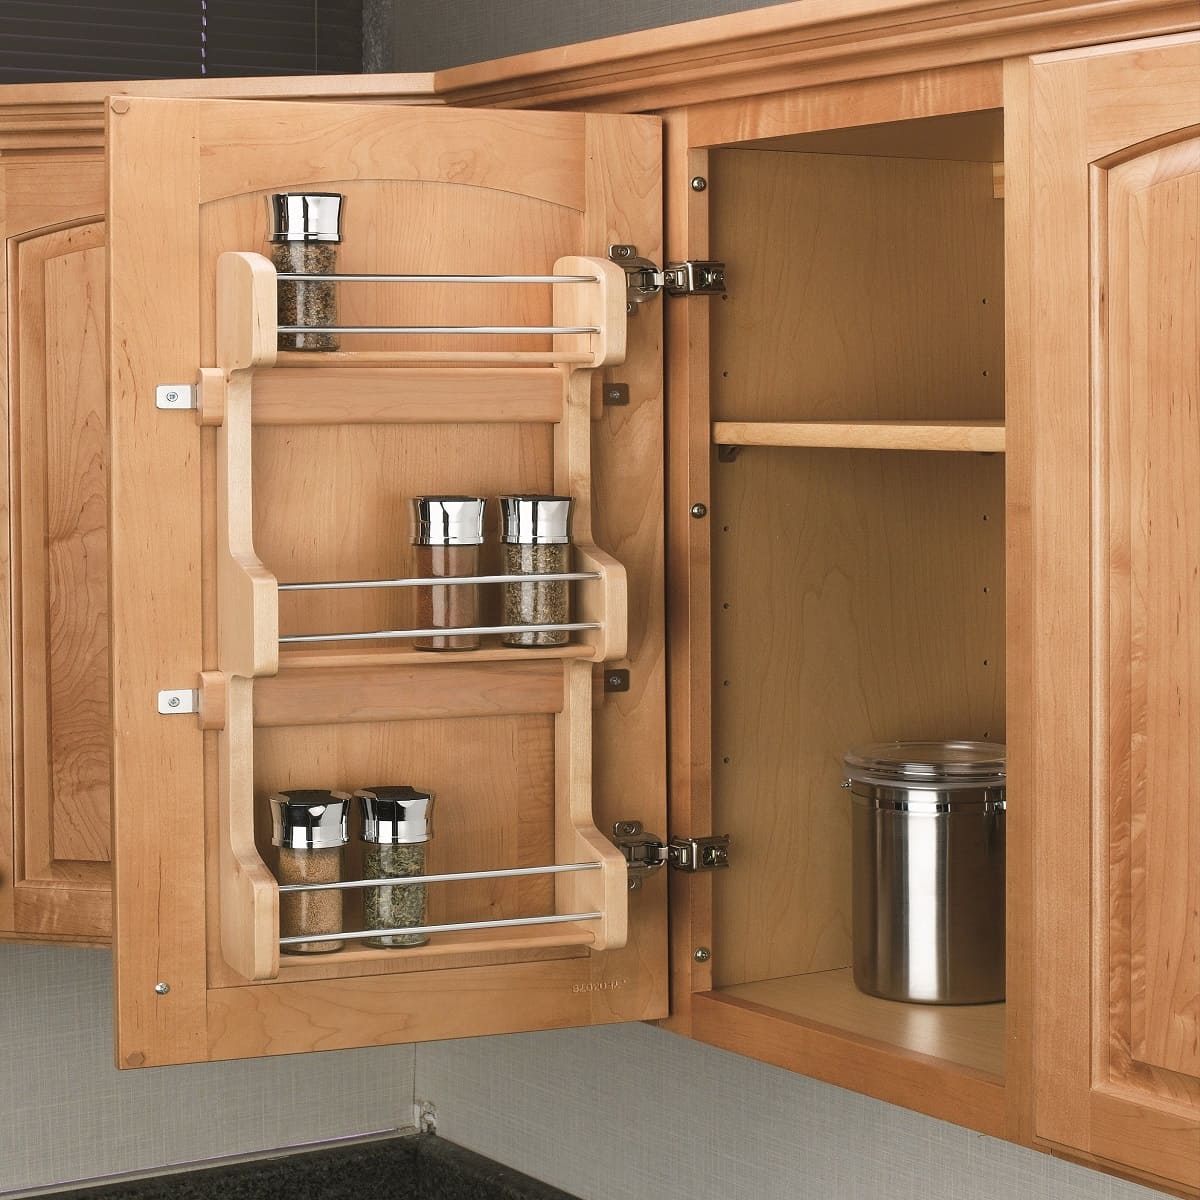
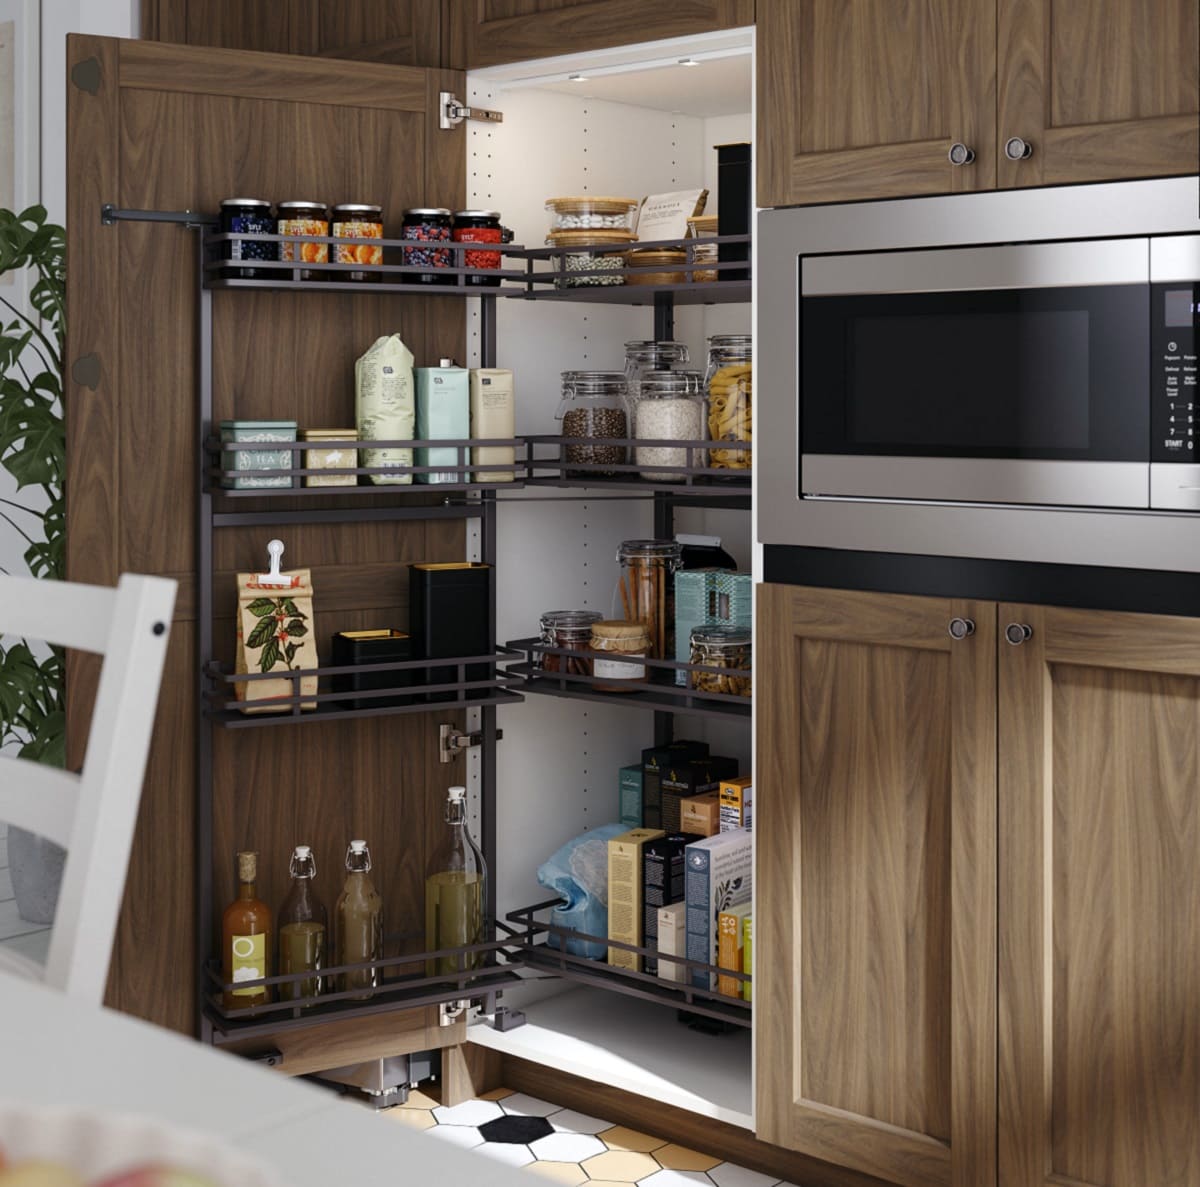
When redoing an old kitchen pantry cabinet, consider adding pull-out shelves or baskets for better organization and accessibility. This can maximize the use of space and make it easier to find items.
Priming and Painting the Kitchen Pantry Cabinet
With the surfaces of your kitchen pantry cabinet repaired and restored, it’s time to give it a fresh new look by priming and painting. This step is essential as it not only adds a pop of color but also provides a protective layer for your cabinet. Here’s how you can effectively prime and paint your kitchen pantry cabinet:
- Choose the right primer: Select a high-quality primer that is suitable for the material of your cabinet. If your cabinet is made of wood, a latex-based primer is generally recommended. However, if you have a laminate or melamine cabinet, look for a specific primer designed for these surfaces. The primer will ensure better paint adhesion and help create a smooth and even finish.
- Prepare the surfaces: Before applying the primer, make sure the cabinet surfaces are clean and free of dust or debris. Use a damp cloth or sponge to wipe down the cabinet to remove any remaining residue. If necessary, lightly sand the surfaces again to create a slightly rough texture for better primer adhesion.
- Apply the primer: Using a paintbrush or a roller, apply a thin and even layer of primer to the cabinet surfaces. Start with the cabinet doors, working from the inside out, and then move on to the cabinet frame. Follow the manufacturer’s instructions for the recommended drying time between coats. Ensure that the primer is applied evenly and covers the entire surface.
- Sand between coats: After the first coat of primer has dried, lightly sand the surfaces with fine-grit sandpaper. This helps create a smooth and uniform surface for the subsequent coats of primer and paint. Wipe away any dust with a clean cloth before applying the next coat of primer.
- Choose the paint color: Select a paint color that complements your kitchen’s design and personal style. Whether you prefer a bold hue or a subtle neutral shade, make sure to choose paint that is specifically formulated for cabinets or trim. This type of paint is more durable and resistant to chipping and fading.
- Start painting: Just like with the primer, begin by painting the cabinet doors first, working from the inside out. Use smooth and even brush strokes or a foam roller to apply the paint. Apply multiple thin coats for better coverage and allow sufficient drying time between each coat. Be patient and take your time to achieve a professional and flawless finish.
- Protect the paint: Once the paint has fully dried, consider applying a clear protective topcoat to safeguard the painted surfaces. This will enhance the durability and longevity of the paint and make it easier to clean and maintain in the long run.
By following these steps, you will effectively prime and paint your kitchen pantry cabinet, transforming it into a focal point of your kitchen. Whether you choose a classic white, a vibrant color, or a trendy shade, the paint can breathe new life into your cabinet and give it a fresh and modern appearance.
Now that you have primed and painted your kitchen pantry cabinet, it’s time to move on to the next step: installing new cabinet hardware and shelves.
Read more: What Is A Pantry Cabinet
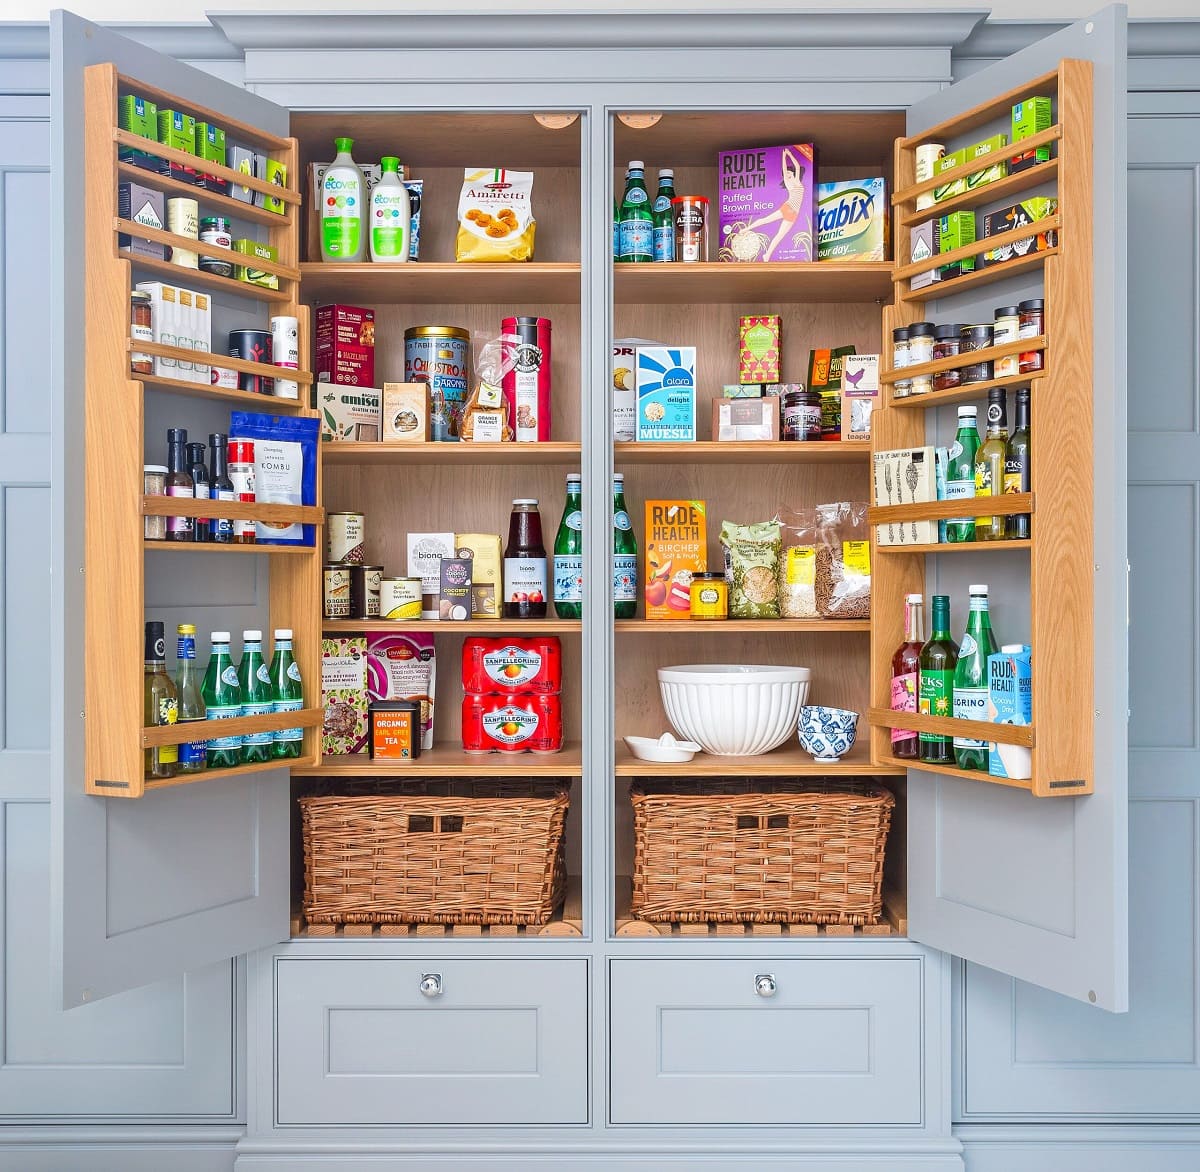
Installing New Cabinet Hardware and Shelves
With your kitchen pantry cabinet freshly painted and looking revitalized, it’s time to add the finishing touches by installing new cabinet hardware and shelves. This step will not only enhance the functionality of your cabinet but also allow you to customize its appearance to match your desired style. Here’s how you can effectively install new cabinet hardware and shelves:
- Select the hardware: Choose new cabinet handles, knobs, hinges, and latches that complement the style and design of your kitchen. Consider the finish, shape, and size of the hardware to ensure a cohesive look. Keep in mind the existing holes on the cabinet doors and measure the spacing accurately to select hardware that fits properly.
- Measure and mark: Before drilling new holes for the hardware, measure and mark the desired placement on the cabinet doors. Use a measuring tape to ensure accuracy and a pencil to mark the spots where the screws will go. It’s recommended to use a template or a jig to ensure consistent and level hole placement.
- Drill the holes: Using an appropriate size drill bit, carefully drill the holes for the new hardware. If your cabinet doors are made of delicate material, such as glass or laminate, use a drill bit designed for those surfaces to prevent any damage. Take your time and drill straight to create clean and precise holes.
- Attach the hardware: Once the holes are drilled, attach the new cabinet hardware using the provided screws. Use a screwdriver or a power drill to secure the hardware in place. Be careful not to overtighten the screws, as it may damage the cabinet door. Check that the hardware is securely attached and aligned properly.
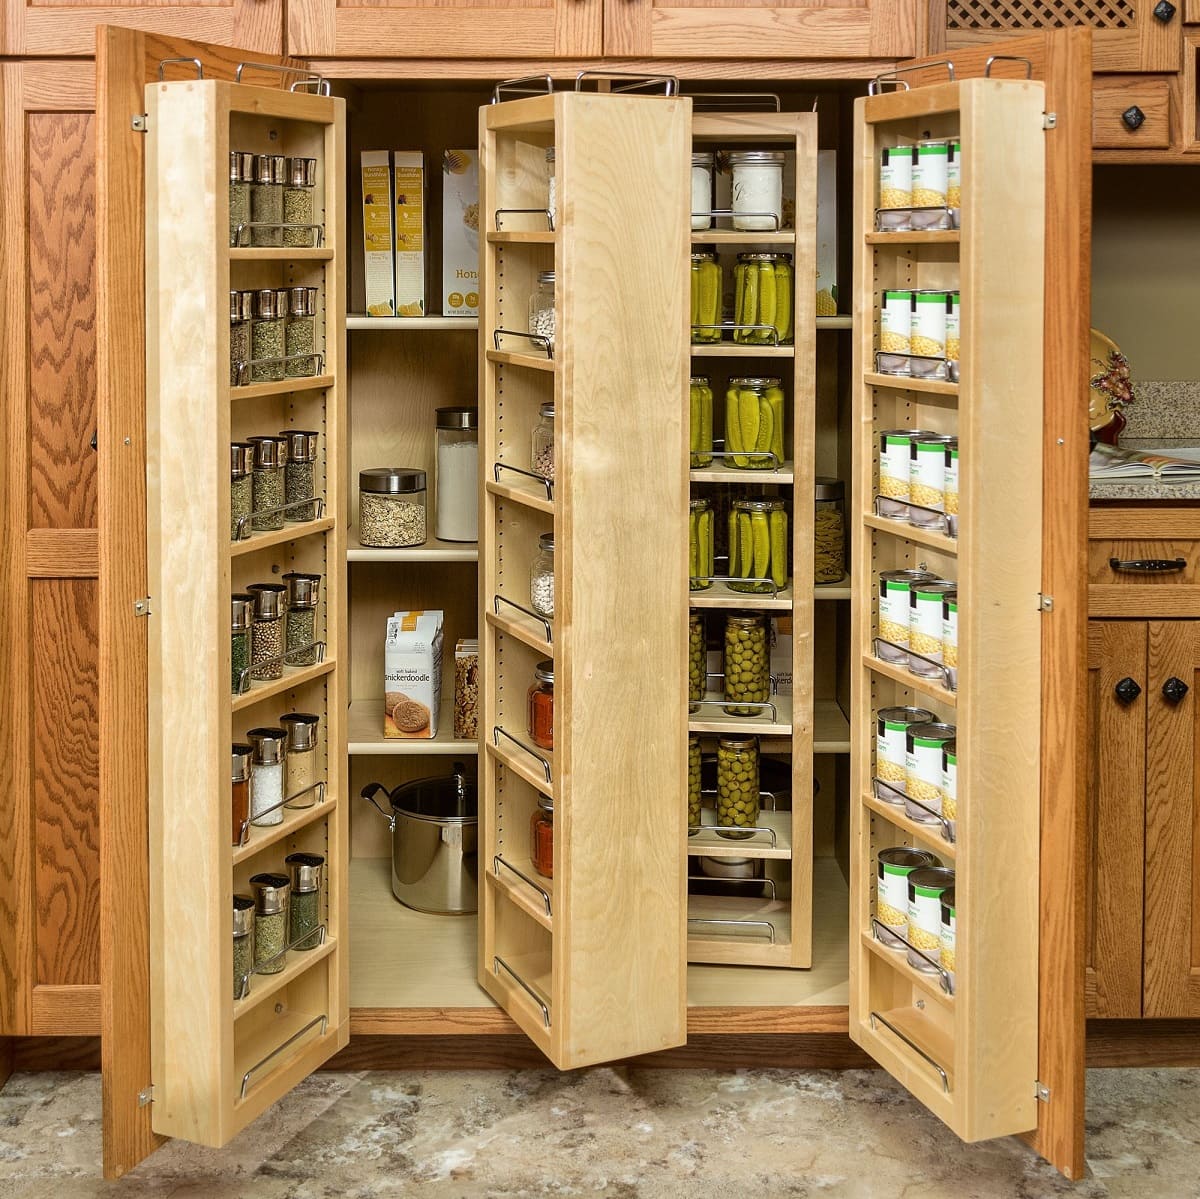
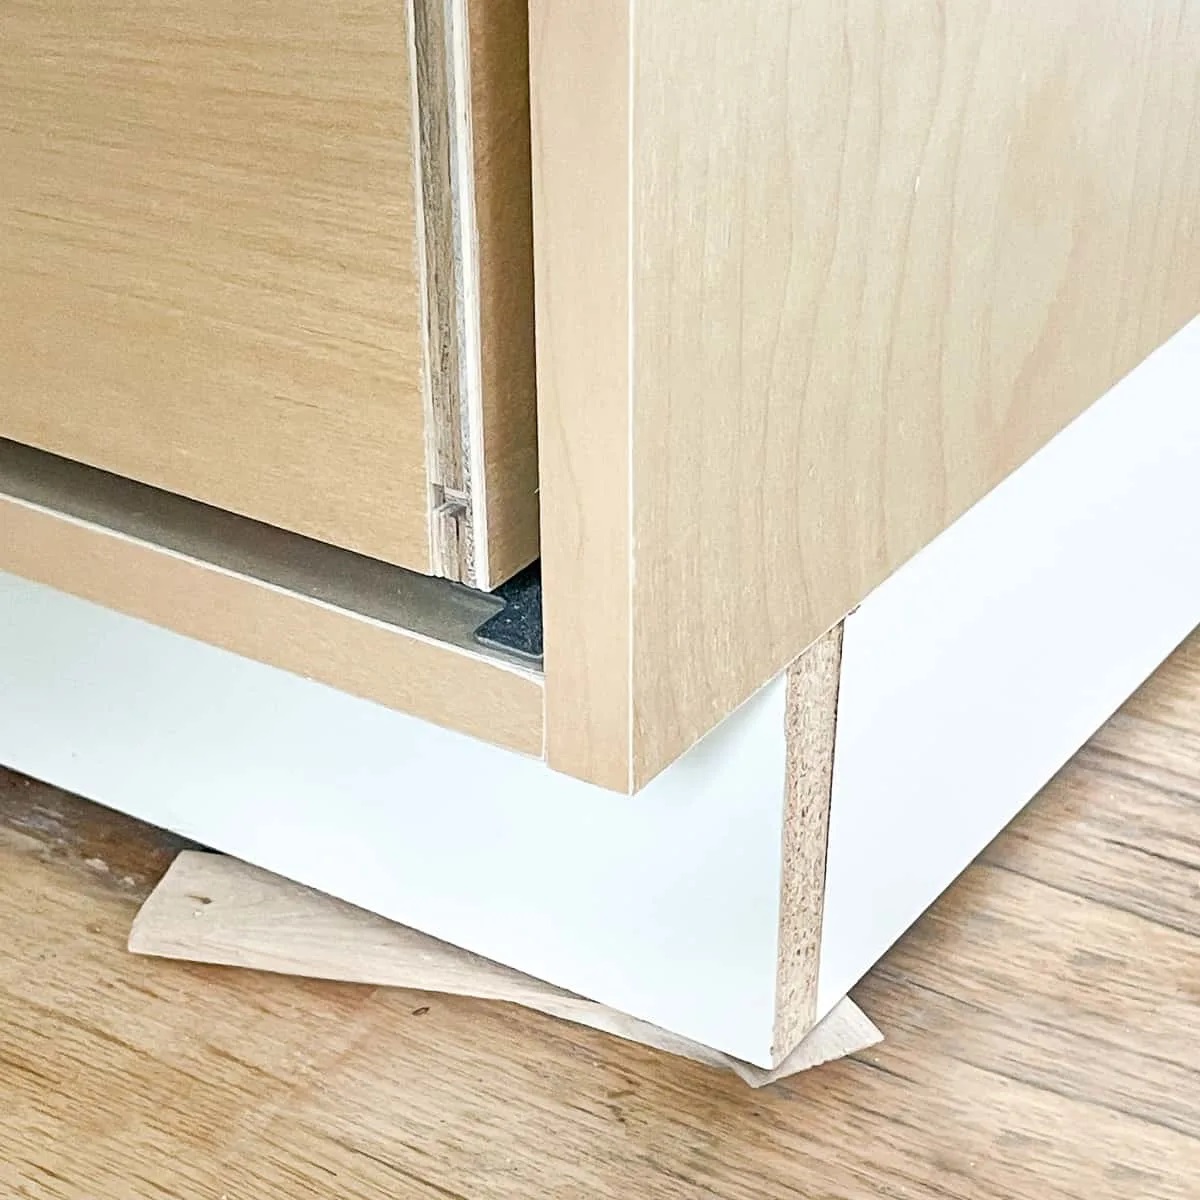
- Install new shelves: If you’ve decided to replace or add new shelves to your pantry cabinet, measure and cut them to the desired size. Use a level to ensure that the shelves are straight and even. Depending on the type of pantry cabinet you have, the installation process may vary. It may involve using shelf supports or brackets to hold the shelves in place.
- Test functionality: Once the hardware and shelves are installed, take the time to test the functionality of the cabinet. Open and close the doors to ensure they operate smoothly. Check that the shelves are secure and can hold the weight of your items. Make any necessary adjustments or tighten any loose components before finalizing the installation.
By following these steps, you will effectively install new cabinet hardware and shelves, adding the perfect finishing touches to your kitchen pantry cabinet. The new hardware will not only enhance the aesthetic appeal but also make it easier to access and organize your kitchen essentials.
With the new hardware and shelves in place, your kitchen pantry cabinet is almost complete. The final step is to add some final touches and tips for maintenance, which we will explore in the next section.
Final Touches and Tips for Maintenance
With your kitchen pantry cabinet fully restored and looking fabulous, it’s time to add those final touches that will truly complete the transformation. These final touches will not only add a personal touch to your cabinet but also ensure its longevity and ease of maintenance. Here are some final touches and tips for maintaining your newly redone kitchen pantry cabinet:
- Add decorative elements: Consider adding decorative elements such as trim, molding, or glass inserts to further enhance the appearance of your cabinet. These details can add extra character and style to your kitchen while elevating the overall look of the pantry cabinet.
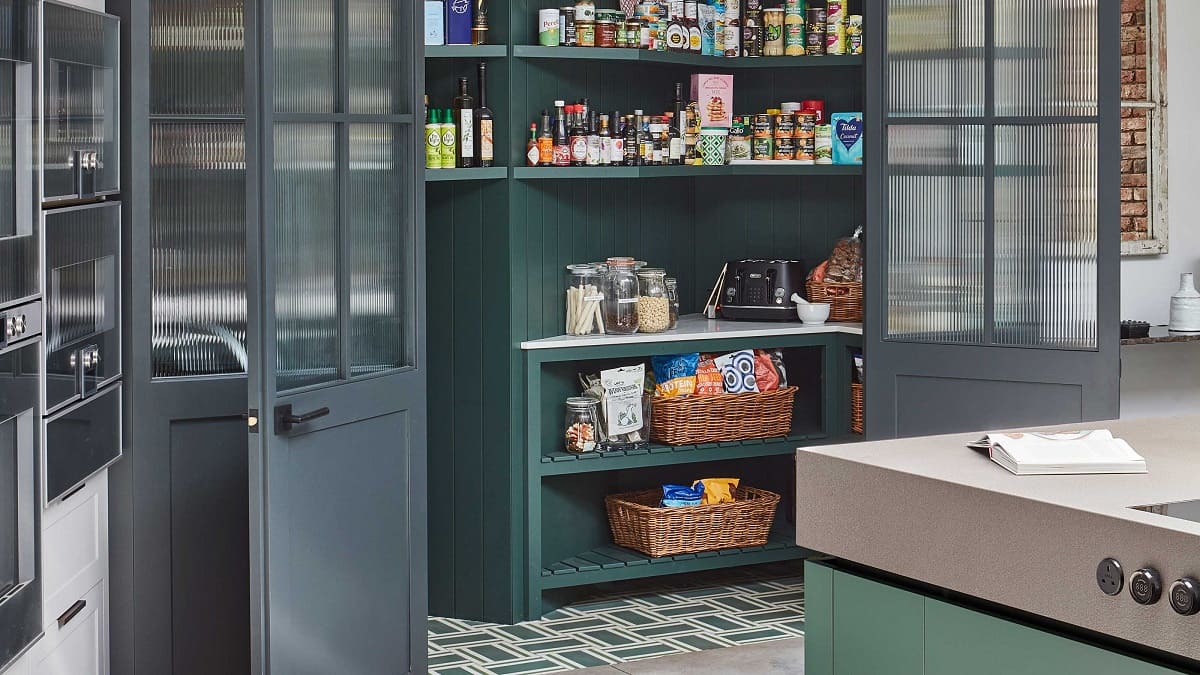
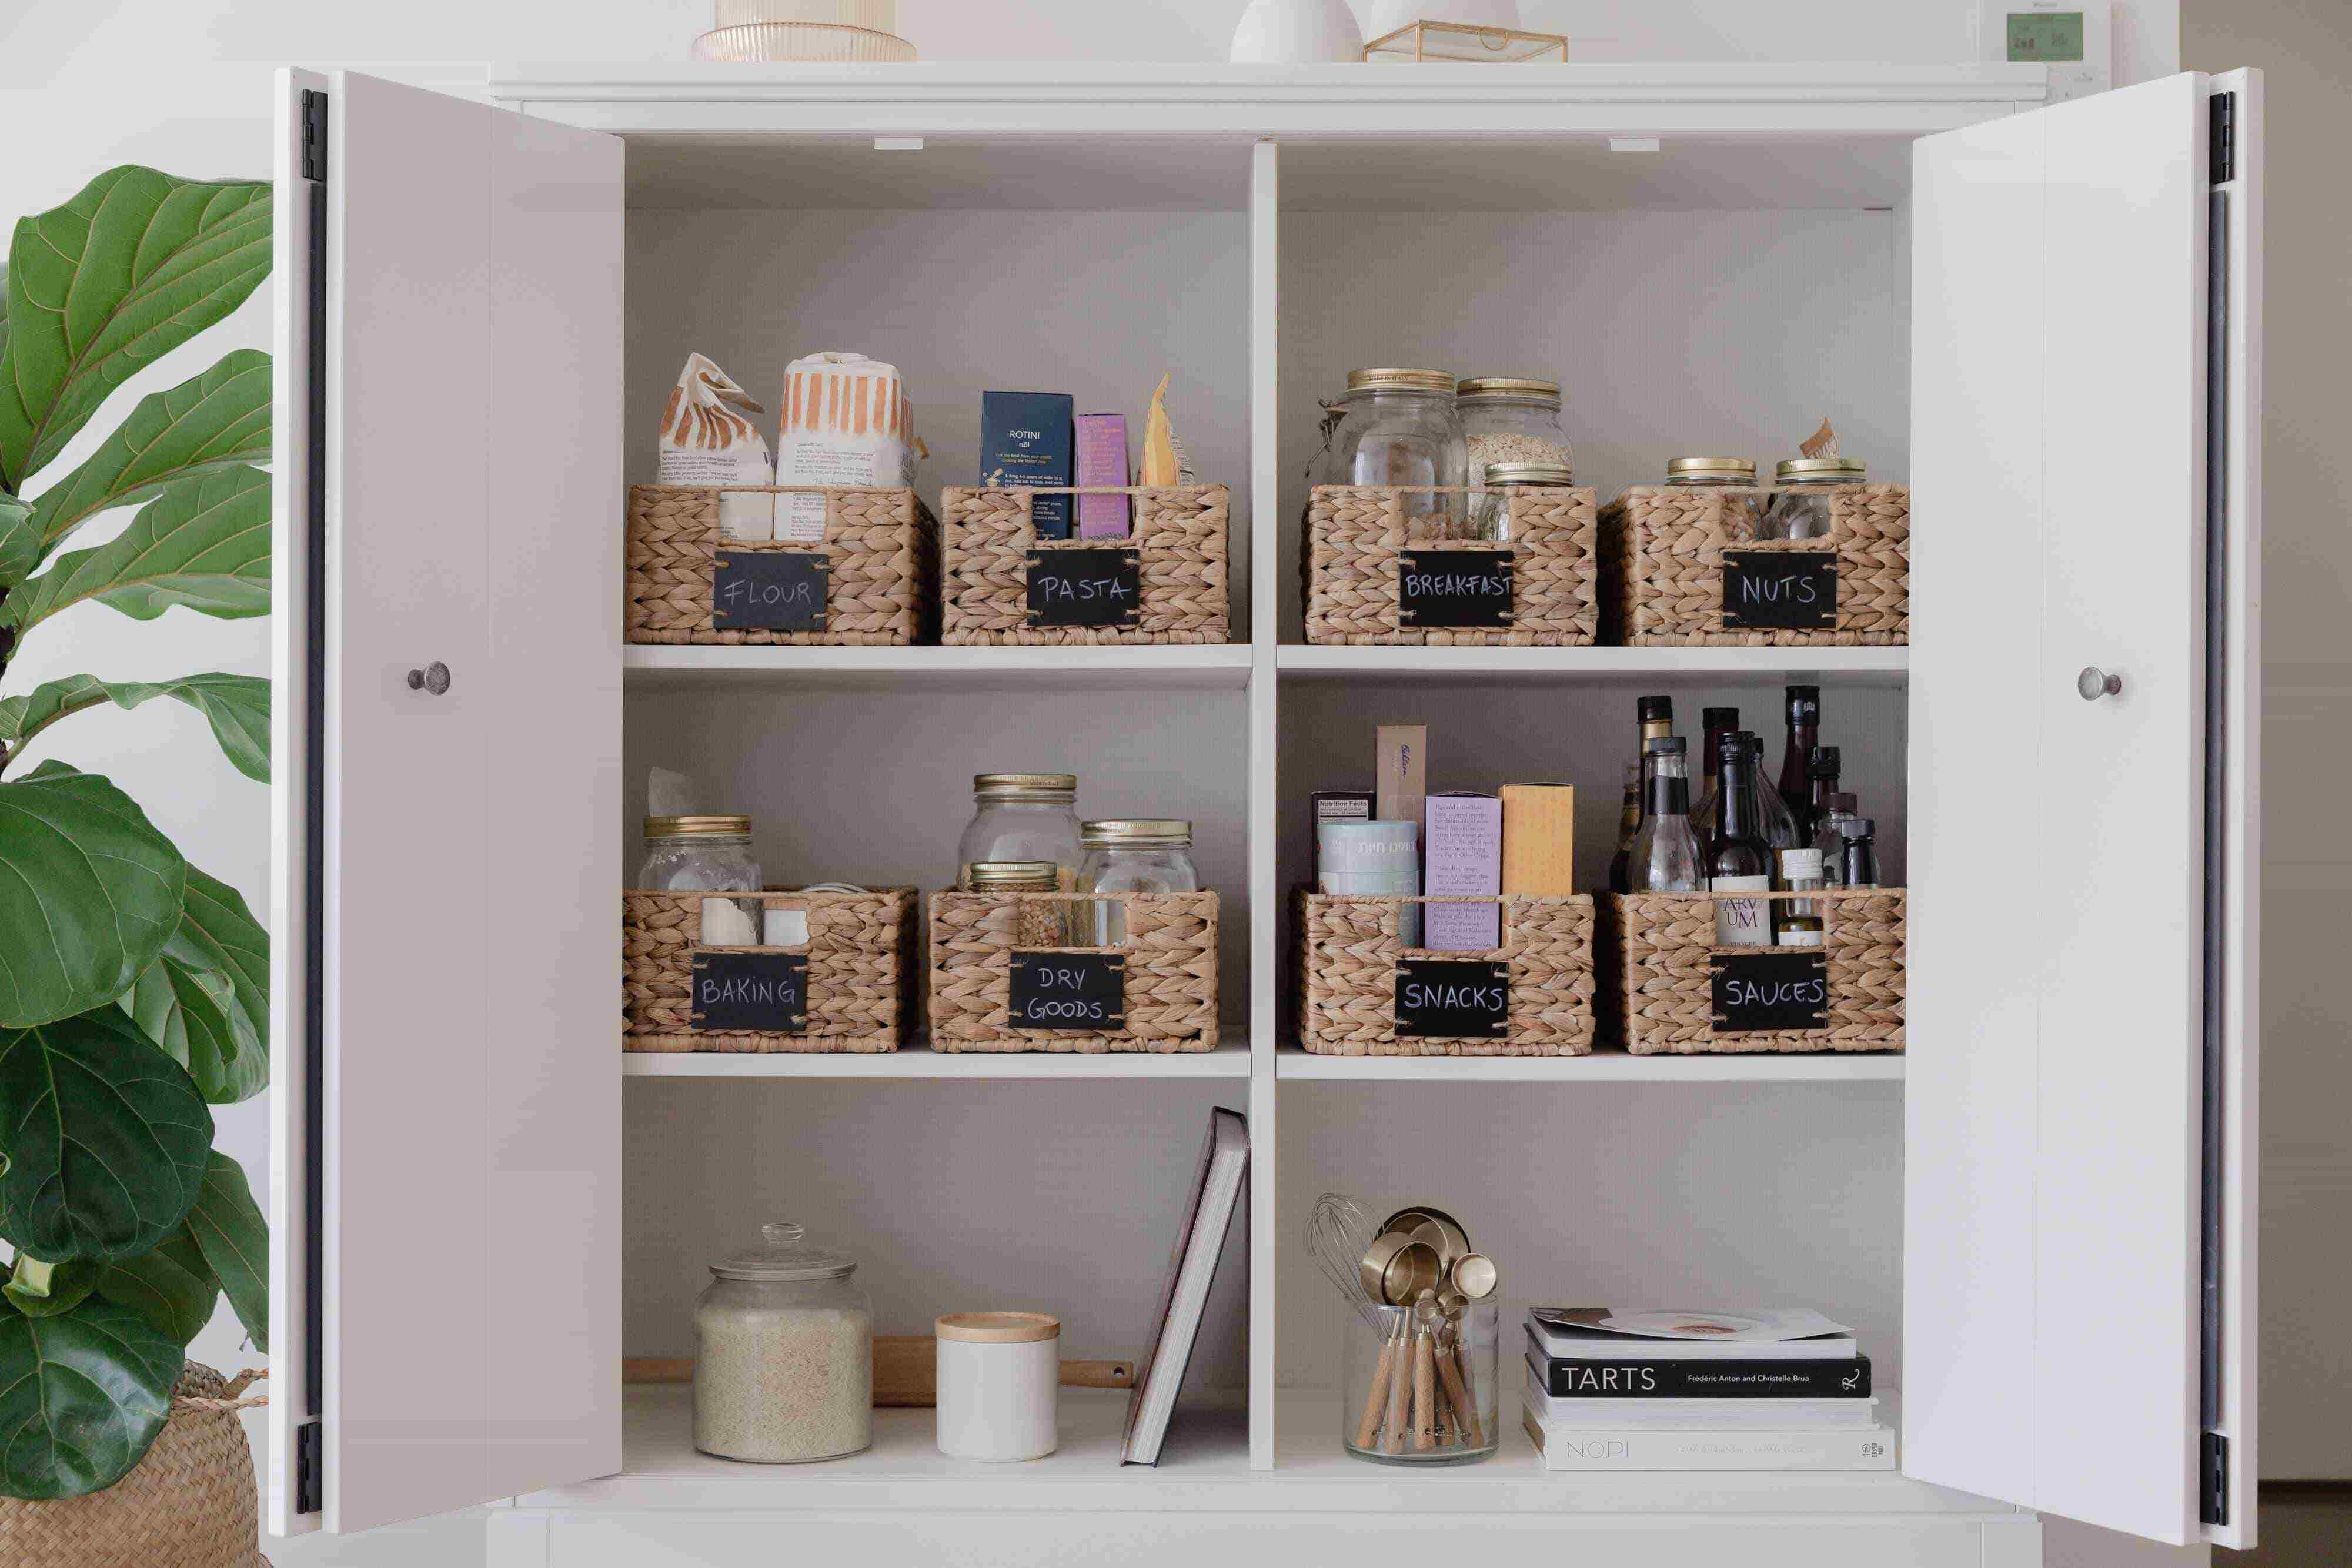
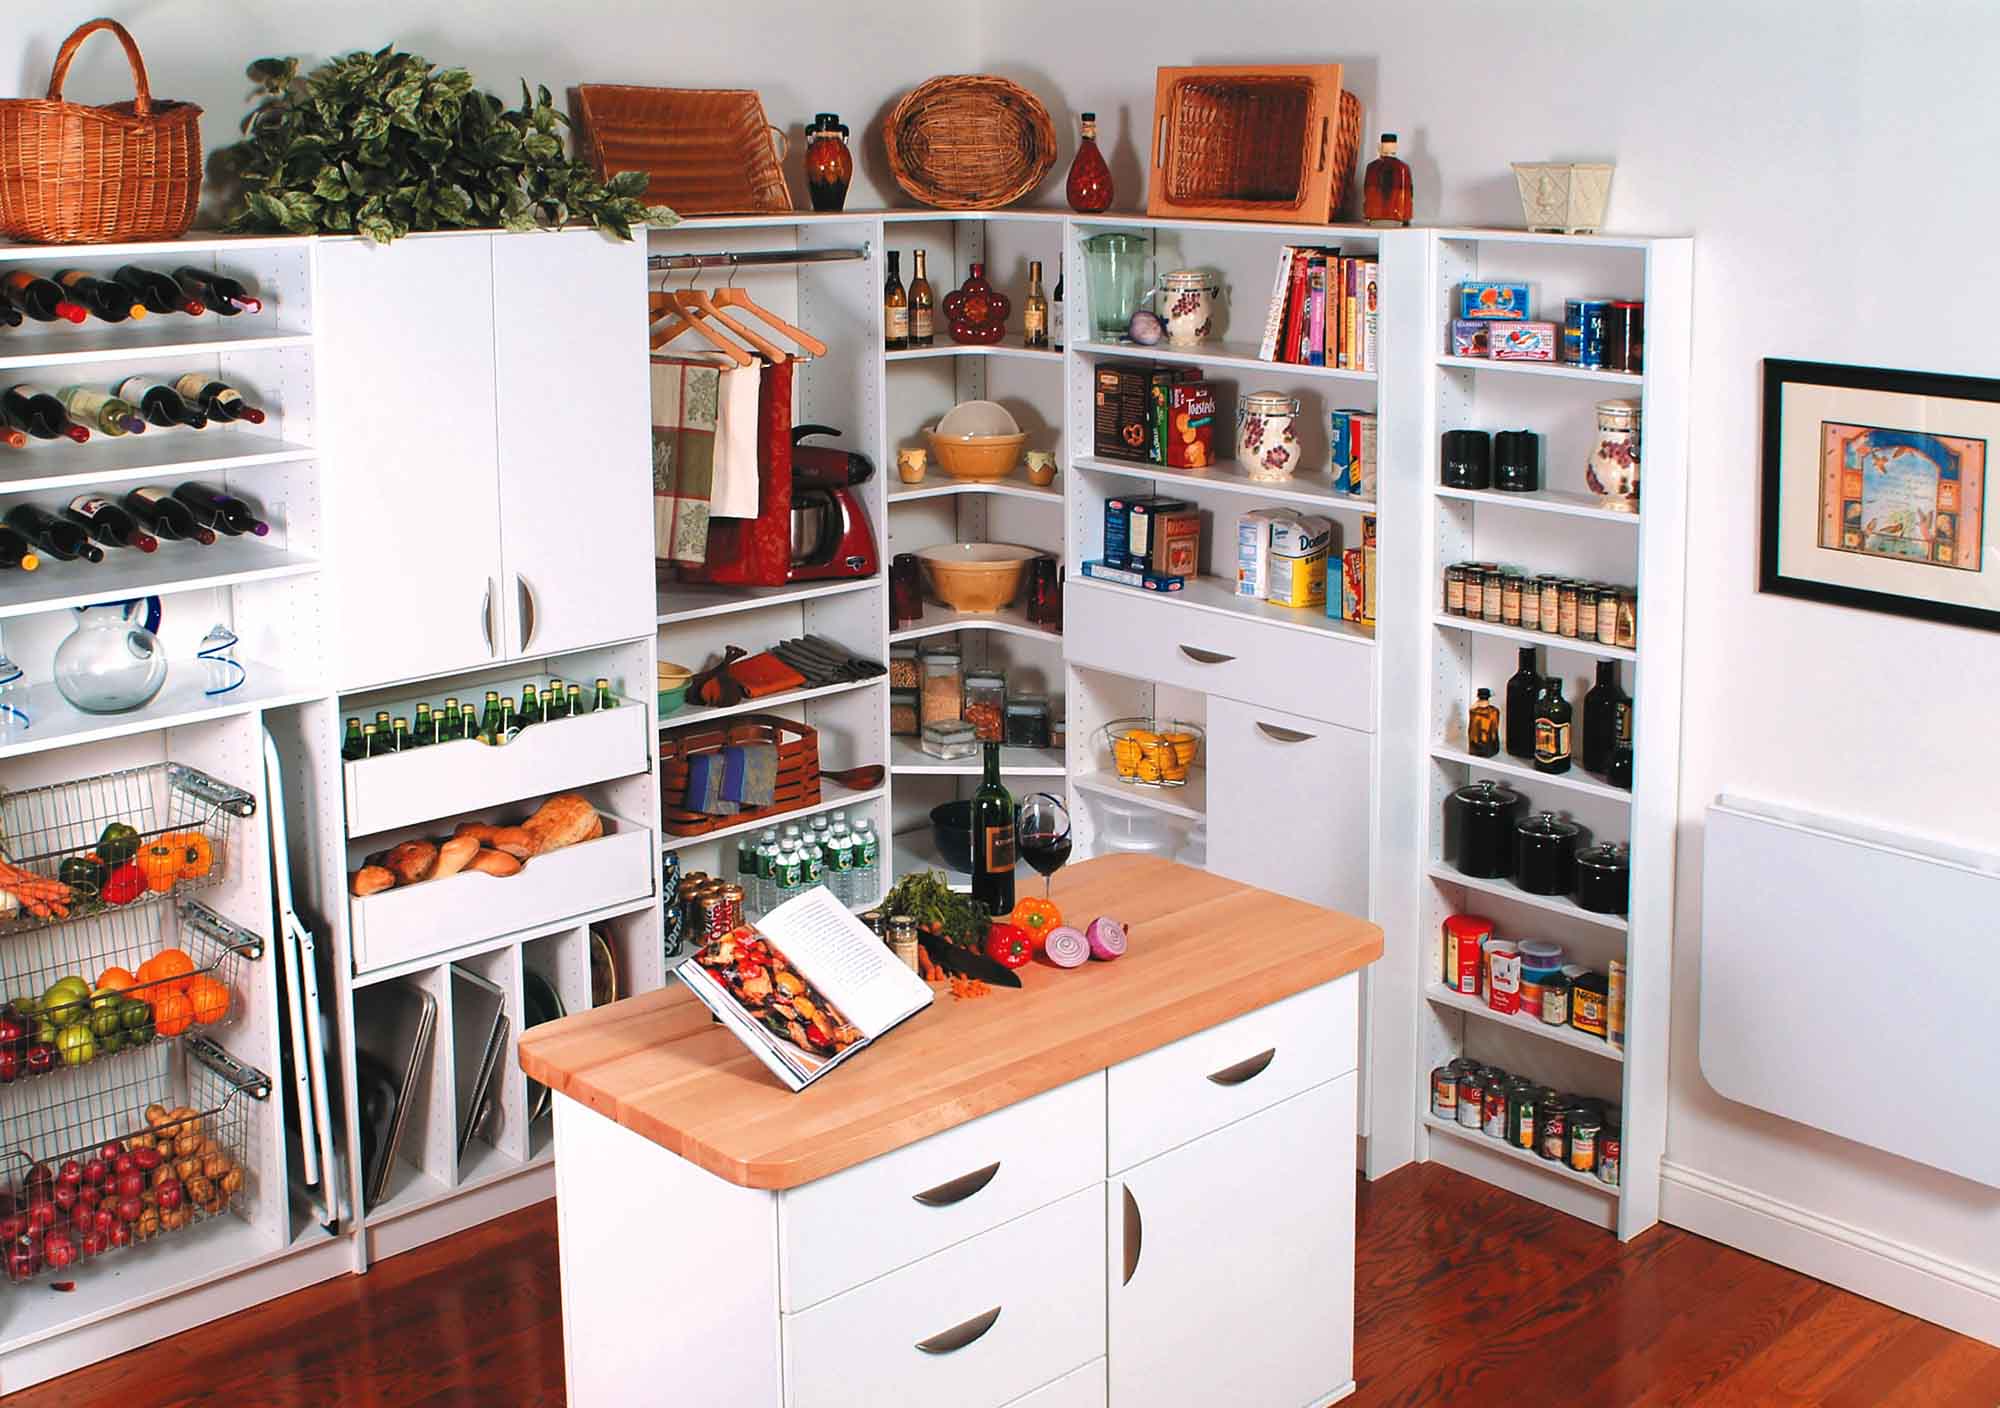
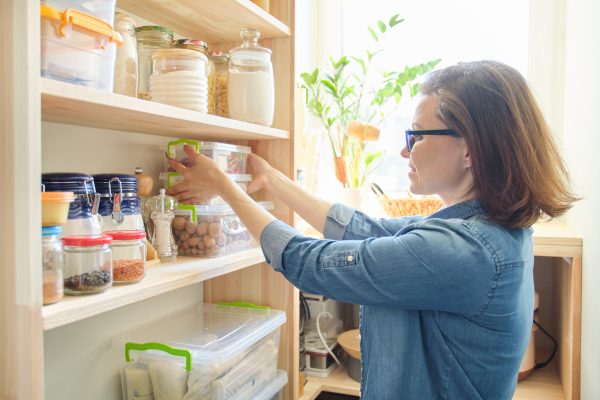
- Organize and style the interior: Take the time to organize the interior of your pantry cabinet in a way that is functional and visually appealing. Consider using storage bins, baskets, or shelf dividers to keep items tidy and easily accessible. Arrange your pantry essentials in an organized and aesthetically pleasing manner to maximize the functionality of the cabinet.
- Add lighting: Install cabinet lighting, such as LED strip lights or puck lights, to illuminate the interior of your pantry cabinet. This will make it easier to find items and create a warm and inviting ambiance in your kitchen. Lighting can also highlight the beauty of your newly restored cabinet.
- Maintain regular cleaning: It’s important to maintain regular cleaning of your kitchen pantry cabinet to keep it looking its best. Wipe down the surfaces regularly with a mild cleaning solution to remove any dust, dirt, or stains. Avoid using harsh chemicals or abrasive cleaners that may damage the finish of the cabinet.
- Inspect and repair regularly: Periodically inspect your pantry cabinet for any signs of wear or damage. Address any issues promptly, such as loose hardware or damaged surfaces, to prevent further degradation. Regular maintenance and repairs will help extend the lifespan of your cabinet.
- Avoid excessive weight: Be mindful of the weight you place on the shelves of your pantry cabinet. Avoid overloading them with heavy items that may cause the shelves to sag or break. Distribute the weight evenly to prevent any structural damage to your cabinet.
- Touch up as needed: Over time, your kitchen pantry cabinet may experience minor scratches or wear. Keep a small amount of touch-up paint on hand to fix any imperfections that may occur. This will help maintain the pristine appearance of your cabinet.
By paying attention to these final touches and following the tips for maintenance, you will ensure that your newly redone kitchen pantry cabinet remains a functional and beautiful addition to your kitchen for years to come.
Congratulations on successfully redoing your old kitchen pantry cabinet! You have not only transformed a worn-out piece into a stylish and functional feature but also added value and personality to your kitchen space. Enjoy the fruits of your labor and take pride in your accomplishment!
Remember, the process outlined in this guide can be applied to most kitchen pantry cabinets, but always consider the individual specifications and instructions provided by the manufacturer. Now, sit back and admire your revamped kitchen pantry cabinet that is ready to serve you well.
Conclusion
Congratulations on completing the transformation of your old kitchen pantry cabinet! Through careful assessment, repair, painting, and installation of new hardware and shelves, you have successfully revived a tired piece and turned it into a stunning focal point in your kitchen.
By following the steps outlined in this guide, you have learned how to assess the condition of your old cabinet, remove the old hardware and shelves, repair and restore the surfaces, prime and paint the cabinet, and install new hardware and shelves. These comprehensive steps have allowed you to transform your pantry cabinet into a functional and visually appealing storage solution.
Remember that this process requires patience, time, and attention to detail. Throughout the restoration journey, you have unleashed your creativity and put your DIY skills to the test. The end result is a kitchen pantry cabinet that not only meets your storage needs but also reflects your personal style.
As you enjoy your newly redone kitchen pantry cabinet, remember to prioritize maintenance and care. Regular cleaning, inspections, and touch-ups will help preserve the beauty and functionality of your cabinet for years to come. By following the tips outlined in this guide, you can ensure that your cabinet remains a valuable asset in your kitchen.
Thank you for joining us on this journey to redo your old kitchen pantry cabinet. We hope this guide has provided you with the knowledge and inspiration to create a beautiful and practical space in your kitchen. Enjoy the fruits of your hard work and the satisfaction of transforming an outdated cabinet into a stunning piece that enhances the overall ambiance of your kitchen.
Whether you’re enjoying the extra storage space, showcasing your favorite kitchenware, or simply admiring the new look, your revamped kitchen pantry cabinet is sure to bring joy and functionality to your daily kitchen activities.
Congratulations once again, and happy cooking!
Frequently Asked Questions about How To Redo Old Kitchen Pantry Cabinet
Was this page helpful?
At Storables.com, we guarantee accurate and reliable information. Our content, validated by Expert Board Contributors, is crafted following stringent Editorial Policies. We're committed to providing you with well-researched, expert-backed insights for all your informational needs.


0 thoughts on “How To Redo Old Kitchen Pantry Cabinet”