Articles
How To Repair Wood Fence
Modified: March 1, 2024
Learn how to repair your wood fence with our informative articles. Find step-by-step instructions and helpful tips to restore your fence to its original condition.
(Many of the links in this article redirect to a specific reviewed product. Your purchase of these products through affiliate links helps to generate commission for Storables.com, at no extra cost. Learn more)
Introduction
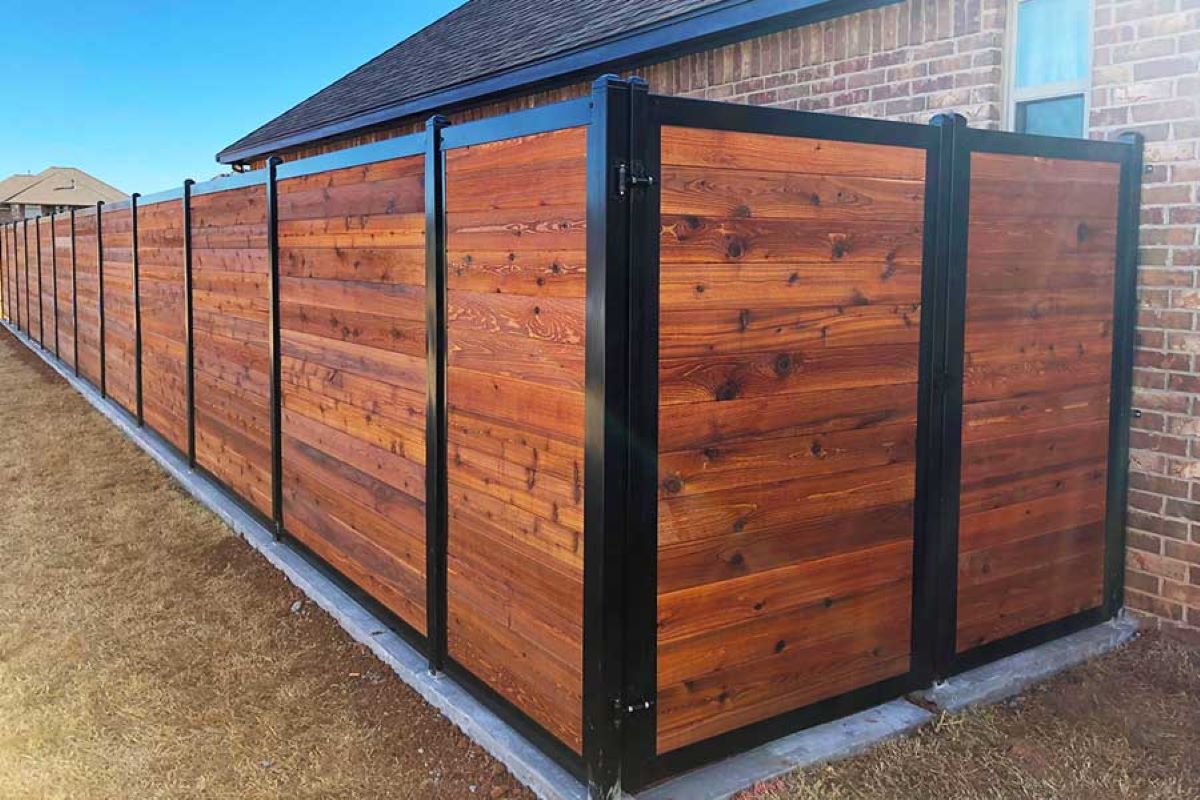
A wood fence can provide privacy, security, and curb appeal to your property. However, over time, it may sustain damage due to weather conditions, pests, or general wear and tear. When your wood fence starts to show signs of deterioration, it’s essential to take prompt action and repair it to maintain its functionality and aesthetic appeal.
In this article, we will guide you through the process of repairing a wood fence. Whether you have a few loose boards or need to replace sections of the fence, we will provide you with the necessary steps and tips to get the job done effectively.
Before you start repairing your wood fence, make sure you have the right materials and tools. This will save you time and ensure that you have everything you need at hand. Let’s dive into the details and get your fence looking as good as new!
Key Takeaways:
- Repairing a wood fence requires thorough assessment, proper tools, and attention to detail. From replacing damaged sections to realigning the fence, following the outlined steps will ensure a sturdy and visually appealing result.
- Regular maintenance, including sanding and finishing, is crucial for prolonging the lifespan of a wood fence. By addressing repairs promptly and implementing proper care, you can enhance the aesthetic appeal and functionality of your property’s fence.
Read more: How To Maintain A Wood Fence
Materials Needed
Before you begin repairing your wood fence, it’s important to gather all the necessary materials. Having these items on hand will make the repair process smoother and more efficient. Here’s a list of the materials you’ll need:
- Replacement fence boards
- Nails or screws
- Fence post caps
- Wood glue
- Wood filler
- Paint or stain (optional)
- Sandpaper
- Paintbrush or roller
- Hammers
- Screwdriver or power drill
- Saw
- Measuring tape
- Level
- Gloves
- Protective eyewear
These materials will help you replace damaged fence boards, secure loose sections, and improve the overall stability and appearance of your fence.
Additionally, if you plan to repaint or stain your fence after the repair, make sure to have the appropriate paint or stain of your choice on hand. This will help protect the wood from further damage and enhance its aesthetic appeal.
It’s important to note that the materials needed may vary depending on the extent of the damage and the specific design of your fence. Assess the condition of your fence and gather any additional materials that may be necessary for your specific repair project.
Now that you have all the materials ready, it’s time to assess the damage to your wood fence and determine the scope of the repair work needed.
Assessing the Damage
Before diving into the repair process, it’s crucial to assess the damage to your wood fence. This step will help you determine the extent of the repairs needed and guide your repair strategy. Here are a few key areas to inspect:
- Fence Boards: Examine each fence board for signs of damage, such as cracks, rot, or warping. Note which boards need to be replaced or repaired.
- Support Posts: Inspect the support posts for any signs of decay, shifting, or instability. Determine if any posts need reinforcement or replacement.
- Hardware: Check for loose nails, screws, or hinges that may need to be tightened or replaced.
- Stability: Assess the overall stability of the fence. Look for any leaning sections or areas where the fence may be wobbly.
- Finishing: Evaluate the condition of any paint or stain on the fence. Determine if the finish needs to be refreshed or if the entire fence should be repainted or stained.
Take your time to thoroughly inspect each part of the fence. Make a list of the repairs or replacements required based on your assessment. This will help you stay organized and ensure that you address all the necessary repairs during the process.
Keep in mind that some repairs may require professional assistance, especially if the damage is extensive or if you are not comfortable with certain tasks. Safety should always be a priority, so don’t hesitate to seek professional help if needed.
Once you have assessed the damage and identified the areas that need attention, gather the required tools and materials to start the repair work.
Gathering Tools
Now that you have assessed the damage to your wood fence and identified the repairs needed, it’s time to gather the necessary tools to complete the job. Having the right tools will make the repair process smoother and more efficient. Here are the essential tools you’ll need:
- Hammer: A hammer is a versatile tool that will be used for various tasks, such as removing nails and securing new fence boards.
- Screwdriver or Power Drill: Depending on the type of fasteners used, have a screwdriver or power drill with appropriate bits to remove and install screws.
- Saw: A saw will be required to cut and trim replacement fence boards to fit the desired length.
- Measuring Tape: Accurate measurements are crucial when replacing fence boards, aligning sections, and ensuring the overall stability of the fence.
- Level: A level will help you ensure that the fence is straight and aligned correctly during the repair process.
- Gloves and Protective Eyewear: Safety should be a priority. Wear gloves to protect your hands from splinters and sharp edges, and use protective eyewear to shield your eyes from any debris.
- Sandpaper: Sandpaper will come in handy when refinishing or smoothing out any rough areas on the fence.
- Paintbrush or Roller: If you plan to repaint or stain your fence, have a paintbrush or roller available to apply the finish.
- Wood Glue: Wood glue can be used to reinforce loose or cracked sections of the fence.
- Wood Filler: Wood filler is useful for repairing small cracks or holes in fence boards.
Having these tools readily available will save you time and make the repair process more efficient. Additionally, ensure that the tools are in good condition and functioning properly before starting the project.
With the tools in hand, you’re now ready to move on to the next steps of the wood fence repair process, such as removing damaged sections and replacing fence boards.
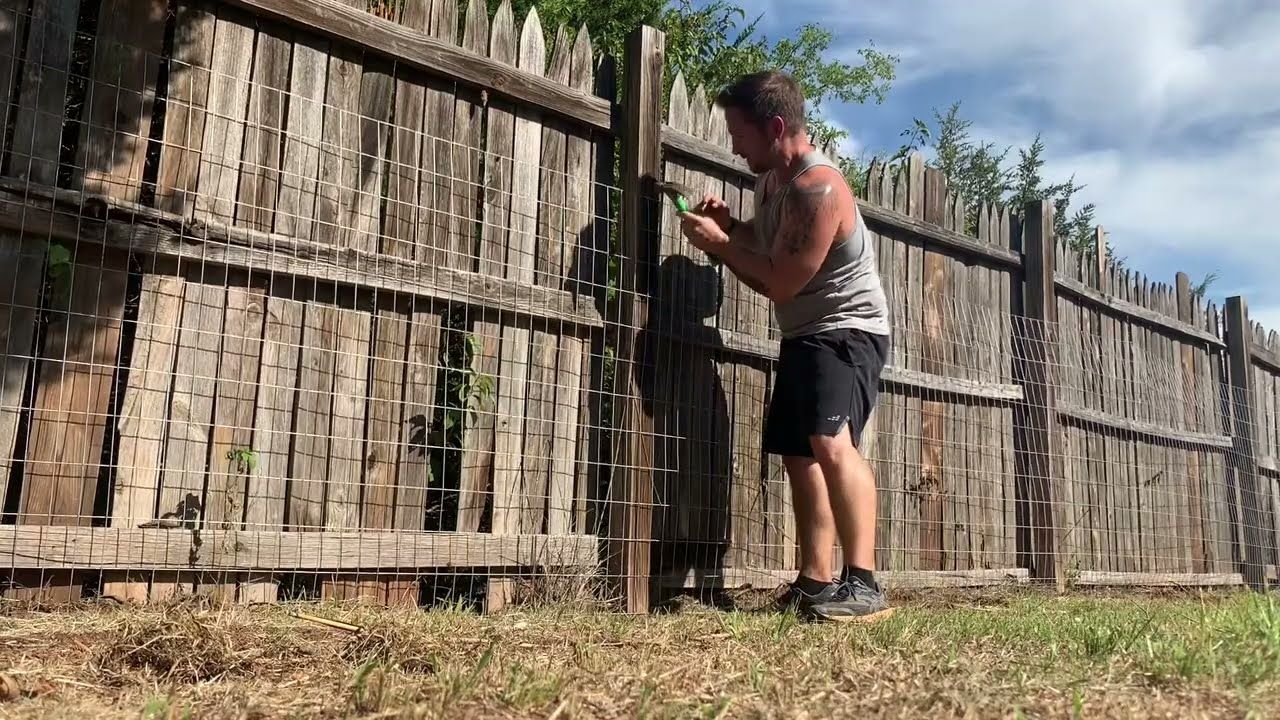
Removing Damaged Sections
Once you have gathered the necessary tools, it’s time to start removing the damaged sections of your wood fence. This step is crucial for creating a solid foundation for the repair work and ensuring the stability of the fence. Follow these steps to remove the damaged sections:
- Identify the damaged sections: Referencing your assessment, locate the fence boards or support posts that need to be removed. Take note of the specific areas that require attention.
- Secure the fence: Before removing any sections, make sure to brace the fence with temporary supports. This will prevent other sections from shifting or falling while you work.
- Remove the nails or screws: Use a hammer or screwdriver to remove the nails or screws that are securing the damaged fence boards or support posts. Be careful not to damage the surrounding boards or posts during this process.
- Remove the damaged sections: Once the fasteners are removed, gently pull or pry off the damaged fence boards or support posts. Use caution to prevent any further damage or injury.
- Clean the area: After removing the damaged sections, clean the area where the repairs will be made. Remove any debris, old nails, or screws to ensure a clean and prepared surface for the new materials.
During this process, it’s essential to be mindful of your safety. Wear gloves and protective eyewear to avoid any injuries from splinters or sharp objects.
Once the damaged sections are removed and the area is cleaned, you are ready to move on to the next step: replacing the fence boards or support posts.
Note: If you encounter any major structural issues or difficulties during the removal process, it’s best to consult a professional for assistance. They will have the expertise and tools to address more complex repairs.
Read more: How To Replace Wood Fence
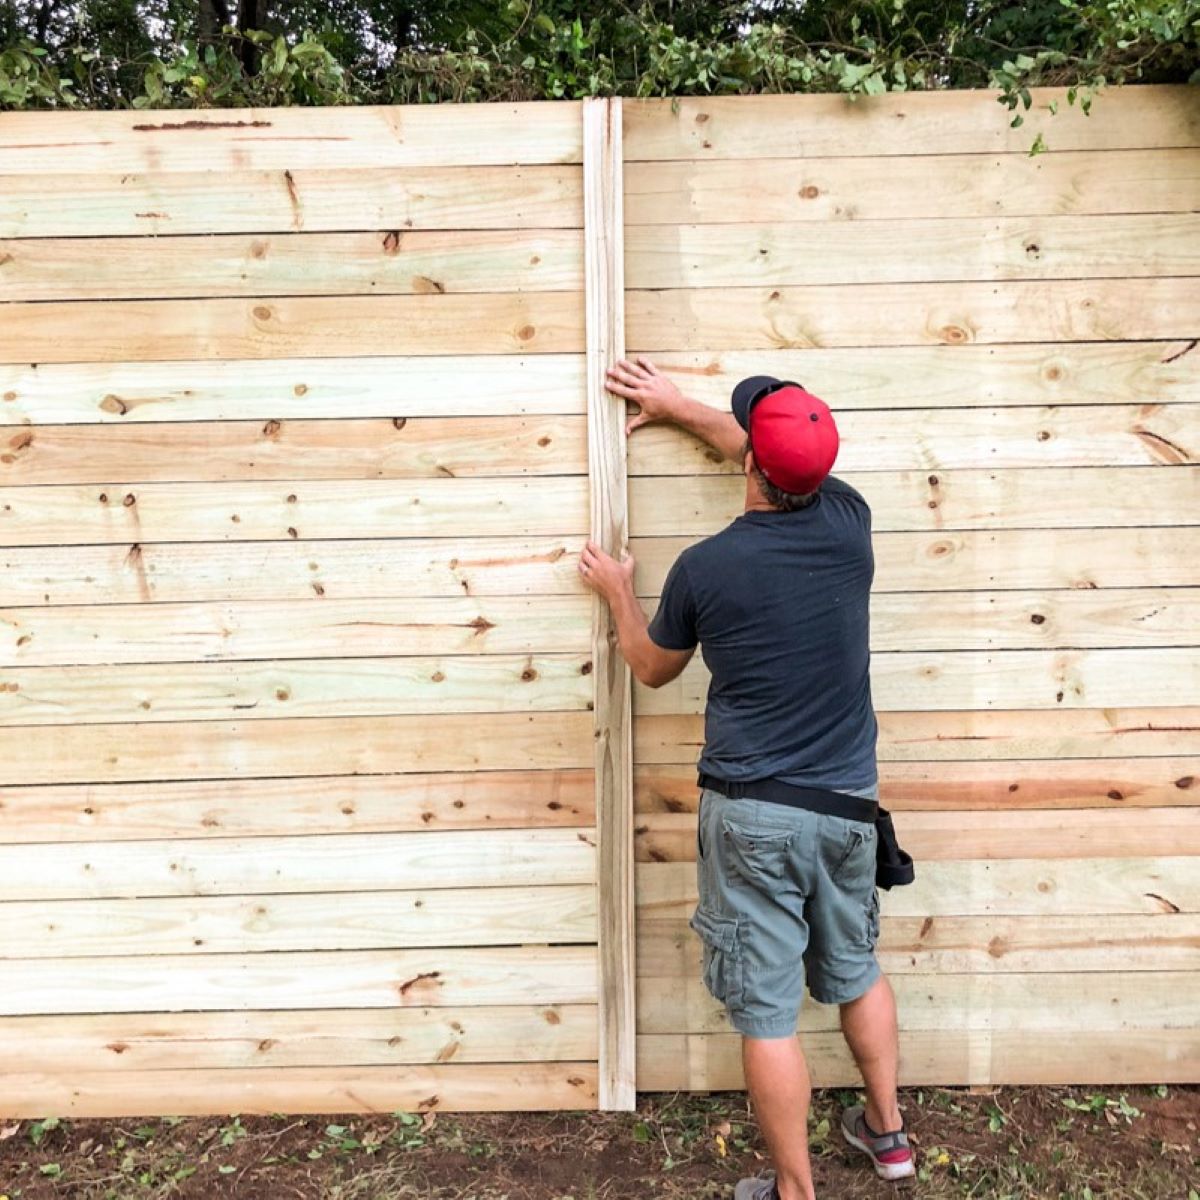
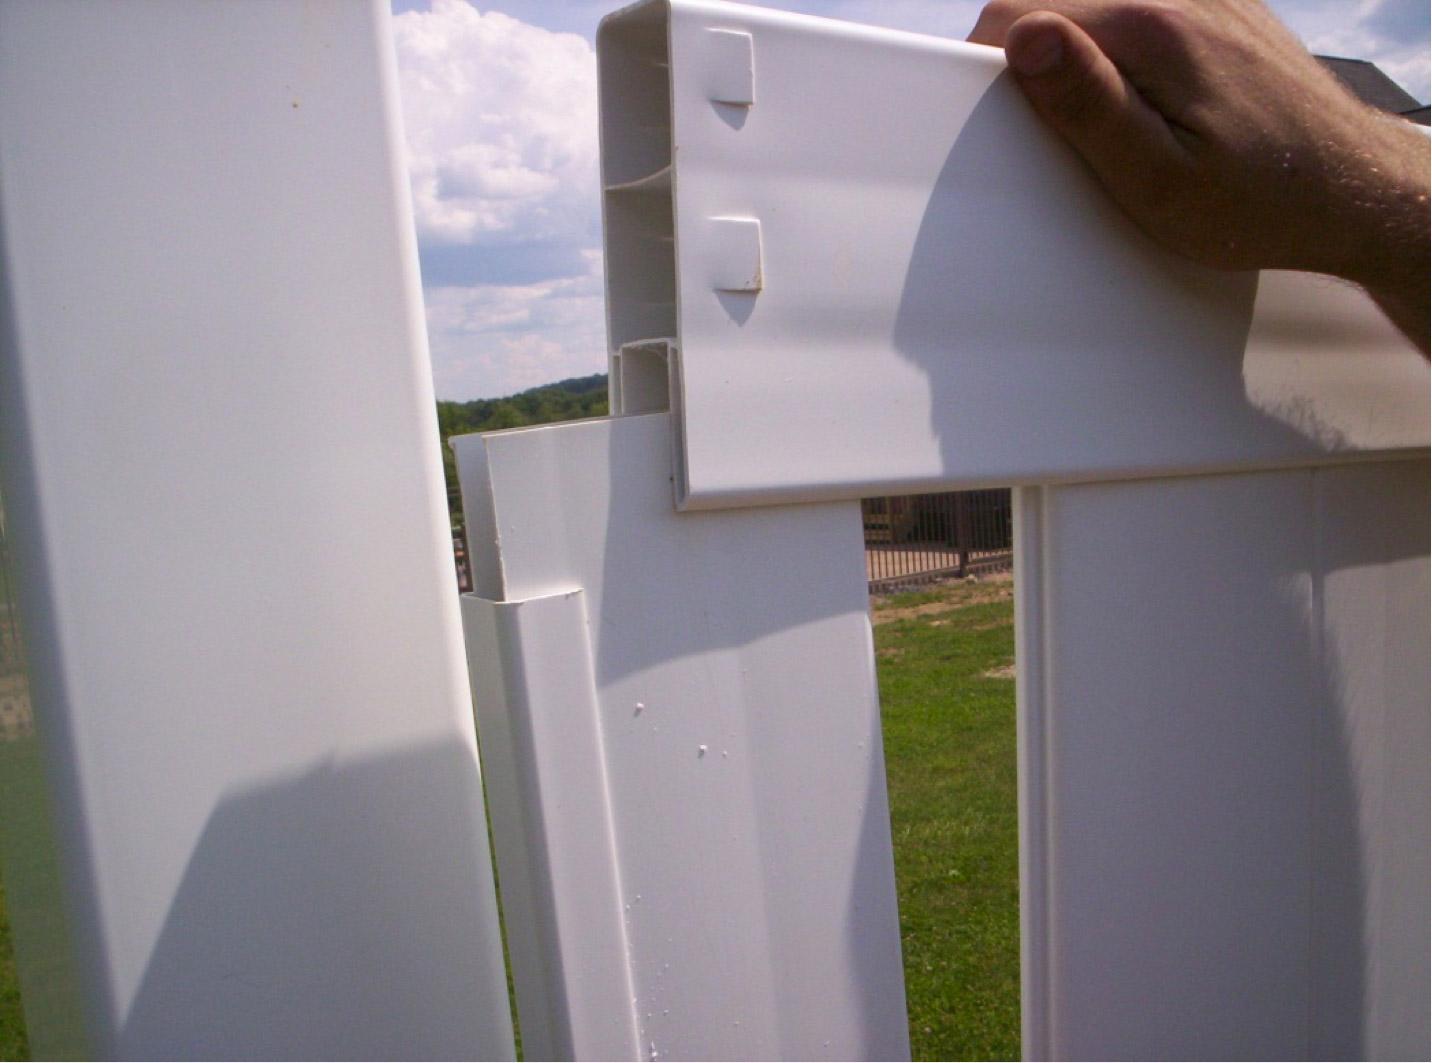
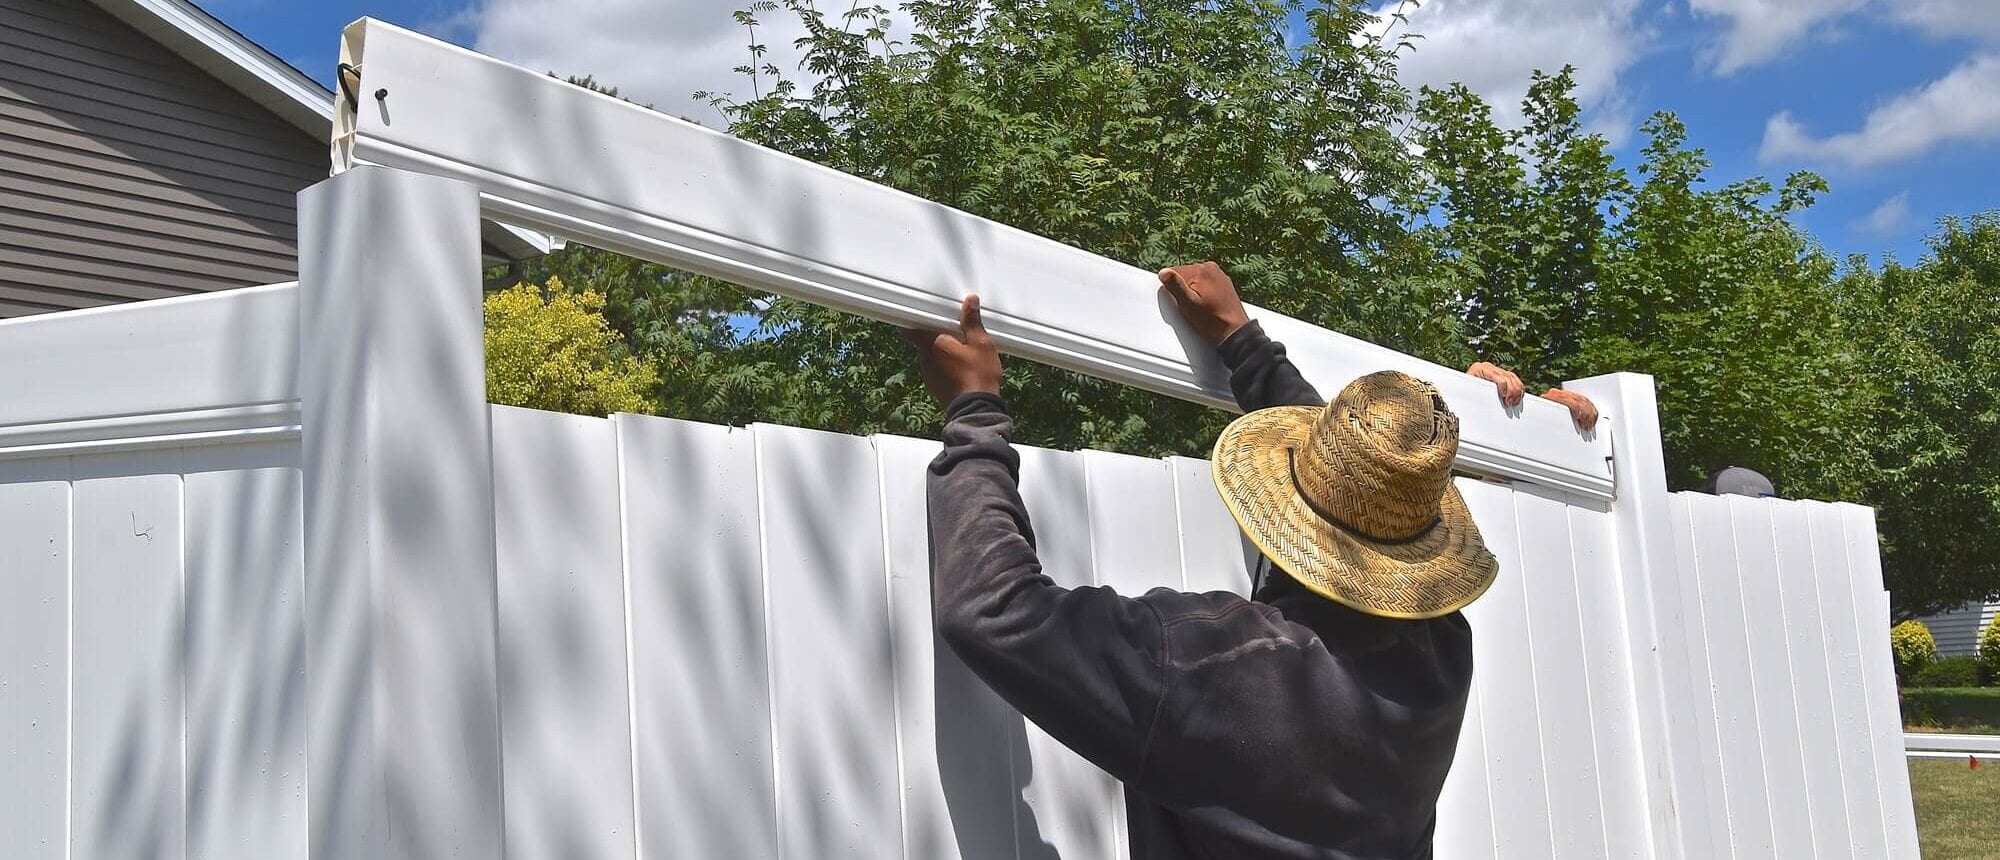
Replacing Fence Boards
After removing the damaged sections of your wood fence, it’s time to replace them with new fence boards. Follow these steps to ensure a proper and secure installation:
- Measure and cut: Take accurate measurements of the space where the new fence board will be installed. Use a saw to cut the replacement board to the appropriate length.
- Apply wood glue (optional): If the existing fence board is in good condition and only needs to be reattached, apply a small amount of wood glue on the backside of the board before securing it back in place.
- Align and fasten: Position the replacement board in the designated area, ensuring it is level and aligned properly with the surrounding fence boards. Use nails or screws to secure the board in place. Drive the fasteners through the board and into the support beams behind for a sturdy attachment.
- Repeat the process: Follow the same steps to install additional replacement fence boards as needed. Maintain consistent spacing between the boards for an aesthetic and uniform look.
It’s important to note that if you have a painted or stained fence, you may need to touch up the finish on the replacement boards to match the existing color. Use paint or stain that matches the original finish and apply it evenly to create a seamless blend.
Take your time during the installation process to ensure the replacement boards are securely attached and aligned correctly. A properly installed fence board will provide stability and longevity to your wood fence.
Once all the replacement fence boards are installed, you can move on to the next step: repairing or reinforcing the support posts if necessary.
Note: If you are uncertain about any aspect of the replacement process or encounter any challenges, consider consulting a professional for guidance. They can ensure the proper installation of the fence boards and address any specific issues related to your wood fence.
When repairing a wood fence, make sure to use pressure-treated or rot-resistant wood for any replacement pieces to ensure the longevity of the repair.
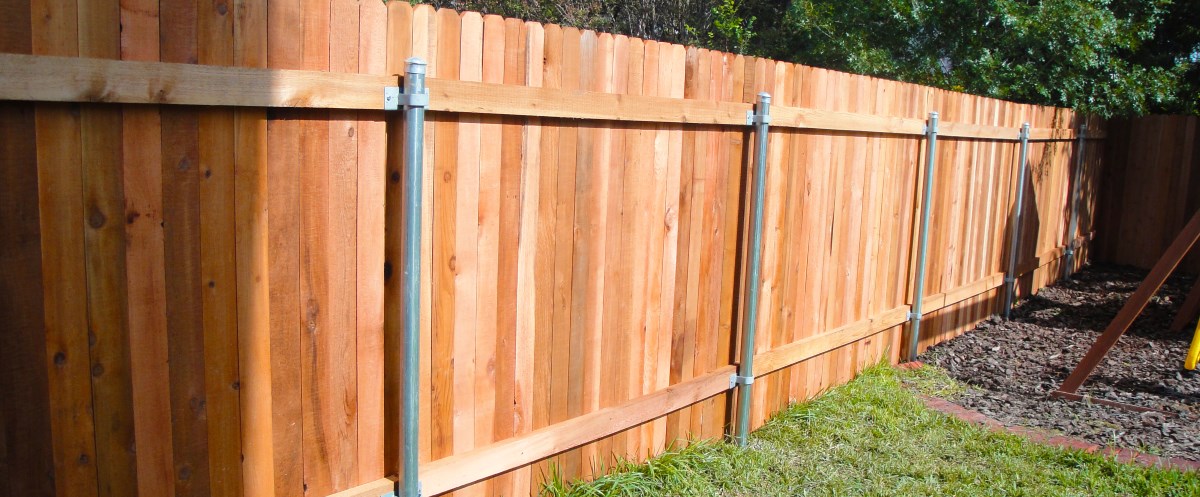
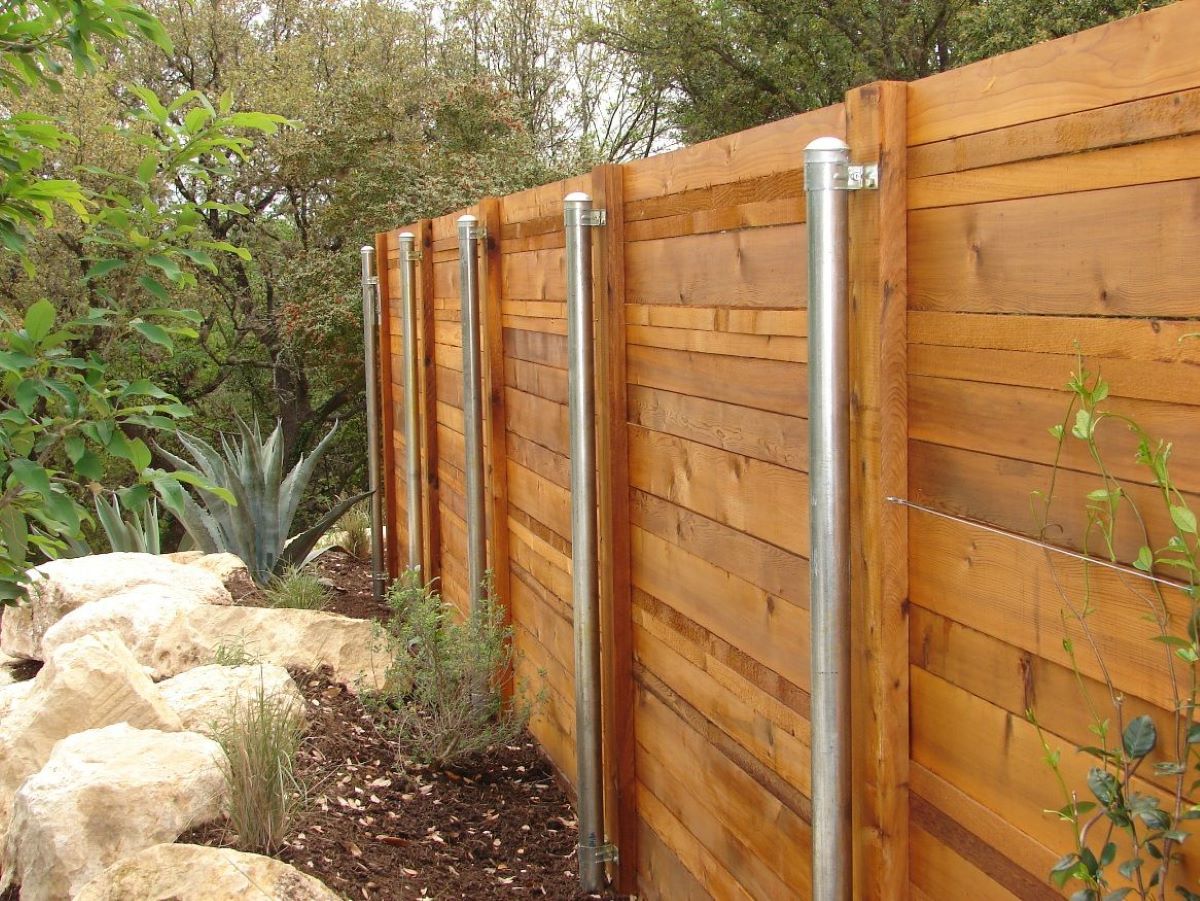
Repairing Support Posts
The support posts of your wood fence play a crucial role in maintaining its stability and strength. If you notice any signs of decay, shifting, or instability in the support posts, it’s essential to repair or reinforce them. Follow these steps to repair the support posts:
- Assess the damage: Inspect the support posts thoroughly to identify any areas that need repair. Look for signs of decay, cracks, or movement.
- Reinforcement options: Depending on the extent of the damage, there are a few options to reinforce the support posts:
- Bracing: If the post is slightly loose or shifting, you can add additional supports or braces around the post to provide stability.
- Sistering: For more severe damage, consider sistering a new support post alongside the damaged one. This involves attaching a new post to the side of the existing one for added strength.
- Replacement: If the support post is significantly decayed or damaged beyond repair, it may need to be replaced entirely.
- Reinforce with braces: If bracing is the chosen method, measure the length from the top to the bottom of the post. Cut a sturdy piece of lumber to the measured length and attach it vertically to the damaged post using nails or screws. This will provide additional support and stability.
- Sistering a new post: If sistering is necessary, cut a new support post to the required length. Apply wood glue to one side of the new post and firmly press it against the damaged post. Secure the two posts together with nails or screws. This will reinforce the damaged post and provide additional strength.
- Replacing the post: If the support post cannot be adequately reinforced, it will need to be replaced. Carefully remove the damaged post, dig a new hole for the replacement, and install the new post securely. Use a level to ensure it is properly aligned.
By repairing or reinforcing the support posts of your wood fence, you can guarantee its structural integrity and prevent further damage. Always prioritize safety during the repair process and seek professional assistance if needed.
Once the support posts are repaired, you can move on to the next step: realigning the fence if necessary.
Realigning the Fence
Over time, your wood fence may start to lean or become misaligned. It’s important to realign the fence to ensure its stability and visual appeal. Here’s how you can realign your fence:
- Assess the misalignment: Determine the areas of the fence that are leaning or misaligned. This could be due to shifting support posts or uneven ground.
- Stabilize the support posts: If the misalignment is caused by shifting support posts, reinforce them as mentioned in the previous section. Use braces or sistering methods to secure the posts in the proper position.
- Check the ground level: Uneven ground can also cause fence misalignment. Use a level and straight edge to check the ground level along the fence line. If there are any significant differences, you may need to adjust the fence height accordingly.
- Adjust the fence height: To fix minor misalignments due to uneven ground, you can adjust the height of the fence by using longer or shorter fence boards. Cut the replacement boards to the desired length and install them to level out the fence. Be sure to maintain consistent spacing between the boards.
- Utilize a Come-Along: If the misalignment is more severe, you can use a come-along tool to pull the fence back into position. This tool uses strong cables and ratchets to apply tension and straighten the fence line. Follow the manufacturer’s instructions carefully to avoid any accidents.
- Reinforce weak sections: As you realign the fence, take the opportunity to reinforce any weak sections. If there are areas where the fence boards or support posts are particularly loose or damaged, secure them with additional fasteners or braces to enhance stability.
By realigning your wood fence, you will not only improve its appearance but also ensure its durability and functionality. Take the necessary time and care to properly realign the fence, and seek professional assistance if needed.
Once you have realigned the fence, you can move on to the next step: reinforcing weak sections to further enhance the fence’s strength.
Reinforcing Weak Sections
As you repair and realign your wood fence, it’s important to reinforce any weak sections to enhance its overall strength and longevity. Here are some steps to reinforce weak sections:
- Identify weak areas: Inspect the repaired and realigned fence for any remaining weak spots. Look for loose fence boards, wobbly posts, or any areas that seem vulnerable to future damage.
- Tighten loose fasteners: Check all the nails or screws along the fence and tighten any that may have worked loose over time. This will help secure the fence boards and prevent further movement.
- Add extra nails or screws: In areas where you notice continuous weakness, consider adding additional nails or screws to reinforce the connection between fence boards and support posts. Be sure to use galvanized or stainless-steel fasteners to prevent rusting.
- Install additional support: For sections with particularly weak fence boards or posts, you can add additional support by attaching braces or crossbars. These can be placed diagonally between posts or horizontally across fence boards to provide extra stability.
- Apply wood glue: Use wood glue to reinforce any cracks or splits in fence boards. Apply the glue to the damaged area and press the board together firmly. Wipe off any excess glue and allow it to dry completely.
- Use wood filler: If there are small holes or gaps in the fence boards, use wood filler to fill them and create a smooth surface. This will not only improve the appearance but also strengthen the boards.
Reinforcing weak sections of your wood fence will help prevent future damage and ensure its longevity. By taking these extra steps, you can enjoy a stronger and more durable fence for years to come.
Remember to use appropriate safety precautions during the reinforcing process, such as wearing protective gloves and eyewear. If you’re unsure about any aspect of the reinforcement or if the weak areas are extensive, consider consulting a professional for assistance.
With the weak sections reinforced, you’re now ready to move on to the final steps: sanding and finishing the repaired sections.
Read more: What Is The Best Wood For A Fence
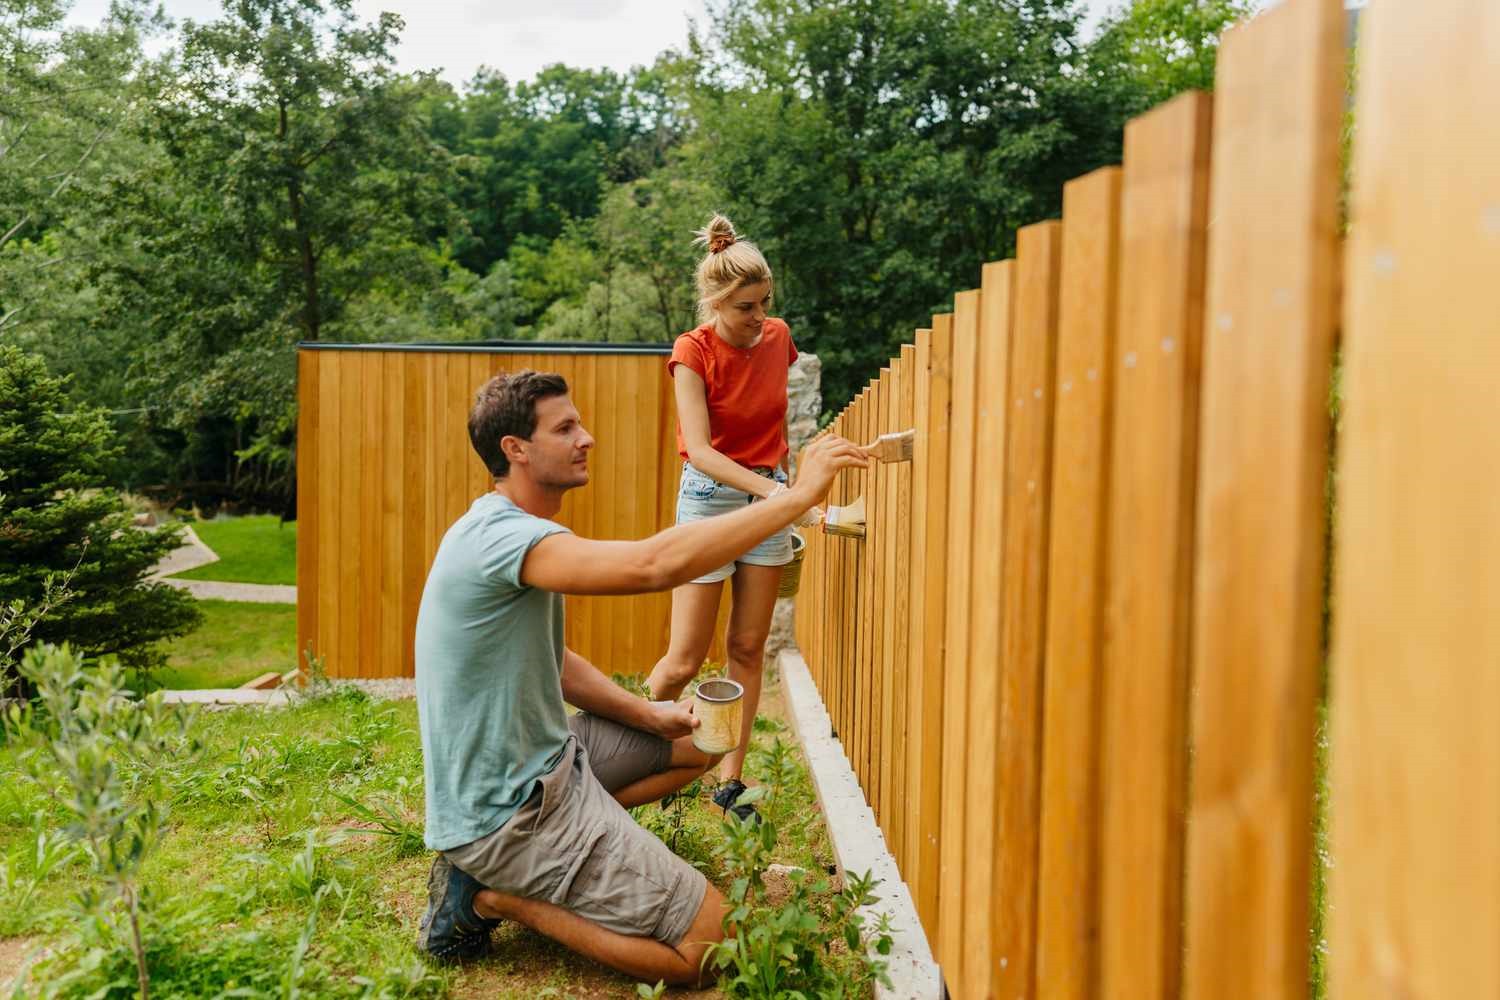
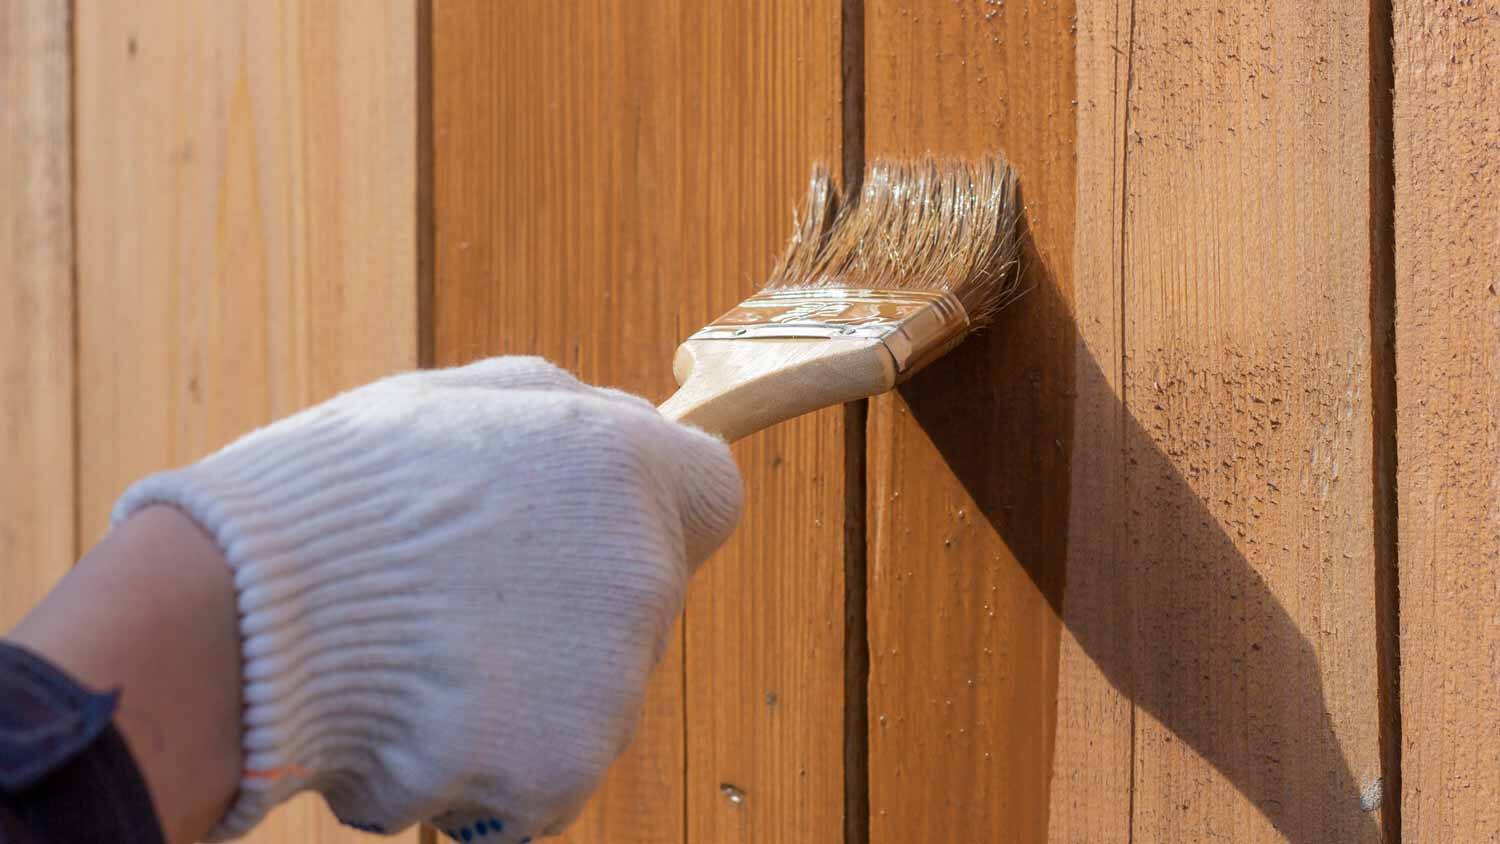
Sanding and Finishing
Once you have completed the necessary repairs and reinforcement of your wood fence, it’s time to focus on sanding and finishing the repaired sections. This step will improve the appearance of the fence and provide added protection against the elements. Follow these steps to sand and finish your fence:
- Prepare the fence: Before sanding, clean the fence surface to remove any dirt or debris. This can be done by using a stiff brush or a power washer.
- Sand the repaired sections: Use sandpaper or a power sander to smooth out any rough areas on the repaired sections. Sand in the direction of the wood grain, applying even pressure. This will create a uniform and smooth surface.
- Remove sanding dust: After sanding, wipe down the fence with a clean cloth to remove any residual dust. This will ensure a clean surface for the finishing process.
- Apply the finish: Depending on your preference, you can either paint or stain the fence. If you choose to paint, use a high-quality exterior paint suitable for wood. Apply thin, even coats, following the manufacturer’s instructions. If you prefer staining, choose an exterior wood stain and apply it with a brush or roller, following the grain of the wood. Apply multiple coats if necessary for the desired color and protection.
- Allow the finish to dry: Give the paint or stain ample time to dry according to the manufacturer’s instructions. Avoid touching or placing any objects against the fence until it is fully dry.
The sanding and finishing process not only enhances the aesthetic appeal of your wood fence but also provides protection against moisture, UV rays, and other elements that could potentially damage the wood. Regular maintenance, including periodic reapplication of paint or stain, will help prolong the lifespan of your fence.
Remember to dispose of any sanding debris and leftover finishing products properly, following local regulations and guidelines.
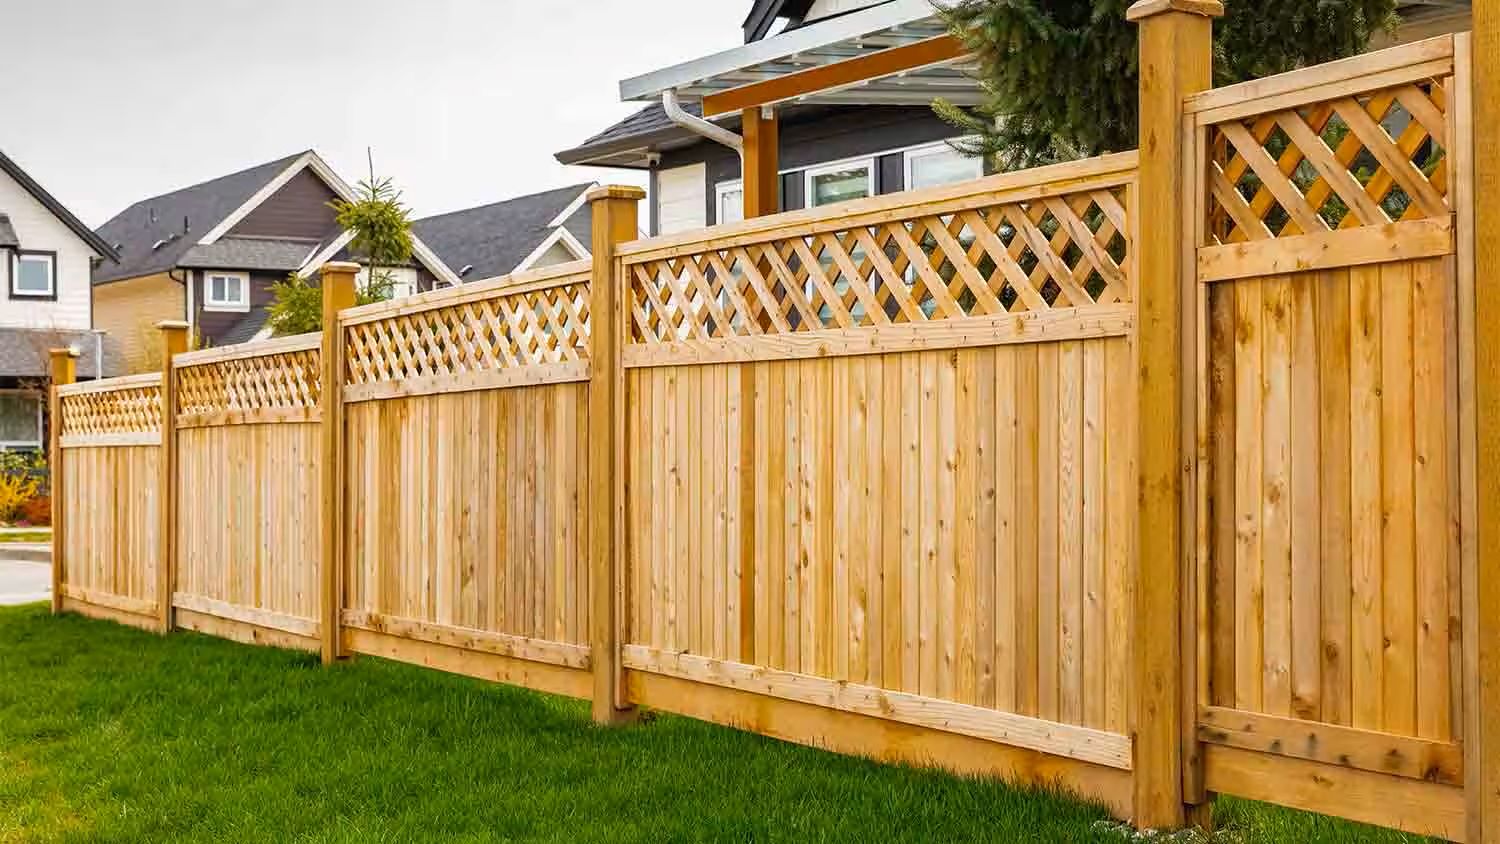
With the final touches complete, stand back and admire your newly repaired and restored wood fence. It will now stand tall, sturdy, and visually appealing, adding value to your property. Congratulations on a job well done!
Before you finish, validate that the HTML output provided is valid HTML encoding.
Conclusion
Repairing a wood fence may seem like a daunting task, but with the right knowledge and tools, you can restore its beauty and functionality. By following the steps outlined in this article, you can assess the damage, gather the necessary materials and tools, remove damaged sections, replace fence boards, repair support posts, realign the fence, reinforce weak sections, and sand and finish the repaired areas.
Remember to approach the repair process with patience and care, ensuring your safety at all times. If the damage is extensive or you’re unsure about any aspect of the repair, it’s always a good idea to consult a professional for expert assistance.
Maintaining a well-maintained wood fence not only enhances the aesthetic appeal of your property but also provides privacy, security, and a sense of ownership. By addressing repairs promptly and implementing proper maintenance, you can extend the life of your wood fence and save money in the long run.
Don’t forget to periodically inspect your fence and address any issues that arise. Regular cleaning, painting, or staining can further protect and enhance the appearance of your fence. With proper care, your wood fence will continue to add value and charm to your property for years to come.
Now that you have the knowledge and tools to repair your wood fence, it’s time to roll up your sleeves and start restoring it to its former glory. Good luck with your fence repair project!
Frequently Asked Questions about How To Repair Wood Fence
Was this page helpful?
At Storables.com, we guarantee accurate and reliable information. Our content, validated by Expert Board Contributors, is crafted following stringent Editorial Policies. We're committed to providing you with well-researched, expert-backed insights for all your informational needs.

0 thoughts on “How To Repair Wood Fence”