Articles
How To Replace A Rotted Fence Post
Modified: August 31, 2024
Learn how to replace a rotted fence post in this informative article. Find step-by-step instructions and tips for a successful repair.
(Many of the links in this article redirect to a specific reviewed product. Your purchase of these products through affiliate links helps to generate commission for Storables.com, at no extra cost. Learn more)
Introduction
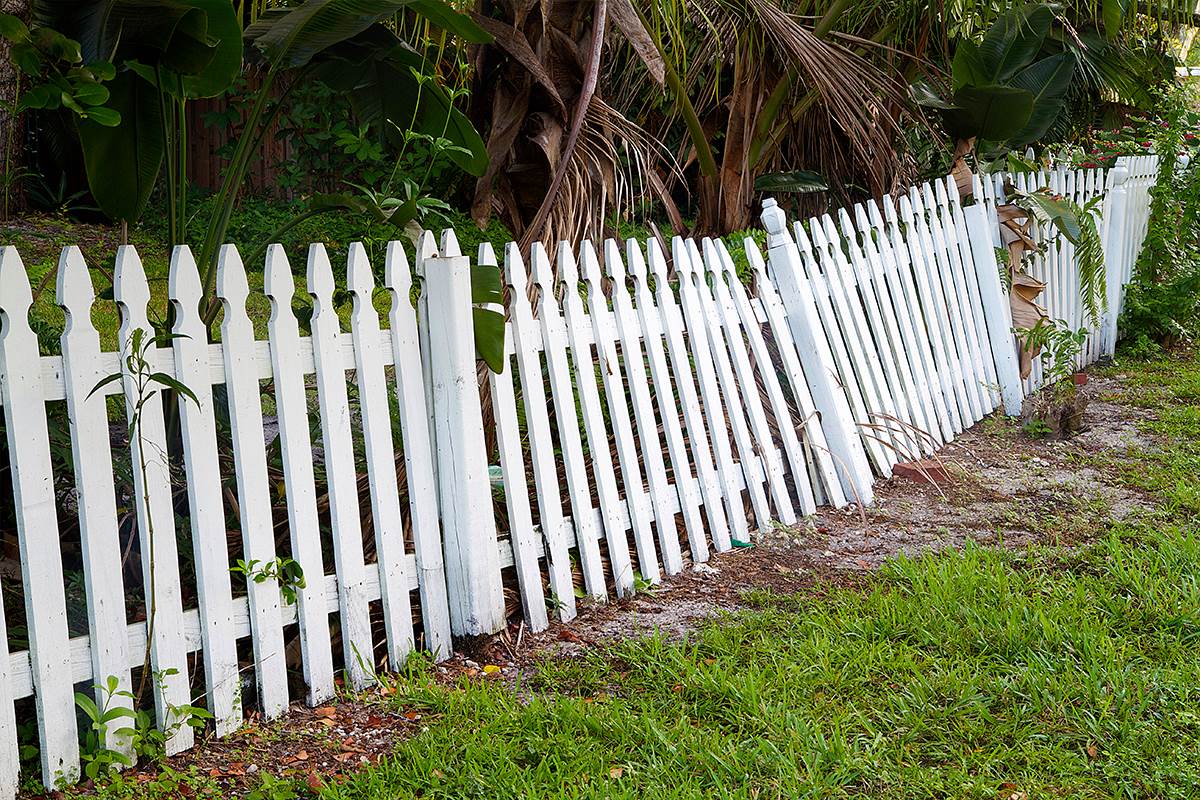
Replacing a rotted fence post might seem like a daunting task, but with the right tools, materials, and a bit of know-how, it can be accomplished with relative ease. Over time, fence posts can deteriorate due to exposure to the elements, especially wood posts that are in direct contact with the ground. If not addressed promptly, a rotted fence post can compromise the structural integrity of the fence, leading to further damage and costly repairs.
In this article, we will guide you through the step-by-step process of replacing a rotted fence post. By following these instructions, you will be able to restore stability to your fence and ensure its longevity.
Key Takeaways:
- Replacing a rotted fence post is a manageable DIY project with the right tools and know-how. By following the step-by-step process outlined in the article, you can restore stability and aesthetic appeal to your fence.
- Prioritize safety, gather necessary tools, and assess the damage before replacing a rotted fence post. Proper preparation, installation, and finishing touches will ensure a sturdy and visually appealing fence for years to come.
Read more: How To Keep Fence Posts From Rotting
Step 1: Assess the Damage
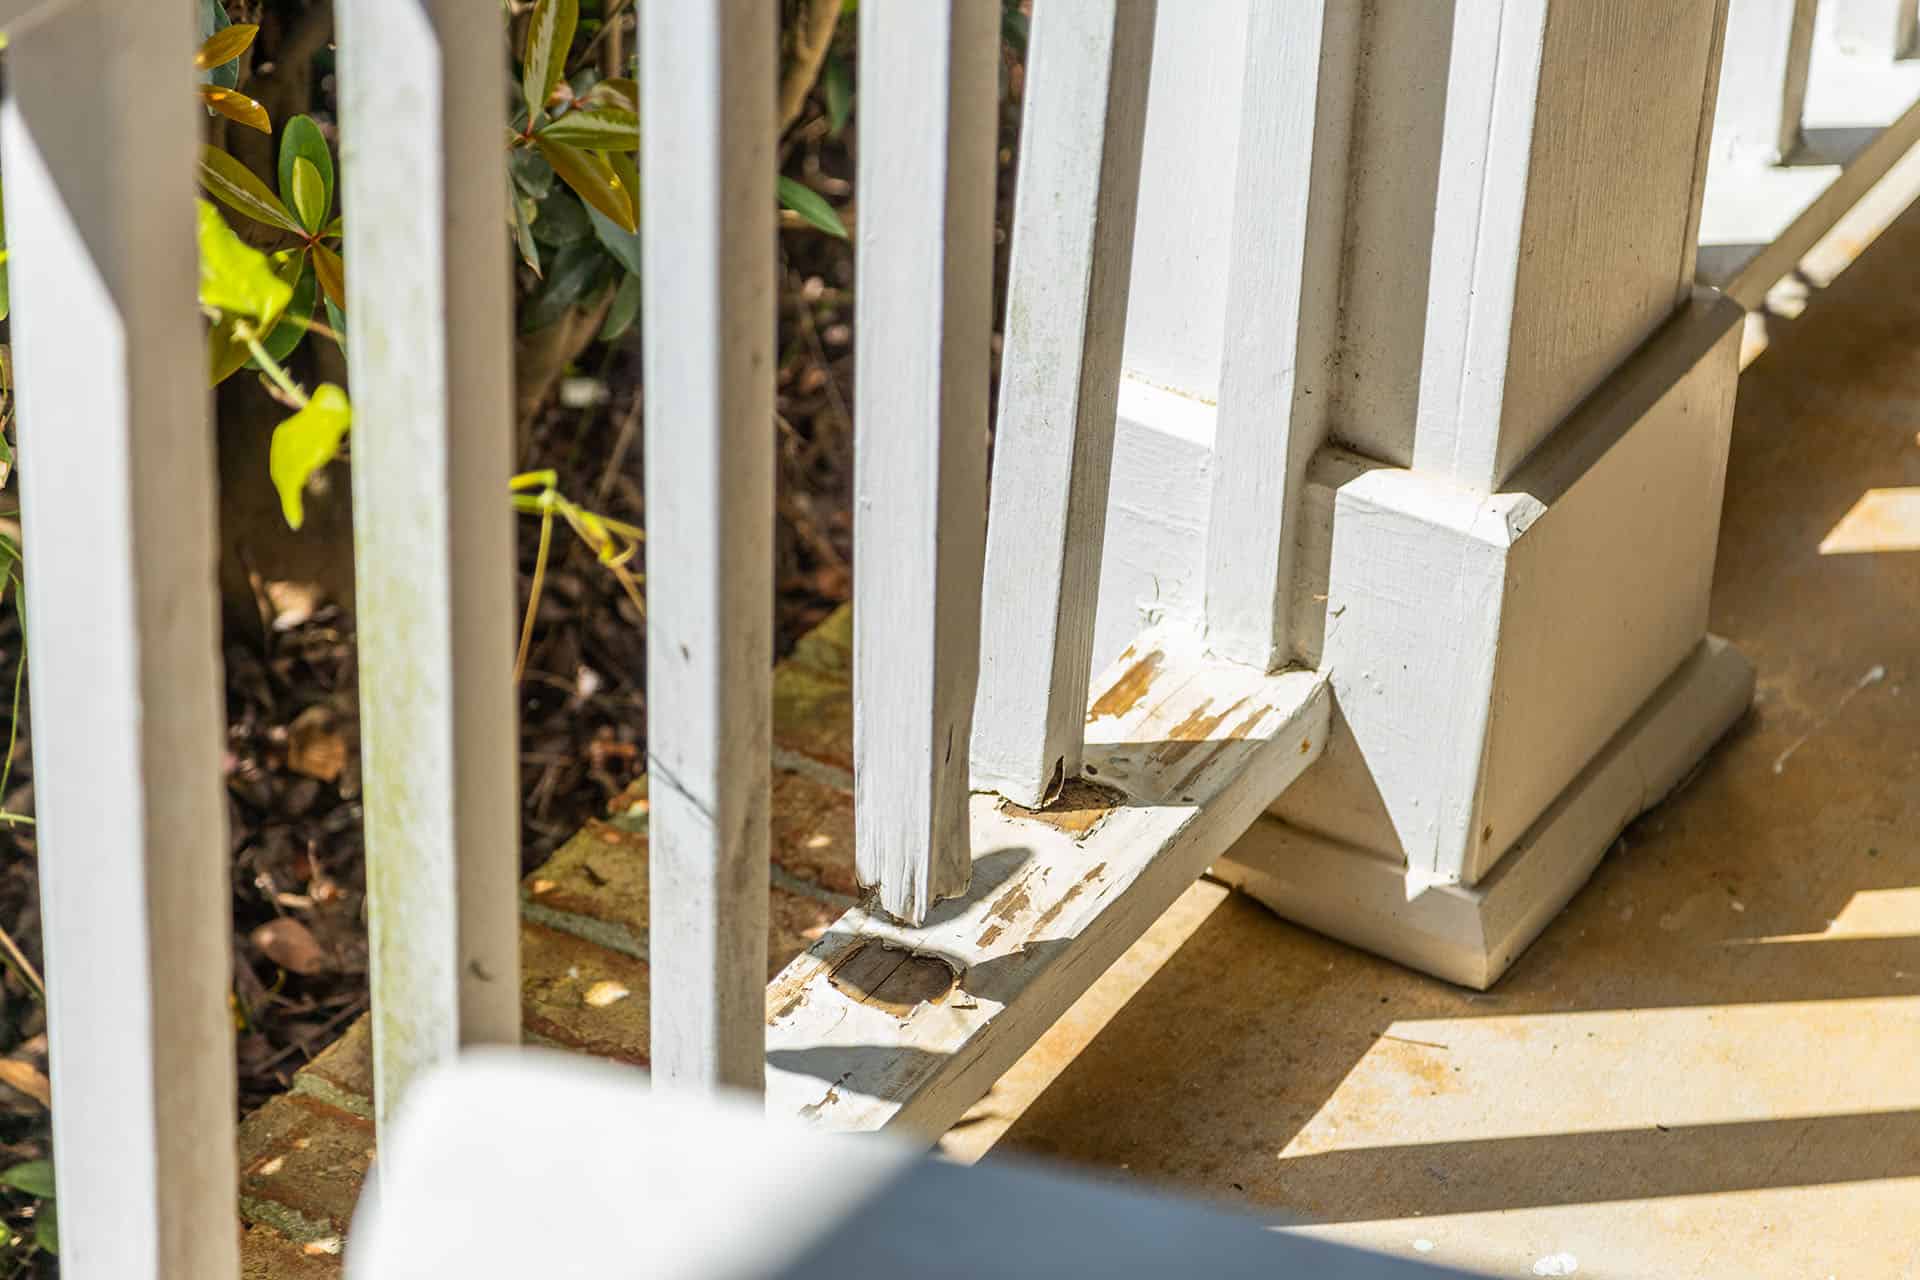
The first step in replacing a rotted fence post is to carefully assess the extent of the damage. Inspect the area around the post and look for signs of rot or decay. Common indicators include soft or crumbling wood, discoloration, and significant moisture accumulation. Take note of any other damages to the fence panels or nearby posts.
If only a portion of the post is affected by rot, you may be able to repair it by cutting out the rotted section and reinforcing it with a support bracket. However, if the rot has spread extensively or if the post is completely deteriorated, it is recommended to replace the entire post for a more secure and long-lasting solution.
Measure the height and width of the existing post to ensure you purchase a replacement that matches the dimensions. Additionally, consider the type of material used for the original post and choose a replacement that is compatible. Common materials for fence posts include wood, metal, and vinyl.
Once you have assessed the extent of the damage and determined the appropriate replacement, you are ready to move on to the next step: gathering the necessary tools and materials.
Step 2: Gather the Necessary Tools and Materials
Before you begin the process of replacing a rotted fence post, it is important to gather all the necessary tools and materials to ensure a smooth and efficient repair. Here is a list of the items you will need:
- Work gloves and safety goggles
- Measuring tape
- Screwdriver or drill
- Post hole digger or shovel
- Level
- Quick-setting concrete or gravel
- New fence post
- Nails or screws
- Hammer or screwdriver
- Saw (if necessary for cutting the post)
- Fence panels or boards (if needed)
Having these tools and materials ready will ensure that you can proceed with the repair without interruptions or delays. It is essential to prioritize safety during the process, so wearing work gloves and safety goggles is highly recommended.
Once you have gathered all the necessary tools and materials, you are now prepared to move on to the next step: removing the rotted fence post.
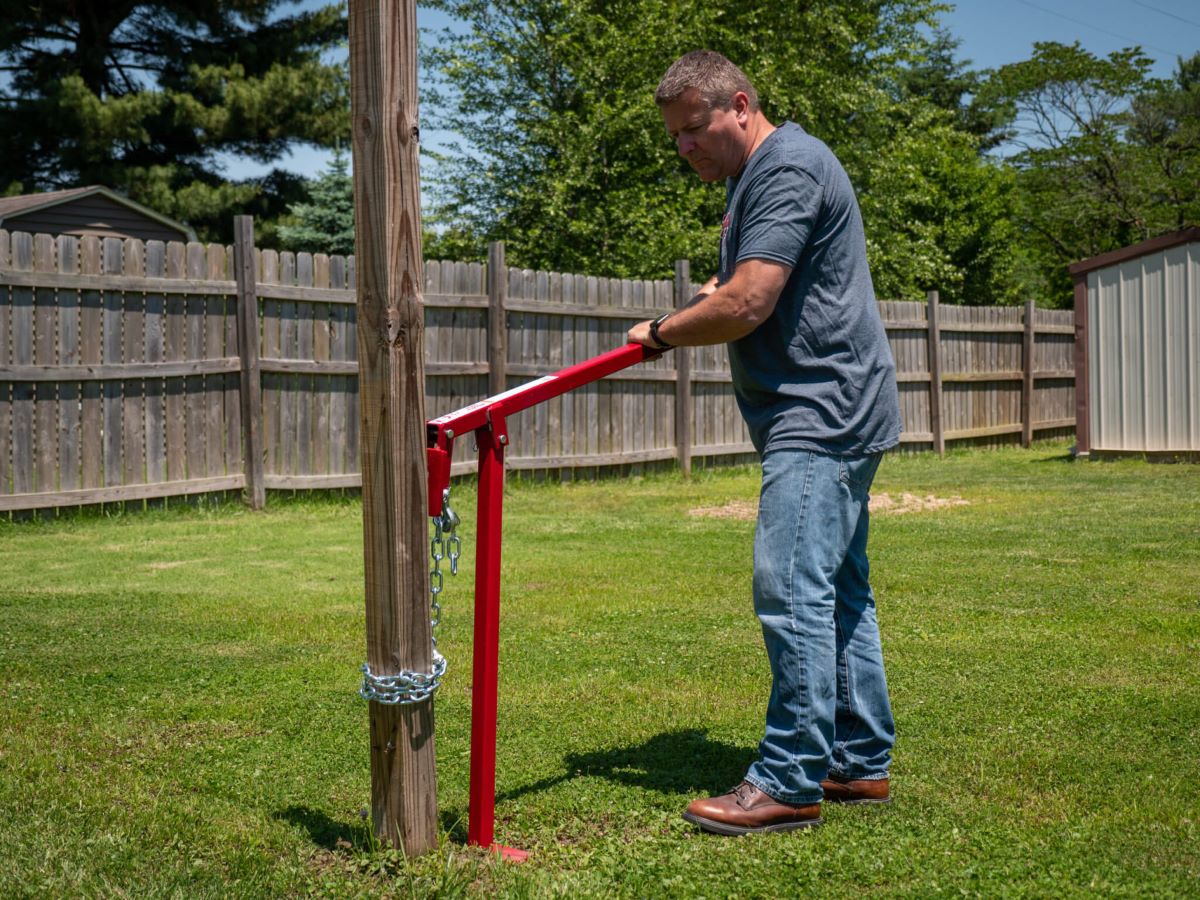
Step 3: Remove the Rotted Fence Post
Now that you have assessed the damage and gathered the necessary tools and materials, it’s time to remove the rotted fence post. Follow these steps to ensure a successful removal:
- Start by removing any debris or vegetation around the base of the post. This will make it easier to access the post and prevent it from getting tangled during the removal process.
- Use a screwdriver or drill to remove any screws or nails that are securing the fence panels to the post. Set aside the fence panels for later reattachment.
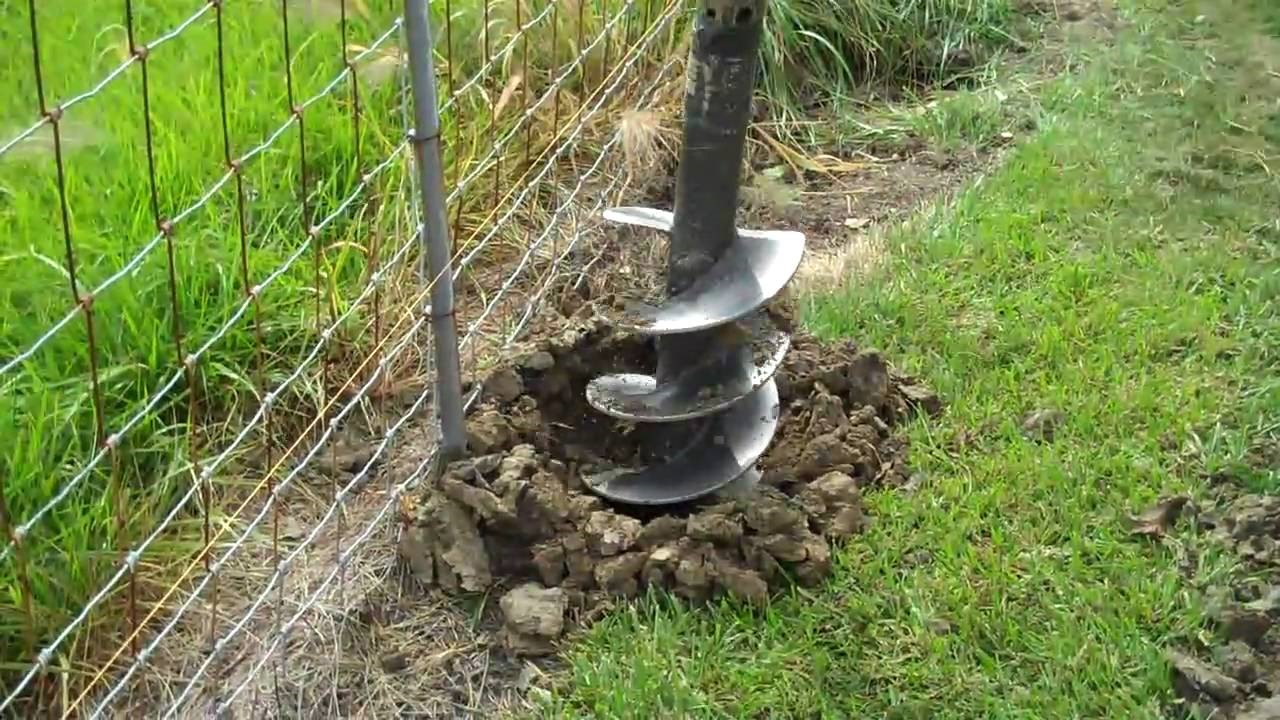
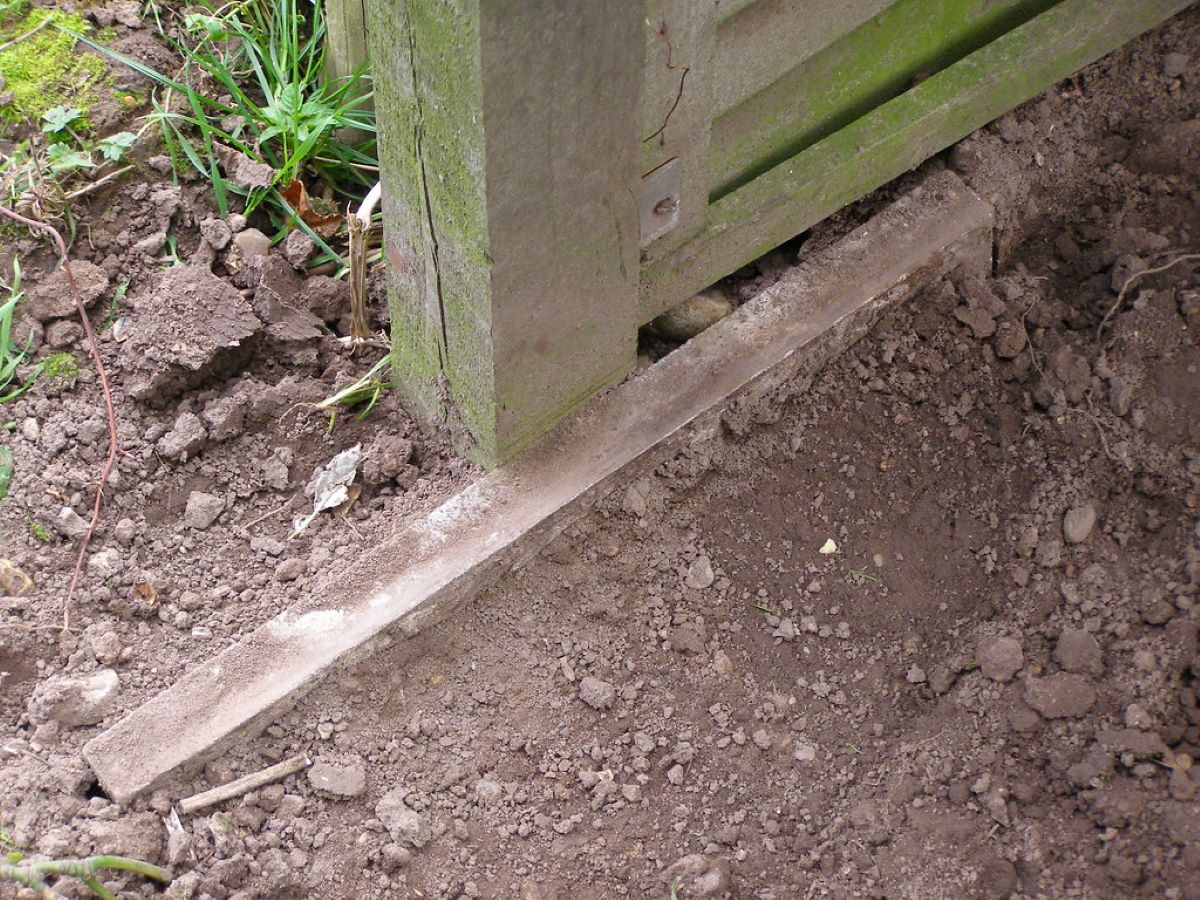
- Next, dig around the base of the post using a post hole digger or shovel. Dig deep enough to expose the bottom of the post and any concrete or gravel that may be supporting it.
- If there is concrete, use a hammer or screwdriver to break it up into smaller pieces. Alternatively, if the post is set in gravel, simply remove the gravel from the hole.
- Once the surrounding area is cleared, firmly grasp the post and begin to wiggle it back and forth. Apply moderate pressure and continue to wiggle until the post becomes loose.
- Slowly lift the post out of the hole, taking care not to damage the surrounding fence or neighboring posts. If the post is stubborn and seems stuck, you can use a saw to cut it into smaller sections for easier removal.
- Inspect the hole for any remaining debris or obstructions. Clear out any remnants of the old post or concrete, if necessary.
With the rotted post successfully removed, you can now move on to the next step: preparing the area for installation of the new fence post.
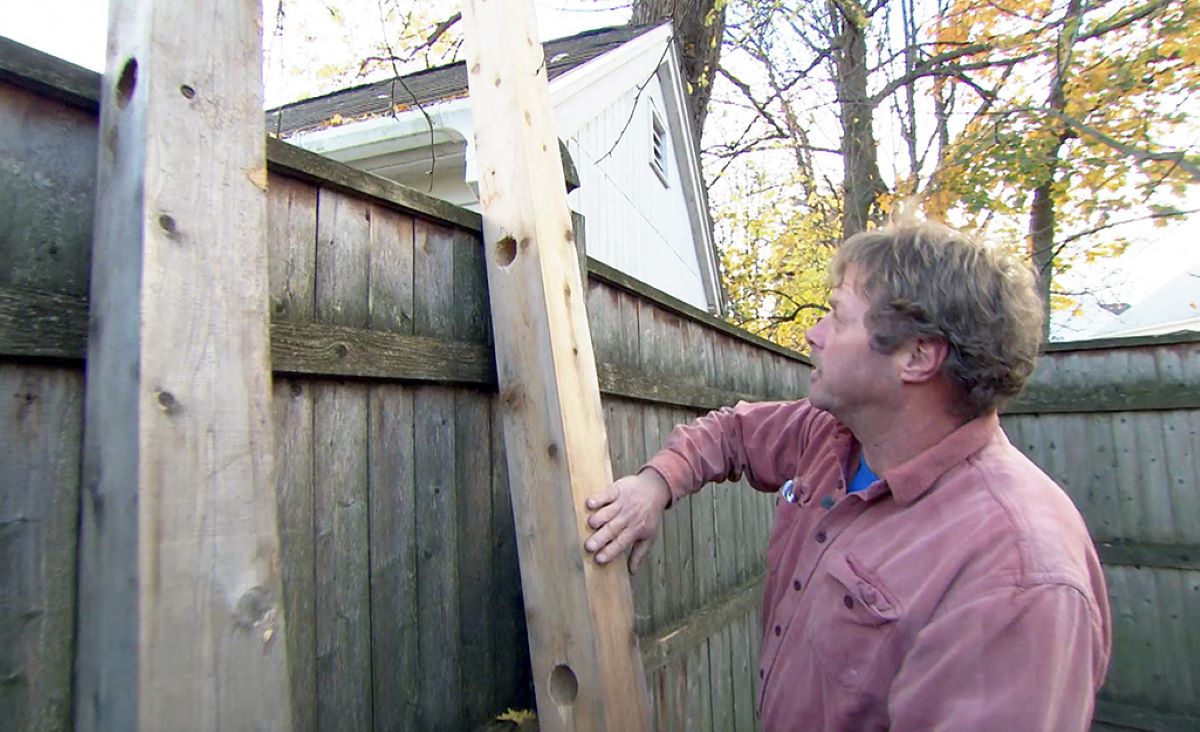
Step 4: Prepare the Area for Installation
After removing the rotted fence post, it’s important to prepare the area for the installation of the new post. This ensures a solid foundation and proper alignment for your fence. Follow these steps to prepare the area:
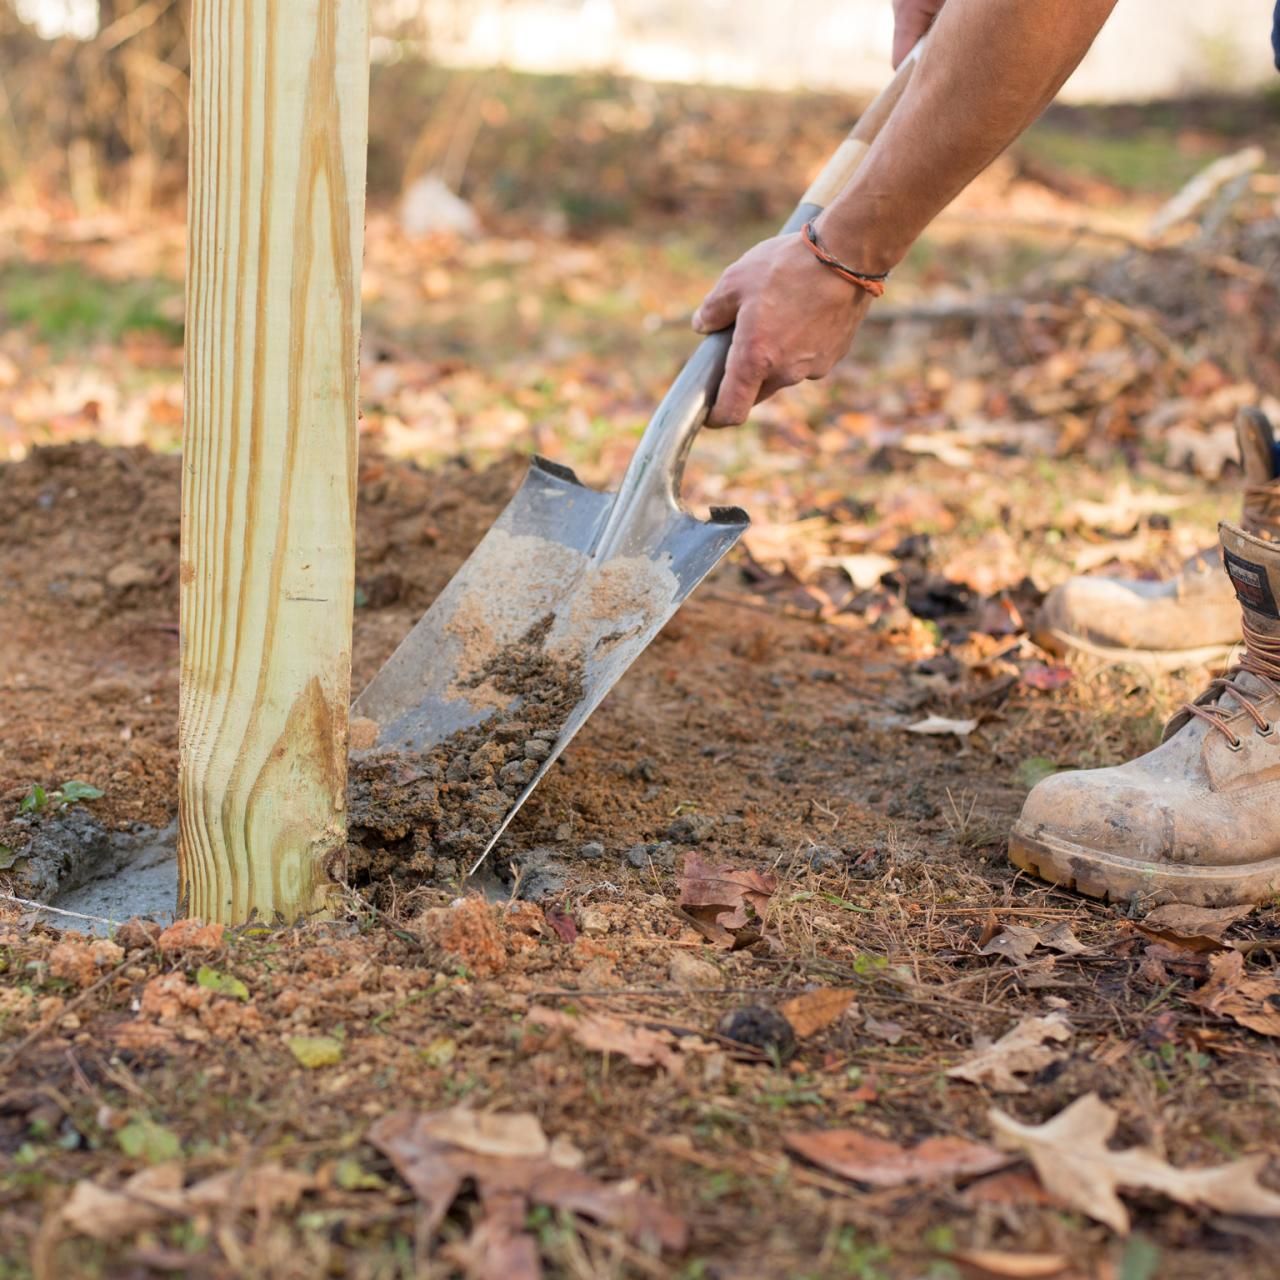
- First, take measurements to determine the depth and width of the hole. The new post should be set at least one-third of its length into the ground for stability. Use a measuring tape to ensure accurate measurements.
- If the previous post had a concrete base, make sure to dig out any remaining concrete from the hole. Using a shovel or post hole digger, remove any debris or obstructions to create a clean hole for the new post.
- Next, check the hole for proper alignment. Use a level to ensure that the hole is straight and the new post will be perfectly vertical. Adjust the hole as needed to achieve the desired alignment.
- If you’re installing a new wooden post, consider treating the bottom portion with a wood preservative to protect against future rot. Apply the wood preservative according to the manufacturer’s instructions and allow it to dry before proceeding.
- If you’re using quick-setting concrete, carefully follow the instructions on the packaging. Mix the concrete in a clean bucket, adding water gradually until you achieve a thick, pourable consistency.
- Place the new fence post into the hole, making sure it is centered and aligned. Slowly pour the concrete into the hole, filling it up to the desired level. Use a shovel or stick to remove any air pockets and ensure the concrete is evenly distributed.
- Check the post for proper alignment using a level. Adjust the post if necessary to ensure it is perfectly vertical in both directions.
- Allow the concrete to set according to the manufacturer’s instructions. This typically takes a few hours, but it’s best to wait at least 24 hours before proceeding to the next step.
With the area properly prepared and the new post securely in place, you’re now ready to move on to the next step: installing the new fence post.
When replacing a rotted fence post, make sure to dig a hole deep enough to accommodate the new post and add gravel at the bottom for drainage. This will help prevent future rot.
Read more: How To Secure Fence Post
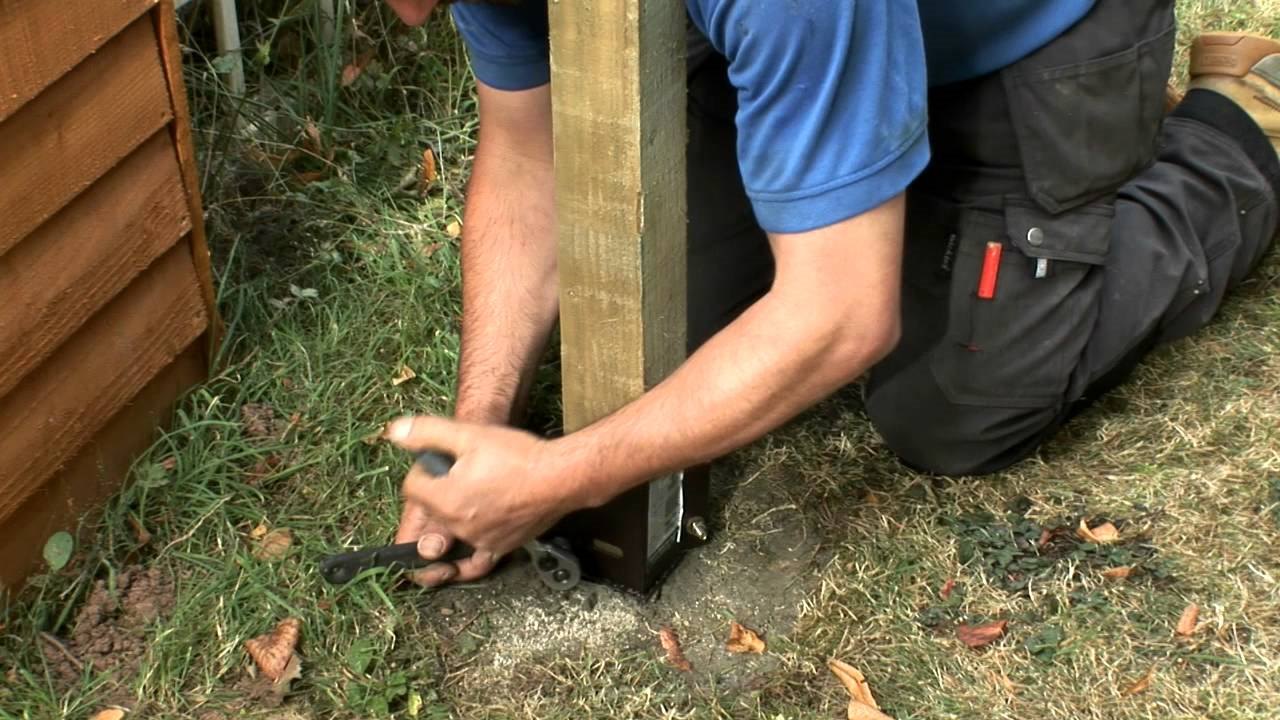
Step 5: Install the New Fence Post
With the area prepared, it’s time to install the new fence post. Follow these steps to ensure a secure and stable installation:
- If you’re using a wooden fence post, apply a layer of wood glue or exterior adhesive to the bottom end. This will provide added strength and help prevent future rot.
- Position the new post in the hole, making sure it is centered and aligned with the rest of the fence line. If necessary, use a level to double-check the vertical alignment.
- Fill the hole around the post with quick-setting concrete or gravel. If using concrete, pour it into the hole gradually while periodically checking the post’s alignment.
- Use a stick or shovel to compact the concrete or gravel around the post. This will ensure that it is firmly packed and provide stability once it sets.
- Continue to fill the hole until it is level with the ground, ensuring that the post remains straight and secure throughout the process.
- After filling the hole, use a level to check the post’s alignment one final time. Make any necessary adjustments now, as it will be more difficult to change once the concrete sets.
- Allow the concrete to fully set according to the manufacturer’s instructions. This can take anywhere from a few hours to a day, depending on the product.
By following these steps, you can ensure that the new fence post is installed correctly and will provide the necessary support for your fence. Once the post is securely in place, you can move on to the next step: securing the fence post.
Step 6: Secure the Fence Post in Place
After installing the new fence post, the next step is to secure it in place to ensure stability and longevity. Here’s how you can secure the fence post:
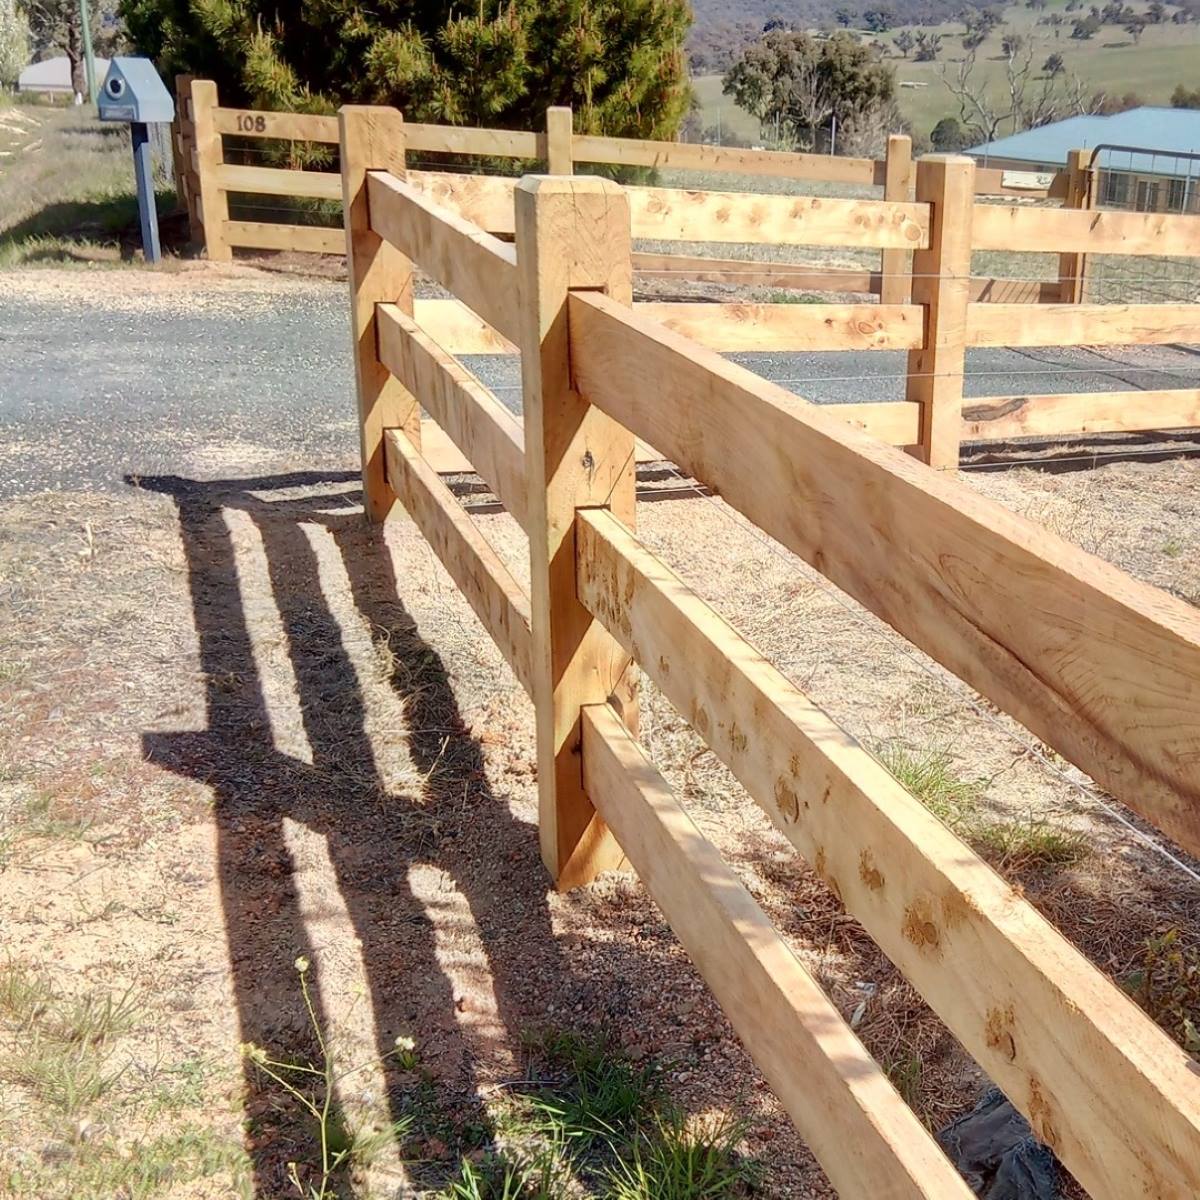
- If you’re using a wooden fence post, attach the fence panels or boards to the post using nails or screws. Make sure to align the panels properly and ensure they are level.
- If the fence panels were previously attached to the old post, reattach them to the new post using the existing screw or nail holes. Use a screwdriver or hammer to securely fasten the panels to the post.
- Check the alignment of the fence panels using a level. Adjust as necessary to ensure the panels are straight and even.
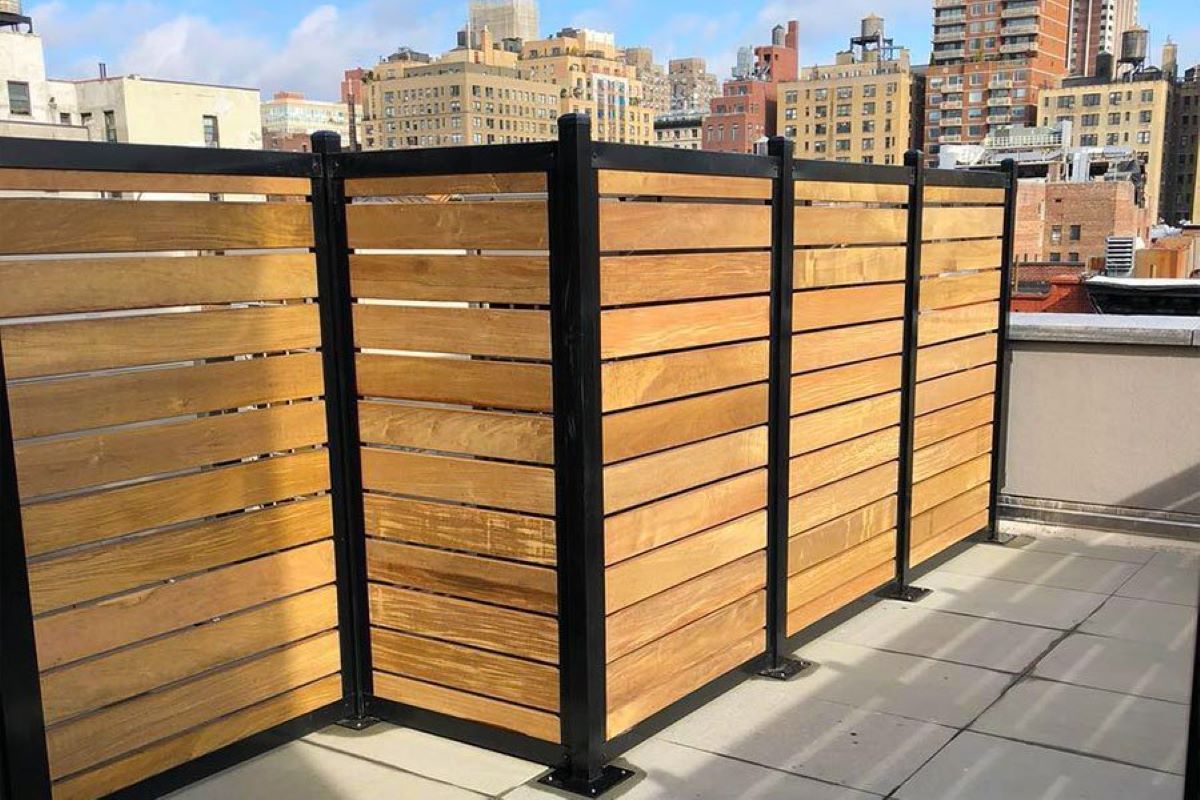
- If you’re using metal or vinyl fence posts, follow the manufacturer’s instructions for securing the fence panels to the post. This may involve using brackets, clips, or other specialized hardware.
- If there is any excess space between the post and the ground, fill it with soil or gravel to provide additional stability and prevent movement.
- Inspect the entire fence line, paying attention to the newly replaced post. Make sure all connections are secure and that there are no gaps or loose components.
- Test the stability of the fence by gently pushing or shaking it. If there is any noticeable wobbling or movement, double-check the connections and make any necessary adjustments.
- Finally, for added protection against rot and decay, consider applying a waterproof sealant or stain to the wooden post. This will help prolong its lifespan and maintain its appearance.
By properly securing the fence post and ensuring a tight connection between the post and the fence panels, you can enhance the overall stability and durability of your fence. With the post securely in place and the fence panels attached, you’re almost done with the replacement process. The next step is to reattach the fence panels.
Step 7: Reattach the Fence Panels
With the new fence post securely in place, it’s time to reattach the fence panels. Follow these steps to ensure a proper and secure reattachment:
- If you had removed the fence panels during the removal of the old post, gather the panels and position them next to the new post.
- Align the bottom of the panels with the ground, making sure they are level and straight. If necessary, use a level to ensure accurate alignment.
- If the panels have pre-drilled holes, use a screwdriver or drill to reattach them to the post. If not, use nails or screws to secure the panels in place.
- Start at the top of the fence and work your way down, attaching each panel to the post. Ensure that the panels are snug against the post and that there are no gaps between them.
- Use a level to double-check the alignment of each panel. Adjust as necessary to maintain a straight and even appearance.
- For added structural support, consider installing additional brackets or supports between the panels and the post. This will help prevent sagging or shifting over time.
- Continue attaching the remaining panels until the entire fence line is secure.
- Inspect the fence panels for any loose connections or protruding nails or screws. Tighten any loose fasteners and ensure that all edges are smooth and safe.
With the fence panels securely reattached to the new post, you have successfully completed the major part of the replacement process. The next step involves adding some finishing touches to ensure the fence looks great and remains in optimal condition.
Step 8: Finishing Touches
Now that you have replaced the rotted fence post and reattached the fence panels, it’s time to add those final touches to complete the project. These finishing touches will not only enhance the appearance of your fence but also help ensure its longevity and durability. Follow these steps for the finishing touches:
- If you have a wooden fence, consider applying a protective sealant or paint to the entire fence. This will provide an extra layer of protection against the elements and help maintain its appearance over time.
- Inspect the entire fence line for any remaining loose screws, nails, or other hardware. Tighten or replace any loose or damaged fasteners to ensure the fence is secure.
- Trim any overhanging vegetation or branches near the fence line. This will prevent any potential damage to the fence and help maintain a neat and tidy appearance.
- If there are any damaged or missing fence panels, replace them with new ones to ensure a uniform and consistent look.
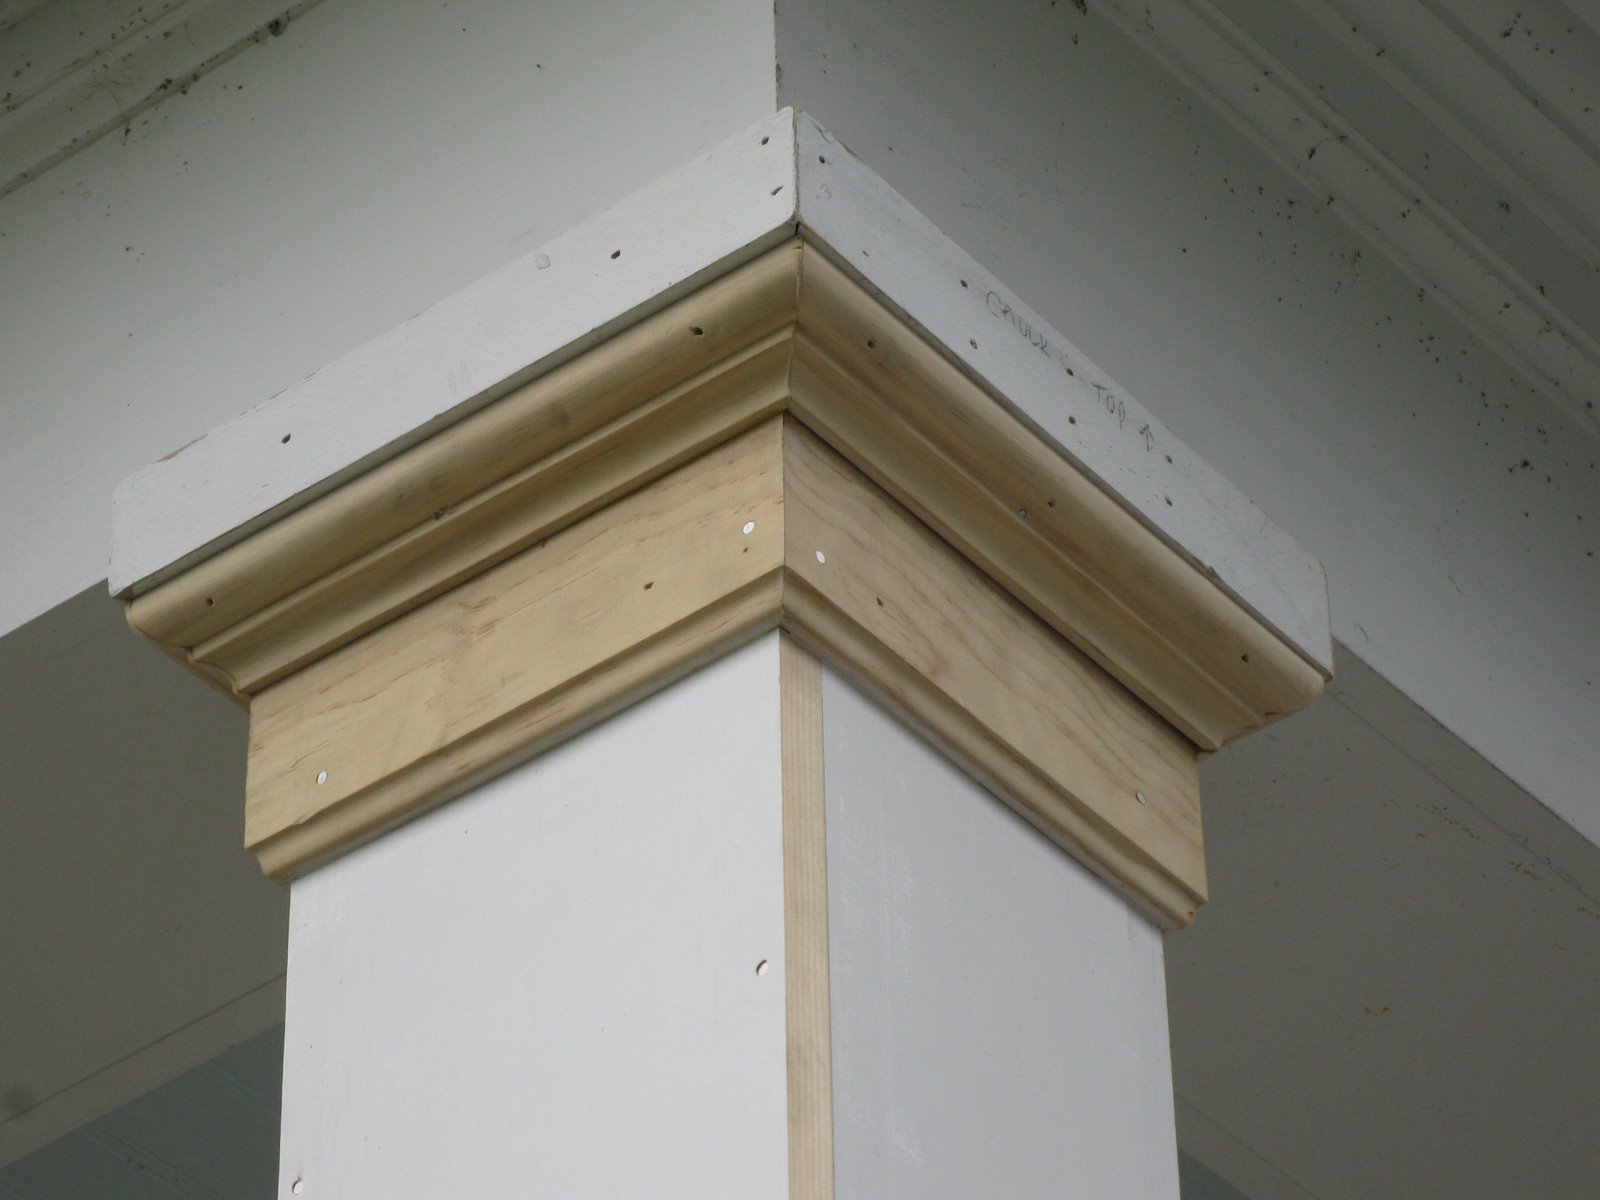
- Consider adding decorative elements to enhance the aesthetic appeal of your fence. This could include adding finials, post caps, or decorative lattice.
- Regularly inspect your fence for any signs of damage or wear. Make any necessary repairs promptly to prevent further damage and prolong the life of your fence.
- Maintain the area around the fence by keeping it free from debris, weeds, and excessive moisture. This will help prevent rot and decay and ensure the longevity of your fence.
- Lastly, appreciate your hard work and enjoy the renewed beauty and functionality of your fence.
By following these final steps and attending to the finishing touches, you can ensure that your newly replaced fence post and fence panels are in optimal condition. Regular maintenance and care will help extend the lifespan of your fence and provide years of privacy, security, and beauty.
With the completion of these steps, you have successfully replaced a rotted fence post and restored stability to your fence. By taking the time to assess the damage, gather the necessary tools and materials, remove the rotted post, prepare the area, install the new post, secure the fence panels, and add those essential finishing touches, you have accomplished a significant repair project. Now, sit back, relax, and enjoy your sturdy and beautiful fence!
Read more: How To Extend Fence Posts
Conclusion
Replacing a rotted fence post may seem like a daunting task, but with the right knowledge and tools, it can be a manageable DIY project. By following the step-by-step process outlined in this article, you can successfully restore the stability, functionality, and aesthetic appeal of your fence.
Assessing the damage, gathering the necessary tools and materials, and removing the rotted post are crucial initial steps. Preparing the area and installing the new fence post ensure a solid foundation for the fence. Securing the fence post and reattaching the fence panels guarantee a stable and properly aligned structure. Finally, adding the finishing touches such as applying protective sealant, maintaining the fence, and addressing any damage completes the process.
Remember to prioritize safety by wearing protective gear and exercising caution throughout the entire process. Regular maintenance and care, including inspecting the fence and keeping the surrounding area clean and clear, will help extend the life of your fence.
By taking the time to replace a rotted fence post, you are not only ensuring the structural integrity of your fence but also investing in the overall value and visual appeal of your property. A well-maintained fence adds privacy, security, and aesthetic appeal to your home or garden.
So, roll up your sleeves, gather your tools, and follow the step-by-step process to replace that rotted fence post. With a little effort and the right guidance, you can restore your fence to its former glory and enjoy the benefits for years to come.
Remember, if you’re ever unsure or uncomfortable with any part of the process, it is always best to consult with a professional for expert assistance.
Happy repairing!
Frequently Asked Questions about How To Replace A Rotted Fence Post
Was this page helpful?
At Storables.com, we guarantee accurate and reliable information. Our content, validated by Expert Board Contributors, is crafted following stringent Editorial Policies. We're committed to providing you with well-researched, expert-backed insights for all your informational needs.


0 thoughts on “How To Replace A Rotted Fence Post”