
Articles
How To Build Deer Fence
Modified: October 20, 2024
Learn how to protect your garden from deer with our informative articles. Discover effective strategies and tips for building a deer fence to keep your plants safe.
(Many of the links in this article redirect to a specific reviewed product. Your purchase of these products through affiliate links helps to generate commission for Storables.com, at no extra cost. Learn more)
Introduction
Building a deer fence is essential for protecting your garden, crops, and landscape from the relentless damage caused by deer. These graceful animals are known to have voracious appetites and can quickly decimate your plants, leaving you frustrated and disappointed.
By constructing a sturdy and effective deer fence, you will create a barrier that deters deer from entering your property, giving your plants a chance to flourish. In this article, we will guide you through the step-by-step process of building a deer fence, from planning and layout to installation and maintenance.
Before we dive into the details, let’s start by discussing the materials you will need for this project.
Key Takeaways:
- Building a deer fence requires careful planning, sturdy materials, and diligent execution to create a barrier that effectively deters deer from damaging your garden and landscape.
- Regular testing, inspection, and maintenance are essential to ensure the longevity and effectiveness of your deer fence in protecting your property from deer damage.
Read also: 9 Incredible Deer Fence For 2025
Materials Needed
Before you begin building your deer fence, it’s important to gather all the necessary materials. Here are the items you’ll need:
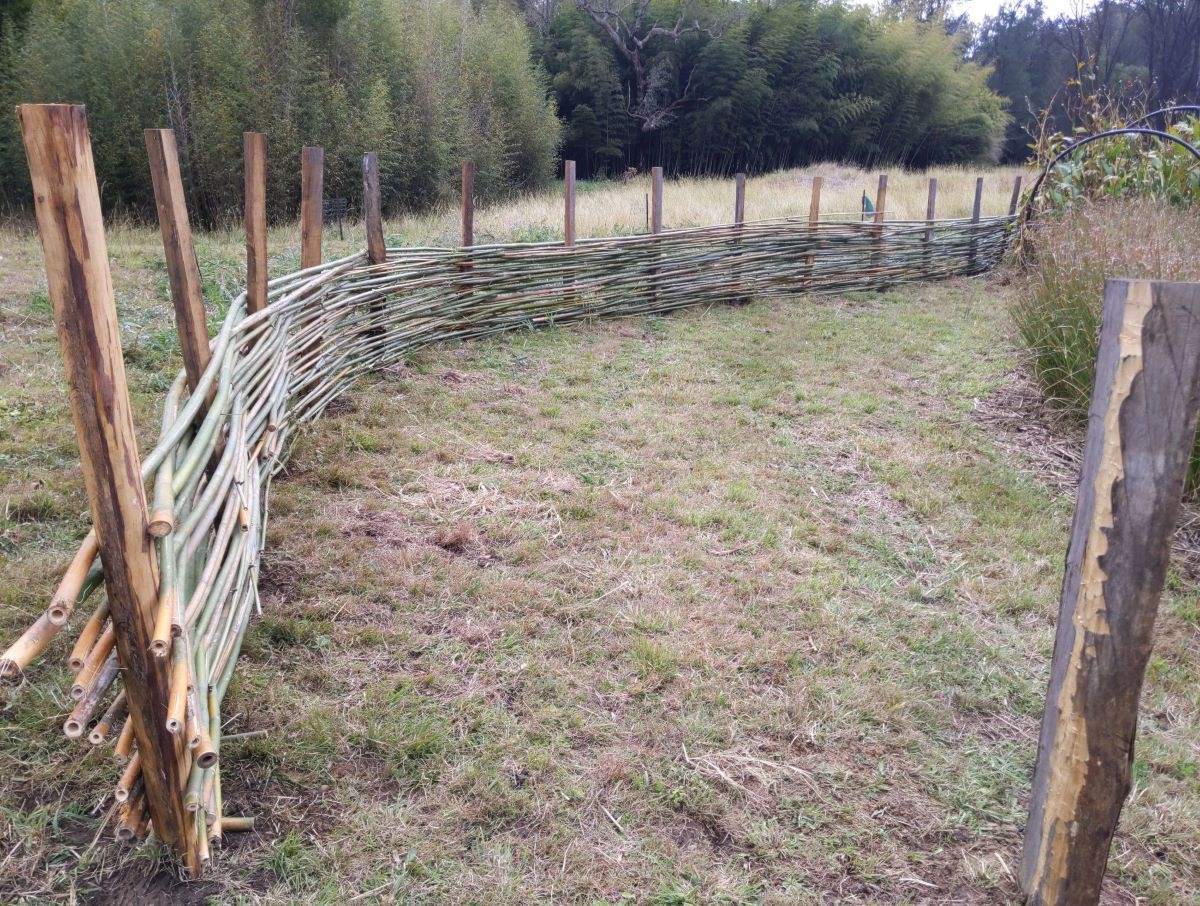
- Fence posts: Choose sturdy and durable posts, such as pressure-treated wood or metal T-posts.
- Fence wire: Opt for a high-quality, heavy-gauge wire that is specifically designed for deer fencing.
- Gates: Depending on the size and layout of your fence, you may need one or more gates for easy access.
- Ground stakes: These will help secure the fence wire to the ground and prevent deer from crawling underneath.
- Wire clips: Use these to attach the fence wire to the fence posts securely.
- Tensioning tools: These tools will help you tighten the fence wire to ensure a taut and sturdy fence.
- Gloves: Protect your hands while working with the fence posts, wire, and tools.
- Post hole digger: If you’re using wooden fence posts, a post hole digger will make it easier to dig the holes.
- Measuring tape: Use this to ensure accurate placement of the fence posts and gates.
- Pliers: These will come in handy for bending and twisting wire, as well as attaching the fence clips.
Make sure you have all these materials ready before you start building your deer fence. Having everything on hand will allow you to work efficiently and complete the project smoothly.
Step 1: Determine the Fence Layout
The first step in building a deer fence is to determine the layout of the fence. Start by identifying the perimeter of the area you want to protect. This could be your entire garden or specific sections of your property.
Consider the size of your property and the specific areas that are most vulnerable to deer damage. Take into account any existing structures, trees, or shrubs that you want to include within the fenced area.
Once you have a clear idea of the fence perimeter, mark the corners of your fence using stakes or flags. Then, run a string or twine along the planned fence line, ensuring it is taut and straight. This will give you a visual guide to follow as you install the fence posts.
It’s important to plan for the height of the fence as well. Deer are excellent jumpers, so you’ll need a fence that is at least 8 feet high to effectively deter them. If you’re dealing with particularly determined deer, consider adding an additional height extension or angled outriggers to further discourage their attempts to jump over the fence.
Remember to check your local building codes and regulations before proceeding with the fence installation. Some areas may have specific guidelines regarding fence height and materials, so it’s important to comply with any requirements.
Once you have determined the layout of your fence, you’re ready to move on to the next step: preparing the ground for installation.
Step 2: Prepare the Ground
Preparing the ground is a crucial step in building a deer fence. Before you install the fence posts, it’s important to clear the area of any obstacles and ensure a stable and level ground for the fence to be installed on.
Start by removing any vegetation, rocks, or debris along the fence line. Clear a path that is wide enough for the fence posts and allows for easy access to the area. This will make the installation process smoother and prevent any interference with the fence later on.
Next, use a shovel or a mechanical digging tool to dig holes for the fence posts. The depth of the holes will depend on the type of fence posts you are using and the height of the fence. As a general guideline, aim for a hole depth of at least 1/3 of the total length of the fence post.
Ensure that the holes are evenly spaced and aligned along the fence line. Use a measuring tape and string to maintain consistency and accuracy. It’s a good idea to double-check the spacing and alignment before proceeding with the installation.
As you dig the holes, remove any excess soil and make sure the bottom of the hole is level. This will provide a stable foundation for the fence post and ensure that the fence remains upright.
If you’re using wooden fence posts, consider treating them with a wood preservative to protect against rotting and prolong their lifespan. Allow the posts to dry completely before moving on to the next step.
With the ground prepared and the fence post holes dug, you’re now ready to move on to the next step: installing the fence posts.
Step 3: Install Fence Posts
Now that the ground is prepared, it’s time to install the fence posts. The fence posts will provide the structural support for your deer fence, so it’s important to ensure they are properly installed and securely anchored in the ground.
If you’re using wooden fence posts, carefully position each post in its corresponding hole. Use a level to ensure that the post is straight and vertically aligned. Adjust the position if needed before proceeding.
Next, fill the hole around the post with a combination of soil and gravel. This will provide stability and help prevent the post from shifting over time. Tamp down the soil and gravel mixture firmly around the post using a tamping tool or the back of a shovel.
If you’re using metal T-posts, simply drive them into the ground using a post driver or a sledgehammer. Ensure that the T-posts are firmly planted in the ground and are evenly spaced along the fence line.
For both types of fence posts, it’s recommended to leave a gap of 1 to 2 inches between the bottom of the post and the ground. This will prevent the posts from absorbing moisture and rotting.
As you install the fence posts, periodically check their alignment and adjust if necessary. It’s important to have straight and evenly spaced posts to ensure the structural integrity of the fence.
Repeat this process for all fence posts along the planned fence line, including at corners and gate openings. Make sure the posts are securely installed before moving on to the next step.
With the fence posts in place, you’re ready to proceed to the next step: attaching the fence wire.
When building a deer fence, make sure it is at least 8 feet tall to prevent deer from jumping over it. Additionally, bury the bottom of the fence at least 12 inches deep to prevent deer from digging underneath.
Read more: How High Can Deer Jump Over A Fence
Step 4: Attach Fence Wire
With the fence posts securely installed, it’s time to attach the fence wire to create the physical barrier that will keep the deer out. The fence wire should be strong and durable to withstand the pressure and attempts of the deer to enter your protected area.
Start by unrolling the fence wire along one side of the fence line. Ensure that the wire is taut and aligned with the top of the fence posts. Use wire clips or fencing staples to secure the wire to each post, ensuring a tight and secure connection.
Continue unrolling and attaching the fence wire along the entire fence line. Use wire clips or fencing staples every few feet to ensure the wire is held firmly in place. Take care to keep the wire taut and properly aligned with the top of the fence posts to maintain the structural integrity of the fence.
If you’re using multiple rolls of fence wire, overlap the ends of the rolls by a few inches and attach them securely using wire clips. This will create a seamless and continuous barrier without any gaps for the deer to slip through.
As you work, periodically check the tension of the fence wire and adjust if necessary. It’s important to have a tight and sturdy fence to effectively deter the deer.
If you’re using multiple rows of fence wire, stagger them vertically to increase the effectiveness of the fence. This multi-row configuration will make it more challenging for the deer to penetrate the fence and ensure better protection for your garden or landscape.
Once you have attached the fence wire along the entire fence line, ensure that there are no gaps or loose sections that could allow deer to enter. Double-check the attachments and make any necessary adjustments to ensure a secure and effective fence.
With the fence wire securely attached, you’re ready to move on to the next step: installing gates.
Step 5: Install Gates
Installing gates is an important step in building a deer fence, as it allows for convenient access to your protected area while maintaining the integrity of the fence. Gates provide an entry point for you and your equipment, making it easier to tend to your garden or landscape.
Start by selecting the appropriate size and type of gate for your fence. Consider the width of any equipment or vehicles that may need to pass through the gate. Additionally, ensure that the gate is tall enough to match the height of the fence and deter deer from attempting to jump over it.
Once you have chosen the gates, position them at the desired locations along the fence line. Use a measuring tape and level to ensure they are properly aligned and level. Make sure there is enough clearance around the gate to open and close it without obstruction.
If you’re using pre-made gates, follow the manufacturer’s instructions for installation. Typically, you will need to attach hinges to the gate and then secure the hinges to the fence posts. Ensure that the gate swings freely and smoothly.
If you’re constructing custom gates, start by building the gate frame with sturdy and durable materials. Attach hinges to the gate frame and then affix the hinges to the fence posts. Make sure the gate is properly aligned and level before securing it in place.
Install a latch or lock mechanism to keep the gate securely closed when not in use. This will prevent deer from accidentally pushing the gate open and gaining access to your protected area.
Test the gate to ensure it opens and closes smoothly and securely. Make any necessary adjustments to the hinges or latch to ensure proper functionality.
Repeat this process for any additional gates you need along the fence line.
With the gates installed, you’re ready for the next step: securing the fence.
Step 6: Secure the Fence
Securing the deer fence is crucial to ensure its stability and effectiveness in keeping the deer out. This step involves reinforcing the fence and adding additional features to deter the deer from attempting to breach the barrier.
Start by inspecting the fence posts and wire connections to ensure everything is securely in place. Tighten any loose wire clips or fencing staples and make any necessary adjustments to maintain the integrity of the fence.
To further secure the fence, consider adding ground stakes along the bottom of the fence. These stakes should be driven into the ground at regular intervals, usually about 5 to 10 feet apart, on the inside of the fence.
Attach the fence wire to the ground stakes using wire clips or zip ties. This will create a barrier at the bottom of the fence, preventing deer from crawling underneath and accessing your protected area.
Additionally, you can install electric wires or a temporary electric fence above the deer fence. This provides an extra deterrent by delivering a mild electric shock to any deer attempting to touch or jump over the fence.
Inspect the entire fence for any weak spots or areas that may be susceptible to damage. Reinforce these areas by adding extra wire clips or fencing staples to ensure the fence remains sturdy and impenetrable.
You may also consider adding visual deterrents, such as flags or reflective tape, to further discourage deer from approaching the fence. These visual cues can confuse and startle the deer, making them less likely to attempt to breach the fence.
Regularly inspect and maintain the fence to address any damage or wear that may occur over time. Replace any damaged or broken fence posts, wire, or attachments promptly to ensure the continued effectiveness of your deer fence.
With the deer fence secured, you’re ready for the final step: testing and inspecting the fence.
Step 7: Test and Inspect the Fence
Testing and inspecting the deer fence is the final step in ensuring that it is properly installed and capable of effectively keeping deer out of your protected area. This step allows you to identify any potential weaknesses or areas that require adjustments before relying on the fence for long-term protection.
Start by carefully examining the entire fence line. Look for any gaps, loose wire, or damaged sections that may compromise the integrity of the fence. Fix any issues promptly by tightening wire connections, replacing damaged sections, or reinforcing weak spots.
After inspecting the fence visually, it’s time to test its effectiveness. Approach the fence from various angles and simulate the behavior of a deer trying to breach it. Observe if there are any areas that may be easily compromised or if the fence holds strong against the simulated attempts.
Walk along the fence line and check for any areas where the fence wire is sagging or coming into contact with vegetation. Adjust the tension of the wire or trim the vegetation to ensure that the fence remains taut and unobstructed. This will prevent deer from using the vegetation to gain leverage or access to your protected area.
During the testing phase, pay attention to any areas where deer may be likely to attempt to jump over the fence or find weak spots. Consider adding additional deterrents or modifications to reinforce these areas if needed.
Finally, observe the behavior of the local deer population in response to the fence. If you notice that they are no longer attempting to enter your protected area, it is a good indication that the fence is working effectively. However, if you continue to experience issues, you may need to revisit certain steps or seek professional advice to further fortify your deer fence.
Regularly repeat the testing and inspection process to catch and address any issues early on. This will help maintain the longevity and effectiveness of your deer fence for years to come.
With the fence tested and inspected, you can now enjoy the peace of mind knowing that your garden, crops, and landscape are protected from the damage caused by deer.
Read more: How To Build A Ladder Stand For Deer Hunting
Conclusion
Building a deer fence is a valuable investment to protect your garden, crops, and landscape from the persistent grazing habits of deer. With careful planning, proper materials, and diligent execution, you can construct a sturdy and effective fence that will keep these beautiful but destructive animals at bay.
Throughout this step-by-step guide, we’ve walked you through the process of building a deer fence. From determining the fence layout to installing fence posts, attaching fence wire, and securing the fence, each step plays a crucial role in creating a barrier that deters deer from entering your property.
Remember to use high-quality materials, such as sturdy fence posts, heavy-gauge wire, and reliable gates, to ensure the longevity and effectiveness of your fence. Take the time to prepare the ground and properly secure the fence to withstand any attempts by the deer to breach the barrier.
Regularly test and inspect the fence to address any weaknesses or maintenance needs. Ensure that the fence remains taut, secure, and in good condition to provide continuous protection against deer damage.
By following these steps and incorporating your creativity and knowledge, you can build a deer fence that not only keeps deer away but also adds beauty and functionality to your property. Remember to comply with any local regulations and guidelines, and adapt the techniques to your specific requirements and surroundings.
Now that you have the knowledge and tools to build a deer fence, you can enjoy the fruits of your labor without the frustration of deer damage. So, get started today and create a protected haven for your plants and peace of mind for yourself.
Frequently Asked Questions about How To Build Deer Fence
Was this page helpful?
At Storables.com, we guarantee accurate and reliable information. Our content, validated by Expert Board Contributors, is crafted following stringent Editorial Policies. We're committed to providing you with well-researched, expert-backed insights for all your informational needs.


0 thoughts on “How To Build Deer Fence”