Articles
How To Change Blinds To Curtains
Modified: February 24, 2024
Discover how to easily change blinds to curtains with our informative articles. Transform your space and add a touch of elegance to your windows.
(Many of the links in this article redirect to a specific reviewed product. Your purchase of these products through affiliate links helps to generate commission for Storables.com, at no extra cost. Learn more)
Introduction
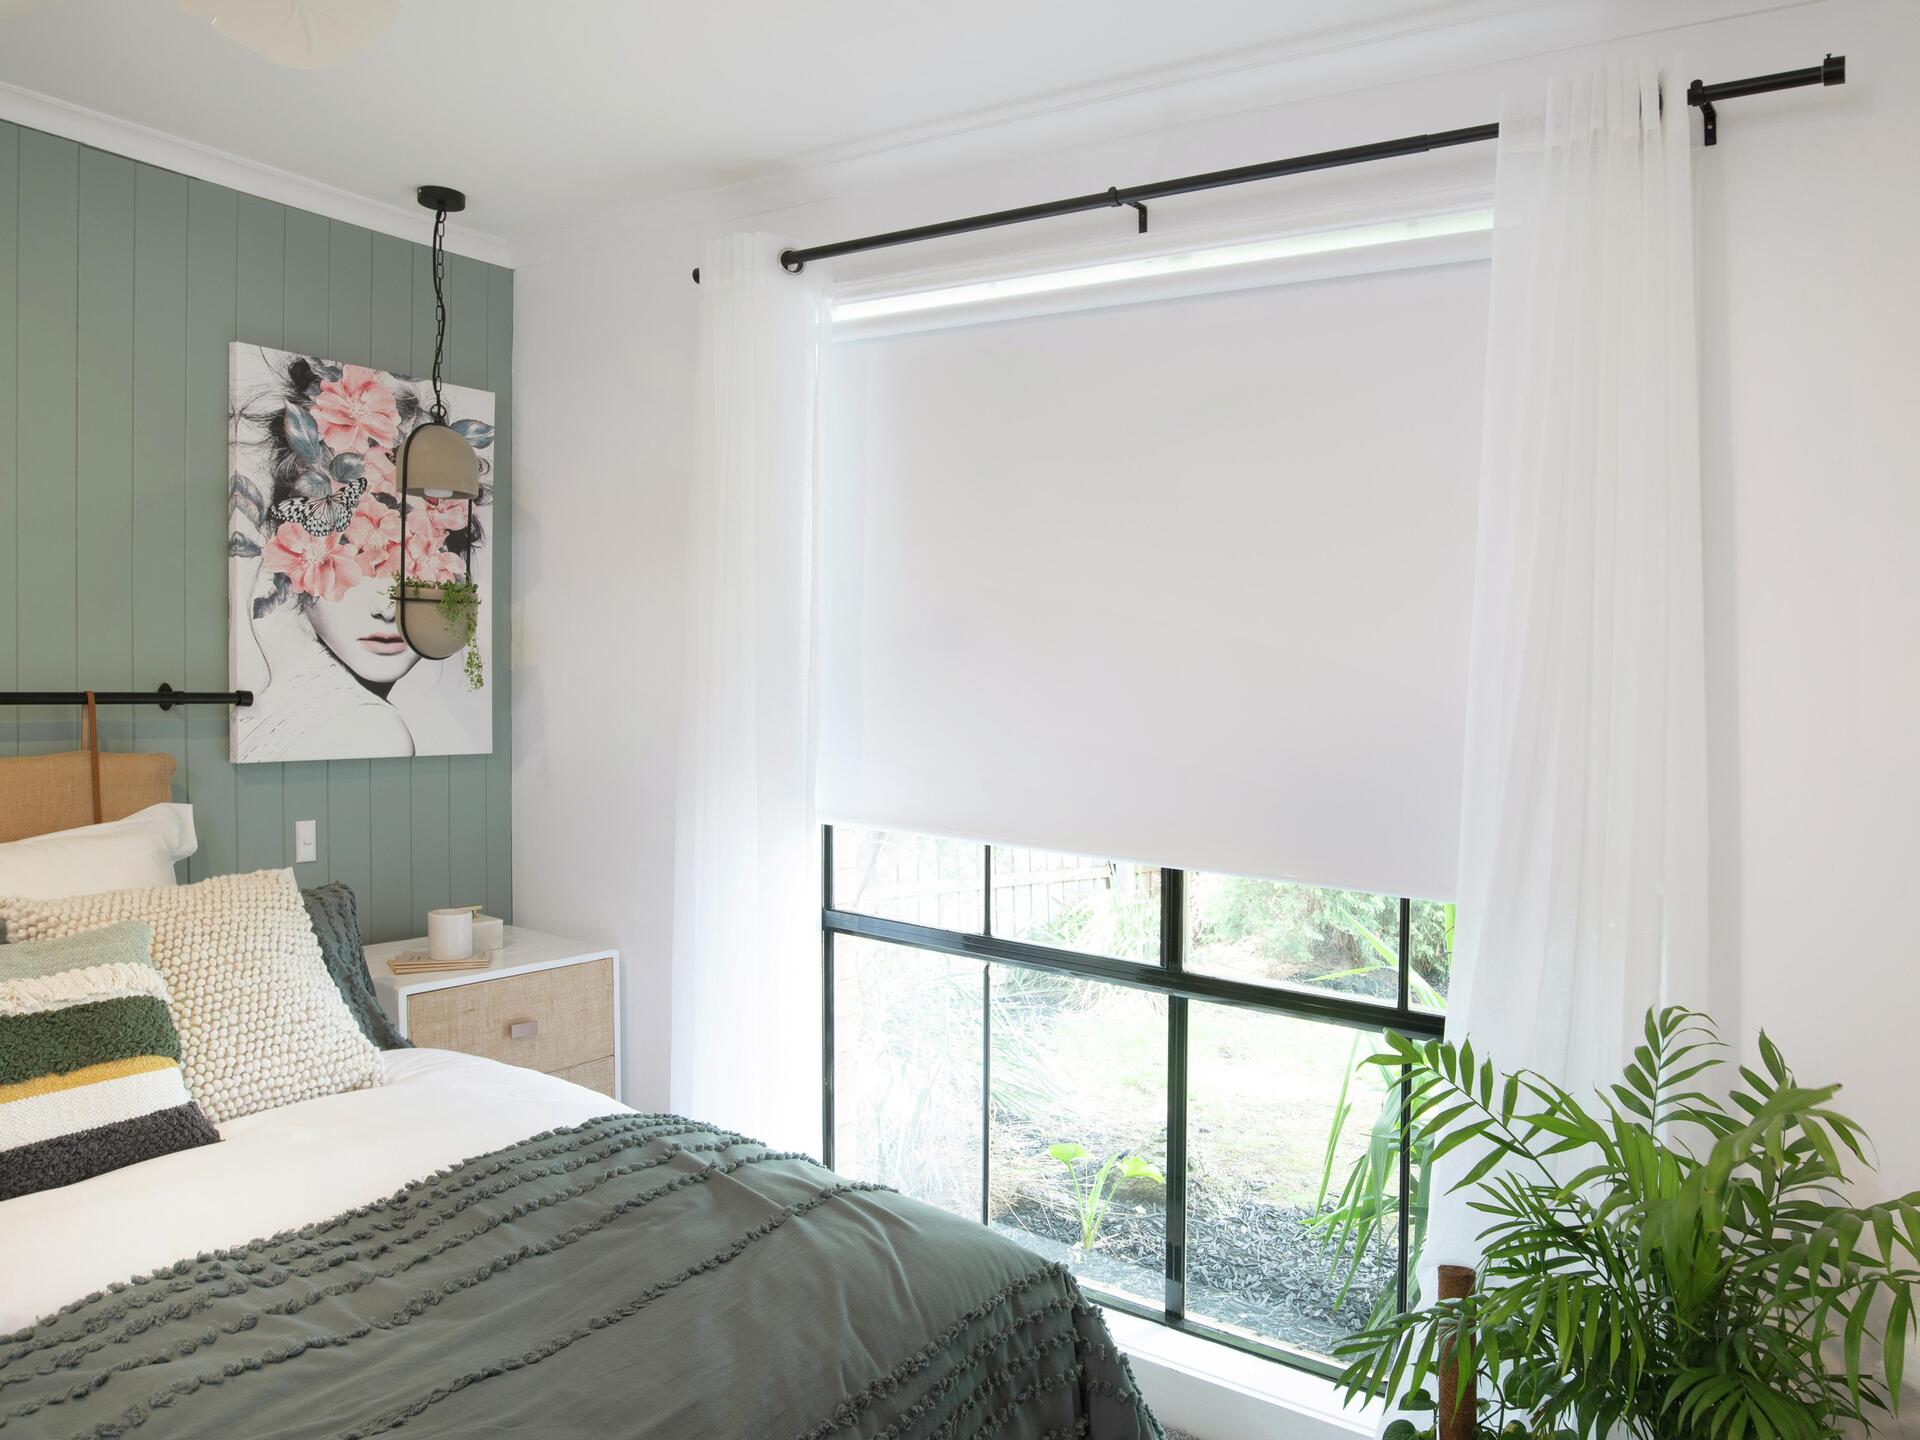
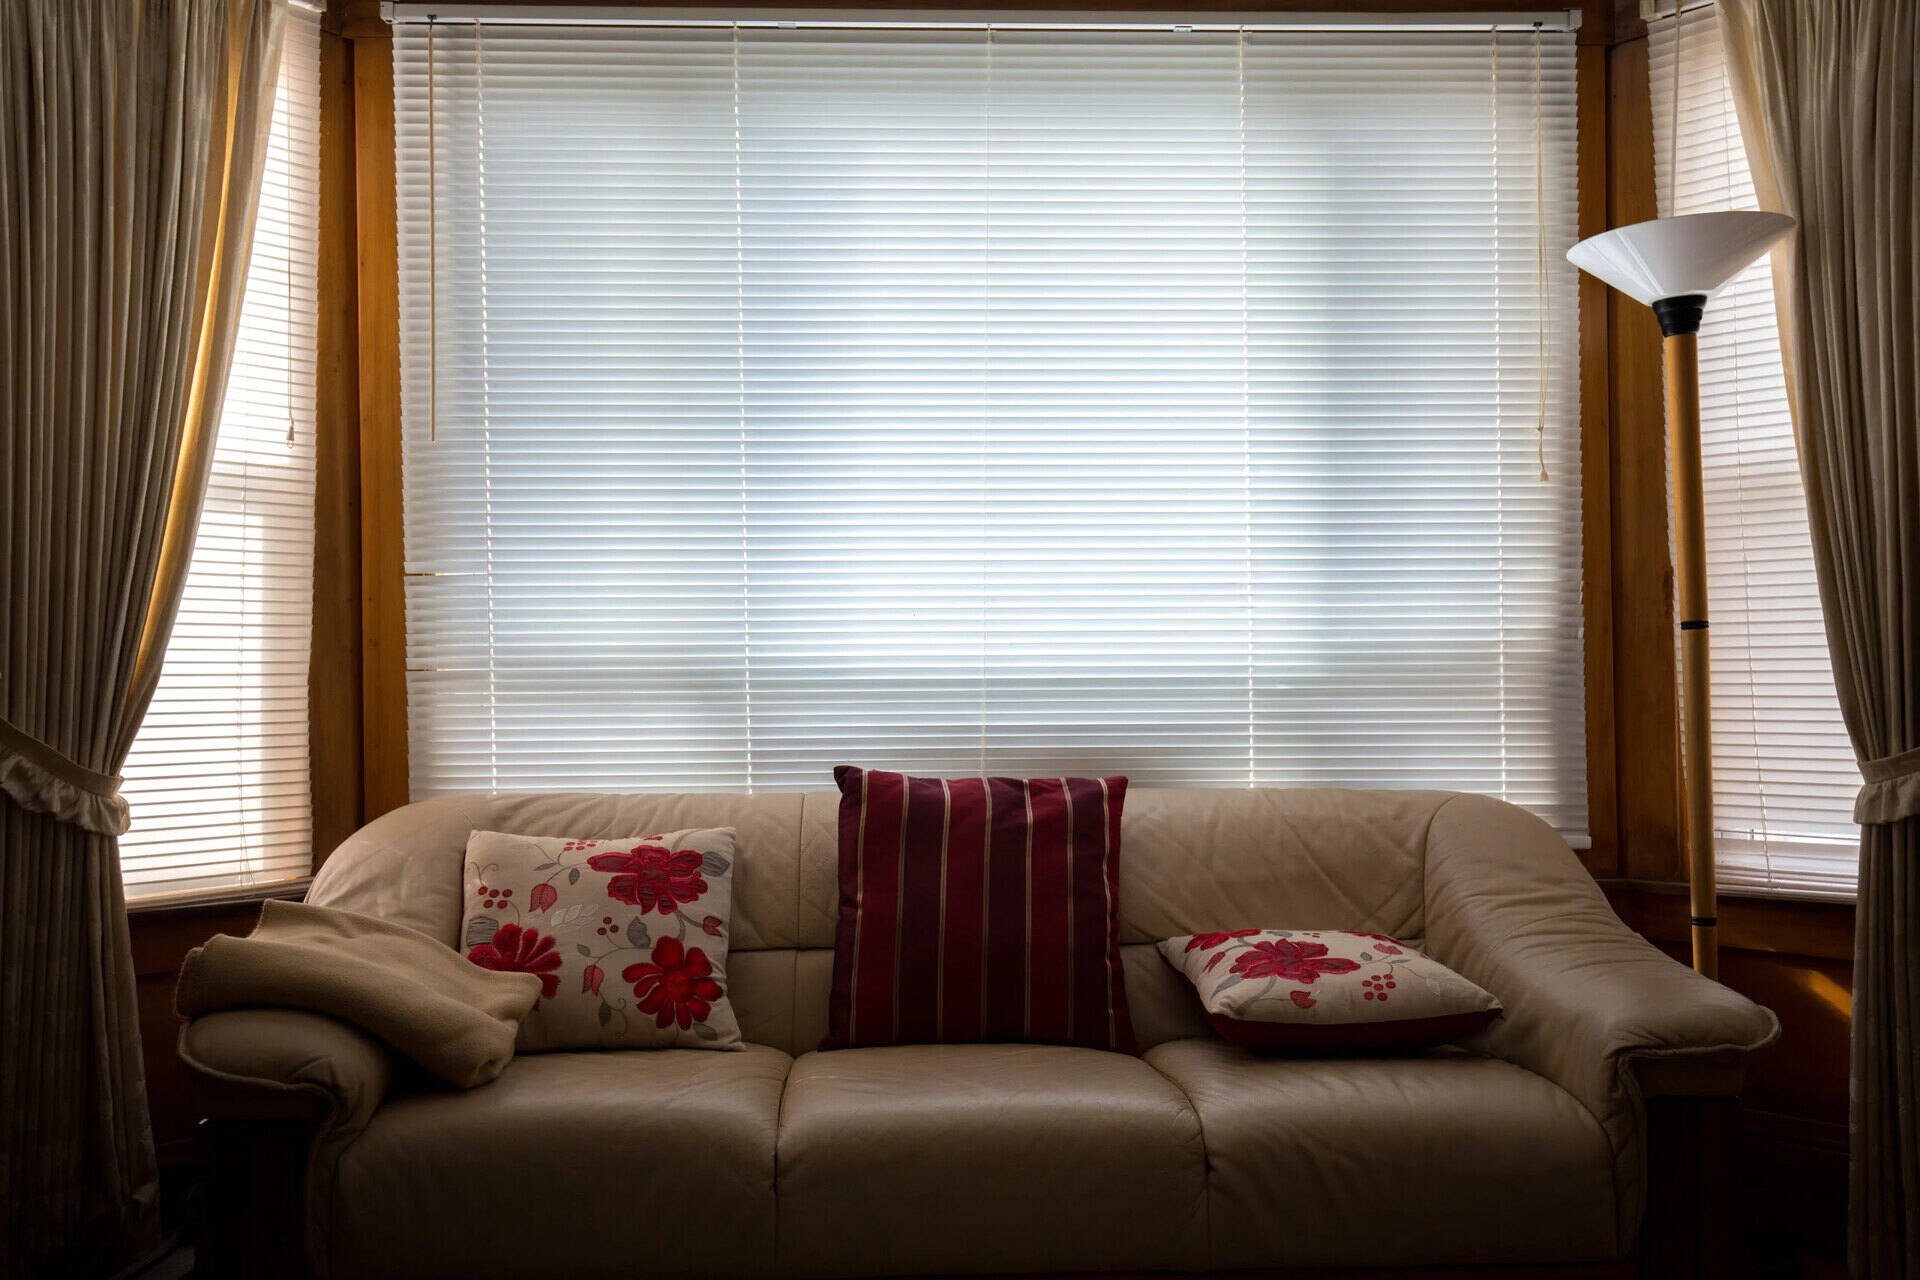
Changing blinds to curtains can transform the look and feel of any room. Whether you’re looking to add a touch of elegance or enhance privacy, curtains offer a versatile and stylish solution. While the process may seem daunting at first, with the right tools and a little patience, you can easily make the switch. This article will guide you through the step-by-step process of changing blinds to curtains, ensuring a seamless and successful transformation.
Before you begin, it’s important to have a clear vision of the desired outcome. Consider the style and color scheme you want to achieve, as well as the functionality you require. Curtains come in various materials, patterns, and lengths, so take the time to explore your options and choose the ones that best suit your preferences and needs.
Once you’ve decided on the curtains you want, it’s time to gather the necessary tools and materials. You’ll need a drill and drill bits, a tape measure, a level, a pencil, a screwdriver, curtain rods, brackets, screws, wall anchors (if needed), and, of course, the curtains themselves. Make sure to read the instructions provided with the curtain rods and brackets to ensure proper installation.
With everything ready, you’re now prepared to embark on the journey of changing blinds to curtains. Follow the steps outlined here to achieve a professional and polished result that will elevate the aesthetics of your space. Let’s get started!
Key Takeaways:
- Transform any room with a seamless shift from blinds to curtains using the right tools and step-by-step guidance. Elevate your space with elegance and style while ensuring privacy and functionality.
- Embrace creativity and attention to detail when changing blinds to curtains. Enjoy the rewarding process of measuring, installing, and styling to create a personalized and visually pleasing window treatment.
Read more: How To Change Curtains
Step 1: Gather Necessary Tools and Materials
The first step in changing blinds to curtains is to gather all the necessary tools and materials. Having everything you need before you begin will make the process smoother and more efficient.
Here are the essential tools and materials you’ll need:
- Drill and drill bits: A drill will be used to install the curtain rods and brackets securely. Make sure you have the appropriate drill bit size for the screws you’ll be using.
- Tape measure: Accurate measurements are key to ensuring the curtains fit properly. Use a tape measure to measure the width and height of your windows.
- Level: A level will help you ensure that the curtain rods are installed straight and level.
- Pencil: Use a pencil to mark the position of the curtain rods and brackets on the wall.
- Screwdriver: A screwdriver will be needed to tighten the screws that hold the curtain rods in place.
- Curtain rods: Choose curtain rods that are suitable for the size and weight of your curtains. Consider the style and finish that will complement your décor.
- Brackets: Brackets are used to support the curtain rods. Make sure the brackets are compatible with the curtain rods you’ve chosen.
- Screws: Select screws that are appropriate for the type of walls you have. If your walls are made of drywall, you may need to use wall anchors to ensure a secure installation.
- The curtains: Finally, choose curtains that match your style and functional needs. Consider the fabric, color, pattern, and length of the curtains.
Once you have all the necessary tools and materials, you’re ready to move on to the next step: removing the blinds. Make sure to double-check that you have everything you need before proceeding.
By gathering all the tools and materials at the beginning of the process, you’ll save time and avoid interruptions later on. Having everything within reach will help you maintain a steady flow and complete the task with ease.
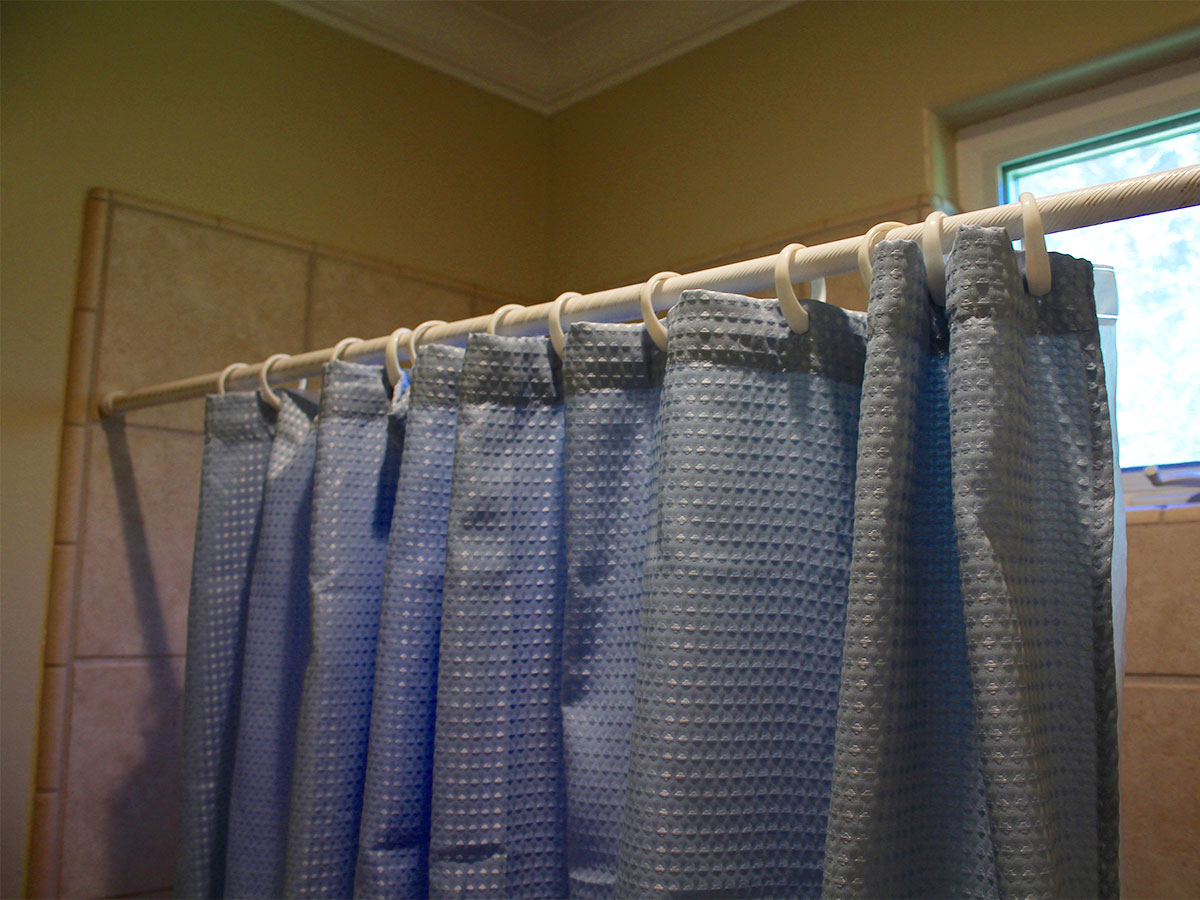
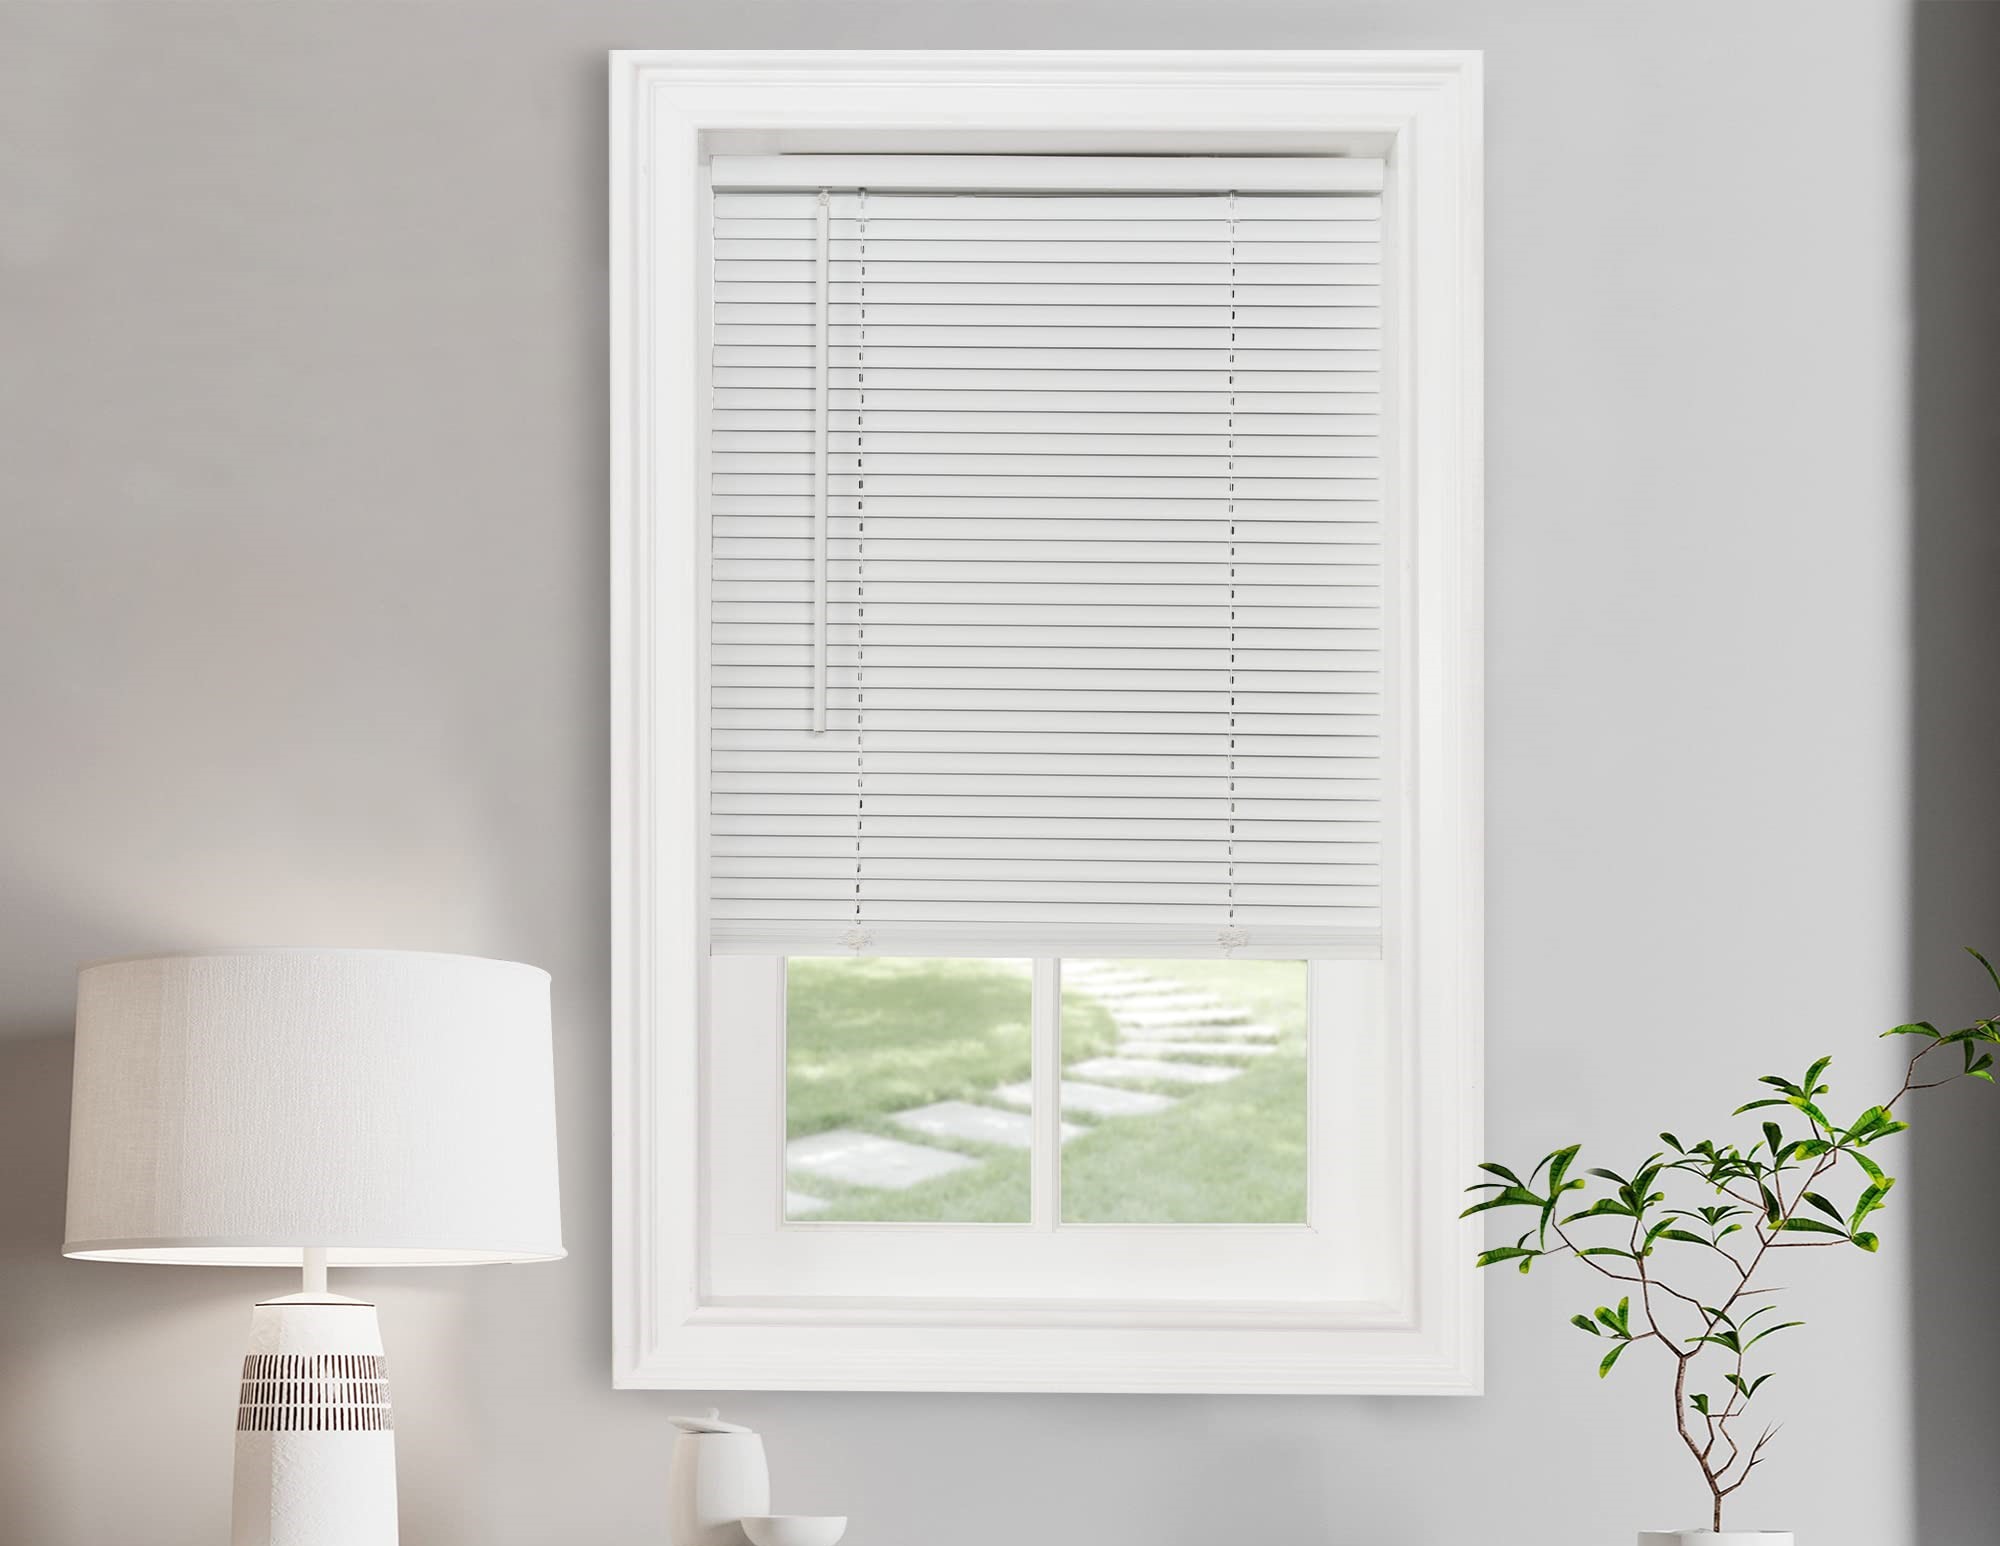
Step 2: Remove the Blinds
With all the necessary tools and materials gathered, it’s time to remove the blinds. This step requires careful attention to prevent damage to the blinds or surrounding areas.
Follow these steps to remove the blinds:
- Start by raising the blinds to fully open them.
- Locate the tilt wand or cord that controls the blinds’ slats. Remove any safety clips or tie-downs that may be holding the blinds in place.
- Gently rotate the tilt wand or pull on the cord to tilt the slats in one direction.
- Once the slats are tilted, locate the brackets that hold the blinds to the window frame or wall.
- Using a screwdriver, remove the screws holding the brackets in place. Be careful not to damage the surrounding area or the blinds themselves.
- Once the brackets are removed, carefully slide the blinds out of the brackets one by one.
- Store the blinds in a safe place or dispose of them properly, depending on their condition.
It’s important to take your time when removing the blinds to avoid any accidental damage. If you encounter any difficulties or are unsure about the proper removal process, consult the manufacturer’s instructions or seek professional assistance.
With the blinds successfully removed, you’re one step closer to enjoying the new look of your windows. The next step is to remove any mounting hardware that may be left behind.
Note: If you plan on reinstalling the blinds at a later time or wish to preserve them, ensure you store them in a clean and dry place, free from any potential damage.
Step 3: Remove Mounting Hardware
After removing the blinds, it’s time to remove any mounting hardware that may be left behind on the window frame or wall. This step is crucial to ensure a clean and smooth surface for installing the curtain rods.
Follow these steps to remove the mounting hardware:
- Inspect the window frame or wall for any brackets, screws, or anchors that were used to secure the blinds.
- Using a screwdriver or drill, carefully remove any screws or fasteners that are still attached to the surface. Take extra care not to damage the surrounding area.
- If the mounting hardware is secured with wall anchors, gently pull them out using pliers or a screwdriver. Apply gentle pressure and avoid unnecessary force to avoid damaging the wall.
- Once all the mounting hardware is removed, check the area for any remaining debris or adhesive residue. Clean the surface with a mild detergent and water to ensure a clean and smooth surface for the curtain rod installation.
Properly removing the mounting hardware is essential for a seamless transition from blinds to curtains. Taking the time to remove all the hardware and clean the area will ensure a professional and polished result.
If you come across any stubborn residue or have difficulty removing the mounting hardware, you may need to use a gentle adhesive remover or consult a professional for assistance.
Now that you have a clean and prepared surface, it’s time to move on to the next step: patching any holes that may be left behind from the previous mounting hardware.
Step 4: Patch Any Holes
After removing the mounting hardware, it’s common to find small holes or marks on the window frame or wall. Patching these holes is important to ensure a smooth and uniform surface for mounting the curtain rods.
Here’s how you can patch the holes:
- Inspect the holes and assess their size. If the holes are small, you can use a lightweight spackling compound or putty.
- Using a putty knife or a small spatula, apply a small amount of spackling compound to fill the holes. Smooth it out with the putty knife, ensuring it’s level with the surrounding surface.
- Allow the spackling compound to dry according to the manufacturer’s instructions. It may take several hours or overnight for the compound to fully dry and harden.
- Once the spackling compound is dry, sand it down gently with fine-grit sandpaper to create a smooth finish. Use a damp cloth to remove any dust or debris.
- If the holes are larger or deeper, you may need to use a wall patch. Apply the patch over the hole, following the manufacturer’s instructions, and use a spackling compound or joint compound to cover and blend the patch into the surrounding area. Sand it down for a seamless finish.
- After patching the holes, visually inspect the surface to ensure it’s smooth and free from any imperfections. Touch up any areas as needed.
Patching the holes will not only improve the appearance of your walls or window frames but also provide a stable and secure base for installing the curtain rods.
Once the holes are patched and the surface is smooth, you’re ready to move on to the next step: measuring for the curtains.
When changing blinds to curtains, measure the window carefully to ensure the curtains will fully cover the opening. Consider the type of curtain rod and hardware needed for installation.
Read more: How To Replace Blinds With Curtains
Step 5: Measure for Curtains
Accurate measurements are crucial when it comes to installing curtains that fit perfectly. Taking the time to measure your windows properly will ensure that your curtains hang properly and provide the desired level of coverage and style.
Follow these steps to measure for curtains:
- Start by measuring the width of your window. Use a tape measure to determine the distance from one side of the window frame to the other. Take note of this measurement.
- Next, measure the height of the window. Measure from the top of the window frame to the desired length where you want the curtains to hang. This can vary depending on your preference, whether you want the curtains to just skim the floor or pool elegantly.
- If you’re planning to use curtain panels, divide the window width measurement by the number of panels you intend to hang. This will give you the width measurement for each individual panel.
- Consider the type of curtain heading you prefer. Depending on the style, you may need to add extra length or fullness to the measurements. For example, if you opt for a grommet or tab-top style, you may need to add an additional few inches to the height measurement.
- Take into account any additional factors that may affect the curtain measurements, such as the desired amount of gather or stack-back when the curtains are open.
It’s essential to be precise when measuring for curtains, as even a small error can affect the overall look and functionality. Always double-check your measurements to ensure accuracy.
Once you have the measurements, you can confidently move on to the next step: installing the curtain rods.
Step 6: Install Curtain Rods
Now that you have your measurements, it’s time to install the curtain rods. Proper installation is crucial to ensure that the curtains hang securely and evenly.
Follow these steps to install the curtain rods:
- Using a pencil, mark the desired height for the curtain rod brackets on both sides of the window frame. Maintain a consistent height for a balanced look.
- Use a tape measure and level to ensure that the marks are perfectly aligned and level. Adjust as needed.
- If the curtain rod brackets require screws, pre-drill holes at the marked positions using a drill and an appropriate-sized drill bit.
- Align the brackets with the pre-drilled holes or the marked positions, and use a screwdriver or drill to secure them firmly to the wall or window frame.
- Ensure that the brackets are level and evenly spaced.
- If using curtain rod rings, attach them to the rod before placing the rod on the brackets.
- Place the curtain rod onto the brackets, making sure it rests securely.
- If your curtain rod is telescopic or adjustable, adjust the length to fit snugly between the brackets.
Once the curtain rods are securely installed, give them a gentle tug to ensure they can support the weight of the curtains. If there is any instability, readjust the brackets or seek alternative mounting options to ensure a sturdy installation.
Now that the curtain rods are in place, you’re ready for the next step: hanging the curtains.
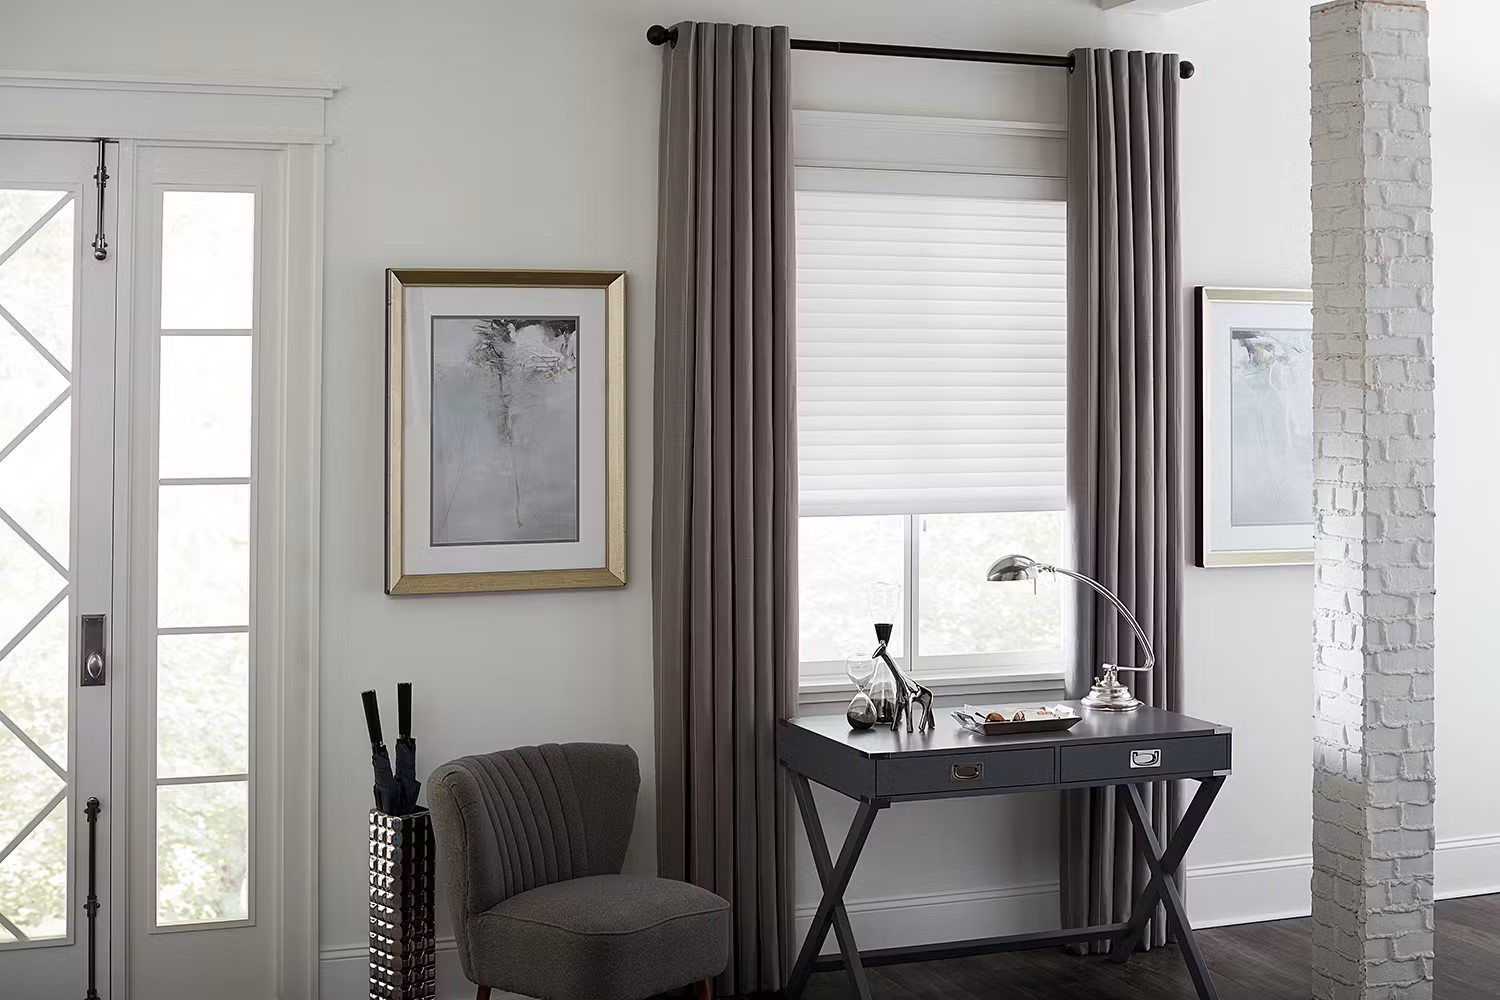
Step 7: Hang the Curtains
With the curtain rods installed, it’s time to hang the curtains and bring your desired look to life. Properly hanging the curtains will ensure they drape beautifully and enhance the overall aesthetics of your space.
Follow these steps to hang the curtains:
- Start by gently opening the curtains and folding back any hems or header tape.
- If your curtains have curtain rings, slide them onto the curtain rod. Make sure the rings are evenly spaced for a balanced appearance.
- If your curtains have a rod pocket or sleeve, thread the curtain rod through it. Adjust the curtains evenly along the rod for an even and consistent look.
- If your curtains have hooks, attach them to the curtain rod or rings, following the manufacturer’s instructions.
- Carefully lift the curtain rod and position it onto the brackets. Make sure the rod sits securely within the brackets, allowing the curtains to hang freely without touching the floor or windowsill.
- Gently adjust the curtains so they are evenly distributed along the rod, ensuring they hang straight and have a balanced appearance.
Take a step back and visually assess the curtains to ensure they are hanging at the desired height and level. Make any necessary adjustments to achieve the desired look.
Once the curtains are properly hung, step back and appreciate the transformation they bring to your space. The next step is to adjust and style the curtains for the finishing touches.
Step 8: Adjust and Style the Curtains
Now that the curtains are hung, it’s time to add those final touches to ensure they look their best. By adjusting and styling the curtains, you can create a visually appealing and cohesive look for your space.
Follow these steps to adjust and style the curtains:
- Step back and observe the overall appearance of the curtains. Check if they are hanging evenly and at the desired height.
- Adjust the curtain rod if needed to ensure the curtains are level and properly aligned.
- Arrange the curtain folds and pleats by gently pulling and adjusting them until they fall naturally and create a pleasing aesthetic.
- If your curtains have tiebacks, position them at the desired height and gather the curtains with them. This will allow more natural light to enter the room while adding an elegant touch.
- Experiment with different curtain styling options. For a more formal look, consider using curtain holdbacks or decorative tiebacks to hold the curtains in place. You can also use curtain clips or rings to create elegant swags or valances.
- Play with the length of the curtains. You can let them just skim the floor for a modern look or allow them to pool elegantly for a more luxurious feel.
Remember that curtain styling is a personal preference, and there are no strict rules for how they should look. Experiment and trust your instincts to create a look that suits your taste and complements your space.
By adjusting and styling the curtains, you can enhance their overall appearance and create a cohesive and visually pleasing atmosphere in your room.
Congratulations! You have successfully changed blinds to curtains and transformed the look of your space. Enjoy the new ambiance and the beauty that curtains bring to your windows!
Remember, curtain styles and trends may evolve over time, so don’t hesitate to update and refresh your curtains whenever you feel the need for a change.
With these steps and tips in mind, you now have the knowledge and confidence to tackle the process of changing blinds to curtains. Enjoy the process and the rewarding results!
Read more: How To Install Curtains Over Blinds
Conclusion
Changing blinds to curtains can be a significant transformation for any room. With careful planning, proper tools, and step-by-step guidance, you can achieve a seamless and stylish transition. By following the steps outlined in this article, you can successfully change blinds to curtains and elevate the aesthetic appeal of your space.
From gathering the necessary tools and materials to removing the blinds, patching holes, and measuring for curtains, each step plays a crucial role in ensuring a professional and polished result. Installing the curtain rods and hanging the curtains are the final touches that bring the transformation to life.
Remember to take your time, measure accurately, and pay attention to detail throughout the process. By doing so, you can create a visually pleasing and functional window treatment that complements your decor and enhances the overall ambiance of your room.
Additionally, don’t hesitate to unleash your creativity when it comes to curtain styling. Play with different arrangements, lengths, and accessories to create a unique and personalized look that reflects your taste and style.
With the knowledge and guidance provided in this article, you are empowered to change blinds to curtains confidently and successfully. Embrace the process, enjoy the transformation, and savor the newfound beauty that curtains bring to your space.
Now, go ahead and embark on your journey of changing blinds to curtains. Your windows are waiting to be adorned with the elegance and charm of curtains!
Frequently Asked Questions about How To Change Blinds To Curtains
Was this page helpful?
At Storables.com, we guarantee accurate and reliable information. Our content, validated by Expert Board Contributors, is crafted following stringent Editorial Policies. We're committed to providing you with well-researched, expert-backed insights for all your informational needs.


0 thoughts on “How To Change Blinds To Curtains”