
Articles
How To Check HVAC Ducts For Leaks
Modified: August 28, 2024
Learn how to check your HVAC ducts for leaks with our informative articles. Ensure optimal airflow and energy efficiency in your home.
(Many of the links in this article redirect to a specific reviewed product. Your purchase of these products through affiliate links helps to generate commission for Storables.com, at no extra cost. Learn more)
Introduction
Having a properly functioning HVAC system is crucial for maintaining a comfortable and energy-efficient home. However, even if you have invested in top-notch equipment, your system may be losing valuable conditioned air if there are leaks in the HVAC ducts. These leaks can occur due to poor installation, aging ductwork, or maintenance neglect.
Checking HVAC ducts for leaks is an essential step in ensuring the efficiency and effectiveness of your heating and cooling system. By identifying and addressing any duct leaks, you can improve indoor air quality, reduce energy consumption, and ultimately save money on utility bills.
In this article, we will explore the importance of checking HVAC ducts for leaks, the signs that may indicate potential leaks, and provide a step-by-step guide on how to conduct a thorough inspection. Additionally, we will discuss common areas to inspect for duct leaks, techniques for detecting leaks, and the benefits of fixing any identified issues.
Whether you are a homeowner looking to ensure the optimal performance of your HVAC system or a professional HVAC technician seeking to provide quality service to your clients, understanding how to check HVAC ducts for leaks is essential for maintaining a comfortable and energy-efficient indoor environment.
Key Takeaways:
- Checking HVAC ducts for leaks is crucial for energy efficiency, indoor air quality, and home comfort. Regular inspections and repairs can lead to cost savings and a healthier living environment.
- Identifying and fixing duct leaks can extend the lifespan of HVAC equipment, reduce energy waste, and contribute to a more sustainable future. It’s a proactive measure that offers long-term benefits for homeowners and the environment.
Read more: How To Clean HVAC Ducts
Importance of Checking HVAC Ducts for Leaks
Checking HVAC ducts for leaks is a critical maintenance task that should not be overlooked. Here’s why it’s important:
- Energy Efficiency: Leaky ducts can significantly impact the energy efficiency of your HVAC system. According to the U.S. Department of Energy, duct leaks can cause your system to lose up to 30% of the conditioned air, resulting in increased energy consumption and higher utility bills. By identifying and sealing these leaks, you can improve the efficiency of your system and reduce energy waste.
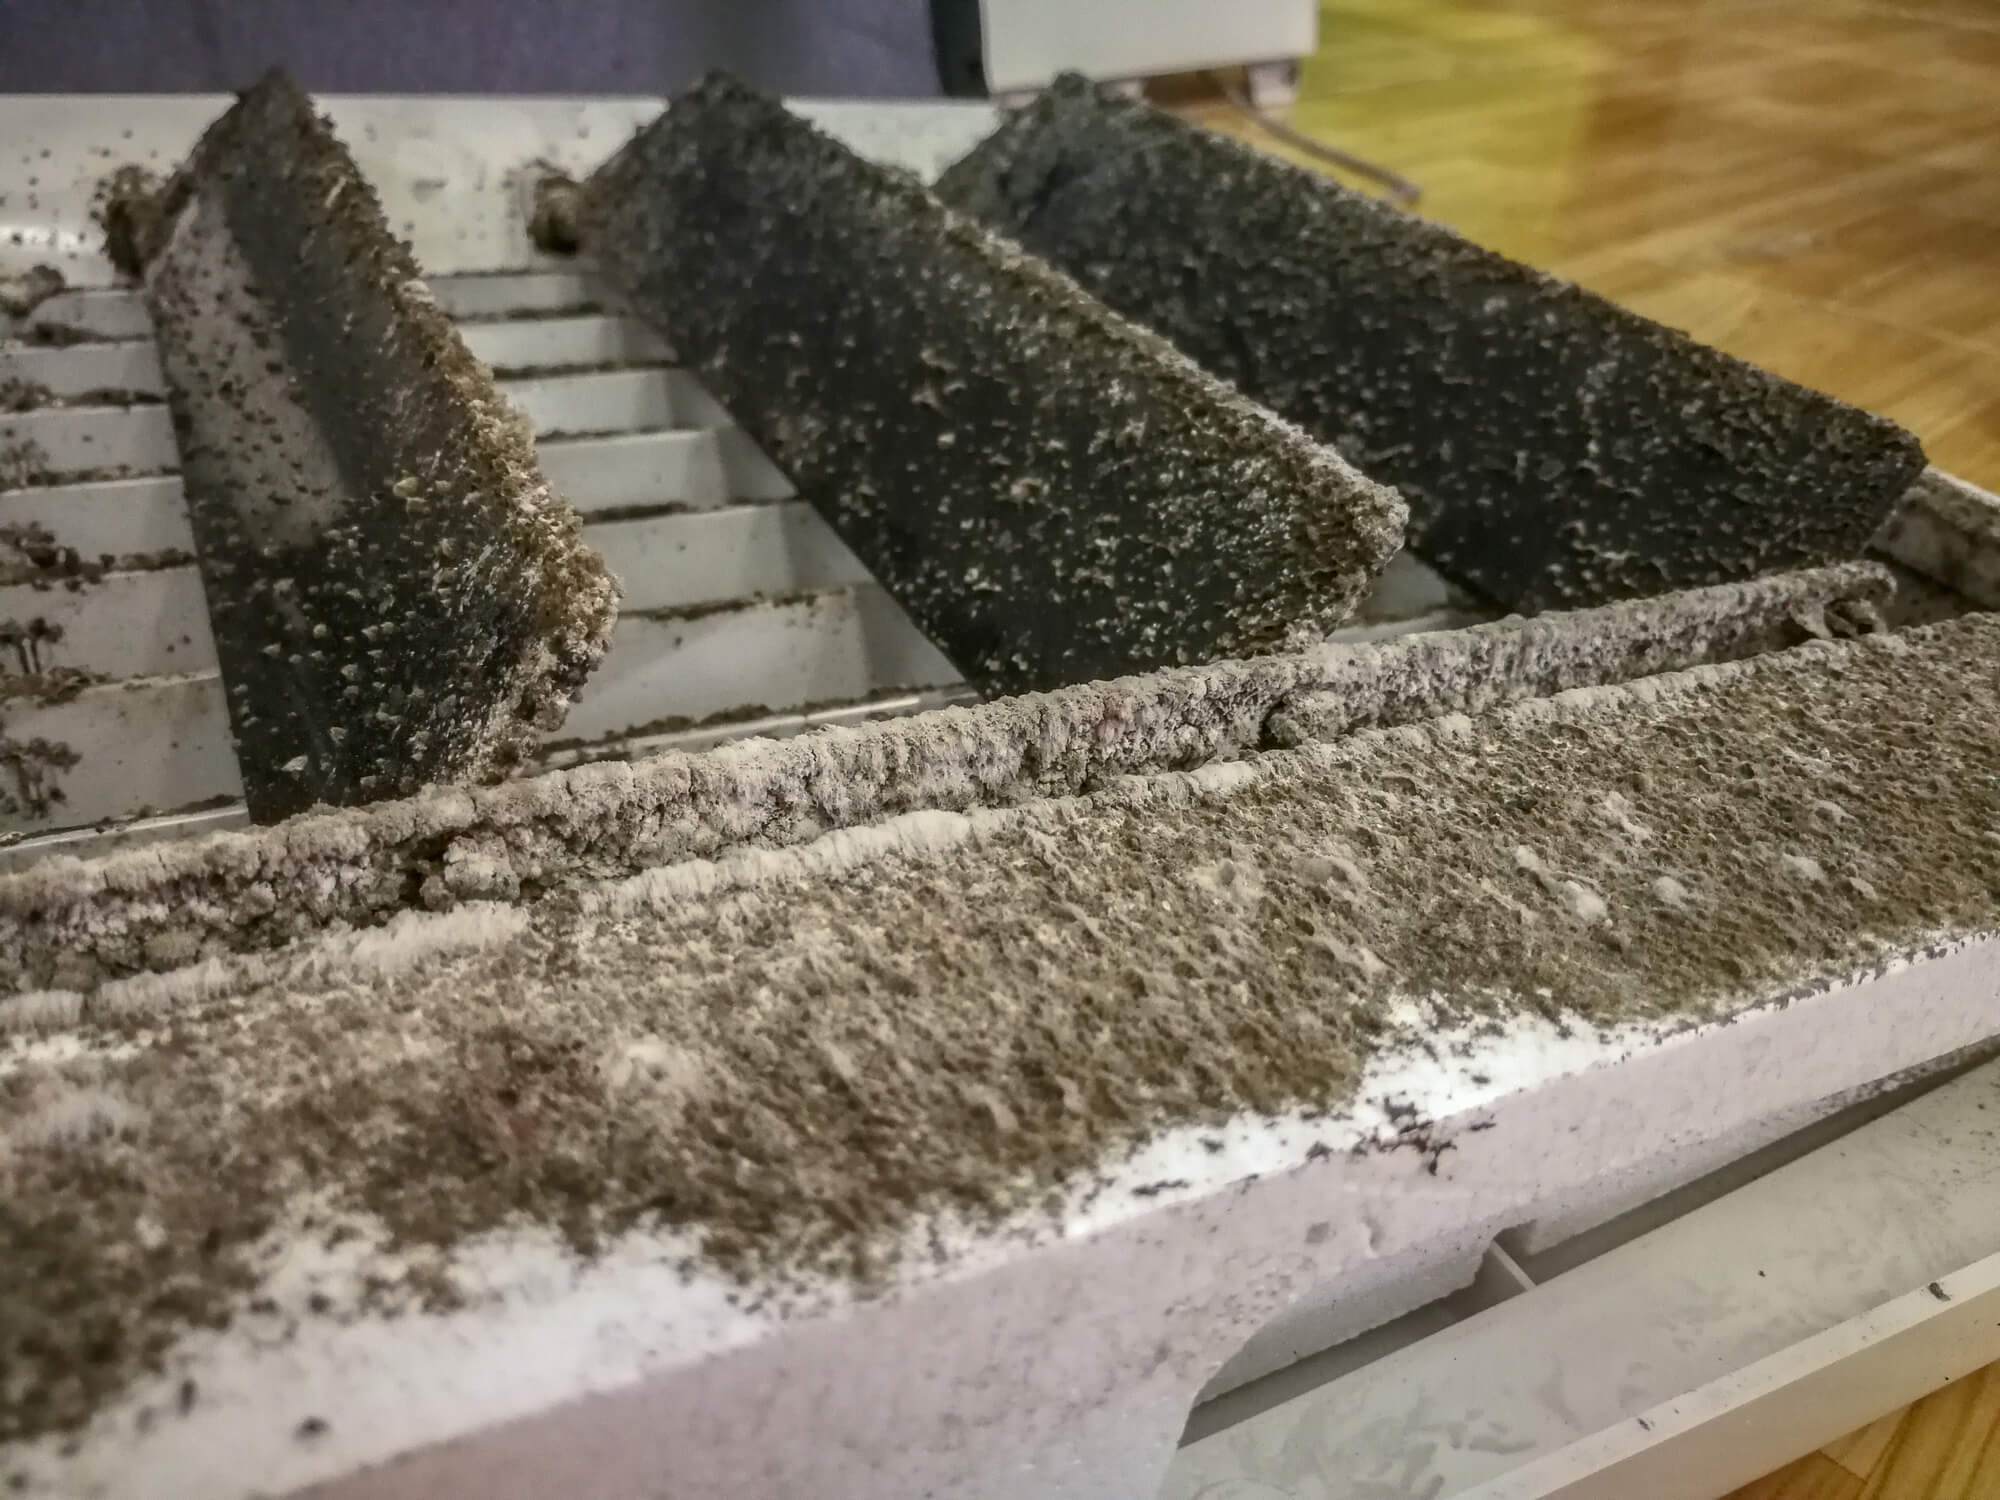
- Indoor Air Quality: Duct leaks can allow dust, dirt, allergens, and other contaminants to enter the ductwork system. These pollutants can then be circulated and distributed throughout your home, compromising indoor air quality. Regularly checking and repairing duct leaks can help prevent the infiltration of harmful particles, ensuring cleaner and healthier air for you and your family.
- Comfort: Leaky ducts can lead to inconsistent temperature distribution within your home. Some rooms may feel too hot or too cold, while others may be perfectly comfortable. By sealing duct leaks, you can achieve better air balance and maintain a more consistent and comfortable temperature throughout your living space.
- Extended Equipment Lifespan: When your HVAC system operates with leaks in the ductwork, it puts unnecessary strain on the equipment. This can lead to increased wear and tear, potentially shortening the lifespan of your system. By inspecting and fixing duct leaks, you can help prolong the life of your HVAC equipment, saving you money on costly repairs or premature replacement.
- Environmental Impact: Energy consumption is not only a financial concern but an environmental one as well. By reducing energy waste through sealing duct leaks, you can lower your carbon footprint and contribute to a more sustainable future.
Regularly checking HVAC ducts for leaks is a proactive measure that can benefit your home, your health, and your wallet. It ensures that your HVAC system operates efficiently, provides clean and comfortable air, and minimizes its impact on the environment. In the following sections, we will explore the signs that may indicate potential duct leaks and provide a comprehensive guide on how to check your HVAC ducts for leaks.
Signs of Potential Duct Leaks
Determining whether you have duct leaks in your HVAC system can be challenging, as the ductwork is often hidden behind walls, ceilings, or in crawl spaces. However, there are several signs that may indicate the presence of potential duct leaks. Keep an eye out for the following:
- High Energy Bills: If your energy bills have been consistently higher than usual, despite no significant changes in your energy usage or rate, it could be a sign of duct leaks. The lost conditioned air through the leaks forces your system to work harder and longer, resulting in increased energy consumption.
- Inconsistent Room Temperatures: Noticeably different temperatures from room to room can be an indicator of duct leaks. Leaky ducts allow conditioned air to escape before it reaches its intended destination, causing uneven heating or cooling in different areas of your home.
- Poor Airflow: If you notice weak or reduced airflow from your vents, it could signify duct leaks. Leaks disrupt the airflow by diverting and redirecting air before it reaches its intended destination.
- Audible Air Leaks: Listen for any whistling, hissing, or rattling sounds near your ductwork. These noises can indicate air escaping through leaks or gaps in the ducts.
- Excessive Dust: Leaky ducts can allow dust and debris to enter your system, resulting in increased dust accumulation throughout your home. If you find yourself dusting and cleaning more frequently than usual, it could be a sign of duct leaks.
- Musty or Foul Odors: Leaky ducts can create a pathway for odors and contaminants to enter your living space. If you notice musty, moldy, or unpleasant smells when your HVAC system is running, it may indicate duct leaks.
- Visible Leaks or Damaged Ductwork: In some cases, you may be able to visually identify leaks or damaged sections of ductwork. Look for disconnected or poorly sealed joints, visible gaps or holes, and signs of wear and tear.
When you observe any of these signs, it is essential to investigate further and inspect your HVAC ducts for leaks. In the next section, we will discuss the necessary steps and preparations you should take before checking your HVAC ducts for leaks.
Preparing to Check HVAC Ducts for Leaks
Before you begin the process of checking your HVAC ducts for leaks, it’s important to make sure you are properly prepared. Taking the time to gather the necessary tools and materials will enable you to conduct a thorough inspection. Here are the steps to prepare:
- Gather Safety Equipment: Ensure you have the appropriate safety equipment, such as gloves and safety glasses, to protect yourself during the inspection process. While the task of checking ducts for leaks is generally safe, it’s always important to take precautions.
- Turn Off the HVAC System: Before inspecting the ductwork, it’s crucial to turn off the HVAC system. This will prevent the system from engaging while you are working on the ducts and minimize the risk of injury or damage.
- Access the Ductwork: Determine the access points to your HVAC ducts. These may include registers, vents, or access panels in the walls, floors, or attic. Locate and ensure you have easy access to these entry points before you begin the inspection.
- Clear the Area: Ensure that the area around the access points and ductwork is clear of any obstructions. Move furniture, rugs, or other items that may hinder your ability to inspect the ducts thoroughly. This will allow you to navigate the space more easily during the inspection.
- Check for Proper Lighting: Adequate lighting is crucial for a comprehensive inspection. Make sure you have sufficient lighting in the area surrounding the HVAC ducts. If necessary, use a flashlight or portable work light to improve visibility inside the ducts.
- Have a Camera or Smartphone: Having a camera or smartphone with a camera function can be useful during the inspection. You can use it to take pictures or videos of any identified leaks or problem areas. These visuals can serve as documentation and help you with the repair process.
- Allocate Sufficient Time: Checking HVAC ducts for leaks may take some time, especially if your ductwork is extensive or complex. Ensure that you have allocated enough time to conduct a thorough inspection without feeling rushed.
- Research Ductwork Layout: Familiarize yourself with the layout of your ductwork. This will help you identify areas where leaks are more likely to occur. Understanding the general path of the ducts and the locations of branch points and connections will guide you during the inspection.
By taking these preparation steps, you will be ready to conduct a complete and effective inspection of your HVAC ducts. In the following sections, we will discuss the specific tools and materials you will need, as well as provide a step-by-step guide on how to check for duct leaks.
Tools and Materials Needed
When checking HVAC ducts for leaks, it’s important to have the right tools and materials on hand. Here is a list of what you will need to conduct a thorough inspection:
- Flashlight or Work Light: A reliable source of lighting will help you see inside the ducts and identify any potential leaks or problem areas. Make sure you have a flashlight or work light with enough brightness and durability.
- Gloves and Safety Glasses: It’s important to protect your hands and eyes during the inspection. Wear gloves to prevent injury and safety glasses to shield your eyes from any debris that may be inside the ductwork.
- Camera or Smartphone: Having a camera or smartphone with a camera function is useful for capturing visual evidence of any identified leaks or concerns. You can refer to these images later or share them with a professional if necessary.
- Duct Sealing Tape: Duct sealing tape, also known as foil tape, is a key tool for repairing any leaks you find. Look for tape specifically designed for HVAC applications, as it is heat resistant and durable. Avoid using duct tape, as it is not suitable for long-term sealing.
- Smoke Pencil or Incense Sticks: To detect air leaks more easily, consider using a smoke pencil or incense sticks. These tools create visible smoke that can help you identify airflow patterns and locate leaks in the ductwork.
- Measuring Tape: A measuring tape will come in handy when taking measurements of the ductwork or assessing the size of gaps or holes that need to be sealed.
- Mirror on a Stick: A mirror on a stick, also known as an inspection mirror, allows you to see around corners or into tight spaces within the ductwork. This tool is useful for examining hard-to-reach areas and identifying leaks in hidden sections.
- Sealant or Mastic: In addition to duct sealing tape, you may also need a duct sealant or mastic compound to seal larger gaps or joints in the ductwork. These products provide a more durable and long-lasting seal than tape alone.
- Dust Mask: If you suspect that your ductwork is contaminated with dust or other particles, wearing a dust mask can provide added protection for your respiratory system. Choose a mask rated for filtering out small particles.
Having these tools and materials readily available will ensure that you are well-equipped to inspect and address any duct leaks you may find. In the next section, we will provide a step-by-step guide on how to check HVAC ducts for leaks.
Read more: How To Check For Leaks In Plumbing
Step-by-Step Guide to Checking HVAC Ducts for Leaks
Checking HVAC ducts for leaks requires a systematic approach to ensure a comprehensive inspection. Follow these step-by-step instructions to effectively assess your ductwork for leaks:
- Turn off the HVAC System: Before you begin, make sure to turn off your HVAC system to prevent it from starting while you are working on the ducts. This will ensure your safety and allow for accurate leak detection.
- Access the Ducts: Locate the access points to your HVAC ducts, which can include registers, vents, or access panels. Remove the covers or grilles to gain access to the ductwork. Take note of any screws or fasteners that may need to be removed.
- Inspect Visible Ductwork Sections: Start by visually inspecting the exposed sections of the ductwork. Look for any signs of obvious leaks, such as disconnected joints, visible gaps, or holes. Use a flashlight or work light to enhance visibility. Take pictures or videos of any identified issues for reference.
- Check Seams and Joints: Pay close attention to the seams and joints of the ductwork. These are common areas for leaks to occur. Look for signs of gaps, loose connections, or poor seals. Use your hand to feel for any noticeable airflow around these areas.
- Use a Smoke Pencil or Incense Stick: If you suspect a leak but can’t visually identify it, use a smoke pencil or incense stick near suspected areas. The smoke will show any disruptions in the airflow, indicating a possible leak. Note any areas where the smoke is drawn into the duct or where it dissipates rapidly.
- Inspect Hidden Ductwork: If possible, access any hidden sections of the ductwork, such as those in crawl spaces or attics. Use a mirror on a stick to visually inspect these areas for leaks or damage. Look for sagging sections, holes, or signs of moisture that may indicate leaks.
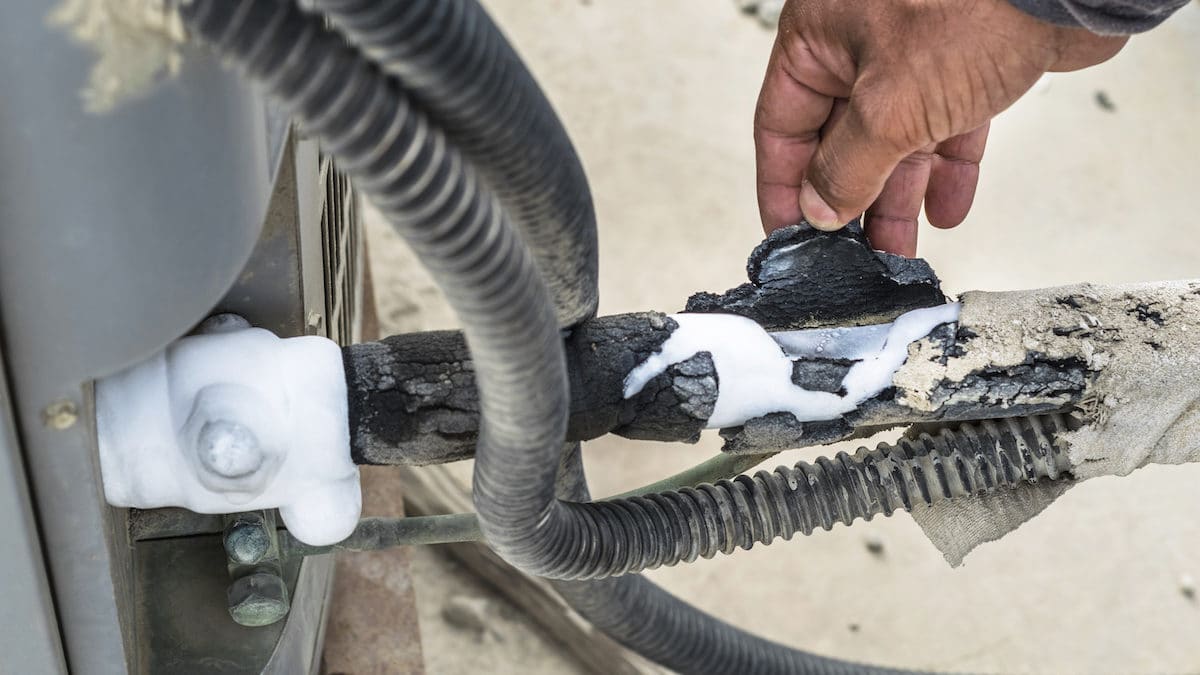
- Check Duct Insulation: Inspect the insulation around the ductwork. Look for any signs of wear, damage, or displacement. Damaged insulation can make the ductwork more susceptible to leaks. Make sure to repair or replace damaged insulation as necessary.
- Repair Identified Leaks: Once you have identified any duct leaks, it’s time to repair them. Start by cleaning the areas around the leaks, removing any debris or dust. Use duct sealing tape to seal small gaps or holes. For larger gaps or joints, apply a duct sealant or mastic compound. Follow the manufacturer’s instructions for proper application.
- Reattach and Secure Access Points: After making the necessary repairs, reattach any access covers, grilles, or panels. Ensure they are properly secured and sealed to prevent air leakage. Use screws or fasteners as needed.
- Turn on the HVAC System: Once you have completed the inspection and repairs, turn on your HVAC system to check for any improvements in airflow and temperature distribution. Monitor your energy bills over time to see if there are any noticeable reductions after addressing the duct leaks.
By following these step-by-step instructions, you can methodically inspect your HVAC ducts for leaks and make the necessary repairs. Regularly checking and sealing duct leaks will help improve the efficiency of your HVAC system, enhance indoor air quality, and lower your energy costs.
Tip: Use a smoke pencil or incense stick to check for air leaks in HVAC ducts. Hold the smoke source near the duct seams and connections while the system is running, and look for any movement of the smoke to identify leaks.
Common Areas to Inspect for Duct Leaks
When checking HVAC ducts for leaks, it’s important to focus on specific areas where leaks are most likely to occur. By paying close attention to these common problem areas, you can effectively identify and address duct leaks. Here are the areas you should inspect:
- Connection Points: Start by inspecting the connection points where different sections of ductwork join together. These connections can become loose or poorly sealed over time, leading to air leaks. Look for signs of gaps or disconnection at these junctions.
- Joints and Seams: Check all the joints and seams in the ductwork. These are areas where sections of ducts are joined together. Look for gaps or separations in the seals. Pay special attention to corners and elbow fittings, as they are prone to leaks.
- Damaged or Disconnected Ductwork: Examine the entire length of your ductwork for any sections that are damaged, detached, or disconnected. These can occur due to poor installation, age-related deterioration, or other factors. Repair or replace these sections as necessary to eliminate leaks.
- Registers and Vents: Inspect the registers and vents, both on the supply and return sides of the system, for signs of leakage. Look for gaps between the vents and wall or floor openings. Ensure that the registers are tightly secured and properly sealed to prevent air leakage.
- Around HVAC Equipment: Pay attention to the area around your HVAC equipment, such as the air handler or furnace. Inspect the connections between the equipment and the ductwork, ensuring they are securely attached and properly sealed. Look for air leaks or signs of loose fittings.
- Transition Points: Transition points occur where the ductwork changes in size or shape, such as at the connections between the main trunk line and branch lines. These areas are prone to leaks, so carefully examine the seals and connections at these points.
- Vulnerable Areas: Certain areas of the ductwork may be more vulnerable to leaks than others. These include areas near the roof or exterior walls, where the ducts may be exposed to extreme temperatures or weather conditions. Inspect these areas for signs of damage or insulation deterioration.
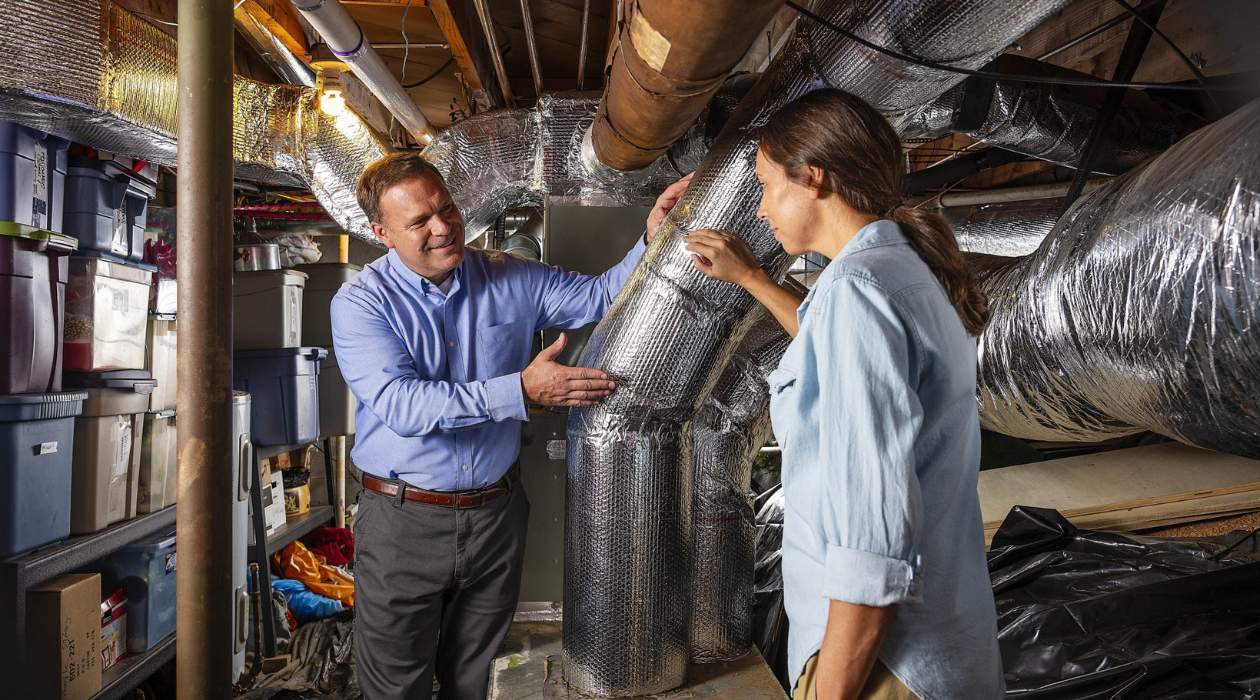
- Insulation Gaps: Look for gaps or tears in the insulation surrounding the ductwork. Damaged insulation can contribute to energy loss and increase the risk of air leaks. Ensure that the insulation is properly secured and tightly fitted around the ducts.
By thoroughly inspecting these common problem areas, you can effectively identify and address any duct leaks. Remember to use the appropriate tools and techniques to verify the presence of leaks and make the necessary repairs. In the next section, we will discuss different techniques for detecting duct leaks.
Techniques for Detecting Duct Leaks
Detecting duct leaks can be challenging since the ductwork is often hidden behind walls, ceilings, or in inaccessible areas. However, there are several techniques you can use to detect and pinpoint the location of duct leaks. Here are some effective methods:
- Visual Inspection: Start with a visual inspection of the visible ductwork. Look for obvious signs of leaks such as disconnected joints, visible gaps, or holes. Inspect the seams, joints, and connections for any signs of damage or poor seals. Look for areas where the ductwork may be sagging or showing signs of wear and tear.
- Smoke Test: A smoke test involves using a smoke pencil or incense stick near the suspected areas of duct leaks. The smoke will reveal any disruptions in the airflow, indicating the presence of leaks. If the smoke is drawn into the duct or dissipates rapidly in a particular area, it likely indicates a leak in that section.
- Pressure Test: A pressure test involves pressurizing the ductwork to detect leaks. Close off all the registers and vents, then use a ductwork-specific pressure testing device to pressurize the system. Monitor the pressure gauge to see if there is a drop in pressure, which would indicate the presence of leaks. You can use sealing tape or temporary plugs to block off certain sections of the ductwork to isolate specific areas for testing.
- Thermal Imaging: Thermal imaging cameras can help detect temperature differences in the ductwork, which may indicate the presence of leaks. The camera will display the temperature variations, allowing you to identify areas where conditioned air is escaping. This method is particularly useful for larger duct systems or when trying to locate leaks in hidden or hard-to-reach areas.
- Pressure Differential Test: With this method, you need a device that measures pressure differentials. By creating a pressure difference between the ductwork and the surrounding space, you can determine if there are leaks. By comparing the pressure readings, you can identify areas where air is escaping and locate the leaks.
- Ultrasonic Leak Detection: Ultrasonic leak detectors can be used to identify the high-frequency sounds produced by air leaks. These devices can pick up and amplify the sounds emitted by the escaping air, making it easier to pinpoint the exact location of the leak. Move the detector along the ductwork while listening for any hissing or rushing sounds.
By using a combination of these techniques, you can more effectively detect and locate duct leaks. Keep in mind that some methods may require specialized equipment or professional assistance. Once you have identified the leaks, you can proceed to repair and seal them, as we will explore in the next section.
Fixing HVAC Duct Leaks
Once you have identified the locations of duct leaks, it’s important to promptly repair and seal them to optimize the performance of your HVAC system. Here’s a step-by-step guide on fixing HVAC duct leaks:
- Clean and Prepare the Area: Before making any repairs, clean the area around the leaks. Remove any dust, debris, or loose insulation that may interfere with the sealing process. Ensure that the surface is dry and free from any contaminants.
- Sealing Small Gaps and Holes: For small gaps or holes in the ductwork, duct sealing tape is an effective solution. Cut a piece of tape that is slightly longer than the gap or hole you are sealing. Apply the tape directly over the leak, ensuring it sticks securely to both sides of the duct. Press firmly to create a tight seal.
- Sealing Larger Gaps or Joints: For larger gaps or joints that cannot be effectively sealed with tape alone, use a duct sealant or mastic compound. Apply the sealant or mastic with a brush or putty knife, spreading it evenly over the area that needs to be sealed. Ensure that the sealant covers the entire gap or joint, and smooth it out for a proper seal.
- Repairing Damaged Ductwork: If you encounter damaged or detached sections of ductwork, repair or replace them as necessary. Use ductwork-specific screws or sheet metal fasteners to reconnect any disconnected sections. Apply duct sealing tape or sealant around the repaired area to ensure a tight seal and prevent future leaks.
- Insulating the Ductwork: Insulating the ductwork can help prevent future leaks and increase energy efficiency. Use duct insulation sleeves or wrap to cover the exposed areas of the ducts. Ensure that the insulation is properly secured and tightly fitted to prevent air leakage. Pay special attention to areas where the ductwork passes through unconditioned spaces, such as attics or crawl spaces.
- Recheck Sealant or Tape: After completing the repairs, inspect the sealed areas to ensure they are secure and properly sealed. Check for any gaps, loose tape, or incomplete sealant coverage. Make any necessary adjustments or reapplying sealant or tape as needed.
- Monitor Performance: After fixing the duct leaks, monitor the performance of your HVAC system. Observe if there are improvements in airflow, temperature distribution, and energy efficiency. Keep an eye on your utility bills to see if there are any noticeable reductions in energy consumption.
- Regular Maintenance and Inspections: To prevent future duct leaks, it’s crucial to perform regular maintenance and inspections. Clean or replace air filters as recommended by the manufacturer. Schedule professional HVAC maintenance to ensure the system operates optimally. Regularly inspect the ductwork for any signs of new leaks or damage.
By following these steps and taking proactive measures to repair and seal duct leaks, you can restore the efficiency, effectiveness, and overall functionality of your HVAC system. Not only will this improve indoor comfort and air quality, but it will also help reduce energy waste and lower your utility bills.
Read more: How To Close Off A HVAC Duct
Benefits of Fixing Duct Leaks
Fixing duct leaks in your HVAC system offers numerous benefits for both your home and your wallet. Here are some of the key advantages of addressing and repairing duct leaks:
- Improved Energy Efficiency: Duct leaks can cause your HVAC system to lose a significant amount of conditioned air before it reaches its intended destination. By sealing these leaks, you can ensure that the cooled or heated air reaches the intended rooms, maximizing energy efficiency. This leads to lower energy consumption, reduced strain on your HVAC equipment, and potentially significant cost savings on your utility bills.
- Enhanced Home Comfort: Duct leaks can create temperature imbalances throughout your home, with some areas being too hot or too cold. By sealing the leaks, you can achieve better airflow and temperature consistency, resulting in increased comfort for all rooms in your home.
- Improved Indoor Air Quality: Duct leaks can allow pollutants, allergens, and contaminants to enter your HVAC system, compromising indoor air quality. These contaminants can then be circulated throughout your home, potentially leading to health issues. By preventing these leaks, you can ensure cleaner and healthier indoor air, reducing the risk of allergies, respiratory problems, and other related health concerns.
- Extended HVAC System Lifespan: Duct leaks can cause your HVAC system to work harder and longer to compensate for the lost conditioned air. This can increase wear and tear on the equipment, potentially shortening its lifespan. By sealing duct leaks and reducing the workload on your HVAC system, you can help extend its life, saving you money on costly repairs or premature replacement.
- Reduced Environmental Impact: Energy consumption has a direct impact on the environment. By fixing duct leaks and improving energy efficiency, you help reduce carbon emissions and decrease your ecological footprint. This contributes to a more sustainable and environmentally friendly home.
- Cost Savings: Fixing duct leaks can lead to significant cost savings in the long run. By reducing energy waste and optimizing the performance of your HVAC system, you can enjoy lower utility bills month after month. The savings can be substantial and can help offset the investment made to repair the leaks.
- Peace of Mind: Knowing that your HVAC system is functioning at its peak efficiency and that your home is comfortable and free from air leaks and contaminants provides peace of mind. You can have confidence in the performance of your system and enjoy a healthier and more comfortable living environment.
By addressing duct leaks, you not only improve the performance of your HVAC system but also enhance the overall quality of your home. From energy efficiency and cost savings to improved comfort and health, fixing duct leaks offers a range of advantages that make it a worthwhile investment.
Conclusion
Checking HVAC ducts for leaks is a crucial maintenance task that can have a significant impact on the efficiency, comfort, and air quality of your home. By identifying and fixing duct leaks, you can optimize the performance of your HVAC system, reduce energy consumption, and enjoy cost savings on your utility bills.
Throughout this article, we have explored the importance of checking HVAC ducts for leaks and provided a comprehensive guide on how to conduct a thorough inspection. We discussed the signs that may indicate potential duct leaks, the tools and materials needed for the inspection, and techniques for detecting and pinpointing the location of leaks.
Additionally, we covered the steps involved in fixing duct leaks, which can include sealing small gaps and holes with duct sealing tape, using a duct sealant or mastic compound for larger gaps or joints, and repairing or replacing damaged ductwork. We also highlighted the benefits of fixing duct leaks, such as improved energy efficiency, enhanced home comfort, and increased indoor air quality.
Regularly checking and maintaining your HVAC ducts for leaks is a proactive measure that ensures the optimal performance of your system and provides a healthier and more comfortable living environment for you and your family. By investing time and effort in inspecting and repairing duct leaks, you can experience long-term cost savings, extend the lifespan of your HVAC equipment, and reduce your impact on the environment.
Remember, if you are unsure or uncomfortable performing the inspection or repairs yourself, it is always recommended to seek professional assistance from a qualified HVAC technician. They have the expertise and specialized tools to efficiently identify and fix duct leaks.
Take the initiative to check your HVAC ducts for leaks today and enjoy the benefits of a well-maintained and energy-efficient home. With proper care and attention, your HVAC system will continue to provide reliable and comfortable indoor conditions for years to come.
Frequently Asked Questions about How To Check HVAC Ducts For Leaks
Was this page helpful?
At Storables.com, we guarantee accurate and reliable information. Our content, validated by Expert Board Contributors, is crafted following stringent Editorial Policies. We're committed to providing you with well-researched, expert-backed insights for all your informational needs.


0 thoughts on “How To Check HVAC Ducts For Leaks”