Articles
How To Clean AC Unit Outside
Modified: March 25, 2024
Learn effective techniques and tips on cleaning your AC unit outside with our informative articles. Keep your cooling system running smoothly and efficiently.
(Many of the links in this article redirect to a specific reviewed product. Your purchase of these products through affiliate links helps to generate commission for Storables.com, at no extra cost. Learn more)
Introduction
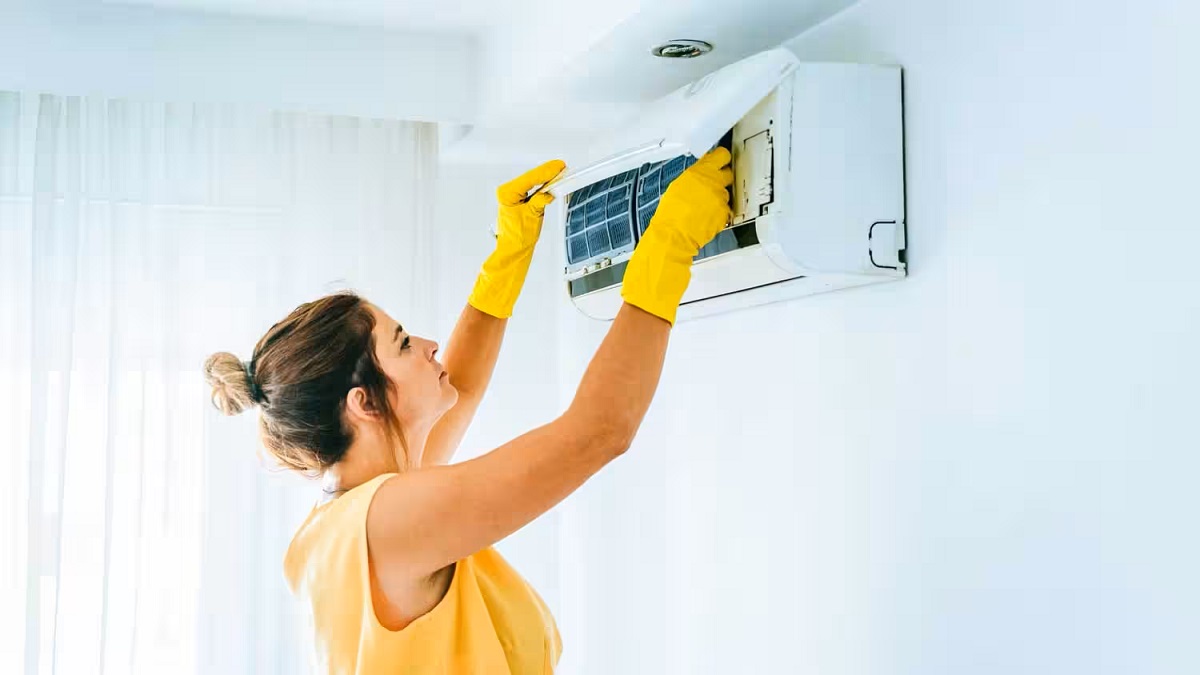
An air conditioning (AC) unit is an essential appliance for providing comfort and cool air during hot summer days. However, to ensure optimal performance and longevity of your AC unit, regular maintenance is crucial. One of the key maintenance tasks is cleaning the AC unit, both inside and outside.
While many people are aware of the importance of cleaning the inside components of their AC unit, such as the filters and coils, it is equally important to clean the unit’s exterior. The external part of the AC unit, also known as the condenser unit, is situated outside the house and is exposed to various elements, such as dirt, dust, leaves, and debris.
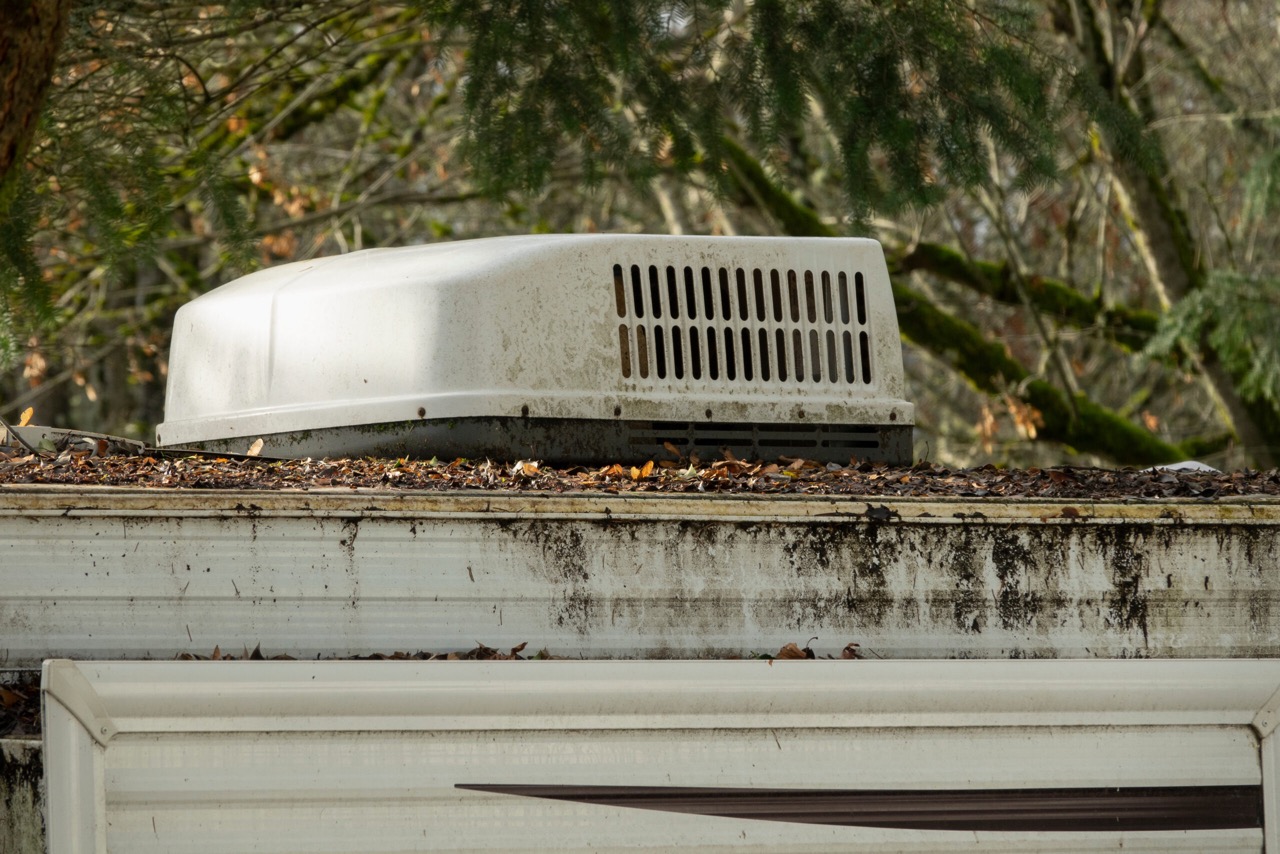
When the condenser unit becomes dirty and clogged, it can lead to decreased airflow and reduced cooling efficiency. Moreover, a dirty unit puts extra strain on the system, potentially leading to higher energy consumption and increased wear and tear on the components.
In this article, we will guide you through the process of cleaning your AC unit outside. Regular cleaning of the condenser unit will not only ensure optimal performance but also extend the lifespan of your unit, saving you money and hassle in the long run.
Key Takeaways:
- Regularly cleaning the AC unit outside is crucial for optimal performance, energy efficiency, and cost savings. Follow the outlined steps to maintain a well-functioning and long-lasting AC system.
- Prioritize safety, gather the necessary tools, and follow the step-by-step process to clean the condenser unit, straighten bent fins, and maintain the fan blades. Regular maintenance ensures a comfortable indoor environment and extends the lifespan of your AC unit.
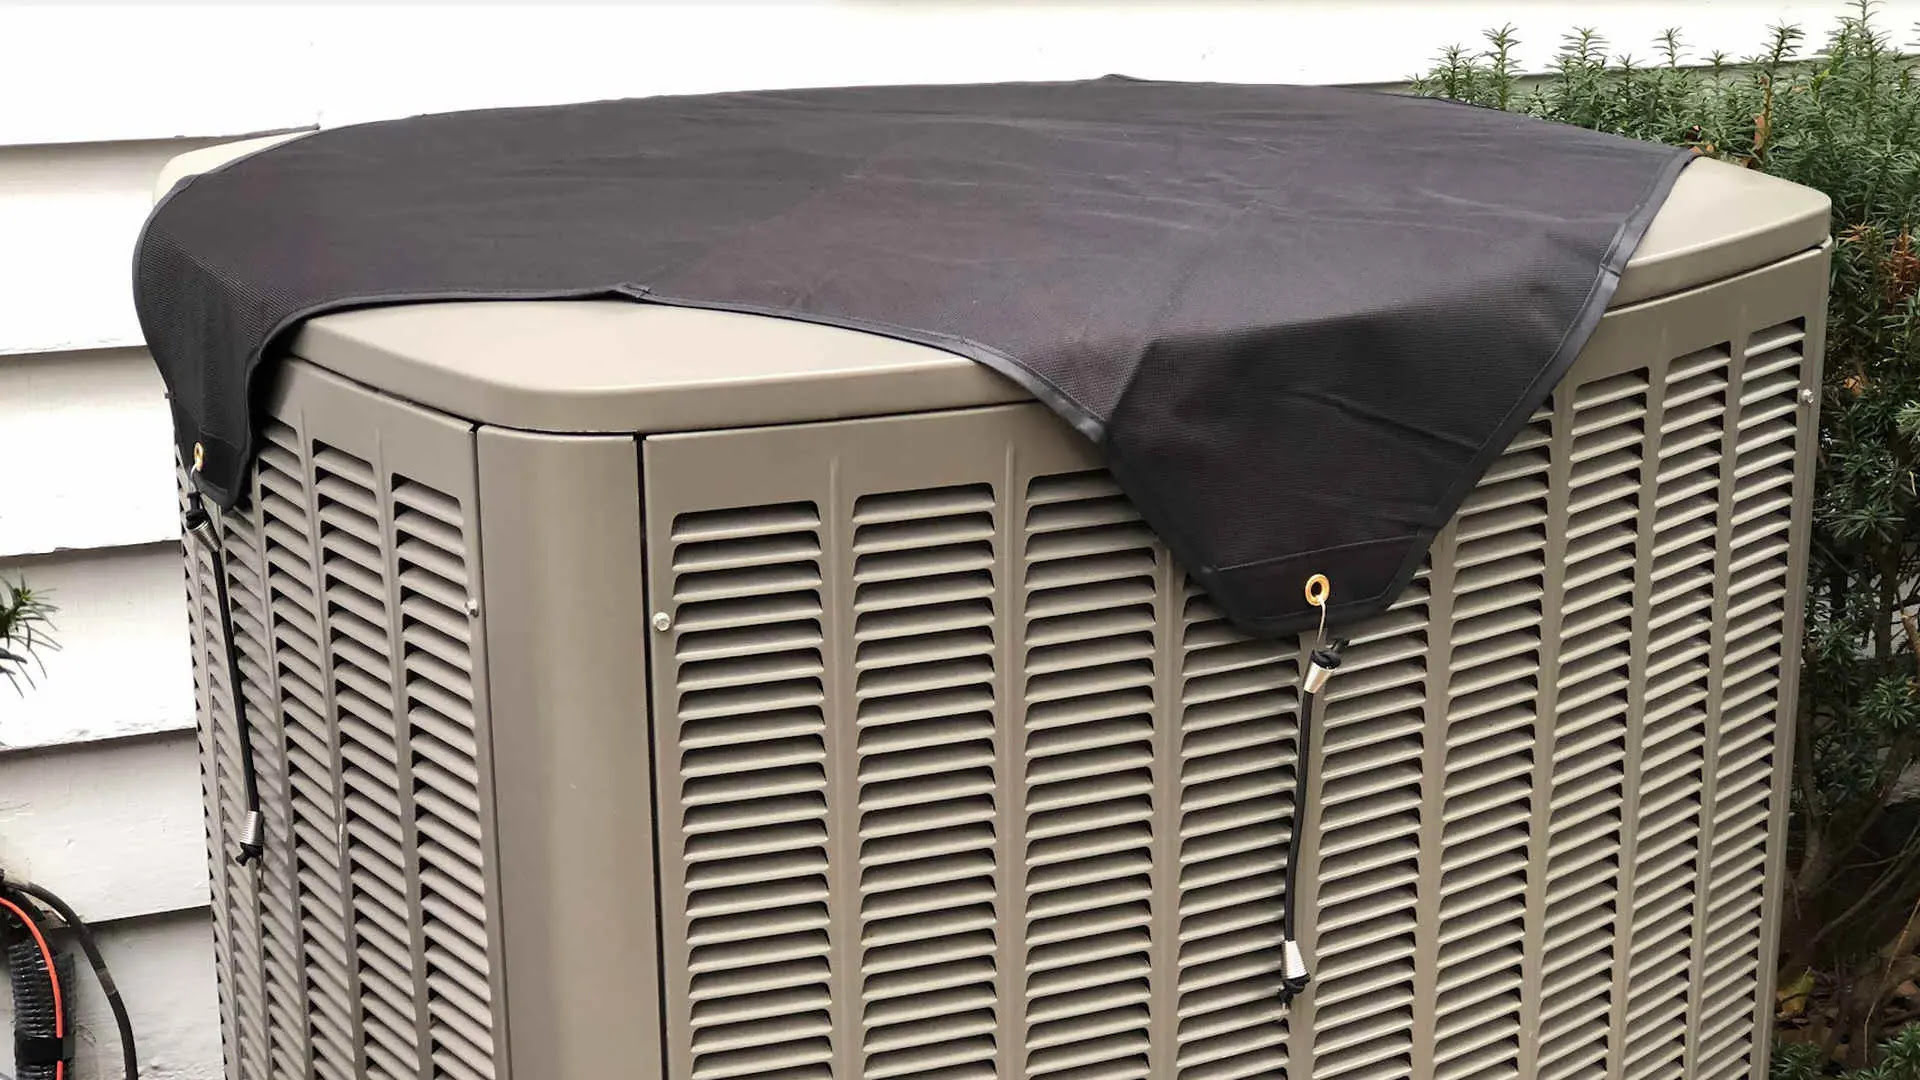
Read more: How To Shade Your Outside AC Unit
Importance of Cleaning the AC Unit
Cleaning the AC unit outside is an important maintenance task that should not be overlooked. Here are some key reasons why it is essential:
- Improved Airflow: The condenser unit of the AC system contains the condenser coils, fan blades, and fins. Over time, these components can become clogged with dirt, dust, and debris. This obstructs the airflow and prevents the AC unit from cooling effectively. By regularly cleaning the unit, you can ensure proper airflow, allowing the system to work efficiently and provide optimal cooling.
- Enhanced Energy Efficiency: A clean AC unit operates more efficiently, reducing energy consumption and lowering your electricity bills. When the condenser coils are dirty, they cannot efficiently release heat, causing the system to work harder and consume more energy. By cleaning the coils, you can improve the energy efficiency of your AC unit, saving both money and energy.
- Extended Lifespan: When dirt and debris accumulate on the condenser coils and fan blades, it puts extra strain on the system. The AC unit has to work harder to overcome the resistance caused by the buildup, leading to increased wear and tear. Cleaning the unit regularly helps to prevent damage and prolong the lifespan of your AC unit.
- Prevention of Costly Repairs: Neglecting to clean the AC unit outside can result in various issues, such as frozen coils, compressor failure, or even a complete system breakdown. These repairs can be expensive and inconvenient. By taking the time to clean the unit, you can prevent these costly repairs and ensure that your AC system operates smoothly.
Overall, regular cleaning of the AC unit outside is essential for maintaining its optimal performance, energy efficiency, and longevity. Not only does it help in providing a comfortable indoor environment, but it also saves you money in terms of reduced energy bills and potential repairs.
Tools and Supplies Needed
Before you start cleaning your AC unit outside, it is important to gather the necessary tools and supplies to ensure a smooth and effective cleaning process. Here are the tools and supplies you will need:
- Gloves: Protect your hands from dirt, debris, and any chemicals you may use during the cleaning process by wearing gloves.
- Goggles: Safety goggles will protect your eyes from any debris or cleaning products that may splash during the cleaning process.
- Mask: A mask will help to protect you from inhaling any dust or allergens that may be released during the cleaning process.
- Water Hose: You will need a water hose with a spray nozzle attachment to rinse off the dirt and debris from the AC unit.
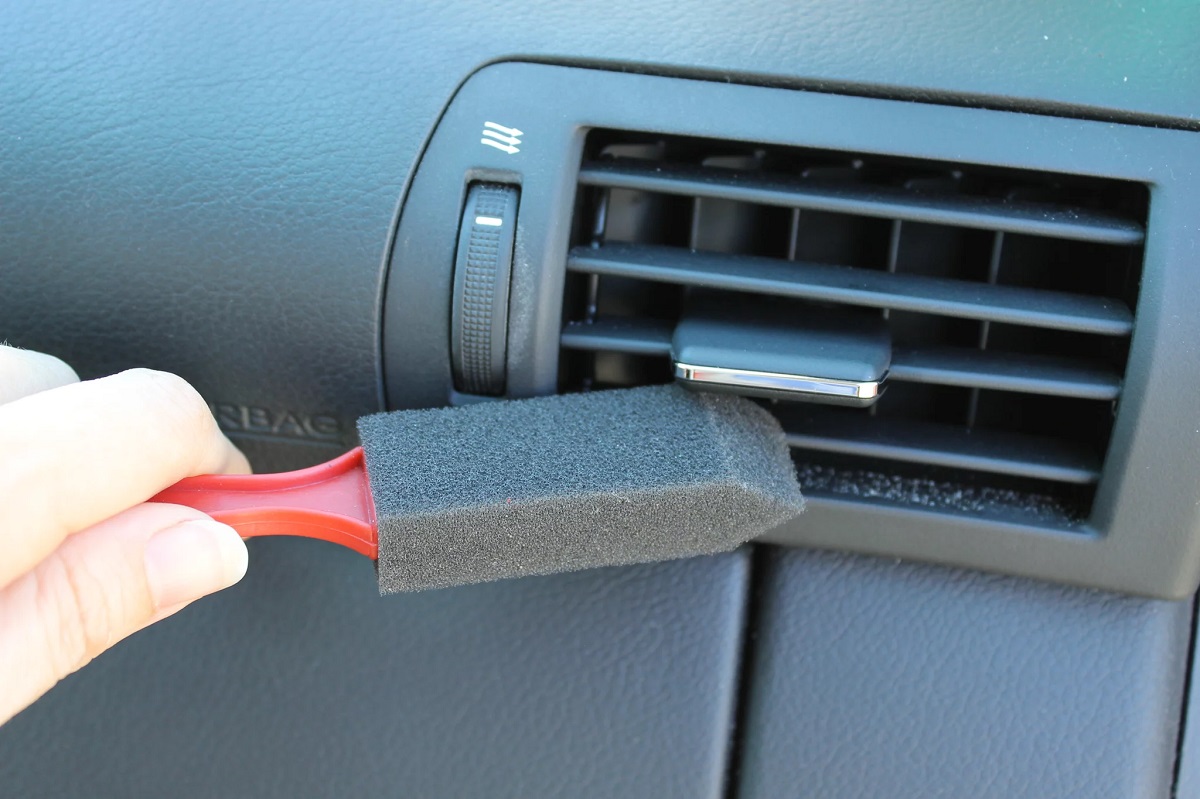
- Soft Brush: A soft-bristle brush, such as a nylon brush, will help to remove stubborn dirt, dust, and debris from the condenser coils, fins, and fan blades.
- Foaming Coil Cleaner: A foaming coil cleaner specifically designed for AC units can be used to dissolve and remove dirt, grease, and grime from the condenser coils.
- Fin Comb: A fin comb will come in handy if the fins of your condenser unit are bent. It will help you straighten them out for better airflow.
- Drip Pan: Place a drip pan or tray beneath the condenser unit to catch any water or cleaning solution that may drip off during the cleaning process.
- Microfiber Cloth: Use a microfiber cloth to wipe down any excess water or cleaning solution from the surfaces of the AC unit after cleaning.
- Vacuum Cleaner: If there is a buildup of loose debris around the unit, you can use a vacuum cleaner with a brush attachment to remove it before starting the cleaning process.
Having these tools and supplies readily available before you begin cleaning will ensure that you can complete the task efficiently and effectively. It is important to use the right tools and take necessary safety precautions to avoid any damage to the unit or personal injury during the cleaning process.
Preparing for Cleaning
Before you start cleaning the AC unit outside, it is important to take a few steps to ensure a safe and effective cleaning process. Here are some preparations you should make:
- Turn Off the Power: Before you begin cleaning, make sure to turn off the power supply to the AC unit. Locate the breaker or disconnect switch near the unit and switch it off to prevent any electrical accidents.
- Clear the Surrounding Area: Remove any objects, debris, or vegetation that may be obstructing the AC unit. Trim any plants or shrubs around the unit to create at least two feet of clearance for better airflow.
- Protect Nearby Surfaces: Cover any nearby surfaces, such as plants, furniture, or outdoor belongings, with a tarp or plastic sheet to protect them from water and cleaning products.
- Inspect the Unit: Take a moment to visually inspect the AC unit. Look for any signs of damage, loose components, or excessive dirt buildup. If you notice any significant issues, it may be best to contact a professional HVAC technician for assistance.
- Check the Weather: It is recommended to clean the AC unit on a warm, sunny day when the condenser coils are dry. Avoid cleaning on a rainy or humid day to prevent water from causing damage to the electrical components of the unit.
- Gather Cleaning Supplies: Ensure you have all the necessary tools and supplies mentioned earlier in this article to avoid interruptions during the cleaning process.
By taking these preparatory steps, you will be ready to clean your AC unit outside safely and efficiently. It is important to prioritize safety and follow proper procedures to protect both yourself and the AC unit during the cleaning process.
Steps to Clean the AC Unit Outside
Cleaning the AC unit outside involves several steps to ensure a thorough and effective cleaning process. Follow these steps carefully to clean your AC unit and restore its optimal performance:
- Step 1: Turn Off the Power: Before you begin cleaning, make sure to turn off the power supply to the AC unit. This step is crucial to avoid any accidents or electrical hazards.
- Step 2: Remove Debris: Start by removing any large debris, such as leaves, twigs, or grass clippings, from the exterior of the unit. Use a gloved hand or a brush to gently sweep away the debris.
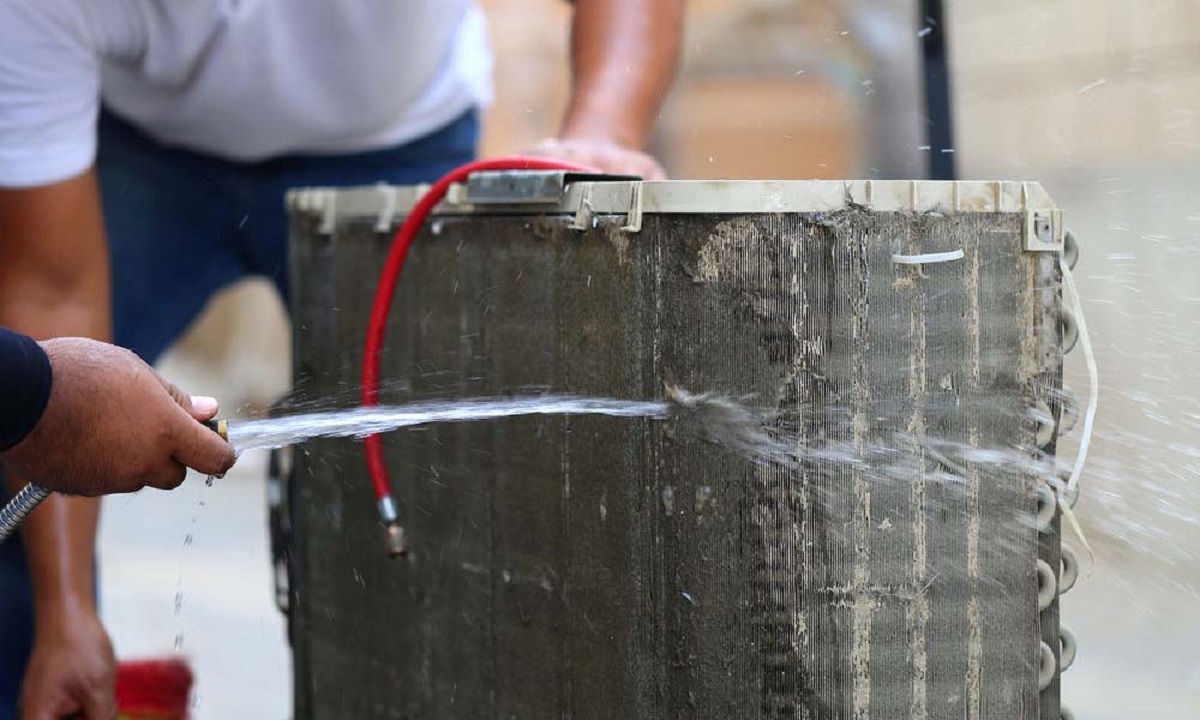
- Step 3: Rinse with Water: Use a water hose with a spray nozzle attachment to rinse the condenser unit thoroughly. Start from the top and work your way down, ensuring that all sides and surfaces are rinsed properly.
- Step 4: Apply Foaming Coil Cleaner: If the condenser coils appear dirty or clogged, apply a foaming coil cleaner according to the manufacturer’s instructions. Spray the cleaner evenly onto the coils, paying close attention to the areas with heavy buildup.
- Step 5: Let the Cleaner Sit: Allow the foaming coil cleaner to sit on the coils for the recommended duration as specified in the product instructions. This will give the cleaner time to dissolve any dirt, grease, or grime on the coils.
- Step 6: Rinse Off the Cleaner: After the recommended time has passed, rinse the condenser coils thoroughly with water. Make sure to remove all traces of the foaming coil cleaner from the coils.
- Step 7: Straighten Bent Fins: Inspect the fins of the condenser unit. If you notice any bent or misaligned fins, use a fin comb to carefully straighten them out. This will help to restore proper airflow and improve the unit’s efficiency.
- Step 8: Clean the Fan Blades: Use a soft-bristle brush or a cloth to gently clean the fan blades. Remove any dirt, dust, or debris that may have accumulated on the blades, ensuring that they are clean and free from obstructions.
- Step 9: Wipe Down Surfaces: After cleaning the condenser unit, use a microfiber cloth to wipe down any excess water or cleaning solution from the surfaces of the AC unit. This will help prevent water spots and leave the unit looking clean and polished.
- Step 10: Reassemble and Restore Power: Once the condenser unit is dry, reassemble any components that were removed during the cleaning process. Make sure everything is securely in place. Finally, restore the power supply to the AC unit.
Following these steps on a regular basis, preferably once or twice a year, will help to maintain a clean and efficient AC unit outside. Regular cleaning will prolong the lifespan of your AC unit and ensure that it operates at optimal performance, keeping you cool and comfortable during the hot summer months.
Read more: What Is Outside AC Unit Called
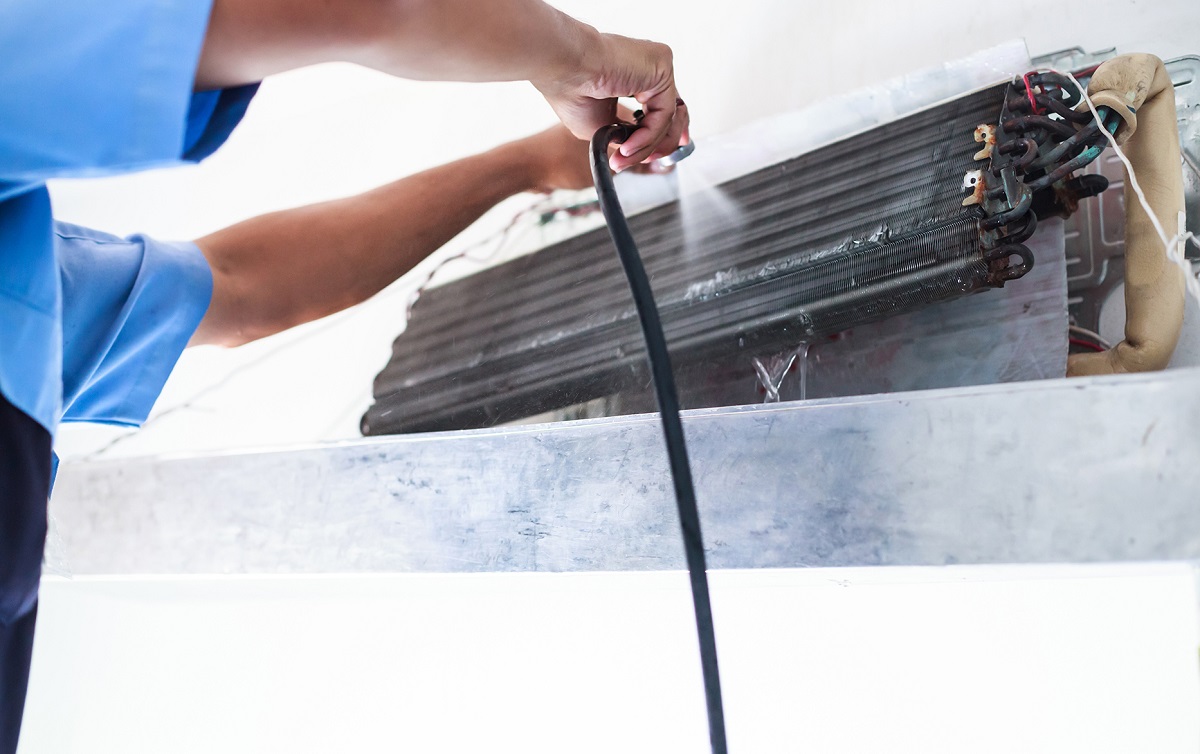
Cleaning the Condenser Coils
The condenser coils in your AC unit play a crucial role in the cooling process. Over time, these coils can become dirty and clogged with dust, dirt, and debris, affecting the efficiency and performance of your unit. Cleaning the condenser coils is an important step in maintaining your AC unit. Here’s how you can do it:
- Turn off the Power: Before you start cleaning the condenser coils, make sure to turn off the power supply to the AC unit. This will prevent any accidents or electrical hazards during the cleaning process.
- Remove Debris: Use a soft-bristle brush or gloved hand to remove any visible debris, such as leaves, grass clippings, or dirt, from the exterior of the condenser unit. Be careful not to damage the delicate fins surrounding the coils.
- Apply Coil Cleaner: Spray a foaming coil cleaner onto the condenser coils, ensuring thorough coverage. The foaming cleaner helps to dislodge and dissolve any dirt, dust, or grease stuck on the coils.
- Let it Sit: Allow the foaming coil cleaner to sit on the coils for the recommended amount of time indicated on the product instructions. This will give the cleaner enough time to break down the dirt and grime.
- Rinse off the Cleaner: After the recommended time has elapsed, rinse the condenser coils thoroughly using a gentle stream of water from a hose with a spray nozzle attachment. Start from the top and work your way down to ensure all the cleaner and loosened debris are washed away.
- Inspect for Cleanliness: Once you’ve rinsed off the cleaner, visually inspect the condition of the condenser coils. They should appear clean and free from any remaining debris. If necessary, repeat the cleaning process for stubborn dirt or buildup.
- Air Dry: Allow the condenser coils to air dry completely before proceeding with reassembling the unit. Avoid using any external heat sources to speed up the drying process, as this may damage the components.
By regularly cleaning the condenser coils, you can improve the airflow and efficiency of your AC unit. This will not only help in maintaining a comfortable indoor environment but also increase the lifespan of your unit while reducing energy consumption and potential repair costs.
Regularly clean the AC unit outside by removing debris, such as leaves and branches, from the surrounding area. Use a gentle stream of water to rinse off dirt and grime from the unit’s exterior. Avoid using high-pressure water, as it can damage the fins.
Clearing Debris from the Unit
Clearing debris from the AC unit is an important step in maintaining its optimal performance and preventing any potential damage. Over time, dirt, leaves, and other debris can accumulate around the unit, obstructing the airflow and reducing its efficiency. Here’s how you can clear the debris from the unit:
- Turn off the Power: Before you begin clearing debris, make sure to turn off the power supply to the AC unit. This ensures your safety during the cleaning process.
- Inspect the Unit: Take a close look at the exterior of the AC unit and identify any debris that needs to be removed. Common types of debris include leaves, grass clippings, twigs, and dirt.
- Remove Large Debris: Start by carefully removing any large debris by hand or using a gloved hand or a brush. Be cautious not to damage any fragile components of the unit, such as the fins or coils.
- Vacuum Away Loose Debris: Use a vacuum cleaner with a brush attachment to gently suction away any loose debris that may be present on or around the unit. Take your time to thoroughly clean the surrounding area to ensure no debris is left behind.
- Clean the Surrounding Area: After removing the debris from the unit, make sure to clean the surrounding area to prevent any future buildup. Sweep away dirt, leaves, and other debris from the ground and nearby surfaces.
- Inspect for Clogs: Check the area around the unit for any signs of clogged drainage or water buildup. Clear out any blockages in the drainage system or condensate lines to ensure proper water flow and prevent potential damage.
- Dispose of Debris Properly: Dispose of the debris you’ve collected in a proper manner, such as a compost bin or a garbage bag. Avoid leaving the debris near the unit or in areas where it can be blown back into the system.
- Turn on the Power: Once you’ve cleared the debris and completed the cleaning process, you can safely restore the power supply to the AC unit.
Regularly clearing debris from the AC unit helps to maintain optimal airflow and prevent potential damage caused by clogs or obstructions. By keeping the area surrounding the unit clean, you can ensure its efficiency and prolong its lifespan, providing you with cool and comfortable air in the long run.
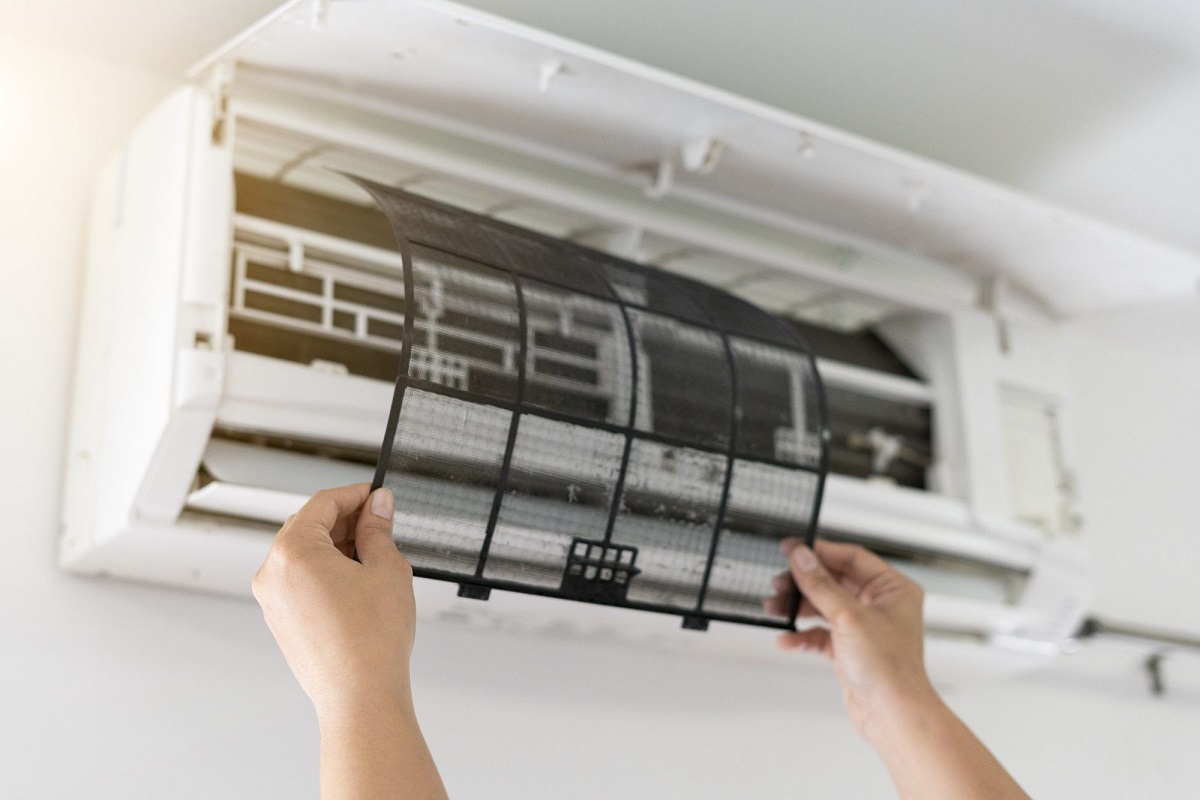
Straightening Bent Fins
The fins of the AC unit play a crucial role in the efficient cooling process by allowing proper airflow. However, over time, these fins can become bent or misaligned, hindering airflow and reducing the efficiency of the unit. Straightening the bent fins is an important step in maintaining optimal functionality. Here’s how you can do it:
- Turn off the Power: Before you start straightening the fins, ensure that the power supply to the AC unit is turned off. This step is crucial to prevent any accidental injuries or electrical hazards.
- Inspect the Fins: Carefully examine the fins of the condenser unit to identify any bent or damaged fins. Look for any signs of compression or misalignment that may be affecting the airflow.
- Prepare a Fin Comb: Use a fin comb specifically designed for AC units. These combs are available in different sizes to match the fin spacing of your unit. Select a comb with the appropriate spacing for your AC unit.
- Gently Straighten the Fins: Place the fin comb on the bent fin, ensuring that the teeth of the comb are positioned between the fins. Gently and carefully run the comb along the bent fins, applying even pressure to straighten them. Take your time and be gentle to avoid causing any further damage.
- Repeat the Process: Move along the entire length of the coil, using the fin comb to straighten any additional bent fins you encounter. Take care to straighten each fin individually to ensure proper alignment and airflow.
- Take Caution: Be cautious while straightening the fins to avoid applying too much pressure. Fins are delicate and can easily break or bend further if excessive force is applied. If a fin is severely damaged or cannot be straightened, it may be best to consult with a professional HVAC technician.
- Inspect the Fins Again: After straightening the bent fins, inspect the unit again to ensure that all fins are properly aligned and not obstructing the airflow. Adjust any fins that may require further attention.
Straightening the bent fins of the AC unit helps to restore optimal airflow and improve the overall efficiency of the unit. By ensuring that the fins are aligned and unobstructed, you can maximize the cooling performance, extend the lifespan of your AC unit, and save on energy costs.
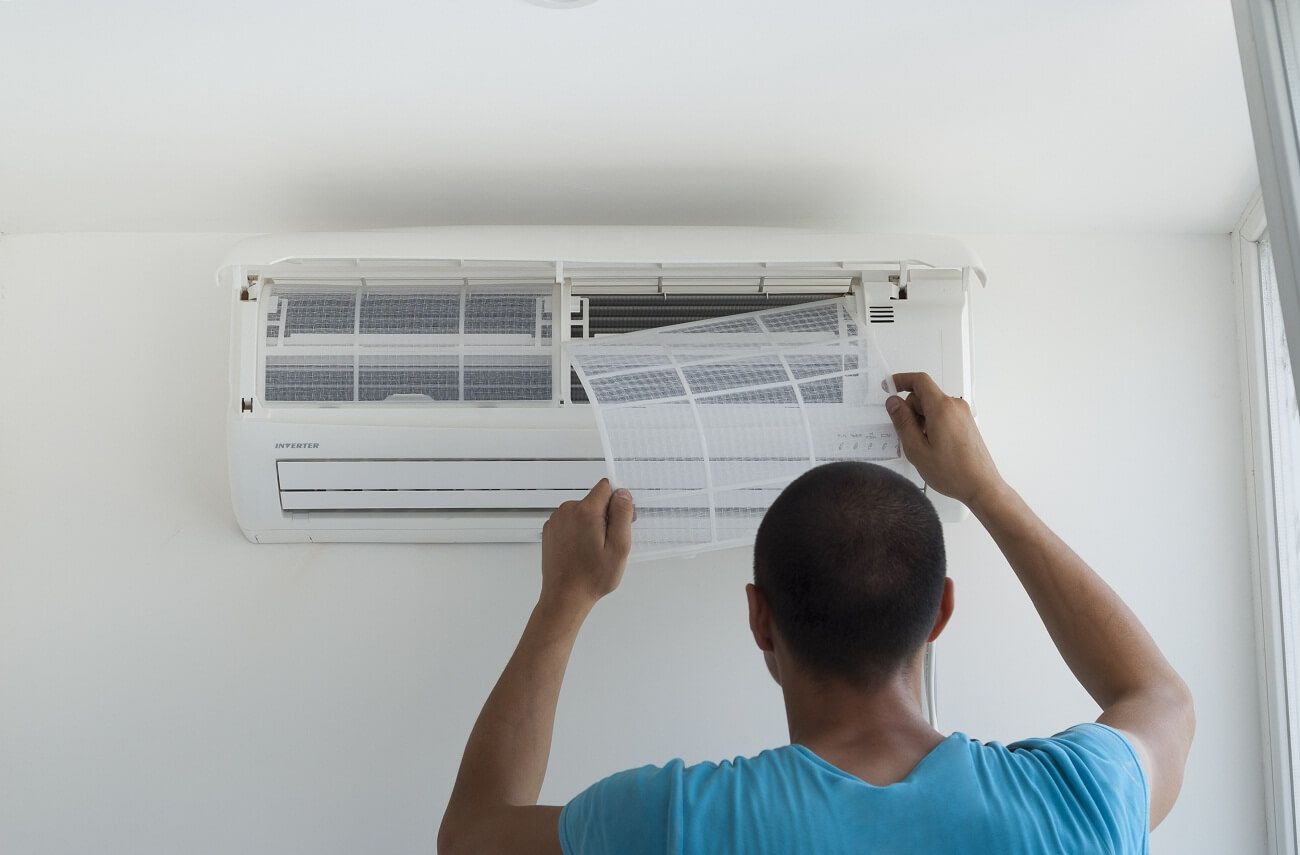
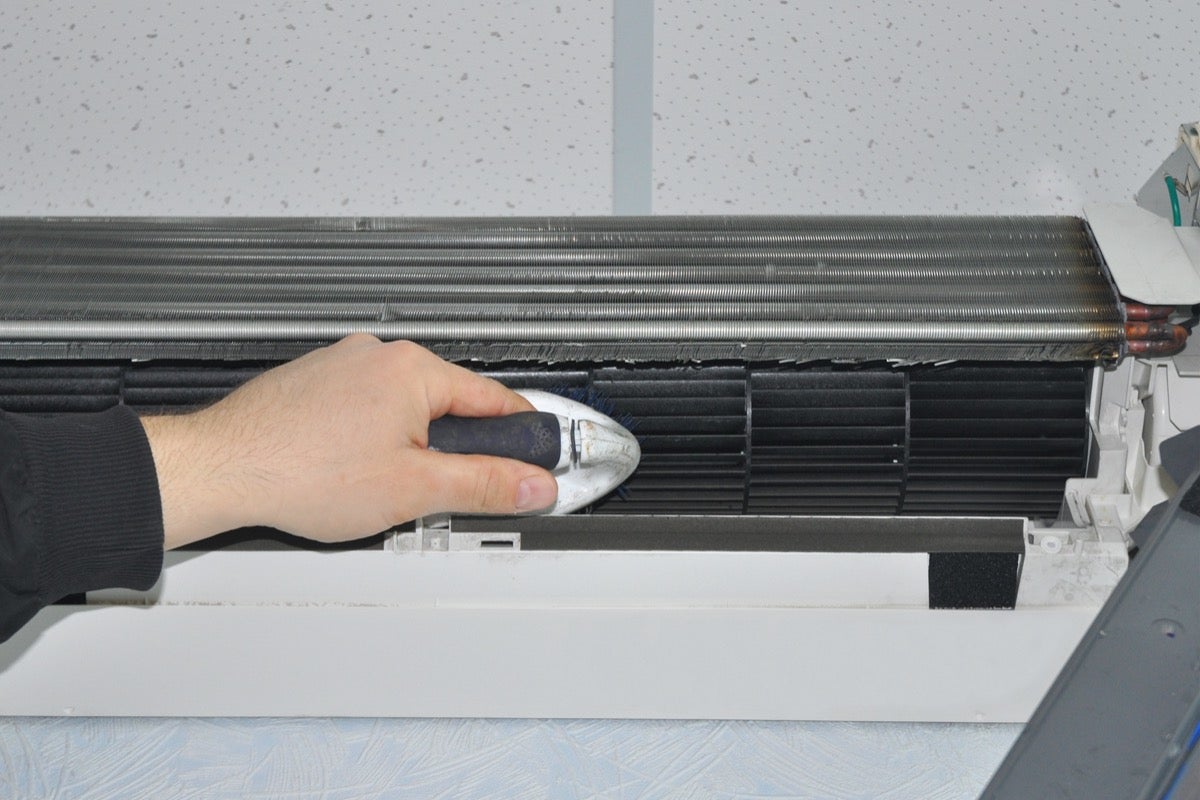
Cleaning the Fan Blades
The fan blades in your AC unit play a crucial role in circulating air and maintaining efficient cooling. Over time, these blades can accumulate dirt, dust, and debris, which can hinder their performance and reduce the effectiveness of your AC system. Cleaning the fan blades is an important step in maintaining optimal airflow. Here’s how you can do it:
- Turn off the Power: Before you start cleaning the fan blades, ensure that the power supply to the AC unit is turned off. This precaution is essential for your safety during the cleaning process.
- Access the Fan: Depending on your AC unit, you may need to remove an outer cover or access panel to reach the fan blades. Follow the manufacturer’s instructions or consult the unit’s manual for guidance.
- Inspect the Blades: Once you have access to the fan blades, visually examine them for any dirt, dust, or debris accumulation. Look for any signs of blockage or restrictions that may impede the airflow.
- Remove Loose Debris: Use a soft-bristle brush or a cloth to gently remove any loose debris from the fan blades. Pay attention to hard-to-reach areas and ensure that all visible debris is cleared away.
- Use a Vacuum Cleaner: If there is a significant buildup of dust or dirt on the fan blades, you can use a vacuum cleaner with a brush attachment to remove it. Carefully and lightly run the brush attachment over the blades, taking care not to apply too much pressure.
- Apply a Mild Cleaning Solution: If necessary, dampen a cloth with a mild cleaning solution, such as a mixture of water and mild detergent. Gently wipe the fan blades to remove any stubborn dirt or grime. Avoid using harsh chemicals or abrasive cleaners, as they can damage the fan blades.
- Rinse and Dry: Once you’ve cleaned the fan blades, rinse them with a clean cloth or sponge dampened with water to remove any residue from the cleaning solution. Allow the fan blades to air dry completely before reassembling the unit.
- Inspect the Surrounding Area: While the fan blades are drying, take the opportunity to inspect the surrounding area for any debris or obstructions. Clear away any loose debris to ensure proper airflow.
- Reassemble the Unit: Once the fan blades are dry and the surrounding area is clear, reassemble the unit according to the manufacturer’s instructions. Make sure all components are securely in place.
- Restore Power: Finally, restore the power supply to the AC unit, and your cleaned fan blades will be ready to provide efficient airflow and optimal cooling.
Regularly cleaning the fan blades helps to maintain proper airflow and prevent any buildup that can impede the performance of your AC unit. By keeping the fan blades clean, you can ensure efficient operation and maximize the cooling capacity of your system.
Reassembling and Finishing Touches
After cleaning the various components of your AC unit, it’s time to reassemble everything and add a few finishing touches to ensure optimal functionality. Here’s what you need to do:
- Inspect the Components: Before reassembling, take a moment to inspect all the components you have cleaned. Make sure they are dry and free from any debris or residue.
- Follow the Manufacturer’s Instructions: Refer to the manufacturer’s instructions or the unit’s manual for guidance on reassembling the unit. Each AC unit may have specific steps to follow, so it’s important to follow them closely to ensure proper alignment and functionality.
- Reattach the Outer Cover or Access Panel: If you had removed an outer cover or access panel to clean the interior components, carefully reattach it. Ensure that all screws or fasteners are securely tightened to prevent any vibrations or rattling during operation.
- Check the Electrical Connections: Double-check that all electrical connections are secure and properly reconnected. This includes any wiring or plugs that were disconnected for safety during the cleaning process.
- Test the Unit: After reassembling the AC unit, turn on the power supply and test the unit. Listen for any unusual sounds or vibrations. Also, pay attention to the airflow to ensure it is strong and consistent.
- Clean Up: Clean up the area around the AC unit by removing any tools, debris, or cleaning supplies that you used during the process. Dispose of any waste materials appropriately.
- Check for Leaks: Monitor the AC unit for any signs of leaks or water accumulation around or inside the unit. Excess moisture could indicate a problem with the drain lines or condensate system, which may require professional attention.
- Maintain Regular Cleaning: Remember to schedule regular cleaning and maintenance for your AC unit to keep it running smoothly and efficiently. Set a reminder to clean the unit before the start of each cooling season or at least once every six months.
By thoroughly reassembling the unit and paying attention to the finishing touches, you can ensure that your AC unit is operating at its best. Regular maintenance, including cleaning and inspections, will help extend the lifespan of your unit and ensure a comfortable indoor environment year-round.
Conclusion
Regularly cleaning your AC unit outside is a critical aspect of proper maintenance and can significantly impact its performance, efficiency, and longevity. By following the steps outlined in this article, you can effectively clean the various components of your AC unit and reap the benefits of a well-maintained system.
Throughout the cleaning process, it is essential to prioritize safety by turning off the power supply and wearing protective equipment. Clearing debris, cleaning the condenser coils, straightening bent fins, and cleaning the fan blades are all integral steps to restore optimal airflow and maximize the cooling capacity of your AC unit.
Additionally, ensuring reassembly is done correctly and conducting a final inspection is crucial to avoid any issues or malfunctions. Regular maintenance, including cleaning and inspections, will help extend the lifespan of your AC unit, reduce energy consumption, and prevent costly repairs down the line.
Remember to consult the manufacturer’s instructions or the unit’s manual during the cleaning process to ensure proper techniques and guidelines specific to your AC unit. If you are unsure or uncomfortable performing these tasks on your own, it is always advisable to seek professional assistance from a qualified HVAC technician.
By investing time and effort in cleaning your AC unit outside, you can ensure optimal performance, energy efficiency, and prolonged lifespan, providing you with cool and comfortable air during those hot summer months.
Frequently Asked Questions about How To Clean AC Unit Outside
Was this page helpful?
At Storables.com, we guarantee accurate and reliable information. Our content, validated by Expert Board Contributors, is crafted following stringent Editorial Policies. We're committed to providing you with well-researched, expert-backed insights for all your informational needs.

0 thoughts on “How To Clean AC Unit Outside”