
Articles
How To Check AC Voltage With Multimeter
Modified: January 5, 2024
Learn how to check AC voltage with a multimeter in this informative article. Gain the knowledge you need to troubleshoot electrical issues effectively.
(Many of the links in this article redirect to a specific reviewed product. Your purchase of these products through affiliate links helps to generate commission for Storables.com, at no extra cost. Learn more)
Introduction
Welcome to the world of electrical diagnostics! If you’re experiencing issues with your AC voltage, it’s essential to know how to check it using a multimeter. A multimeter is a versatile tool that allows you to measure various electrical parameters, including AC voltage.
By following a few simple steps, you can confidently diagnose AC voltage problems and take appropriate action. In this article, we will guide you through the process of checking AC voltage with a multimeter, ensuring accurate readings and promoting your safety.
Whether you’re a homeowner troubleshooting electrical issues or an aspiring electrician honing your skills, understanding how to check AC voltage is a valuable skill. So, let’s gather our tools and get started!
Key Takeaways:
- Mastering the art of checking AC voltage with a multimeter is crucial for troubleshooting electrical issues and ensuring safety. Prioritize safety, gather the right tools, and interpret readings accurately for effective electrical diagnostics.
- Understanding AC voltage measurement requires caution, proper setup, and interpretation. Always prioritize safety, seek professional help when needed, and stay informed to confidently diagnose and address electrical problems.
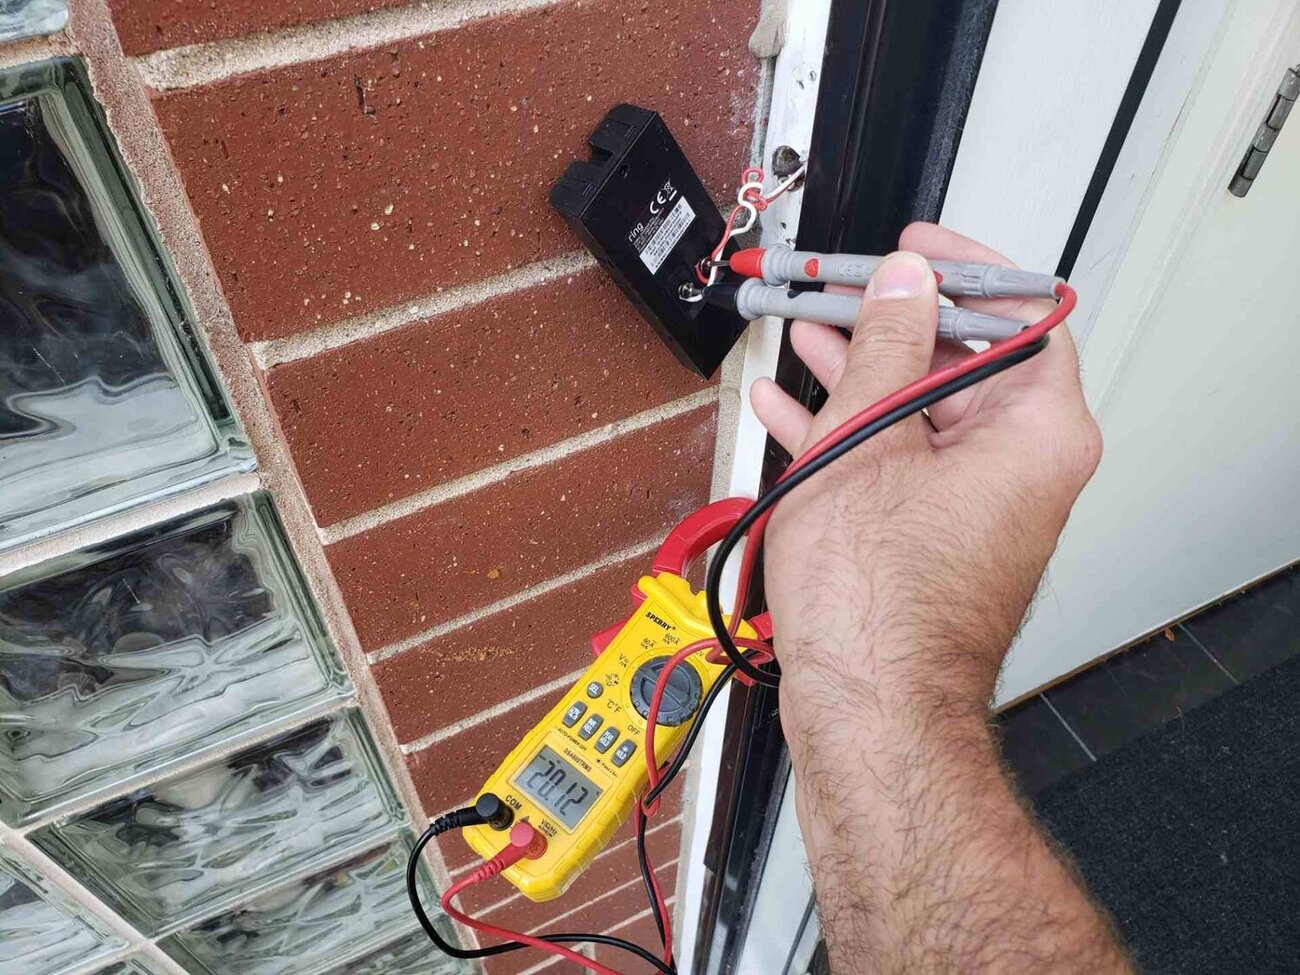
Read more: How To Check Doorbell Voltage
Step 1: Gather the Required Tools
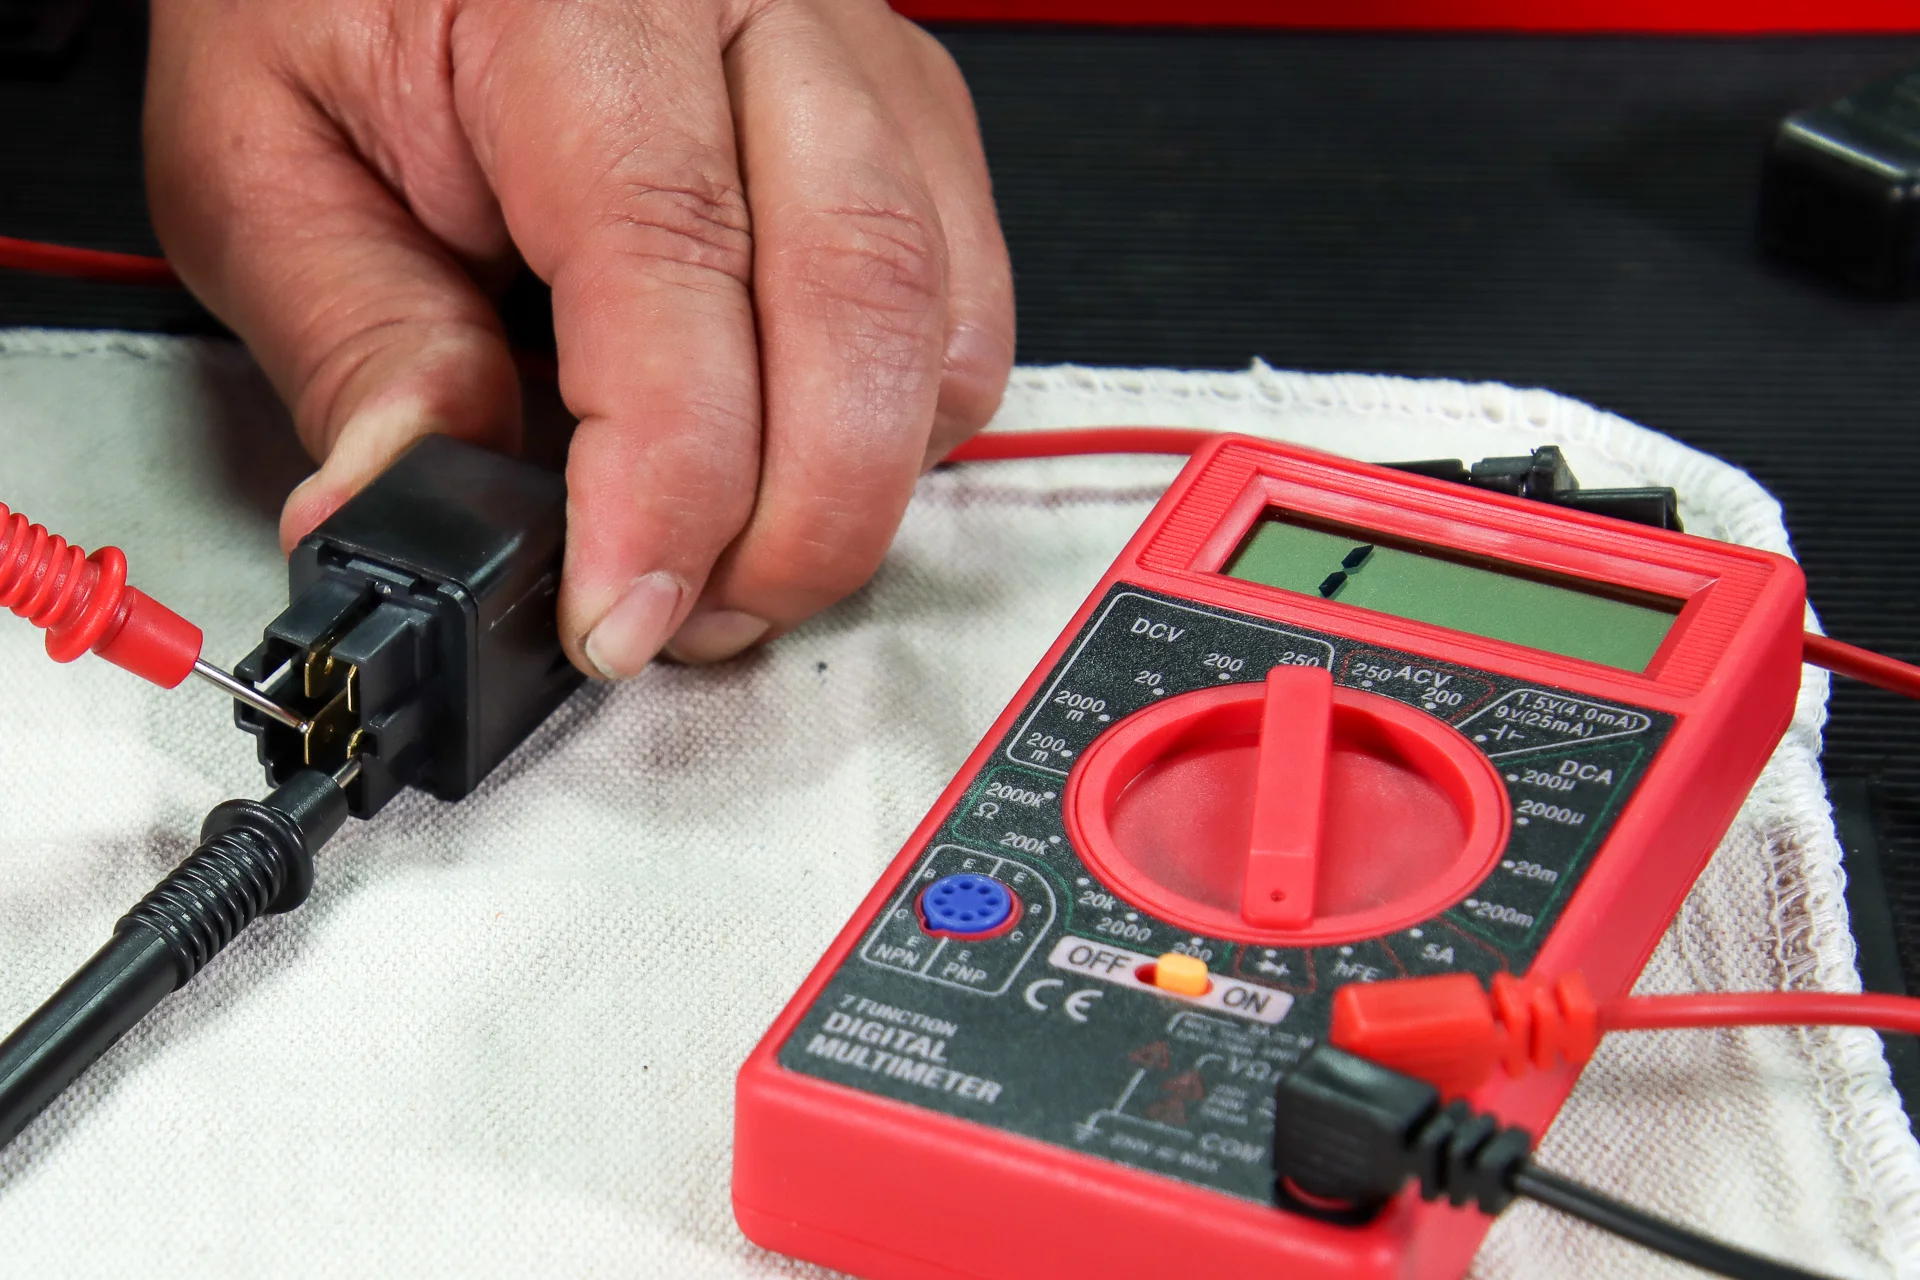
Before you begin testing AC voltage with a multimeter, make sure you have the necessary tools and equipment on hand. Here’s what you’ll need:
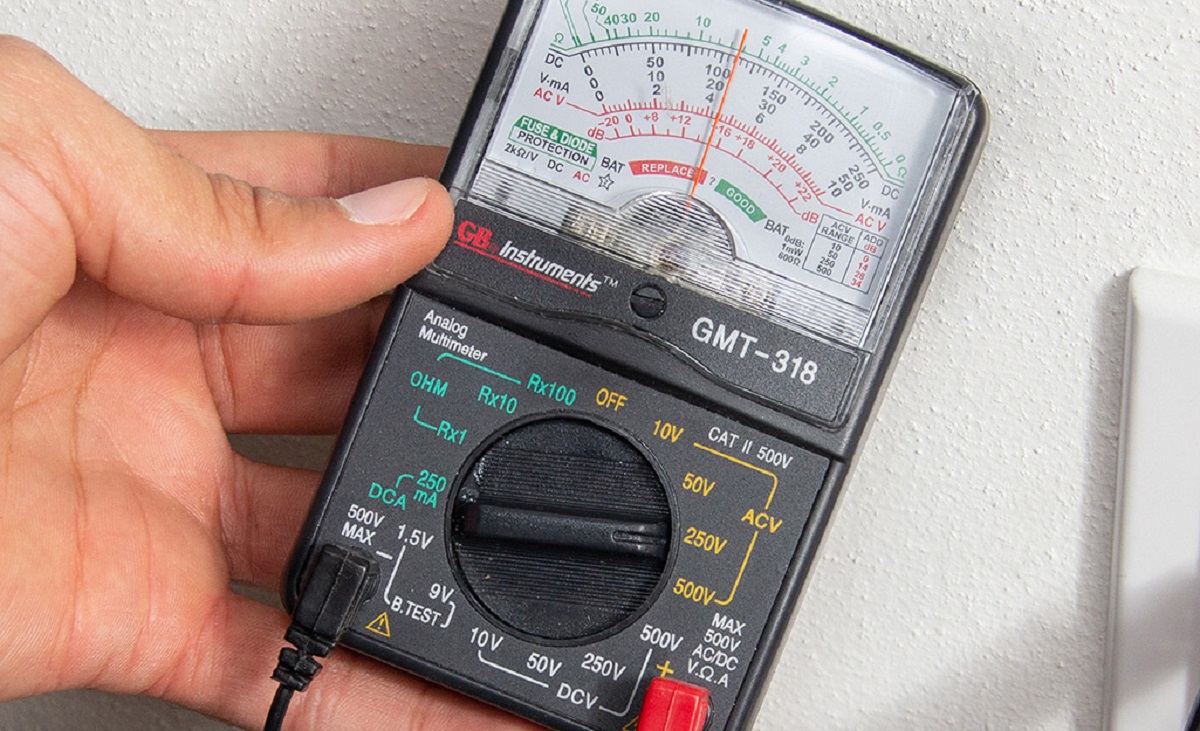
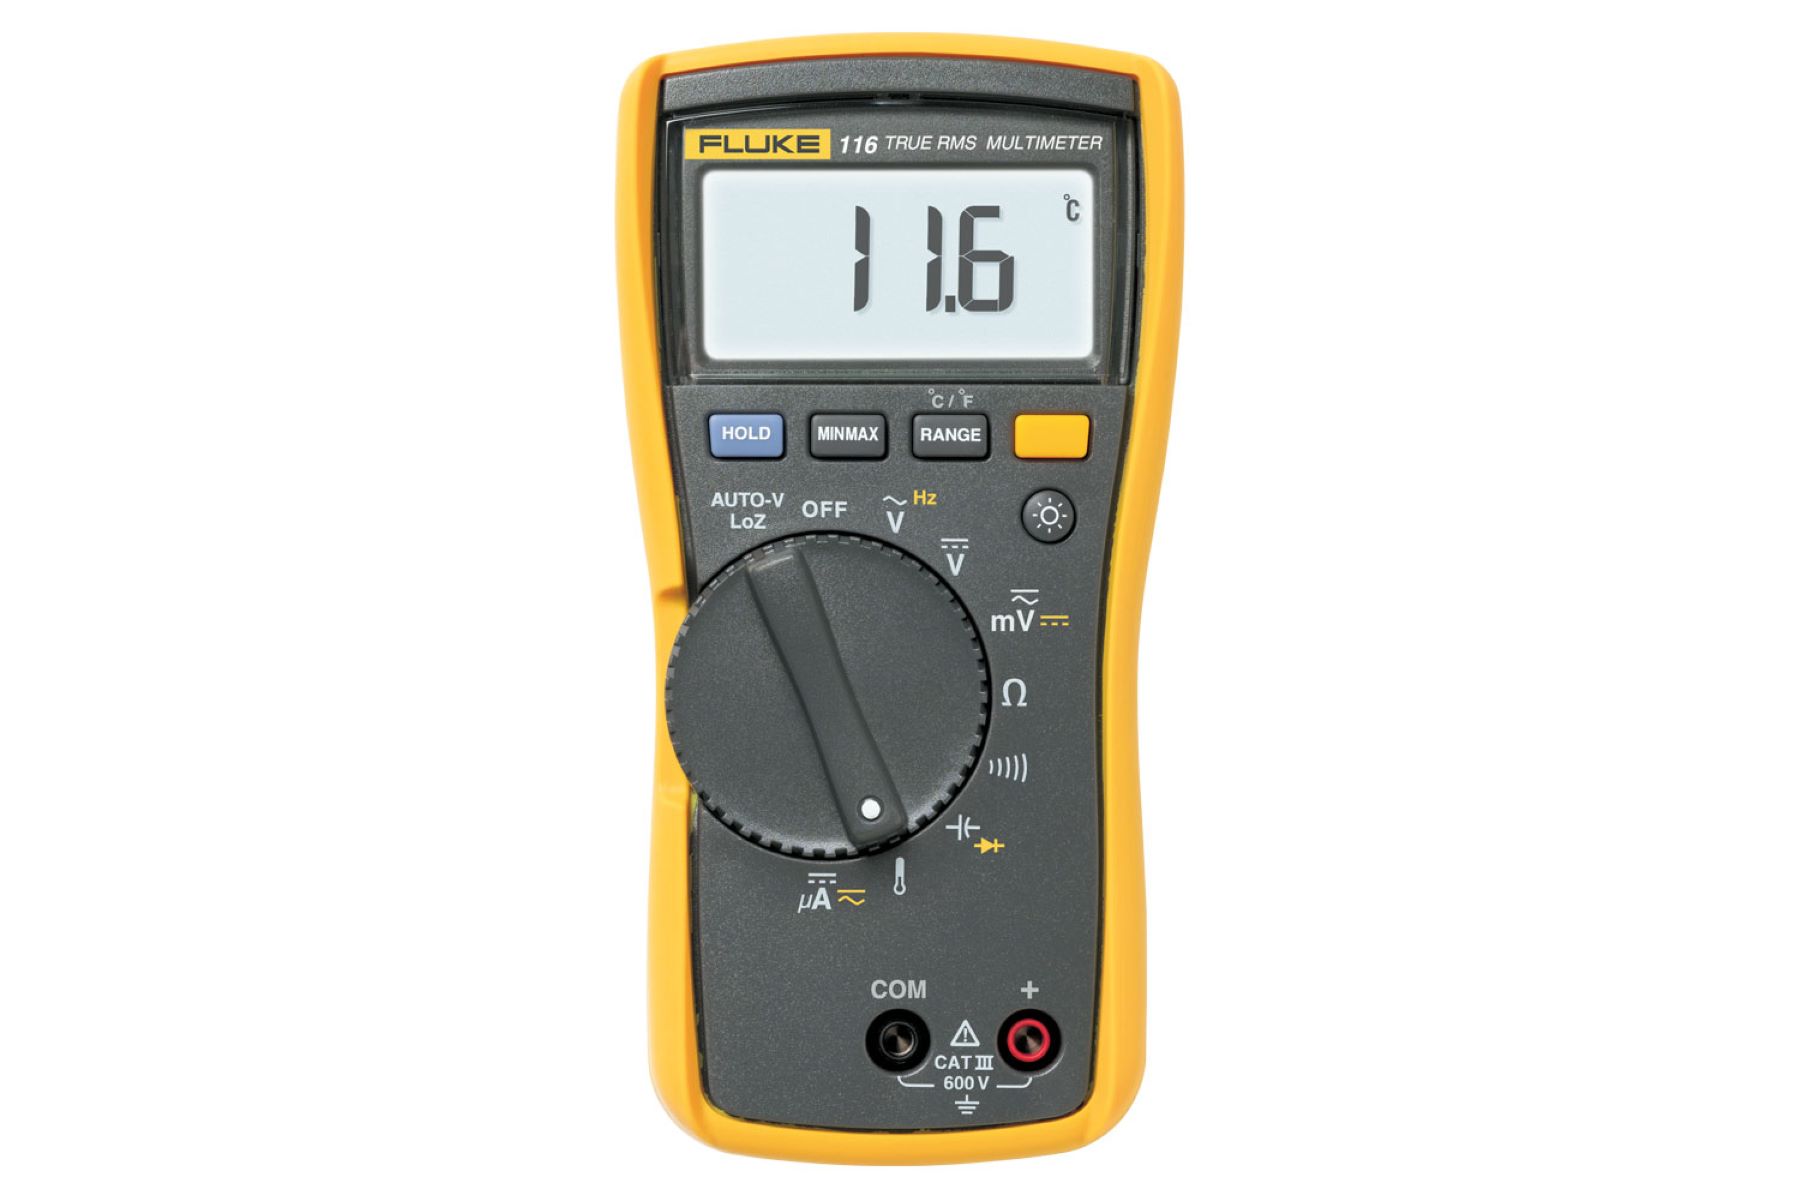
- Multimeter: A digital multimeter is the primary tool for measuring AC voltage. Ensure that your multimeter is in good working condition and has the capability to measure AC voltage.
- Test Leads: The multimeter usually comes with detachable test leads. These leads consist of a red (positive) and a black (negative) probe. Ensure that the test leads are not damaged and have a secure connection to the multimeter.
- Safety Gear: Safety should always be a priority when dealing with electrical measurements. Wear protective gear such as safety glasses and insulated gloves to minimize the risk of injury.
- Power Source: Depending on the specific scenario, you may need access to the power source you want to test. Ensure that the power source is turned on and functioning properly.
Having these tools ready will ensure an efficient and accurate AC voltage testing process. Once you have gathered all the necessary tools, proceed to the next step to set up the multimeter.
Step 2: Set Up the Multimeter
Now that you have the required tools, it’s time to set up your multimeter. Follow these steps to ensure your multimeter is ready for AC voltage testing:
- Select the AC Voltage Function: Most multimeters have a dial or button that allows you to select the desired measurement function. Look for the AC voltage symbol (usually represented as a wave-like symbol) and set the multimeter to this function.
- Choose the Voltage Range: Multimeters have different voltage range settings, such as 200V, 500V, or even higher. Select a voltage range that is appropriate for the expected voltage measurement. If you are unsure, it’s better to start with a higher range and switch to a lower range if necessary.
- Connect the Test Leads: Attach the red (positive) probe to the terminal marked “VΩmA” or “V” on your multimeter. Similarly, connect the black (negative) probe to the common terminal, usually marked as “COM” or “-“. Make sure the connections are secure.
- Check the Multimeter Display: Once the test leads are connected, inspect the multimeter display to ensure it shows zero or close to zero voltage. This step is crucial to ensure accurate readings later on.
By properly setting up your multimeter, you are ready to move on to the next step and perform a test to ensure the multimeter is functioning correctly.
Step 3: Testing the Multimeter
Before proceeding to check the AC voltage, it’s essential to test the multimeter itself to ensure it is working accurately. This step will help you verify that your multimeter is functioning correctly before measuring the AC voltage. Follow these steps to conduct the multimeter test:
- Prepare a Test Circuit: Set up a simple test circuit by connecting the red and black probes of the multimeter to each other. Ensure that the test leads are securely inserted into the appropriate ports.
- Select the DC Voltage Function: Switch the multimeter’s dial or button to the DC voltage (V) function, as this will allow you to test the multimeter’s accuracy. Choose a DC voltage range slightly higher than the expected voltage.
- Take a Reading: Place the red and black probes on the test circuit and observe the multimeter display. It should read zero or close to zero. If the reading is significantly different, there may be an issue with the multimeter that needs to be addressed before proceeding.
- Perform a Continuity Test: To further ensure the functionality of the multimeter, perform a continuity test. This test checks if there is a complete circuit through the test leads. Touch the red and black probes together and listen for a beep or check for a visual indication on the multimeter. If there is no continuity, check the connections and try again.
If the multimeter passes these tests and provides accurate readings, you can proceed with confidence to check the AC voltage. However, if any issues or inaccuracies are detected during the multimeter test, consult the user manual or seek professional assistance to resolve the problem before proceeding.
When checking AC voltage with a multimeter, always set the dial to the AC voltage range, ensure the probes are connected to the correct terminals, and be cautious of live wires.
Step 4: Check the AC Voltage
With your multimeter properly set up and tested, it’s time to check the AC voltage. Follow these steps to measure the AC voltage:
- Identify the Hot and Neutral Wires: When dealing with AC voltage, it’s crucial to identify the hot (live) and neutral wires. The hot wire carries the voltage, while the neutral wire completes the circuit. Exercise caution and consider using a voltage detector to confirm the presence of voltage.
- Prepare the Test Circuit: Ensure that the power source is turned on and the circuit is live. Be cautious and observe all necessary safety precautions while working with live electrical circuits.
- Place the Probes: Take the black (negative) probe of the multimeter and insert it into the common terminal (COM) or the dedicated port for measuring AC voltage. Similarly, insert the red (positive) probe into the corresponding port for AC voltage measurement.
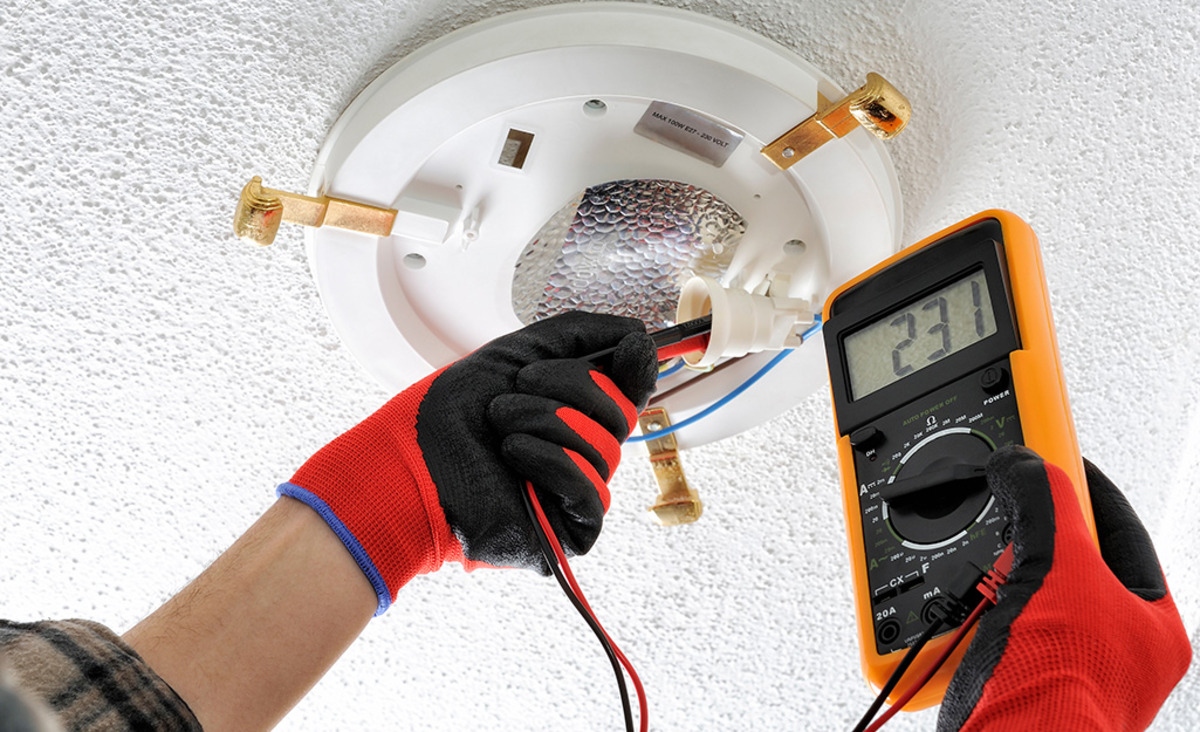
- Make Contact with the Wires: Carefully touch the exposed metal tips of the probes to the hot and neutral wires. Make sure the metal tips are firmly in contact with the wire insulation, ensuring accurate readings.
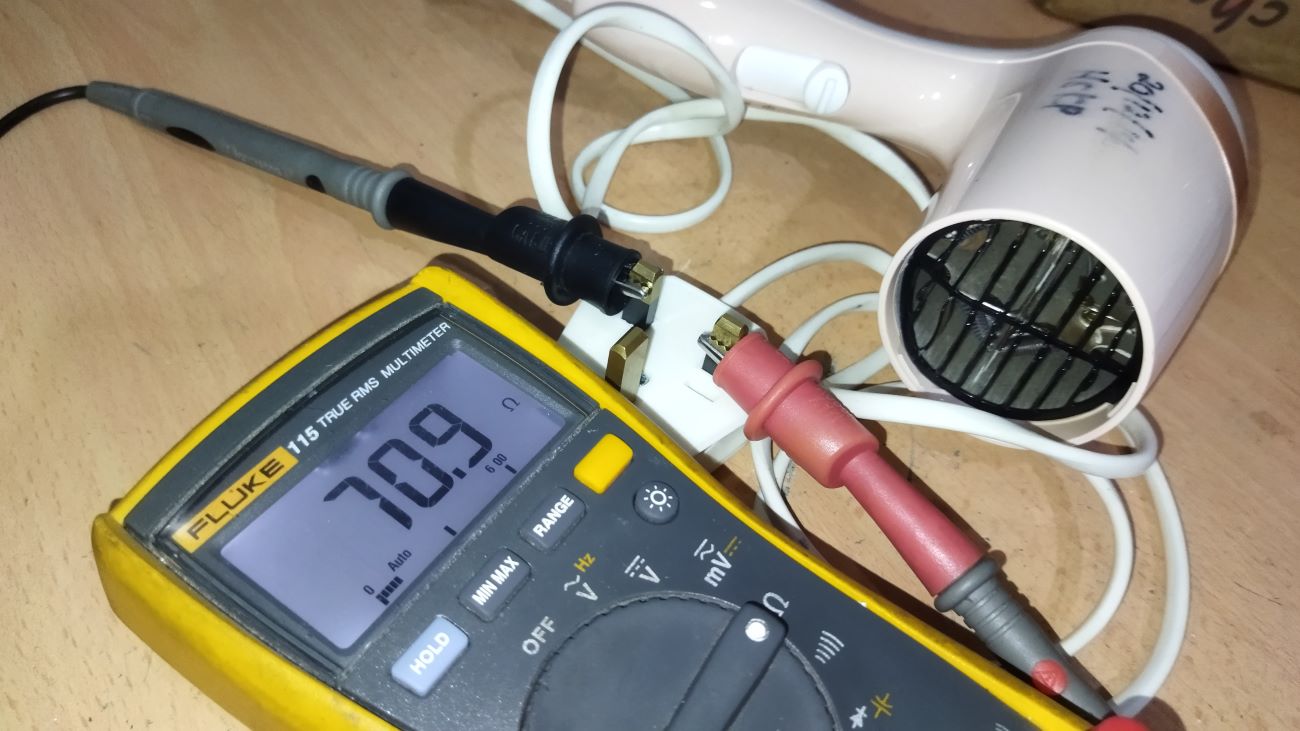
- Read the Display: Observe the multimeter display and note the AC voltage reading. It could be displayed in volts (V). Pay attention to the decimal point and any specific units mentioned on the multimeter display to ensure accurate interpretation of the voltage measurement.
It’s important to remain vigilant and exercise caution while measuring AC voltage. If the voltage is too high or if there are any signs of electrical hazards, it is recommended to seek professional assistance. Safety should always be a top priority.
Once you have recorded the AC voltage reading, proceed to the next step to interpret the reading and determine if any further action is required.
Step 5: Interpret the Reading
Now that you have measured the AC voltage, it’s time to interpret the reading. The interpretation will depend on the specific voltage requirement or the nature of the electrical system you are testing. Here are a few key points to consider when interpreting the AC voltage reading:
- Nominal Voltage: Compare the measured voltage to the nominal voltage rating for the circuit or device you are testing. Nominal voltage refers to the standard voltage level at which the system or device is designed to operate optimally. If the measured voltage is within the acceptable range of the nominal voltage, the circuit or device is functioning correctly.
- Acceptable Voltage Range: In some cases, there may be an acceptable voltage range rather than a specific nominal voltage. Check the specifications or guidelines provided by the manufacturer or relevant standards to determine the acceptable range. If the measured voltage falls within the designated range, it is considered acceptable.
- Low or High Voltage: If the measured voltage is significantly lower or higher than the nominal or acceptable range, it indicates a potential problem. Low voltage could result in improper functioning or inadequate power supply, while high voltage can lead to equipment damage or safety hazards. In such cases, it may be necessary to investigate and rectify the issue.
It’s important to note that the interpretation of the AC voltage reading should be done in the specific context of the electrical system or device being tested. If you are unsure about the appropriate voltage range or if the reading raises any concerns, consulting a professional electrician or referring to technical documentation can provide valuable guidance.
Remember to record the AC voltage reading and any relevant observations for future reference or troubleshooting purposes. Based on the interpretation, you may need to take additional action to address any voltage abnormalities or ensure optimal performance of the electrical system or device.
Step 6: Safety Precautions
When working with electricity and conducting AC voltage measurements, it is crucial to prioritize safety. Follow these safety precautions to minimize the risk of electrical accidents or injuries:
- Turn Off Power: Before starting any work, always turn off the power to the circuit or device you will be testing. This helps prevent electric shocks and ensures your safety.
- Use Personal Protective Equipment (PPE): Wear appropriate personal protective equipment, such as safety glasses, gloves, and insulated footwear, to protect yourself from potential electrical hazards.
- Inspect the Multimeter: Regularly inspect your multimeter before use. Check for any visible damage to the test leads or malfunctioning components. If you notice any issues, replace or repair the multimeter as needed.
- Handle the Test Leads with Care: Be cautious while handling the test leads to avoid accidental contact with live wires. Always grasp the insulated part of the probes and never touch the metal tips while the circuit is energized.
- Keep a Safe Distance: Maintain a safe distance from the live circuit and other electrical elements while performing voltage measurements. Avoid placing your body or other flammable objects near the circuit to prevent the risk of electric shock or fire.
- Avoid Moisture and Wet Surfaces: Make sure your hands, the multimeter, and the test circuit are dry before starting any measurements. Moisture can conduct electricity and increase the risk of electric shock.
- Follow Manufacturer Instructions: Read and follow the manufacturer’s instructions and guidelines provided with the multimeter. This ensures proper usage and helps prevent any potential safety hazards.
- Seek Professional Help: If you are unsure about any aspect of AC voltage testing or are dealing with complex electrical systems, it is advisable to seek assistance from a qualified electrician or professional.
Remember, safety should be the top priority when working with electricity. By following these precautions, you can perform AC voltage measurements in a safe and responsible manner.
Conclusion
Checking AC voltage with a multimeter is an essential skill for troubleshooting electrical issues and ensuring the proper functioning of electrical systems and devices. By following the step-by-step guide outlined in this article, you can confidently measure AC voltage and interpret the readings accurately.
Remember to gather the necessary tools, set up the multimeter correctly, and test its functionality before proceeding with the voltage measurement. Exercise caution and prioritize safety throughout the entire process, adhering to safety precautions and seeking professional help when needed.
Interpreting the AC voltage readings requires knowledge of the specific voltage requirements, acceptable ranges, and the context of the electrical system or device being tested. Always refer to manufacturer specifications and seek expert guidance if you have any concerns or encounter unusual readings.
By mastering the art of checking AC voltage with a multimeter, you can confidently troubleshoot electrical problems, maintain electrical systems, and ensure a safe working environment.
Remember, practice makes perfect, and with continued experience, you will become more proficient in working with multimeters and diagnosing AC voltage issues. Stay curious, stay informed, and never stop learning!
Frequently Asked Questions about How To Check AC Voltage With Multimeter
Was this page helpful?
At Storables.com, we guarantee accurate and reliable information. Our content, validated by Expert Board Contributors, is crafted following stringent Editorial Policies. We're committed to providing you with well-researched, expert-backed insights for all your informational needs.





0 thoughts on “How To Check AC Voltage With Multimeter”