Home>Renovation & DIY>Tools & Equipment>How To Clean Spackle Off Tools
Tools & Equipment
How To Clean Spackle Off Tools
Modified: August 25, 2024
Learn the best techniques to effectively remove spackle from your tools and equipment. Keep your tools clean and extend their lifespan with these easy cleaning tips.
(Many of the links in this article redirect to a specific reviewed product. Your purchase of these products through affiliate links helps to generate commission for Storables.com, at no extra cost. Learn more)
Introduction
When it comes to tackling home improvement projects, having the right tools is essential. From a classic hammer to a versatile screwdriver set, these tools assist in bringing your vision to life. However, after completing a project, you might find that your trusty tools have been left with a build-up of spackle or joint compound.
Spackle is a common material used for patching holes and cracks in walls, ceilings, and other surfaces. While it is an invaluable solution for repairs, its residue can hinder the performance of your tools if left unattended. Not only can spackle affect the precision and durability of your tools, but it can also compromise their overall functionality.
In order to maintain the longevity and effectiveness of your tools, it is important to properly clean them after every use. Cleaning spackle off tools not only helps to prolong their lifespan, but it also ensures the quality of your future projects.
In this article, we will guide you through the process of removing spackle off tools and provide tips on how to clean them thoroughly. Let’s dive in!
Key Takeaways:
- Properly cleaning spackle off tools is crucial for maintaining their performance and longevity, ensuring they remain in top shape for future home improvement projects.
- Gathering the necessary materials, removing spackle with care, and thorough cleaning and storage are key steps to maintain the efficiency and functionality of your tools.
Read more: How To Clean Up A Spackle Dust
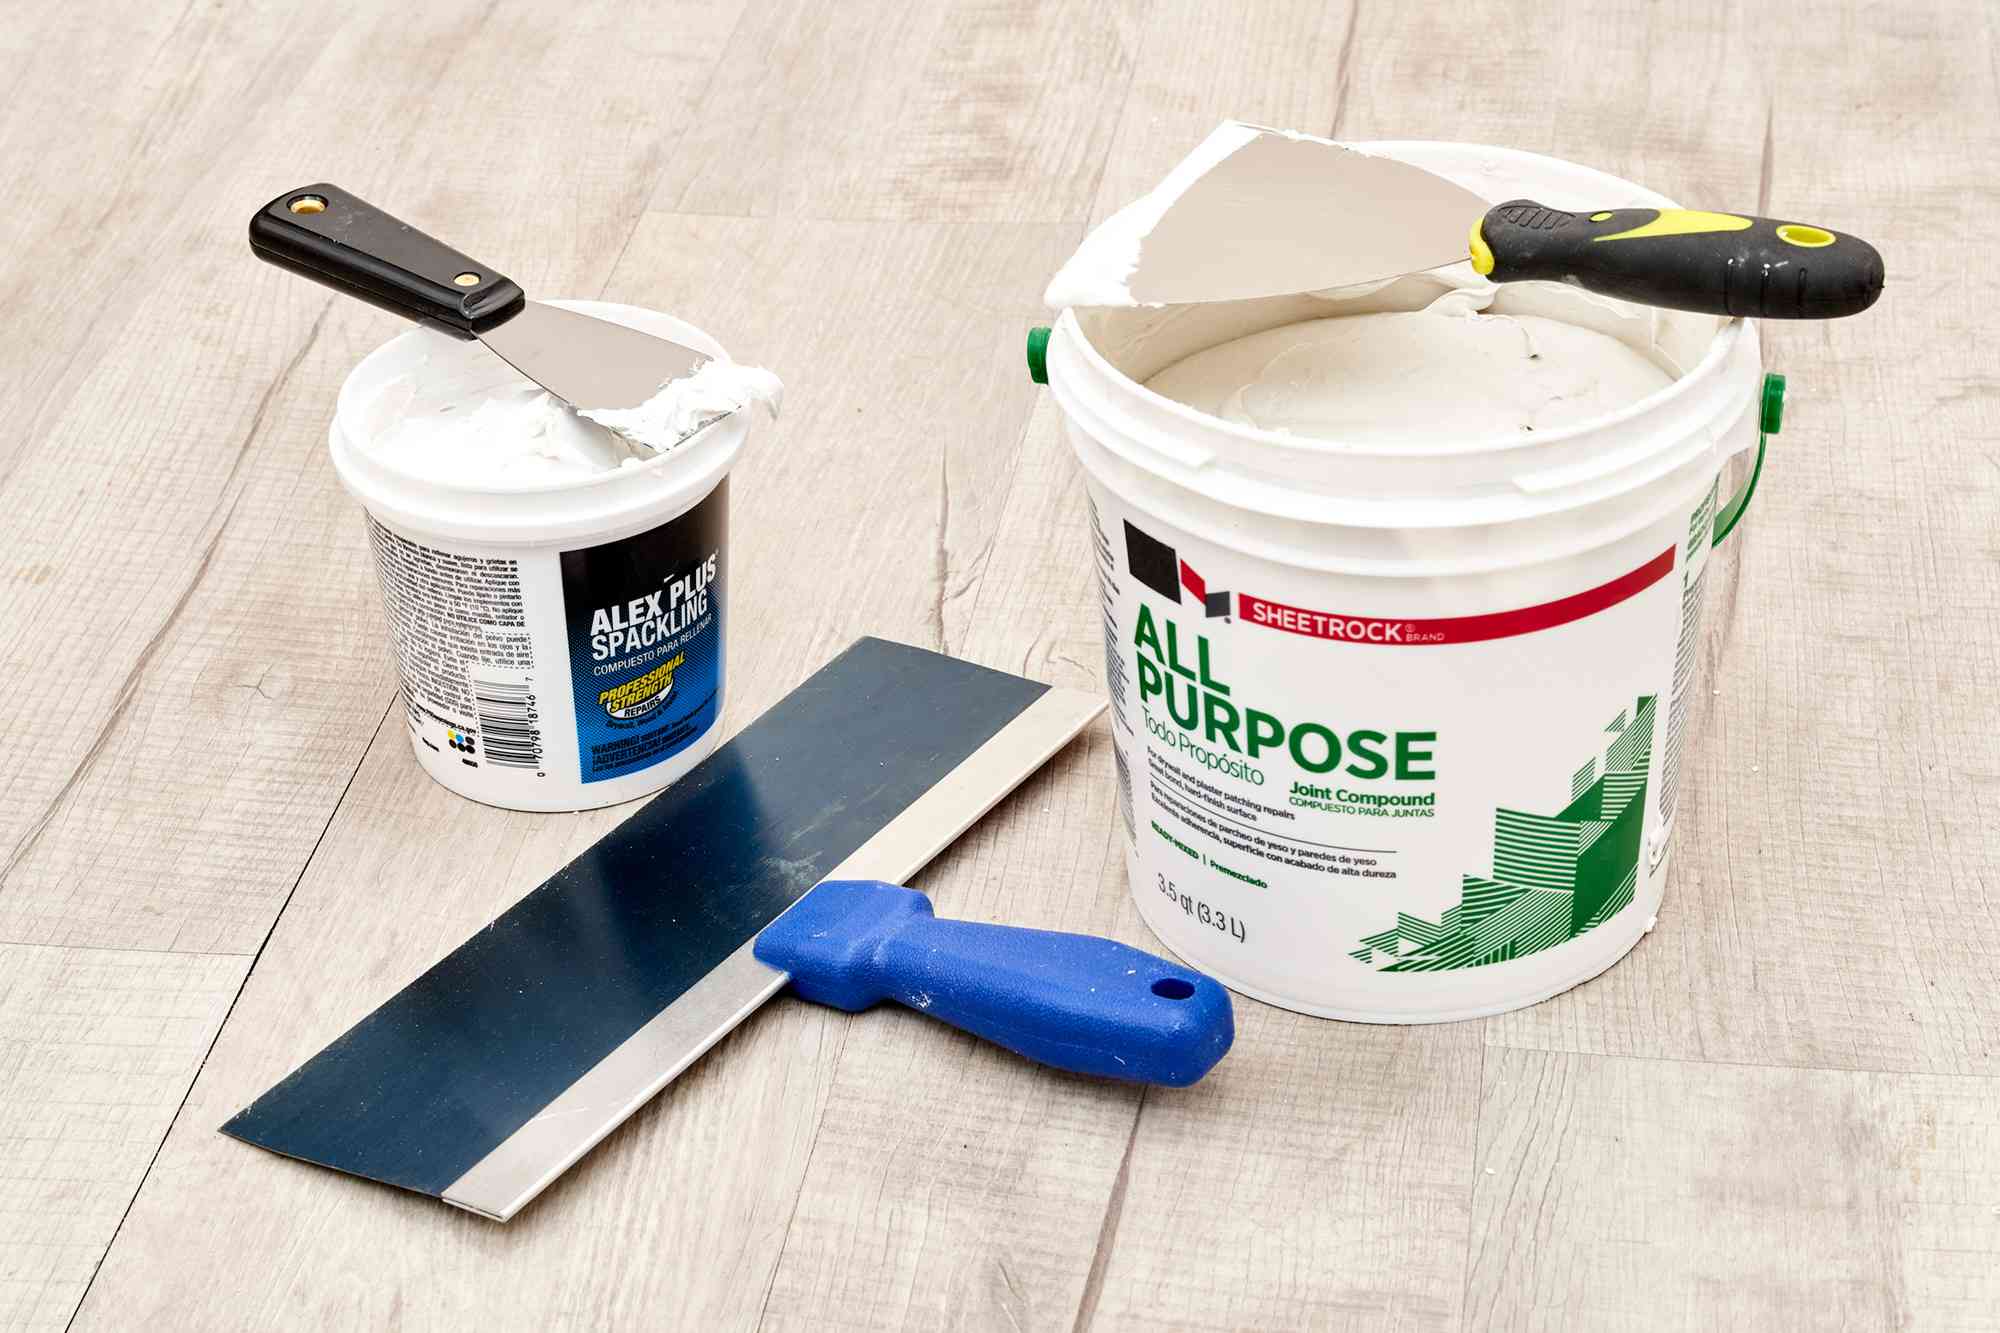
Gathering the necessary materials
Before you begin the process of cleaning spackle off your tools, it’s important to gather all the necessary materials. Having these items on hand will ensure that you are fully prepared and able to clean your tools effectively.
Here are the materials you will need:
- Gloves: Protective gloves will help keep your hands safe from any potential sharp edges or chemicals used in the cleaning process.
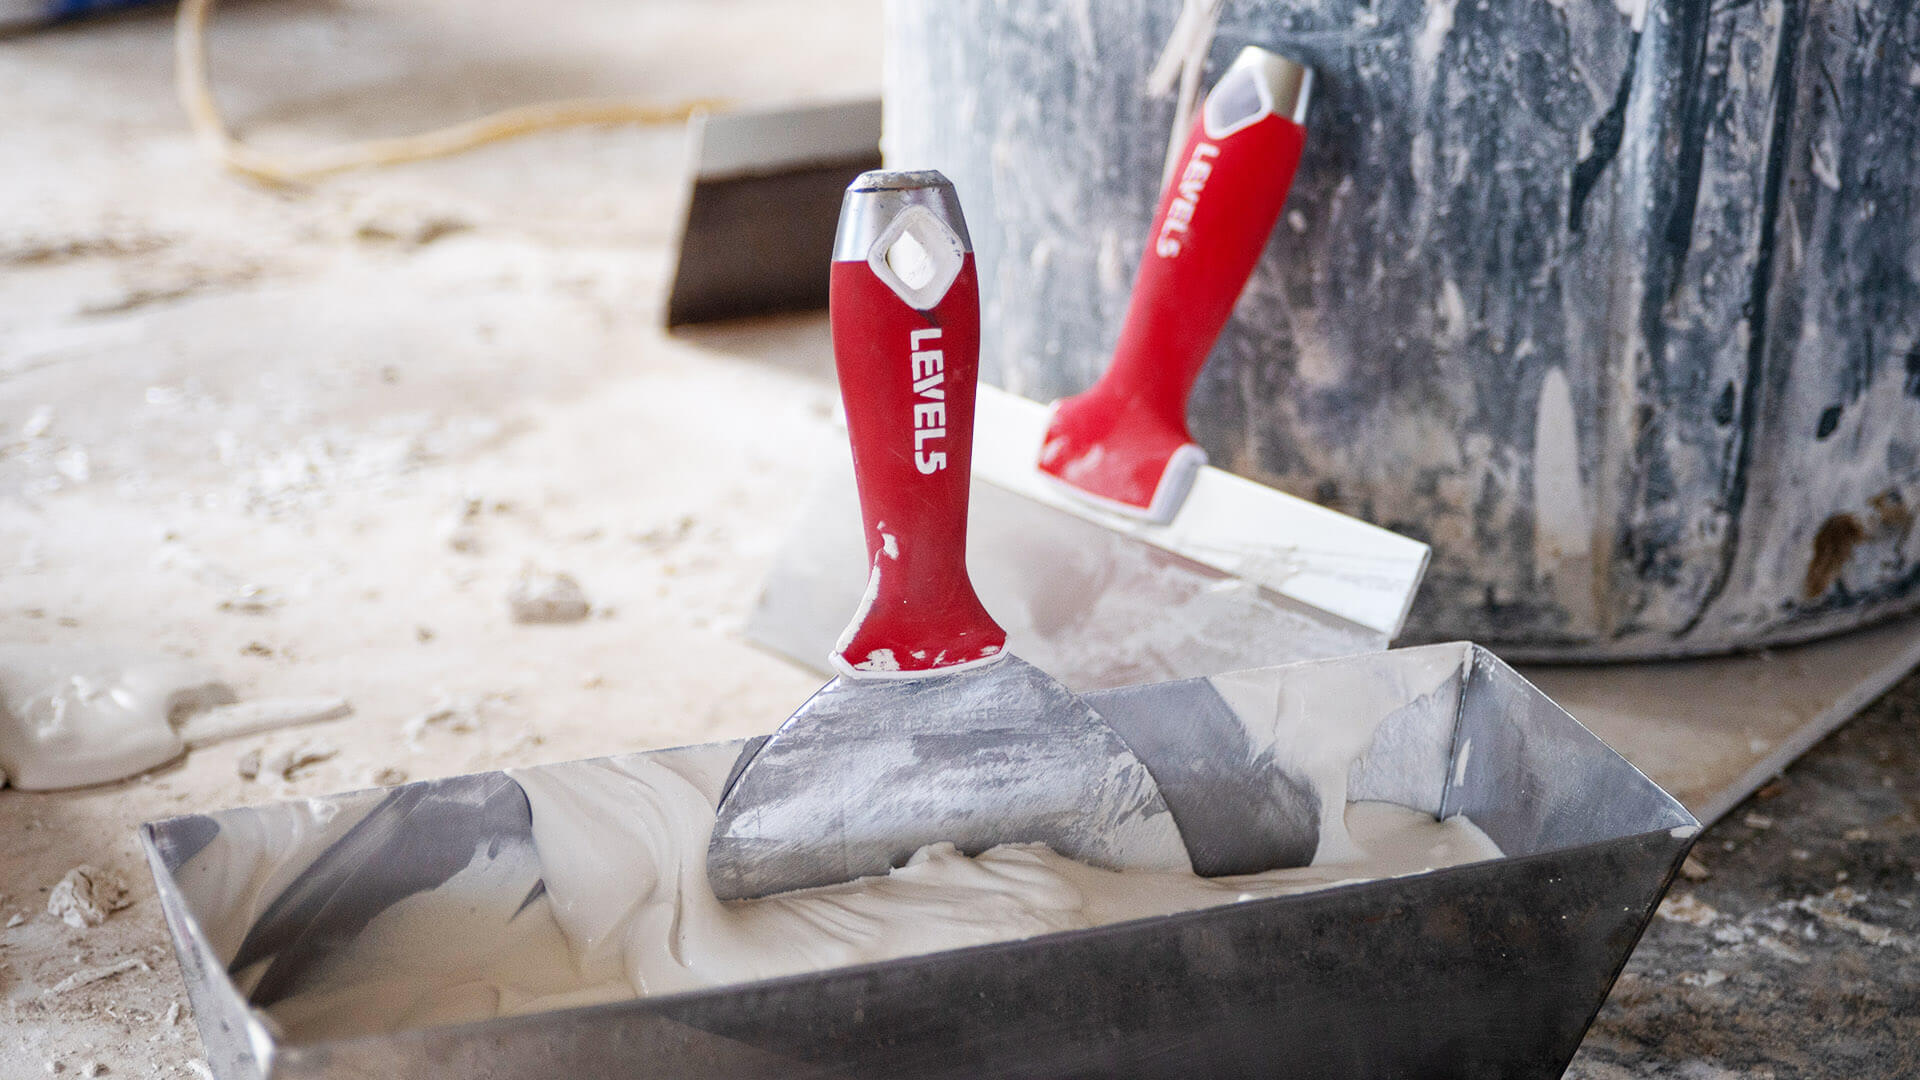
- Scraping tool: A putty knife or a scraper will be used to remove the bulk of the spackle from your tools.
- Water: Water is essential for cleaning as it acts as a solvent, helping to dissolve any residue.
- Dish soap: Mild dish soap will be used to create a cleaning solution and remove any grease or dirt from your tools.
- Brushes: A soft-bristled brush or an old toothbrush will come in handy to scrub away any stubborn spackle residue.
- Rags or paper towels: These are necessary for wiping away excess water, soap, and debris during the cleaning process.
- Bucket or sink: A container or sink will be used to hold water and to rinse your tools.
By ensuring you have all of the necessary materials before you start, you can streamline the cleaning process and prevent any unnecessary interruptions.
Now that you have everything ready, it’s time to move on to the next step: removing the spackle from your tools.
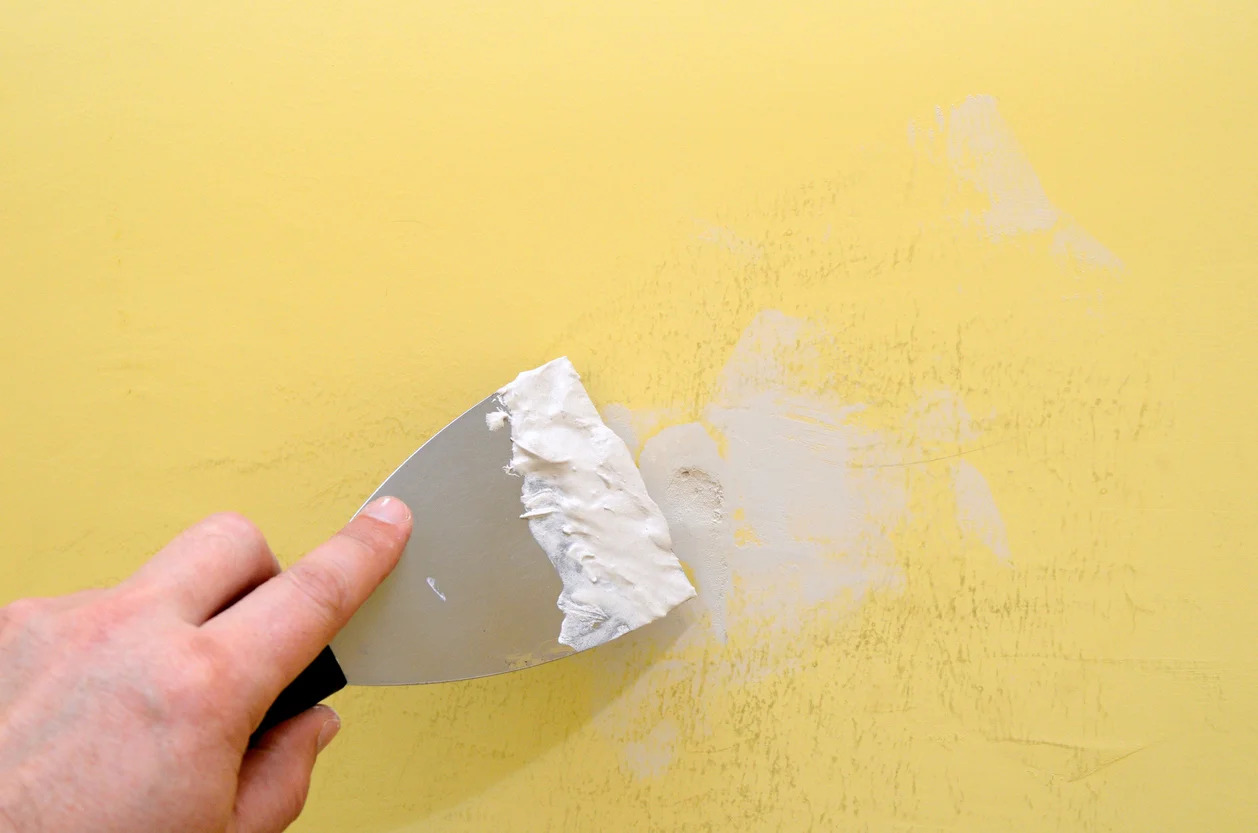
Removing spackle from tools
Once you have gathered all the necessary materials, it’s time to remove the spackle from your tools. Here’s a step-by-step guide on how to do it:
- Put on a pair of protective gloves to ensure your hands are safe during the cleaning process.
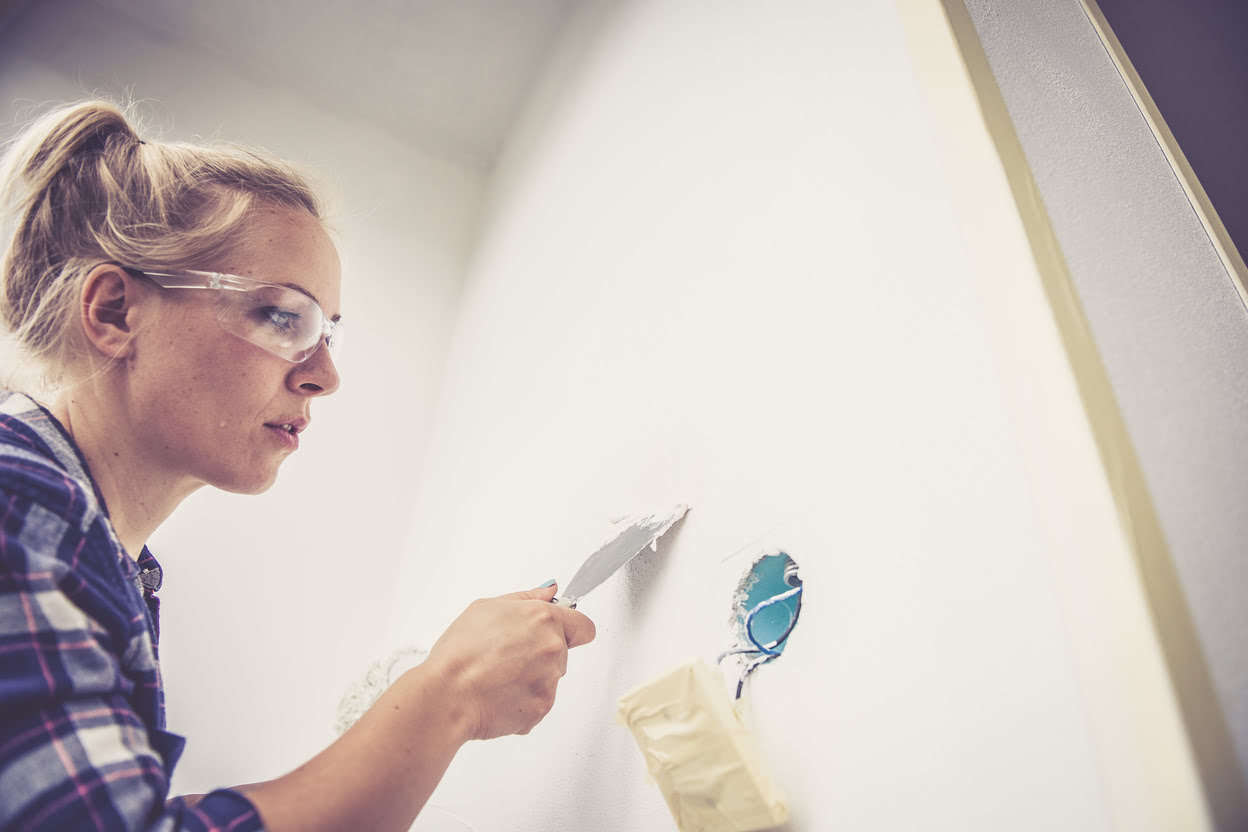
- Inspect your tools for any chunks or excess spackle. Use a scraping tool, such as a putty knife or a scraper, to carefully and gently remove the bulk of the spackle. Be cautious not to damage the tool’s surface while doing so.
- If there are smaller patches of spackle left on your tools, dampen a soft cloth or paper towel with water and gently wipe away the remaining residue. For stubborn spots, you can use a soft brush or an old toothbrush to gently scrub away the spackle.
- For tools with intricate parts, such as screwdrivers or pliers, you can use a cotton swab or a small brush to clean out any crevices or tight spaces where spackle might be hiding.
Remember to take your time and be gentle when removing the spackle. Applying too much pressure or using abrasive materials can scratch or damage the surface of your tools.
Once you have successfully removed the spackle from your tools, it’s time to move on to the next step: cleaning them thoroughly.
Cleaning the tools thoroughly
After removing the spackle from your tools, it’s important to clean them thoroughly to ensure they are free from any residue or debris. Here’s how you can clean your tools effectively:
- Fill a bucket or sink with warm water and add a small amount of mild dish soap. Mix the solution gently until it becomes sudsy.
- Submerge the cleaned tools into the soapy water and let them soak for a few minutes. This will help loosen any remaining spackle and remove any grease or dirt.
- Using a soft-bristled brush or an old toothbrush, scrub the tools gently to remove any stubborn residue. Pay close attention to any hard-to-reach areas or crevices.
- Rinse the tools thoroughly under running water to remove all soap and residue. Ensure that all surfaces are clean and free from any remaining spackle.
- Dry the tools using a clean, lint-free cloth or towel. Make sure to remove any excess water to prevent rust or corrosion.
It’s important to note that certain tools, such as power tools and electronic equipment, may require special cleaning methods. Be sure to consult the manufacturer’s instructions or seek professional advice for these specific tools to avoid any potential damage.
Once your tools are thoroughly cleaned and dried, it’s time to move on to the final step: drying and storing them properly.
After using spackle, clean tools immediately with warm soapy water. Use a putty knife or wire brush to remove dried spackle, then rinse and dry thoroughly.
Drying and storing the cleaned tools
After you have cleaned your tools, it’s crucial to ensure they are properly dried and stored to prevent any moisture-related issues or damage. Follow these steps to dry and store your cleaned tools:
- Using a clean, dry cloth or towel, wipe down your tools to remove any remaining moisture. Pay attention to the handles, crevices, and hard-to-reach areas.
- Allow your tools to air dry in a well-ventilated area to ensure all the water evaporates completely. Avoid storing them in a damp or humid environment, as this can promote rust or corrosion.
- Once your tools are fully dry, you can apply a light coating of oil or lubricant to the metal surfaces. This helps to protect against rust and keeps the tools in good condition if they will be stored for an extended period.
- Find an appropriate storage solution for your tools. This can include a toolbox, a pegboard, or a dedicated shelf. Ensure that the storage area is clean, dry, and free from any potential hazards that could damage your tools.
- Organize your tools in a way that makes them easily accessible and prevents them from rubbing against each other. This can be done by using dividers, foam inserts, or hanging hooks.
By properly drying and storing your tools, you can protect their integrity and prolong their lifespan. Maintaining a clutter-free and organized storage area also allows for easy access and ensures that your tools are in top shape when you need them for your next project.
Before using your tools again, always inspect them to check for any signs of damage or wear. It’s important to address any issues promptly and replace any tools that are beyond repair.
Now that you have learned how to clean, dry, and store your tools properly, you can maintain their efficiency and functionality for years to come.
Read more: What Is A Spackle
Tips and precautions
While cleaning spackle off tools may seem like a straightforward process, there are some tips and precautions to keep in mind to ensure you accomplish the task effectively and safely. Here are some helpful tips and precautions:
- Always wear protective gloves when handling tools and cleaning materials to protect your hands from sharp edges or chemicals.
- Use a scraping tool with care to avoid damaging the surface of your tools. Apply gentle pressure and take your time to remove the spackle.
- If the spackle is stubborn and difficult to remove, you can soak the tools in warm soapy water for a longer period to help soften the residue.
- Use mild dish soap for cleaning, as harsh chemicals can damage the surface of your tools.
- For power tools or electronic equipment, refer to the manufacturer’s instructions to ensure you clean them properly without causing any damage.
- Regularly inspect your tools for any signs of wear or damage. Replace any tools that are beyond repair to maintain safety and efficiency.
- After cleaning your tools, make sure they are fully dried before storing them to prevent rust or corrosion.
- Apply a light coating of oil or lubricant to the metal parts of your tools to protect them from moisture and maintain their condition.
- Keep your storage area clean, dry, and organized to prevent any damage to your tools and ensure easy accessibility.
By following these tips and taking necessary precautions, you can effectively clean spackle off your tools without causing any damage and ensure their longevity.
Conclusion
Cleaning spackle off tools is an essential step in maintaining their performance, longevity, and overall functionality. By following the proper cleaning process, you can ensure that your tools remain in top shape for all your home improvement projects. Here’s a recap of the key steps:
- Gather all the necessary materials before starting the cleaning process.
- Remove the spackle from your tools using a scraping tool, being careful not to damage the tool’s surface.
- Clean the tools thoroughly by soaking them in warm, soapy water and using a soft brush to remove any residue.
- Dry the tools completely to prevent rust or corrosion, and apply a light coating of oil or lubricant to protect the metal surfaces.
- Store your cleaned tools in a clean, dry, and organized space to maintain their condition and easy accessibility.
Remember to take necessary precautions, such as wearing protective gloves and using mild dish soap, to ensure your safety during the cleaning process. Regularly inspect your tools for any signs of wear or damage and replace them if necessary.
By investing a little time and effort into cleaning your tools properly, you can extend their lifespan and ensure their reliability for future projects. So, don’t neglect the maintenance of your tools and give them the care they deserve.
Happy cleaning and happy DIY-ing!
Frequently Asked Questions about How To Clean Spackle Off Tools
Was this page helpful?
At Storables.com, we guarantee accurate and reliable information. Our content, validated by Expert Board Contributors, is crafted following stringent Editorial Policies. We're committed to providing you with well-researched, expert-backed insights for all your informational needs.


0 thoughts on “How To Clean Spackle Off Tools”