
Articles
How To Clean Concrete Basement Floors
Modified: March 24, 2024
Learn effective techniques and tips for cleaning concrete basement floors in this informative articles. Keep your basement looking spotless with our expert advice.
(Many of the links in this article redirect to a specific reviewed product. Your purchase of these products through affiliate links helps to generate commission for Storables.com, at no extra cost. Learn more)
Introduction
Cleaning concrete basement floors is an essential task to maintain a clean and healthy environment in your home. Over time, these floors can accumulate dirt, dust, stains, and even mold or mildew. Regular cleaning not only improves the appearance of your basement but also helps prevent potential health hazards.
However, cleaning concrete basement floors requires a thorough approach to ensure effective results. In this article, we will guide you through a step-by-step process to clean your concrete basement floors and restore their original shine.
Before we dive into the cleaning process, it’s important to note that different types of stains or spills may require specific cleaning techniques or products. In such cases, it’s always recommended to refer to the manufacturer’s instructions or consult with a professional for guidance.
With that said, let’s get started on rejuvenating your concrete basement floors!
Key Takeaways:
- Regular cleaning and maintenance of concrete basement floors are essential for a clean and healthy home environment. Following a thorough step-by-step cleaning process can rejuvenate the floors and prevent potential health hazards.
- Sealing the concrete basement floor is an optional but beneficial step that provides added protection and enhances the floor’s appearance. Proper preparation, cleaning, and optional sealing can keep the basement space clean and inviting for years to come.
Read more: How Thick Is Basement Concrete Floor
Step 1: Clearing and Preparing the Area
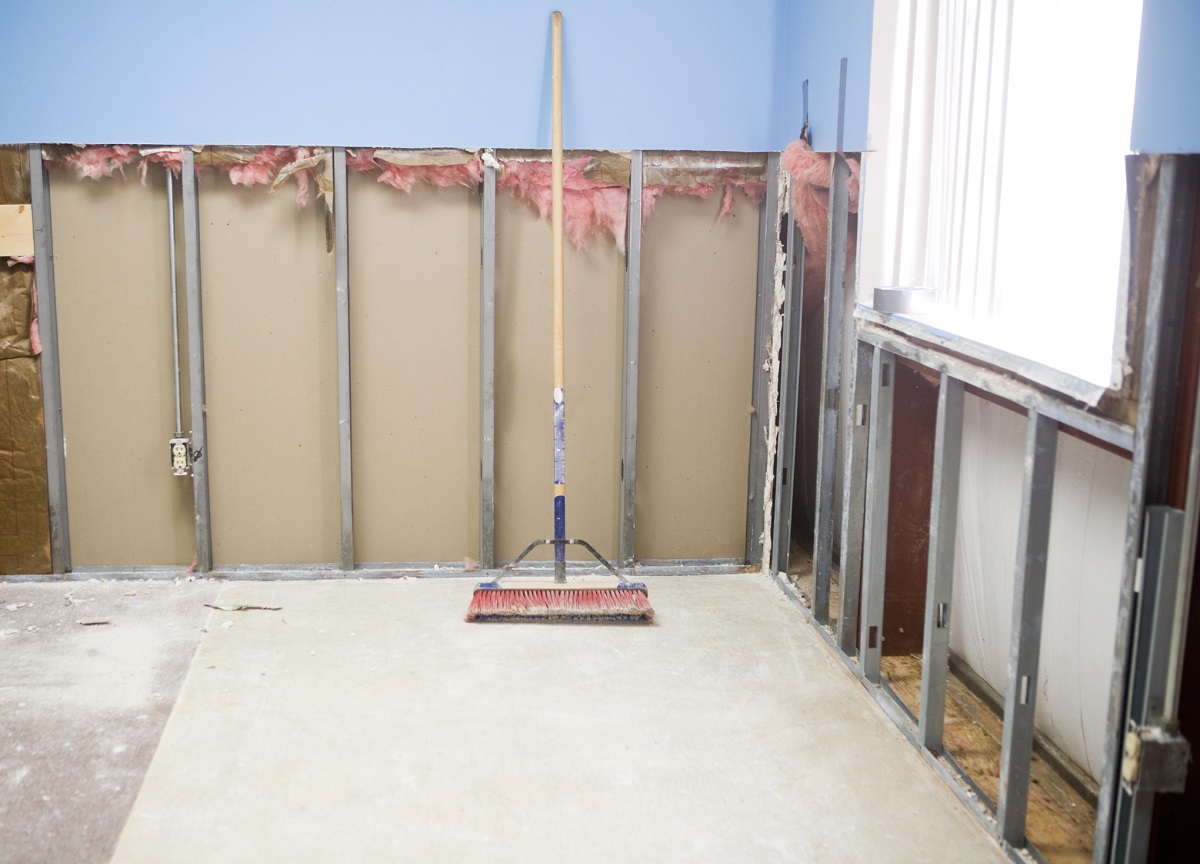
Before you begin cleaning your concrete basement floors, it’s crucial to clear the area of any items or furniture that may obstruct your cleaning process. Remove any rugs, storage boxes, or other objects from the floor surface. This will allow you to access the entire floor and perform a thorough cleaning.
Additionally, you should take precautions to protect any nearby walls or belongings from water or cleaning solution splashes. Place plastic sheets or tarps over these areas to prevent any potential damage.
Furthermore, it’s important to ensure proper ventilation in the basement to avoid inhaling any chemical fumes during the cleaning process. Open windows or use fans to circulate fresh air inside the area.
Lastly, gather all the necessary cleaning tools and products before you begin. This will save you time and ensure that you have everything you need within reach. Some essential tools and products for cleaning concrete basement floors include:
- Broom or dust mop
- Vacuum cleaner (with a brush attachment)
- Bucket
- Mop
- Stiff nylon bristle brush or scrub brush
- Concrete cleaner or degreaser
- Rubber gloves
- Protective eyewear
- Old towels or rags
By preparing the area and gathering the necessary tools and products, you’ll be ready to tackle the cleaning process efficiently and effectively.
Step 2: Removing Loose Debris and Dirt
Once the area is cleared and prepared, the next step is to remove any loose debris and dirt from the concrete basement floor. This helps prevent scratching or spreading of dirt during the cleaning process.
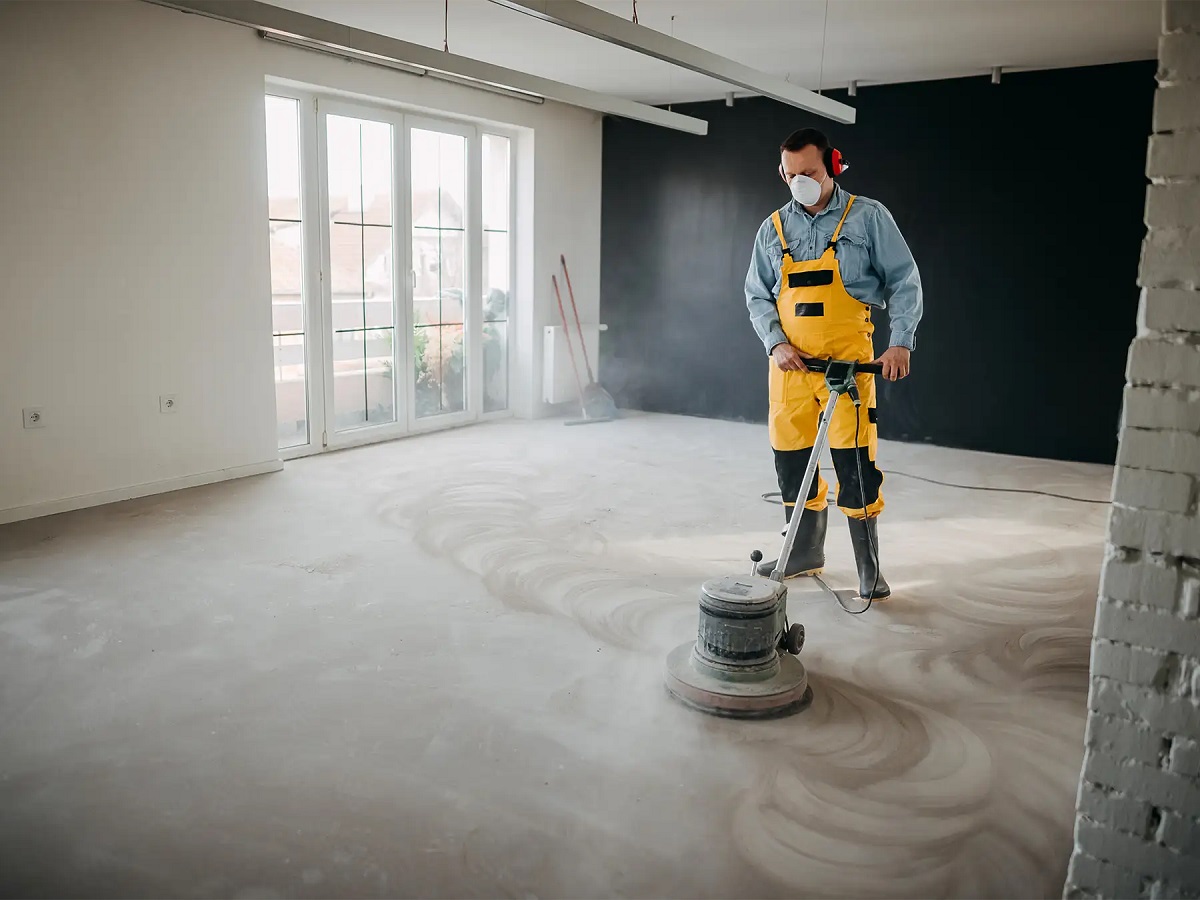
Start by using a broom or dust mop to sweep the entire floor surface. Make sure to reach into corners and along the edges of the walls. This will help collect any loose dirt, dust, or debris that may have accumulated over time.
If there are larger particles or stubborn dirt spots, you can use a vacuum cleaner with a brush attachment to thoroughly clean the area. The brush attachment helps loosen stubborn dirt and ensures a more thorough cleaning.
Be mindful of any cracks or uneven areas in the floor. Pay extra attention to these areas and use a brush or broom to dislodge any dirt or debris that may be trapped. It’s essential to remove as much loose dirt as possible before moving on to the next step.
Remember to dispose of the collected dirt and debris properly. Empty the dustpan or vacuum cleaner bag into a garbage bag and seal it tightly to prevent spreading of dirt and dust.
By removing loose debris and dirt, you create a clean slate for the next steps of the cleaning process. This ensures that the cleaning solution can work more effectively and deliver better results.
Step 3: Sweeping and Vacuuming the Floor
Now that you have removed the loose debris and dirt, it’s time to further clean the concrete basement floor by sweeping and vacuuming. This step helps eliminate any remaining dust and smaller particles that may have been missed during the initial sweep.
Using a broom or dust mop, sweep the entire floor surface once again. Focus on reaching into corners and along the edges of the walls. Pay attention to areas that may have accumulated more dust, such as under shelves or in corners with less foot traffic.
After sweeping, it’s recommended to use a vacuum cleaner with a brush attachment to thoroughly clean the floor. The suction power of the vacuum can effectively remove finer dust particles that may have settled on the surface.
When vacuuming, start from one end of the basement and work your way towards the exit. Move the vacuum in a back-and-forth motion, ensuring you cover the entire floor area. Take your time and go over each section multiple times to ensure a thorough cleaning.
If you encounter any stubborn dust or dirt spots, use the brush attachment to agitate the area and loosen the particles. The brush bristles will dislodge stubborn dust, making it easier for the vacuum to suction it away.
Remember to clean the vacuum cleaner’s filter or replace the bag if necessary. Regular maintenance of the vacuum cleaner ensures optimal performance and prevents any residue from being recirculated.
By sweeping and vacuuming the floor, you remove any remaining dust and smaller particles, leaving the surface primed and ready for the next step of the cleaning process.
Step 4: Applying a Concrete Cleaner
With the loose debris cleared and the floor thoroughly swept and vacuumed, it’s time to apply a concrete cleaner to tackle stains, grime, and any remaining dirt. A concrete cleaner is specifically formulated to break down and remove tough stains and dirt from concrete surfaces.
Before applying the concrete cleaner, it’s important to read the manufacturer’s instructions carefully. Different cleaners may have specific dilution ratios or application methods. It’s essential to follow these instructions to ensure optimal results and avoid any potential damage to the floor.
Prepare a bucket of water and add the recommended amount of the concrete cleaner as per the instructions. Mix it well to create a cleaning solution. Ensure you wear rubber gloves and, if necessary, protective eyewear before starting the cleaning process.
Begin by applying the cleaning solution to a small, inconspicuous area of the floor. This allows you to test the cleaner and check for any adverse reactions. If there are no issues, continue applying the solution to the rest of the floor.
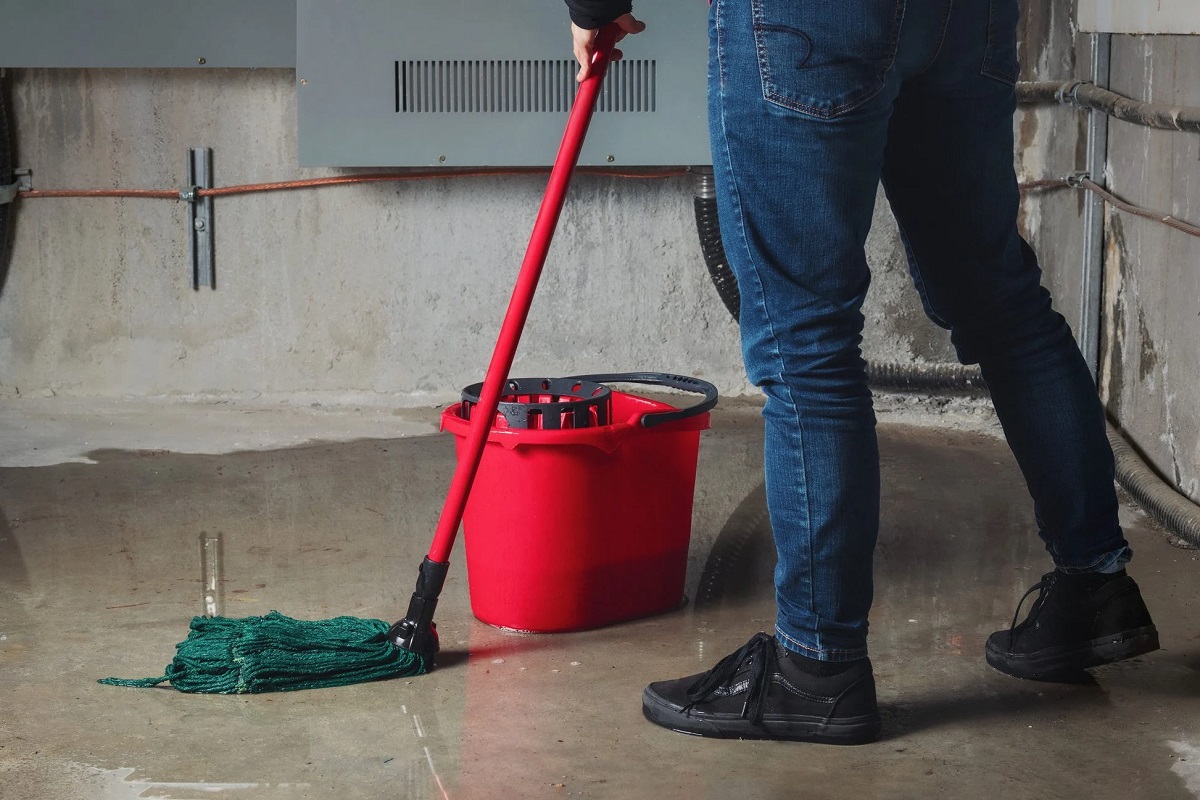
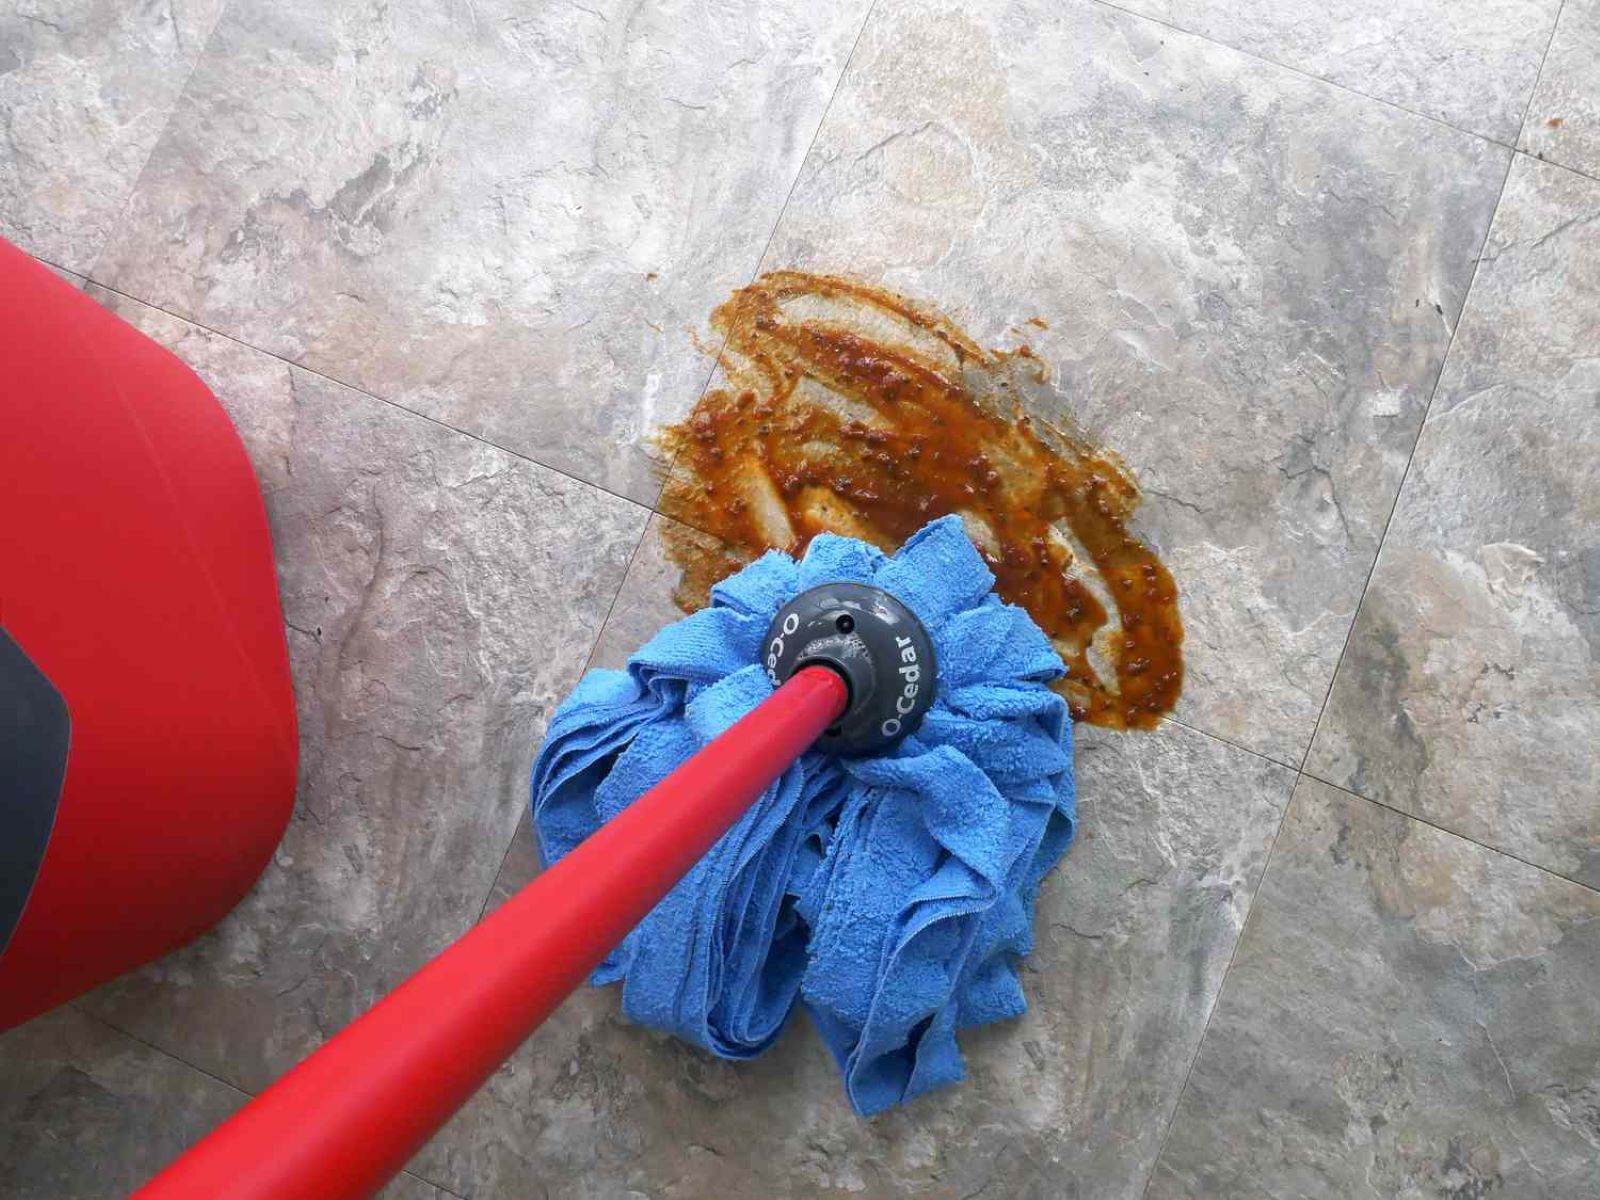
Use a mop or a sponge mop to apply the cleaning solution to the floor surface. Work in small sections, starting from one side of the basement and moving towards the exit. Ensure that the cleaning solution covers the entire floor area evenly.
Pay special attention to areas with visible stains or high traffic areas that may have accumulated more dirt and grime. Allow the cleaning solution to sit on the floor for the recommended duration specified in the instructions. This allows the cleaner to penetrate and break down the stains and dirt.
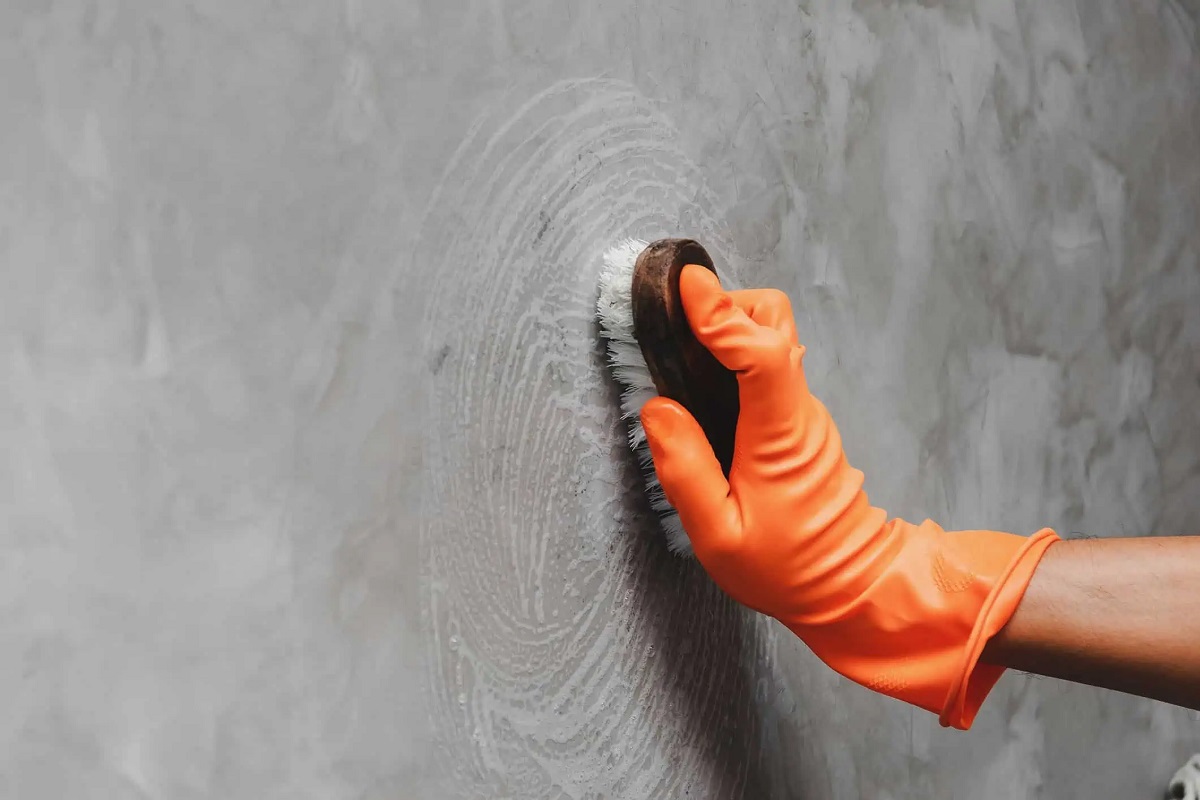
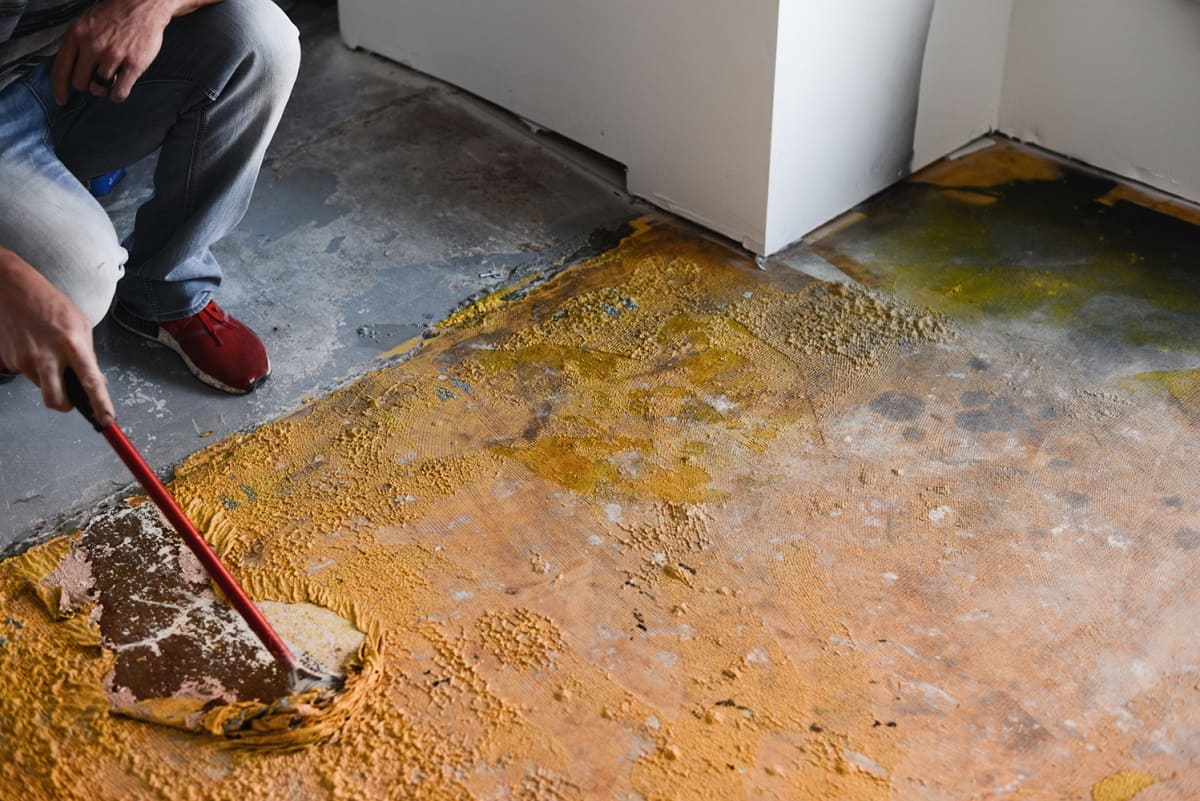
While the cleaning solution sits, you can use a stiff nylon bristle brush or scrub brush to agitate any particularly stubborn stains or spots. Gently scrub the area in a circular motion to help loosen the stain or dirt. Avoid using abrasive brushes or harsh scrubbing techniques that might damage the concrete surface.
By applying a concrete cleaner, you break down and remove tough stains and dirt from the concrete basement floor. This prepares the floor for the next step of the cleaning process, ensuring a thorough and effective outcome.
Use a mixture of warm water and mild detergent to scrub the concrete floor. For tough stains, use a mixture of water and vinegar or a commercial concrete cleaner. Always rinse thoroughly and allow the floor to dry completely.
Read more: How To Finish Concrete Basement Floor
Step 5: Scrubbing the Floor
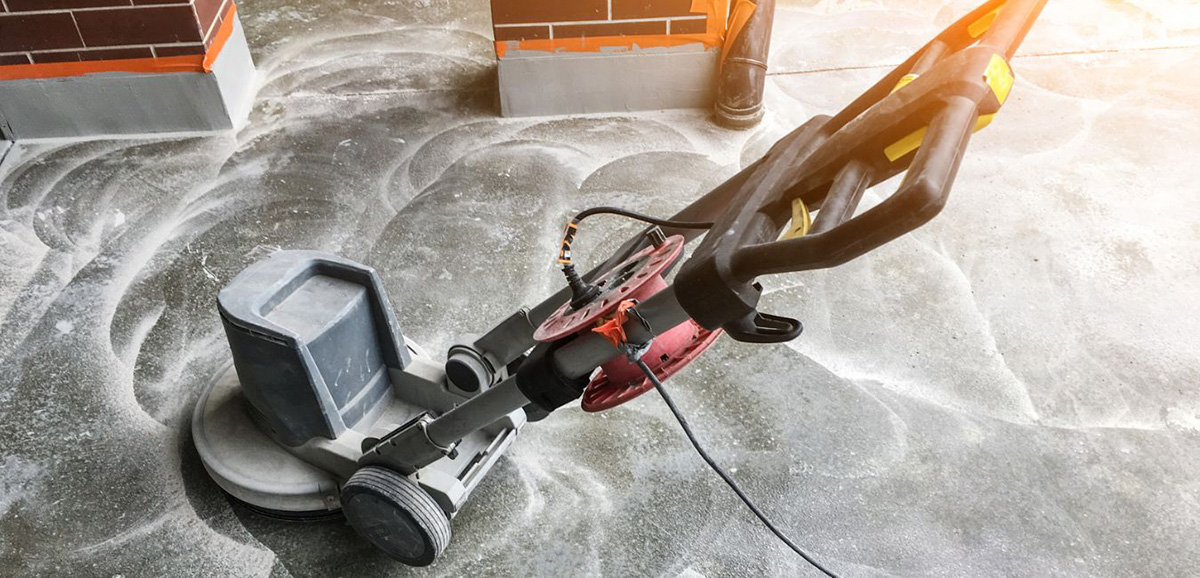
After allowing the concrete cleaner to sit on the floor for the recommended duration, it’s time to scrub the floor to loosen and remove stubborn stains and dirt. Scrubbing the floor helps to ensure a deep and thorough cleaning.
Start by filling a bucket with clean water. The water will be used to rinse the floor after scrubbing. Having a separate bucket for rinsing will prevent the spread of dirty water and help maintain the cleanliness of the floor.
Next, dip a stiff nylon bristle brush or scrub brush into the bucket of water. Scrub the floor using a circular motion, working in small sections. Apply moderate pressure to effectively loosen the stains and dirt embedded in the concrete surface.
Focus on areas that have visible stains or accumulated grime. Spend extra time and effort on these areas to ensure complete removal. Move across the entire floor, scrubbing each section methodically, until you have covered the entire surface.
Be cautious not to go overboard with the water and avoid saturating the floor. Excessive water can seep into cracks or crevices, potentially causing damage or prolonging the drying process. Use a damp cloth or mop to wipe up any excess water as you scrub.
If you encounter particularly stubborn stains or dirt spots, you can apply some additional concrete cleaner directly to the area. Allow the cleaner to sit for a few minutes, then proceed with scrubbing.
During the scrubbing process, you may find it helpful to periodically rinse the brush or scrub pad in the bucket of water. This helps remove any accumulated dirt or debris, ensuring that you are scrubbing with a clean tool.
Once you have thoroughly scrubbed the entire floor, empty the dirty water from the bucket and refill it with clean water. Use a mop or sponge mop to rinse the floor, removing any remnants of the cleaning solution.
By scrubbing the floor, you effectively loosen and remove stubborn stains and dirt, ensuring a deep and thorough clean. This step sets the stage for the final steps in the cleaning process.
Step 6: Rinsing the Floor
After scrubbing the concrete basement floor, it’s crucial to thoroughly rinse it to remove any remaining residue from the cleaning solution and dirt. Rinsing ensures that the floor is left clean, fresh, and ready for the final steps of the cleaning process.
Start by emptying the bucket of dirty water and refilling it with clean water. This water will be used for rinsing the floor and ensuring that all traces of the cleaning solution are eliminated.
Using a mop or sponge mop, dip it into the bucket of clean water and wring out any excess moisture. Begin rinsing the floor from one side of the basement and work your way towards the exit, ensuring that you cover the entire floor surface.
When rinsing, make sure to mop in straight lines, overlapping each pass to ensure thorough coverage. Periodically rinse out the mop or sponge mop in the clean water to remove any dirt or residue that may have accumulated.
Pay close attention to any areas that may have had particularly stubborn stains or dirt buildup during the scrubbing process. Take some extra time and effort to ensure that these areas are thoroughly rinsed.
Once you have rinsed the entire floor, it’s important to let it air dry completely. Avoid walking on the wet floor to prevent tracking dirt or leaving footprints. Open windows or use fans to promote air circulation, helping to speed up the drying process.
Take a moment to inspect the floor for any remaining stains or areas that may require additional cleaning. If necessary, you can repeat the scrubbing and rinsing process in specific areas to ensure a completely clean surface.
By diligently rinsing the floor, you remove any residual cleaning solution or dirt, leaving the concrete basement floor fresh and ready for the final steps in the cleaning process.
Step 7: Drying the Floor
After thoroughly rinsing the concrete basement floor, it’s essential to allow it to dry completely before moving on to the next step. Drying the floor properly is crucial to prevent slips and falls, as well as to prepare it for any optional sealing or finishing steps.
First, ensure that any excess water or moisture on the floor is removed. You can use old towels or rags to blot and absorb any wet spots. Pay close attention to corners, edges, and any areas where water may have pooled.
Next, open windows or use fans to promote air circulation within the basement. This helps to speed up the drying process by allowing humid air to escape and fresh air to circulate around the floor surface.
Avoid walking on the wet floor until it is completely dry. This will prevent any footprints or marks from being left behind and ensure a pristine result. Consider placing warning signs or barriers to remind others to avoid the area.
The time it takes for the floor to dry will depend on various factors such as humidity levels, temperature, and airflow. It is recommended to allow at least 24-48 hours for the floor to dry completely. You can test the dryness by placing a small piece of plastic wrap on the floor and checking for any condensation or moisture underneath.
While waiting for the floor to dry, take the opportunity to clean and dry any tools or equipment that were used during the cleaning process. Clean the mop, brushes, and buckets thoroughly to remove any residue or traces of cleaning solution.
Once the floor is dry, you can proceed with any optional sealing or finishing steps to protect the surface and enhance its appearance. However, if you are not planning to seal the floor, you can move on to the final step, which is optional.
Drying the concrete basement floor completely ensures a clean, safe, and ready-to-use surface. It is an important step in the cleaning process that should not be rushed to achieve the best results.
Step 8: Sealing the Floor (Optional)
Sealing the concrete basement floor is an optional step, but it can provide added protection and enhance the aesthetics of the floor. Sealing helps to minimize the absorption of moisture, prevent staining, and make the floor easier to clean and maintain in the long run.
Before starting the sealing process, ensure that the floor is clean, dry, and free from any residual cleaning products. If necessary, you may need to repeat the cleaning process or address any remaining stains or spots before applying the sealer.
Choose a concrete sealer suitable for basement floors. There are various types of sealers available, including acrylic sealers, epoxy coatings, or penetrating sealers. Read the manufacturer’s instructions carefully to ensure you select the appropriate product for your specific needs.
Begin by applying a small amount of sealer to a small, inconspicuous area of the floor to test for compatibility and desired results. Allow the sealer to dry completely and evaluate its appearance and performance before proceeding to seal the entire floor.
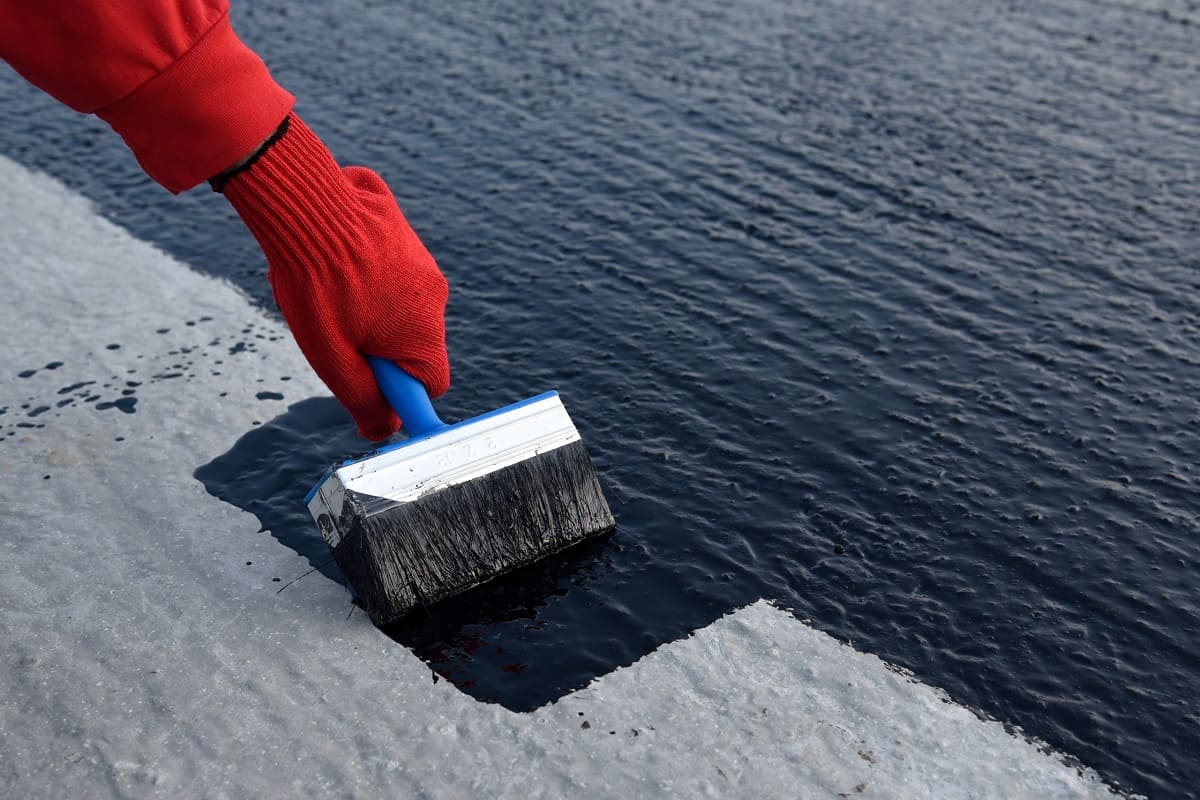
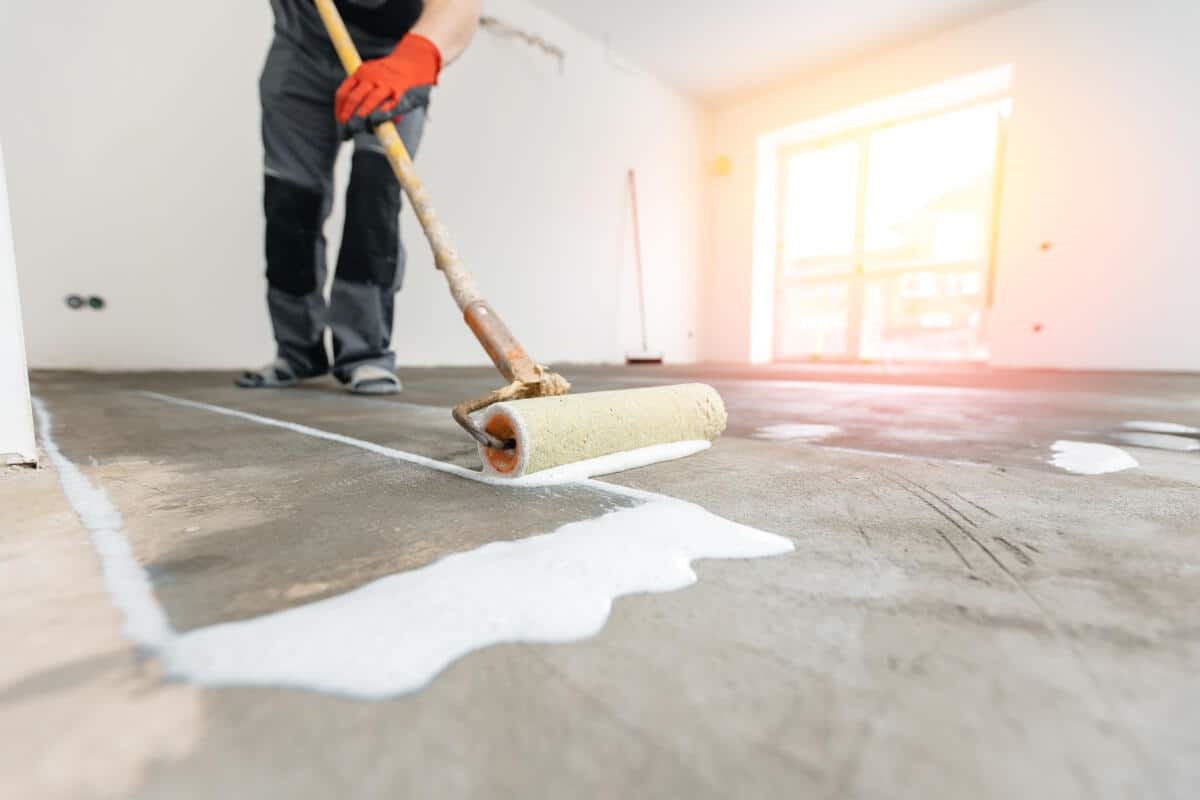
If the test results are satisfactory, start by applying the sealer to the floor using a brush, roller, or sprayer, following the manufacturer’s instructions. Work in small sections to ensure even coverage and avoid any pooling or excess sealer on the surface.
Allow the sealer to dry according to the manufacturer’s recommended drying time. This drying period may vary depending on the type of sealer used, humidity levels, and temperature. Avoid walking on the sealed floor until it is fully dry to prevent any damage or imperfections.
Once the sealer is dry, you may consider applying additional coats for increased durability and protection. Always follow the manufacturer’s instructions regarding the number of coats and wait time between applications.
Remember that the frequency of resealing will depend on factors such as the use of the space, foot traffic, and environmental conditions. Regularly inspect the sealed floor and reapply the sealer as needed to maintain its protective qualities.
Sealing the concrete basement floor is optional but can provide long-term benefits in terms of protection and maintenance. It adds an extra layer of defense against stains and moisture, keeping your basement floor looking clean and well-maintained.
Read more: How To Seal Concrete Basement Floor
Conclusion
Cleaning concrete basement floors is a necessary task to maintain a clean and healthy environment in your home. By following the step-by-step process outlined in this article, you can effectively and thoroughly clean your concrete basement floors.
Starting with clearing and preparing the area, you create a clean and accessible space for the cleaning process. Removing loose debris and dirt before sweeping and vacuuming ensures that the surface is ready for further cleaning.
Applying a concrete cleaner and scrubbing the floor helps tackle tough stains, grime, and dirt. By rinsing the floor thoroughly, you eliminate any residue and ensure a fresh and clean surface.
Properly drying the floor is essential to achieve the best results and avoid any potential hazards. Depending on personal preference and needs, you may choose to seal the concrete basement floor to enhance its protection and appearance.
Remember to read and follow the manufacturer’s instructions for any cleaning products or sealers used. Additionally, it’s essential to take necessary safety precautions, such as wearing protective gear and maintaining proper ventilation during the cleaning process.
Regular cleaning and maintenance of your concrete basement floors will help prolong their lifespan and keep them looking pristine. By incorporating these steps into your cleaning routine, you can enjoy a clean and inviting basement space for years to come.
So, roll up your sleeves and give your concrete basement floors the attention they deserve. With a little effort, you can transform them from dull and dirty to clean and refreshed!
Frequently Asked Questions about How To Clean Concrete Basement Floors
Was this page helpful?
At Storables.com, we guarantee accurate and reliable information. Our content, validated by Expert Board Contributors, is crafted following stringent Editorial Policies. We're committed to providing you with well-researched, expert-backed insights for all your informational needs.




0 thoughts on “How To Clean Concrete Basement Floors”