
Articles
How To Clean Crownful Ice Maker
Modified: February 29, 2024
Learn the best cleaning techniques for your Crownful ice maker in this helpful article. Keep your appliance in top shape with these easy steps.
(Many of the links in this article redirect to a specific reviewed product. Your purchase of these products through affiliate links helps to generate commission for Storables.com, at no extra cost. Learn more)
Introduction
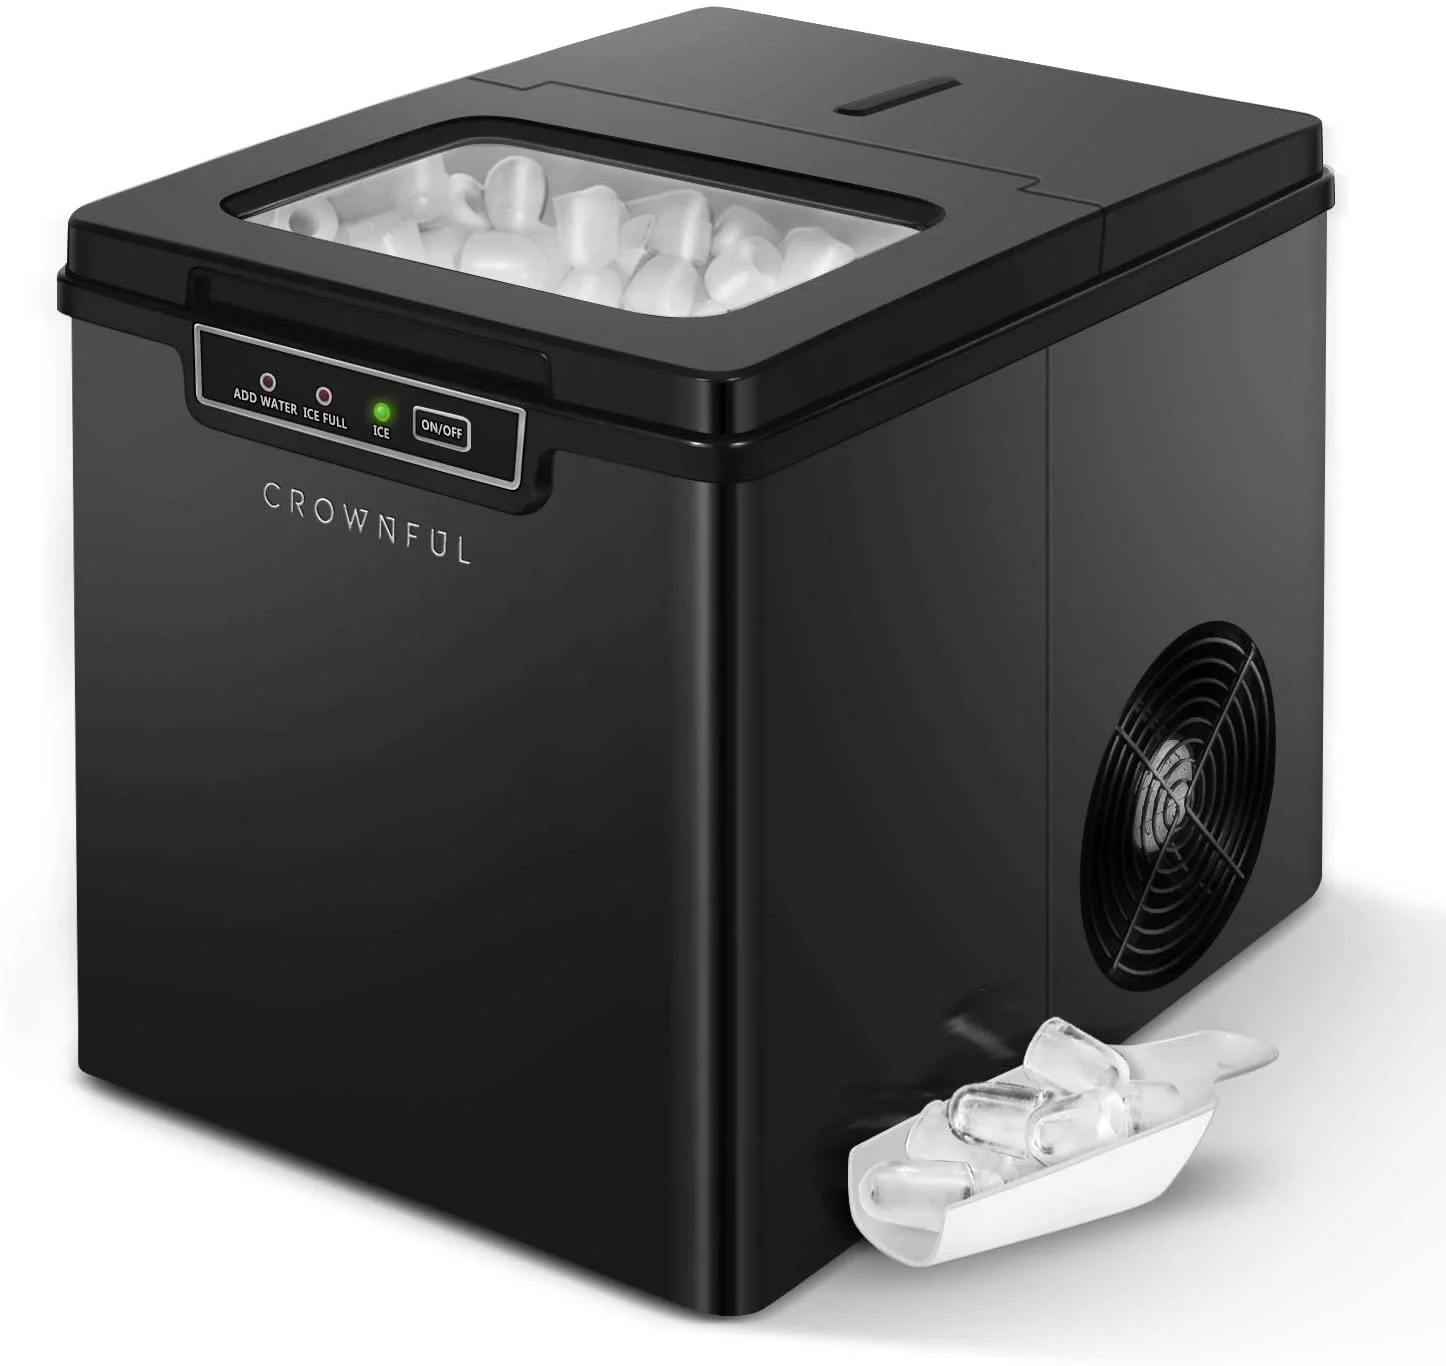
Welcome to this comprehensive guide on how to clean your Crownful Ice Maker. Keeping your ice maker clean is essential for maintaining its efficiency and ensuring that your ice is safe to consume. Regular cleaning will help remove any buildup of mineral deposits, bacteria, and other impurities that can affect the quality of your ice. By following the steps outlined in this article, you can effortlessly clean your Crownful Ice Maker and enjoy fresh, clean ice for all your beverages.
Before we dive into the cleaning process, it’s important to familiarize yourself with some safety precautions to ensure a smooth and accident-free cleaning experience.
Key Takeaways:
- Regularly cleaning your Crownful Ice Maker is crucial for maintaining efficiency and ensuring the production of safe, high-quality ice for your beverages.
- Prioritize safety by unplugging the ice maker, wearing gloves, and ensuring good ventilation during the cleaning process to maintain a hygienic environment for your ice production.
Read more: How To Clean A Igloo Ice Maker
Safety Precautions
Before you begin cleaning your Crownful Ice Maker, it is crucial to prioritize safety. By following these safety precautions, you can minimize the risk of accidents or injuries:
- Ensure that the ice maker is turned off and unplugged from the power source before starting the cleaning process. This will prevent any accidents from occurring while handling the appliance.
- Protect your hands by wearing rubber gloves while cleaning. This will not only keep your hands safe from any harsh chemicals but also help maintain hygiene.
- Make sure the area where you are cleaning the ice maker is well-ventilated. Cleaning agents can sometimes release fumes that may be harmful if inhaled in an enclosed space.
- If you are using any chemical cleaners, be sure to read and follow the instructions carefully. Some cleaners may require dilution or specific application methods to ensure their effectiveness.
- Do not submerge the ice maker or any of its components in water. This could cause damage to the electrical components and pose a safety hazard.
- Keep children and pets away from the cleaning area to prevent any accidents or ingestion of cleaning agents.
- If you encounter any issues or are unsure about any part of the cleaning process, refer to the manufacturer’s instructions or contact their customer support for assistance.
By adhering to these safety precautions, you can ensure a safe and effective cleaning process for your Crownful Ice Maker.
Required Supplies
Before you begin cleaning your Crownful Ice Maker, gather the following supplies:
- Mild detergent or ice maker cleaner: You can use a mild detergent or a specialized ice maker cleaner specifically designed to remove mineral deposits and bacteria from the ice maker.
- Warm water: You will need warm water to mix with the detergent or cleaner for cleaning the ice maker.
- Clean, lint-free cloth or sponge: These will be used for wiping down the interior and exterior surfaces of the ice maker.
- Rubber gloves: To protect your hands during the cleaning process, it is recommended to wear rubber gloves.
- Soft-bristle brush or toothbrush: This will be useful for scrubbing hard-to-reach areas and removing any stubborn buildup.
- Vinegar (optional): If your ice maker has a strong odor, you may want to use vinegar as a natural deodorizer.
Having these supplies ready will ensure that you have everything you need to clean your Crownful Ice Maker effectively.
Step 1: Unplug the Ice Maker
The first step in cleaning your Crownful Ice Maker is to unplug it from the power source. This ensures your safety and prevents any damage to the appliance.
Locate the power cord of the ice maker and gently unplug it from the electrical outlet. Ensure that the cord is fully disconnected to prevent any accidental power supply while you are cleaning.
By unplugging the ice maker, you eliminate the risk of electrical shock or damage to the appliance while handling water and cleaning agents.
Once the ice maker is safely disconnected from the power source, you can proceed to the next step of the cleaning process.
Step 2: Remove and Clean the Ice Basket
After unplugging the Crownful Ice Maker, the next step is to remove the ice basket for cleaning. The ice basket collects the ice cubes produced by the ice maker and may accumulate residue over time.
To remove the ice basket, locate the release lever or button, usually located on the front of the ice maker. Press or lift the lever/button to release the ice basket from its position.
Gently pull the ice basket out of the ice maker and set it on a clean, stable surface. Empty any remaining ice cubes and discard them.
To clean the ice basket, prepare a mixture of warm water and a small amount of mild detergent or ice maker cleaner. Submerge the basket in the cleaning solution and use a soft-bristle brush or toothbrush to scrub away any residue.
Rinse the ice basket thoroughly with clean water to remove any soap or cleaner residue. Ensure that all the soap or cleaner is completely washed off.
Once the ice basket is clean and rinsed, dry it thoroughly with a clean, lint-free cloth or allow it to air dry. Make sure there is no moisture remaining on the basket before reinserting it into the ice maker.
When the ice basket is completely dry, carefully place it back into the ice maker, ensuring that it is securely seated in its original position.
By cleaning the ice basket regularly, you can prevent any buildup of residue and maintain the efficiency of your Crownful Ice Maker.
To clean your Crownful ice maker, mix equal parts of water and white vinegar and pour it into the water reservoir. Run a cleaning cycle and then rinse with clean water to remove any vinegar residue. Wipe down the exterior with a damp cloth.
Read more: How To Clean Out An Ice Maker
Step 3: Clean the Interior Surfaces
With the ice basket removed and cleaned, it’s time to focus on cleaning the interior surfaces of your Crownful Ice Maker. These surfaces can accumulate mineral deposits and bacteria over time, affecting the quality of your ice.
Start by preparing a cleaning solution using warm water and a mild detergent or ice maker cleaner. Mix the solution well to ensure proper cleaning.
Dip a clean, lint-free cloth or sponge into the cleaning solution and wring out any excess liquid. Gently wipe down the interior surfaces of the ice maker, paying special attention to areas that come into contact with water and ice.
If you notice any stubborn residue or mineral deposits, use a soft-bristle brush or toothbrush to scrub the affected areas. Be cautious not to scrub too vigorously to avoid damaging the ice maker’s components.
Once you have thoroughly cleaned the interior surfaces, rinse the cloth or sponge with clean water and wipe down the surfaces again to remove any soapy residue.
To ensure a complete clean, rinse the interior surfaces of the ice maker with clean water. This will help remove any remaining cleaning solution and leave the ice maker fresh and ready for use.
Finally, use a clean, dry cloth to wipe down the interior surfaces of the ice maker, ensuring that all moisture is removed. This will prevent the growth of mold or mildew.
By regularly cleaning the interior surfaces of your Crownful Ice Maker, you can maintain its performance and ensure the production of clean, high-quality ice.
Step 4: Clean the Water Reservoir
The water reservoir of your Crownful Ice Maker can accumulate mineral deposits and bacteria, which can affect the taste and quality of the ice it produces. Therefore, it’s crucial to clean the water reservoir regularly to maintain optimal performance.
To clean the water reservoir, begin by unplugging the ice maker from the power source and ensuring that it is turned off.
Locate the water reservoir, which is usually located at the back or side of the ice maker. Carefully remove the cap or cover to access the reservoir.
Drain any remaining water from the reservoir by either pouring it out into a sink or using the water drain feature, if available.
Prepare a cleaning solution by mixing warm water with a mild detergent or ice maker cleaner. The cleaning solution should be suitable for contact with food and safe for use in the water reservoir.
Using a clean cloth or sponge, dip it into the cleaning solution and thoroughly wipe down the inner surfaces of the water reservoir. Pay special attention to any areas where residue or buildup may be present.
If you notice stubborn mineral deposits, you can use a soft-bristle brush or toothbrush to gently scrub the affected areas. Be careful not to use any abrasive materials that could damage the water reservoir.
Rinse the water reservoir thoroughly with clean water to remove any traces of the cleaning solution, detergent, or cleaner. Ensure that all the residue is completely washed away.
Once rinsed, use a clean, dry cloth to wipe down the water reservoir and remove any moisture. It is essential to dry the reservoir thoroughly to prevent the growth of mold or mildew.
After the water reservoir is completely dry, carefully reinstall the cap or cover, ensuring that it is tightly closed.
Now that the water reservoir is clean and dry, you can proceed to the next step of the cleaning process.
By regularly cleaning the water reservoir of your Crownful Ice Maker, you can ensure the production of clean and fresh-tasting ice.
Step 5: Clean the Exterior
The exterior of your Crownful Ice Maker may accumulate dust, fingerprints, and other residues over time. Cleaning the exterior not only enhances its appearance but also helps maintain a hygienic environment for your ice maker.
To clean the exterior of the ice maker, begin by preparing a mild cleaning solution using warm water and a small amount of dish soap or a gentle all-purpose cleaner.
Dip a clean, lint-free cloth or sponge into the cleaning solution and wring out any excess liquid. Gently wipe down the exterior surfaces of the ice maker, including the top, sides, and front panel. Pay attention to any areas that may have visible stains or smudges.
If you encounter stubborn stains or dried-on residue, you can use a soft-bristle brush or toothbrush to scrub these areas gently. Be careful not to apply too much pressure or scrub too vigorously to avoid scratching the surface of the ice maker.
Rinse the cloth or sponge with clean water and go over the exterior surfaces again to remove any soapy residue. Make sure to remove all traces of the cleaning solution to prevent it from coming into contact with the ice or water later on.
After rinsing, use a clean, dry cloth to wipe down the exterior surfaces and remove any moisture. Pay attention to any hard-to-reach areas or crevices to ensure they are thoroughly dried.
If your ice maker has a stainless-steel finish, you can use a specialized stainless-steel cleaner and polish to restore its shine and remove any fingerprints or smudges. Follow the manufacturer’s instructions for the specific cleaner you are using.
Finally, once the exterior surfaces are clean and dry, plug the ice maker back into the power source and turn it on.
By regularly cleaning the exterior of your Crownful Ice Maker, you can keep it looking clean and presentable while maintaining a hygienic environment for your ice production.
Step 6: Reassemble and Plug In the Ice Maker
After thoroughly cleaning the various components of your Crownful Ice Maker, it’s time to reassemble them and get the ice maker ready for use.
Start by ensuring that all the components, including the ice basket and water reservoir, are completely dry. Use a clean, lint-free cloth to wipe down any remaining moisture.
Carefully reinsert the ice basket back into its designated position within the ice maker. Make sure it is securely seated and aligned properly.
If you had removed any caps or covers during the cleaning process, reattach them to their respective positions. Ensure that they are tightly closed to prevent any water or debris from entering the ice maker.
Next, plug in the ice maker to the power source. Make sure the power cord is securely inserted into the electrical outlet.
Once the ice maker is plugged in, turn it on and allow it to go through its startup sequence. This may involve the ice maker cycling through a few empty ice-making cycles to clean out any residue or cleaning solution that may have been left behind.
While the ice maker is running, monitor it for any unusual noises or signs of malfunction. If you notice any issues, refer to the manufacturer’s instructions or contact their customer support for assistance.
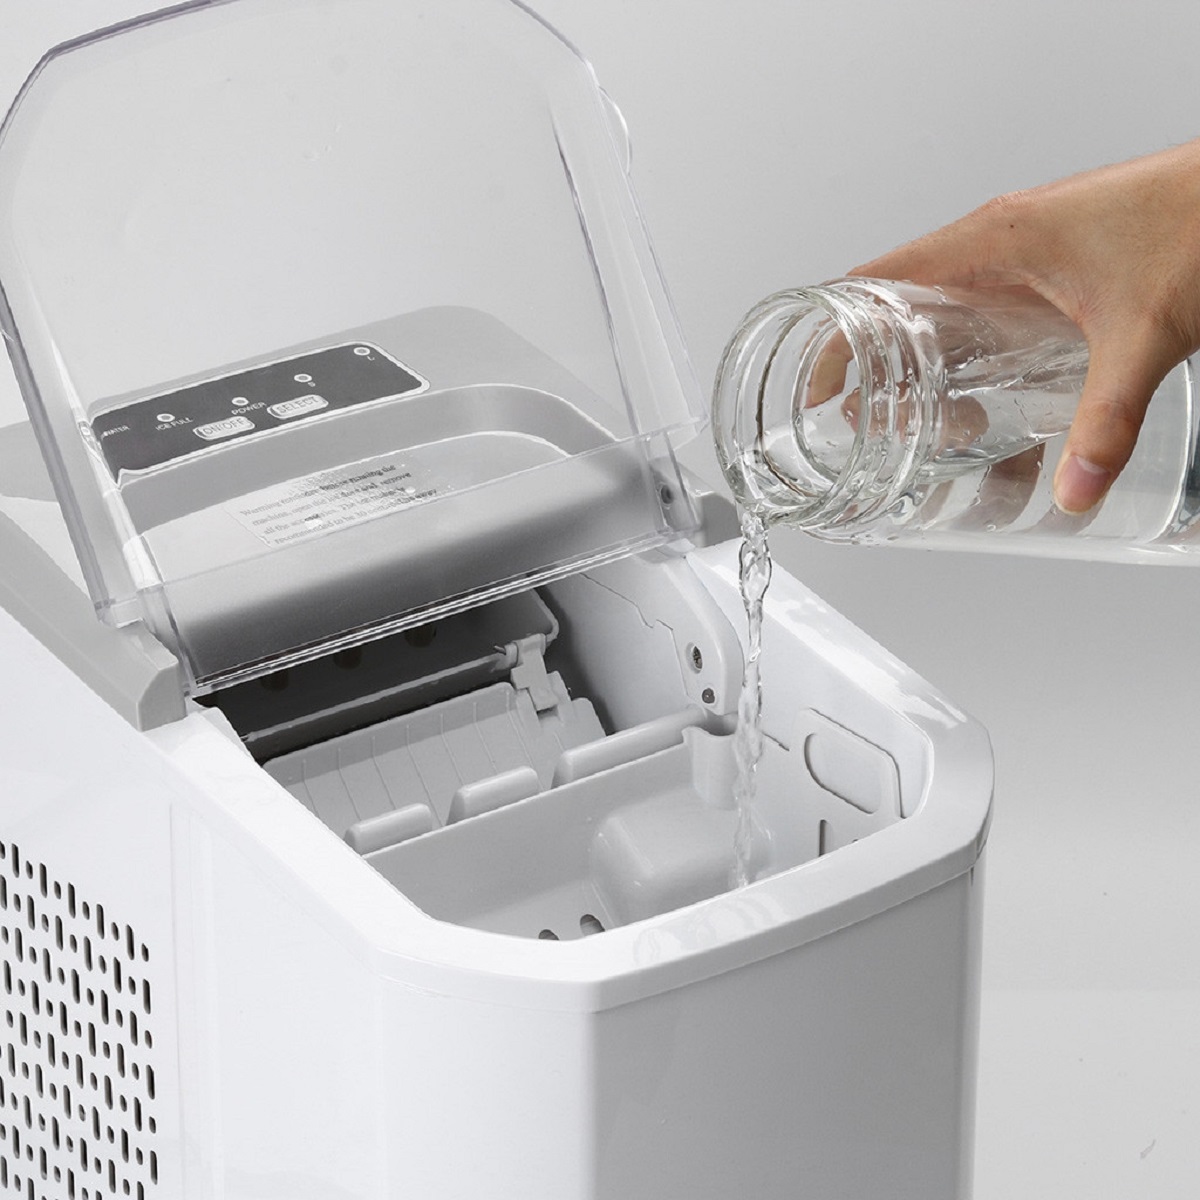
Once the ice maker has completed its startup sequence, it is ready for regular use. Fill the water reservoir with clean, filtered water, and allow the ice maker to start producing ice.
Remember to regularly empty and clean the ice basket to maintain the cleanliness and quality of the ice produced by your Crownful Ice Maker.
By following these steps and properly reassembling and plugging in your ice maker, you can ensure smooth operation and enjoy clean, refreshing ice for all your beverages.
Read more: How To Clean A Silonn Ice Maker
Conclusion
Cleaning your Crownful Ice Maker is an essential task that should be performed regularly to maintain its efficiency and ensure the production of clean, high-quality ice. By following the steps outlined in this article, you can easily and effectively clean your ice maker.
Throughout the cleaning process, it is important to prioritize safety by unplugging the ice maker and wearing gloves. Take precautions to ensure good ventilation in the cleaning area and read and follow any instructions provided by the manufacturer or cleaning agent.
Gather the necessary supplies, including mild detergent or ice maker cleaner, warm water, a clean cloth or sponge, rubber gloves, a soft-bristle brush or toothbrush, and vinegar for deodorizing if necessary.
Begin by unplugging the ice maker, removing and cleaning the ice basket, and then proceed to clean the interior surfaces of the ice maker, including hard-to-reach areas. Clean the water reservoir to remove mineral deposits and bacteria that can affect the taste and quality of the ice.
After cleaning the interior surfaces, focus on cleaning the exterior of the ice maker to remove dust, fingerprints, and other residues. Ensure that all components are thoroughly dried before reassembling them and plugging the ice maker back in.
Once the ice maker is reassembled and plugged in, allow it to go through its startup sequence before enjoying the clean, refreshing ice it produces.
Regularly performing these cleaning steps will help extend the lifespan of your Crownful Ice Maker and ensure that you always have fresh, delicious ice for your beverages.
Remember to consult the manufacturer’s instructions for any specific cleaning recommendations or additional maintenance tips for your specific model of ice maker.
By following these guidelines and incorporating regular cleaning into your routine, you can enjoy the benefits of a well-maintained and hygienic Crownful Ice Maker for years to come.
Frequently Asked Questions about How To Clean Crownful Ice Maker
Was this page helpful?
At Storables.com, we guarantee accurate and reliable information. Our content, validated by Expert Board Contributors, is crafted following stringent Editorial Policies. We're committed to providing you with well-researched, expert-backed insights for all your informational needs.

0 thoughts on “How To Clean Crownful Ice Maker”