Articles
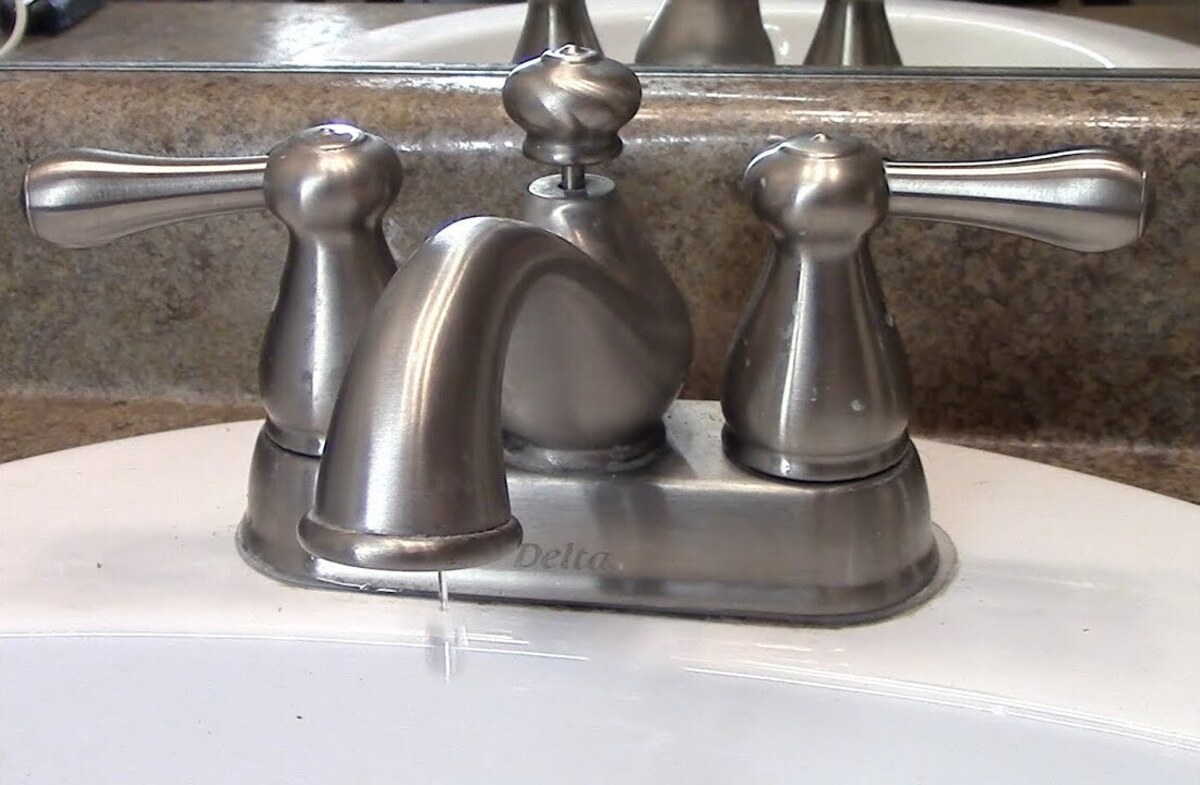
How To Fix A Leaky Delta Faucet
Modified: March 1, 2024
Get expert articles on how to fix a leaky Delta faucet. Learn step-by-step instructions and tips to repair your faucet and prevent water wastage.
(Many of the links in this article redirect to a specific reviewed product. Your purchase of these products through affiliate links helps to generate commission for Storables.com, at no extra cost. Learn more)
Introduction
Welcome to our guide on how to fix a leaky Delta faucet. A leaky faucet can be not only annoying but also a waste of water and money. Thankfully, repairing a Delta faucet is a relatively simple task that can be done by most homeowners with a few basic tools. In this article, we will walk you through the steps to identify the source of the leak, disassemble the faucet, inspect and clean the components, and replace any faulty parts.
Delta faucets are known for their durability and reliability, but over time, even the best faucets can develop leaks. There are several possible causes for a leaky Delta faucet, including worn-out O-rings, damaged seals, or loose connections. By determining the specific issue causing the leak, you can address the problem and restore your faucet to its full functionality.
Before we begin, it’s important to note that safety should always be your top priority. Make sure to shut off the water supply to the faucet before starting any repairs. Additionally, if you’re not comfortable with DIY plumbing projects or if the leak persists after your repair attempts, it’s always a good idea to call a professional plumber.
Now that you’re ready, let’s dive into the process of fixing your leaky Delta faucet and bring back the efficiency and functionality of your kitchen or bathroom sink.
Key Takeaways:
- Fixing a leaky Delta faucet is a manageable DIY project that can save money and prevent water wastage. By understanding the faucet’s construction, identifying the leak source, and following a systematic repair process, homeowners can restore their faucet’s efficiency.
- Prioritizing safety, shutting off the water supply, and gathering the necessary tools and materials are crucial steps in repairing a leaky Delta faucet. Thoroughly testing the repaired faucet ensures a successful fix and optimal functionality.
Read more: How To Fix A Leaky Faucet
Understanding the Delta Faucet
Before you can effectively fix a leaky Delta faucet, it’s important to understand its construction and how it functions. Delta faucets are designed with a combination of durable materials and innovative technology to ensure optimal performance and longevity.
Most Delta faucets are equipped with cartridge valves, which are responsible for controlling the flow of water. These valves are made of various materials, such as ceramic, and are known for their reliability and smooth operation. The cartridge valve is housed within the faucet body and is responsible for regulating both the temperature and water flow.
Delta faucets also utilize O-rings, seals, and gaskets to ensure a watertight seal and prevent leaks. Over time, these components can wear down or become damaged, leading to leaks or drips. Additionally, mineral buildup and debris can accumulate on the internal parts, affecting the faucet’s performance.
By gaining a basic understanding of how your Delta faucet is designed and functions, you’ll be better equipped to troubleshoot and repair any leaks that may arise.
Now that you have a general idea of how a Delta faucet is constructed, let’s move on to identifying the source of the leak. This step is crucial as it will allow you to accurately diagnose the problem and determine the appropriate course of action for repair.
Identifying the Leaky Faucet
Identifying the source of a leaky Delta faucet is the first step in addressing the issue. Not all leaks are the same, and determining where the leak is coming from will help you plan your repair strategy more effectively.
Here are some common signs to look out for when identifying a leaky faucet:
- Dripping water: If you notice water constantly dripping from the faucet, even when it’s turned off, it’s a clear indication of a leak.
- Visible water puddles: Check under and around the faucet for any water puddles that may signal a leak.
- Water stains or discoloration: Look for any stains or discoloration on the sink or countertop, as these may be caused by continuous water leakage.
- Reduced water pressure: If the water flow from the faucet is weak, it may be due to a leak affecting the water pressure.
Once you have confirmed that your Delta faucet is indeed leaking, you’ll need to determine the exact location of the leak. In most cases, the leak can originate from one of the following areas:
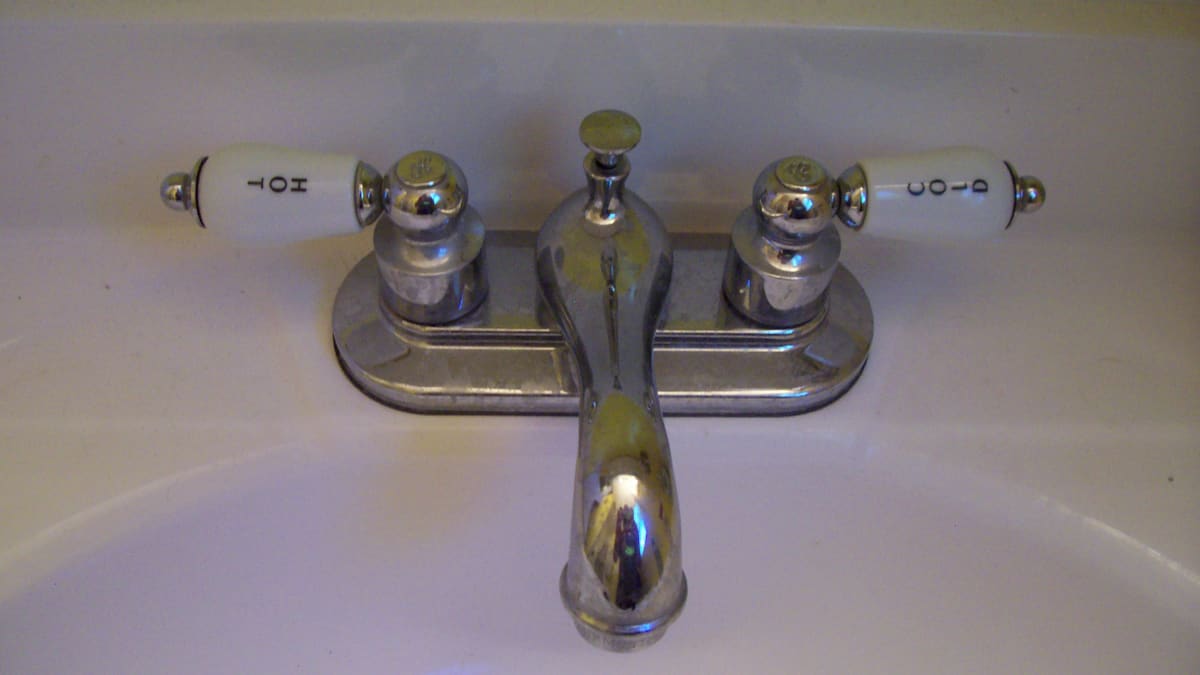
- Handle: Leaks from the handle area can be caused by a worn-out O-ring or a faulty cartridge. The handle may feel loose or wobble when you turn it.
- Spout: If the leak is coming from the spout, it could be due to damaged seals, a worn-out cartridge, or mineral buildup. The water may drip or flow continuously from the spout.
- Base: A leak at the base of the faucet is often caused by loose or damaged connections. Water may pool around the base and drip onto the countertop or sink.
By observing these signs and pinpointing the exact location of the leak, you’ll be able to proceed with the necessary steps to repair your Delta faucet. In the next section, we’ll discuss the tools and materials you’ll need for the repair process.
Tools and Materials Needed
Before you begin repairing your leaky Delta faucet, it’s important to gather the necessary tools and materials. Having everything at hand will streamline the process and ensure a smooth repair experience.
Here is a list of the tools and materials you’ll need:
Tools:
- Adjustable wrench: You’ll need this to loosen and tighten various fittings.
- Phillips and flathead screwdrivers: These will be used to remove screws and handle any other fasteners.
- Allen wrench set: Some Delta faucets require an Allen wrench to remove specific parts.
- Slip-joint pliers: These will be handy for gripping and turning different components.
- Plumber’s tape: Also known as Teflon tape, this will help create a watertight seal when reassembling the faucet.
Read more: How To Fix A Leaky Moen Faucet
Materials:
- Replacement parts: Depending on the specific issue causing the leak, you may need to purchase new O-rings, seals, cartridges, or other components.
- Cleaning solution: It’s a good idea to have a gentle cleaning solution or vinegar on hand to remove any mineral buildup or debris from the faucet parts.
- Clean cloth or towel: This will be used to wipe down and dry the faucet during the repair process.
- Bucket or tray: Placing a bucket or tray underneath the faucet will catch any excess water and prevent it from dripping onto the floor or countertop.
By ensuring you have all the necessary tools and materials before starting the repair, you’ll be well-prepared to fix your leaky Delta faucet efficiently. In the next section, we’ll discuss how to shut off the water supply before beginning any disassembly.
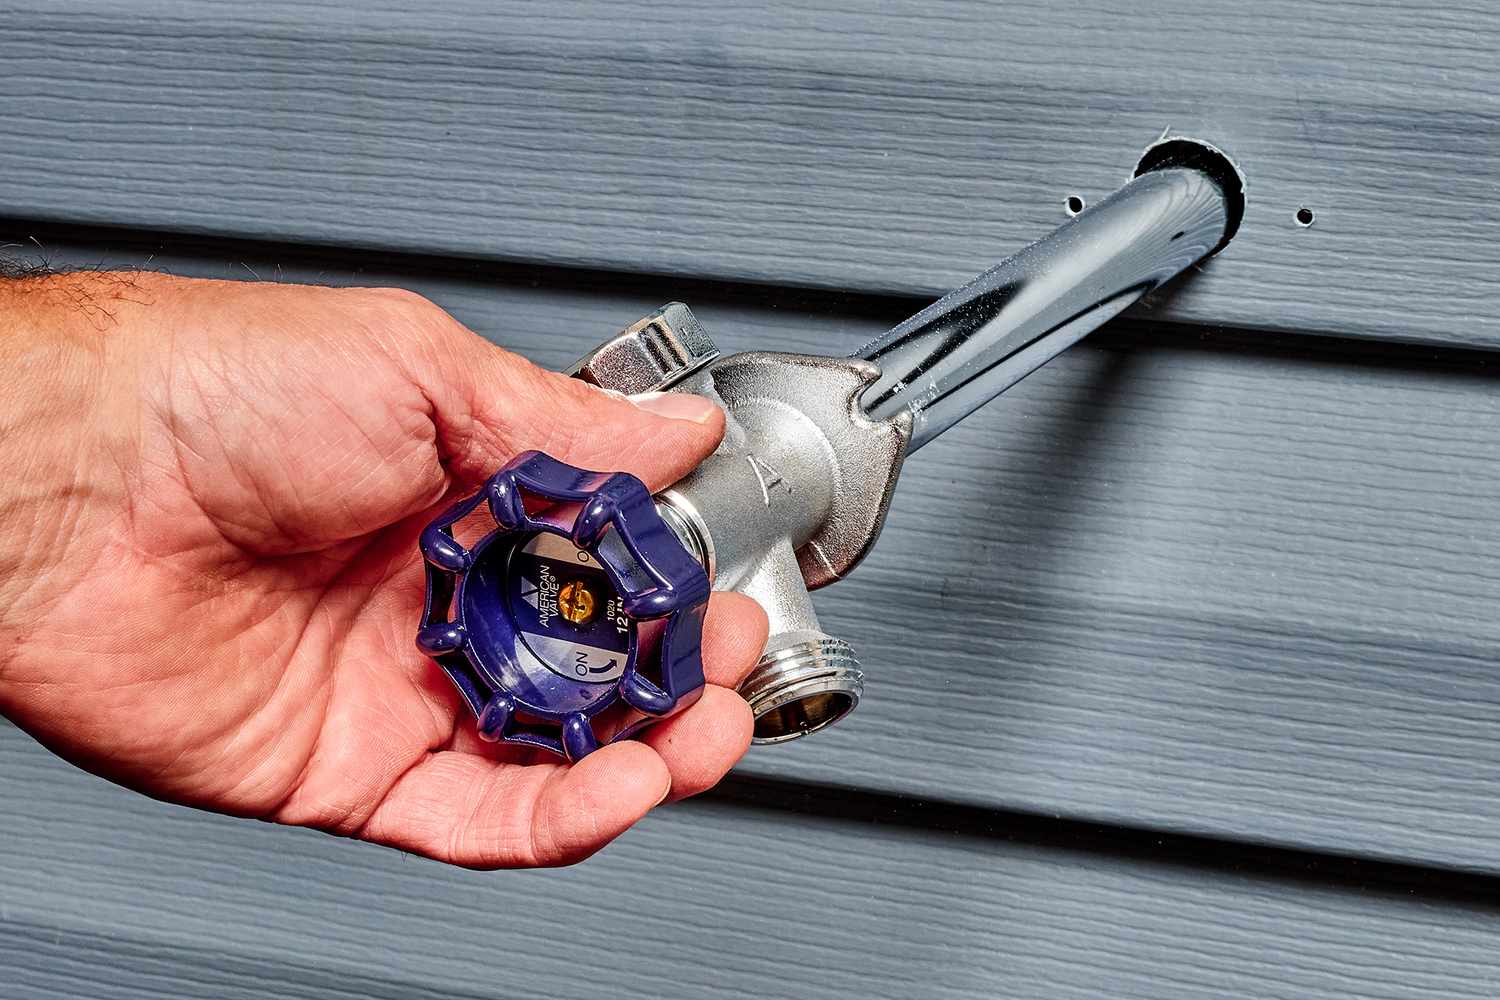
Shutting Off the Water Supply
Before you can begin disassembling your Delta faucet to repair the leak, it’s crucial to shut off the water supply to prevent any potential water damage or accidents. Here’s how to shut off the water supply:
1. Locate the water shutoff valves: The water shutoff valves are typically located under the sink or in another easily accessible area near the faucet. There are usually two valves, one for hot water and one for cold water.
2. Turn off the water supply: Using an adjustable wrench, turn the valves clockwise to shut off the water supply. This will stop the flow of water to the faucet.
3. Release any remaining water pressure: To ensure there is no remaining water in the pipes, turn on the faucet and let it run until the water stops completely. This will also relieve any pressure in the system.
4. Double-check the water supply: Once you’ve shut off the water supply, check that there is no more water coming out from the faucet. This step is crucial to avoid any unexpected leaks during the repair.
By shutting off the water supply, you can work on your Delta faucet without any water flowing, reducing the risk of accidents, water damage, or further leaks. Now that you’ve safely turned off the water, we can proceed to disassembling the faucet in the next section.
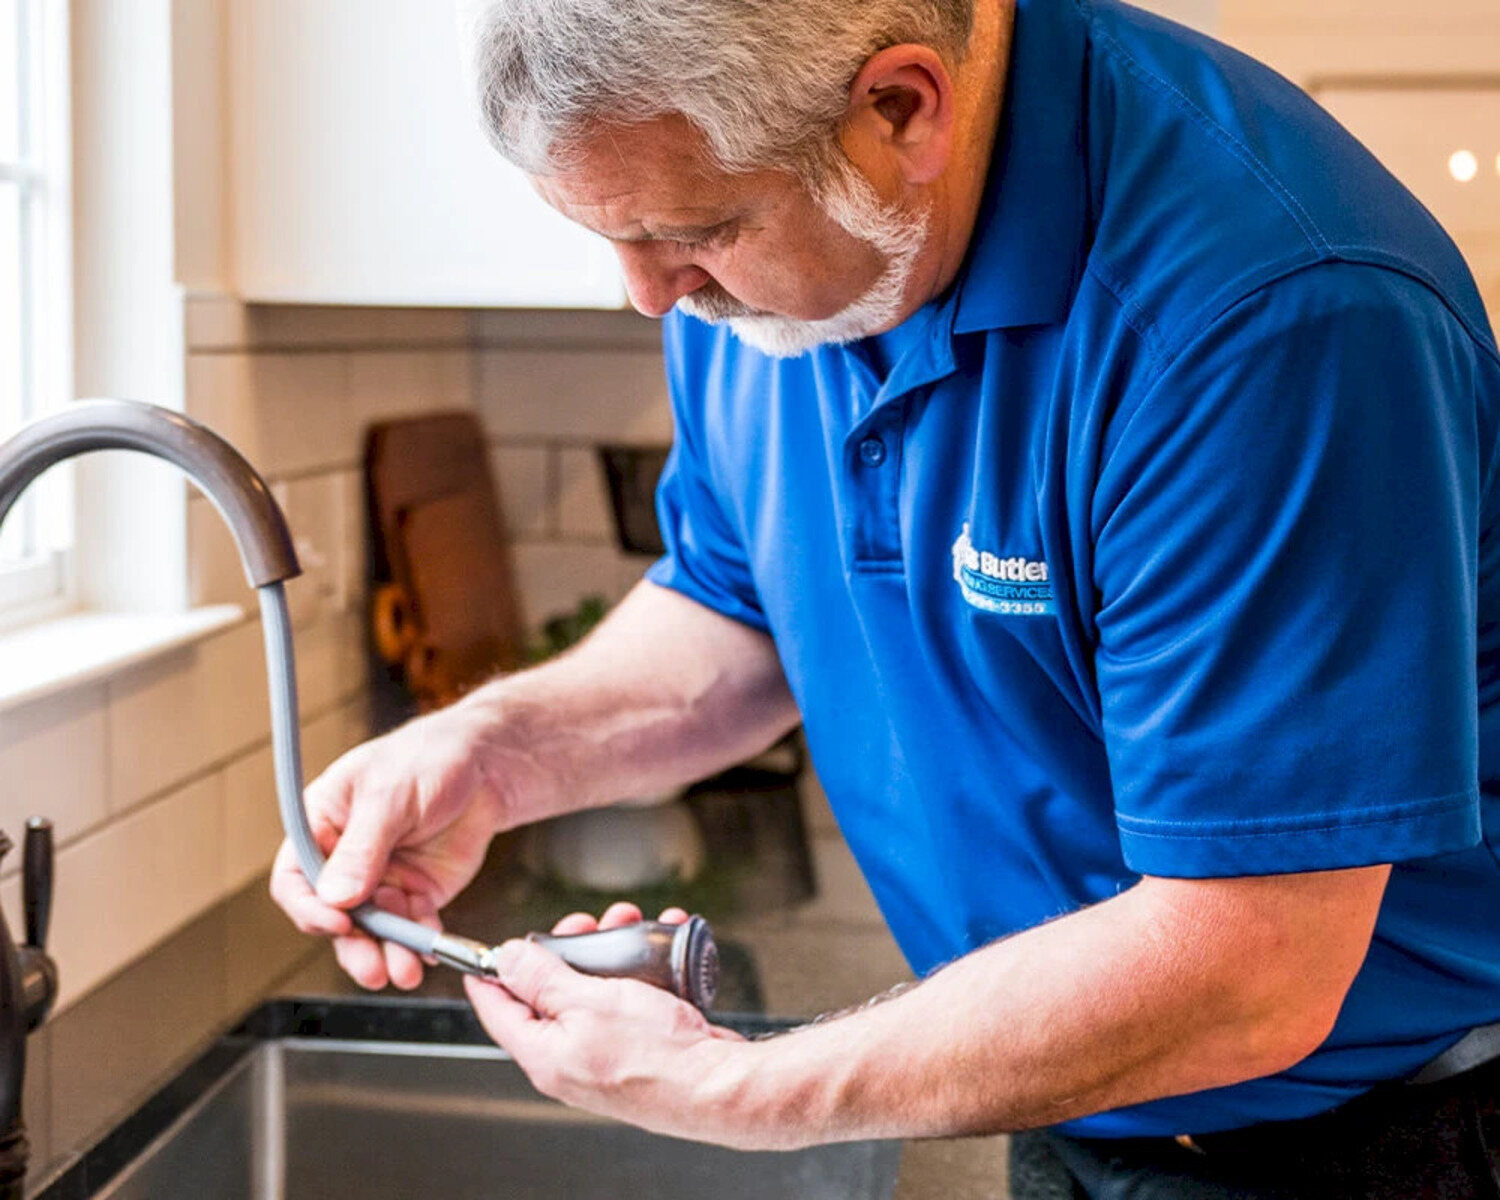
Disassembling the Faucet
Now that you’ve shut off the water supply, it’s time to disassemble your Delta faucet in order to access the components that may be causing the leak. Follow these steps to disassemble the faucet:
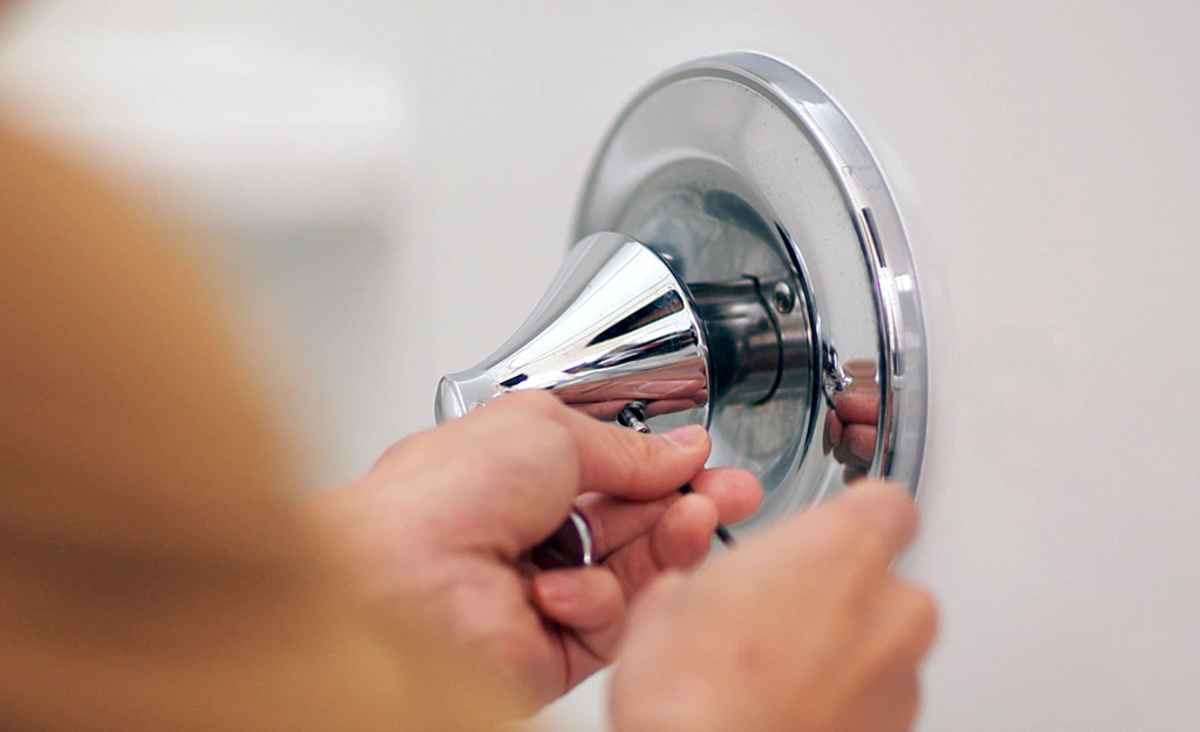
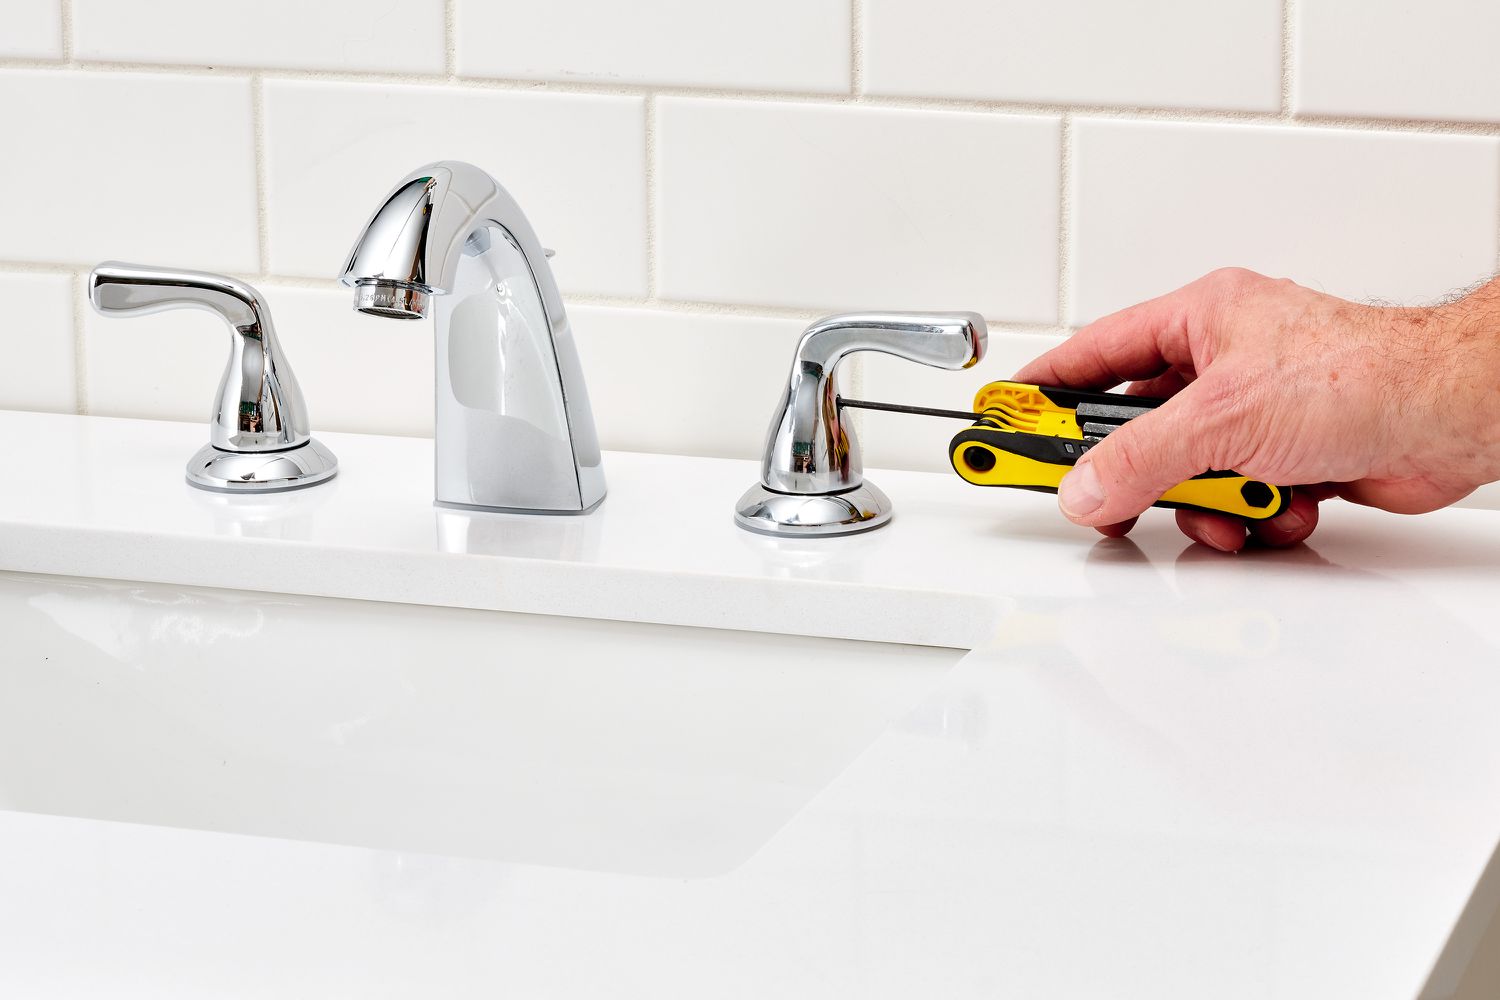
1. Remove the handle: Depending on the type of Delta faucet you have, the handle may be secured with a set screw or a decorative cap. If there’s a set screw, use an Allen wrench to loosen and remove it. If there’s a decorative cap, carefully pry it off with a flathead screwdriver to reveal the screw underneath. Remove the screw and lift off the handle.
2. Unscrew the bonnet: The bonnet is the cylindrical part that sits below the handle. Use an adjustable wrench to loosen the bonnet by turning it counterclockwise. Once it’s loose, you can remove it by hand.
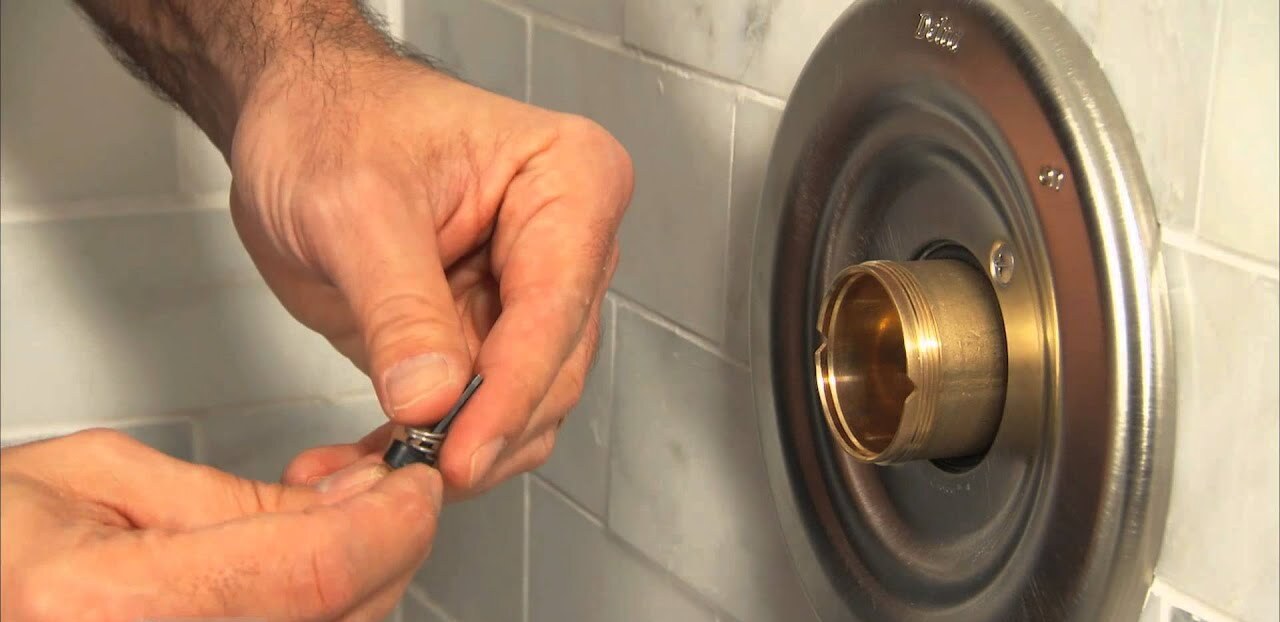
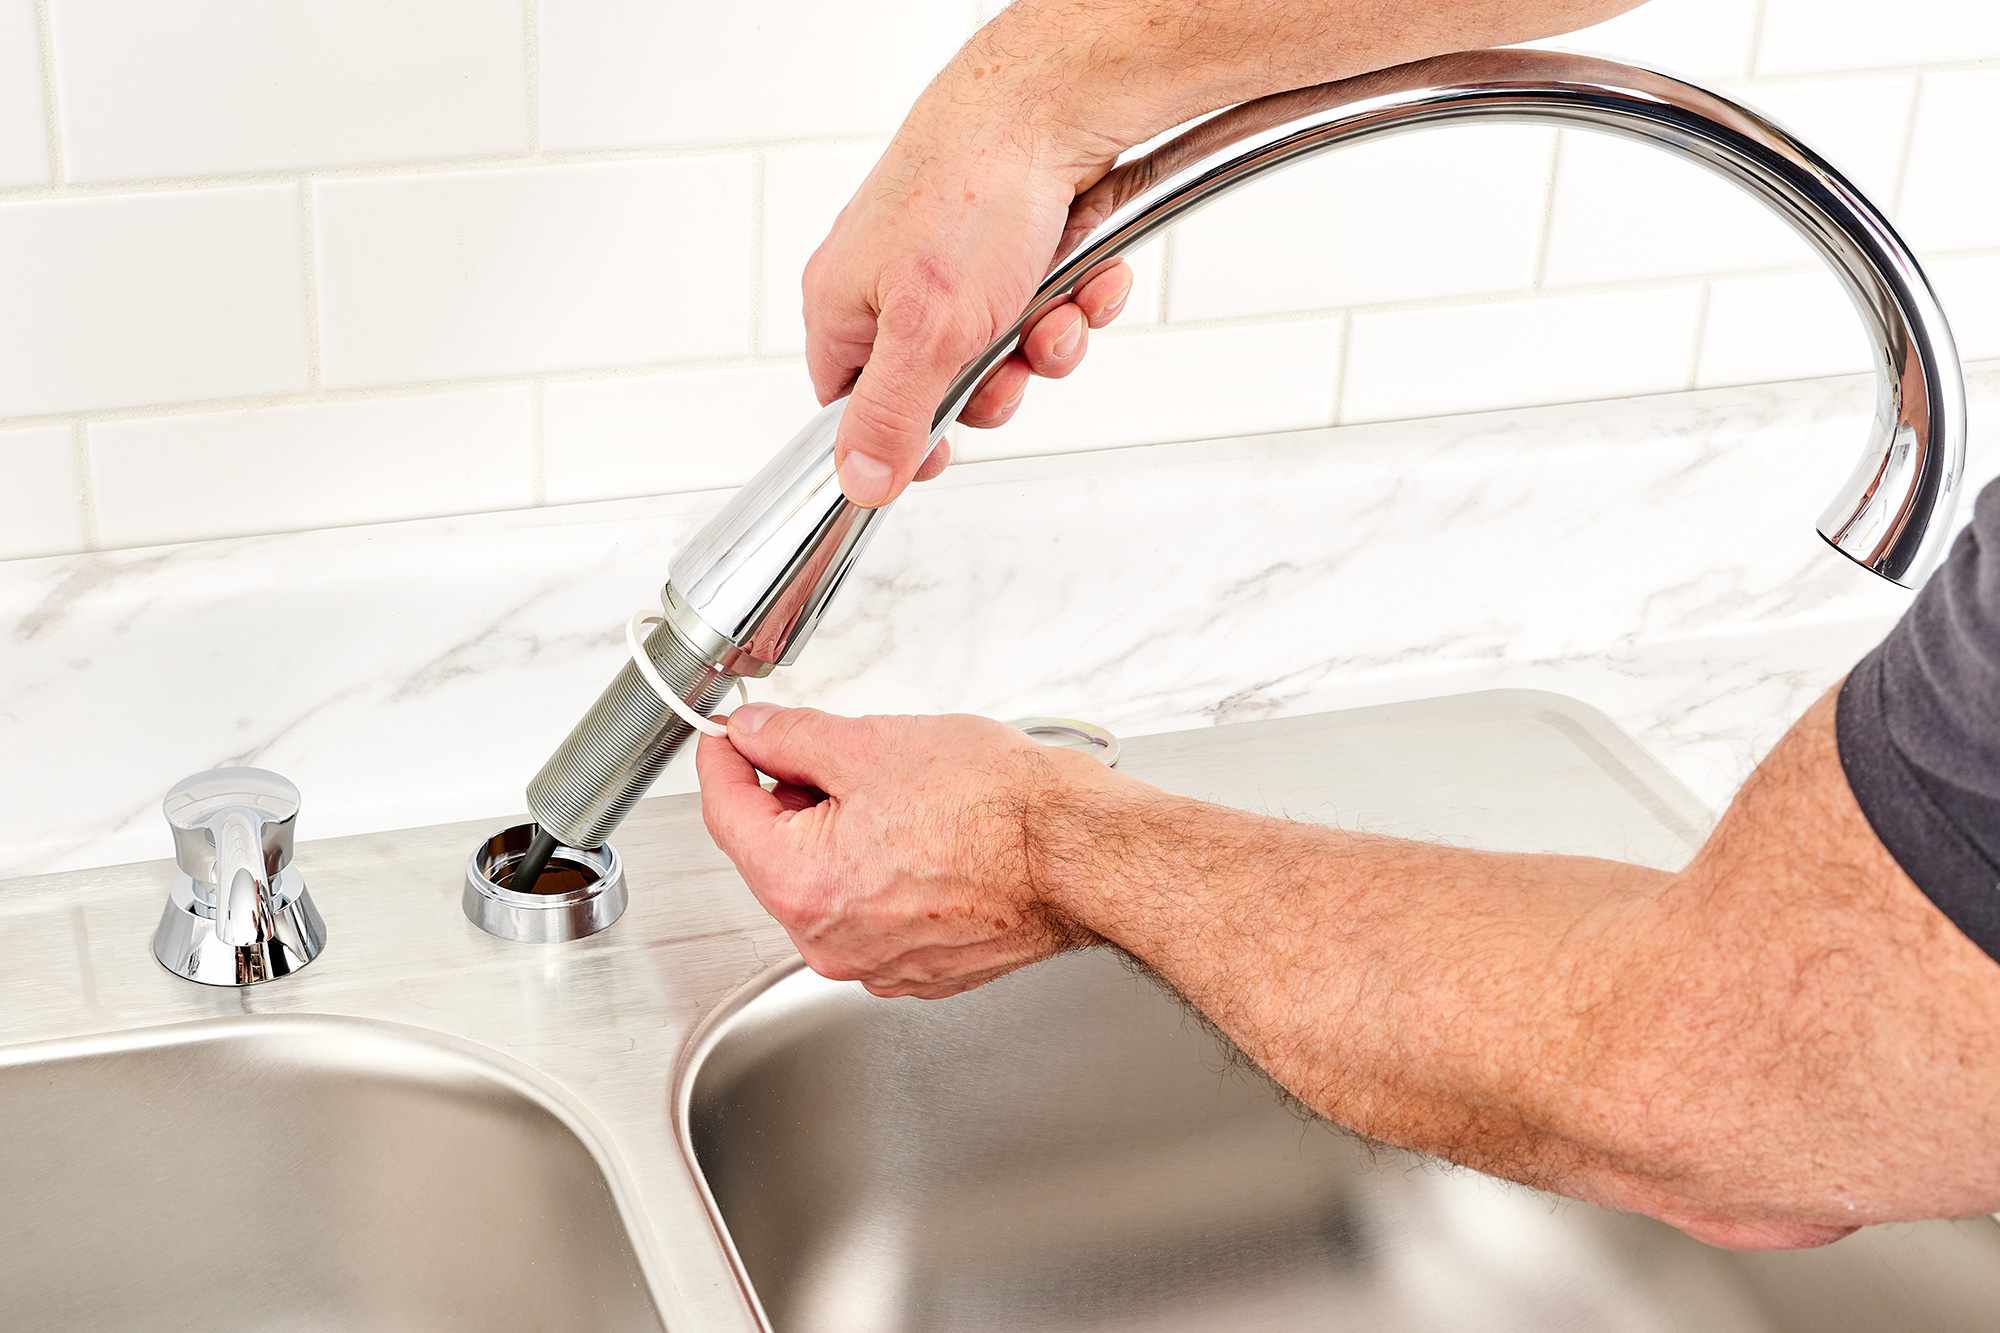
3. Take out the cartridge: The cartridge is the heart of the Delta faucet and is responsible for controlling the water flow. Depending on the model, you may need to use pliers or a cartridge removal tool to grip and pull out the cartridge. Follow the manufacturer’s instructions for your specific faucet model.
4. Disassemble other parts if necessary: Depending on the type of Delta faucet you have, there may be additional parts that need to be removed to access the seals or O-rings. Carefully remove any retaining nuts, screws, or clips that are holding these parts in place.
As you disassemble the faucet, take note of the arrangement and orientation of the parts. This will make reassembling the faucet easier later on. It’s also a good idea to lay the parts out in the order you removed them or keep them in a container to avoid misplacing or losing any pieces.
With the faucet disassembled, you’re now ready to move on to the next step: inspecting and cleaning the components to determine the cause of the leak.
Inspecting and Cleaning the Components
Once you have disassembled your Delta faucet, it’s time to inspect and clean the components to identify the cause of the leak. Here are the steps to follow:
1. Inspect the cartridge: Examine the cartridge for any signs of damage, such as cracks or wear. If you notice any issues, it’s recommended to replace the cartridge with a new one to ensure a proper seal and prevent future leaks.
2. Check the seals and O-rings: Inspect the seals and O-rings for wear or damage. These components are responsible for creating a watertight seal, and if they are compromised, water can easily leak. If necessary, replace the seals and O-rings with new ones that are compatible with your faucet model.
3. Remove mineral buildup: Over time, mineral deposits can accumulate on the faucet components, affecting their performance. Soak the disassembled parts in a vinegar or a gentle cleaning solution to dissolve the mineral buildup. Use a soft brush or cloth to scrub away any remaining residue. Rinse the parts thoroughly and dry them before reassembly.
4. Clean the aerator and other small components: If your Delta faucet has an aerator, remove it and clean it separately. Aerators can also accumulate mineral deposits that can affect water flow. Use a toothbrush or small brush to clean the aerator and remove any debris or buildup. Rinse it thoroughly and make sure it’s completely clean before reattaching it.
By inspecting and cleaning the components, you can address any issues that may be causing the leak and ensure that everything is in proper working order. Once you’ve cleaned the parts and assessed their condition, you can move on to the next step: replacing any faulty parts.
If your Delta faucet is leaking, try replacing the O-rings and seats to fix the issue. These parts can wear out over time and cause leaks.
Read more: How To Fix A Leaky Faucet Handle
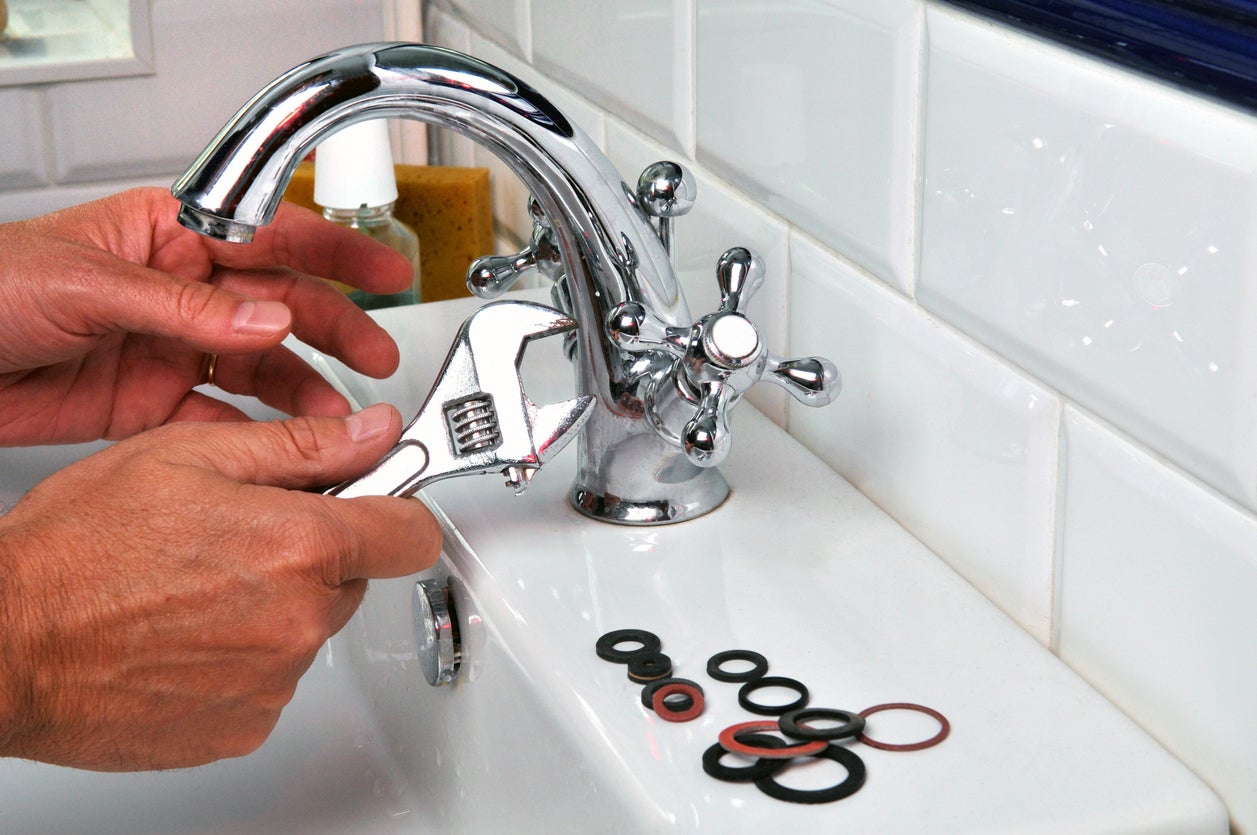
Replacing Faulty Parts
After inspecting and cleaning the components of your Delta faucet, you may have identified specific parts that are causing the leak. In this step, we will guide you through the process of replacing faulty parts to resolve the issue. Here’s what you need to do:
1. Identify the faulty parts: Based on your inspection, determine which parts need to be replaced. This could include the cartridge, O-rings, seals, or any other components that are worn out, damaged, or no longer functioning properly.
2. Purchase replacement parts: Head to your local hardware store or contact a Delta faucet supplier to obtain the necessary replacement parts. Make sure to get parts that are compatible with your specific faucet model.
3. Install the new cartridge: If you identified the cartridge as the cause of the leak, carefully insert the new cartridge into the faucet body. Refer to the manufacturer’s instructions or guides to ensure it is properly aligned and seated securely.
4. Replace the O-rings and seals: If the O-rings and seals were found to be faulty, carefully remove the old ones and install the new ones in their place. Make sure they fit snugly and create a watertight seal.
5. Reassemble the faucet: Begin reassembling the faucet, following the reverse order of the disassembly process. Thread the bonnet back onto the faucet body and tighten it with an adjustable wrench. Attach the handle and secure it with the set screw or decorative cap.
6. Apply plumber’s tape: Before reattaching any threaded connections, wrap plumber’s tape (Teflon tape) around the male threads to create a tight seal. This will help prevent leaks at these connection points.
Remember to refer to the manufacturer’s instructions or specific guides for your Delta faucet model, as the replacement process may vary. Take your time and ensure that each component is properly installed, tightened, and aligned.
With the faulty parts replaced and the faucet reassembled, you’re almost ready to test your repaired Delta faucet. However, it’s important to perform a few additional steps to ensure everything is in working order.
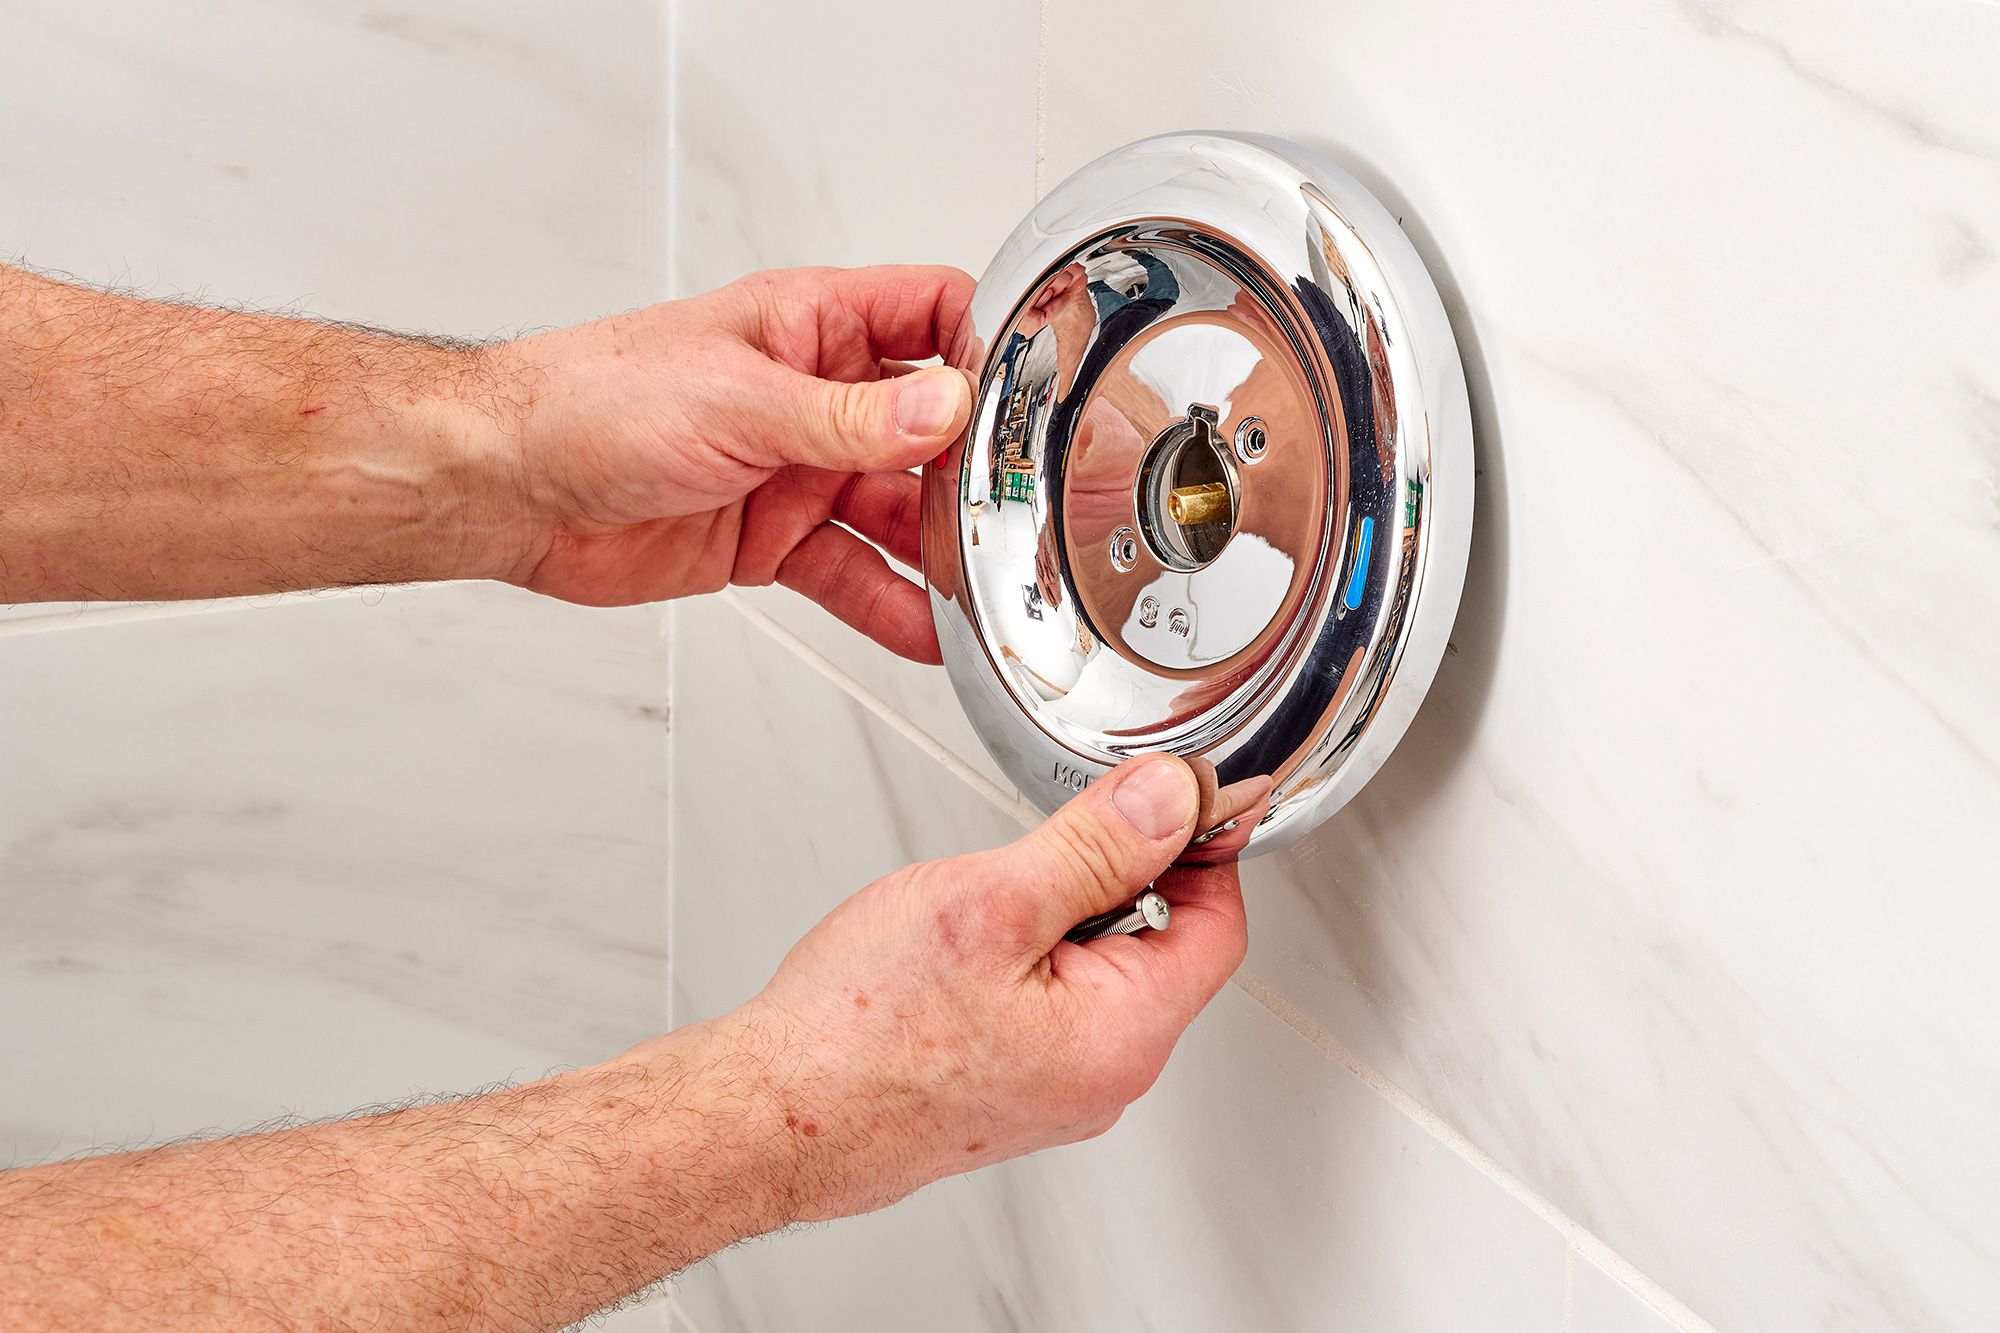
Reassembling the Faucet
Now that you’ve inspected, cleaned, and replaced any faulty parts in your Delta faucet, it’s time to reassemble it. Follow these steps to ensure a proper reassembly:
1. Start with the cartridge: Insert the new or cleaned cartridge into the faucet body, making sure it is aligned properly. If there are any alignment tabs or grooves, ensure that they fit together securely.
2. Reattach the other components: Replace any other small components, such as O-rings, seals, and retaining nuts, as necessary. Make sure they are in their correct positions and properly fitted.
3. Screw on the bonnet: Place the bonnet back onto the faucet body and hand-tighten it. Use an adjustable wrench to give it a final snug turn, being careful not to overtighten and damage the threads.
4. Attach the handle: Place the handle back onto the faucet body. If there was a set screw, insert it and tighten it with an Allen wrench. If there was a decorative cap, place it back into position and secure it with the screw.
5. Test the handle and spout: Give the handle a few turns to ensure smooth and easy operation. Check that the spout is securely attached and aligned properly with the faucet body.
6. Turn on the water supply: Go back to the water shutoff valves and carefully turn them counterclockwise to restore the water supply to the faucet.
7. Inspect for leaks: Carefully inspect the faucet and all connections for any signs of leaks. Keep an eye out for dripping water, water seepage, or water pooling around the faucet or handle. If you notice any leaks, double-check the tightness of the connections and ensure that all parts are properly aligned and sealed.
By carefully reassembling your Delta faucet, you can ensure that all components are in their correct positions, properly tightened, and able to function optimally. With the faucet reassembled, it’s time to move on to the final step: testing the repaired Delta faucet.
Testing the Repaired Delta Faucet
After reassembling your Delta faucet, it’s important to test it to ensure that the repairs were successful and that the leak has been resolved. Follow these steps to properly test your repaired faucet:
1. Turn on the water supply: Fully open the water shutoff valves to restore the water supply to the faucet. This will allow water to flow through the system.
2. Check for leaks: Observe the faucet closely for any signs of leaks. Look for any dripping water, water seepage, or pooling around the faucet or handle. If you notice any leaks, turn off the water supply immediately and inspect the connections for any loose or improperly sealed components.
3. Test the handle and spout: Turn the faucet handle on and off to check the smoothness of operation and ensure that it stops the water flow completely when in the closed position. Also, test the spout to ensure that water flows smoothly from the faucet without any obstructions or irregularities.
4. Check water pressure and temperature: Turn on both the hot and cold water handles to examine the water pressure and temperature. Ensure that the water flow is consistent and that the temperature can be adjusted correctly using the handle or knobs.
5. Run the faucet for a few minutes: Let the water run for a few minutes to flush out any debris or air that may have accumulated during the repair process. This will help ensure that the water flows smoothly and that there are no remaining issues.
If the faucet passes all the tests without any signs of leaks, irregular water flow, or temperature issues, then congratulations – you have successfully repaired your Delta faucet! Enjoy the newfound efficiency and functionality of your faucet.
However, if you notice any ongoing leaks or other problems after testing, it may be necessary to repeat certain steps of the repair process or call a professional plumber for further assistance.
By thoroughly testing your repaired Delta faucet, you can have confidence that the leak has been resolved and that your faucet is back to its full working condition.
Conclusion
Repairing a leaky Delta faucet is a rewarding and cost-effective DIY project that can save you money on water bills and prevent further damage to your plumbing system. By following the steps outlined in this guide, you can easily identify the source of the leak, disassemble the faucet, inspect and clean the components, replace any faulty parts, and reassemble the faucet. Testing the repaired faucet ensures that the leak has been successfully fixed and that the faucet is functioning properly.
Throughout the repair process, it’s important to prioritize safety and to shut off the water supply before beginning any work. Additionally, always refer to the manufacturer’s instructions or specific guides for your Delta faucet model to ensure proper repair techniques.
Remember, if you encounter any difficulties during the repair process or if the leak persists even after your repair attempts, don’t hesitate to seek the assistance of a professional plumber. They have the knowledge and expertise to handle more complex faucet issues and ensure a lasting solution.
In conclusion, fixing a leaky Delta faucet is a manageable task that can be done by most homeowners. By taking the time to understand your faucet’s design, identify the source of the leak, gather the necessary tools and materials, and follow a systematic repair process, you can restore your faucet’s efficiency and eliminate those annoying drips.
So, don’t let a leaky faucet go unattended any longer. With this guide, you have the knowledge and confidence to tackle the repair and enjoy a leak-free faucet once again.
Frequently Asked Questions about How To Fix A Leaky Delta Faucet
Was this page helpful?
At Storables.com, we guarantee accurate and reliable information. Our content, validated by Expert Board Contributors, is crafted following stringent Editorial Policies. We're committed to providing you with well-researched, expert-backed insights for all your informational needs.


0 thoughts on “How To Fix A Leaky Delta Faucet”