Articles
How To Repair Delta Kitchen Faucet
Modified: February 22, 2024
Learn how to repair your Delta kitchen faucet with our informative articles. From troubleshooting to step-by-step guides, we've got you covered!
(Many of the links in this article redirect to a specific reviewed product. Your purchase of these products through affiliate links helps to generate commission for Storables.com, at no extra cost. Learn more)
Introduction
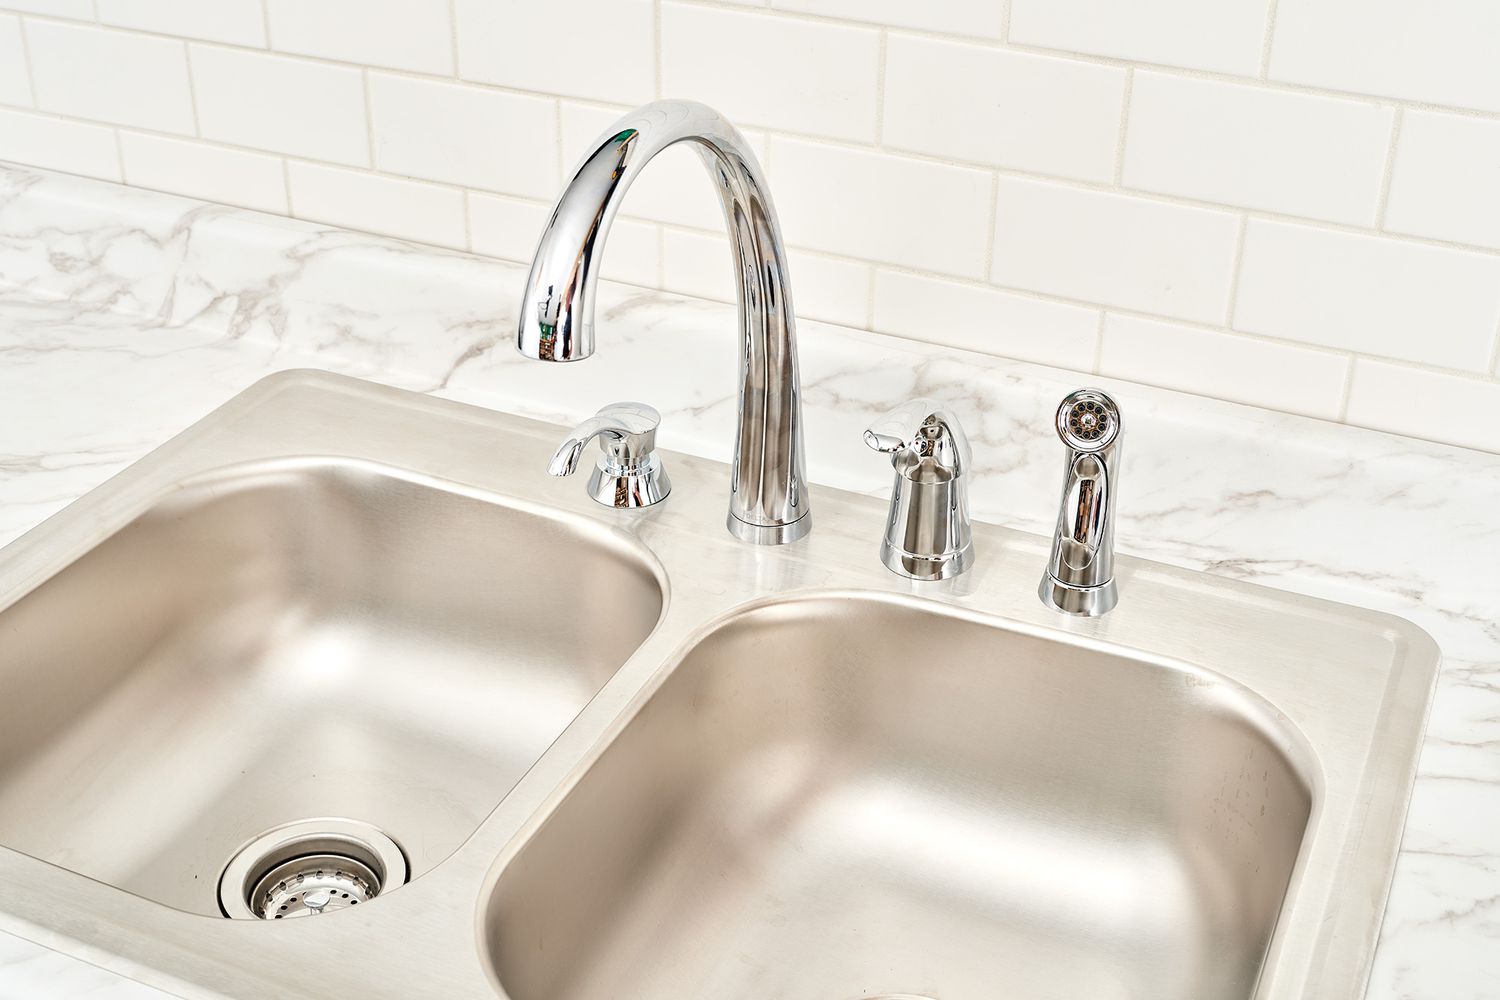
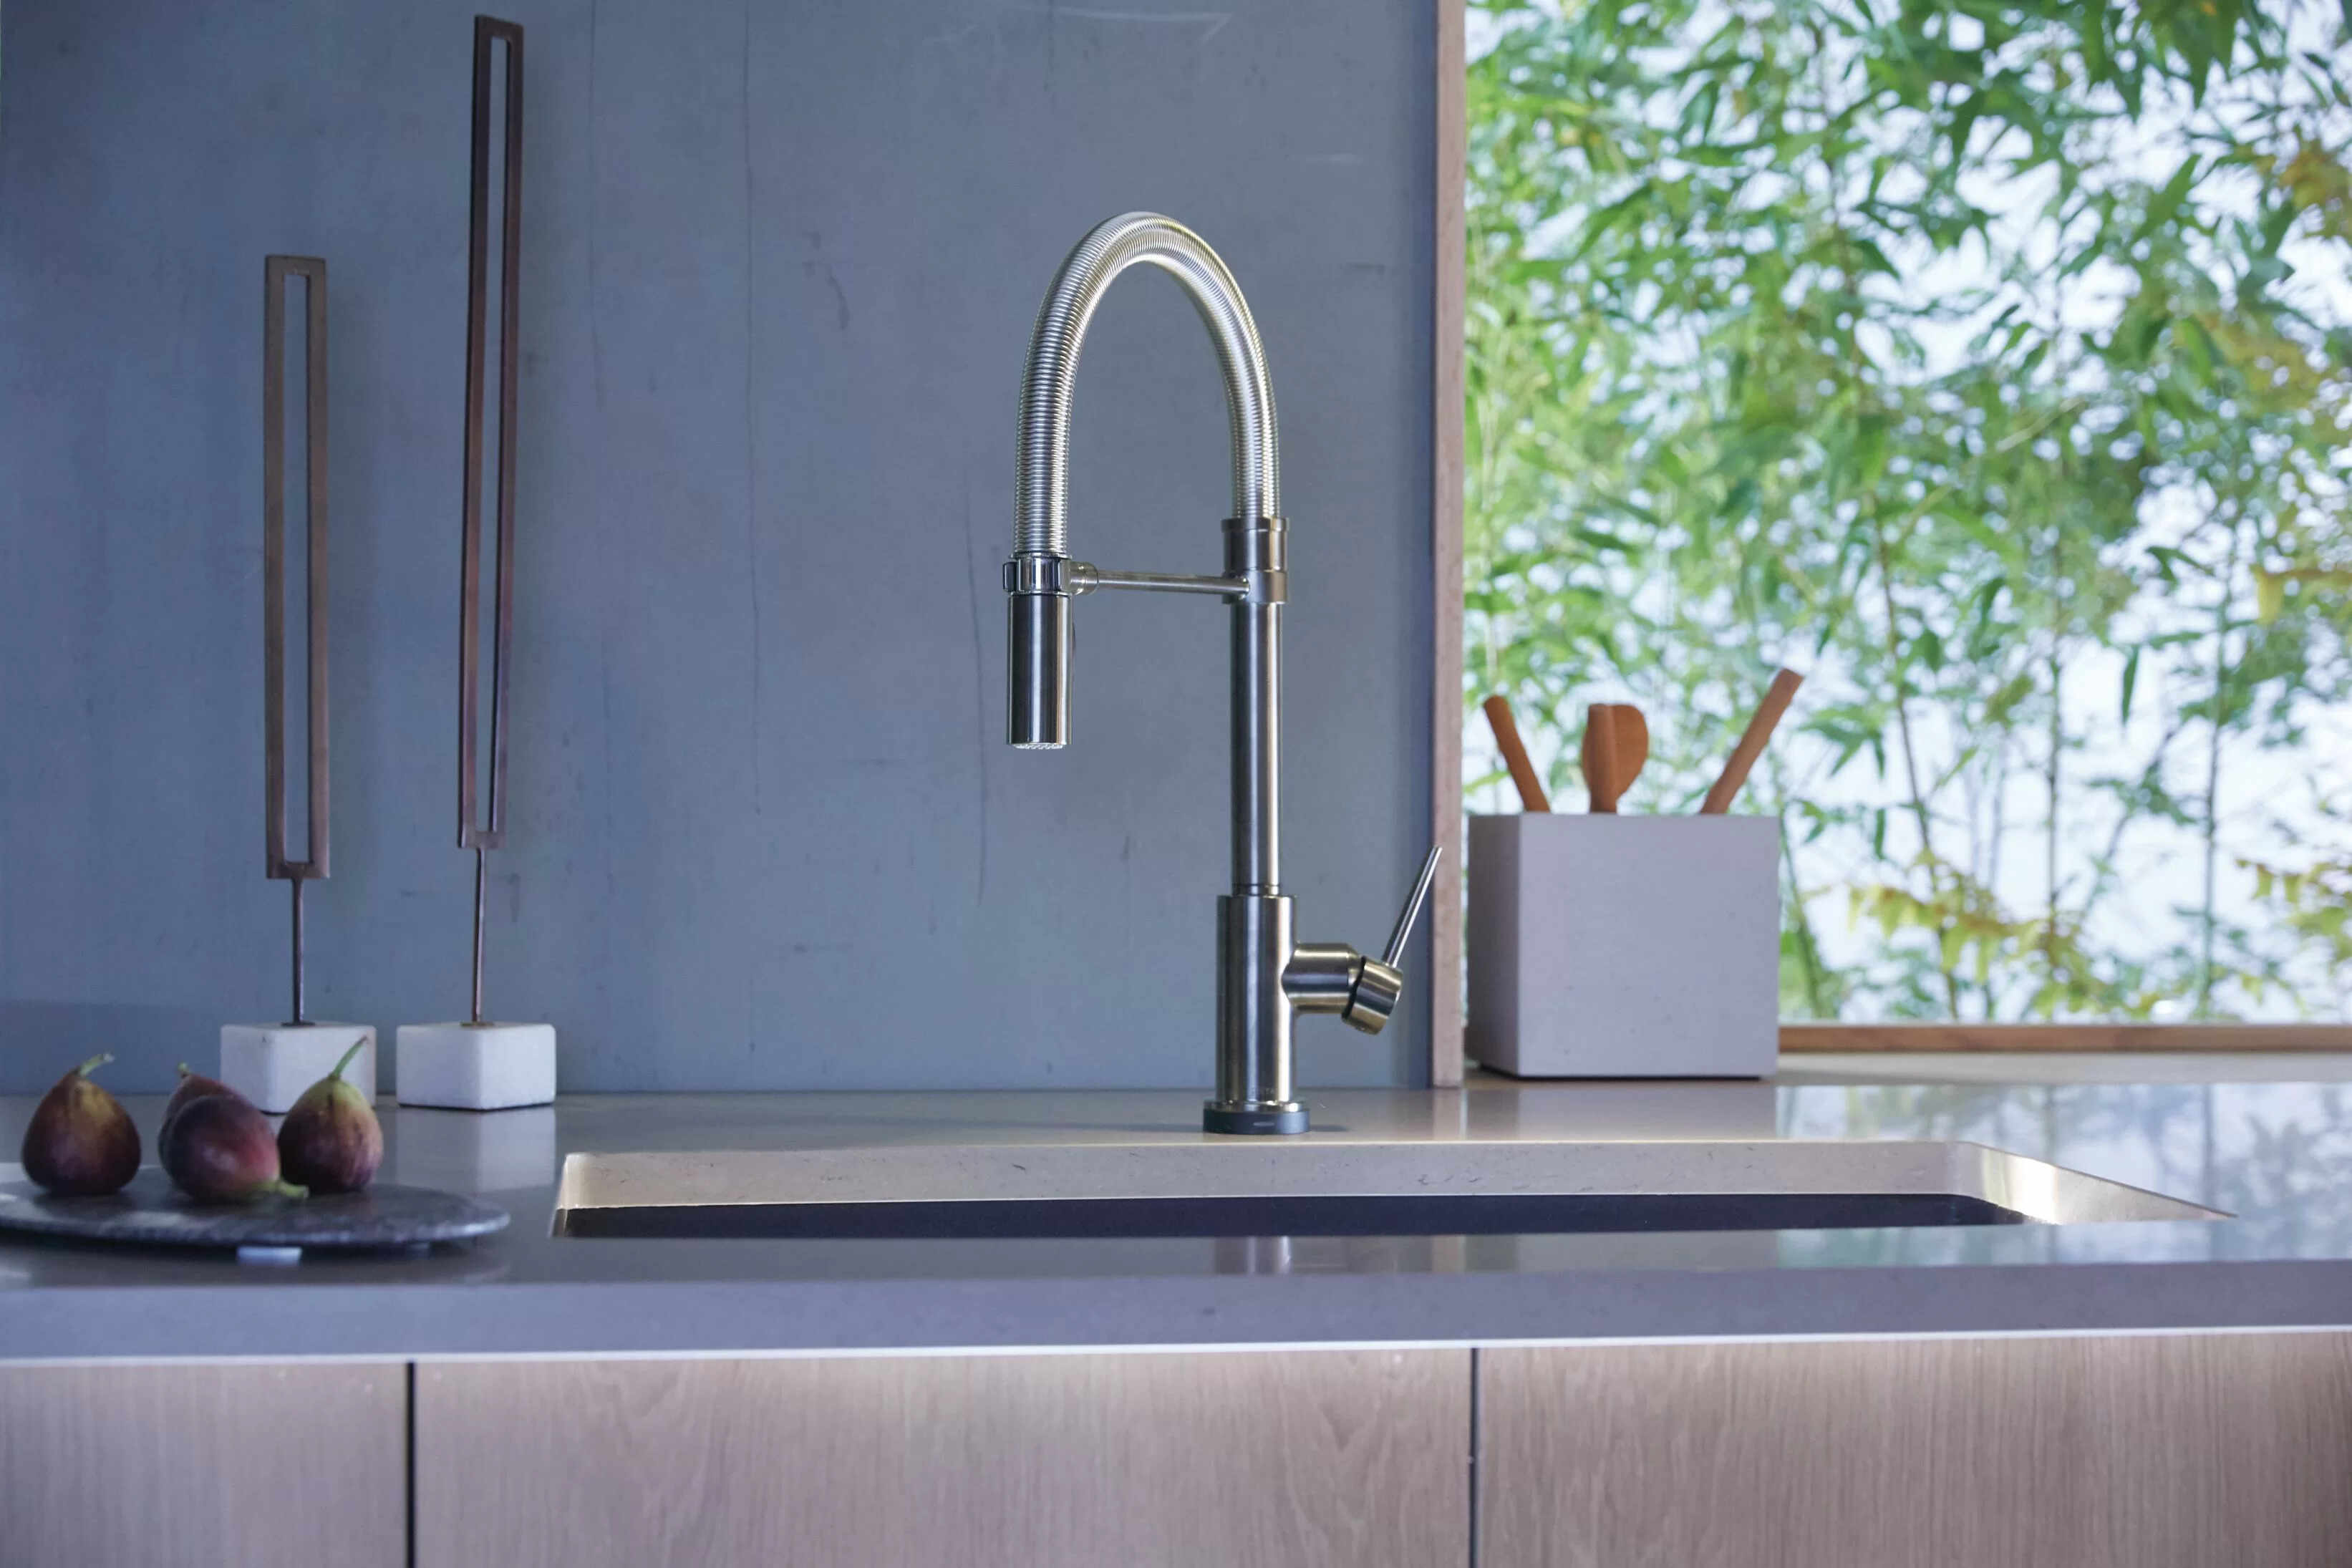
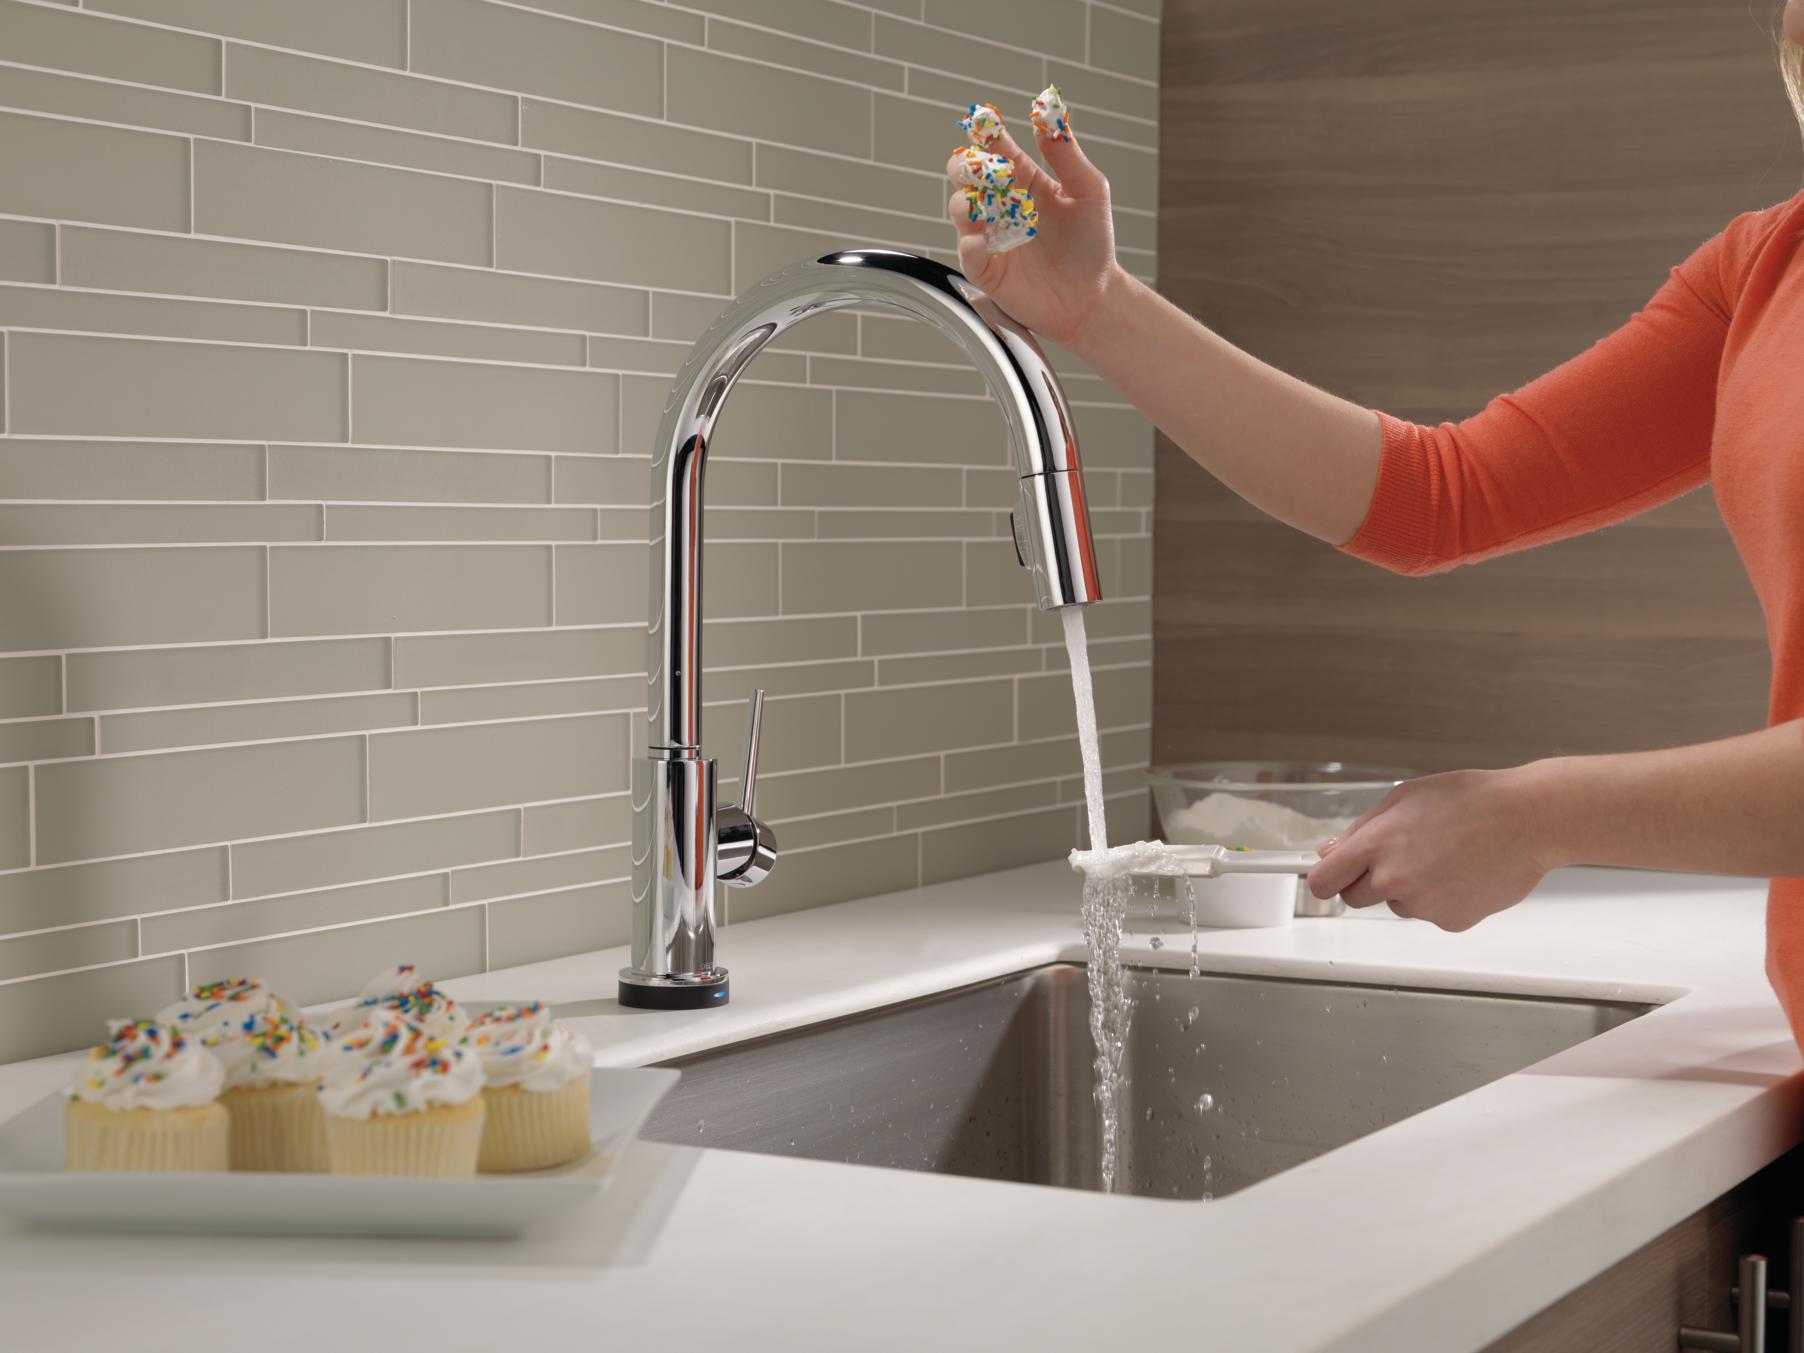
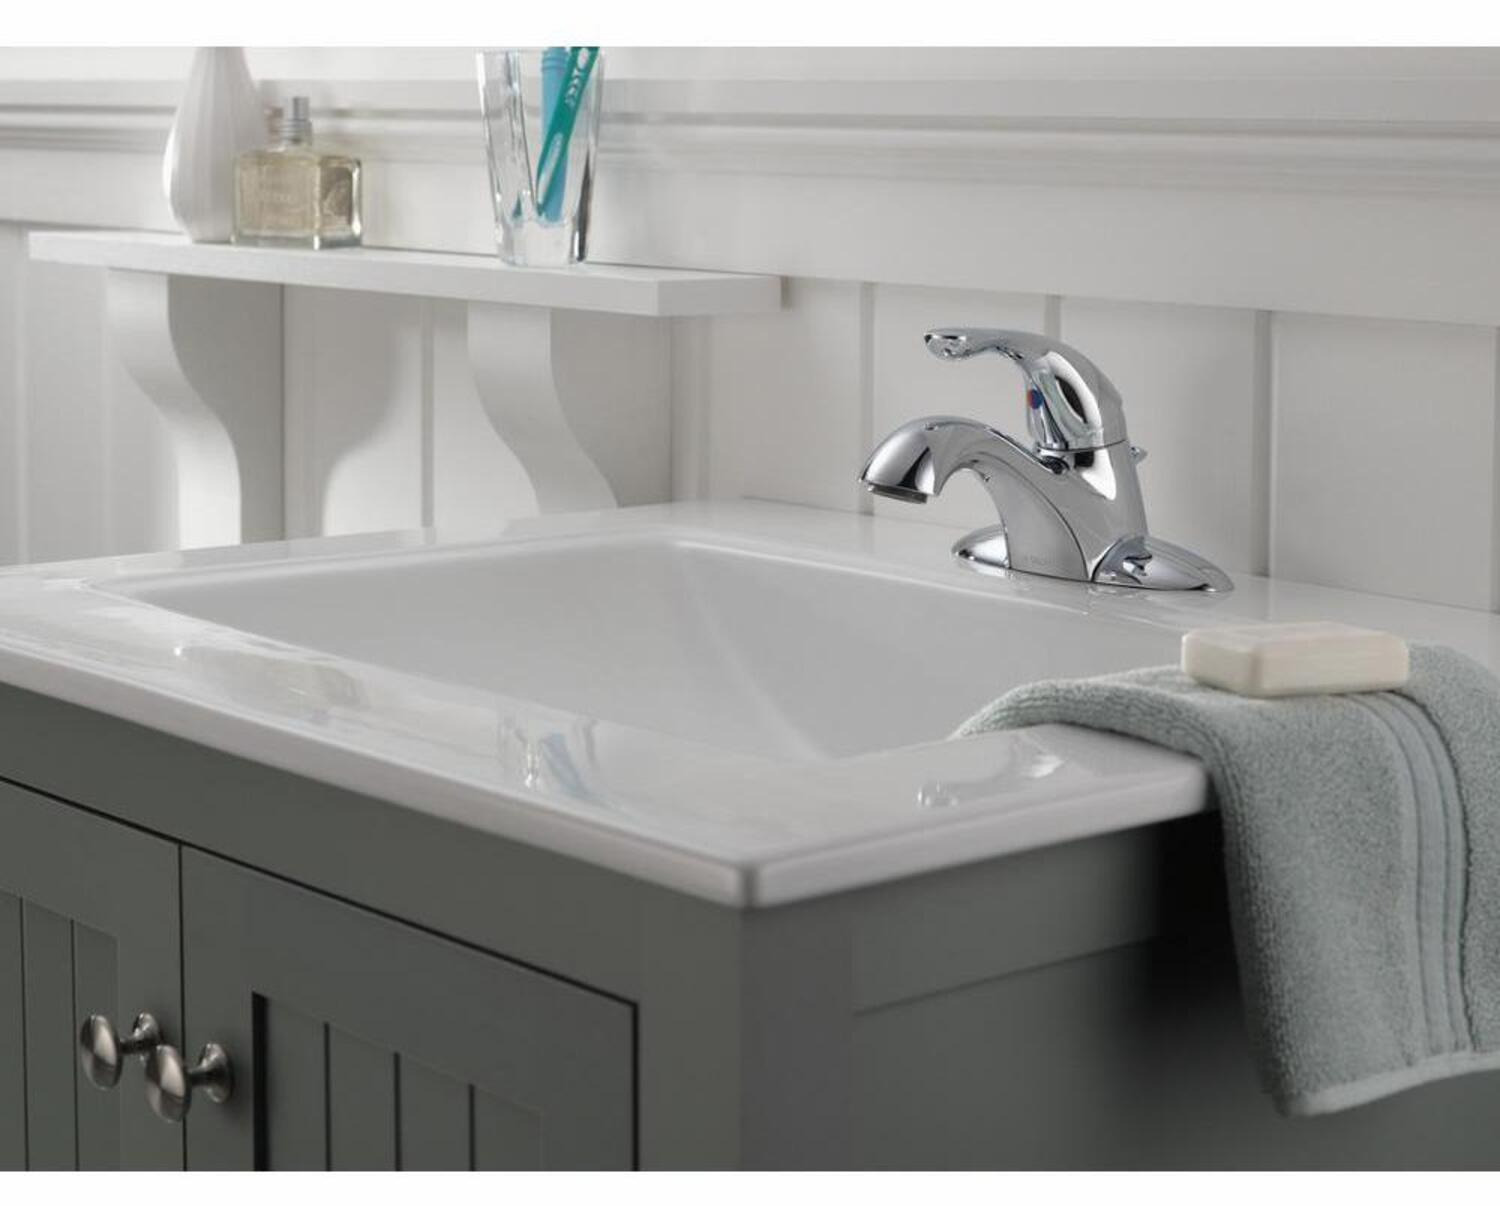
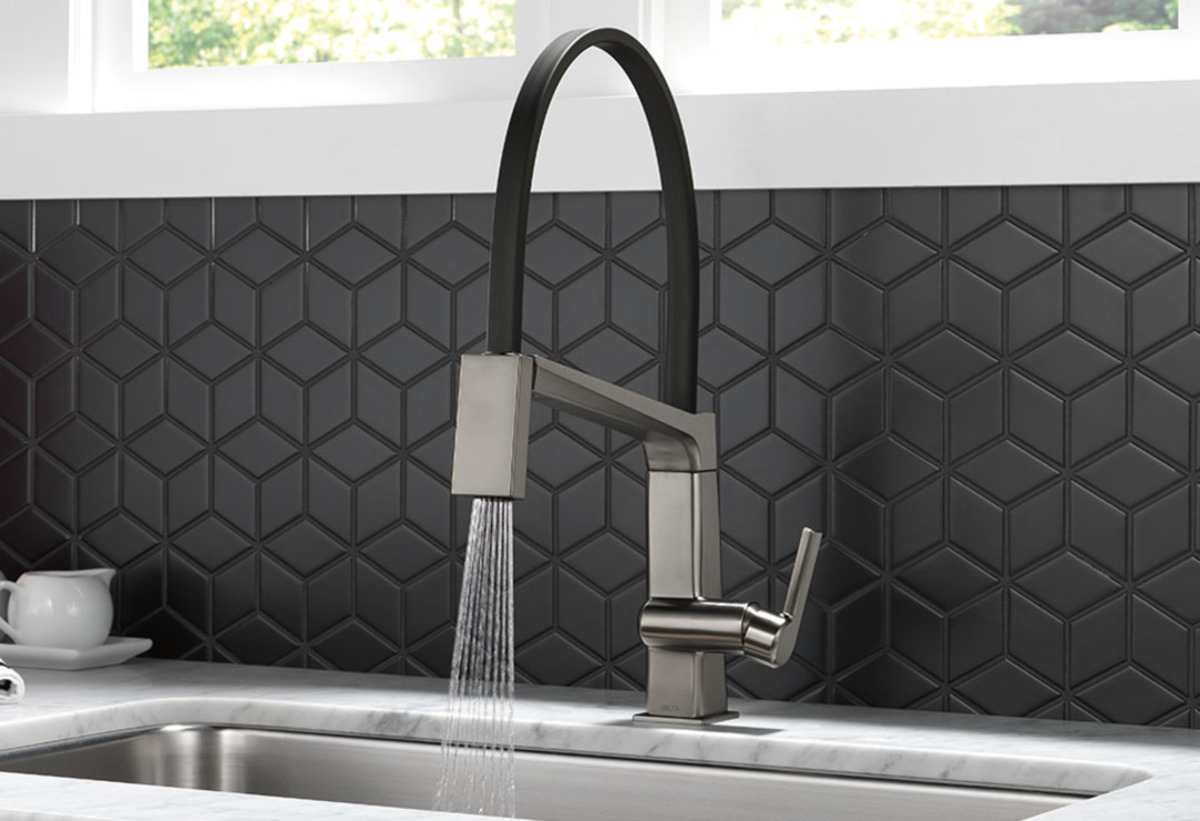
When it comes to kitchen faucets, Delta is a brand that is renowned for its quality and durability. However, even the best faucets can encounter problems over time. Whether you’re dealing with a leaky faucet, a worn-out cartridge, or a faulty handle, knowing how to repair your Delta kitchen faucet can save you time and money.
In this article, we will guide you through the step-by-step process of repairing your Delta kitchen faucet. You don’t need to be a plumbing expert to tackle this repair; with a few basic tools and some patience, you can have your faucet working smoothly again in no time.
Before we dive into the repair process, it’s important to note that Delta faucets come in different models, and the specific repair procedure may vary slightly. However, the fundamental steps outlined here will cover the majority of Delta kitchen faucet repairs.
So, let’s gather our tools and get ready to fix that Delta kitchen faucet!
Key Takeaways:
- Save time and money by repairing your Delta kitchen faucet with basic tools and step-by-step guidance. Ensure a smooth process by gathering necessary materials and exercising caution when shutting off the water supply.
- Successfully repair and test your Delta kitchen faucet to restore functionality and avoid potential issues. Enjoy the satisfaction of DIY repair while extending the lifespan of your faucet.
Read more: How To Install A Delta Faucet
Step 1: Gather necessary tools and materials
Before you start repairing your Delta kitchen faucet, it’s crucial to have all the necessary tools and materials on hand. Here’s a list of items you’ll need:
- Adjustable wrench
- Phillips screwdriver
- All-purpose lubricant
- New cartridges (if needed)
- Replacement parts (if needed)
- Bucket or towel
Having these tools and materials readily available will ensure a smooth and efficient repair process.
Once you have gathered everything, make sure to turn off the water supply to your faucet. This can usually be done by locating the water shut-off valves under the sink. Turning off the water supply will prevent any unwanted leaks or accidents during the repair.
With the water supply turned off, place a bucket or towel underneath the faucet to catch any excess water that may come out during the repair process. This will help keep your work area clean and prevent any damage to your kitchen counter or floor.
Now that you have your tools and materials ready, and have taken the necessary precautions, you are all set to move on to the next step: removing the faucet handle.
Step 2: Shut off the water supply
Before you can begin repairing your Delta kitchen faucet, it is important to shut off the water supply. This step is crucial to prevent any water leakage or spraying during the repair process.
To shut off the water supply, locate the shut-off valves under the sink. These valves are usually located on the hot and cold water lines leading up to the faucet. Turn both valves clockwise until they are fully closed.
If you cannot locate the shut-off valves for your faucet, you may need to shut off the main water supply to your house. This valve is typically located near the water meter or where the main water line enters your home. Use caution when shutting off the main water supply, as it will affect the water supply to your entire house.
After shutting off the water supply, turn on the faucet to relieve any pressure and drain any remaining water from the pipes. This will help minimize the amount of water that may come out when you remove the faucet handle later.
Once the water supply is shut off and the faucet is drained, you can move on to the next step: removing the faucet handle.
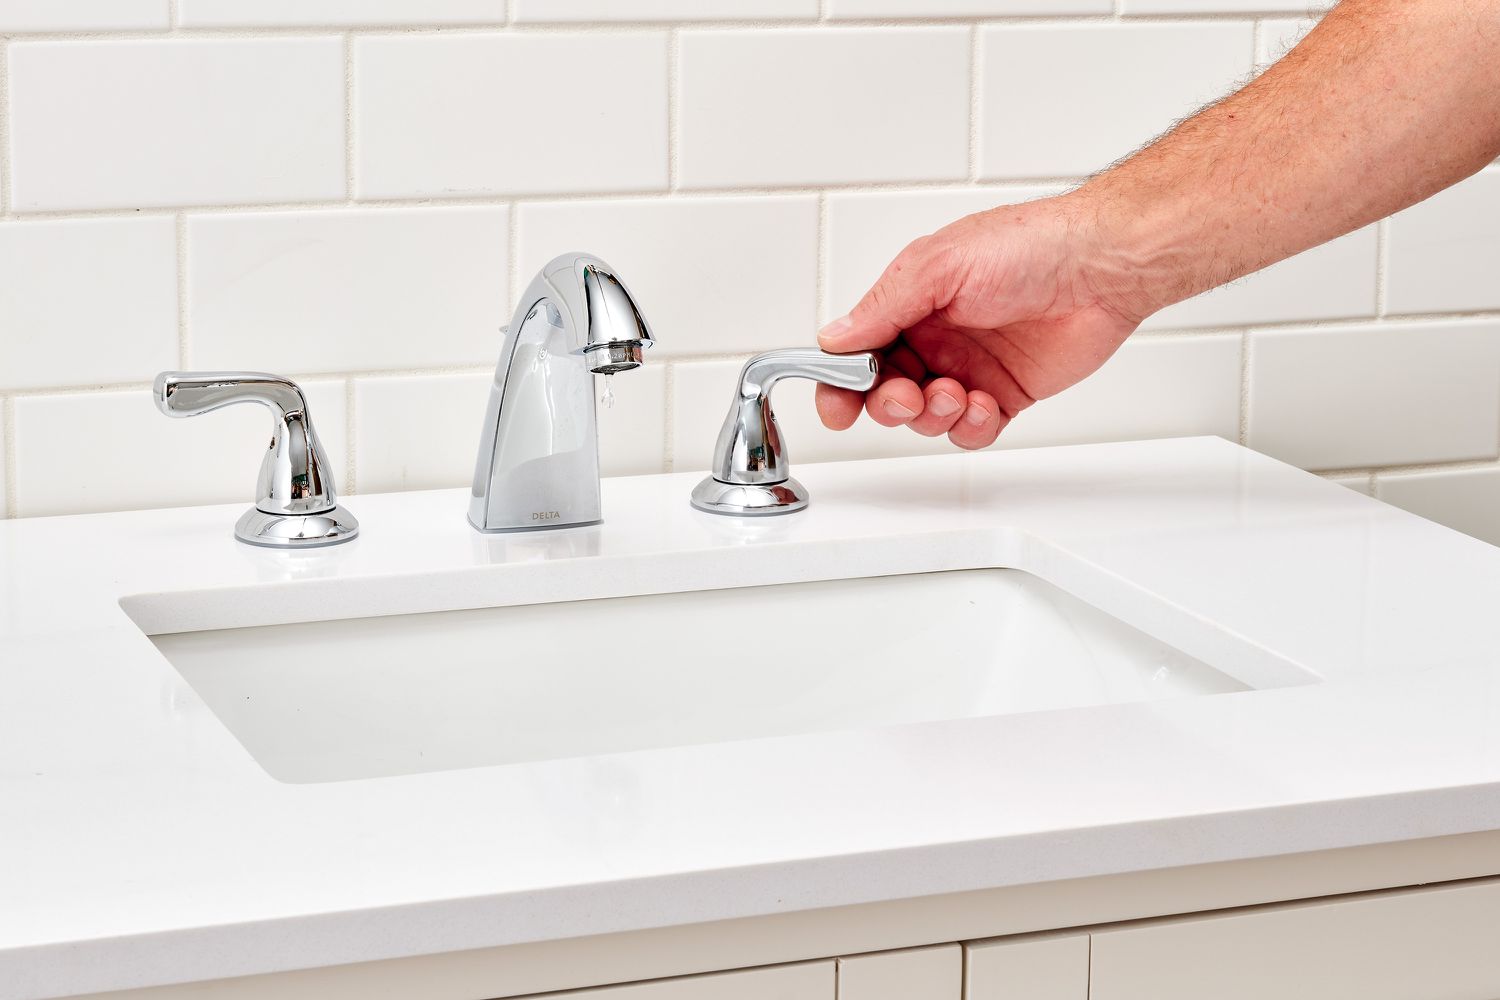
Step 3: Remove the faucet handle
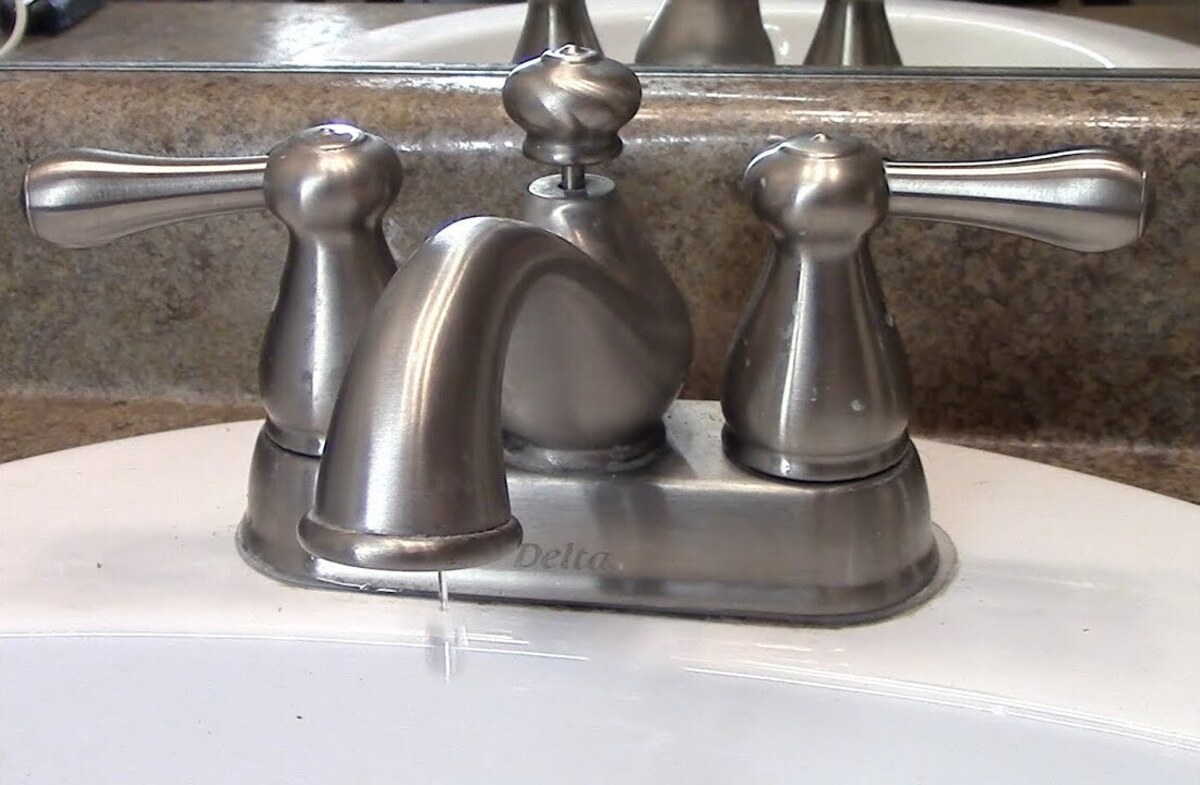
Now that the water supply is shut off, it’s time to remove the faucet handle. The handle is usually attached to the faucet with a screw or a set screw, depending on the model.
Start by locating the screw cover on the handle. This is a small cap that covers the screw and is often labeled with a hot or cold indicator. Use a flathead screwdriver or a small knife to carefully pry off the screw cover.
Once the screw cover is removed, you will see the screw holding the handle in place. Use a Phillips screwdriver or an appropriate sized Allen wrench to loosen and remove the screw. Turn it counterclockwise until it is loose enough to lift the handle off the faucet.
Some Delta faucet models may have a set screw instead of a visible screw. Look for a small hole or opening on the underside of the handle. Insert the appropriate sized Allen wrench into the hole and turn it counterclockwise to loosen the set screw. Once loose, you can lift the handle off the faucet.
With the screw or set screw removed, gently lift the handle straight up to separate it from the faucet. Be careful not to force or twist the handle, as this can cause damage.
Now that the faucet handle is removed, you are ready to move on to the next step: removing the cartridge.
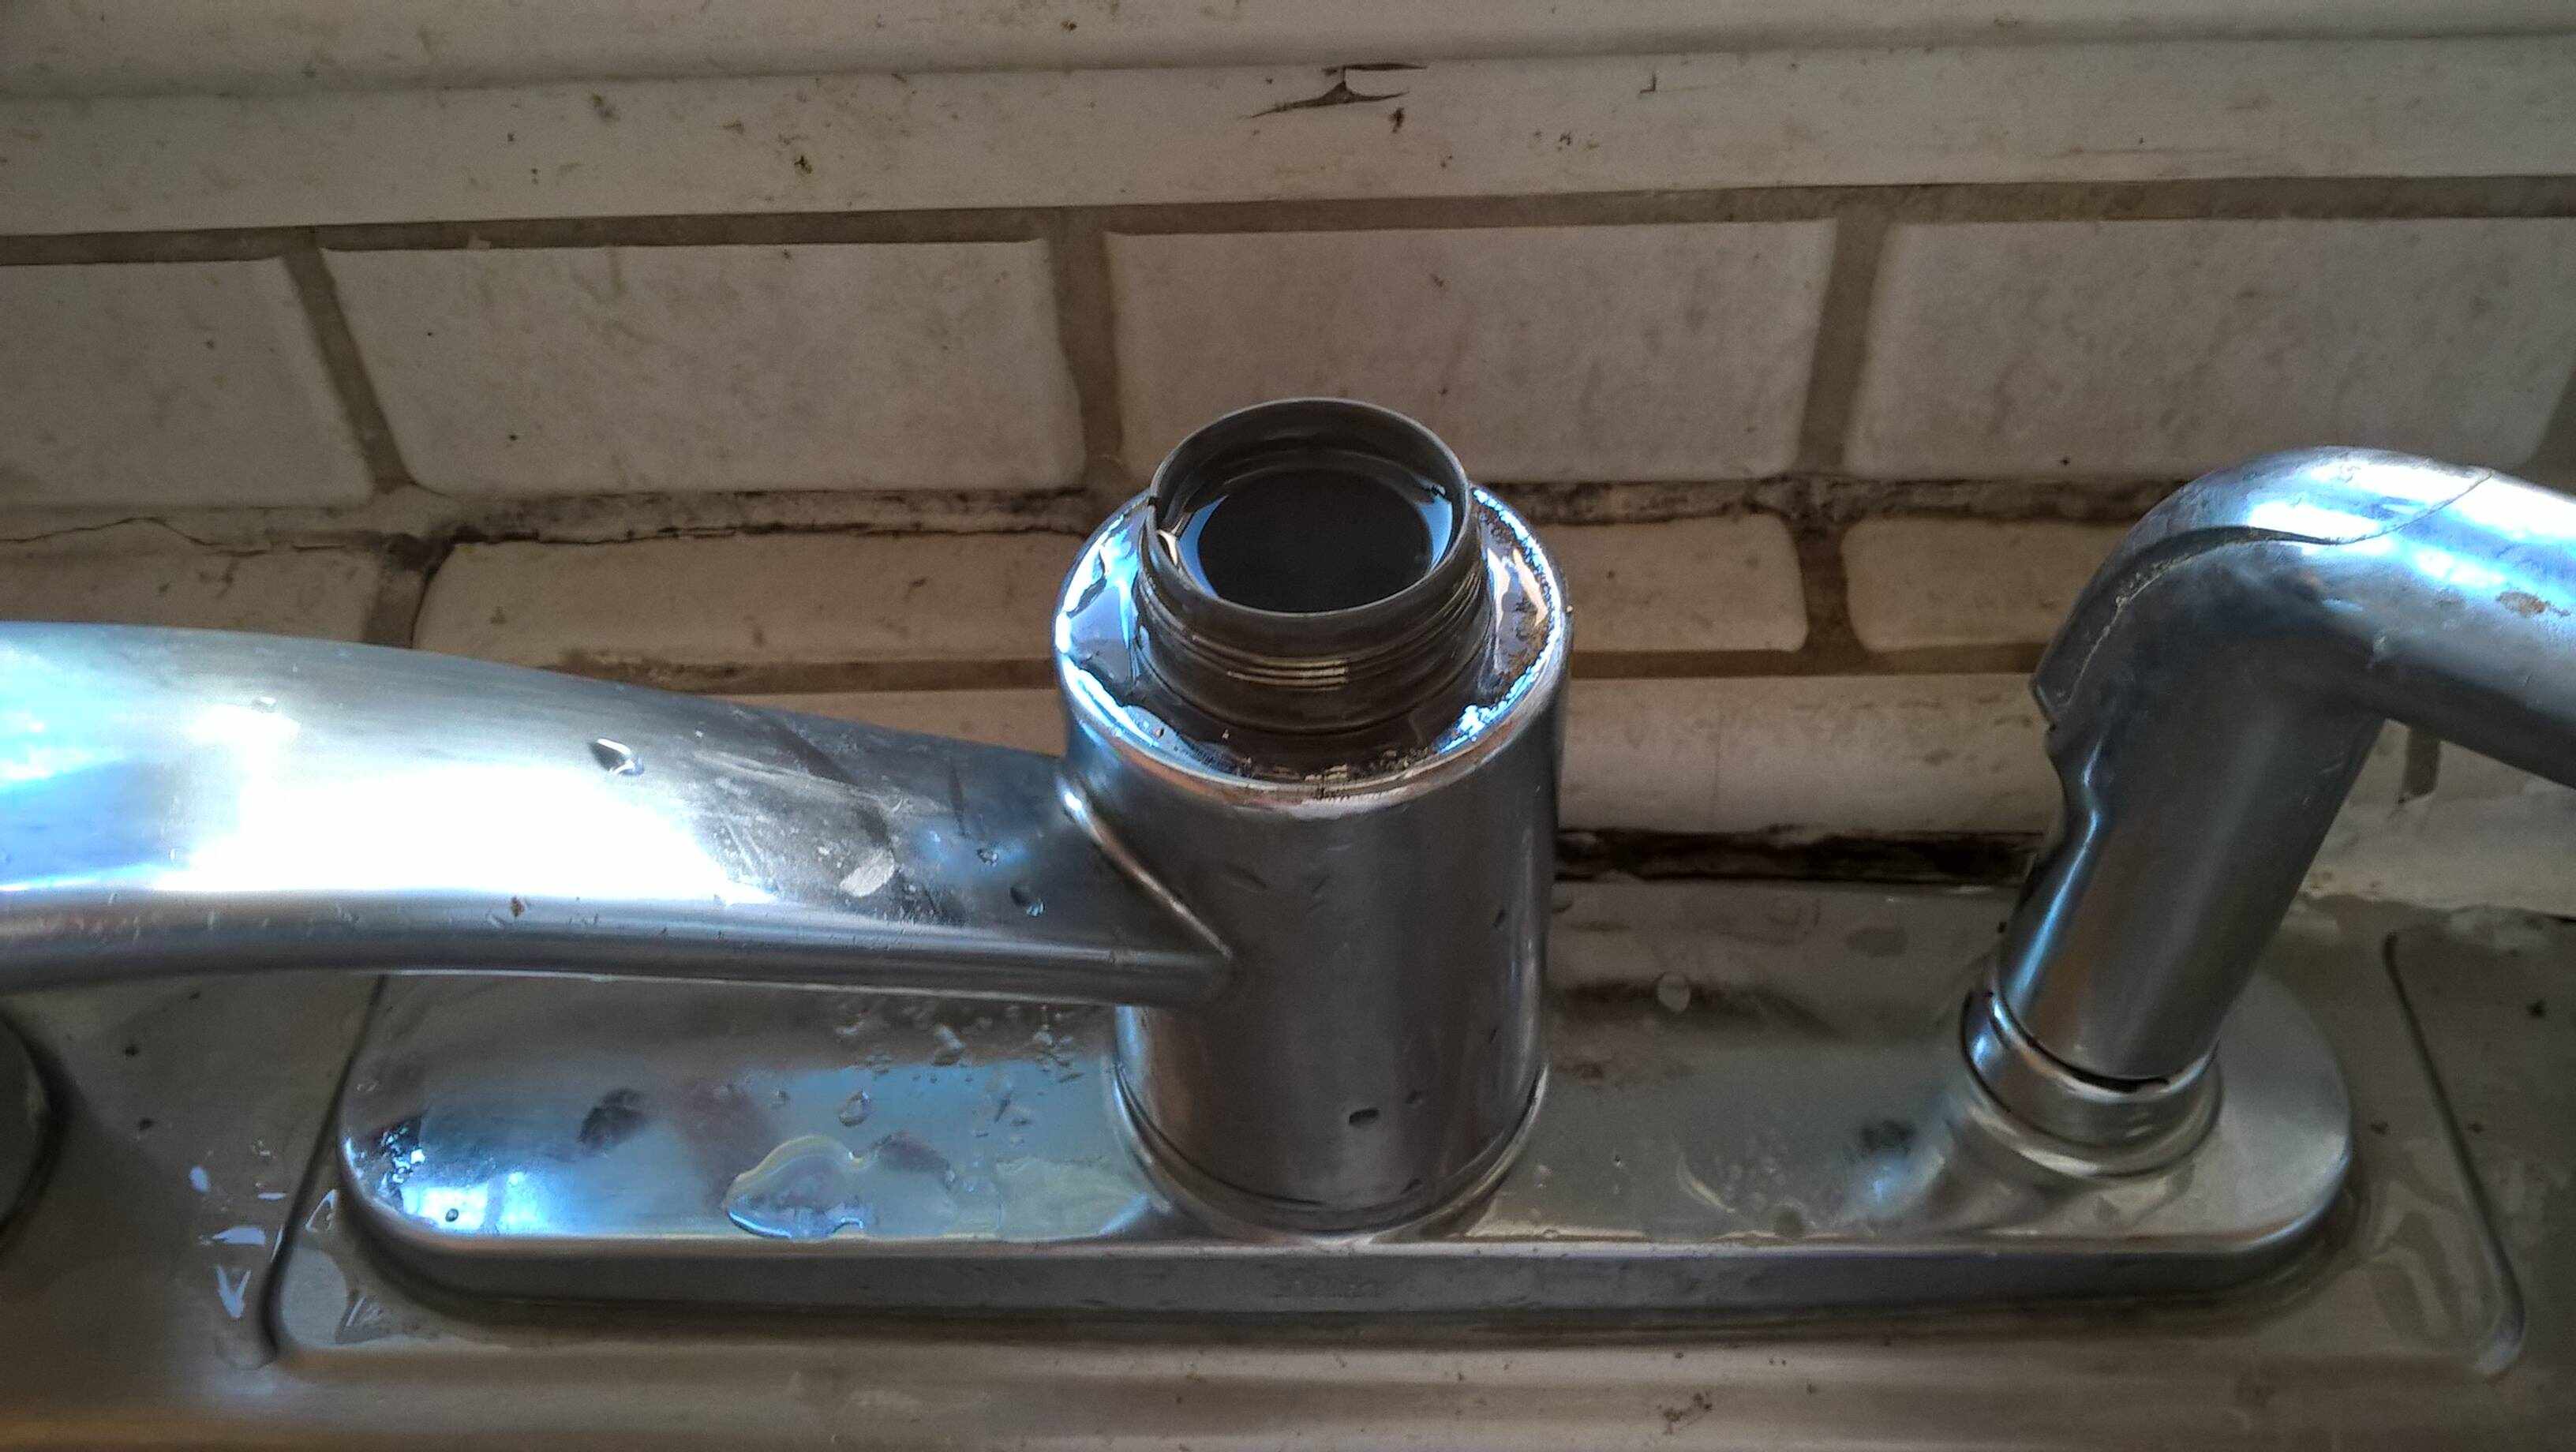
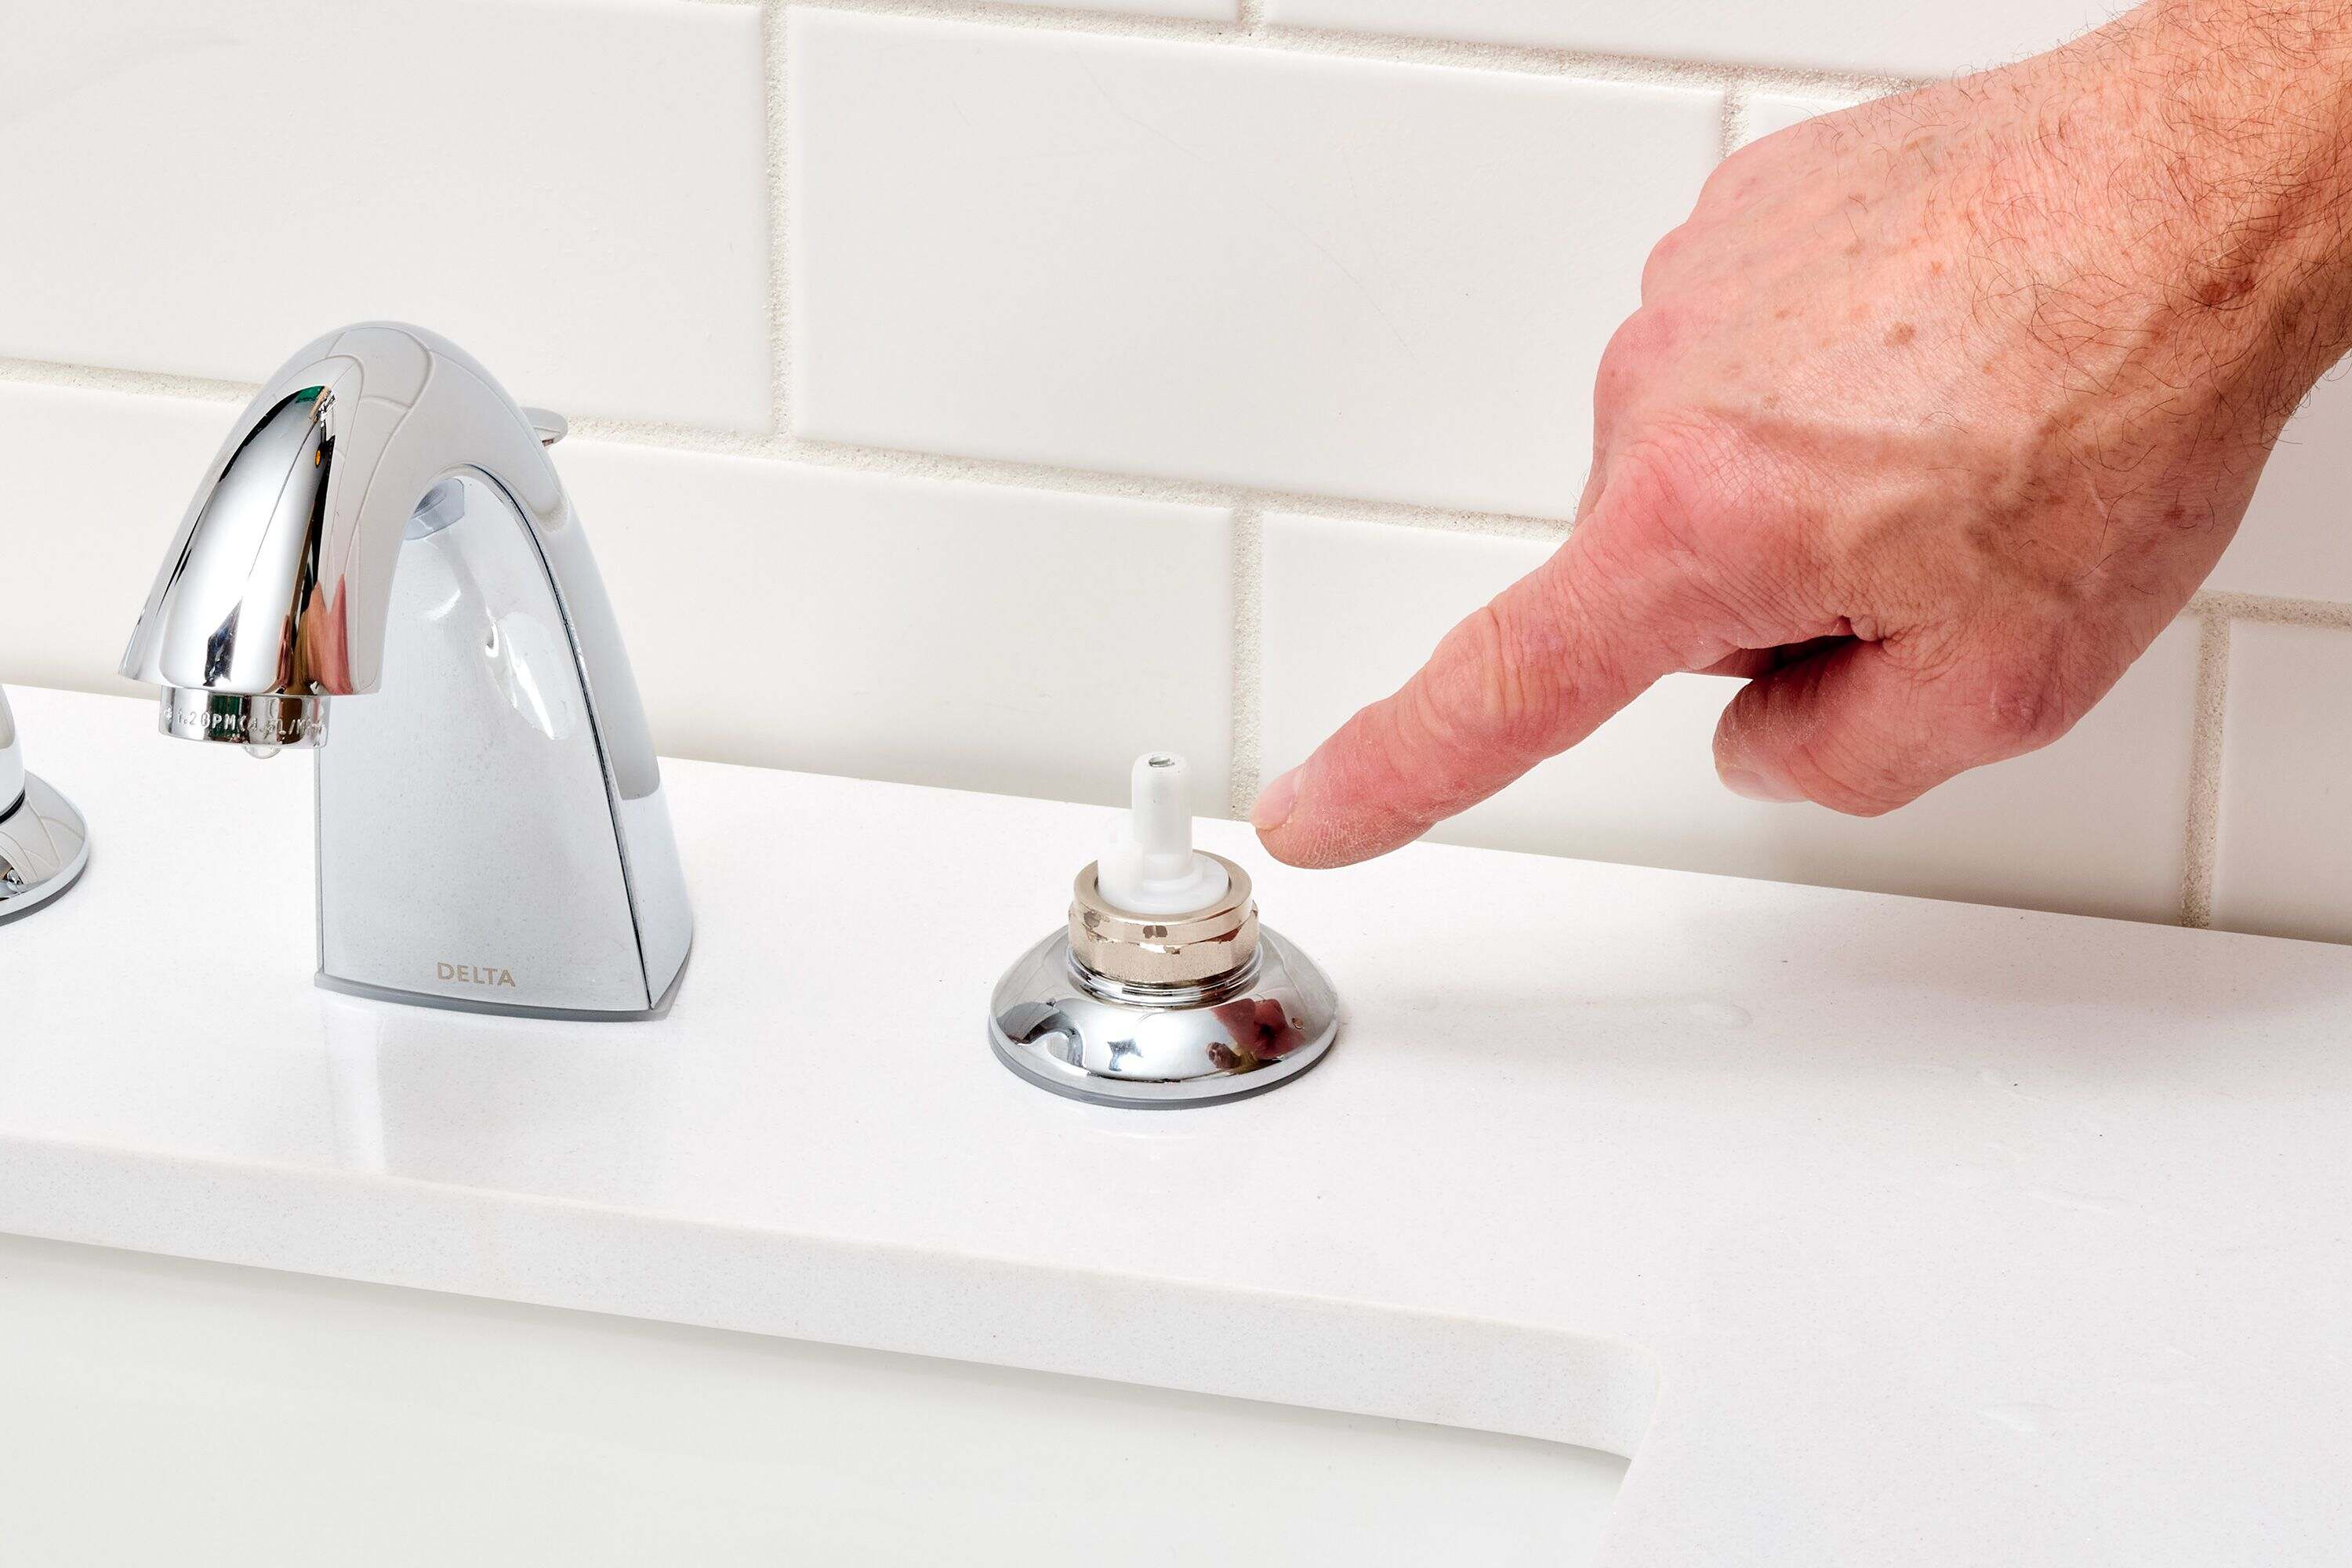
Step 4: Remove the cartridge
With the faucet handle removed, it’s time to remove the cartridge. The cartridge is the part of the faucet that controls the flow of water. Over time, it can become worn out or develop leaks, requiring replacement.
To remove the cartridge, you’ll need to locate and access it. Depending on your Delta faucet model, the cartridge may be located under a decorative cap or a bonnet nut. Use a flathead screwdriver or a pair of pliers to carefully remove the cap or nut, turning it counterclockwise.
Once the cap or nut is removed, you should see the cartridge exposed. Depending on the faucet, it may be held in place by a retaining clip or a locknut. Use a pair of pliers or an adjustable wrench to loosen and remove the clip or nut.
With the clip or nut removed, you can now gently pull the cartridge straight out of the faucet body. If it feels stuck or resistant, you can use a cartridge puller tool to assist in removing it. Simply attach the tool to the top of the cartridge and use it to pull the cartridge out.
As you remove the cartridge, be mindful of any rubber seals or gaskets that may be attached to it. These are crucial for preventing leaks and ensuring a proper seal. Inspect them for any signs of wear or damage and replace them if necessary.
Once the old cartridge is removed, it is a good idea to clean the inside of the faucet body to remove any debris or buildup. Use a soft cloth or a toothbrush and some warm, soapy water to gently clean the area.
Now that the cartridge is removed and the faucet body is clean, you’re ready to move on to the next step: inspecting the cartridge and replacing it if necessary.
To repair a Delta kitchen faucet, start by turning off the water supply, then disassemble the faucet to access the cartridge. Clean or replace the cartridge to fix leaks or low water pressure.
Read more: How To Tighten A Delta Kitchen Faucet
Step 5: Inspect the cartridge and replace if necessary
Now that you have removed the cartridge from your Delta kitchen faucet, it’s time to inspect it for any signs of wear or damage. Over time, cartridges can become worn out, leading to leaks or a decrease in water flow.
Start by examining the cartridge for any visible cracks, chips, or mineral buildup. Mineral buildup can occur due to hard water and can affect the performance of the cartridge. If you notice any of these issues, it is advisable to replace the cartridge.
Next, check the rubber seals and O-rings on the cartridge. These are essential for creating a watertight seal and preventing leaks. If you observe any tears, cracks, or distortion in the seals or O-rings, it is recommended to replace them as well.
If the cartridge appears to be in good condition without any noticeable issues, you can try cleaning it to remove any deposits or debris. Soak the cartridge in a bowl of warm water and vinegar solution for a few minutes to dissolve any mineral buildup. Use a soft brush or toothbrush to gently scrub away any remaining residue.
However, if the cartridge is damaged or shows signs of wear, it is best to replace it with a new one. Delta provides replacement cartridges specific to their faucet models, ensuring a proper fit and optimum performance.
When purchasing a new cartridge, make sure to select the correct cartridge for your faucet model. This information can usually be found in the faucet’s instruction manual or on the manufacturer’s website.
To install the new cartridge, follow the reverse steps of removing it. Insert the new cartridge into the faucet body and secure it with the retaining clip or locknut. Make sure the cartridge is properly aligned and seated in the faucet body.
If the cartridge has seals or O-rings, lubricate them with a small amount of all-purpose lubricant before installing. This will help ensure a smooth operation and a watertight seal.
Now that the cartridge is inspected and replaced (if necessary), you are ready to move on to the next step: reassembling the faucet.
Step 6: Reassemble the faucet
With the new cartridge installed, it’s time to reassemble your Delta kitchen faucet. Follow these steps to ensure a proper reassembly:
- Start by inserting the faucet handle back onto the stem of the cartridge. Align the handle with the stem and gently push it down onto the cartridge. Make sure it fits securely and is properly aligned.
- If your faucet handle is secured with a screw, reinsert and tighten the screw using a Phillips screwdriver or the appropriate sized Allen wrench. Turn the screw clockwise until it is snug, but be careful not to overtighten it.
- If your faucet handle is secured with a set screw, reinsert and tighten the set screw with the appropriate sized Allen wrench. Turn the set screw clockwise until it is snug.
- If you removed a decorative cap or bonnet nut to access the cartridge, ensure that it is reattached securely. Thread it back onto the faucet body and tighten it clockwise using a flathead screwdriver or pliers.
- Turn on the water supply to your faucet. If you shut off the main water supply, be sure to turn it back on now.
- Check for any leaks around the handle or the base of the faucet. If you notice any leaks, try tightening the handle or the bonnet nut slightly. If the leak persists, you may need to remove the handle and cartridge again to inspect for any issues.
Once you have reassembled the faucet and checked for leaks, give the faucet a test run. Turn on the water and check for proper water flow and temperature control. Ensure that the handle operates smoothly and without any resistance.
If everything looks and feels good, congratulations! You have successfully repaired your Delta kitchen faucet. Pat yourself on the back for a job well done.
However, if you encounter any issues or the faucet is still not functioning properly, it may be best to consult a professional plumber or contact Delta’s customer service for further assistance.
Now that your faucet is reassembled and in working order, you can move on to the final step: testing the faucet.
Step 7: Turn on the water supply
With your Delta kitchen faucet reassembled, it’s time to turn on the water supply and restore water flow to your faucet. Follow these steps to safely and effectively turn on the water supply:
- Locate the shut-off valves beneath the sink. These valves control the flow of water to your faucet.
- Turn the shut-off valves counterclockwise to gradually open the water supply. Start with the hot water valve and then the cold water valve.
- Slowly turn the valves until they are fully open, allowing water to flow freely.
- Check for any signs of leaks around the connections or under the sink. If you notice any leaks, tighten the connections or make sure the valves are fully open.
Once you have turned on the water supply and confirmed that there are no leaks, you are ready to move on to the final step: testing the faucet.
It is important to note that after turning on the water supply, air may be trapped in the pipes. This can result in sputtering or irregular flow from the faucet initially. To eliminate any trapped air, let the faucet run for a few minutes until the water flows smoothly and consistently.
Now that the water supply is back on, you are ready to test your Delta kitchen faucet and ensure that it is functioning properly.
Step 8: Test the faucet
Testing your Delta kitchen faucet after repairing it is an essential step to ensure that the faucet is functioning properly and free from any issues. Here’s how you can test your faucet:
- Start by turning on the hot water tap. Allow the water to flow for a few seconds and check for any leaks or irregular water flow.
- Now, turn on the cold water tap and repeat the process of checking for leaks and ensuring smooth water flow.
- Mix both hot and cold water by adjusting the faucet handle. Check that the water temperature adjusts smoothly and without any resistance.
- Test the water flow by adjusting the faucet handle to different positions. Ensure that the water flow is consistent across different settings.
- Operate any additional features or accessories of your Delta kitchen faucet, such as sprayers or soap dispensers, to make sure they are functioning correctly.
- Check for any unusual noises coming from the faucet while it is running. Unusual noises could indicate issues with the water flow or air in the pipes.
If at any point during the testing process you notice any leaks, irregular water flow, or other issues, it may be necessary to go back and recheck the installation or consult a professional plumber for assistance. Delta also provides customer support and troubleshooting resources if you need further assistance.
By thoroughly testing your Delta kitchen faucet, you can be confident that your repair efforts have been successful, and your faucet is ready to be used without any concerns.
Congratulations! You have now successfully repaired your Delta kitchen faucet and verified its functionality through testing. As a final step, you can clean up your work area, and enjoy the convenience of a fully functional faucet in your kitchen.
Read more: How To Install Delta Shower Faucet
Conclusion
Repairing your Delta kitchen faucet is a practical and cost-effective solution to address common issues such as leaks, worn-out cartridges, or faulty handles. With the right tools, a bit of patience, and the step-by-step guide provided in this article, you can successfully tackle the repair process and restore your faucet’s functionality.
Throughout the repair process, it is important to exercise caution, especially when shutting off the water supply and handling the faucet components. Take your time to gather the necessary tools and materials, and ensure that you understand the specific steps required for your Delta faucet model.
By following the step-by-step instructions, you can safely shut off the water supply, remove the faucet handle, inspect and replace the cartridge if needed, reassemble the faucet, turn on the water supply, and test the faucet for proper functionality. Testing the faucet is crucial to identify any potential issues and make adjustments if necessary.
If, at any point, you encounter difficulties or are unsure about the repair process, it is recommended to seek assistance from a professional plumber or consult Delta’s customer support for guidance.
Repairing your Delta kitchen faucet not only saves you money on potential repair costs or the need for a new faucet but also gives you the satisfaction of successfully fixing a common household issue. By maintaining and repairing your faucet, you can extend its lifespan and continue to enjoy the convenience and functionality it provides your kitchen.
We hope this comprehensive guide has been helpful in providing the necessary information and guidance for repairing your Delta kitchen faucet. With the right tools, knowledge, and a bit of DIY spirit, you can confidently tackle faucet repairs and keep your kitchen running smoothly.
Frequently Asked Questions about How To Repair Delta Kitchen Faucet
Was this page helpful?
At Storables.com, we guarantee accurate and reliable information. Our content, validated by Expert Board Contributors, is crafted following stringent Editorial Policies. We're committed to providing you with well-researched, expert-backed insights for all your informational needs.


0 thoughts on “How To Repair Delta Kitchen Faucet”