Articles
How To Clean ReadyRefresh Water Dispenser
Modified: August 25, 2024
Learn how to clean and maintain your Ready Refresh water dispenser with these helpful articles. Keep your dispenser in top condition for pure and refreshing water.
(Many of the links in this article redirect to a specific reviewed product. Your purchase of these products through affiliate links helps to generate commission for Storables.com, at no extra cost. Learn more)
Introduction
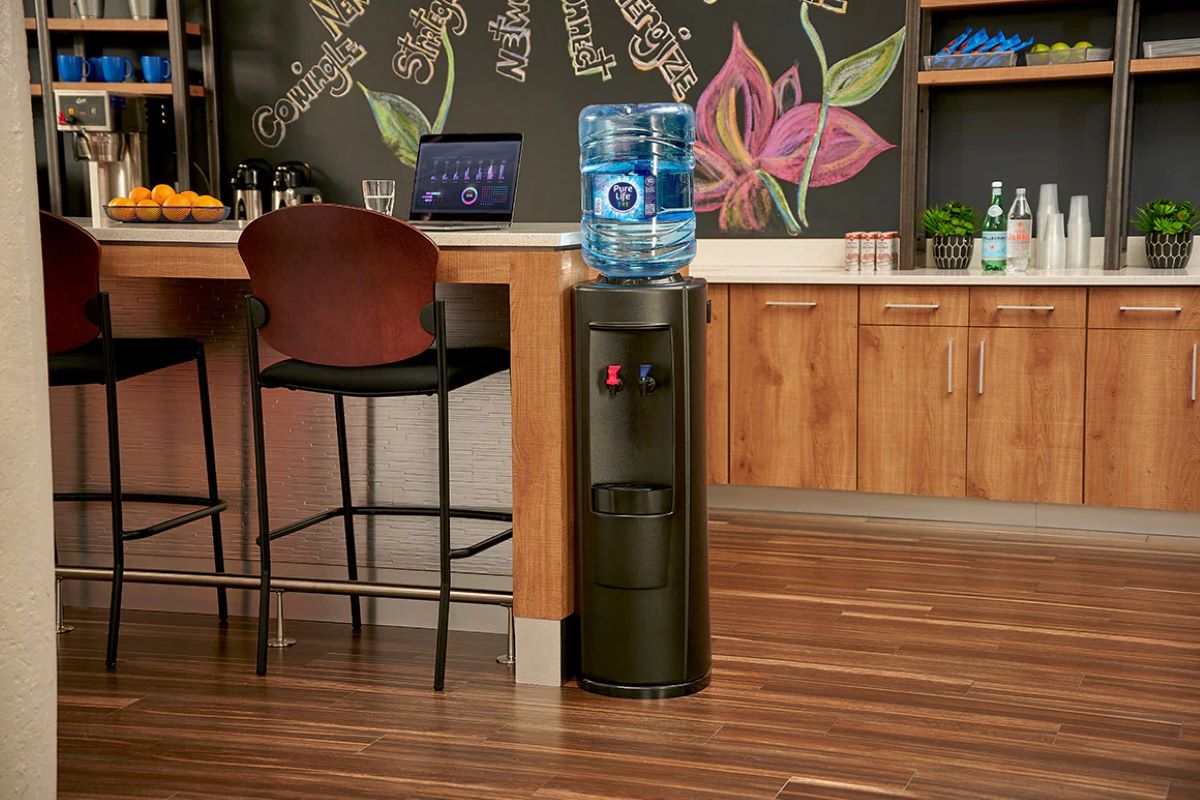
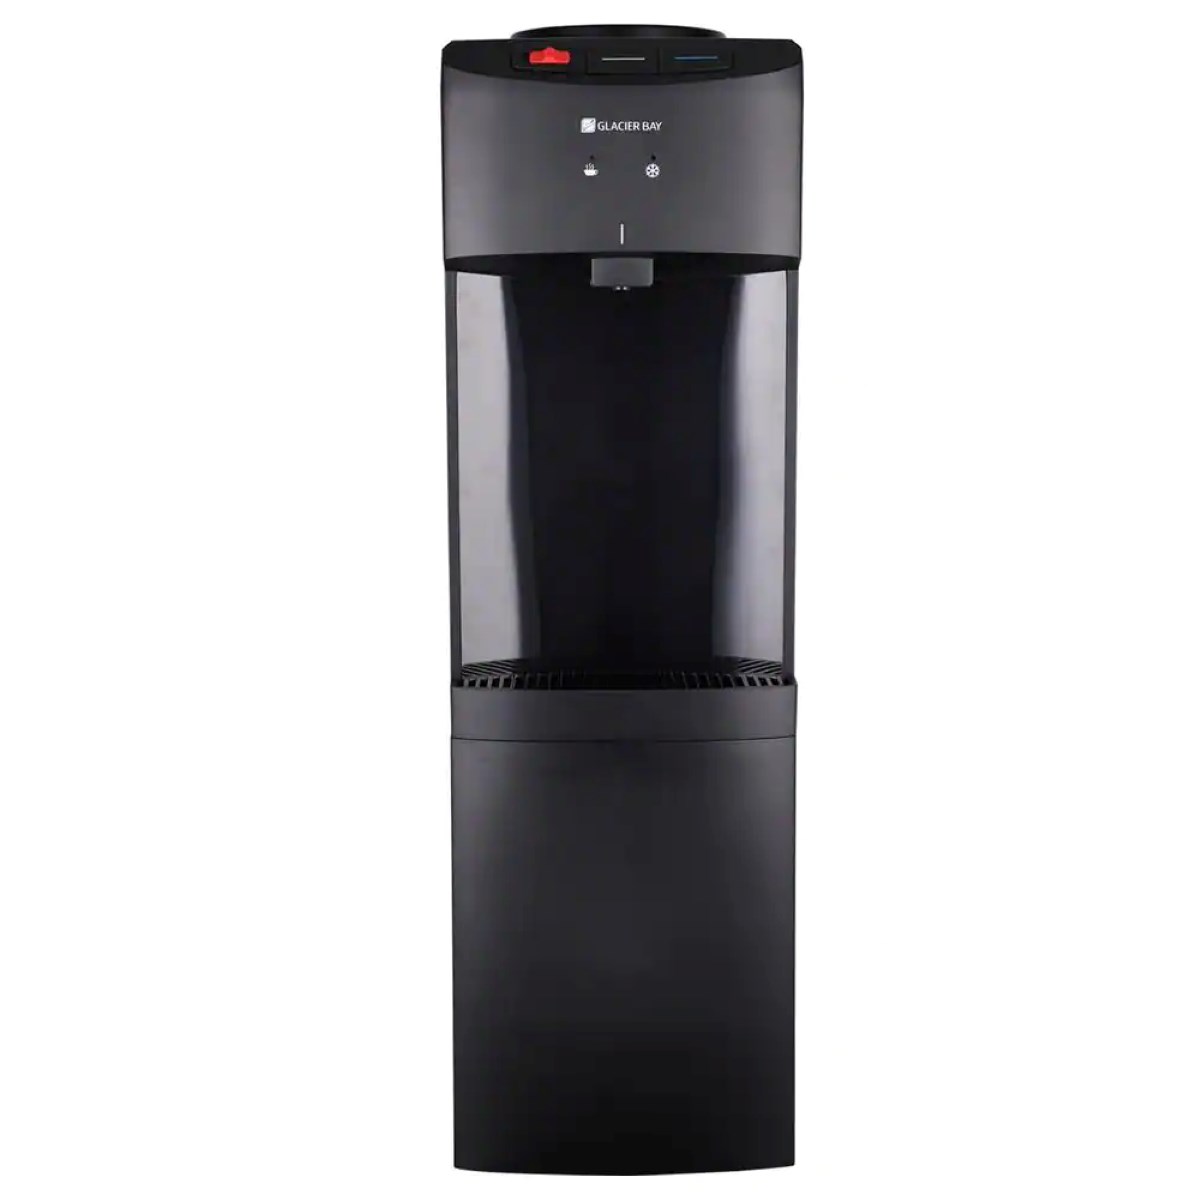
Welcome to this comprehensive guide on how to clean your Ready Refresh water dispenser. A water dispenser is a convenient appliance that provides you with clean and refreshing drinking water in your home or office. Over time, however, these dispensers can accumulate dirt, bacteria, and other impurities, which can affect the taste and quality of the water.
Regular cleaning of your water dispenser is essential to ensure that you continue to enjoy pure and great-tasting water. Cleaning your Ready Refresh water dispenser is a simple process that can be completed with a few basic materials and a little bit of time. By following the steps outlined in this guide, you’ll be able to maintain a clean and hygienic water dispenser that provides you and your family with safe drinking water.
Before we dive into the cleaning process, it’s important to note that your safety should always be the top priority. Make sure to follow the safety precautions outlined in the next section before starting the cleaning process.
Key Takeaways:
- Regularly cleaning your Ready Refresh water dispenser with mild agents and proper disassembly ensures safe, great-tasting water for your family. Remember to prioritize safety and consult the manufacturer’s guidelines.
- Thoroughly cleaning and reassembling your water dispenser every three months maintains its performance and prevents dirt, bacteria, and mineral deposits buildup. Enjoy clean, refreshing water for years to come!
Read more: How To Clean A Vitapur Water Dispenser
Safety Precautions
Before you begin cleaning your Ready Refresh water dispenser, there are a few safety precautions that you should keep in mind. These precautions will help ensure your safety and the effectiveness of the cleaning process. Follow these guidelines:
- Unplug the dispenser: Before starting the cleaning process, make sure to unplug the water dispenser to avoid any electrical hazards.
- Wear protective gloves: It’s a good idea to wear protective gloves to protect your hands from any cleaning agents or bacteria that may be present in the dispenser.
- Use mild cleaning agents: Avoid using harsh chemicals or abrasive cleaners as they can damage the dispenser or leave behind residue that could contaminate the water. Instead, opt for mild cleaning agents such as dish soap or vinegar.
- Use clean, lint-free cloths: To avoid scratching the surface of the water dispenser, use clean, lint-free cloths or microfiber towels for wiping and drying.
- Follow manufacturer’s instructions: Each water dispenser may have specific cleaning instructions provided by the manufacturer. Be sure to consult the user manual or the manufacturer’s website for any specific guidelines.
- Allow for proper drying: After cleaning, make sure to thoroughly dry all components of the dispenser before reassembly. This will prevent the growth of mold or mildew.
By following these safety precautions, you can ensure a safe and effective cleaning process for your Ready Refresh water dispenser.
Materials Needed
Before you start cleaning your Ready Refresh water dispenser, gather the following materials:
- Dish soap or vinegar: These mild cleaning agents are effective in removing dirt and bacteria from the dispenser.
- Clean, lint-free cloths or microfiber towels: These cloths will be used for wiping and drying the surfaces of the water dispenser.
- Sponge or soft brush: This will be useful for scrubbing the interior components of the water dispenser.
- Water: You’ll need water to rinse off the cleaning agents and ensure a thorough cleaning.
It’s important to note that the materials needed may vary depending on the specific model of your Ready Refresh water dispenser. Be sure to consult the user manual or the manufacturer’s website for any additional materials or tools that may be required for cleaning.
Now that you have all the necessary materials, let’s move on to the step-by-step process of cleaning your Ready Refresh water dispenser.
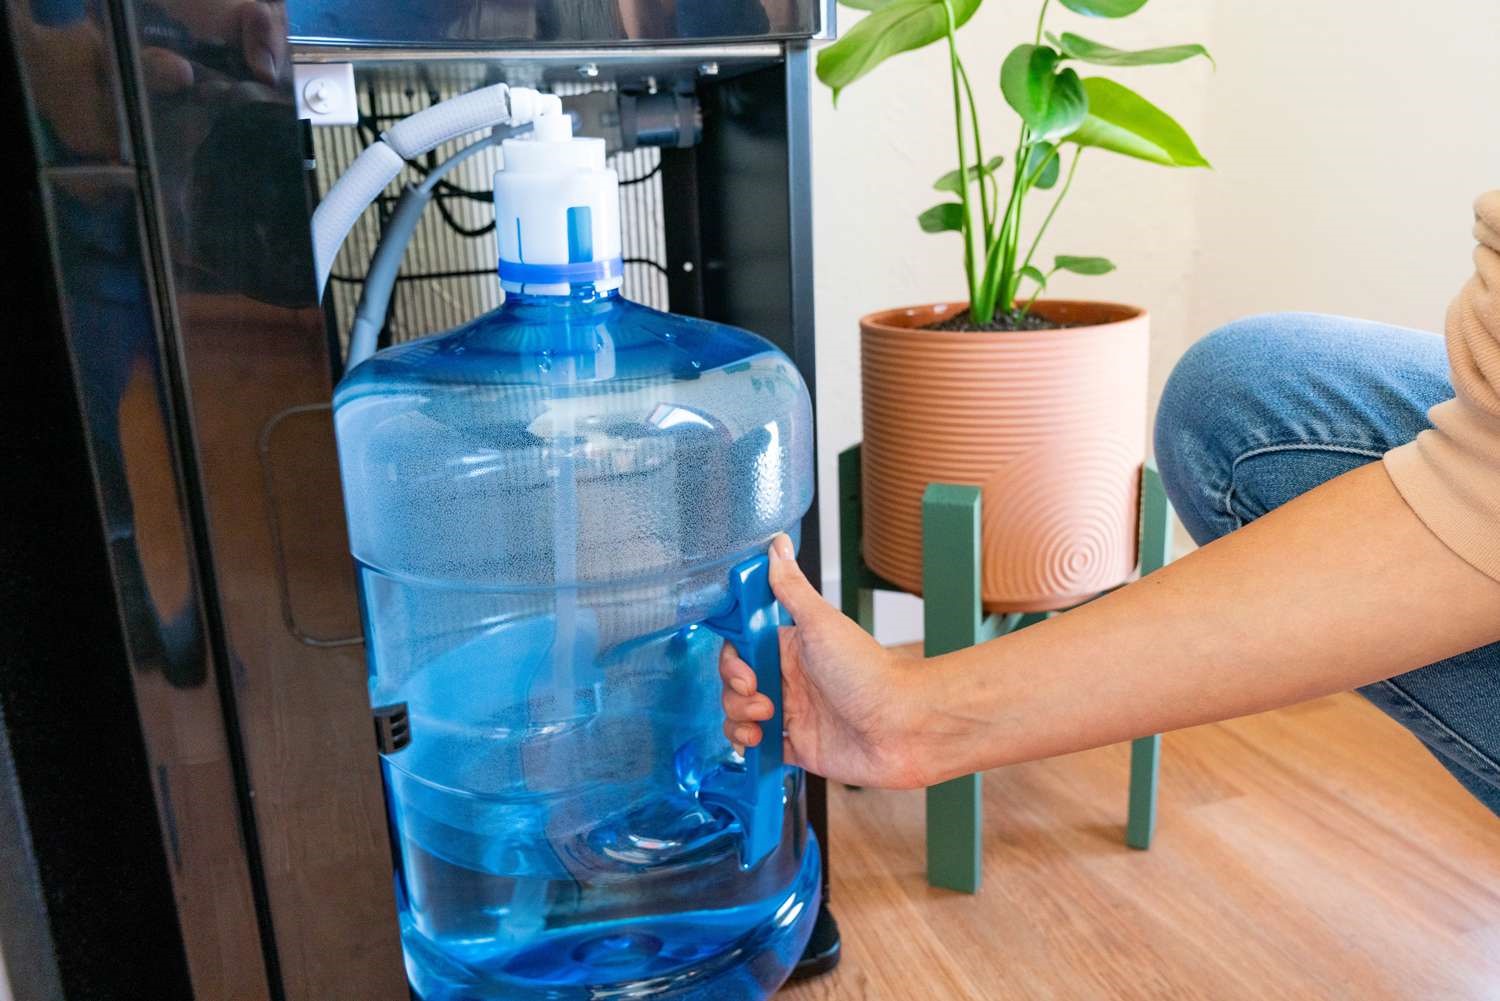
Step 1: Unplug and Empty the Water Dispenser
The first step in cleaning your Ready Refresh water dispenser is to unplug it from the electrical outlet and empty any remaining water from the dispenser. This ensures your safety and allows for easier access to clean the interior components.
Follow these steps to unplug and empty your water dispenser:
- Locate the power cord at the back or bottom of the water dispenser and gently unplug it from the electrical outlet.
- Remove the water bottle from the top of the dispenser and set it aside.
- If there is any water left in the dispenser, carefully pour it out into a sink or bucket. Be cautious not to spill water on any electrical components.
- Once the water dispenser is unplugged and empty, move on to the next step to begin the cleaning process.
By unplugging the dispenser and emptying the water, you ensure that there is no risk of electric shock and provide a clean slate to thoroughly clean the dispenser.
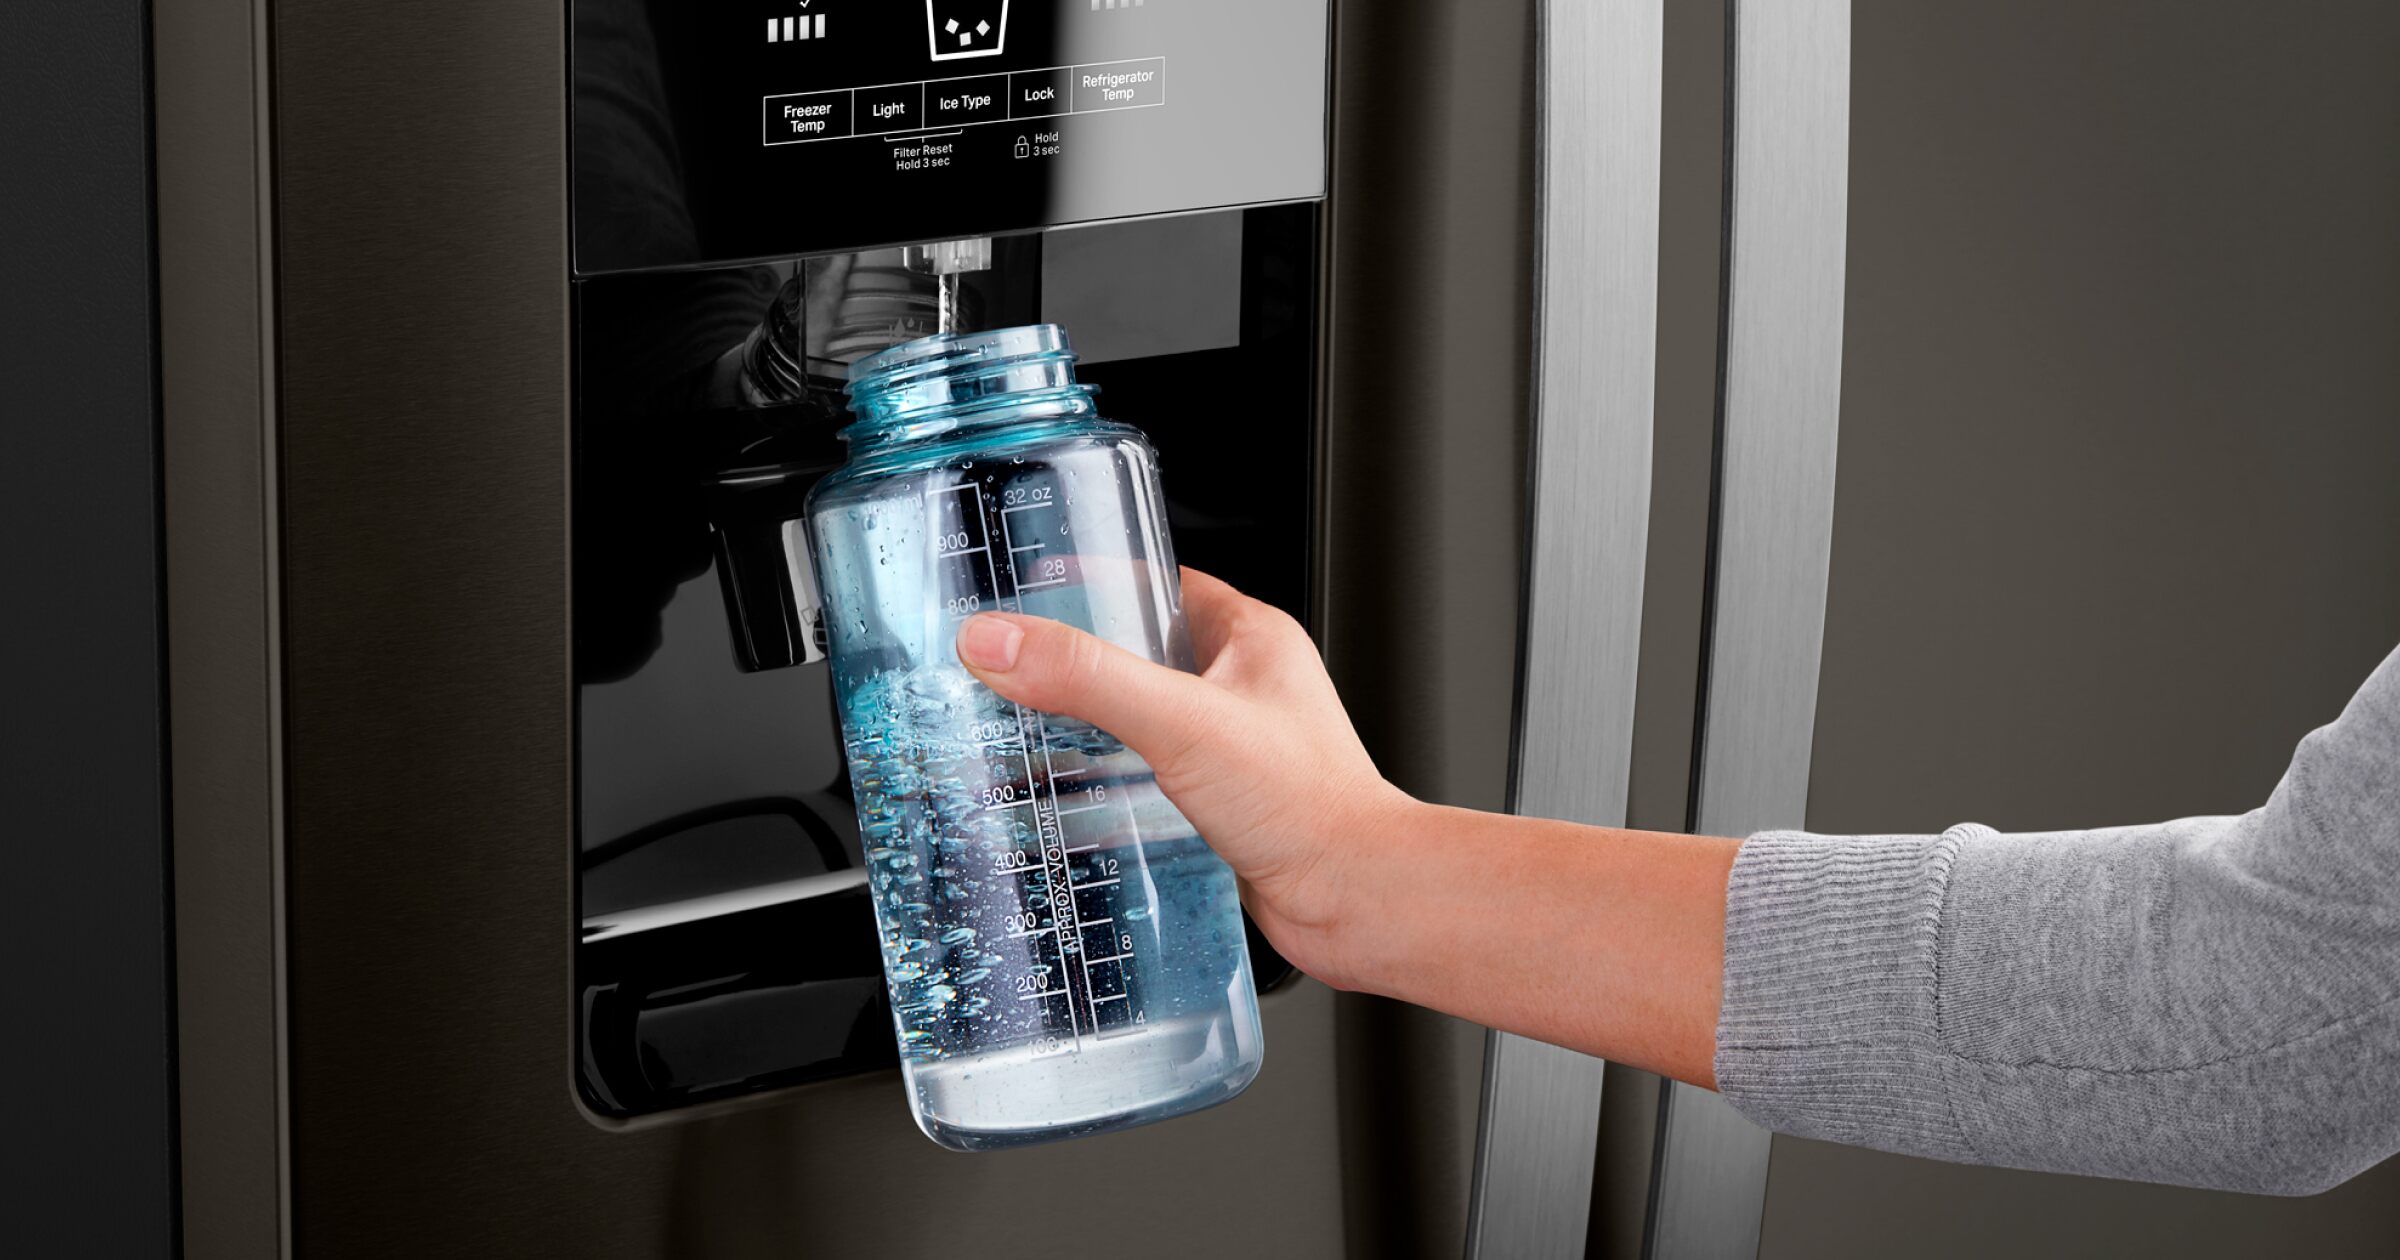
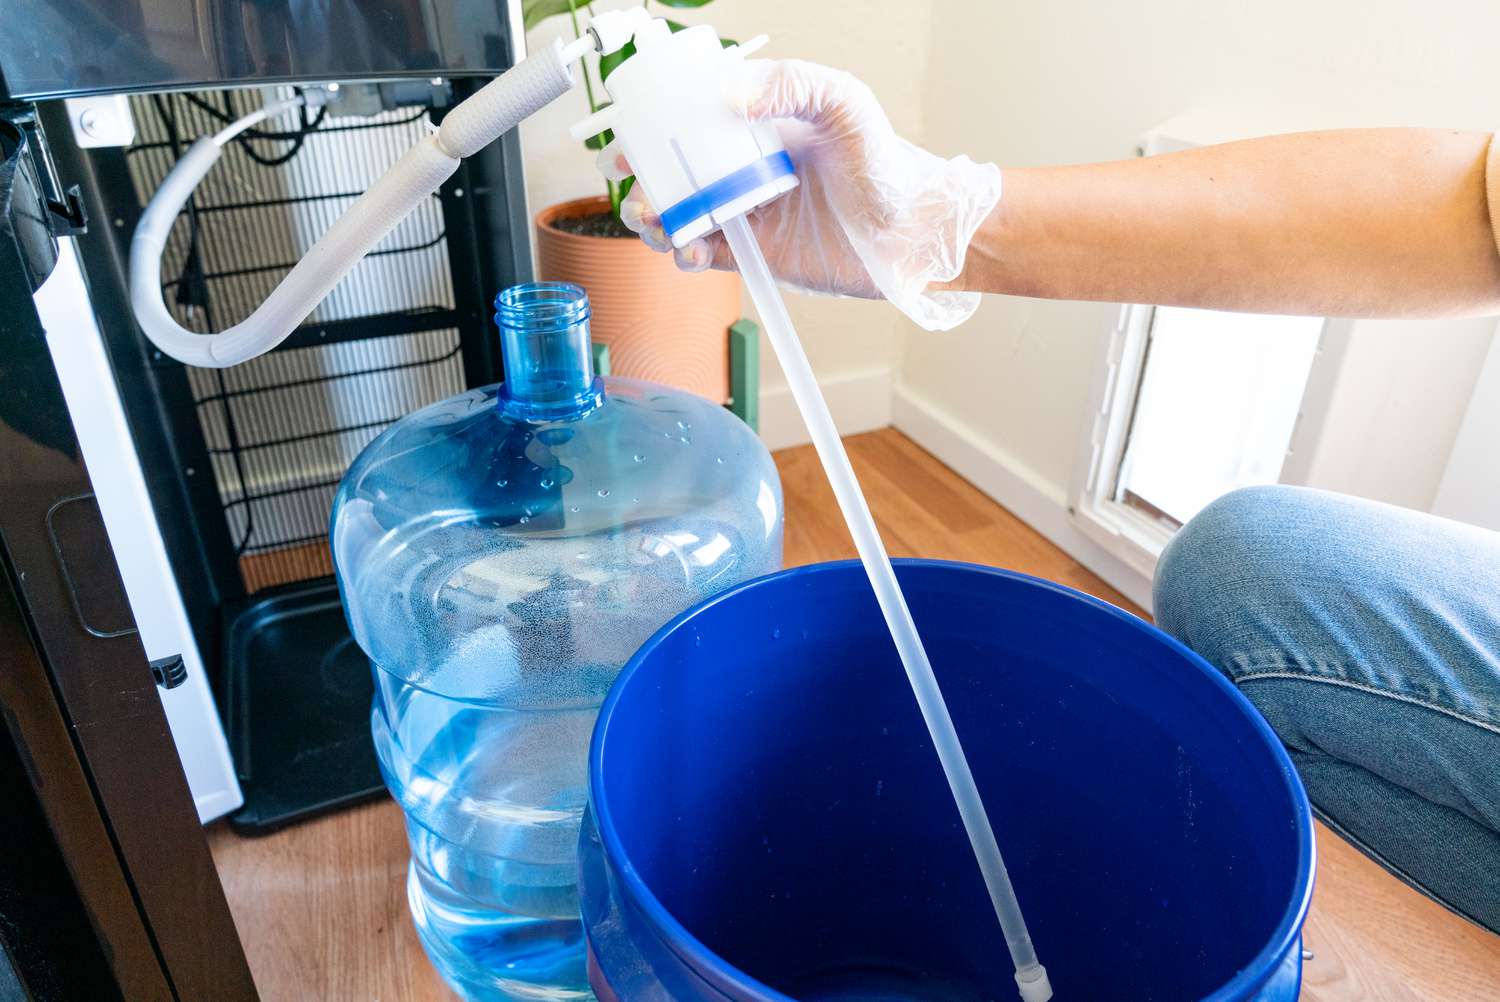
Step 2: Remove and Clean the Water Bottle
After unplugging and emptying your Ready Refresh water dispenser, it’s time to remove and clean the water bottle. Even though the water bottle is not a part of the dispenser itself, it can accumulate dirt and bacteria, which can affect the quality of the water.
Follow these steps to remove and clean the water bottle:
- Wipe the exterior of the water bottle with a damp cloth to remove any dust or debris.
- Inspect the water bottle for any visible signs of mold or discoloration. If you notice any, it’s best to replace the water bottle with a new one.
- Fill a sink or basin with warm water and a small amount of dish soap.
- Submerge the water bottle in the soapy water and use a sponge or soft brush to scrub the interior of the bottle thoroughly.
- Rinse the water bottle with clean water to remove any soap residue.
- Allow the water bottle to air dry completely before placing it back onto the dispenser.
By regularly cleaning the water bottle, you ensure that the water dispenser continues to provide clean and sanitary drinking water. Remember to replace the water bottle periodically to maintain freshness.
Read more: How To Clean Pur Water Dispenser
Step 3: Disassemble the Water Dispenser
Now that you have cleaned the water bottle, it’s time to disassemble the different components of your Ready Refresh water dispenser for a thorough cleaning. Disassembling the dispenser allows you to access all the nooks and crannies where dirt and bacteria can accumulate.
Follow these steps to disassemble the water dispenser:
- Refer to the user manual or manufacturer’s instructions to identify the removable parts of your specific model of water dispenser.
- Remove the drip tray or water collection tray, if applicable, from the front or bottom of the dispenser.
- Take out any removable filters or cartridges that are present in the dispenser. These filters need to be cleaned or replaced according to the manufacturer’s guidelines.
- If your dispenser has a removable nozzle or spigot, detach it carefully to access the interior.
- Take note of the order in which you removed the components to ensure you can easily reassemble the dispenser later.
By disassembling the water dispenser, you provide access to all the individual parts that require cleaning. This step is crucial in maintaining the hygiene and functionality of your water dispenser.
To clean a Ready Refresh water dispenser, mix equal parts water and white vinegar, then run the solution through the dispenser. Rinse thoroughly with clean water before using again.
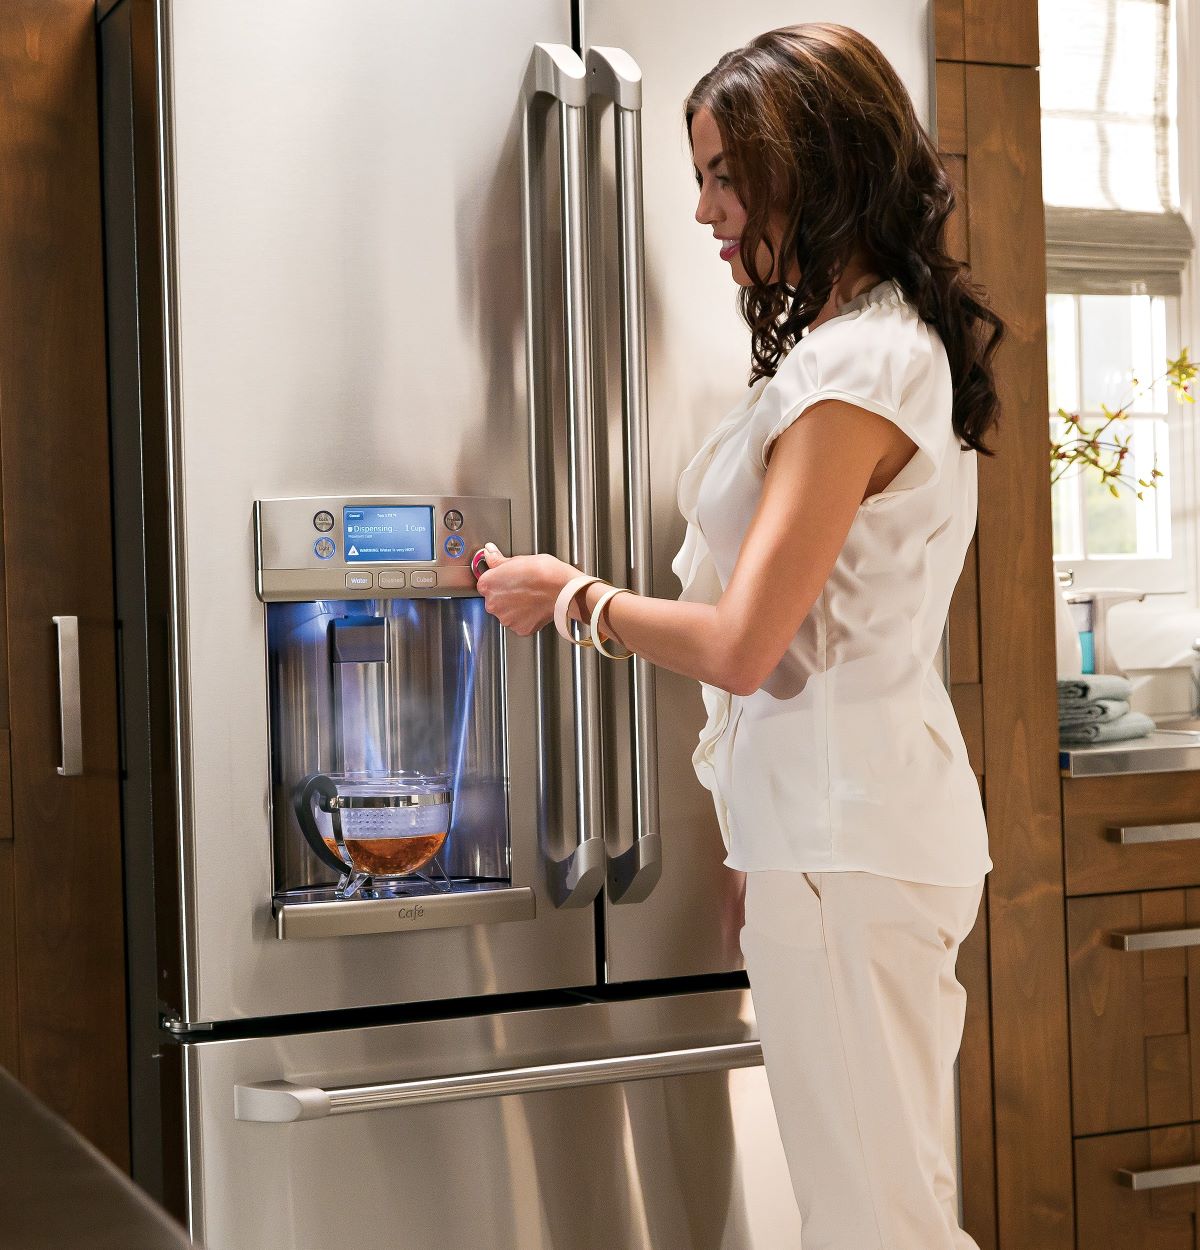
Step 4: Clean the Exterior of the Dispenser
Now that you have disassembled the different components of your Ready Refresh water dispenser, it’s time to clean the exterior surfaces. The exterior of the dispenser can accumulate dust, fingerprints, and other minor stains over time.
Follow these steps to clean the exterior of the dispenser:
- Dampen a clean, lint-free cloth or microfiber towel with water.
- If there are visible stains or marks on the exterior, you can add a small amount of mild dish soap to the damp cloth.
- Gently wipe the entire exterior surface of the water dispenser, including the top, sides, front, and back.
- Pay special attention to areas prone to fingerprints, such as buttons or touchscreens.
- Rinse the cloth with clean water and wipe away any soap residue from the exterior surfaces.
- Using a separate, dry cloth, thoroughly dry all the exterior surfaces of the dispenser.
Cleaning the exterior of the water dispenser not only improves its appearance but also eliminates any potential sources of dirt or bacteria. This step contributes to maintaining the overall cleanliness and hygiene of your water dispenser.
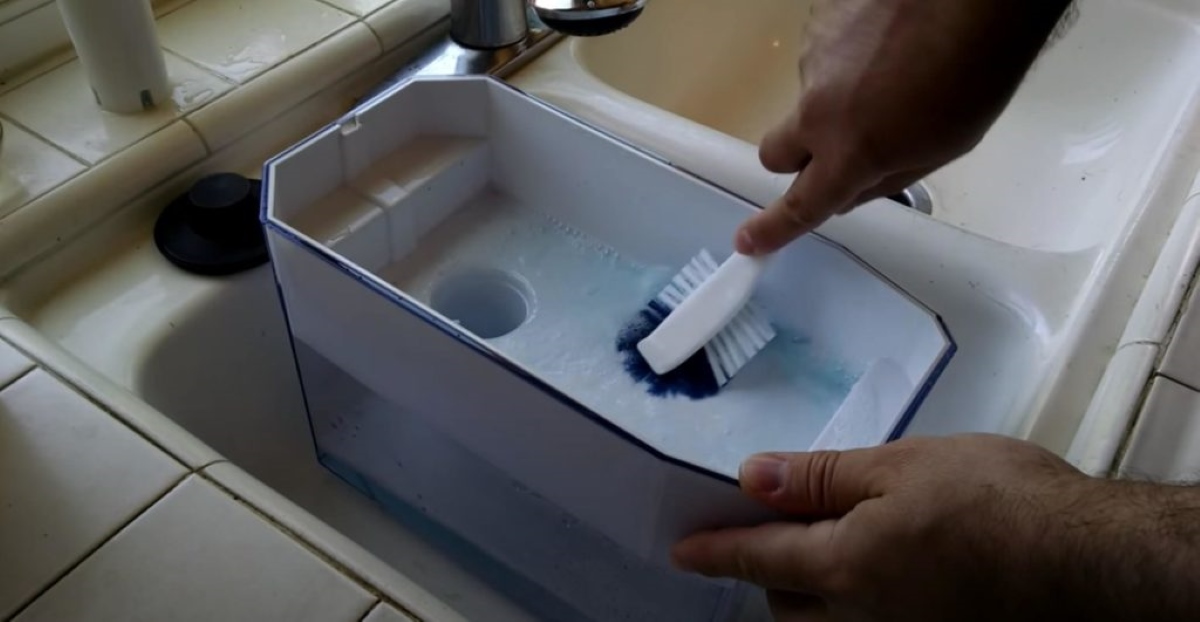
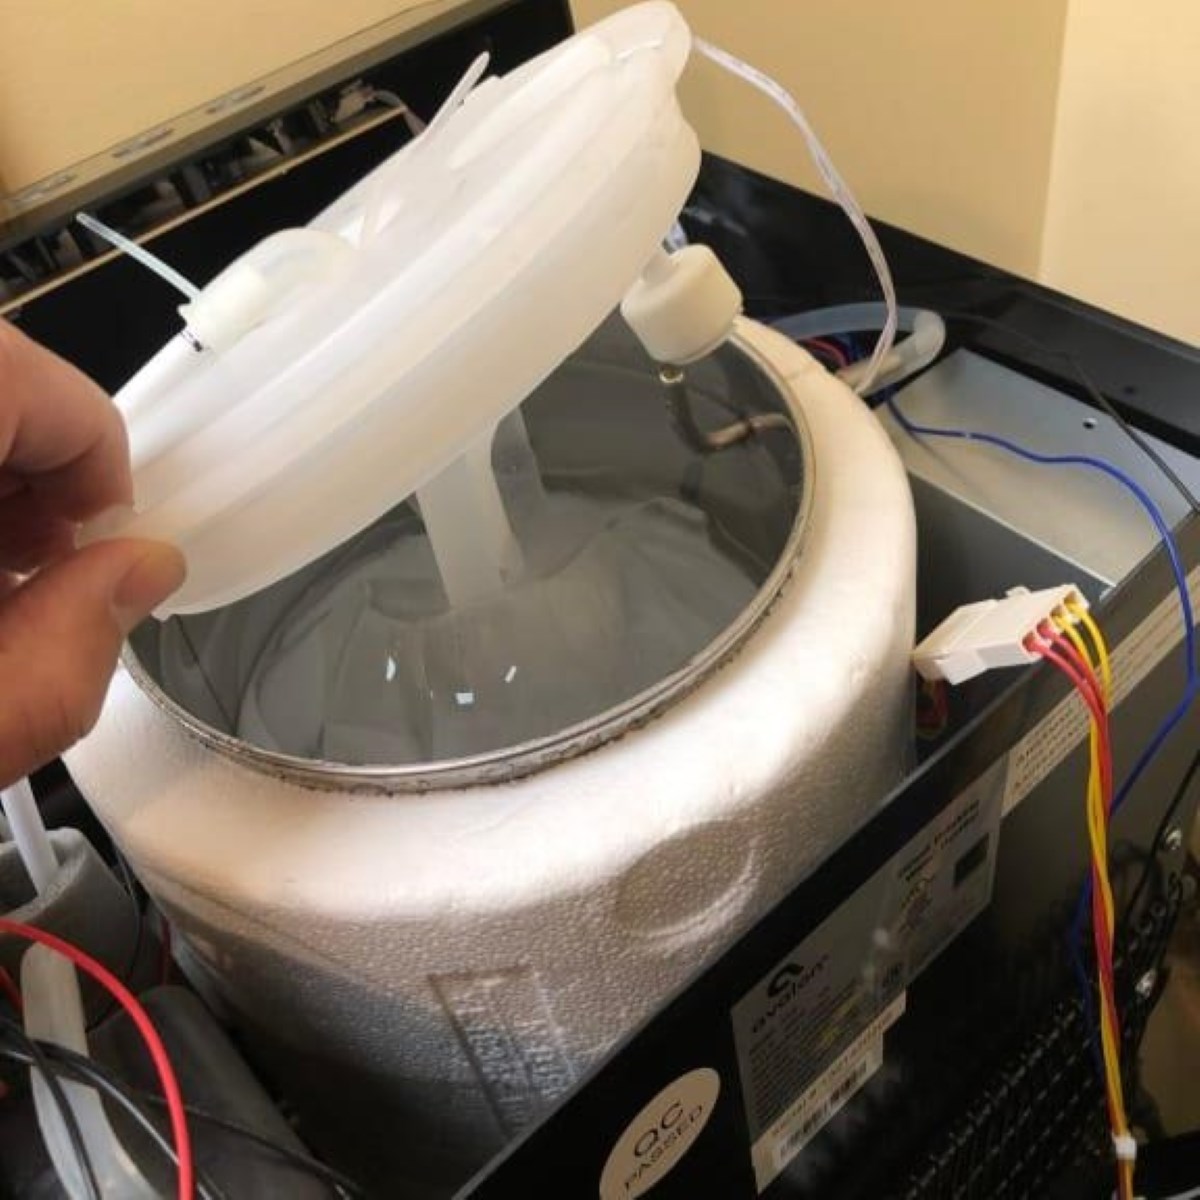
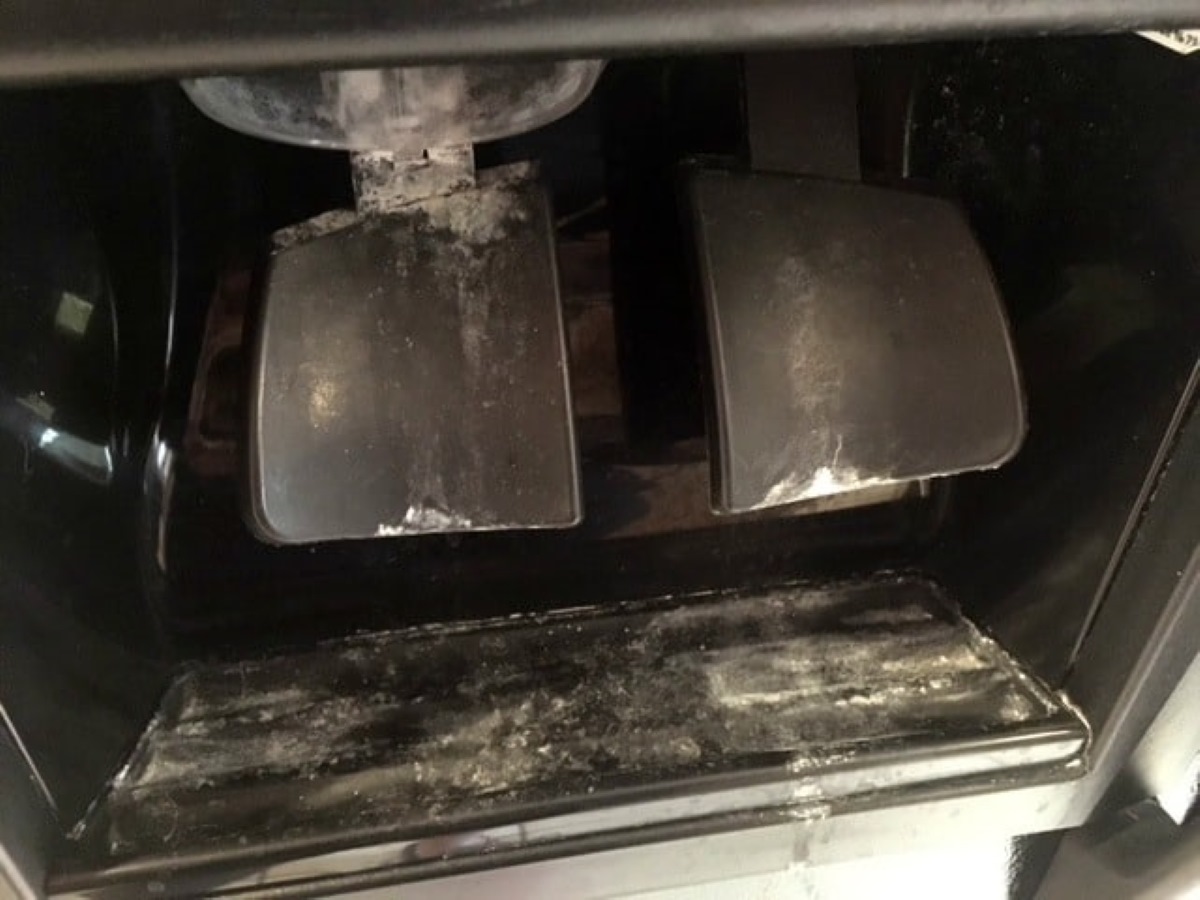
Step 5: Clean the Interior Components
Now that you have cleaned the exterior of your Ready Refresh water dispenser, it’s time to focus on the interior components. The interior of the dispenser can accumulate dirt, mineral deposits, and bacteria, which can affect the quality of the water.
Follow these steps to clean the interior components of the dispenser:
- Fill a basin or sink with warm water and add a small amount of dish soap.
- Submerge the removable components, such as drip trays, filters, nozzles, and spigots, into the soapy water.
- Use a sponge or soft brush to scrub the components thoroughly, ensuring that you remove any built-up residue or dirt.
- Rinse the components with clean water to remove any soap residue.
- Inspect the dispenser’s interior for any mineral deposits or scale buildup. If present, use a mixture of water and vinegar to gently scrub the affected areas. Allow the vinegar solution to sit for a few minutes before rinsing with clean water.
- Wipe down the interior surfaces of the dispenser using a clean, damp cloth or sponge. Pay special attention to hard-to-reach areas.
By cleaning the interior components, you ensure that the water dispenser is free from any residue or contaminants that could affect the quality of the water. Regular maintenance of these components is vital for maintaining a clean and safe water dispenser.
Step 6: Reassemble the Water Dispenser
Now that you have thoroughly cleaned the interior components of your Ready Refresh water dispenser, it’s time to reassemble it. Proper reassembly ensures that all the parts fit securely and that the dispenser functions optimally.
Follow these steps to reassemble the water dispenser:
- Begin by retrieving all the cleaned components from earlier steps.
- Refer to the user manual or manufacturer’s instructions to ensure you place the components back in the correct order.
- If you removed any filters or cartridges, make sure to reinstall them according to the manufacturer’s guidelines.
- Carefully attach the nozzle or spigot back onto the dispenser, ensuring it is securely in place.
- Place the drip tray or water collection tray back into its designated position.
- Ensure that all the components are properly aligned and fit snugly, without any gaps or loose parts.
Once you have reassembled the water dispenser, give it a final wipe down with a clean, damp cloth to remove any smudges or fingerprints.
Proper reassembly guarantees that the parts are correctly aligned, preventing any leaks or operational issues. It also ensures that your Ready Refresh water dispenser is ready to provide you with clean and refreshing drinking water.
Read more: How To Clean Samsung Water Dispenser
Step 7: Refill the Dispenser and Plug it in
After successfully reassembling your Ready Refresh water dispenser, it’s time to refill it with clean water and plug it back in. This final step ensures that you have a fully operational and functioning water dispenser.
Follow these steps to refill the dispenser and plug it back in:
- Make sure the water dispenser is in its designated location and easily accessible for refilling.
- Take a fresh bottle of water, ensuring it is clean and free from any damage or contamination.
- Remove the seal or cap from the water bottle and carefully insert it onto the dispenser, ensuring a tight fit.
- If your dispenser has any water level indicator or display, make sure it is functioning correctly.
- Plug the water dispenser back into the electrical outlet.
- Allow the water dispenser to fill up and cool down for a few minutes before dispensing any water.
Once the dispenser is refilled and plugged back in, you’re ready to enjoy clean and refreshing drinking water. Remember to regularly check and replace the water bottle to ensure a continuous supply of fresh water.
Following these steps will help maintain a clean and hygienic Ready Refresh water dispenser, providing you and your family with safe and great-tasting water.
Conclusion
Cleaning your Ready Refresh water dispenser is essential to maintain its functionality, hygiene, and the quality of the water it dispenses. By following the step-by-step guide provided in this article, you can easily clean and maintain your water dispenser, ensuring safe and refreshing drinking water for you and your family.
Throughout the cleaning process, remember to prioritize your safety by following the recommended safety precautions. Always unplug the dispenser before cleaning, use mild cleaning agents, and wear protective gloves. This will help prevent any accidents or exposures to harmful substances.
To start the cleaning process, unplug and empty the water dispenser, then remove and clean the water bottle separately. Disassemble the dispenser to access all the interior components and clean them thoroughly. Next, focus on wiping and cleaning the exterior surfaces of the dispenser.
Once all the components are clean, reassemble the water dispenser carefully, ensuring that each part fits securely. Finally, refill the dispenser with clean water and plug it back in, allowing it to cool down before use.
Regularly cleaning your water dispenser, about once every three months or as recommended by the manufacturer, will help maintain its performance and prevent the buildup of dirt, bacteria, and mineral deposits.
Remember to consult the user manual or manufacturer’s instructions for any specific cleaning guidelines or recommendations for your particular Ready Refresh water dispenser model.
By following these cleaning steps and maintaining a regular cleaning routine, you can enjoy clean, pure, and refreshing drinking water from your Ready Refresh water dispenser for years to come.
Now that you've mastered cleaning your ReadyRefresh water dispenser, why stop there? Dive into our latest guide on optimizing home water quality with "Water Filtration" systems set to make waves in 2024. Keeping hydration pure and your health in check has never been easier—or more crucial. Discover efficient, innovative solutions for filtering water that can elevate your drinking experience and align perfectly with your freshly maintained dispenser. Don't miss out on ensuring every sip is as refreshing as it should be!
Frequently Asked Questions about How To Clean ReadyRefresh Water Dispenser
Was this page helpful?
At Storables.com, we guarantee accurate and reliable information. Our content, validated by Expert Board Contributors, is crafted following stringent Editorial Policies. We're committed to providing you with well-researched, expert-backed insights for all your informational needs.


0 thoughts on “How To Clean ReadyRefresh Water Dispenser”