Articles
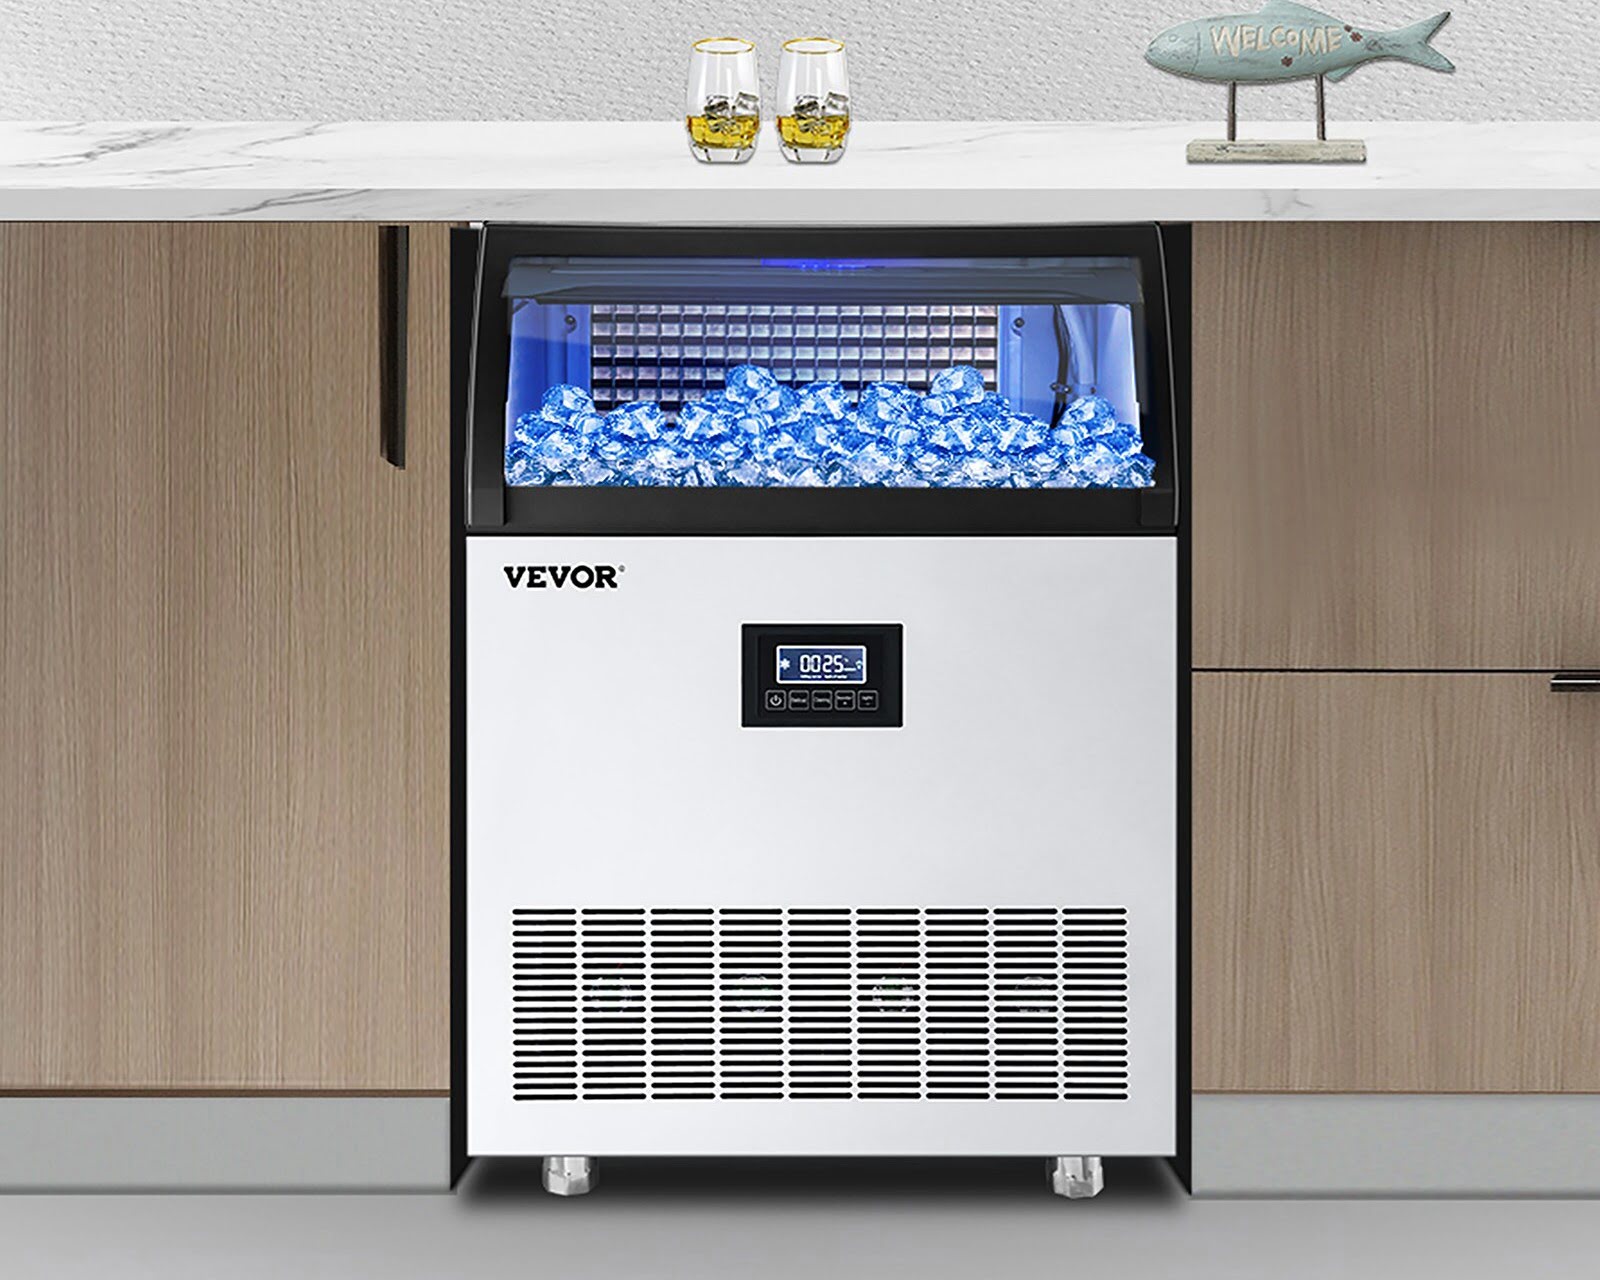
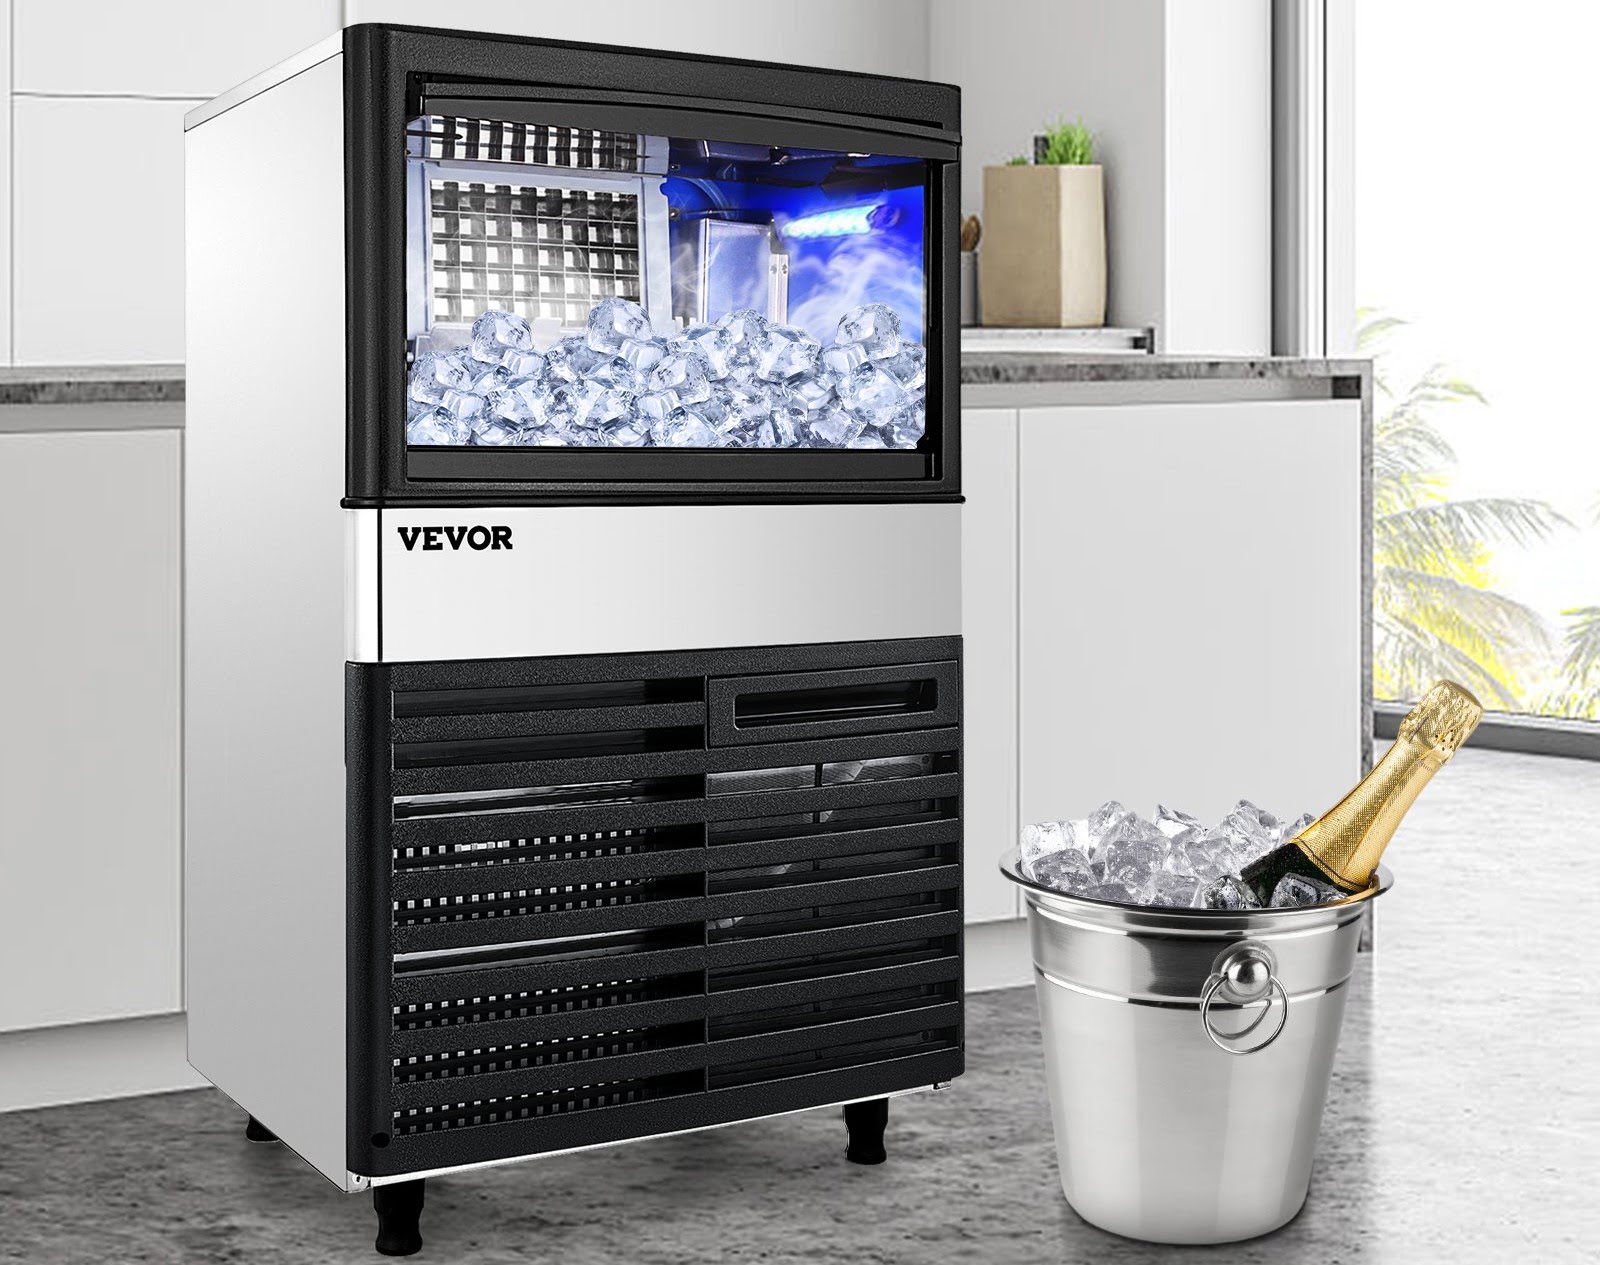
How To Clean VEVOR Ice Machine
Modified: August 16, 2024
Learn the best articles on how to clean your VEVOR ice machine effectively and maintain its optimal performance. Keep your ice machine running smoothly with these expert cleaning tips.
(Many of the links in this article redirect to a specific reviewed product. Your purchase of these products through affiliate links helps to generate commission for Storables.com, at no extra cost. Learn more)
Introduction
Welcome to a comprehensive guide on how to clean your VEVOR Ice Machine. Regular cleaning and maintenance are essential to keep your ice machine running efficiently and producing clean, high-quality ice. Over time, ice machines can accumulate dirt, minerals, and bacteria, which can affect the taste and quality of the ice, as well as the performance of the machine itself.
Cleaning your VEVOR Ice Machine not only helps to maintain its performance but also ensures that the ice produced is safe for consumption. By following the proper cleaning procedures, you can extend the lifespan of your ice machine and enjoy a continuous supply of fresh and clean ice.
In this guide, we will walk you through the step-by-step process of cleaning your VEVOR Ice Machine. We will also provide you with some safety precautions to follow before you begin the cleaning process. So, let’s get started and learn how to clean your VEVOR Ice Machine effectively.
Key Takeaways:
- Regularly cleaning your VEVOR Ice Machine ensures safe, high-quality ice production and extends the machine’s lifespan. Follow manufacturer guidelines for optimal results and enjoy continuous fresh ice.
- Prioritize safety precautions, use approved cleaning solutions, and follow each step diligently to maintain your ice machine’s performance and hygiene. Enjoy peace of mind with a well-maintained, reliable ice machine.
Read more: Where Is VEVOR Ice Machine Made
Safety Precautions
Before you start cleaning your VEVOR Ice Machine, it is crucial to take proper safety precautions to protect yourself and prevent any damage to the machine. Here are some important safety measures to keep in mind:
- Read the manufacturer’s instructions: Familiarize yourself with the specific cleaning guidelines provided by VEVOR for your ice machine. Different models may have slight variations in the cleaning process, so it is essential to follow the manufacturer’s instructions.
- Turn off and unplug the machine: Before you begin cleaning, make sure to turn off the ice machine and unplug it from the power source. This will prevent any accidents or electrical shocks while you are working on the machine.
- Wear protective gear: During the cleaning process, it is advisable to wear protective gloves and safety goggles to protect your hands and eyes from any cleaning agents or debris.
- Use safe cleaning solutions: Ensure that the cleaning solutions you use are approved for use in ice machines and are safe for food contact. Avoid using harsh chemicals that can damage the machine or contaminate the ice.
- Follow proper ventilation: If you are using cleaning agents that produce fumes, it is important to work in a well-ventilated area. Open windows or use exhaust fans to ensure proper ventilation during the cleaning process.
- Be cautious with water: When cleaning the ice machine, be careful not to splash water on electrical components or outlets. Water can cause electrical hazards and damage the machine’s internal parts.
- Handle parts and components with care: When removing and cleaning parts of the ice machine, handle them gently to avoid any damage. Follow the manufacturer’s instructions for proper handling and reassembly of the machine.
- Keep children and pets away: Ensure that children and pets stay away from the cleaning area to prevent accidents or ingestion of cleaning agents.
By following these safety precautions, you can ensure a safe and effective cleaning process for your VEVOR Ice Machine. Now that you are aware of the necessary safety measures, let’s move on to the materials you will need for the cleaning process.
Materials Needed
Before you start cleaning your VEVOR Ice Machine, gather the following materials to ensure a thorough and effective cleaning process:
- Clean Towels: Have a stack of clean, lint-free towels on hand to wipe down surfaces and dry the ice machine.
- Gloves: Wear protective gloves to protect your hands from any chemicals or debris during the cleaning process.
- Safety Goggles: Ensure you have safety goggles to shield your eyes from potential splashes of cleaning solutions.
- Cleaning Solution: Use a mild, food-safe cleaning solution recommended by VEVOR or an approved ice machine cleaner. Avoid using harsh chemicals or abrasive cleaners that can damage the machine.
- Brushes: Have a soft-bristle brush or a nylon brush on hand to clean hard-to-reach areas and remove any buildup or debris.
- Vinegar: Vinegar can be used as a natural cleaning agent to remove scale or mineral deposits. Dilute it with water according to the manufacturer’s instructions.
- Water Spray Bottle: Fill a spray bottle with clean water to rinse off surfaces and remove any residue from the cleaning solution.
- Bucket or Basin: Use a bucket or basin to mix the cleaning solution and soak removable parts for thorough cleaning.
Having these materials ready before starting the cleaning process will ensure that you can clean your VEVOR Ice Machine efficiently and maintain its performance and hygiene. Once you have gathered all the necessary materials, you are ready to proceed with the step-by-step cleaning process. In the next section, we will guide you through the first step: turning off and unplugging the ice machine.
Step 1: Turn off and unplug the ice machine
The first step in cleaning your VEVOR Ice Machine is to turn off and unplug the machine. This ensures your safety and prevents any accidents while you are working on the machine.
Follow these steps to turn off and unplug the ice machine:
- Locate the power switch: Find the power switch of the ice machine. It is usually located on the front or side of the machine.
- Turn off the machine: Switch the power switch to the “off” position. This will shut down the machine and halt the ice-making process.
- Unplug the machine: Once the machine is turned off, unplug it from the power outlet. This ensures that no electricity is running through the machine while you are cleaning it.
By turning off and unplugging the ice machine, you eliminate any potential electrical hazards and create a safe environment for the cleaning process. This also prevents the ice machine from running or producing ice during the cleaning process.
Once you have successfully turned off and unplugged the ice machine, you are ready to move on to the next step: removing any remaining ice. This will ensure a thorough cleaning process and prevent any ice from melting or interfering with the cleaning solution.
Step 2: Remove any remaining ice
After turning off and unplugging your VEVOR Ice Machine, the next step is to remove any remaining ice from the ice machine. This step is crucial to ensure a clean and effective cleaning process. Follow these steps to remove the ice:
- Open the ice machine door: Locate the door of the ice machine and open it. The ice machine door is typically located on the front of the machine.
- Remove any ice cubes: Use a scoop or utensil to carefully remove any remaining ice cubes from the ice machine. Be gentle to avoid damaging the ice machine’s interior.
- Discard the ice cubes: Dispose of the ice cubes in a sink or other suitable area. If the ice has been sitting in the machine for a while, it is best to discard it rather than using it for consumption.
- Check for any hidden ice: Inspect the ice machine’s interior for any hidden or hard-to-reach ice. Use a flashlight to ensure that no ice is left behind.
Removing any remaining ice from the machine is essential for a thorough cleaning. If you skip this step, the cleaning solution may not be able to reach all parts of the machine, and it may not be able to effectively remove any built-up debris or bacteria. By ensuring that the ice machine is free of any lingering ice, you can proceed to the next steps with confidence.
Now that you have successfully removed any remaining ice, let’s move on to the next step: preparing the cleaning solution. This step is crucial for removing dirt, minerals, and bacteria from the ice machine’s interior surfaces.
Read more: How To Use VEVOR Ice Cream Machine
Step 3: Prepare the cleaning solution
Once you have removed any remaining ice from your VEVOR Ice Machine, it’s time to prepare the cleaning solution. The cleaning solution effectively removes dirt, minerals, and bacteria from the interior surfaces of the machine, ensuring a hygienic ice-making process. Here’s how to prepare the cleaning solution:
- Read the manufacturer’s instructions: Check the user manual or guidelines provided by VEVOR to determine the recommended cleaning solution for your specific ice machine model. It’s important to follow the manufacturer’s instructions to ensure the most effective and safe cleaning.
- Dilute the cleaning solution: If you are using a commercially available ice machine cleaner, follow the instructions on the packaging to dilute the solution with water. Typically, a ratio of cleaner to water will be provided for you to mix properly.
- Use vinegar as an alternative: If you prefer a natural cleaning solution, you can use a mixture of vinegar and water as a substitute. Dilute vinegar with water in a 1:1 ratio or as recommended by the manufacturer.
- Fill a bucket or basin: Pour the prepared cleaning solution into a bucket or basin. Ensure that it is large enough to hold the removable parts of the ice machine that will be soaked during the cleaning process.
By preparing the appropriate cleaning solution, you can effectively remove any buildup, mineral deposits, and bacteria from the interior surfaces of your VEVOR Ice Machine. This ensures that your ice machine will produce clean and high-quality ice for consumption.
Now that you have prepared the cleaning solution, you are ready to move on to the next step: cleaning the interior surfaces of the ice machine. This step will help remove any remaining dirt or debris and further enhance the cleanliness of your ice machine.
To clean a VEVOR ice machine, mix a solution of water and mild detergent. Use a soft cloth to wipe down the interior and exterior of the machine, then rinse with clean water. Sanitize the machine by running a mixture of water and vinegar through a cleaning cycle.
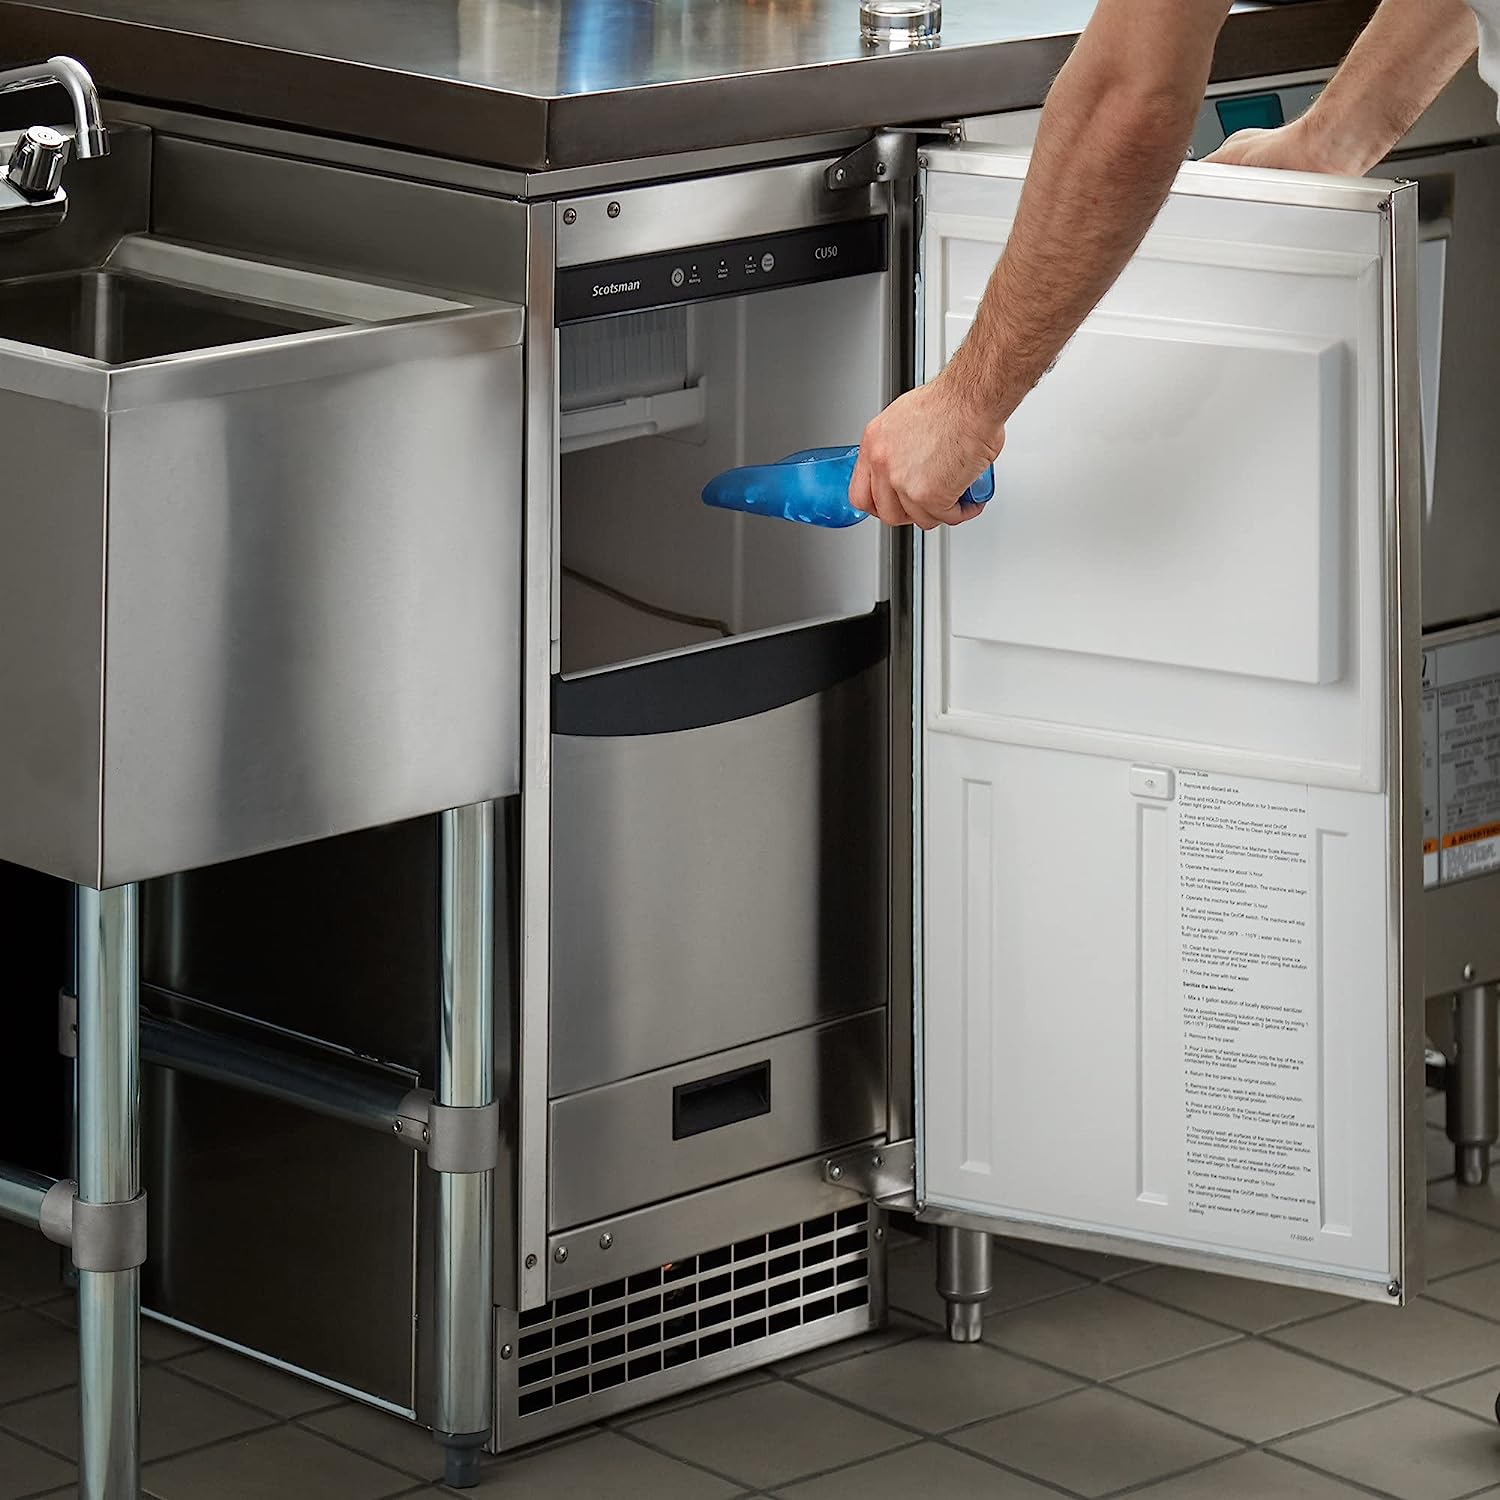
Step 4: Clean the interior surfaces of the ice machine
With the cleaning solution prepared, it’s time to clean the interior surfaces of your VEVOR Ice Machine. This step ensures that any dirt, mineral deposits, and bacteria are thoroughly removed, promoting a hygienic ice-making process. Follow these steps to clean the interior surfaces:
- Refer to the user manual: Before you begin cleaning, consult the user manual or VEVOR guidelines for specific instructions on how to access and clean the interior of your ice machine. Different models may have slightly different access points and components.
- Dip a clean towel or brush in the cleaning solution: Moisten a clean towel or brush with the prepared cleaning solution. Ensure that it is not dripping wet, but damp enough to effectively clean the surfaces.
- Gently wipe or scrub the interior surfaces: Starting from the top, wipe or scrub the interior surfaces of the ice machine with the cleaning solution-soaked towel or brush. Pay special attention to areas that are prone to buildup, such as the ice-making mechanism and water reservoir.
- Remove and clean removable parts: If your ice machine has removable parts, such as the ice basket or water tray, take them out and soak them in the cleaning solution for the recommended duration. Use a soft brush to scrub away any dirt or debris. Rinse them thoroughly with clean water afterwards.
- Scrub hard-to-reach areas with a brush: For hard-to-reach areas, such as narrow crevices or corners, use a soft-bristle brush or a toothbrush to scrub away any dirt or residue. Ensure that the brush is dipped in the cleaning solution to maximize its cleaning power.
- Pay extra attention to water lines and dispensers: If your ice machine has water lines or dispensers, clean them thoroughly using the cleaning solution and a brush. These areas can accumulate mineral deposits and bacteria, so it’s important to give them special attention.
By thoroughly cleaning the interior surfaces of your ice machine, you not only remove any dirt or debris but also eliminate any potential sources of bacteria. This ensures that the ice produced by your VEVOR Ice Machine is clean and safe to consume.
Once you have cleaned the interior surfaces, it’s time to move on to the next step: cleaning the ice storage bin. This step helps maintain the hygiene of your ice machine and the quality of the ice it produces.
Step 5: Clean the ice storage bin
Now that you have cleaned the interior surfaces of your VEVOR Ice Machine, it’s important to give attention to the ice storage bin. The ice storage bin is where the ice cubes accumulate and are stored until they are ready for use. Cleaning the ice storage bin ensures that the ice produced by your machine remains fresh and free from any contaminants. Follow these steps to clean the ice storage bin:
- Empty the ice storage bin: Remove any remaining ice from the storage bin. Discard the ice cubes, or use them immediately if they are still in good condition.
- Mix a cleaning solution: Prepare a cleaning solution using a mild detergent and warm water, or follow the instructions provided by VEVOR for your specific ice machine model.
- Use a soft cloth or sponge: Dip a soft cloth or sponge into the cleaning solution and gently clean the interior walls and bottom of the ice storage bin. Pay attention to any stains or residue that may have accumulated.
- Rinse with clean water: After cleaning, rinse the ice storage bin thoroughly with clean water. Ensure that all traces of the cleaning solution and debris are removed.
- Dry the ice storage bin: Use a clean towel or allow the ice storage bin to air dry completely before placing it back into the ice machine. This prevents the growth of mold or mildew.
Cleaning the ice storage bin regularly is vital to prevent the buildup of bacteria and maintain the quality of the ice produced. By following these steps, you ensure that your ice machine continues to deliver clean and fresh ice cubes for your enjoyment.
With the ice storage bin cleaned, it’s time to move on to the next step: cleaning the exterior surfaces of the ice machine. This step enhances the overall visual appeal of your ice machine and keeps it looking clean and presentable.
Step 6: Clean the exterior surfaces of the ice machine
While cleaning the interior of your VEVOR Ice Machine is essential for maintaining its performance and hygiene, it is equally important to clean the exterior surfaces. Cleaning the exterior surfaces not only enhances the overall appearance of the machine but also prevents the buildup of dirt and grime. Here’s how to clean the exterior surfaces of your ice machine:
- Prepare a cleaning solution: Mix a mild detergent or all-purpose cleaner with warm water in a bucket or basin.
- Dampen a soft cloth or sponge: Dip a soft cloth or sponge into the cleaning solution. Ensure that the cloth or sponge is not too wet, as excess water can damage the machine’s electrical components.
- Gently wipe the exterior surfaces: Wipe the exterior surfaces of the ice machine using the damp cloth or sponge. Pay attention to areas that are prone to fingerprints, stains, or dirt buildup.
- Use a toothbrush for hard-to-reach areas: For tight corners or hard-to-reach areas, use a clean toothbrush dipped in the cleaning solution to scrub away any dirt or residue.
- Wipe down with clean water: After cleaning, rinse the exterior surfaces with clean water to remove any soap residue.
- Dry the exterior surfaces: Use a clean towel to dry the exterior surfaces of the ice machine thoroughly. This helps prevent water spots or streaks from forming.
By regularly cleaning the exterior surfaces of your ice machine, you not only maintain its visual appeal but also ensure that it remains free from dirt and grime. It’s important to note that cleaning the exterior of the machine should be done gently, avoiding any excessive force or abrasive materials that could scratch or damage the surface.
With the exterior surfaces cleaned, it’s time to move on to the next step: rinsing and drying the ice machine. This step ensures that there are no cleaning residue or moisture left in the machine before restarting it.
Read more: How To Clean VEVOR Water Distiller
Step 7: Rinse and dry the ice machine
After cleaning both the interior and exterior of your VEVOR Ice Machine, it’s important to thoroughly rinse and dry the machine to remove any cleaning residue or excess moisture. This step ensures that the ice machine is ready to be restarted and continues to function optimally. Follow these steps to rinse and dry your ice machine:
- Rinse with clean water: Use a clean sponge or cloth dampened with clean water to wipe down the interior and exterior surfaces of the ice machine. This helps to remove any remaining cleaning solution or residue.
- Check for any cleaning solution residue: Pay close attention to crevices and hard-to-reach areas to ensure that no cleaning solution is left behind. Any residue left in the machine can affect the taste and quality of the ice.
- Dry with a clean towel: Use a clean and dry towel to thoroughly dry the interior and exterior surfaces of the ice machine. Ensure that all moisture is removed, as any remaining moisture can lead to the growth of mold or mildew.
- Air dry removable parts: If you removed any parts during the cleaning process, such as the ice storage bin or water tray, allow them to air dry completely before reattaching them to the ice machine.
- Inspect for any missed spots: Take a final look at the machine to ensure all areas have been properly rinsed and dried. Double-check hard-to-reach areas to make sure they are clean and dry.
By rinsing and drying your ice machine thoroughly, you ensure that it is free from any cleaning residue and moisture, which can negatively impact the performance and hygiene of the machine. Taking the time to complete this step properly will help maintain the cleanliness and functionality of your VEVOR Ice Machine.
Now that your ice machine is rinsed and dried, it’s time to move on to the final step: plugging in and restarting the machine. This step ensures that the machine is ready to produce fresh and clean ice for your needs.
Step 8: Plug in and restart the ice machine
After completing the cleaning and drying process for your VEVOR Ice Machine, the final step is to plug in the machine and restart it. This step allows the ice machine to resume its normal operation and begin producing fresh, clean ice. Here’s how to plug in and restart your ice machine:
- Locate the power cord: Ensure that the power cord of the ice machine is easily accessible. Take note of the position of the power outlet as well.
- Plug in the ice machine: Insert the power cord into the appropriate power outlet securely. Ensure that the cord is properly connected and not loose.
- Switch on the ice machine: Locate the power switch on the ice machine and switch it on. This will initiate the startup sequence for the ice machine.
- Listen for the machine’s startup sound: As the ice machine starts up, listen for any unusual sounds or noises. It’s normal to hear the sound of the compressor and other components as they begin to operate.
- Allow the ice machine to cycle: Give the ice machine some time to cycle and reach its desired temperature. This allows it to start producing ice cubes.
- Monitor the ice production: Keep an eye on the ice machine to ensure that it is producing ice cubes correctly. Check for any abnormal behaviors or issues that may require further attention.
By following these steps, you can successfully plug in and restart your VEVOR Ice Machine after the cleaning process. It’s important to be patient and allow the machine some time to reach its optimal running condition. In no time, you’ll be able to enjoy a continuous supply of fresh and clean ice cubes.
Congratulations! You have completed the cleaning and restarting process for your VEVOR Ice Machine. Regular cleaning and maintenance will help keep your machine in optimal condition and ensure that the ice it produces remains safe and delicious. Remember to follow the manufacturer’s guidelines and recommendations for the best results.
Thank you for using this comprehensive guide. Enjoy your fresh ice!
Conclusion
Cleaning your VEVOR Ice Machine is a necessary task to maintain its performance, hygiene, and the quality of the ice it produces. By following the step-by-step cleaning process outlined in this guide, you can ensure that your ice machine remains in optimal condition and delivers clean and refreshing ice cubes.
Throughout the cleaning process, it is essential to prioritize safety precautions and use appropriate materials. By wearing gloves, safety goggles, and using approved cleaning solutions, you protect yourself and prevent any damage to the machine.
From turning off and unplugging the machine to cleaning the interior and exterior surfaces, each step plays a crucial role in eliminating dirt, mineral deposits, and bacteria. Taking the time to complete each step diligently ensures that your ice machine operates efficiently and produces ice that is safe for consumption.
Regularly cleaning your ice machine not only extends its lifespan but also ensures that the ice it produces maintains its taste and quality. Clean surfaces and components contribute to the overall performance of the machine and eliminate any potential health risks associated with contaminated ice.
By plugging in and restarting the ice machine after the cleaning process, you allow it to resume its operation and produce fresh ice. Monitoring the ice production and addressing any irregularities will help you maintain the machine’s performance over time.
Remember, while this guide provides comprehensive instructions, it is important to consult the manufacturer’s guidelines specific to your VEVOR Ice Machine model. Following their recommendations will optimize the cleaning process and ensure the longevity of your machine.
Thank you for using this guide to clean your VEVOR Ice Machine. Enjoy the continuous supply of clean, high-quality ice and the peace of mind that comes with a well-maintained ice machine!
Frequently Asked Questions about How To Clean VEVOR Ice Machine
Was this page helpful?
At Storables.com, we guarantee accurate and reliable information. Our content, validated by Expert Board Contributors, is crafted following stringent Editorial Policies. We're committed to providing you with well-researched, expert-backed insights for all your informational needs.

0 thoughts on “How To Clean VEVOR Ice Machine”