
Articles
How To Clean VEVOR Slush Machine
Modified: December 7, 2023
Discover effective tips and tricks for cleaning your VEVOR slush machine in our informative articles. Maintain its performance and longevity with proper maintenance.
(Many of the links in this article redirect to a specific reviewed product. Your purchase of these products through affiliate links helps to generate commission for Storables.com, at no extra cost. Learn more)
Introduction
Welcome to the VEVOR Slush Machine cleaning guide! If you own a VEVOR Slush Machine, it is essential to keep it clean and properly maintained to ensure its optimal performance and longevity. Regular cleaning helps remove any residue or impurities that may affect the taste and quality of your slushies. In this article, we will walk you through a step-by-step process to clean your VEVOR Slush Machine effectively.
Cleaning your VEVOR Slush Machine is a relatively simple and straightforward task. By following the instructions outlined in this guide, you can maintain cleanliness and hygiene, allowing you to serve delicious and refreshing slushies to your customers or enjoy them for yourself.
Before we dive into the cleaning process, it is important to note that safety should always be a top priority. Ensure that the machine is unplugged from the power source before starting the cleaning procedure. Additionally, take necessary precautions to prevent any injuries or accidents.
Key Takeaways:
- Regular cleaning and maintenance of your VEVOR Slush Machine is essential for optimal performance and longevity, ensuring delicious and refreshing slushies for your customers or personal enjoyment.
- Prioritize safety by following the manufacturer’s instructions, wearing protective gear, and using non-abrasive cleaning agents. Keep children and pets away during the cleaning process for a hassle-free experience.
Read more: How To Operate A VEVOR Slush Machine
Safety Precautions
Before you begin cleaning your VEVOR Slush Machine, it’s important to take certain safety precautions to ensure your well-being and the proper functioning of the machine.
1. Unplug the Machine: Always make sure the slush machine is unplugged from the power source before starting the cleaning process. This will help avoid any electrical accidents or damage to the machine.
2. Wear Protective Gear: When cleaning the slush machine, it is recommended to wear protective gear such as gloves and safety goggles. This will help protect your hands and eyes from any cleaning agents or debris.
3. Avoid Water Contact with Electrical Parts: Take extra care to prevent water from coming into contact with electrical parts of the machine. Keep the electrical components dry to avoid any electrical malfunctions or short circuits.
4. Use Non-Abrasive Cleaning Agents: Make sure to use non-abrasive and food-safe cleaning agents. Avoid using harsh chemicals or cleaners that may damage the machine or contaminate the slush mixture.
5. Follow Manufacturer’s Instructions: Refer to the VEVOR Slush Machine user manual for specific cleaning instructions provided by the manufacturer. Following these instructions will help you clean and maintain your machine safely and effectively.
6. Keep Children and Pets Away: During the cleaning process, it is advisable to keep children and pets away from the area to prevent any accidents or injuries. Cleaning agents and disassembled machine parts can pose a risk if mishandled.
By following these safety precautions, you can ensure a safe and hassle-free cleaning process for your VEVOR Slush Machine. Now that we have taken the necessary safety measures, let’s move on to the materials required for the cleaning process.
Required Materials
Before you begin cleaning your VEVOR Slush Machine, gather the following materials:
- Warm Water: You will need warm water to rinse and clean the components of the slush machine.
- Dish Soap: Choose a mild dish soap that is safe to use on food-contact surfaces. This will help in removing any oily residue or build-up.
- Soft Cleaning Brushes: Use soft-bristled brushes to scrub the components gently. Avoid using abrasive brushes that could scratch or damage the machine.
- Clean Cloth or Sponge: Have a clean cloth or sponge handy to wipe down the exterior of the slush machine.
- Sanitizing Solution: Prepare a sanitizing solution by mixing a food-safe sanitizer with water, as recommended by the manufacturer.
- Towels or Paper Towels: Keep some towels or paper towels nearby to dry off the components and the machine after cleaning.
By gathering these materials beforehand, you will have everything you need to thoroughly clean your VEVOR Slush Machine. With the required materials at your disposal, let’s proceed to the step-by-step cleaning process.
Step 1: Preparation
Before diving into the cleaning process, it’s important to properly prepare your VEVOR Slush Machine. Follow these steps for effective preparation:
- Unplug the Machine: Ensure that the slush machine is unplugged from the power source before starting the cleaning process. Safety should always be the top priority.
- Remove the Slush Mixture: If there is any slush mixture remaining in the machine, empty it out completely. Follow the manufacturer’s instructions on how to properly dispose of the slush mixture.
- Allow the Machine to Thaw: If the slush mixture has solidified, allow the machine to thaw and reach room temperature before proceeding with the cleaning process. This will make it easier to clean and remove any residue.
Once you have completed these preliminary steps, you’re ready to move on to the next stage of cleaning – emptying the slush machine. This ensures that all excess slush mixture is removed, providing a fresh start for the cleaning process.
Step 2: Emptying the Slush Machine
Emptying the slush machine is an important step in the cleaning process to ensure that all remnants of the slush mixture are removed. Follow these steps to effectively empty your VEVOR Slush Machine:
- Switch Off the Machine: Ensure that the slush machine is switched off and unplugged from the power source before starting the emptying process.
- Remove the Drip Tray: The drip tray is usually located at the bottom of the machine. Gently detach it and empty any liquid or slush mixture accumulated in it. Clean the drip tray separately with warm soapy water, then rinse and dry it thoroughly.
- Open the Faucet or Tap: Locate the faucet or tap on the front of the machine, typically near the bottom. Turn it on and let the remaining slush mixture drain out into a suitable container. If the mixture is hardened or stuck, you may need to gently pour warm water over it to help loosen it and facilitate drainage.
- Empty the Slush Mixture: Once the faucet is completely drained, carefully remove the container and dispose of the slush mixture properly.
- Inspect the Interior: Use a flashlight or examine the interior of the machine to ensure that no slush residue is left behind. If you notice any remaining slush, gently wipe it away with a clean cloth or sponge.
By following these steps, you have successfully emptied your VEVOR Slush Machine, removing any remnants of the slush mixture. This provides a clean canvas for the next stage of the cleaning process, which involves disassembling and cleaning the various components of the machine.
Read more: How To Clean VEVOR Water Distiller
Step 3: Disassembling and Cleaning the Components
Disassembling and cleaning the components of your VEVOR Slush Machine is crucial for a thorough and effective cleaning. Follow these steps to disassemble and clean the different parts:
- Refer to the User Manual: Consult the user manual provided with your VEVOR Slush Machine to identify the specific components that can be disassembled for cleaning, as the design may vary slightly.
- Remove the Mixing Blade: Start by removing the mixing blade, which is responsible for blending the slush mixture. Unscrew or detach it according to the instructions provided in the user manual.
- Detach the Dispensing Spigot: Depending on the model of your slush machine, you may have a dispensing spigot that can be detached. Carefully unscrew or release it from the machine.
- Disassemble Other Removable Components: Check if there are any other removable components, such as the slush tanks or covers. Follow the user manual instructions to disassemble them properly.
- Clean the Components: Place the disassembled components in a sink or basin filled with warm, soapy water. Use a soft cleaning brush or cloth to clean each component thoroughly, paying attention to any residue or build-up. Rinse the components with clean water to remove any soap residue.
- Dry the Components: Once cleaned, dry the components completely using a clean towel or allow them to air dry. Ensure that there is no moisture left on the components before reassembling them.
By disassembling and cleaning the components, you can effectively remove any debris or residue that may have accumulated while the slush machine was in use. Now that the components are clean, let’s proceed to the next step – cleaning the interior of the machine itself.
To clean a VEVOR slush machine, mix warm water with a mild detergent and run it through the machine. Then, rinse with clean water and wipe down the exterior with a damp cloth.
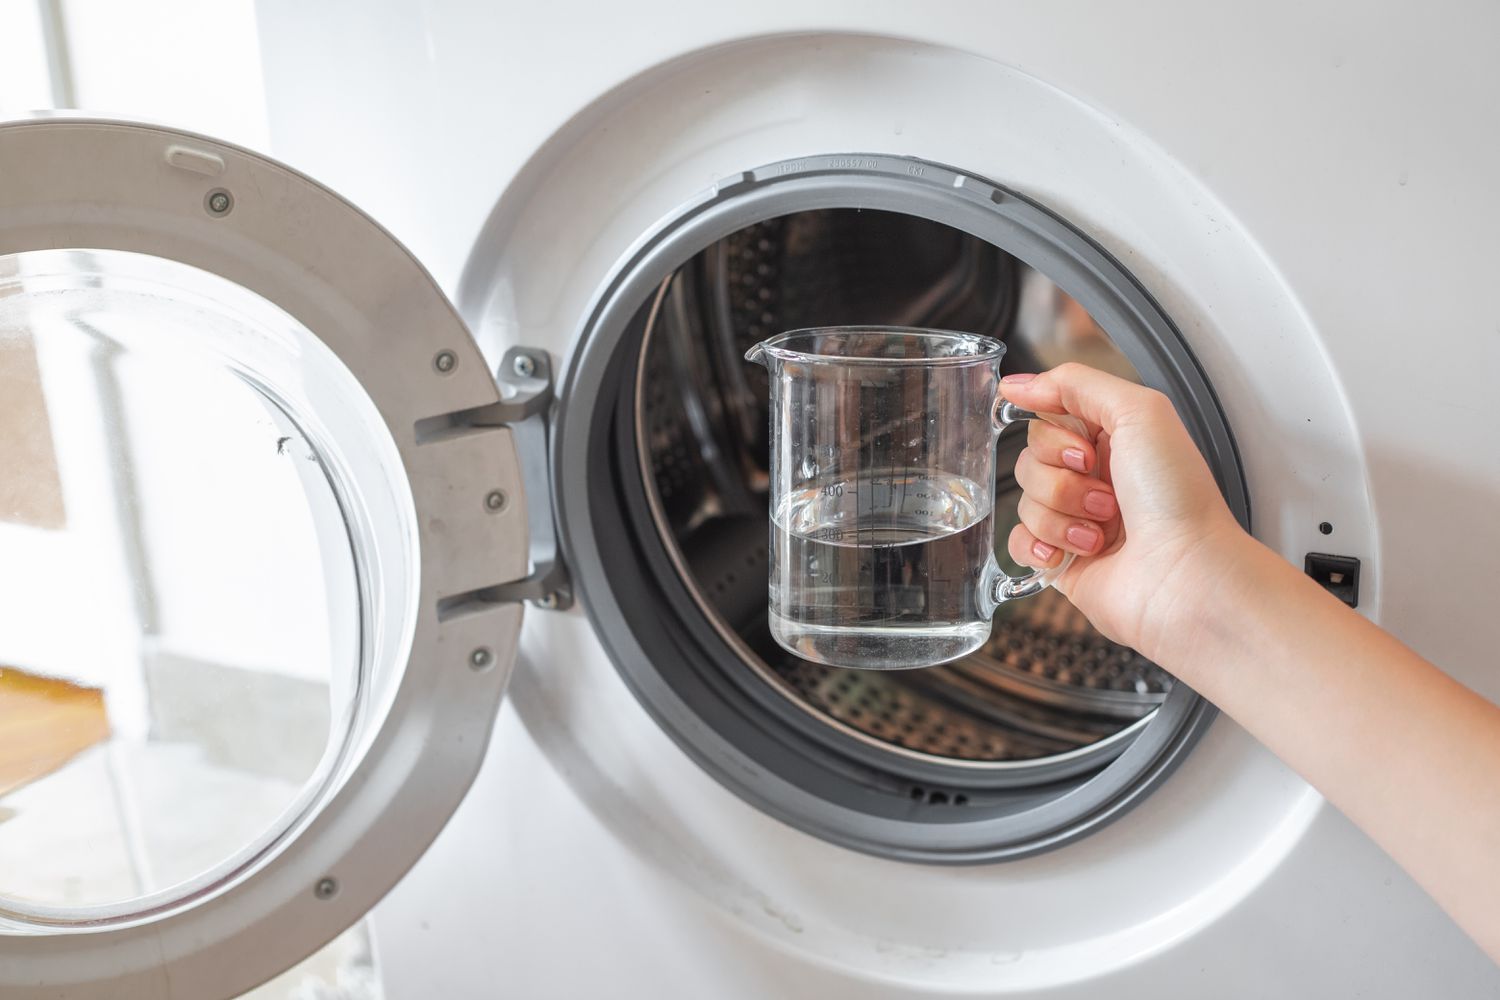
Step 4: Cleaning the Interior of the Machine
Now that the components of your VEVOR Slush Machine are clean, it’s time to focus on cleaning the interior of the machine itself. Follow these steps to ensure a thorough cleaning:
- Prepare a Cleaning Solution: Fill a container with warm water and add a small amount of mild dish soap. Mix the solution well to create a soapy mixture.
- Wipe Down the Interior: Dip a clean cloth or sponge into the cleaning solution and wring out any excess water. Gently wipe down the interior surfaces of the slush machine, paying close attention to any stains, residue, or build-up. Ensure that you reach all corners and crevices.
- Scrub if Necessary: For tougher stains or stubborn residue, use a soft-bristled brush dipped in the cleaning solution. Scrub the affected areas gently, being careful not to scratch or damage the interior surfaces.
- Rinse with Clean Water: Once you have thoroughly cleaned the interior of the slush machine, rinse it with clean water to remove any soap residue. Use a clean cloth or sponge dampened with water to wipe away any remaining cleaning solution.
- Dry the Interior: Use a clean towel to dry the interior of the machine. Ensure that all moisture is removed before moving on to the next step.
By following these steps, you can effectively clean the interior of your VEVOR Slush Machine and remove any dirt, stains, or residue that may have accumulated over time. With the interior now sparkling clean, let’s move on to the next step – cleaning the exterior of the machine.
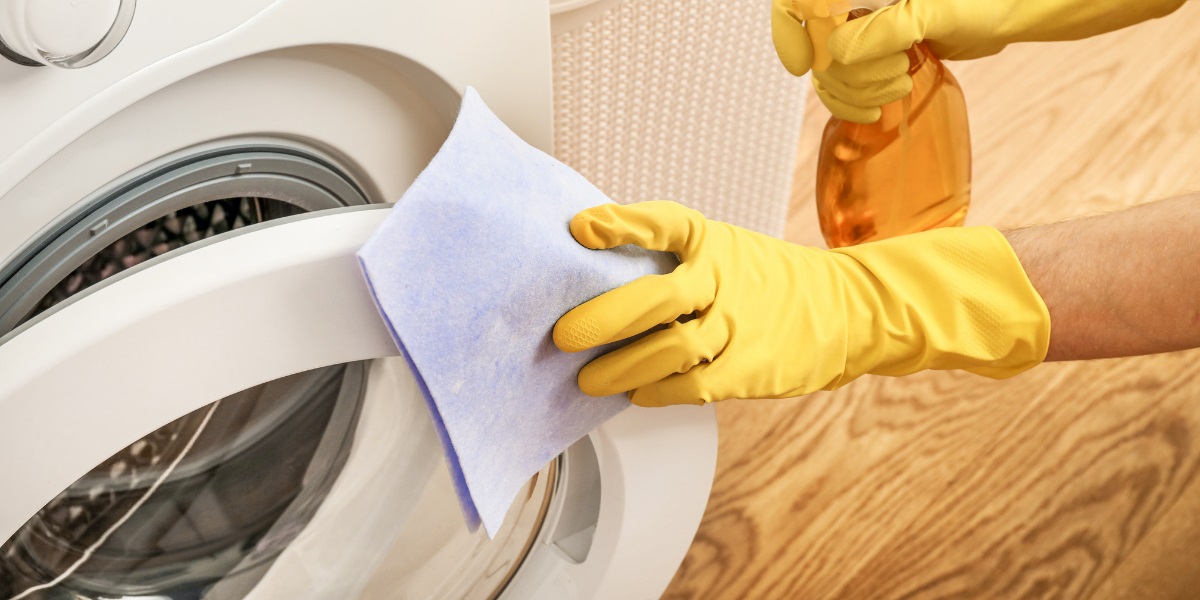
Step 5: Cleaning the Exterior of the Machine
Now that the interior of your VEVOR Slush Machine is clean, it’s time to focus on cleaning the exterior. Follow these steps to give your machine a fresh and polished look:
- Dampen a Clean Cloth or Sponge: Start by dampening a clean cloth or sponge with warm water.
- Wipe Down the Exterior: Gently wipe down the exterior surfaces of the slush machine, including the sides, front, top, and back. Pay attention to any visible dirt, stains, or spills.
- Use Mild Soap if Needed: If there are stubborn stains or sticky residue on the exterior, you can use a small amount of mild dish soap on the damp cloth or sponge. Ensure that the cleaning agent is safe for food-contact surfaces.
- Pay Attention to Buttons and Controls: Take extra care while cleaning the buttons, switches, and controls on the front of the machine. Use a cotton swab or a soft-bristled brush to clean any hard-to-reach areas.
- Wipe Dry: Once you have wiped down the exterior surfaces, use a dry cloth to remove any excess moisture and ensure a thorough drying.
By following these steps, you can effectively clean the exterior of your VEVOR Slush Machine and remove any dirt, stains, or residue that may have accumulated. With the exterior now looking pristine, let’s move on to the next step – reassembling the components of the machine.
Step 6: Reassembling the Components
Now that you have successfully cleaned both the interior and exterior of your VEVOR Slush Machine, it’s time to reassemble the components. Follow these steps to ensure proper reassembly:
- Refer to the User Manual: Consult the user manual provided with your VEVOR Slush Machine for specific instructions on how to reassemble the different components. Make sure to follow the recommended sequence and guidelines.
- Attach the Components: Start by attaching the cleaned components back into their respective positions. This may include the mixing blade, dispensing spigot, slush tanks, or covers. Ensure that each component fits securely and is properly aligned.
- Tighten Fasteners: If any of the components require fasteners, such as screws or brackets, make sure to tighten them securely. Take care not to overtighten or strip the fasteners.
- Ensure Proper Fit: Double-check that all components are properly assembled and positioned. This will help ensure the smooth operation of the slush machine.
By following the user manual instructions and reassembling the components carefully, you can ensure that your VEVOR Slush Machine is ready for use. With the components securely in place, let’s move on to the final step – refilling the slush machine with a fresh mixture.
Read more: How To Clean VEVOR Ice Machine
Step 7: Refilling the Slush Machine
Now that you have completed the cleaning and reassembly process for your VEVOR Slush Machine, it’s time to refill it with a fresh slush mixture. Follow these steps to ensure a successful refill:
- Prepare the Slush Mixture: Depending on your preference and the type of slush you want to serve, prepare the slush mixture according to the recipe or instructions provided. You can use pre-made slush mix or create your own customized flavors.
- Pour the Slush Mixture: Carefully pour the prepared slush mixture into the slush tanks of the machine. Be cautious not to overfill the tanks, as it may result in spillage or difficulty in dispensing.
- Switch On the Machine: Plug in the slush machine and switch it on. Allow the machine to start freezing the slush mixture. This process may take some time, so be patient.
- Adjust Consistency if Needed: Once the slush mixture is frozen, you can adjust the consistency to your desired level using the controls provided on the machine. Follow the instructions in the user manual to make the necessary adjustments.
- Test the Dispensing: Test the dispensing functionality to ensure proper flow and consistency of the slush. Adjust any settings as needed to achieve the desired result.
By following these steps, you can refill your VEVOR Slush Machine with a fresh slush mixture, ready to serve delightful and refreshing slushies. Remember to clean and refill the slush machine regularly to maintain its optimal performance and provide the best quality slushies to your customers or enjoy them for yourself.
With the slush machine cleaned, assembled, and refilled, you are now ready to enjoy the deliciousness of chilled slushies. We hope this guide has been helpful in assisting you with the cleaning process for your VEVOR Slush Machine. Cheers to tasty and refreshing slushies!
Conclusion
Cleaning and maintaining your VEVOR Slush Machine is key to ensuring its optimal performance and the production of high-quality slushies. Regular cleaning not only helps to remove residue and impurities but also extends the lifespan of the machine. By following the step-by-step cleaning process outlined in this guide, you can keep your slush machine in top condition.
Remember to prioritize safety by unplugging the machine before starting any cleaning procedures. Wear protective gear and avoid contact between water and electrical parts. Use non-abrasive cleaning agents and follow the manufacturer’s instructions to ensure a safe and effective cleaning process.
Start with the preparation steps, empty the slush machine, disassemble and clean the components, and thoroughly clean both the interior and exterior of the machine. Then, reassemble the components carefully, ensuring a proper fit for optimal functionality. Finally, refill the slush machine with a fresh slush mixture and adjust the consistency to your liking.
By following these steps and maintaining regular cleaning and maintenance, you can enjoy delicious and refreshing slushies with your VEVOR Slush Machine for years to come.
Remember, a clean machine not only improves the taste and quality of your slushies but also enhances the overall experience for customers or yourself. So, take the time to clean your VEVOR Slush Machine regularly and enjoy the satisfaction of serving or savoring the perfect slushy every time.
Frequently Asked Questions about How To Clean VEVOR Slush Machine
Was this page helpful?
At Storables.com, we guarantee accurate and reliable information. Our content, validated by Expert Board Contributors, is crafted following stringent Editorial Policies. We're committed to providing you with well-researched, expert-backed insights for all your informational needs.


0 thoughts on “How To Clean VEVOR Slush Machine”