
Articles
How To Clean Vintage Wooden Tool Chest
Modified: February 22, 2024
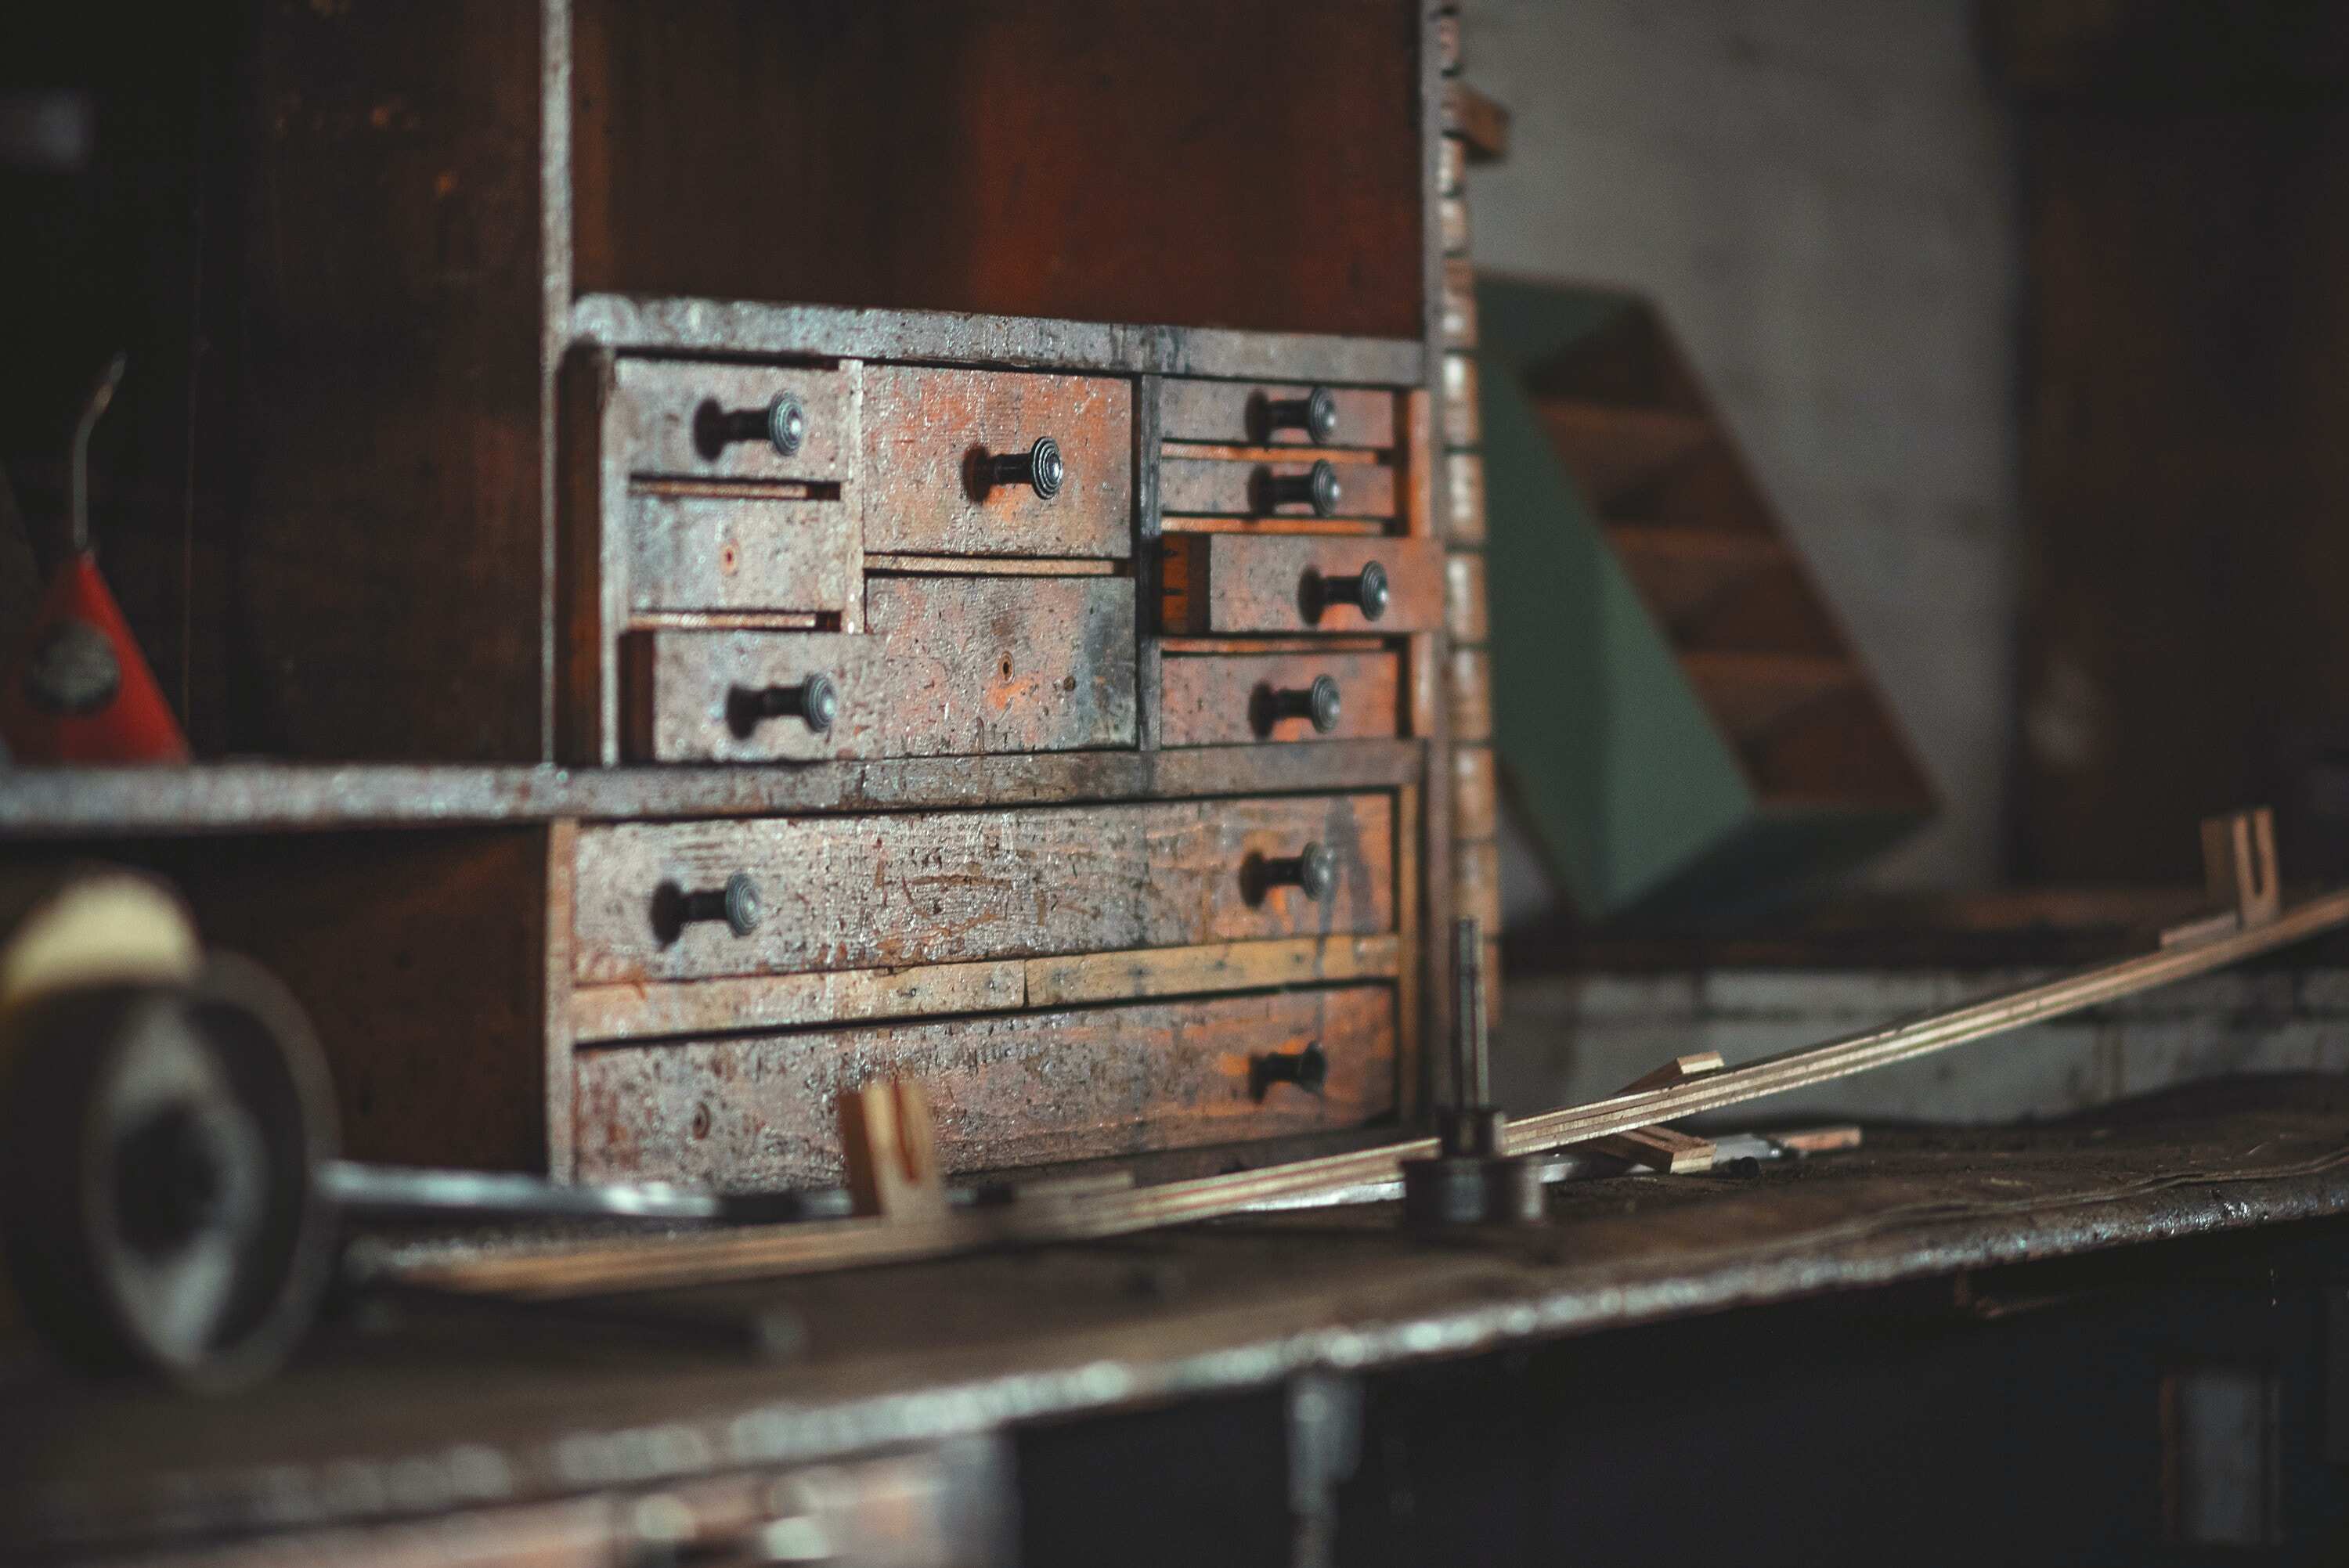
Learn how to clean and restore a vintage wooden tool chest with these helpful articles. Protect and preserve your cherished piece of history today!
(Many of the links in this article redirect to a specific reviewed product. Your purchase of these products through affiliate links helps to generate commission for Storables.com, at no extra cost. Learn more)
Introduction
Welcome to the world of vintage wooden tool chests! These beautiful and practical pieces of furniture have a rich history, often passed down through generations. However, over time, they can accumulate dust, dirt, and even stains, requiring some tender love and care to restore their original charm.
In this article, we will guide you through the process of cleaning a vintage wooden tool chest, step by step. Whether you are a collector, a DIY enthusiast, or simply treasure the sentimental value of your tool chest, this guide will help you bring it back to its former glory.
Before we delve into the cleaning process, it’s important to note that vintage wooden tool chests vary in construction, materials, and finishes. Therefore, it’s crucial to assess the condition of your specific tool chest and choose the appropriate cleaning products and techniques for best results. Let’s get started!
Key Takeaways:
- Restoring a vintage wooden tool chest involves a meticulous process, from emptying and cleaning the interior to treating stains and applying protective coatings. It’s a rewarding journey that preserves history and functionality.
- By carefully assessing the chest’s condition and using appropriate techniques, you can bring new life to a vintage tool chest while maintaining its authenticity. The process combines modern restoration methods with respect for historical value.
Read more: How Build A Wooden Tool Chest
Step 1: Emptying the Tool Chest
Before you can begin the cleaning process, it’s essential to remove all tools, equipment, and miscellaneous items from your vintage wooden tool chest. Emptying the chest will make it easier to clean and ensure that you don’t accidentally damage any valuable or delicate items during the process.
Start by carefully removing each tool and placing them in a safe and organized manner. Take this opportunity to inspect each tool for any signs of rust, damage, or necessary repairs. If you come across any rusty or dysfunctional tools, set them aside for later inspection and potential restoration.
If there are any loose screws, nails, or small objects, use a small brush or vacuum cleaner to remove them from the chest. Be thorough in your cleaning, ensuring that you remove all debris and foreign objects from every corner and crevice of the tool chest.
Once you have emptied and inspected the contents of the tool chest, set them aside in a safe area or on a clean surface. Now you can move on to the next step of the cleaning process with a clear workspace.
Step 2: Removing Dust and Debris
Now that your vintage wooden tool chest is empty, it’s time to tackle the accumulated dust and debris. Over time, these particles can settle on the surface and in the nooks and crannies of the chest, diminishing its appearance and potentially causing damage.
Start by using a soft-bristled brush or a lint-free cloth to gently remove the loose dust from the exterior of the tool chest. Work your way from top to bottom, making sure to pay attention to corners and edges. Be careful not to apply too much pressure, as it may scratch or dent the wood.
To reach into the tiny gaps and corners, you can use a small paintbrush or a toothbrush. This will help dislodge any stubborn dust particles that are hiding in hard-to-reach areas. Make sure to brush in one direction to avoid pushing the dust further into the chest.
Next, thoroughly clean the interior of the tool chest. Use a vacuum cleaner with a brush attachment to suck up any loose debris, ensuring that you reach into all corners and compartments. If your tool chest has removable trays or dividers, take them out and clean them separately.
For cases where there is heavy accumulation of dust and dirt, a damp cloth can be used to wipe down the surfaces gently. However, be cautious to avoid using excessive moisture, as it can lead to warping or staining of the wood.
Once you have completed the dust removal process, take a moment to inspect the chest for any signs of damage, such as cracks, splintered wood, or loose joints. Making note of any repairs needed will help ensure the longevity of your vintage tool chest.
With the dust and loose debris now removed, your vintage wooden tool chest is ready for the next step of the cleaning process.
Step 3: Cleaning the Exterior
With the dust and debris cleared, it’s time to give the exterior of your vintage wooden tool chest a thorough cleaning. This step will help remove any surface stains, grime, or discoloration, revitalizing the chest’s appearance.
Start by preparing a solution of warm water and mild dish soap in a bucket or basin. Make sure the soap is gentle and does not contain any harsh chemicals that could damage the wood finish. Avoid using excessive water, as it can soak into the wood and cause swelling or warping.
Dip a soft cloth or sponge into the soapy water solution, ensuring that it is damp rather than dripping wet. Gently wring out any excess moisture to prevent water from seeping into the wood.
Starting from the top of the chest, wipe the cloth or sponge along the grain of the wood in smooth, even strokes. Pay extra attention to any areas that have stains or spots, applying slightly more pressure if necessary. Avoid scrubbing vigorously, as this can potentially damage the wood surface.
If you encounter stubborn stains or marks that are not easily removed with the soapy water solution, you can try using a wood cleaner specifically formulated for vintage or antique furniture. Follow the manufacturer’s instructions carefully and test the cleaner on a small, inconspicuous area of the chest before applying it to the entire surface.
Once you have cleaned the entire exterior of the chest, rinse the cloth or sponge thoroughly to remove any soap residue. Wipe down the chest once again, this time with clean water, to remove any remaining soap. Dry the wood immediately using a soft, absorbent cloth to prevent moisture from penetrating the surface.
After cleaning, take a moment to assess the condition of the wood. If the chest appears dry or lacks its original luster, you may consider applying a wood conditioner or polish to enhance its appearance and protect it from future damage.
Now that the exterior of your vintage wooden tool chest is clean and refreshed, it’s time to focus on tackling any stains or marks that may have marred its beauty.
Step 4: Treating Any Stains or Marks
Even with regular care, vintage wooden tool chests can develop stains or marks over time. These blemishes can detract from the chest’s overall aesthetic appeal. In this step, we will address how to treat common stains and marks to restore the beauty of your vintage tool chest.
Before you begin treating the stains, it’s essential to identify the type of stain you are dealing with. Some common stains include watermarks, ink stains, grease marks, or discoloration from spilled chemicals. Each type of stain may require a different approach for effective removal.
Watermarks: Watermarks are usually caused by moisture accumulating on the surface of the wood. To remove watermarks, gently rub the affected area with a cloth dampened with mineral spirits or a mixture of equal parts vinegar and olive oil. Be sure to follow the grain of the wood and pat dry immediately.
Ink Stains: Ink stains can be challenging to remove from wood surfaces. To tackle ink stains, apply a small amount of rubbing alcohol or hydrogen peroxide to a soft cloth and gently dab the ink-stained area. Be careful not to rub vigorously, as this may spread the ink further. Rinse the area with clean water and dry it thoroughly.
Grease Marks: Grease marks are a common occurrence in tool chests, especially if they have been used for storing oily tools. To remove grease marks, sprinkle baking soda or cornstarch over the affected area and let it sit for a few minutes to absorb the grease. Gently brush off the powder and wipe the area clean with a cloth dampened with mild dish soap and warm water.
Chemical Discoloration: If your vintage tool chest has been exposed to chemicals that have caused discoloration, such as bleach or household cleaners, it may require more intensive treatment. In such cases, it is advisable to consult a professional furniture restorer.
Remember, it’s always best to test any cleaning solution or stain treatment on a small, inconspicuous area of the chest before applying it to the entire surface. This will help ensure that the treatment is effective and doesn’t cause any damage.
Once you have treated the stains and marks on the vintage wooden tool chest, take a moment to admire the results. With the blemishes addressed, it’s time to turn our attention to cleaning the interior of the chest.
To clean a vintage wooden tool chest, start by removing any dust and debris with a soft brush or vacuum. Then, use a mild wood cleaner and a soft cloth to gently wipe down the surface. Finally, apply a wood polish or wax to restore its luster and protect the wood.
Read more: How To Clean Tool Chest
Step 5: Cleaning the Interior
Now that the exterior of your vintage wooden tool chest is looking clean and refreshed, it’s time to focus on cleaning the interior. Over time, the interior of the chest can accumulate dust, dirt, and even musty odors. Cleaning the interior will not only improve its appearance but also ensure that your tools are stored in a clean and hygienic environment.
Begin by vacuuming the interior of the chest with a brush attachment to remove any loose debris or dust. Pay close attention to the corners, compartments, and any hidden crevices. This will help remove the majority of the surface dirt and prepare the chest for a deeper clean.
Next, prepare a mixture of warm water and mild dish soap in a bucket or basin. Dip a clean cloth or sponge into the soapy water, ensuring that it is damp but not soaking wet. Wring out any excess moisture before starting the cleaning process.
Gently wipe down the interior surfaces of the chest, including the compartments, using the damp cloth or sponge. Follow the grain of the wood in smooth, even strokes. This will help remove any remaining dust, dirt, or stains that may have adhered to the wood over time.
If you come across particularly stubborn stains or odors, you can create a solution of equal parts water and vinegar or a mixture of baking soda and warm water. Apply a small amount of the solution to the stain or affected area and gently scrub with a soft brush or sponge. Rinse the area with clean water and dry it thoroughly.
Once you have finished cleaning the interior of the vintage tool chest, leave it open to air out and dry completely before proceeding to the next step. This will help eliminate any lingering moisture or odors.
Remember, it’s essential to be gentle when cleaning the interior of the chest to avoid damaging any delicate components or finishes. Take your time and be thorough in your cleaning process, ensuring that no areas are left untouched.
With the interior of the tool chest now clean and fresh, it’s time to focus on restoring the wood finish.
Step 6: Restoring the Wood Finish
The wood finish of your vintage wooden tool chest may have lost its luster over time, but don’t worry – with the right techniques, you can restore its natural beauty and bring out the grain pattern. Restoring the wood finish will not only enhance the visual appeal of the chest but also protect the wood from further damage.
Before starting the process, it’s important to assess the current condition of the wood. If the finish is severely damaged or peeling, it may require professional restoration. However, if the damage is minimal or confined to small areas, you can undertake the restoration yourself.
Begin by thoroughly cleaning the wood surface with a mild wood cleaner or a mixture of warm water and vinegar. This will remove any residual dirt or grime and prepare the surface for restoration. Ensure that the wood is completely dry before proceeding.
If the wood finish is scratched or scuffed, you can use a fine-grit sandpaper to gently sand the affected areas. Sanding will help smooth out the surface and prepare it for the application of a new finish. Remember to sand in the direction of the wood grain to avoid causing additional damage.
Once the surface is smooth, you have the option to apply a wood stain to enhance the color and richness of the wood. Choose a stain that complements the existing wood tone or matches your desired finish. Apply the stain according to the manufacturer’s instructions, using a brush or cloth, and wipe off any excess with a clean cloth.
If you prefer to maintain the natural wood color, you can skip the staining step and proceed directly to applying a wood finish. Choose a finish that is suitable for your vintage wooden tool chest, such as varnish, shellac, or wax. Apply the finish in thin, even coats, following the manufacturer’s instructions. Allow each coat to dry completely before applying the next.
If you are uncertain about the type of finish to use or the appropriate application technique, it may be helpful to consult a professional or conduct thorough research to ensure optimal results.
Once you have completed the restoration process, take a moment to admire the renewed beauty of your vintage wooden tool chest. The restored wood finish not only adds a touch of elegance but also provides protection against moisture, stains, and general wear and tear.
With the wood finish restored, it’s time to give your chest an added layer of protection by applying a suitable coating.
Step 7: Applying a Protective Coating
To ensure that your restored vintage wooden tool chest remains in optimal condition for years to come, it is crucial to apply a protective coating. The protective coating will act as a barrier, safeguarding the wood from moisture, scratches, and other potential damage.
Before applying the protective coating, make sure that the surface is clean and free of any dust or debris. You can lightly wipe down the chest with a clean, dry cloth to remove any lingering particles.
There are several options for protective coatings, each with its own advantages and application methods. Here are a few commonly used coatings:
- Varnish: Varnish provides a durable and long-lasting protective layer. It is available in different finishes, such as gloss, matte, or satin. Apply the varnish evenly using a brush or cloth, following the manufacturer’s instructions. Allow the varnish to dry completely between coats.
- Shellac: Shellac produces a warm and glossy finish. It is easy to apply and dries quickly. Using a brush or cloth, apply thin and even coats of shellac, allowing each coat to dry before applying the next. Multiple coats may be necessary for a smooth and protective finish.
- Wax: Wax provides a soft sheen and a smooth touch. Apply the wax using a clean cloth or brush in a circular motion, following the direction of the wood grain. Allow the wax to dry, then buff the surface gently to achieve a lustrous finish.
When applying the protective coating, ensure that you cover all exposed surfaces, including the sides, top, and bottom of the tool chest. Pay particular attention to any intricate details or carvings, ensuring that the coating penetrates all the nooks and crannies.
Remember to follow the specific instructions provided by the manufacturer for the chosen protective coating. This will ensure the best results and longevity of the coating.
After applying the protective coating, allow it to dry completely according to the manufacturer’s recommendations. This drying period will allow the coating to harden and form a strong protective layer.
While a protective coating will help shield your vintage wooden tool chest, it is important to regularly inspect and maintain the coating. If you notice any signs of wear or damage in the future, consider reapplying the protective coating to maintain its effectiveness.
With the protective coating applied and dried, you are now ready to reassemble your vintage wooden tool chest and bring it back to its functional glory.
Step 8: Reassembling the Tool Chest
Now that you’ve put so much effort into cleaning, restoring, and protecting your vintage wooden tool chest, it’s time to reassemble it. Properly reassembling the tool chest will ensure that everything fits back together snugly and that your tools are organized and ready for use.
Start by carefully placing the trays, dividers, or any other removable components back into their designated slots or compartments. Take your time to ensure that they are properly aligned and secure.
Next, refer to any reference photos or diagrams you may have taken prior to disassembling the tool chest. This will help you remember the original layout and order of the tools and equipment. Gently place each tool back into its appropriate space, taking care to handle them with respect and avoid any potential damage or injuries.
Consider organizing your tools in a logical and practical manner that suits your needs. You can group similar tools together or arrange them according to their frequency of use. The goal is to create an organized and efficient tool storage system.
As you reassemble the tool chest, take this opportunity to inspect each tool and equipment once again. Check for any signs of damage or wear that may require repair or replacement. It’s important to have fully functional tools in your tool chest for efficient and effective use.
Once you have placed all the tools back in the chest, close the lid gently. Ensure that it closes securely and that there is no interference or obstruction that may cause damage to the contents or the chest itself.
Finally, take a step back and appreciate your reassembled vintage wooden tool chest. Admire the hard work you’ve put into restoring and maintaining this piece of history and functionality.
Remember to periodically check and clean your tool chest to maintain its cleanliness and prolong its lifespan. Regular maintenance and care will ensure that your vintage wooden tool chest remains a cherished and functional piece for years to come.
Congratulations! You have successfully completed the process of cleaning, restoring, and reassembling your vintage wooden tool chest. Enjoy the satisfaction of a job well done and the knowledge that your tools are securely stored in a beautiful and well-maintained chest.
Happy woodworking!
Read more: How To Clean Tool Box
Conclusion
Cleaning and restoring a vintage wooden tool chest is a rewarding process that allows you to bring new life to a piece of history while preserving its functionality. By following the steps outlined in this guide, you can ensure that your tool chest remains clean, beautiful, and protected for years to come.
From emptying the chest and removing dust and debris to treating stains and marks, cleaning the interior, restoring the wood finish, applying a protective coating, and finally reassembling the chest, each step plays a vital role in the overall restoration process.
Remember, proper research and assessment of your specific tool chest’s condition are important to ensure that you use the appropriate techniques and products. Take your time, be patient, and pay attention to every detail to achieve the best results.
Throughout the process, it’s important to strike a balance between preserving the vintage charm and functionality of your tool chest and incorporating modern cleaning and restoration techniques. The goal is to enhance the chest’s appearance while maintaining its authenticity and historical value.
By incorporating a protective coating and regularly maintaining the chest, you can ensure its long-term durability and enjoy the pleasure of owning and using an impeccably restored vintage wooden tool chest.
Whether you are a collector, a woodworking enthusiast, or someone who appreciates the beauty of vintage tools and furniture, the journey of restoring a vintage wooden tool chest can be truly fulfilling. Not only will your tool chest bring practicality and organization into your workshop, but it will also serve as a beautiful and functional piece of history.
So, get ready to roll up your sleeves, gather your cleaning supplies, and embark on a journey of transforming your vintage wooden tool chest into a magnificent statement piece that showcases your passion for craftsmanship and the art of restoration.
Happy restoring!
Frequently Asked Questions about How To Clean Vintage Wooden Tool Chest
Was this page helpful?
At Storables.com, we guarantee accurate and reliable information. Our content, validated by Expert Board Contributors, is crafted following stringent Editorial Policies. We're committed to providing you with well-researched, expert-backed insights for all your informational needs.






0 thoughts on “How To Clean Vintage Wooden Tool Chest”