
Articles
How To Connect A Dimmer Switch In UK
Modified: October 18, 2024
Learn how to connect a dimmer switch in the UK with our informative articles. Simplify your lighting control and create the perfect ambiance in your home.
(Many of the links in this article redirect to a specific reviewed product. Your purchase of these products through affiliate links helps to generate commission for Storables.com, at no extra cost. Learn more)
Introduction
A dimmer switch is a great addition to any home as it allows you to adjust the brightness levels of your lights. It not only creates a cozy and inviting atmosphere but also helps save energy by reducing the amount of electricity being used. In the UK, connecting a dimmer switch follows specific guidelines to ensure safety and proper installation.
In this article, we will guide you through the process of connecting a dimmer switch in the UK. Before we begin, it’s important to note that electrical work should be carried out by a qualified professional whenever possible. However, if you have experience working with electrical systems and feel confident in handling this project, you can follow these steps to install a dimmer switch.
To ensure the success of your dimmer switch installation, it’s important to understand the different aspects involved, such as safety precautions, required tools, and step-by-step instructions for connecting the dimmer switch. Let’s dive in and explore each of these aspects in detail.
Key Takeaways:
- Installing a dimmer switch in the UK not only enhances ambiance and saves energy but also requires thorough understanding, adherence to safety precautions, and proper tools for successful installation.
- Prioritize safety, follow step-by-step instructions, and consult a professional if in doubt to enjoy the flexibility and energy-saving benefits of a dimmer switch in your UK home.
Read more: What Is A Dimmer Switch
Understanding Dimmer Switches
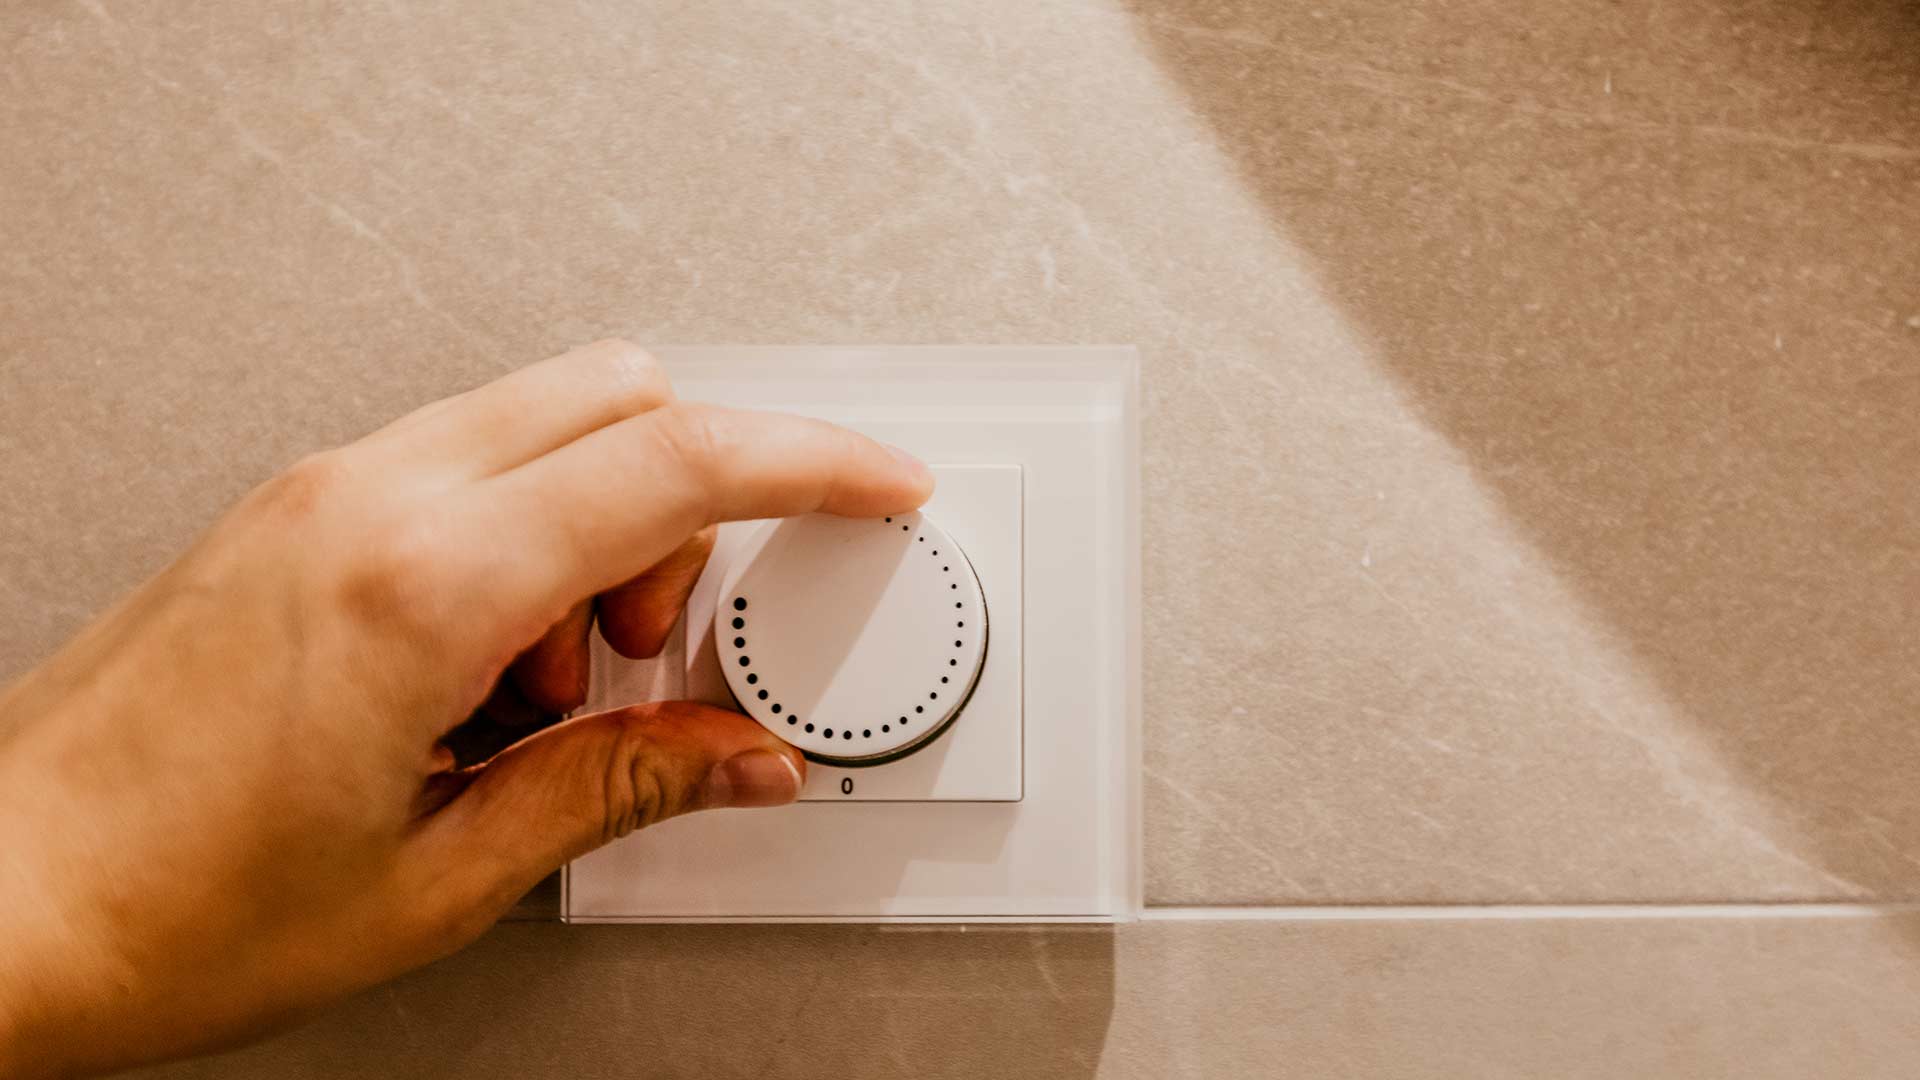
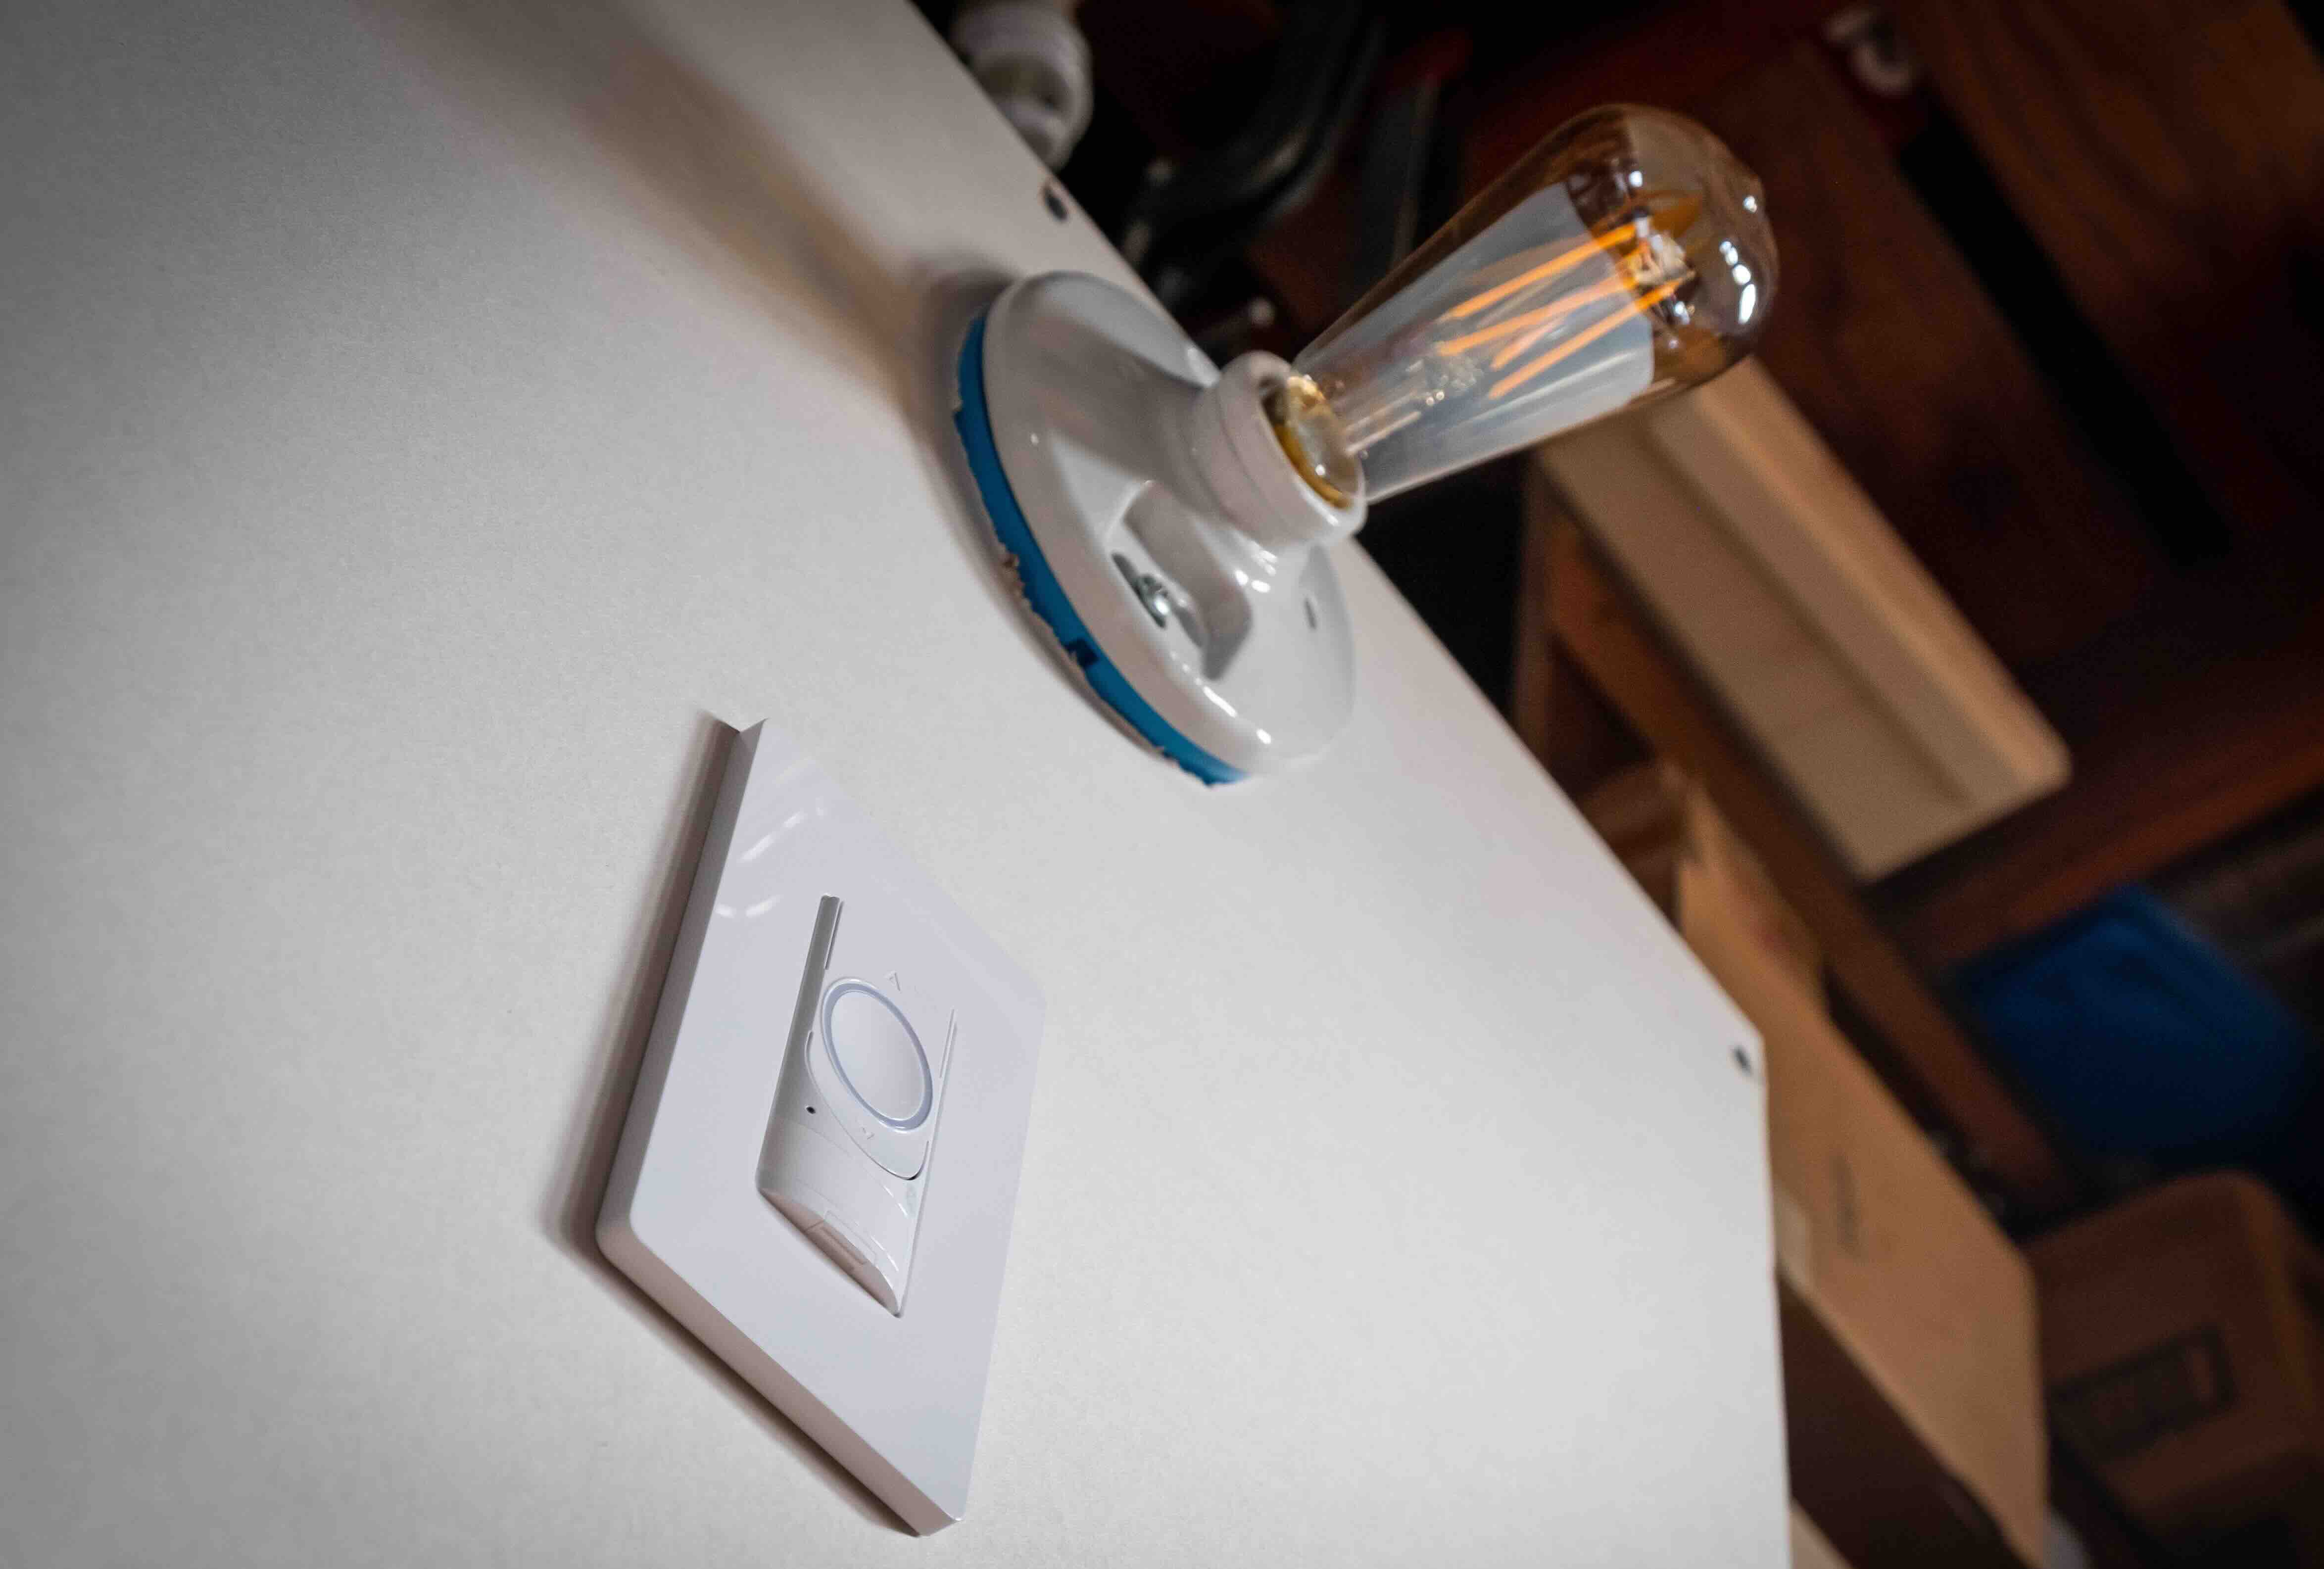
Before we begin with the installation process, it is essential to have a clear understanding of what a dimmer switch is and how it works. A dimmer switch is a device that allows you to adjust the intensity of the light produced by your lighting fixtures. Instead of simply turning the light on or off, a dimmer switch gives you the ability to control the brightness levels.
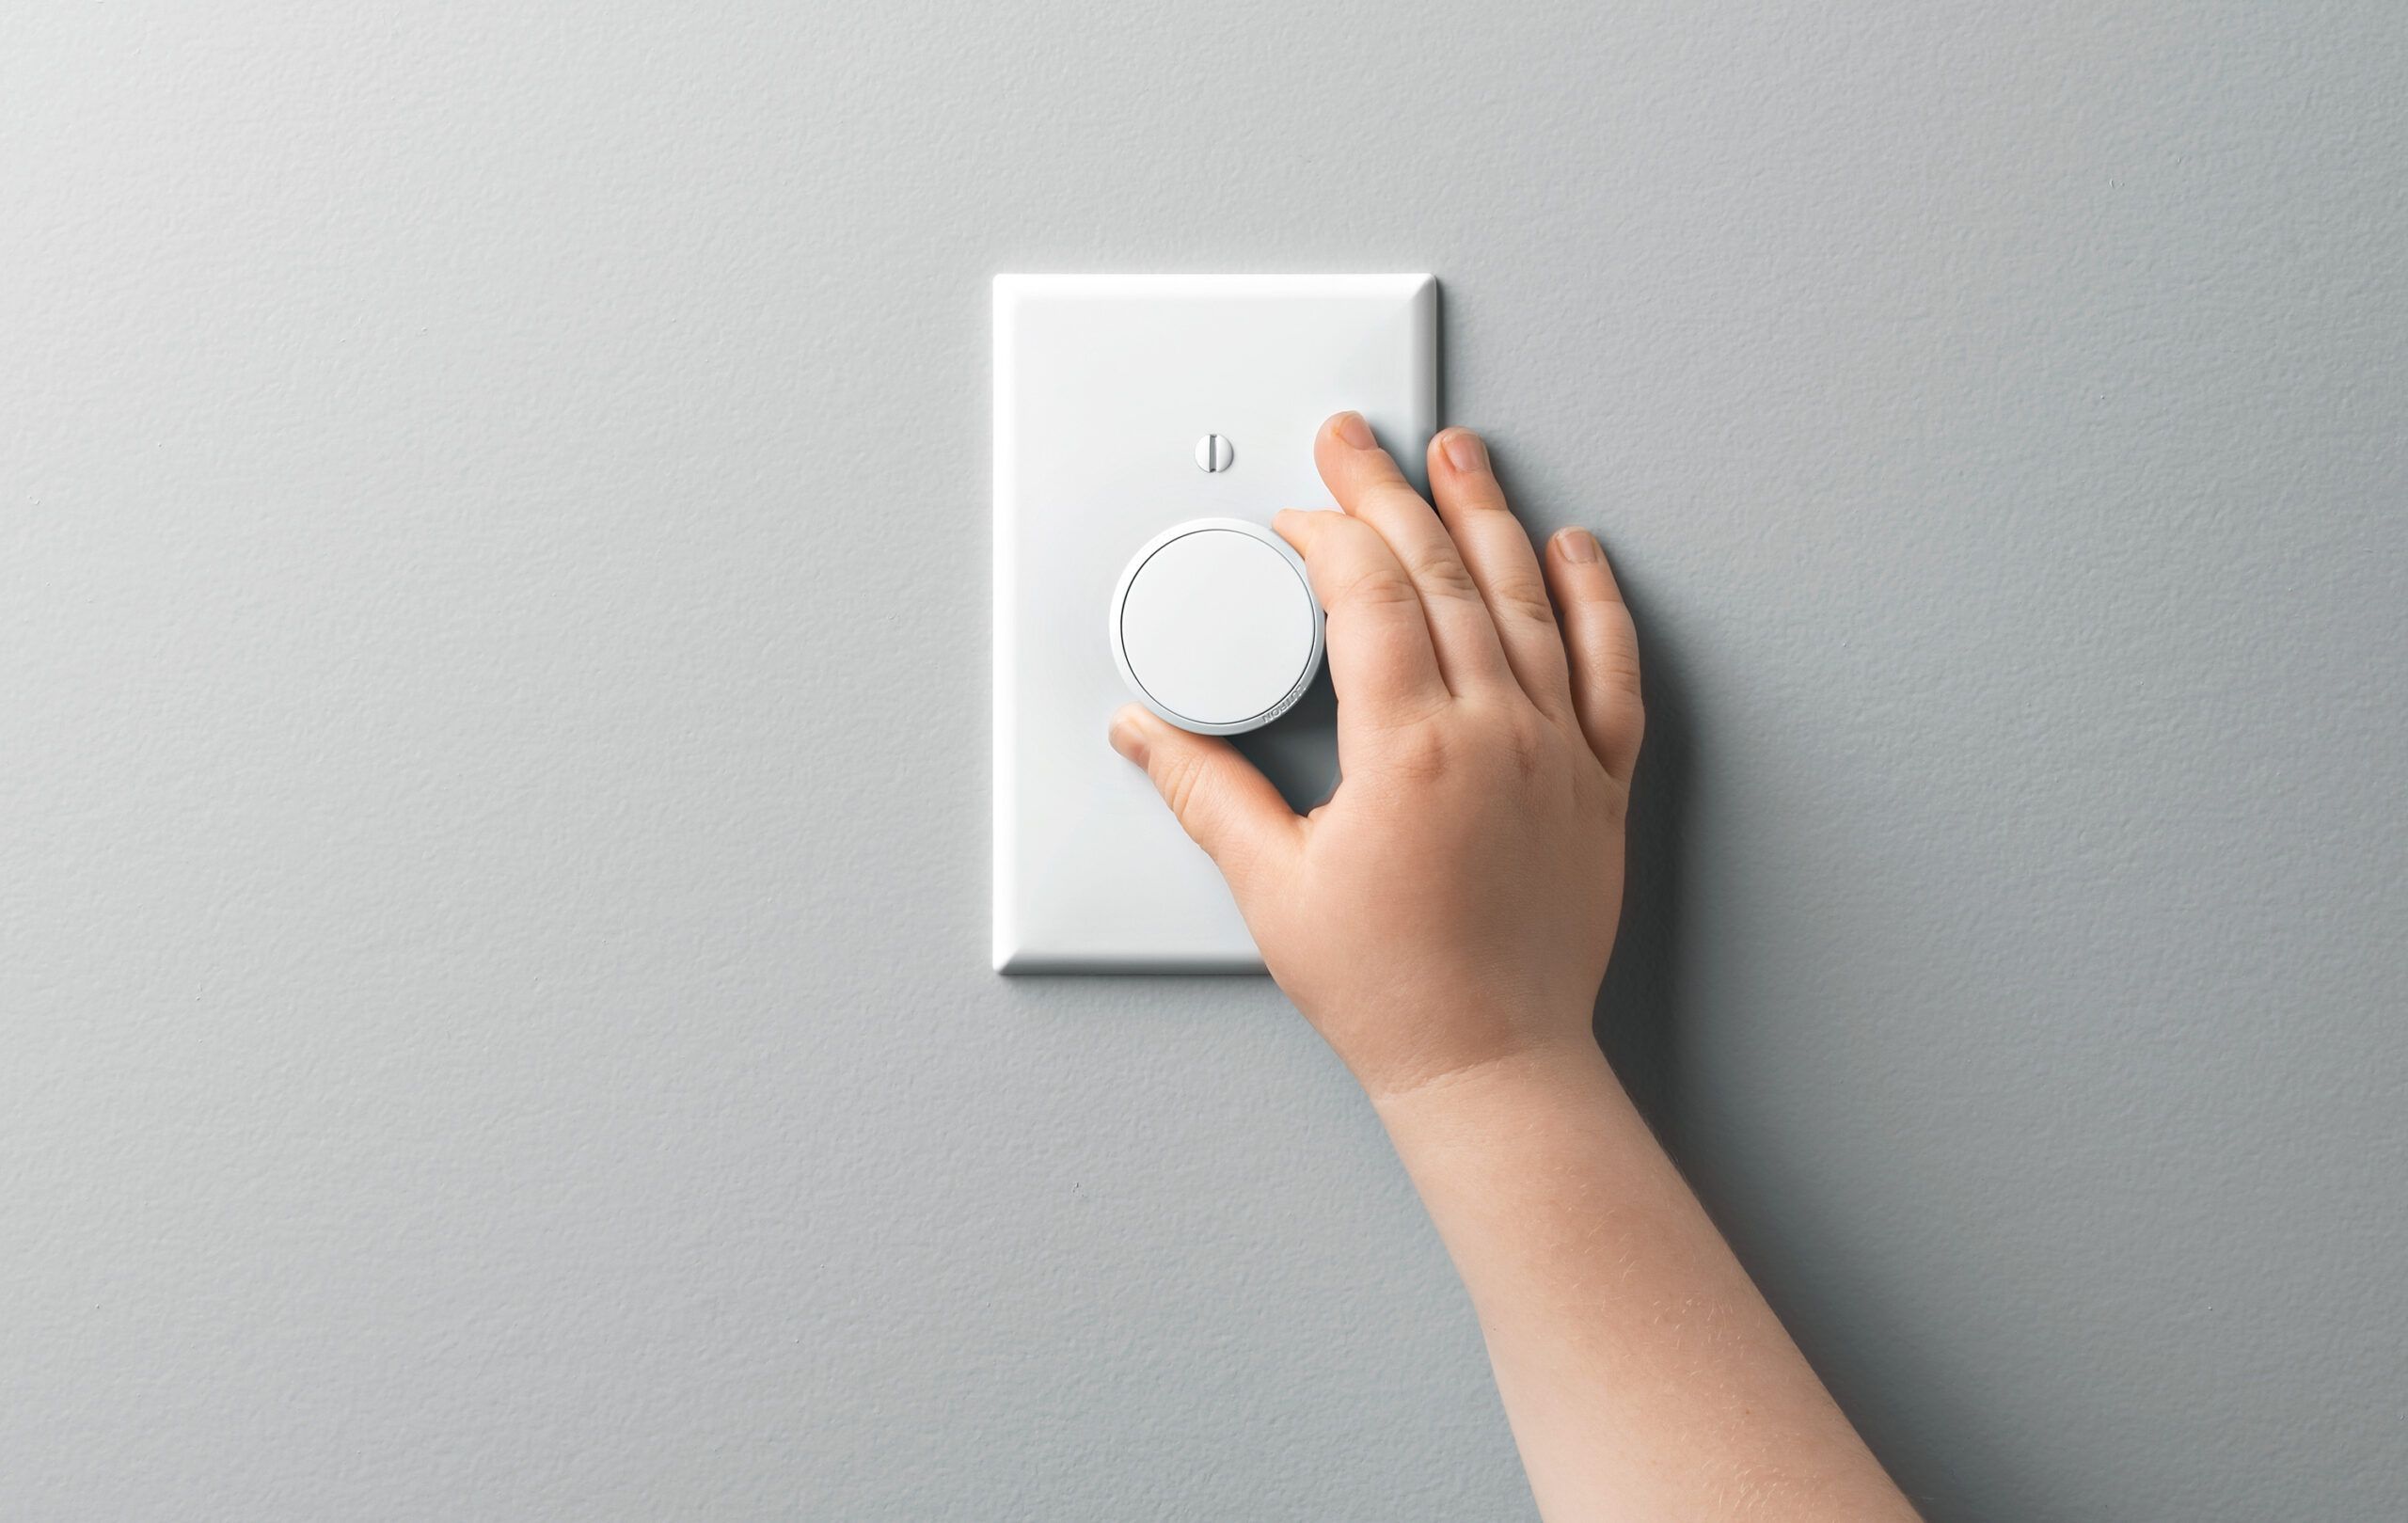
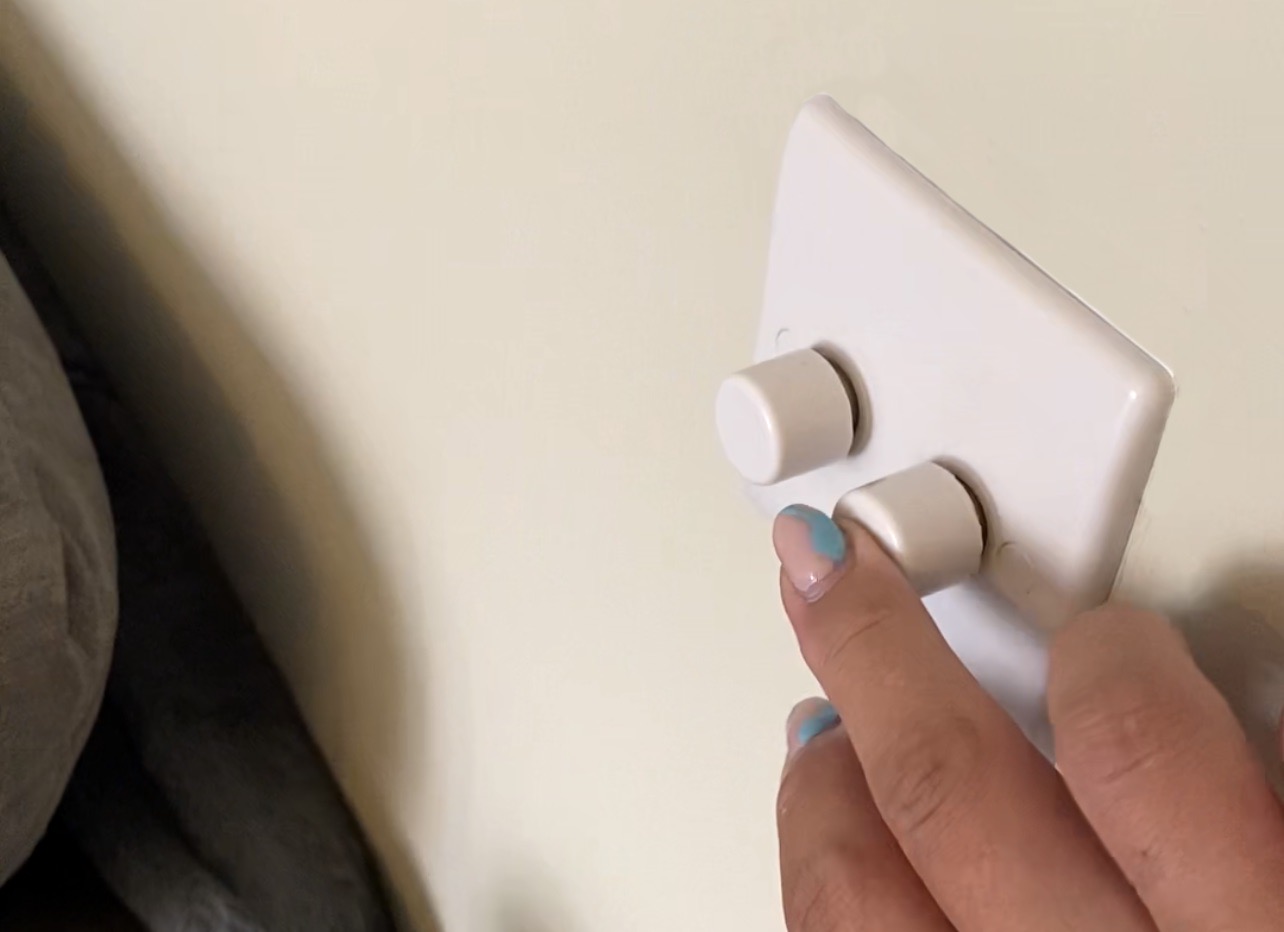
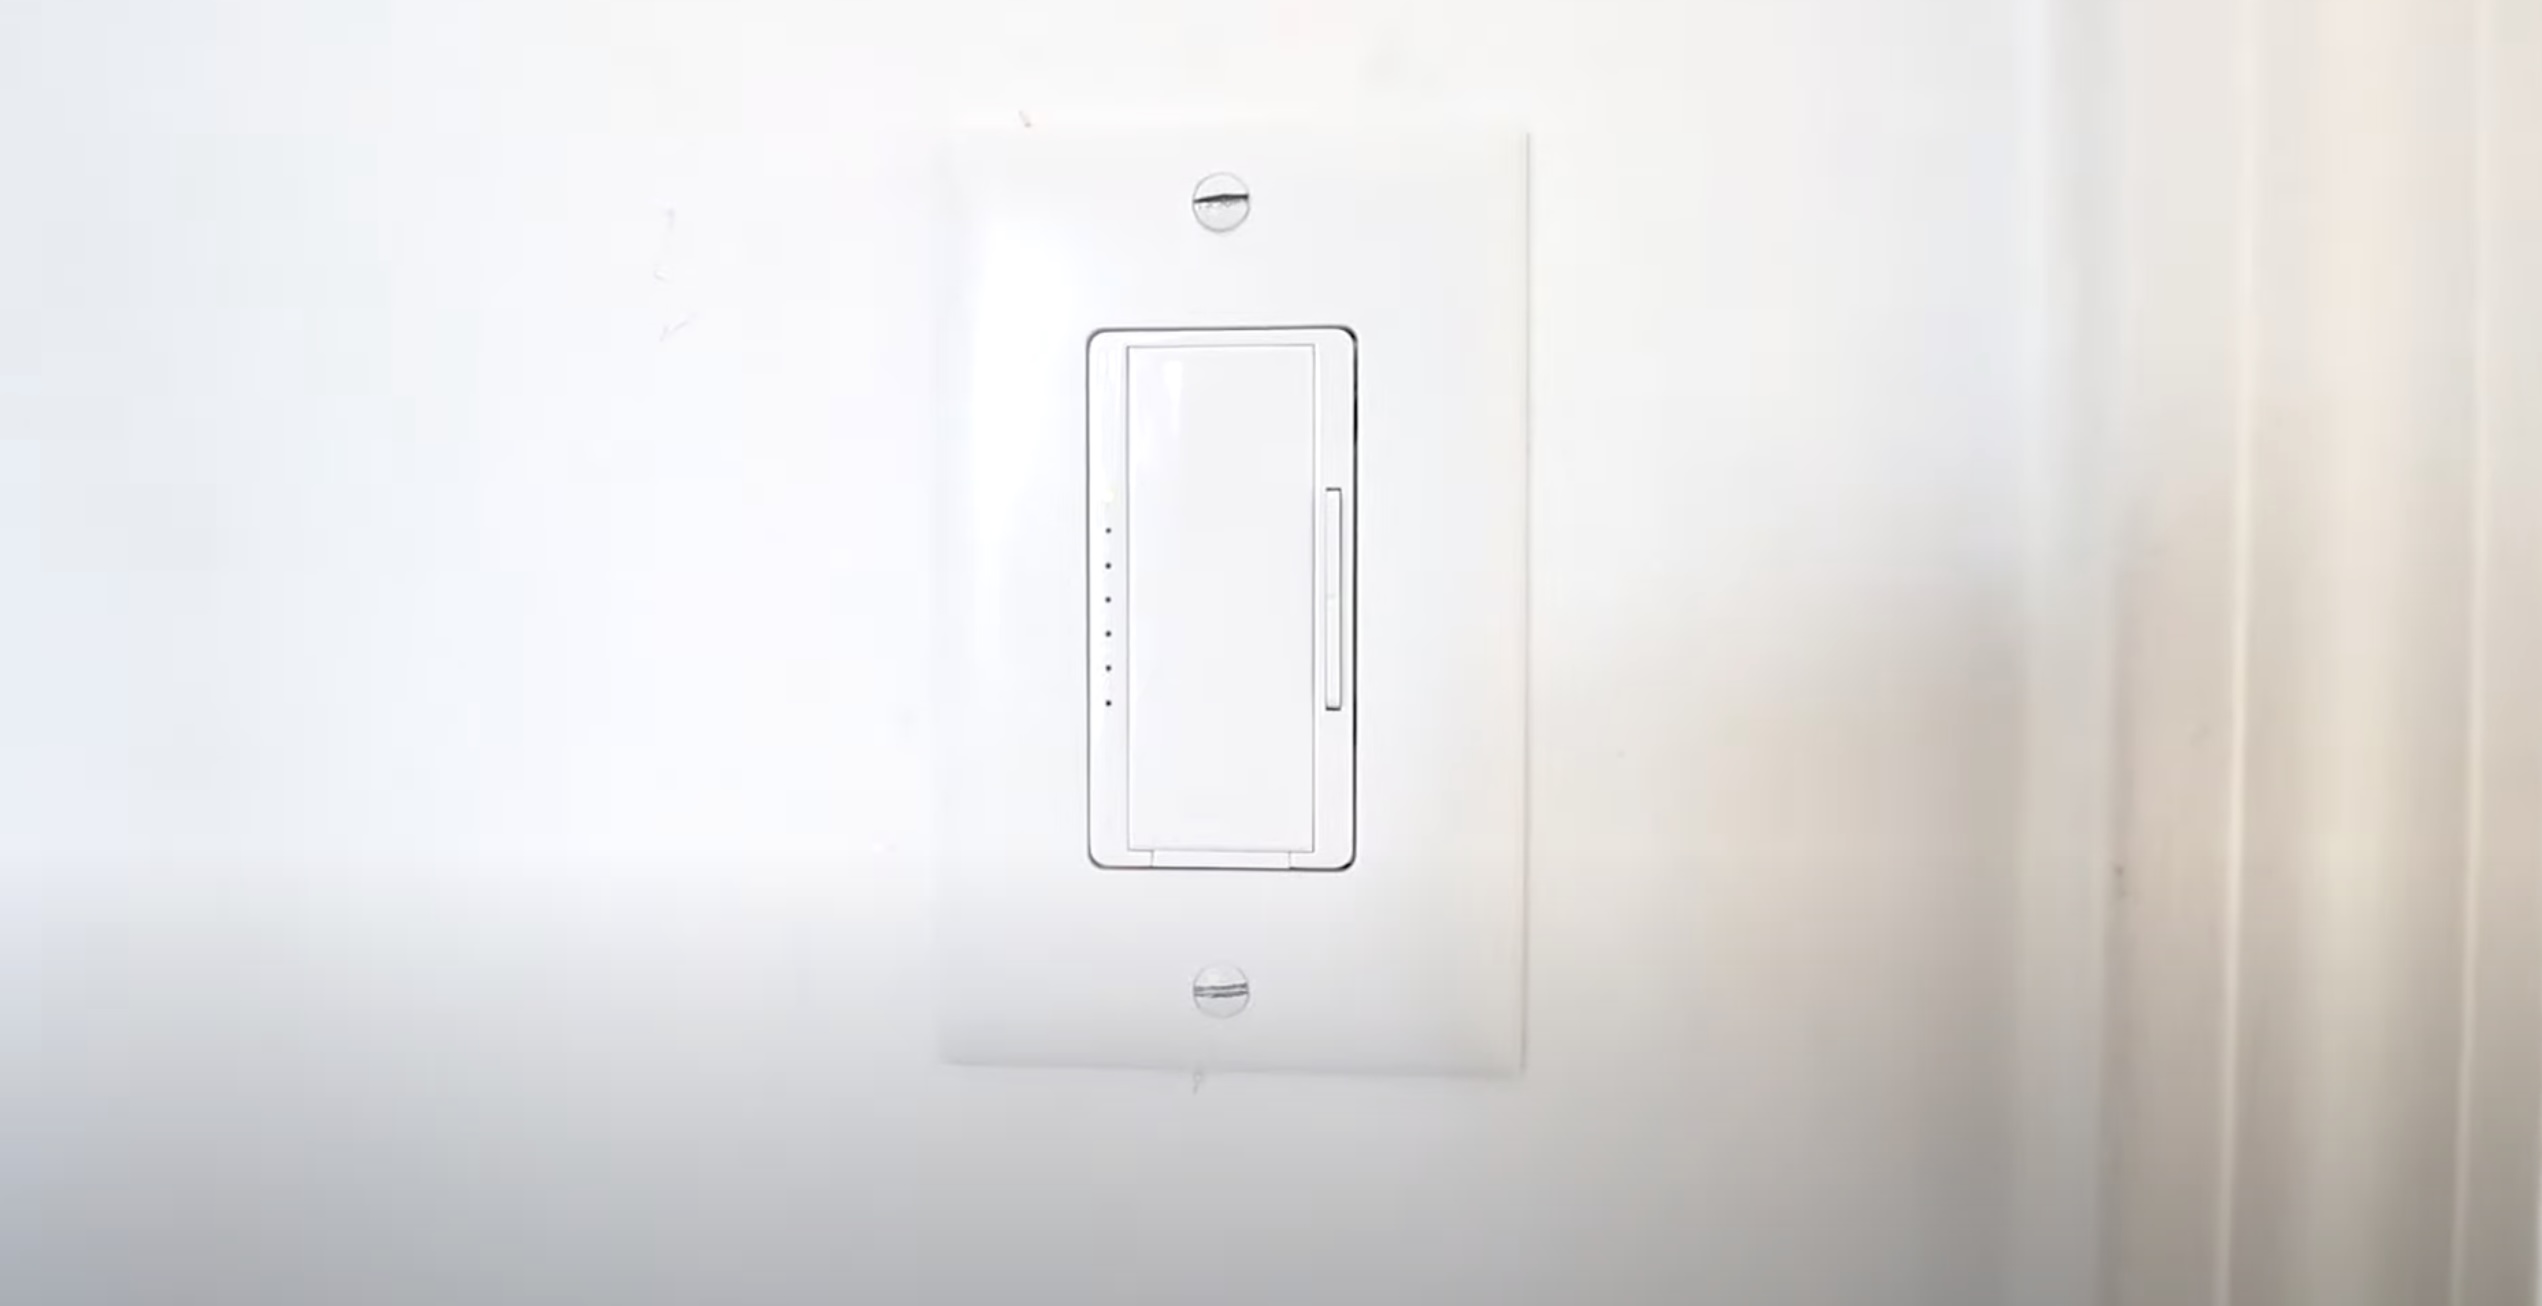
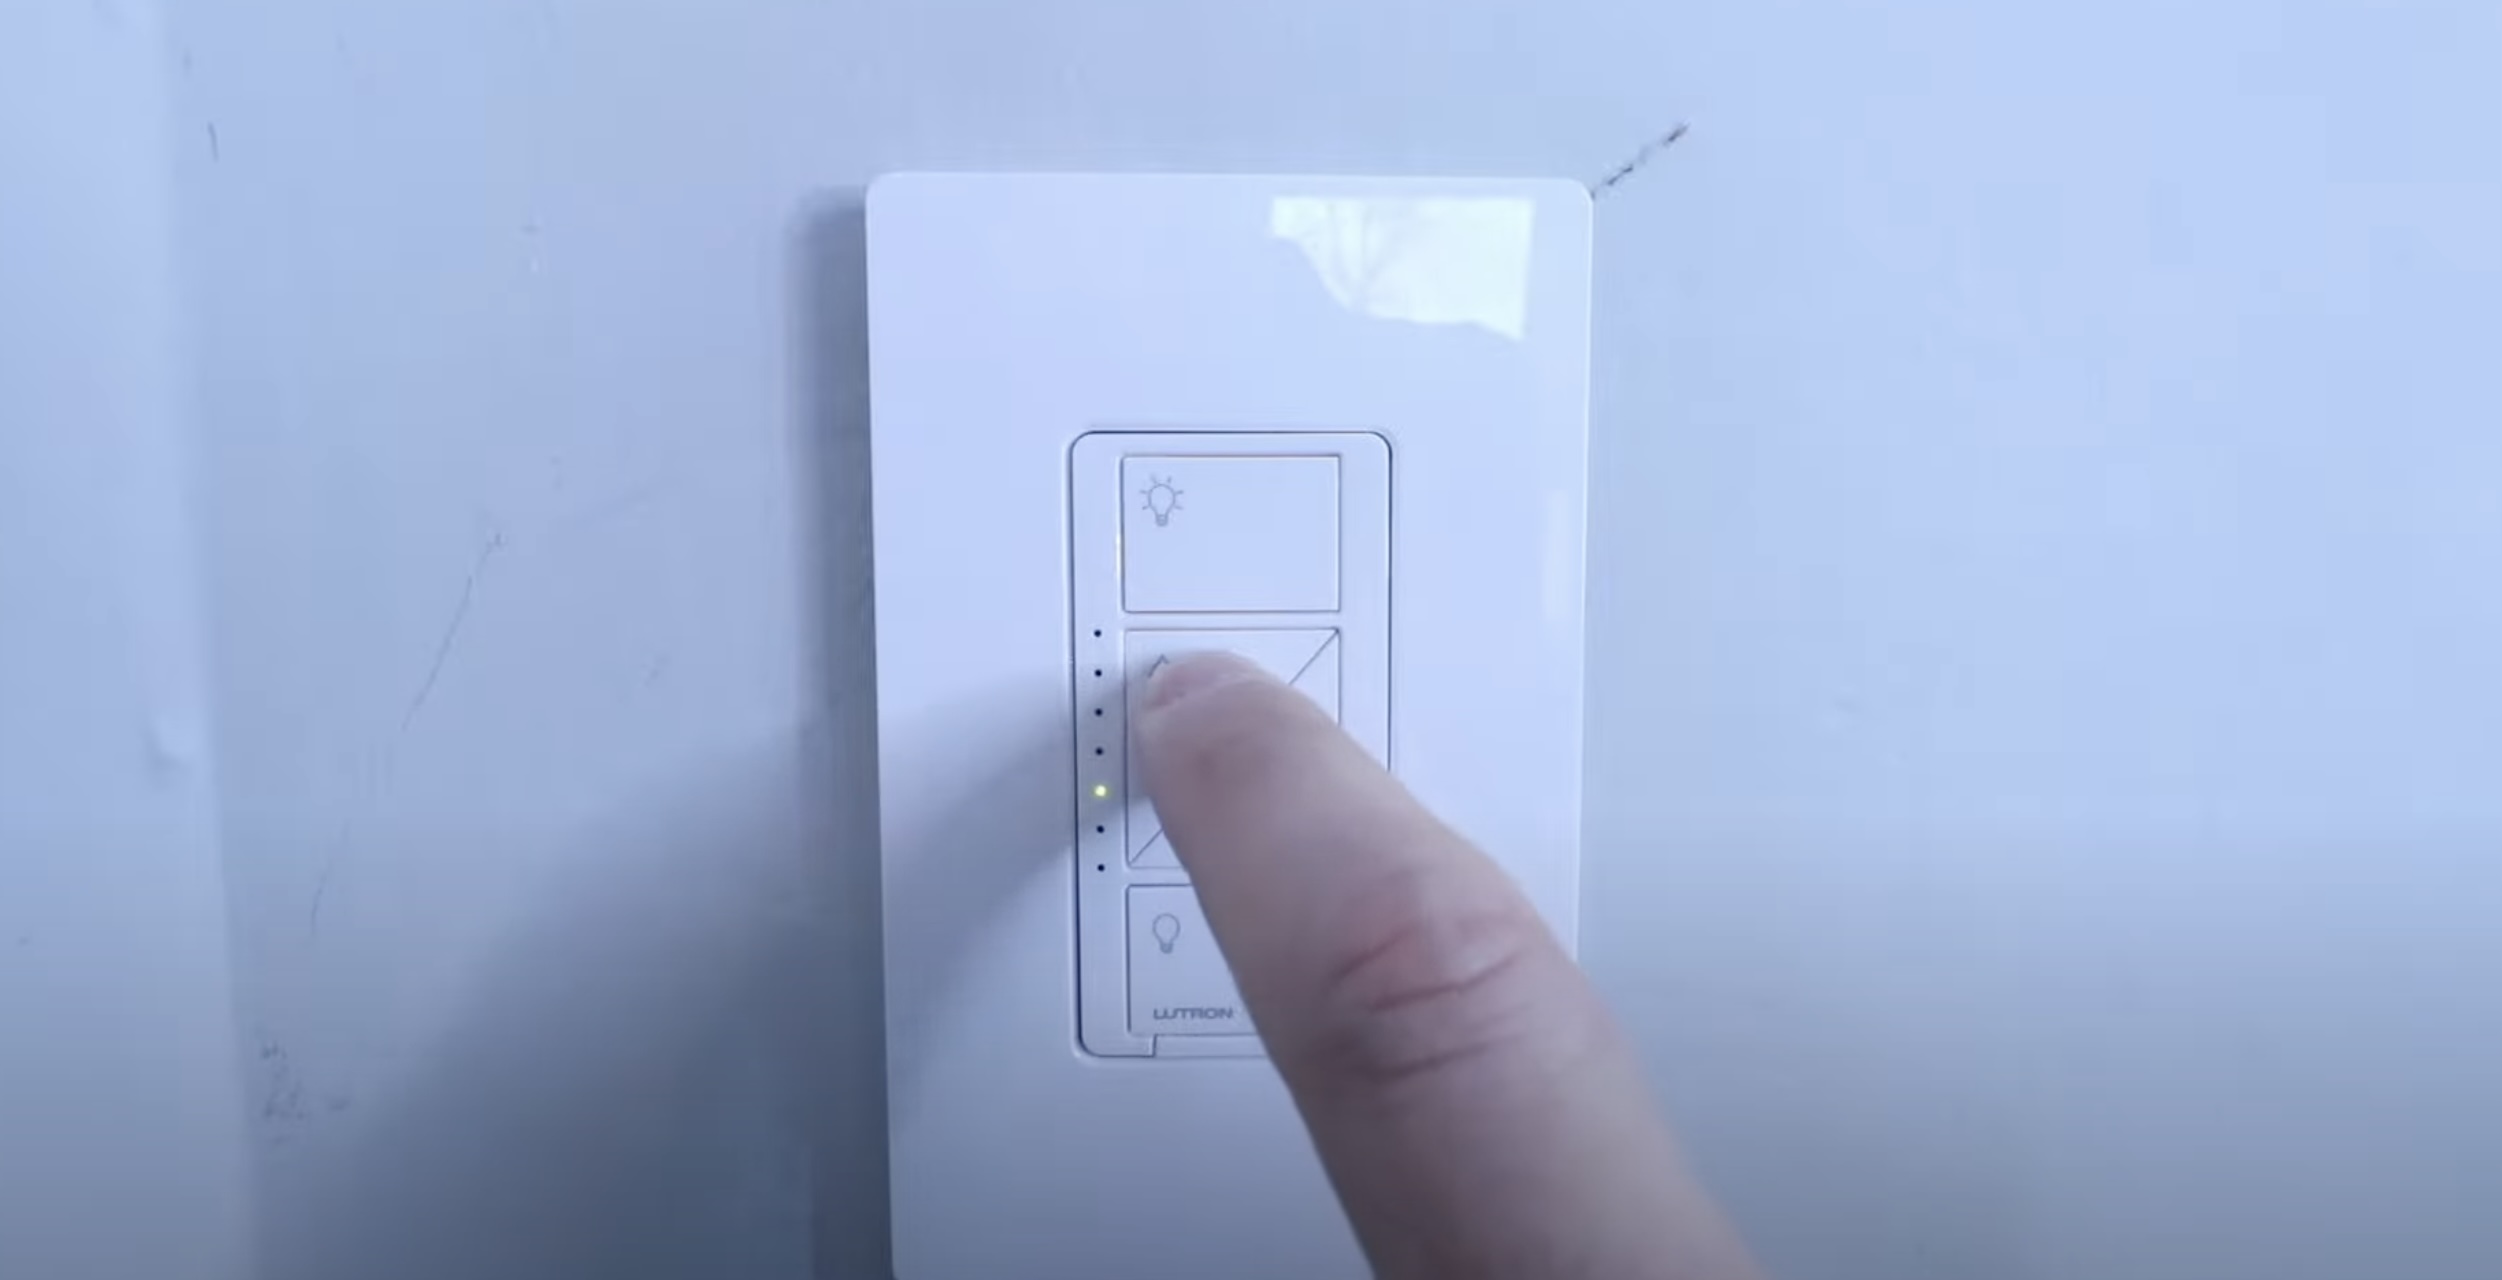
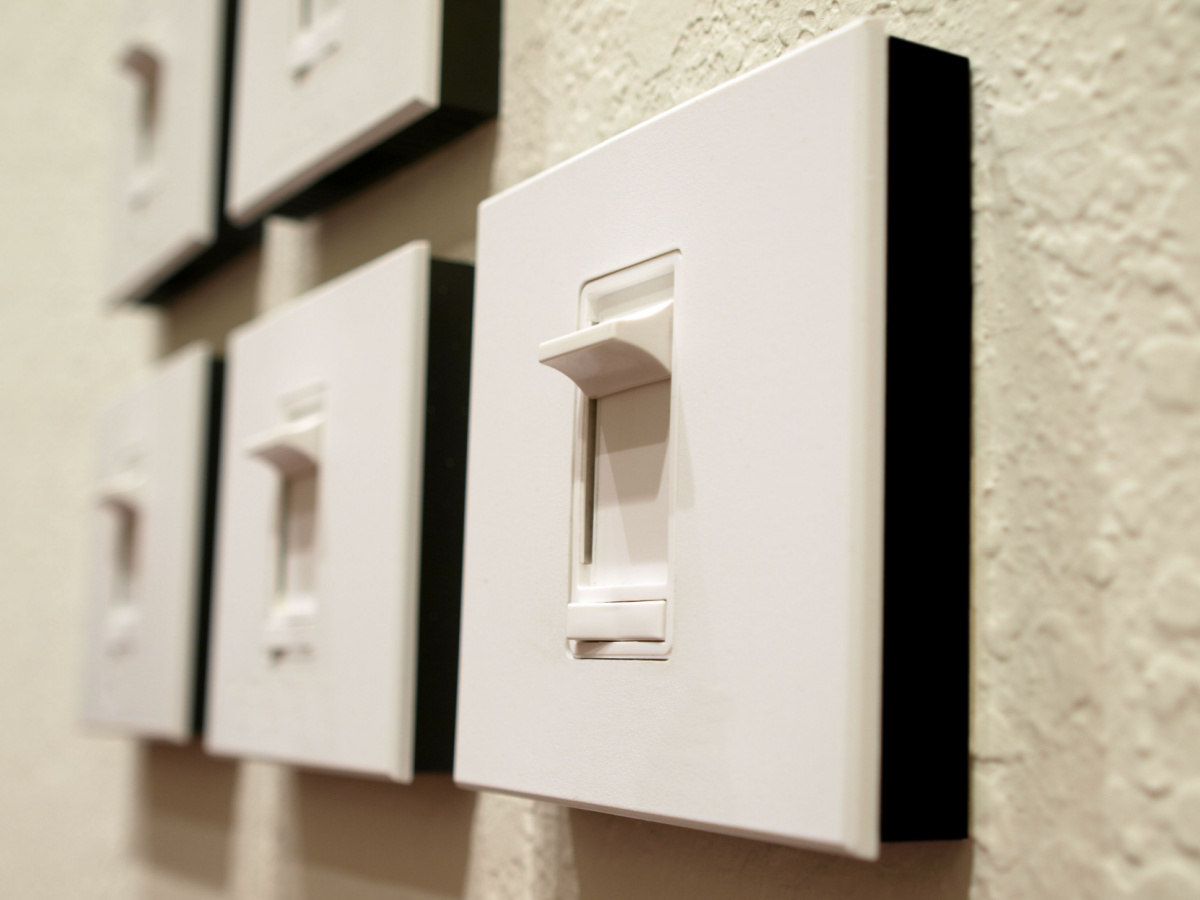
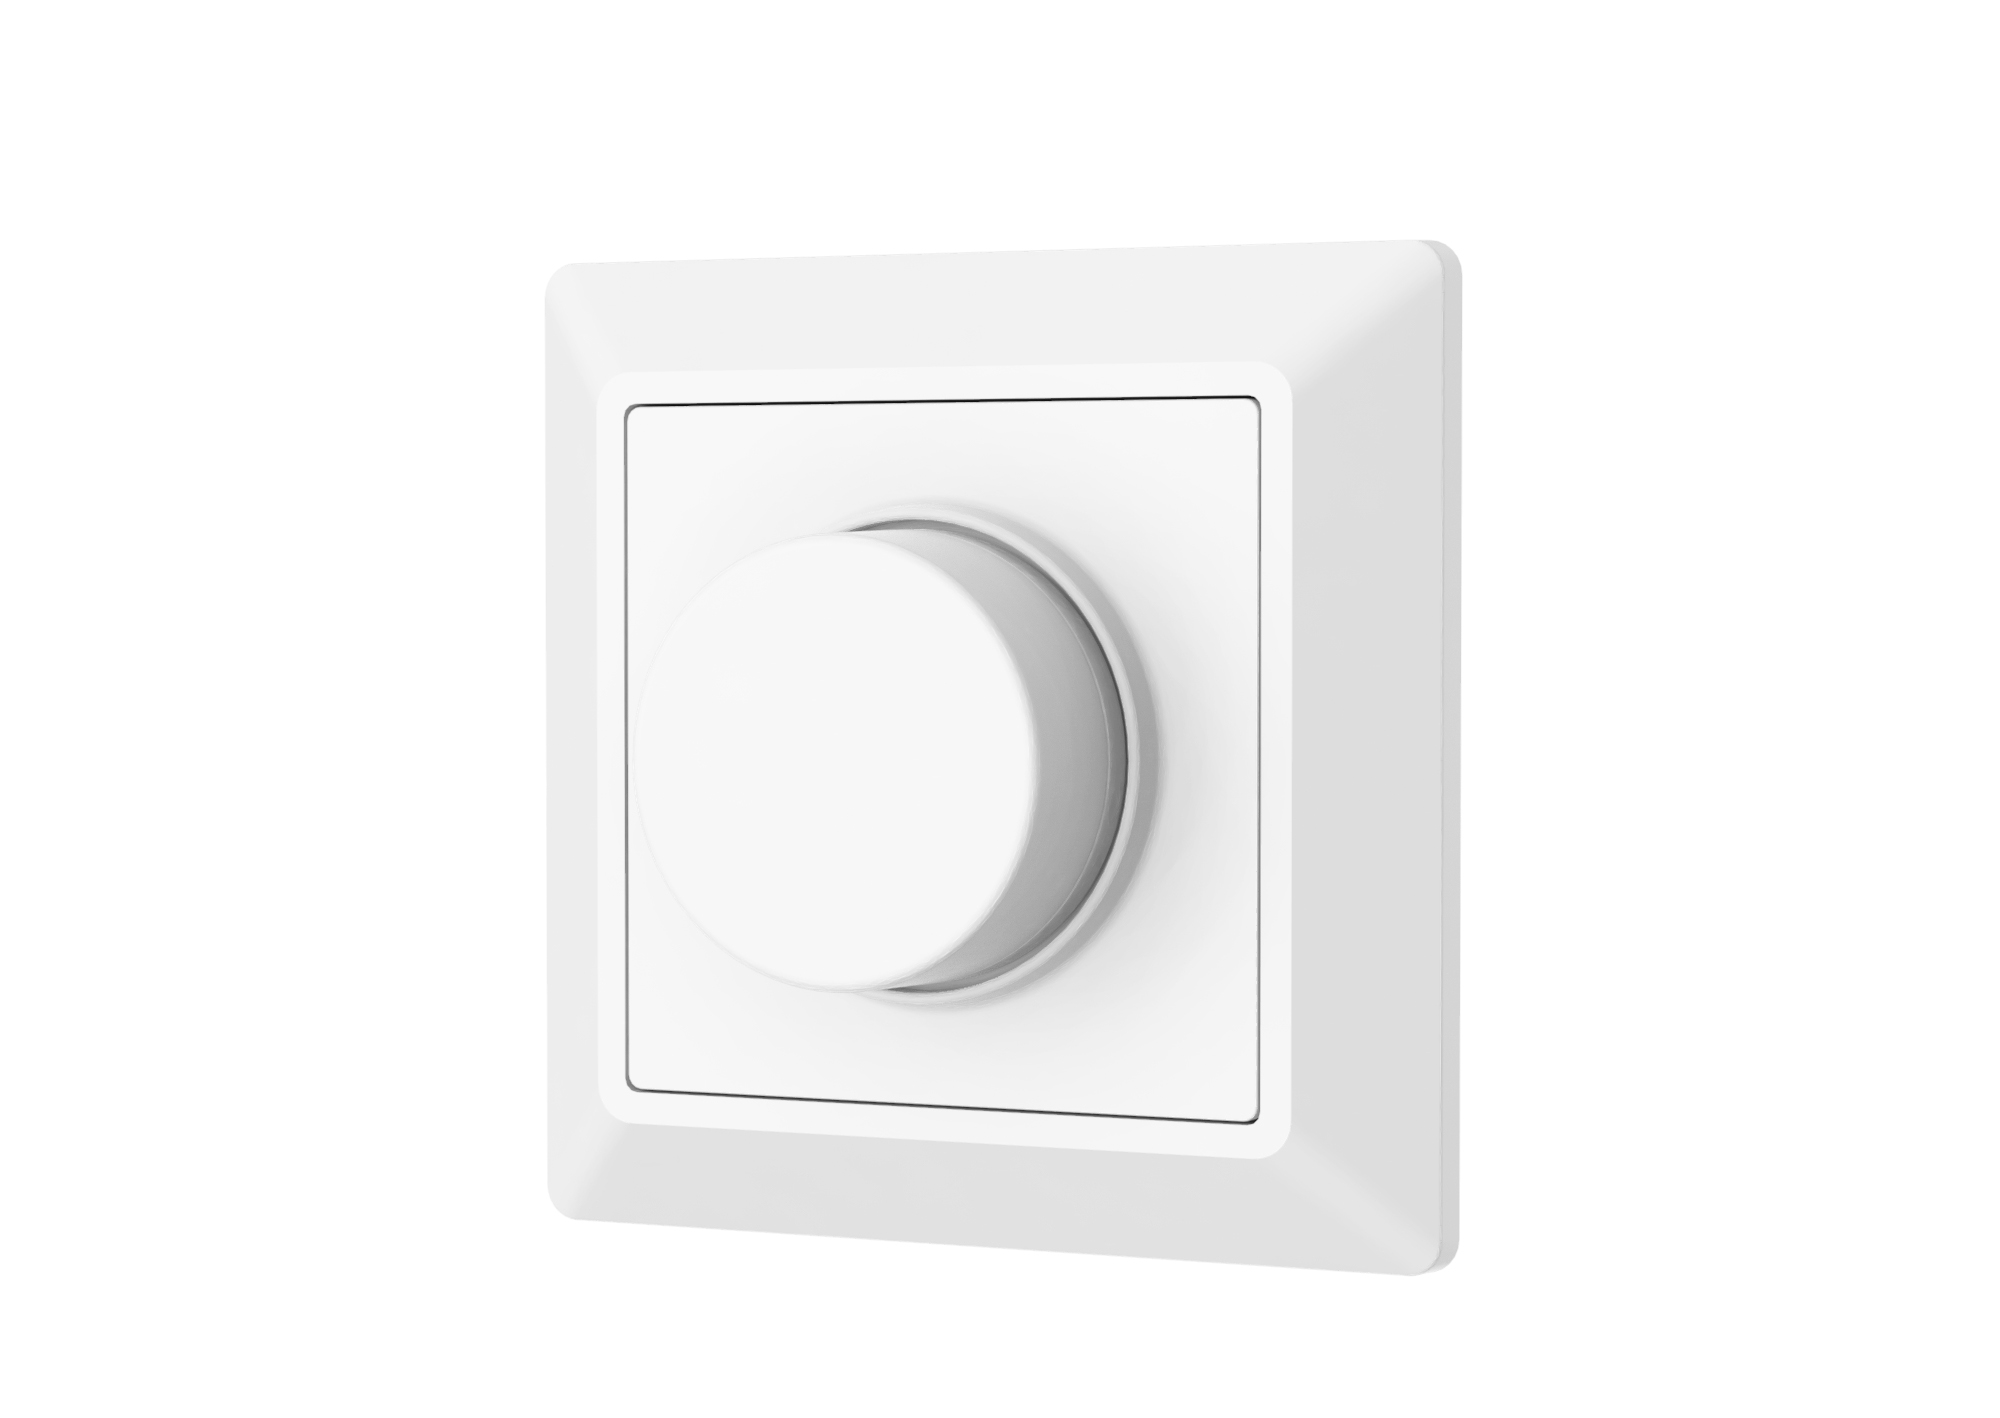
Dimmer switches are typically used with incandescent, halogen, or dimmable LED bulbs. They work by altering the amount of voltage supplied to the bulbs, causing them to emit more or less light. This control is usually achieved using a rotary dial, slider, or touch pad located on the switch itself.
There are various types of dimmer switches available, including single-pole, three-way, and multi-location dimmers. Single-pole dimmers are the most common and are used when there is only one switch controlling a set of lights. Three-way dimmers are used when two switches control the same set of lights from different locations. Multi-location dimmers are used when three or more switches control the same set of lights from multiple locations.
Dimmer switches offer several benefits. First and foremost, they provide flexibility in lighting levels, allowing you to create different moods and atmospheres in a room. Whether you want bright, task lighting for reading or a softer, ambient light for relaxation, a dimmer switch can cater to your needs.
Furthermore, using a dimmer switch can help save energy and increase the lifespan of your bulbs. By reducing the voltage supplied to the bulbs, you consume less electricity, resulting in energy savings. Additionally, dimming the lights can extend the lifespan of incandescent and halogen bulbs by reducing the heat generated, which can contribute to longer-lasting bulbs.
However, it is essential to note that not all bulbs are compatible with dimmer switches. Non-dimmable LED bulbs, for example, may flicker or not function properly when used with a dimmer switch. Therefore, it is important to ensure that your bulbs are labeled as “dimmable” before installing them with a dimmer switch.
Now that we have a better understanding of dimmer switches and their benefits, let’s move on to the safety precautions you need to consider before starting the installation process.
Safety Precautions
When working with electricity, safety should always be the top priority. Before you begin installing a dimmer switch, it is crucial to take the necessary safety precautions to protect yourself and your home from potential hazards. Here are some important safety measures to consider:
- Turn off the power: Before working on any electrical project, it is crucial to turn off the power supply to the circuit you will be working on. Locate the main electrical panel in your home and switch off the circuit breaker that controls the lights you will be working on. Use a voltage tester to ensure that the power is indeed off before proceeding.
- Wear protective gear: When working on electrical installations, it is important to wear safety gloves and goggles to protect yourself from potential electrical shocks or debris. Additionally, avoid wearing loose clothing and remove any jewelry that could come into contact with electrical components.
- Work in a well-lit area: Ensure that your work area is well-lit and free from obstructions. This will help you see what you’re doing and prevent accidents caused by tripping or other hazards.
- Use insulated tools: When handling electrical wires and connections, always use insulated tools to prevent accidental contact with live wires. Insulated screwdrivers and pliers are designed to minimize the risk of shock and should be used when working with electrical components.
- Avoid overloading the circuit: Before installing a dimmer switch, check the wattage rating of your lighting fixtures to ensure that they are compatible with the dimmer switch. Overloading the circuit can lead to overheating and potential fire hazards.
- Consult a professional: If you are unsure about any aspect of the installation process or if the electrical work in your home is complex, it is highly recommended to seek the assistance of a qualified electrician. They have the necessary expertise and knowledge to ensure a safe and successful installation.
By following these safety precautions, you can minimize the risks associated with working on electrical installations and ensure a safe environment for both yourself and your home. Once you have taken the necessary safety measures, you can proceed with the installation process.
Tools and Materials Required
Before you begin the installation process, it’s important to gather all the necessary tools and materials. Having everything ready beforehand will make the installation smoother and more efficient. Here’s a list of the tools and materials you’ll need:
- Flathead screwdriver: This will be used to remove the faceplate and unscrew the existing switch.
- Phillips screwdriver: You may need this to secure the new dimmer switch in place.
- Pliers: These will come in handy for bending and securing wires.
- Voltage tester: This tool is essential for verifying that the power to the circuit is turned off before you begin working.
- Wire strippers: You’ll need these to strip the insulation from the wire ends.
- Wire connectors: These connectors will be used to join the dimmer switch wires with the existing wires.
- Dimmer switch: Make sure to choose a dimmer switch that is compatible with the type of bulbs you will be using.
- Electrical tape: This will be used to insulate wires and ensure proper electrical connections.
- Faceplate: The faceplate is the cover that goes over the dimmer switch. Choose a style that matches your home’s decor.
In addition to these tools and materials, it’s important to have a clear understanding of the electrical wiring in your home. You should know the location of the electrical panel and the circuit breaker that controls the lights you will be working on.
It’s also a good idea to have a basic understanding of electrical terminology, such as hot wires (live wires), neutral wires, and ground wires. This knowledge will help you correctly identify and connect the wires during the installation process.
By gathering all the necessary tools and materials before you begin, you can streamline the installation process and ensure that you have everything you need to successfully connect the dimmer switch.
Step 1: Disconnect the Power
Safety is of utmost importance when working with electrical systems, so the first step in installing a dimmer switch is to disconnect the power supply to the circuit you will be working on. Follow these steps to ensure a safe working environment:
- Locate the main electrical panel: The electrical panel, also known as the circuit breaker box, is usually found in a utility room, basement, or garage. Open the panel door to access the circuit breakers.
- Identify the circuit breaker: Look for the circuit breaker that controls the lights you are going to work on. It should be clearly labeled to indicate its corresponding circuit.
- Switch off the circuit breaker: Carefully switch the circuit breaker to the “Off” position. You may hear a click or notice the indicator switch to the opposite side. This action cuts off the power supply to the lights, ensuring your safety during the installation process.
- Verify the power is off: Once you have turned off the circuit breaker, it is essential to double-check that the power is truly off. You can do this by using a voltage tester. Follow the manufacturer’s instructions to test the wires and verify that there is no electrical current flowing. Safety should always be your top priority when working with electrical systems.
It is crucial to keep the circuit breaker switched off throughout the entire installation process. This precaution will prevent any potential accidents or electrical shocks while you are working with the wires and connections.
Remember, if you are unsure about any aspect of working with electrical systems, it is always best to seek the assistance of a qualified electrician. They have the experience and knowledge to handle electrical installations safely and effectively.
Now that you have disconnected the power, you can proceed to the next step of removing the existing switch.
Step 2: Remove the Existing Switch
Once you have disconnected the power, you can safely proceed with removing the existing switch. Follow these steps to remove the old switch:
- Remove the faceplate: Start by removing the faceplate that covers the switch. Use a flathead screwdriver to carefully pry it off. Set the faceplate aside as it may be reused with the new dimmer switch.
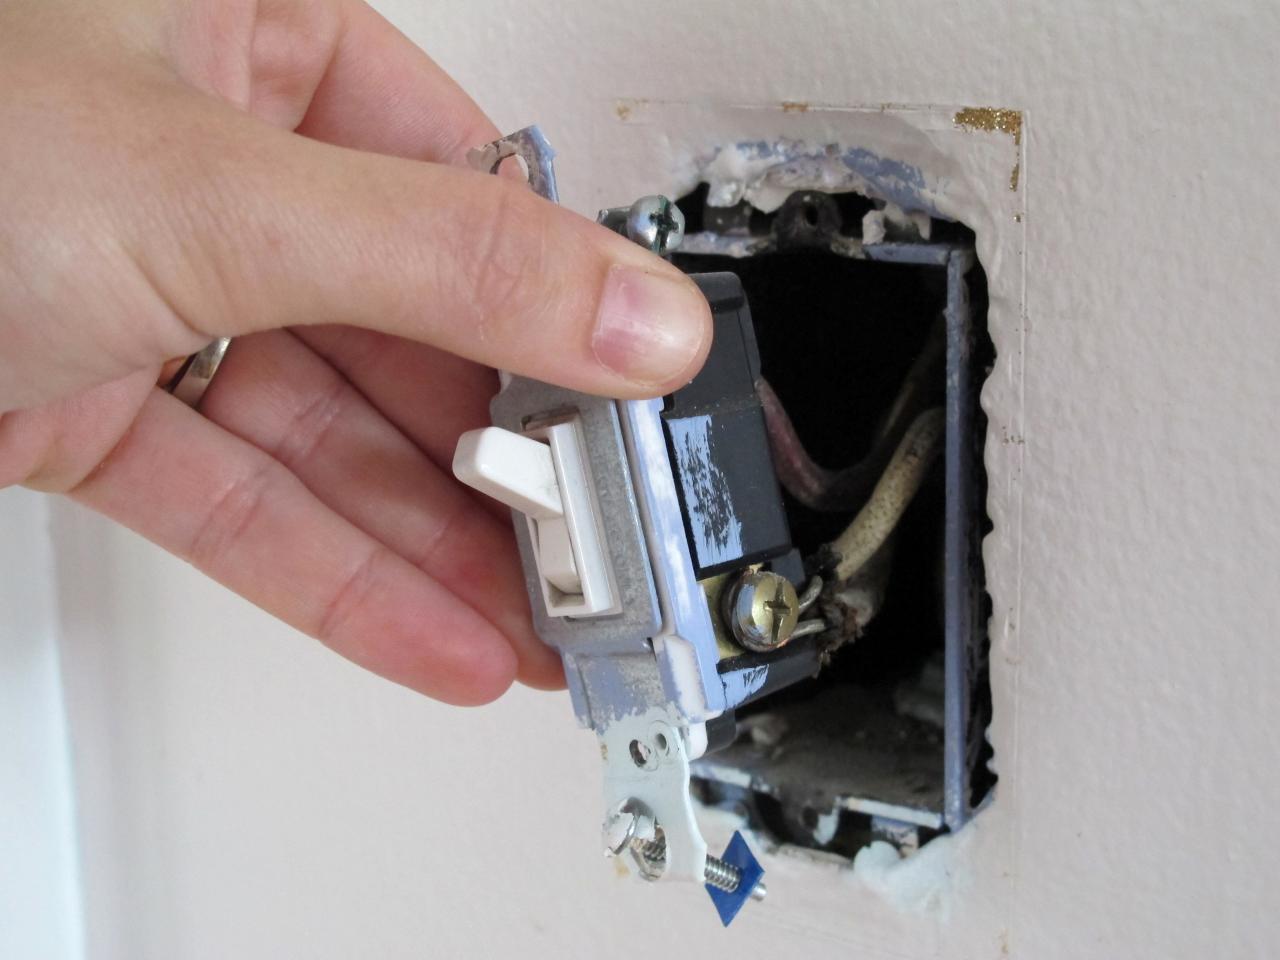
- Expose the switch: With the faceplate removed, you should now see the switch mounted in a electrical box. There may be screws or clips securing the switch to the box. Use a flathead screwdriver to loosen and remove any screws or clips holding the switch in place.
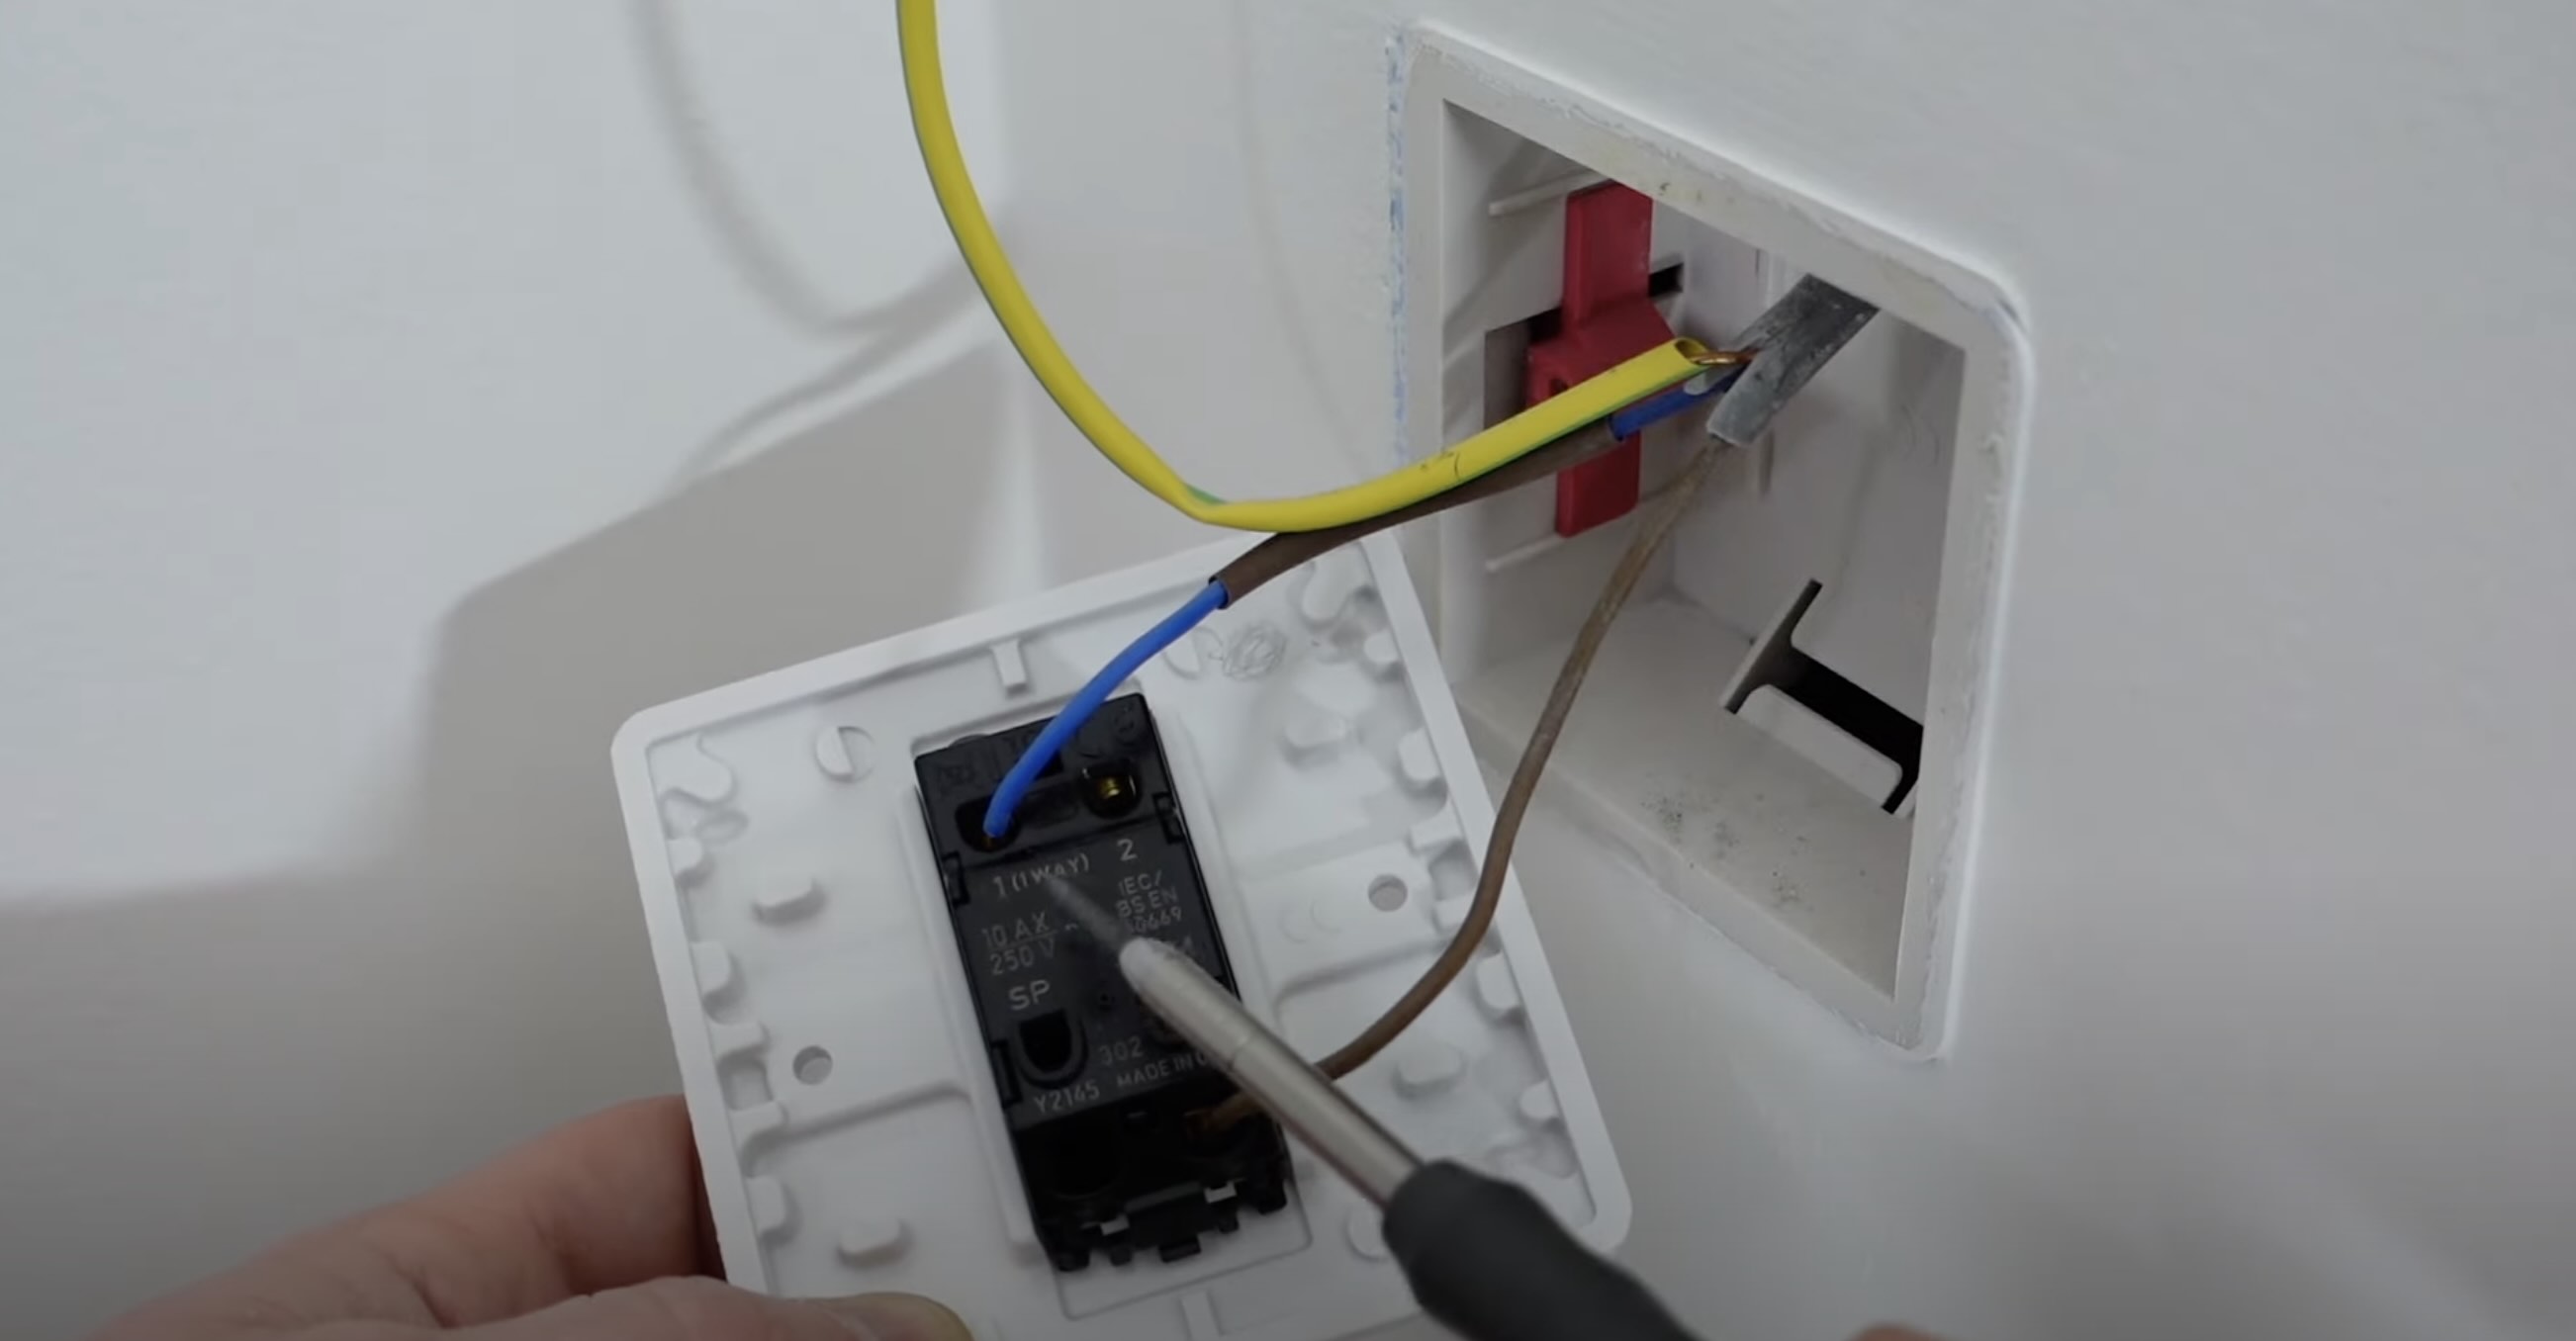
- Pull out the switch: Once the switch is no longer secured, gently pull it out of the electrical box, exposing the wires connected to the switch. Take note of how the wires are connected, as this will help you when installing the dimmer switch.
- Disconnect the wires: Using a screwdriver, unscrew the terminal screws that secure the wires to the switch. As you remove each wire, it can be helpful to wrap a piece of electrical tape around it and label it with the corresponding terminal. This will make it easier to identify the wires when connecting them to the dimmer switch.
- Remove the switch: With all the wires disconnected, you can now remove the old switch from the electrical box. Set it aside, as it will no longer be used.
Once the old switch has been removed, it is a good opportunity to inspect the electrical box and wires for any signs of damage or wear. If you notice any issues, it may be necessary to call a qualified electrician to address them before proceeding with the installation.
With the old switch successfully removed, you can move on to the next step of identifying the dimmer switch wires.
When connecting a dimmer switch in the UK, always make sure to turn off the power at the circuit breaker before starting any installation work. This will ensure your safety and prevent any electrical accidents.
Step 3: Identify the Dimmer Switch Wires
Once you have removed the old switch, the next step is to identify the wires that will connect to the dimmer switch. Follow these steps to identify the dimmer switch wires:
- Refer to the dimmer switch manual: Consult the instruction manual that came with your dimmer switch. It should contain a wiring diagram and color-coded instructions for connecting the wires.
- Identify the live wire: The live wire is the wire that carries the electrical current. In a typical UK installation, this wire is usually colored brown or red. With the power still switched off, use a voltage tester to double-check that the wire you suspect is the live wire is not carrying any electrical current.
- Identify the neutral wire: The neutral wire is typically colored blue. It completes the electrical circuit and carries the current back to the power source. Look for a blue wire in the electrical box that is connected to the other wires and label it as the neutral wire.
- Identify the ground wire: The ground wire is for safety purposes and provides a path for electrical currents in the event of a fault. It is usually colored green or yellow with green stripes. Locate the ground wire in the electrical box and label it accordingly.
- Identify additional wires: In some cases, you may come across additional wires, such as switch loops or traveler wires, depending on the wiring configuration in your home. Check the dimmer switch manual to determine how these wires should be connected.
It is crucial to correctly identify and label these wires to ensure proper and safe installation of the dimmer switch. Take your time, double-check your identifications, and refer back to the dimmer switch manual as needed.
Once you have identified the dimmer switch wires, you are ready to proceed with connecting the dimmer switch in the next step.
Step 4: Connect the Dimmer Switch
Now that you have identified the dimmer switch wires, it’s time to connect the dimmer switch. Follow these steps to connect the wires properly:
- Prepare the wires: Trim any excess insulation from the wires using wire strippers. This will expose a sufficient length of bare wire for proper connection.
- Connect the live wire: Connect the live wire from the electrical box to the live terminal on the dimmer switch. Using a screwdriver, secure the wire under the terminal screw and tighten it securely. Refer to the dimmer switch manual for specific instructions on how to connect the wires.
- Connect the neutral wire: Connect the neutral wire from the electrical box to the neutral terminal on the dimmer switch. Again, use a screwdriver to secure the wire under the terminal screw and tighten it firmly.
- Connect the ground wire: Connect the ground wire from the electrical box to the ground terminal on the dimmer switch. Depending on the type of dimmer switch, there may be a separate ground terminal or a metal grounding strap. Follow the manufacturer’s instructions to ensure proper grounding.
- Connect any additional wires: If there are any additional wires, such as switch loops or traveler wires, follow the dimmer switch manual to connect them as specified.
- Double-check the connections: Before proceeding, double-check all the connections to ensure they are secure and properly positioned. Inspect each wire to ensure no bare wires are exposed, which could cause a short circuit.
It’s important to note that the specific instructions may vary depending on the dimmer switch model and the wiring in your home. Always refer to the manufacturer’s instructions to ensure proper and safe installation.
Once you have connected the dimmer switch wires, you can move on to the next step of testing the function of the dimmer switch.
Step 5: Test the Dimmer Switch
After connecting the dimmer switch, it is crucial to test its function before proceeding with securing it in place. Follow these steps to test the dimmer switch:
- Gradually turn on the power: Switch on the circuit breaker that controls the lights you have wired to the dimmer switch. Remember to do this slowly and cautiously. If the dimmer switch is functioning correctly, the lights should turn on gradually and smoothly.
- Test the dimming capability: Once the lights are turned on, adjust the dimmer switch by rotating the dial, sliding the control, or using the touch pad to decrease or increase the brightness. The lights should respond accordingly, dimming or brightening as you adjust the switch.
- Observe for any flickering or issues: While testing the dimmer switch, observe the lights carefully for any flickering, buzzing, or irregular behavior. If you notice any issues, turn off the power immediately and reassess the connections and compatibility of the dimmer switch with your lighting fixtures.
If the dimmer switch functions as expected without any flickering or issues, you can proceed to the next step. However, if you experience any problems, it is necessary to troubleshoot the cause before continuing. Double-check the connections, ensure the dimmer switch is compatible with your bulbs, and consult the dimmer switch manual or a professional electrician if needed.
Once you are satisfied that the dimmer switch is working correctly, you can proceed to secure it in place for a more permanent installation.
Read more: How To Disable A Dimmer Switch
Step 6: Secure the Dimmer Switch
Now that you have tested the functionality of the dimmer switch, you can proceed to secure it in place for a more permanent installation. Follow these steps to secure the dimmer switch:
- Gently push the wires back into the electrical box: Carefully tuck the connected wires back into the electrical box, making sure they are not pinched or strained. Ensure that the dimmer switch is positioned properly and aligned with the switch opening in the faceplate.
- Screw the dimmer switch into place: Use the provided screws or clips to secure the dimmer switch to the electrical box. Depending on the model of the dimmer switch, there may be screw holes or tabs for fastening. Use a screwdriver to tighten the screws or secure the clips firmly.
- Attach the faceplate: Place the faceplate over the dimmer switch and align it with the screw holes or tabs. Insert the screws that came with the faceplate and tighten them with a screwdriver. Ensure that the faceplate is securely attached and aligned properly.
- Turn on the power: Switch on the circuit breaker to restore power to the circuit. Once the power is back on, test the dimmer switch again to ensure its continued functionality.
It’s important to note that the specific instructions for securing the dimmer switch may vary depending on the model and design. Always refer to the manufacturer’s instructions to ensure a secure and safe installation.
Additionally, make sure to tidy up any exposed wires in the electrical box and ensure that they are properly insulated and organized. This will help prevent any accidental contact or damage to the wires.
Congratulations! You have successfully connected and secured the dimmer switch. Enjoy the flexibility and energy-saving benefits that a dimmer switch brings to your home lighting.
Remember, if you have any concerns or doubts during the installation process, it is always recommended to consult a qualified electrician for assistance.
Conclusion
Installing a dimmer switch in your home can greatly enhance the ambiance and functionality of your lighting. With the ability to adjust the brightness levels, you can create a cozy and inviting atmosphere while also saving energy. By following the steps outlined in this guide and taking the necessary safety precautions, you can successfully connect a dimmer switch in your UK home.
Throughout this article, we discussed the importance of understanding dimmer switches, the safety precautions to take, and the tools and materials required for the installation. We walked you through the step-by-step process, including disconnecting the power, removing the existing switch, identifying the dimmer switch wires, connecting the dimmer switch, testing its functionality, and securing it in place.
Remember, safety should always be your top priority when working with electrical systems. If you are unsure about any aspect of the installation process or if the electrical work in your home is complex, it is highly recommended to seek the assistance of a qualified electrician. They have the expertise and knowledge to ensure a safe and successful installation.
Now that you have successfully installed a dimmer switch, you can enjoy the flexibility and energy-saving benefits it offers. Whether you want bright, task lighting or a soft, ambient glow, you can easily adjust the brightness to suit your needs and create the desired atmosphere in any room.
Thank you for taking the time to read this article. We hope that it has provided you with the information and guidance you need to connect a dimmer switch in your UK home. Enjoy your enhanced lighting experience!
Frequently Asked Questions about How To Connect A Dimmer Switch In UK
Was this page helpful?
At Storables.com, we guarantee accurate and reliable information. Our content, validated by Expert Board Contributors, is crafted following stringent Editorial Policies. We're committed to providing you with well-researched, expert-backed insights for all your informational needs.



0 thoughts on “How To Connect A Dimmer Switch In UK”