
Articles
How To Connect To An Existing Ring Doorbell
Modified: October 20, 2024
Learn how to connect to an existing Ring Doorbell with our informative articles. Explore step-by-step instructions and troubleshooting tips for a seamless setup.
(Many of the links in this article redirect to a specific reviewed product. Your purchase of these products through affiliate links helps to generate commission for Storables.com, at no extra cost. Learn more)
Introduction
Ring doorbells have become increasingly popular in recent years for their convenience and security features. Whether you have just moved into a new home with an existing Ring doorbell or you have decided to invest in one, connecting to an existing Ring doorbell is a straightforward process that can be done in just a few simple steps.
In this article, we will guide you through the process of connecting to an existing Ring doorbell. We will cover everything from understanding the basics of the Ring doorbell to downloading the Ring app, creating an account, connecting to Wi-Fi, pairing the doorbell with the app, and customizing settings. By the end of this article, you will be able to fully utilize the features of your Ring doorbell and enjoy the peace of mind it provides.
Before we dive into the step-by-step instructions, let’s briefly discuss what a Ring doorbell is and why it has become so popular among homeowners.
What is a Ring Doorbell?
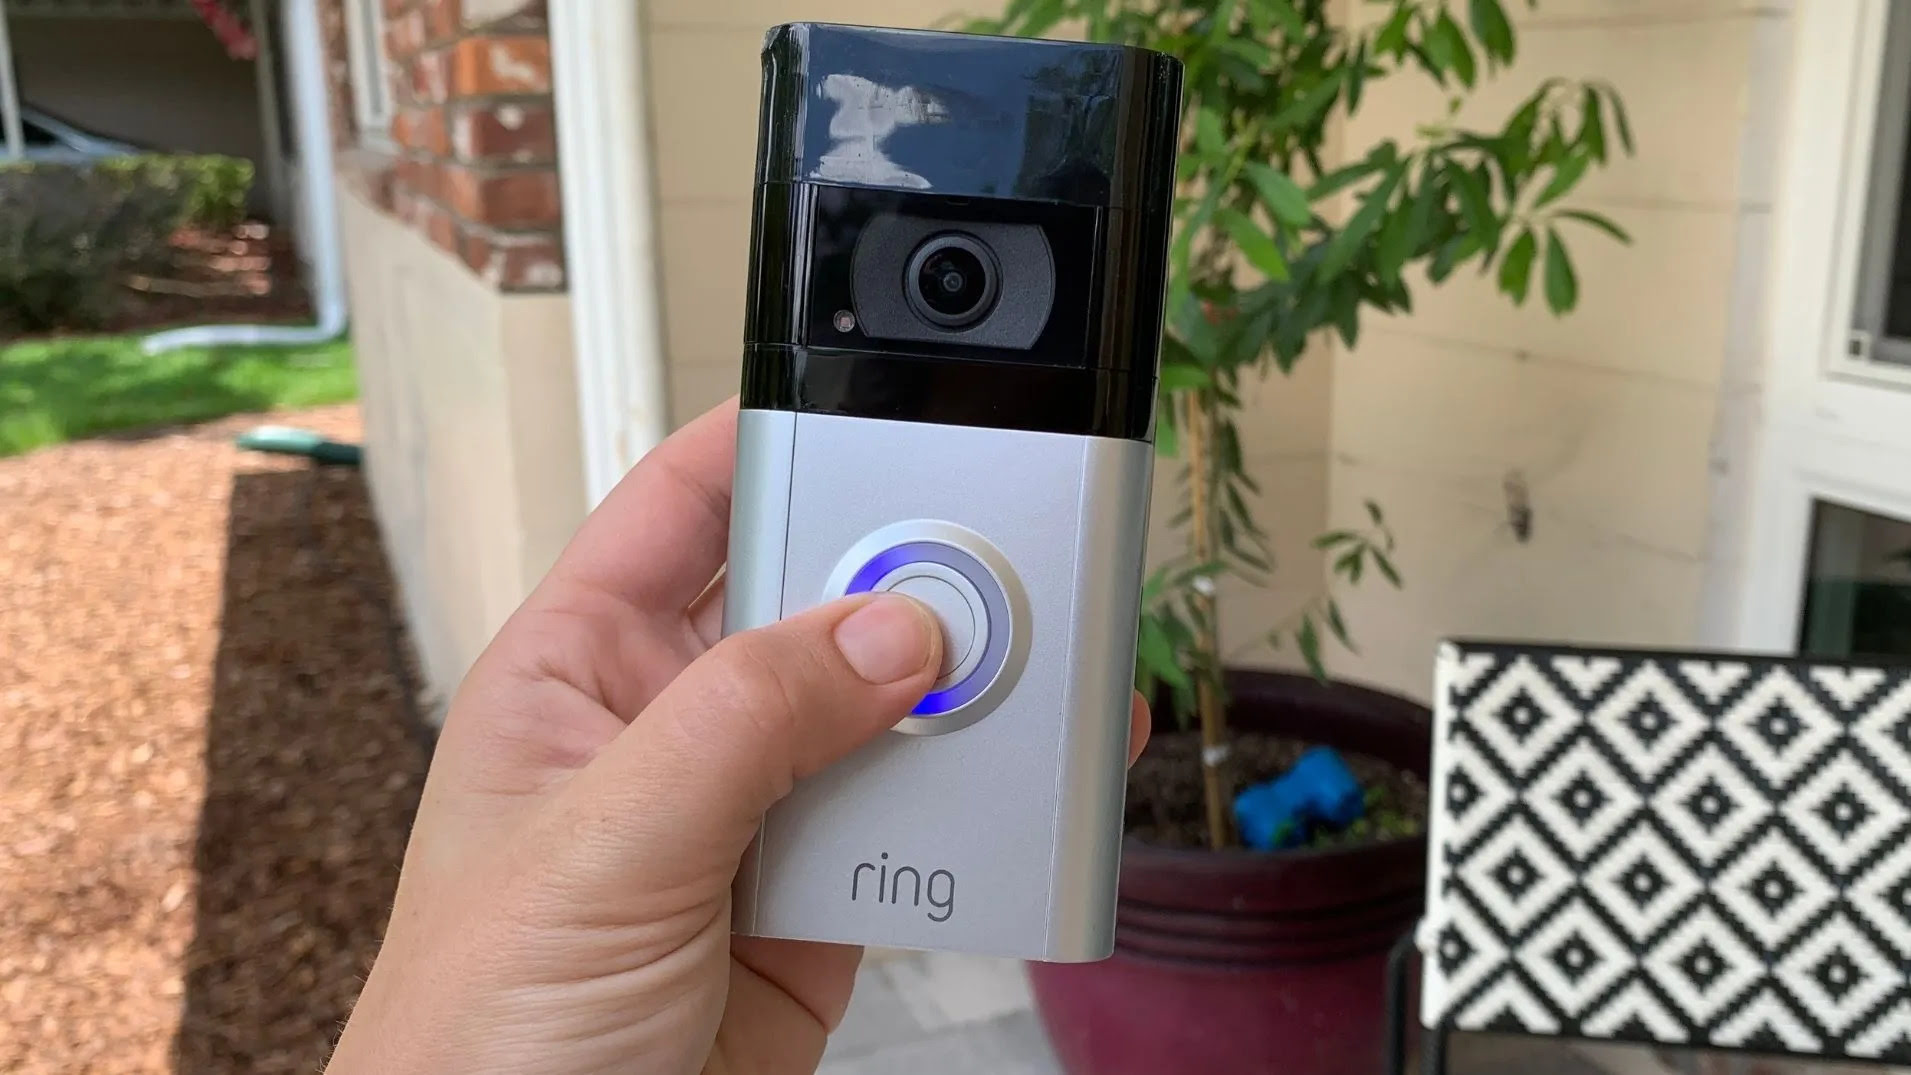
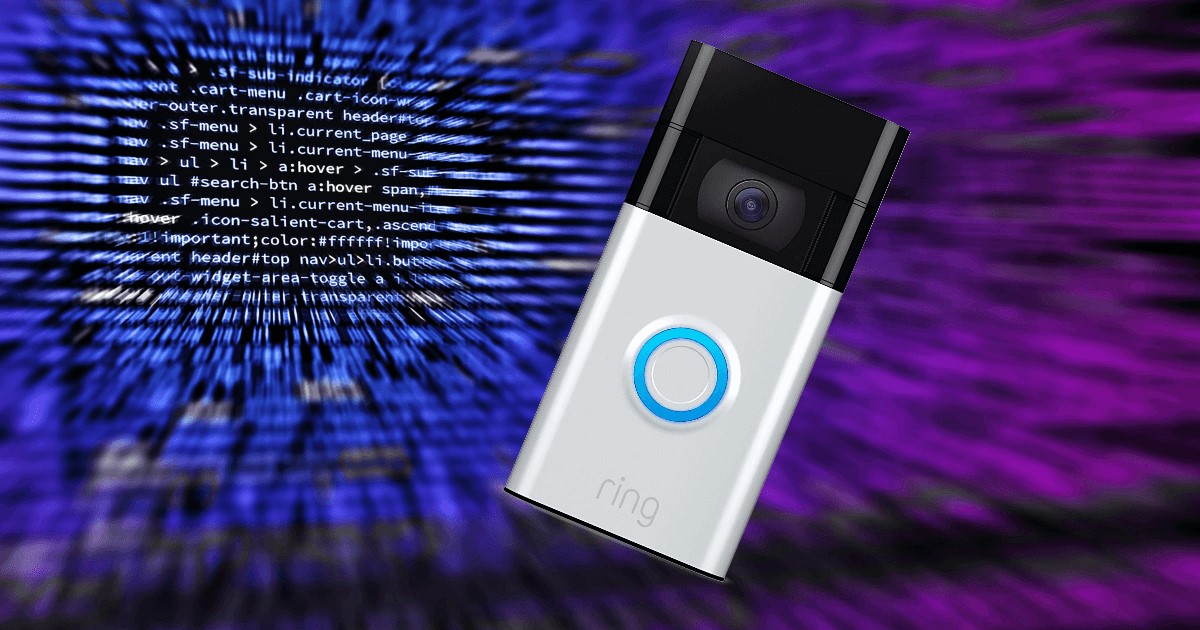
A Ring doorbell is a smart doorbell that allows you to see, hear, and speak to anyone at your front door from your smartphone, tablet, or computer. It comes equipped with a camera, microphone, and speaker, enabling two-way communication with visitors. With motion detection capabilities, the Ring doorbell can also send you instant alerts when someone approaches your front door, offering an added layer of security to your home.
Ring doorbells are not only convenient for answering the door when you’re not at home but also serve as a deterrent for potential intruders. The ability to view live video feed, record footage, and interact with visitors remotely gives homeowners a sense of control and peace of mind.
Why Connect to an Existing Ring Doorbell?
If you have moved into a property with an existing Ring doorbell or have inherited one from the previous homeowner, connecting to it allows you to take advantage of its features and customize the settings to your preferences. By connecting to the existing doorbell, you can receive notifications, access the video feed, and control the doorbell’s settings through the Ring app.
Now that we have a basic understanding of what a Ring doorbell is and the benefits of connecting to an existing one, let’s move on to the step-by-step process of connecting to your Ring doorbell.
Key Takeaways:
- Connecting to an existing Ring doorbell is a seamless process that enhances home security and convenience. By following the step-by-step guide, users can fully utilize the features and benefits of their Ring doorbell for peace of mind.
- The Ring doorbell offers a range of features, including live video feed, two-way audio communication, and customizable settings. By connecting to an existing Ring doorbell, users can enjoy the convenience of remote monitoring and interaction with visitors, adding an extra layer of security to their homes.
Step 1: Understanding the Ring Doorbell
Before you begin the process of connecting to an existing Ring doorbell, it’s important to familiarize yourself with the different components and features of the doorbell. This will help you better understand how it works and navigate through the setup process more easily.
1.1 Doorbell Design
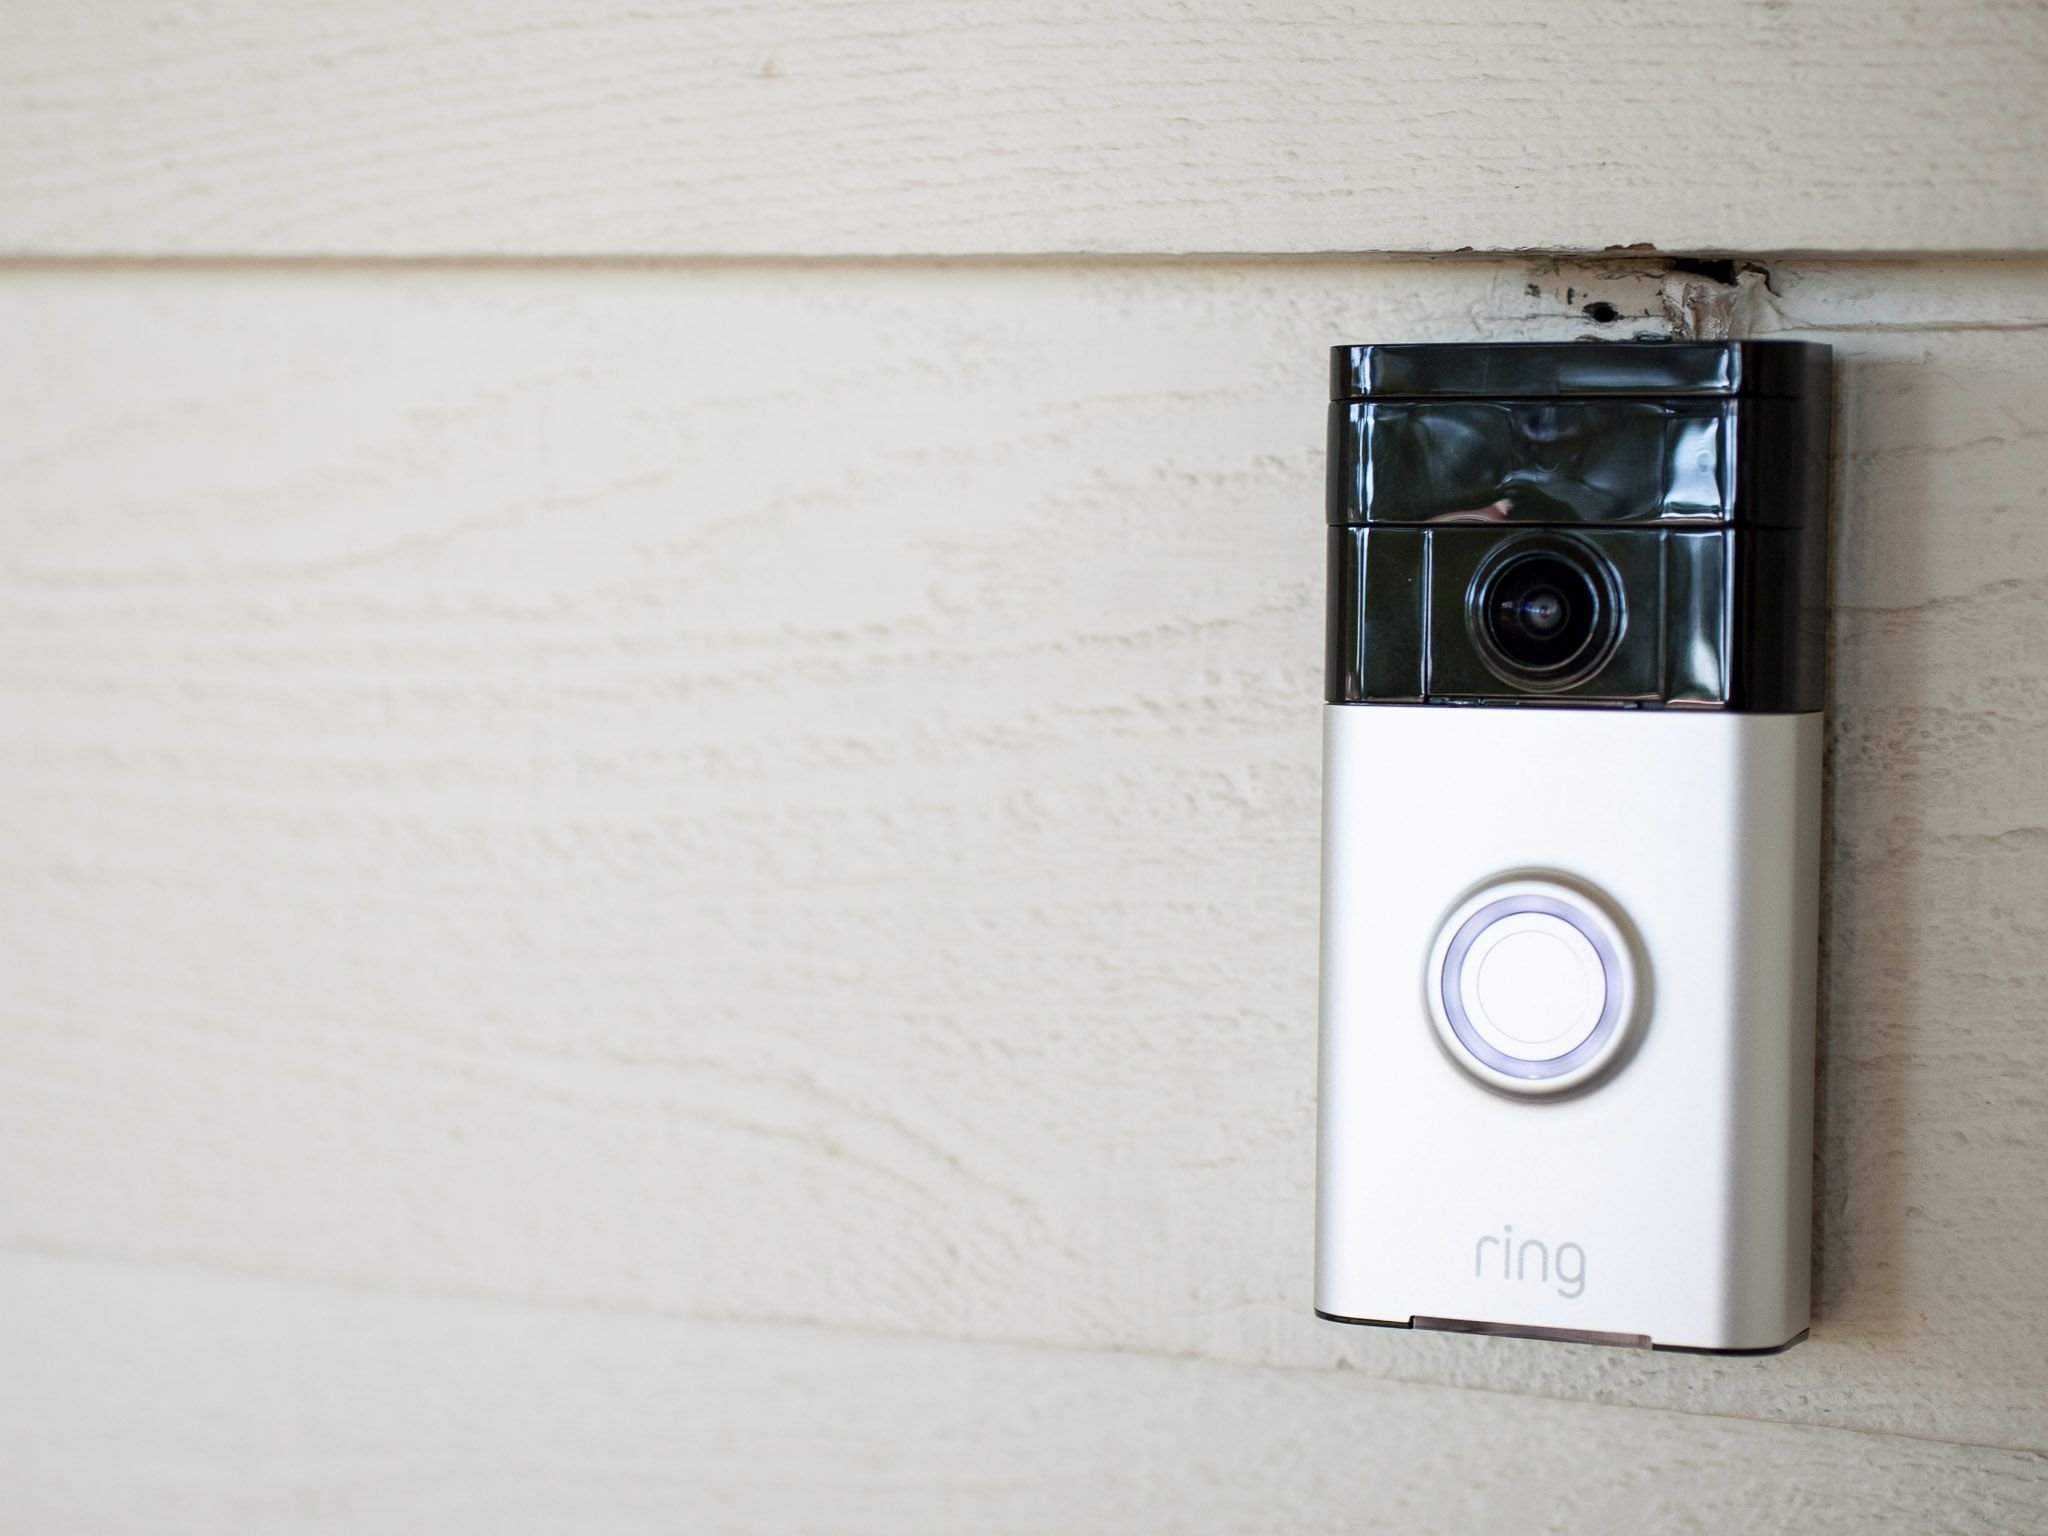
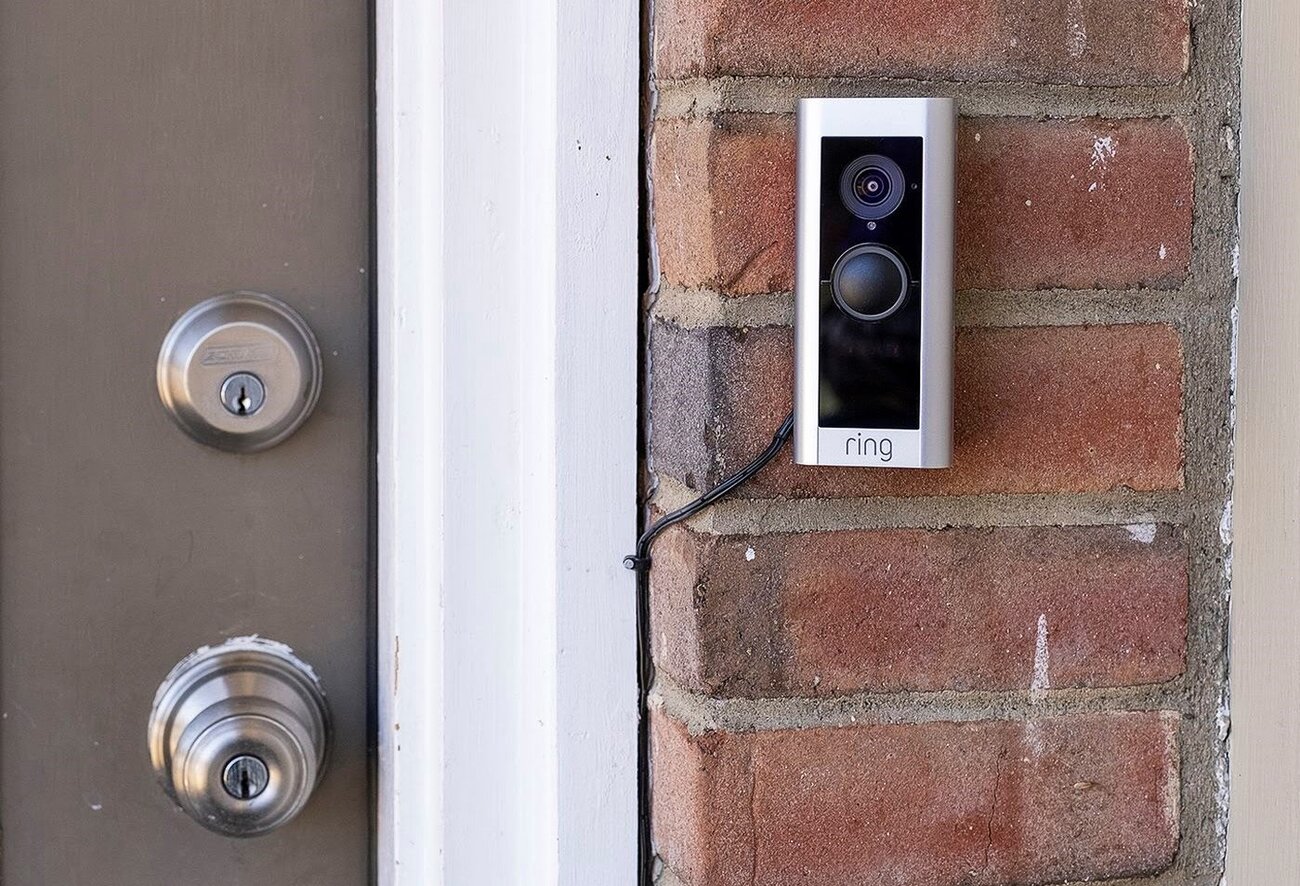
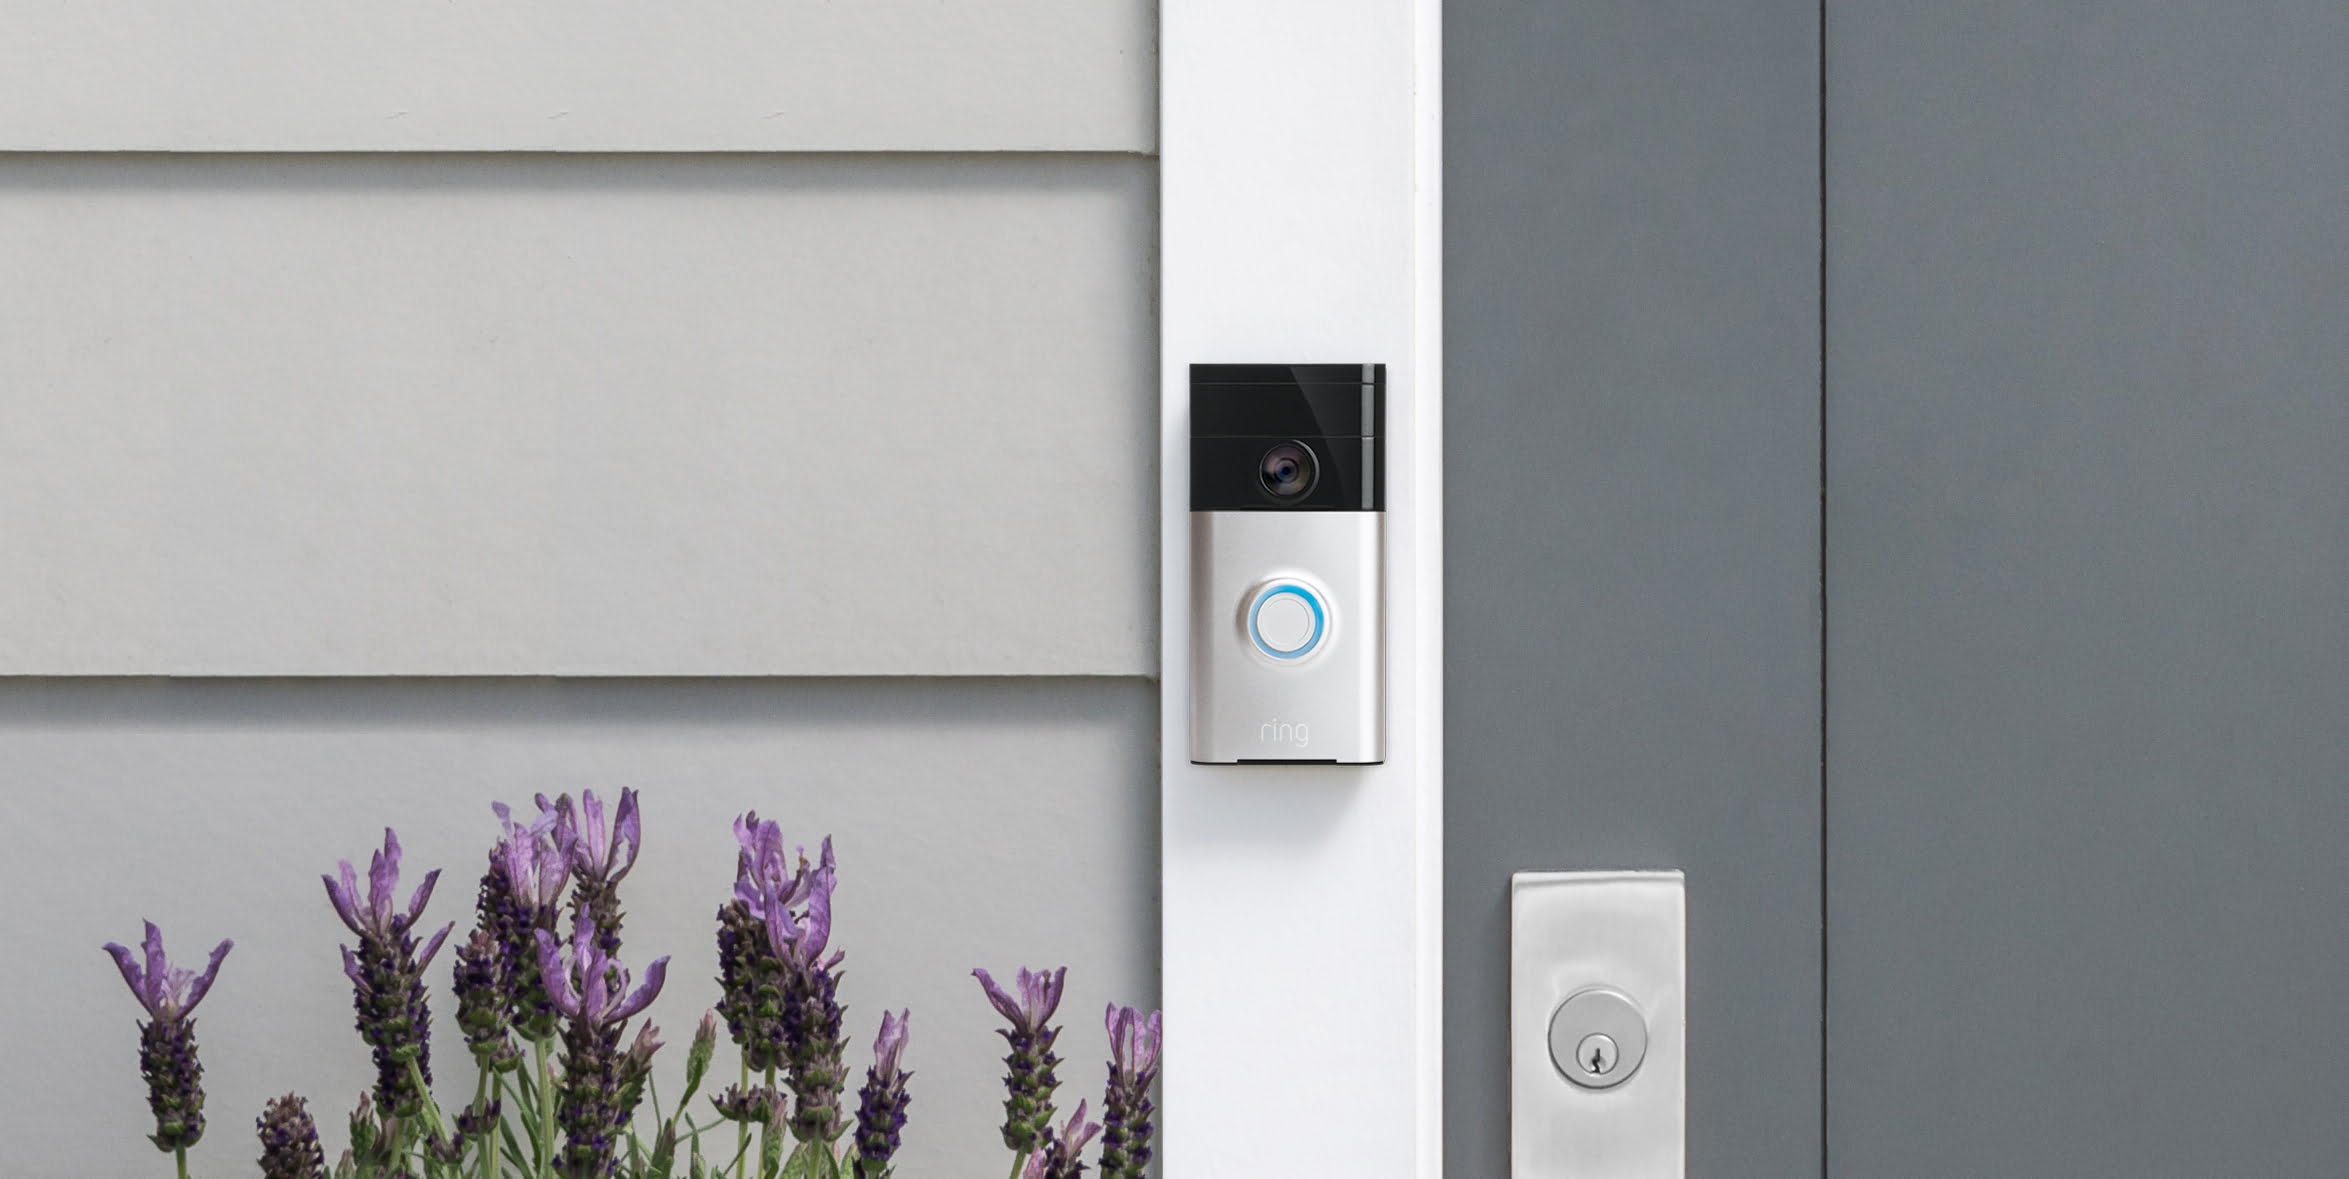
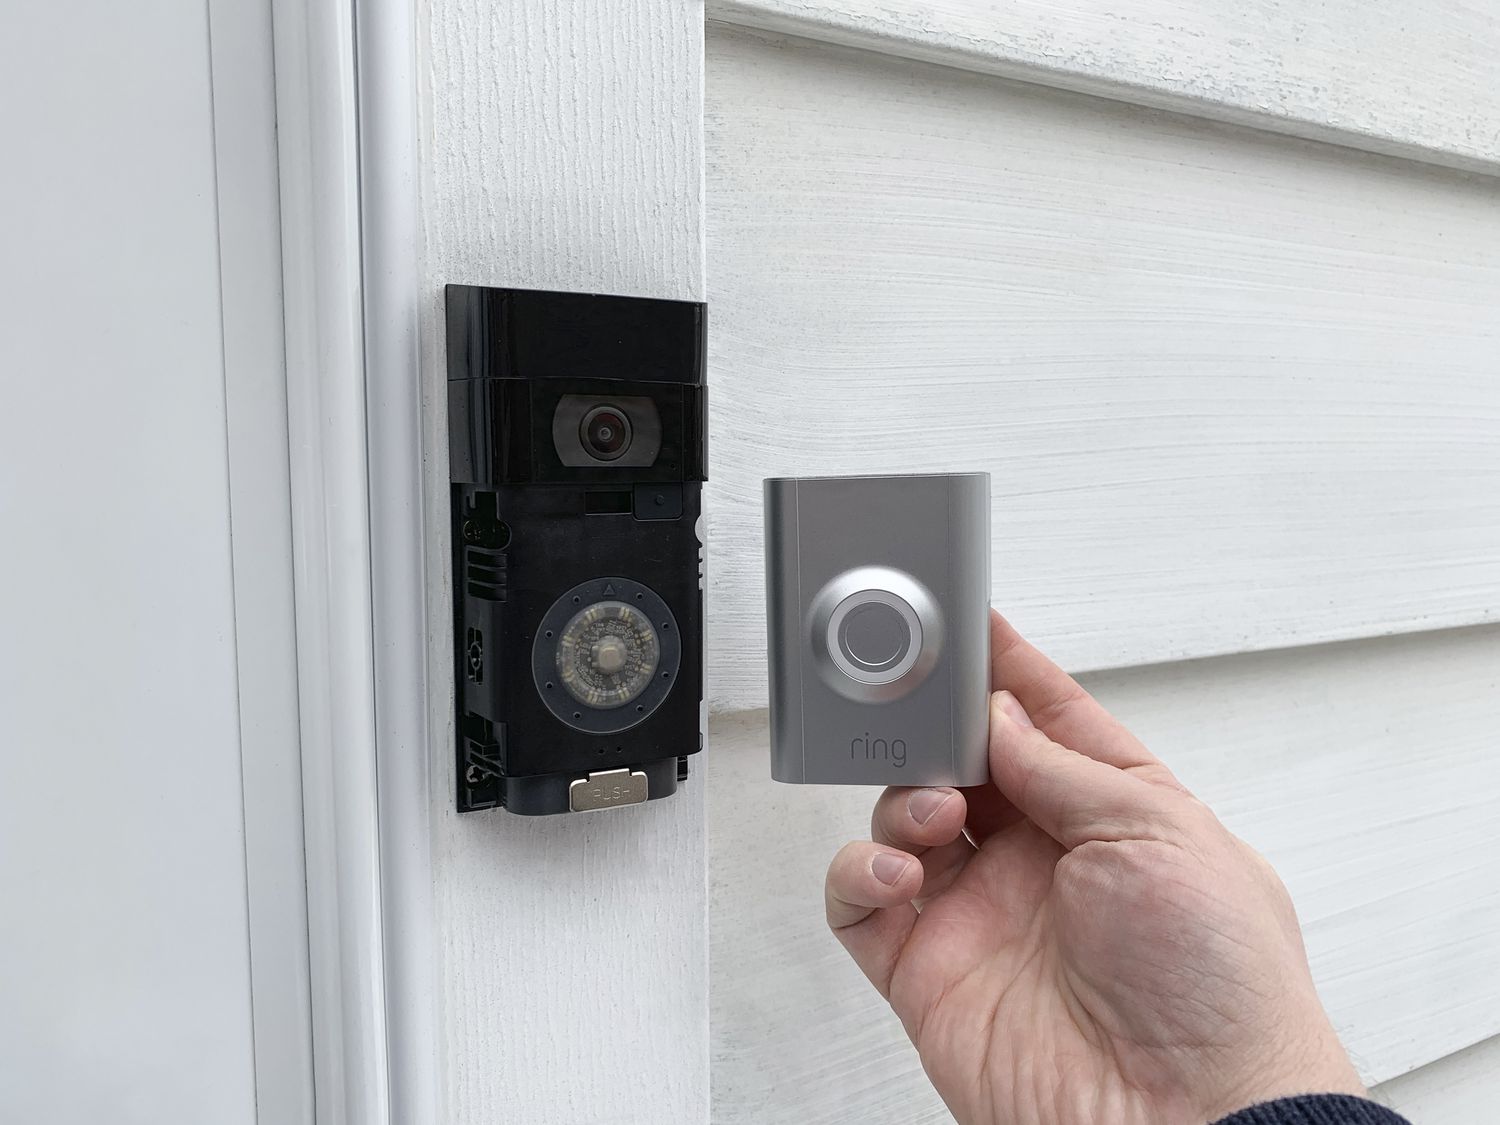
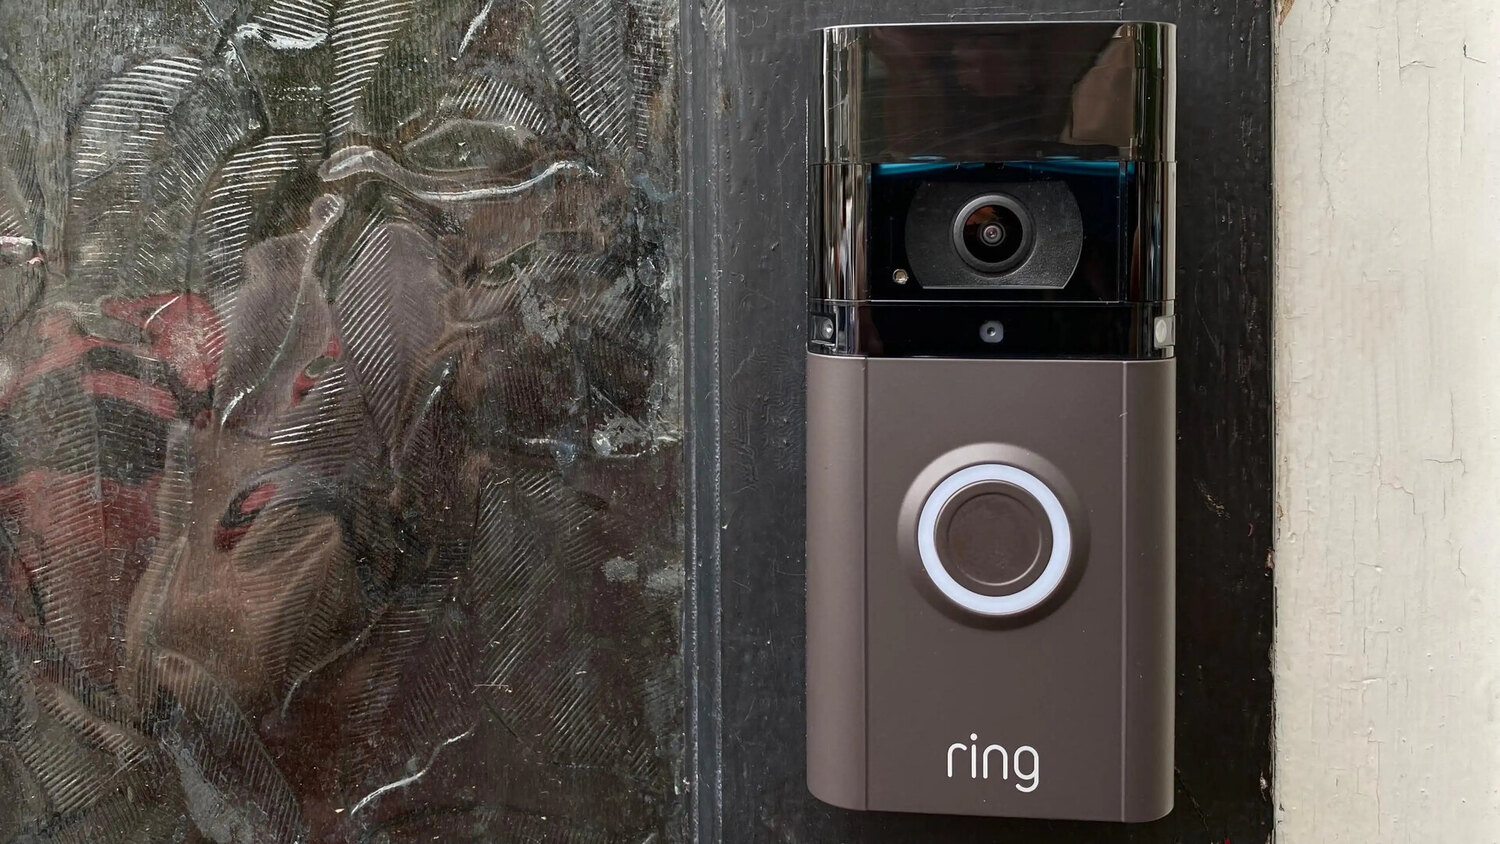
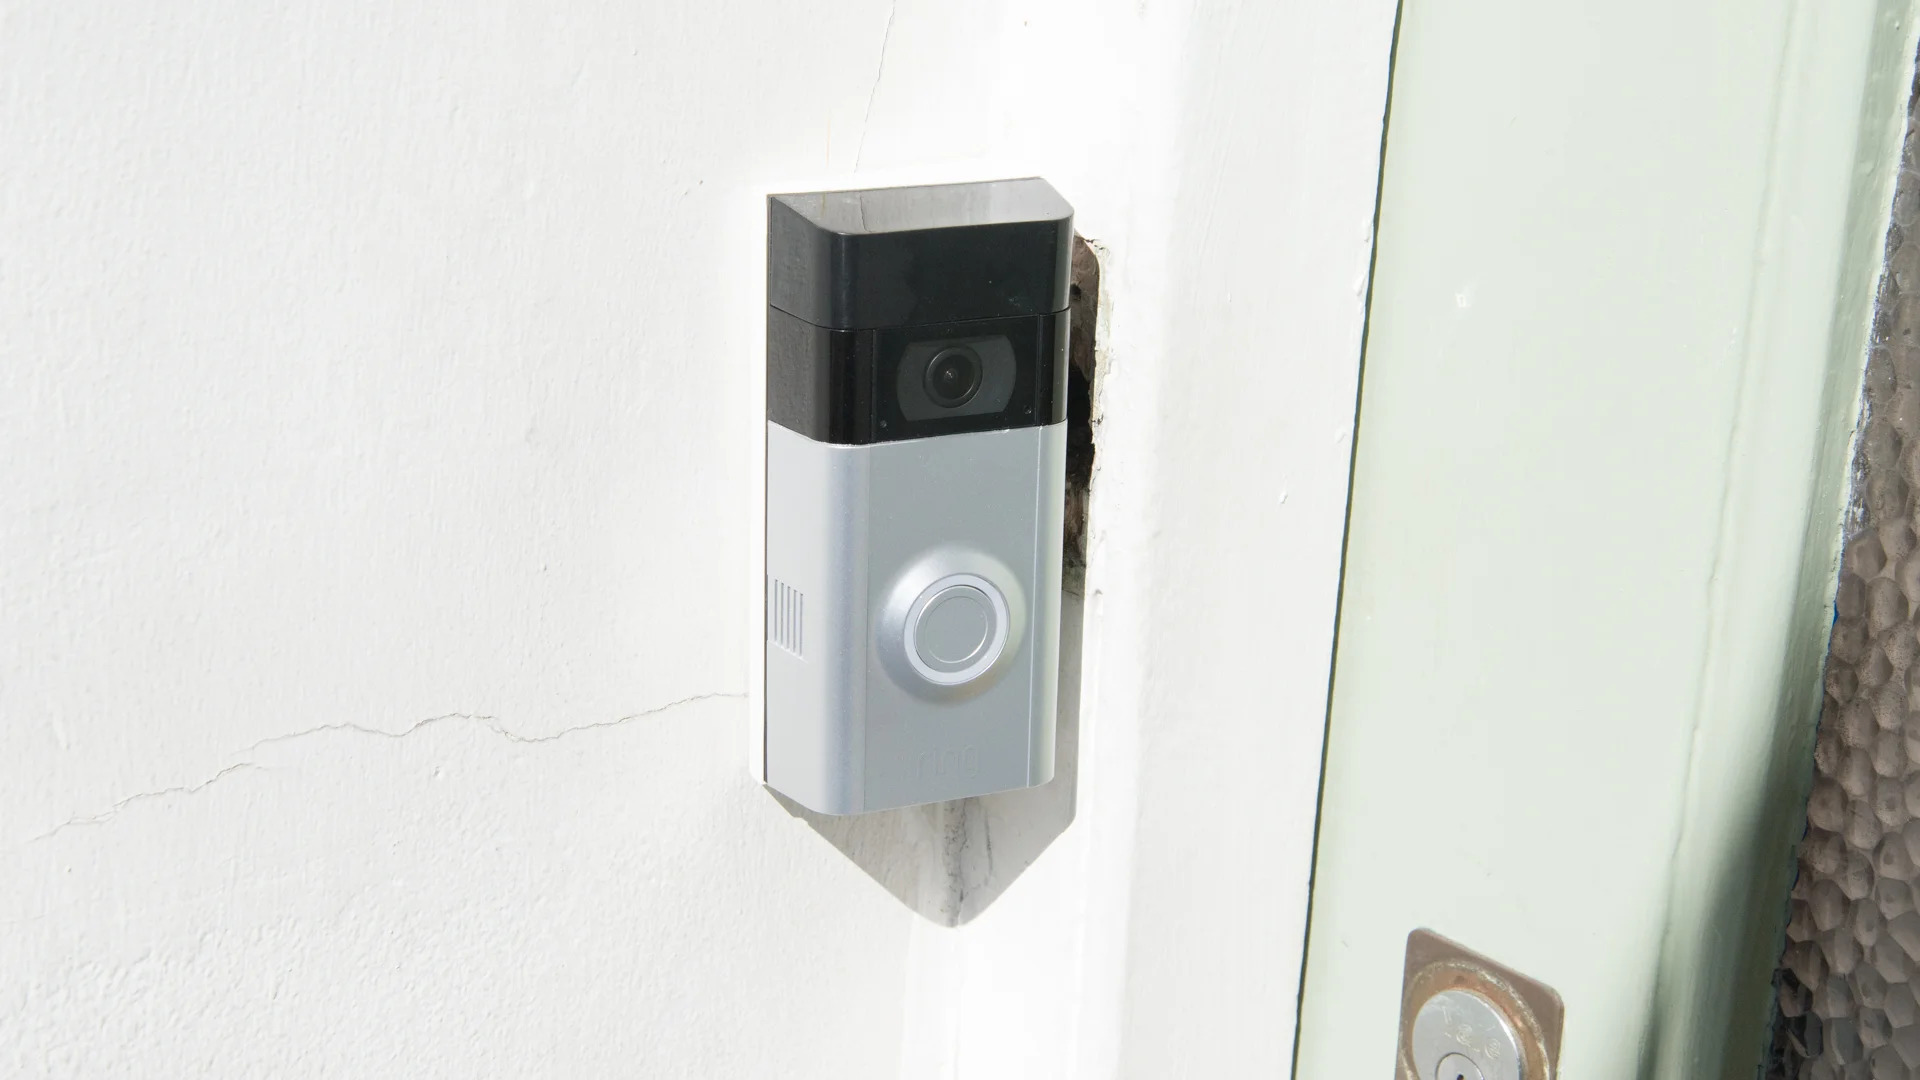
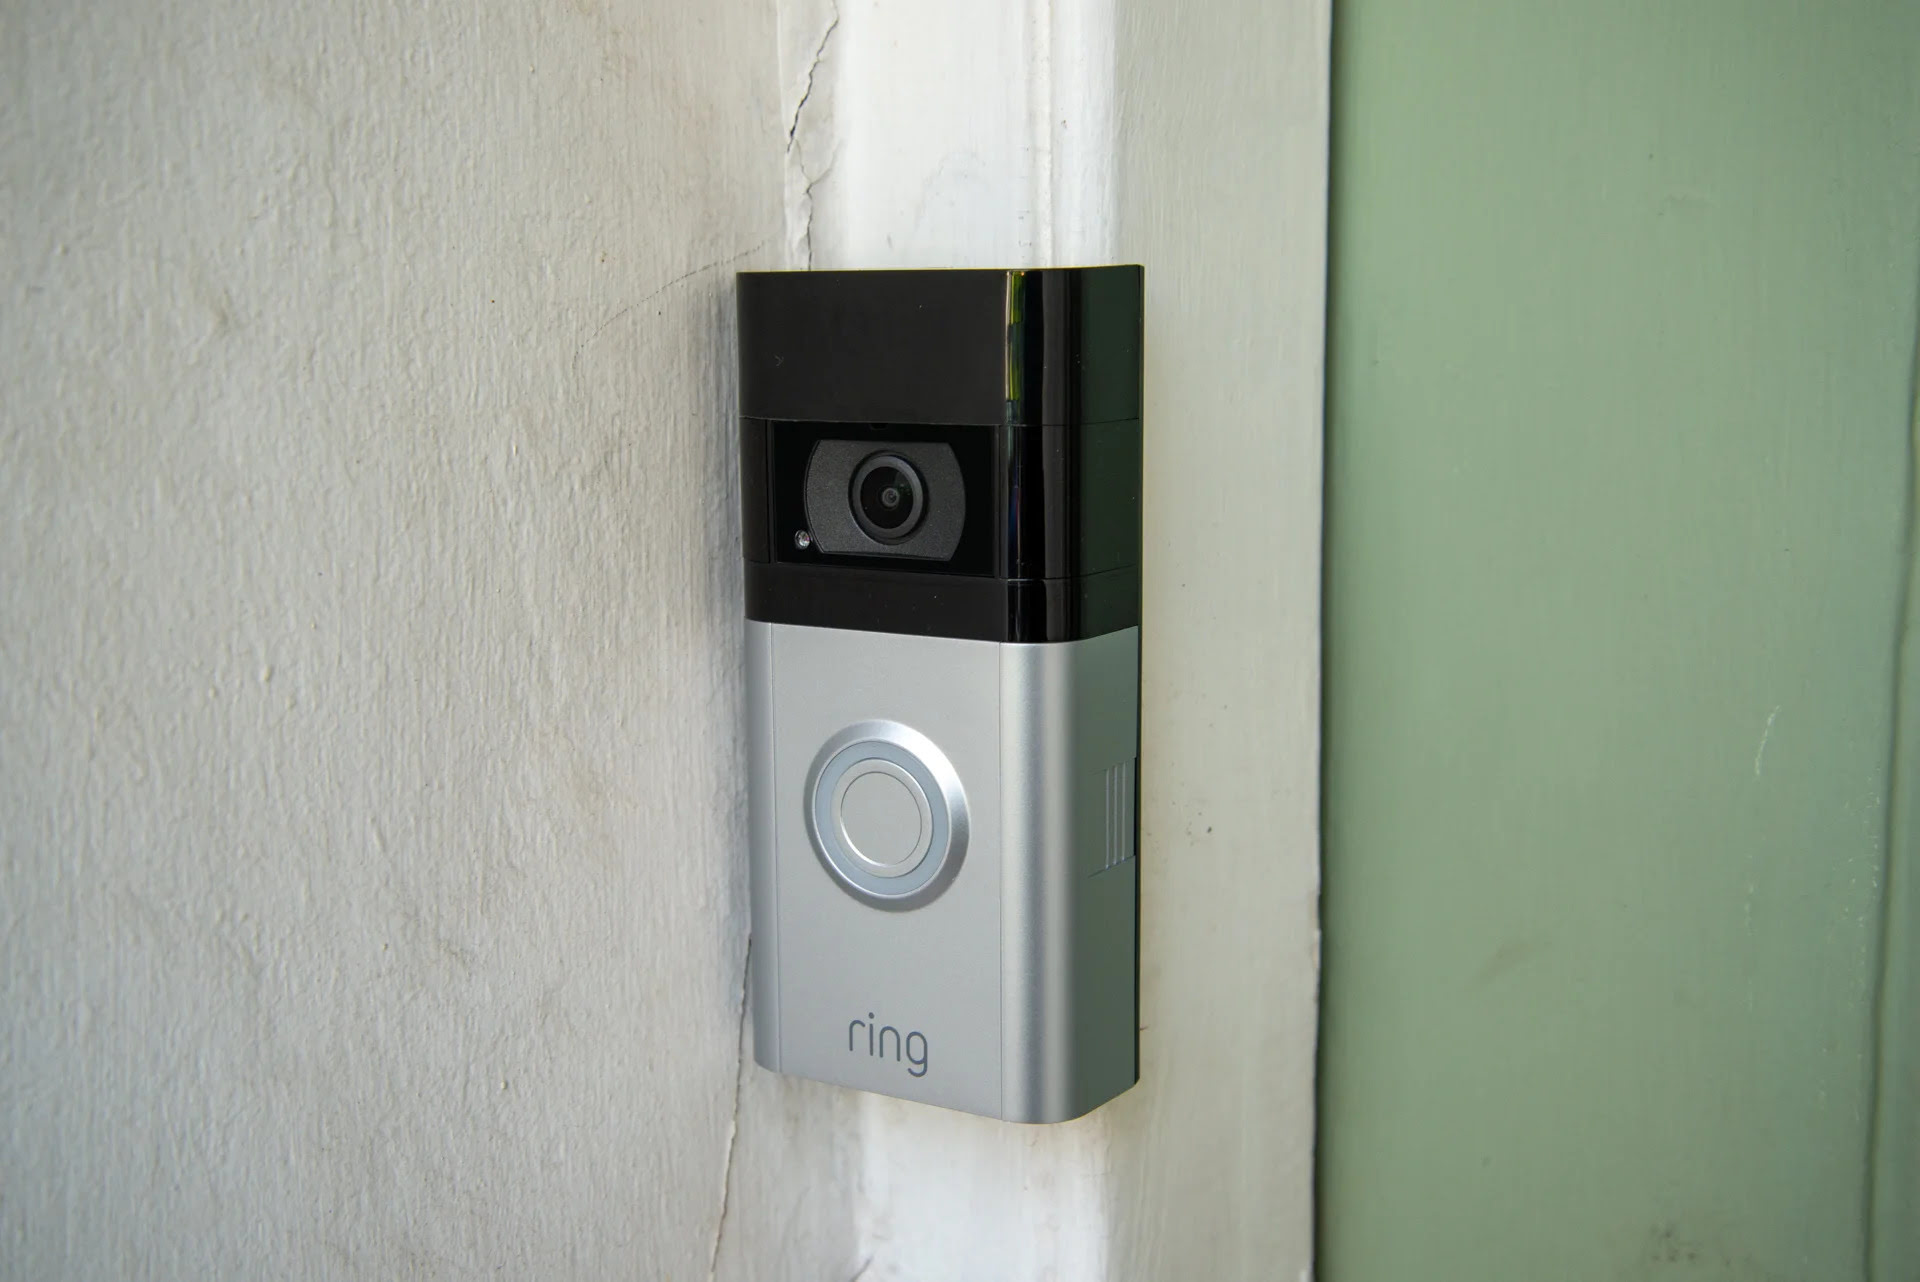
The Ring doorbell typically consists of a doorbell unit with a built-in camera, a speaker, and a microphone. The design may vary depending on the specific model you have, but the functionality remains the same.
1.2 Features
Understanding the features of your Ring doorbell is crucial to getting the most out of it. Here are some key features you should be aware of:
- Live Video Feed: The Ring doorbell allows you to view real-time video footage of your front door from your smartphone, tablet, or computer.
- Two-Way Audio: With the built-in microphone and speaker, you can have a conversation with whoever is at your front door from wherever you are.
- Motion Detection: The doorbell has motion sensors that can detect movement near your front door. You can receive instant alerts on your mobile device when motion is detected.
- Cloud Storage: Ring offers cloud storage for your recorded videos, allowing you to access and review footage at any time.
- Night Vision: The doorbell is equipped with infrared LEDs, enabling you to see clearly even in low-light or nighttime conditions.
- Customizable Settings: You can personalize the settings of your Ring doorbell to suit your preferences, such as adjusting motion sensitivity, setting up motion zones, and customizing notification settings.
1.3 Power Source
The Ring doorbell can be powered by either hardwiring it to your existing doorbell wiring or by using a rechargeable battery pack. Make sure to check which power source your doorbell is using before proceeding with the setup process.
1.4 Compatibility
It’s essential to confirm that your smartphone or tablet is compatible with the Ring app. The Ring app is available for both iOS and Android devices, so ensure that you have a compatible device to access the doorbell’s functionalities.
By understanding the design, features, power source, and compatibility of your Ring doorbell, you are now ready to move on to the next step: gathering the necessary equipment.
Step 2: Gathering the Necessary Equipment
Now that you have a good understanding of your Ring doorbell, it’s time to gather the necessary equipment to ensure a smooth installation and setup process. Here’s a list of the essential items you will need:
- Ring Doorbell: Obviously, you will need the Ring doorbell itself. Make sure you have the model that matches the one installed at your property.
- Smartphone or Tablet: You will need a compatible smartphone or tablet to download the Ring app and control your doorbell’s settings. Ensure that your device meets the requirements for the Ring app.
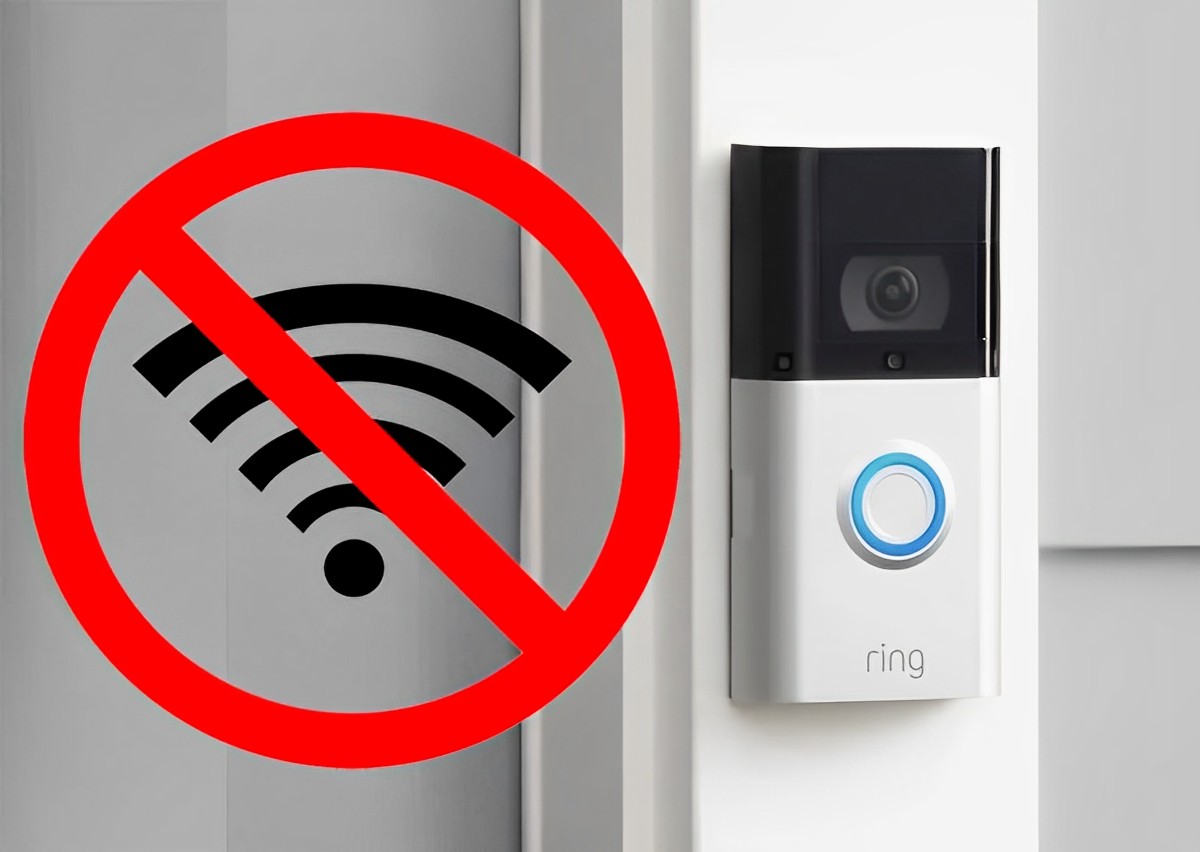
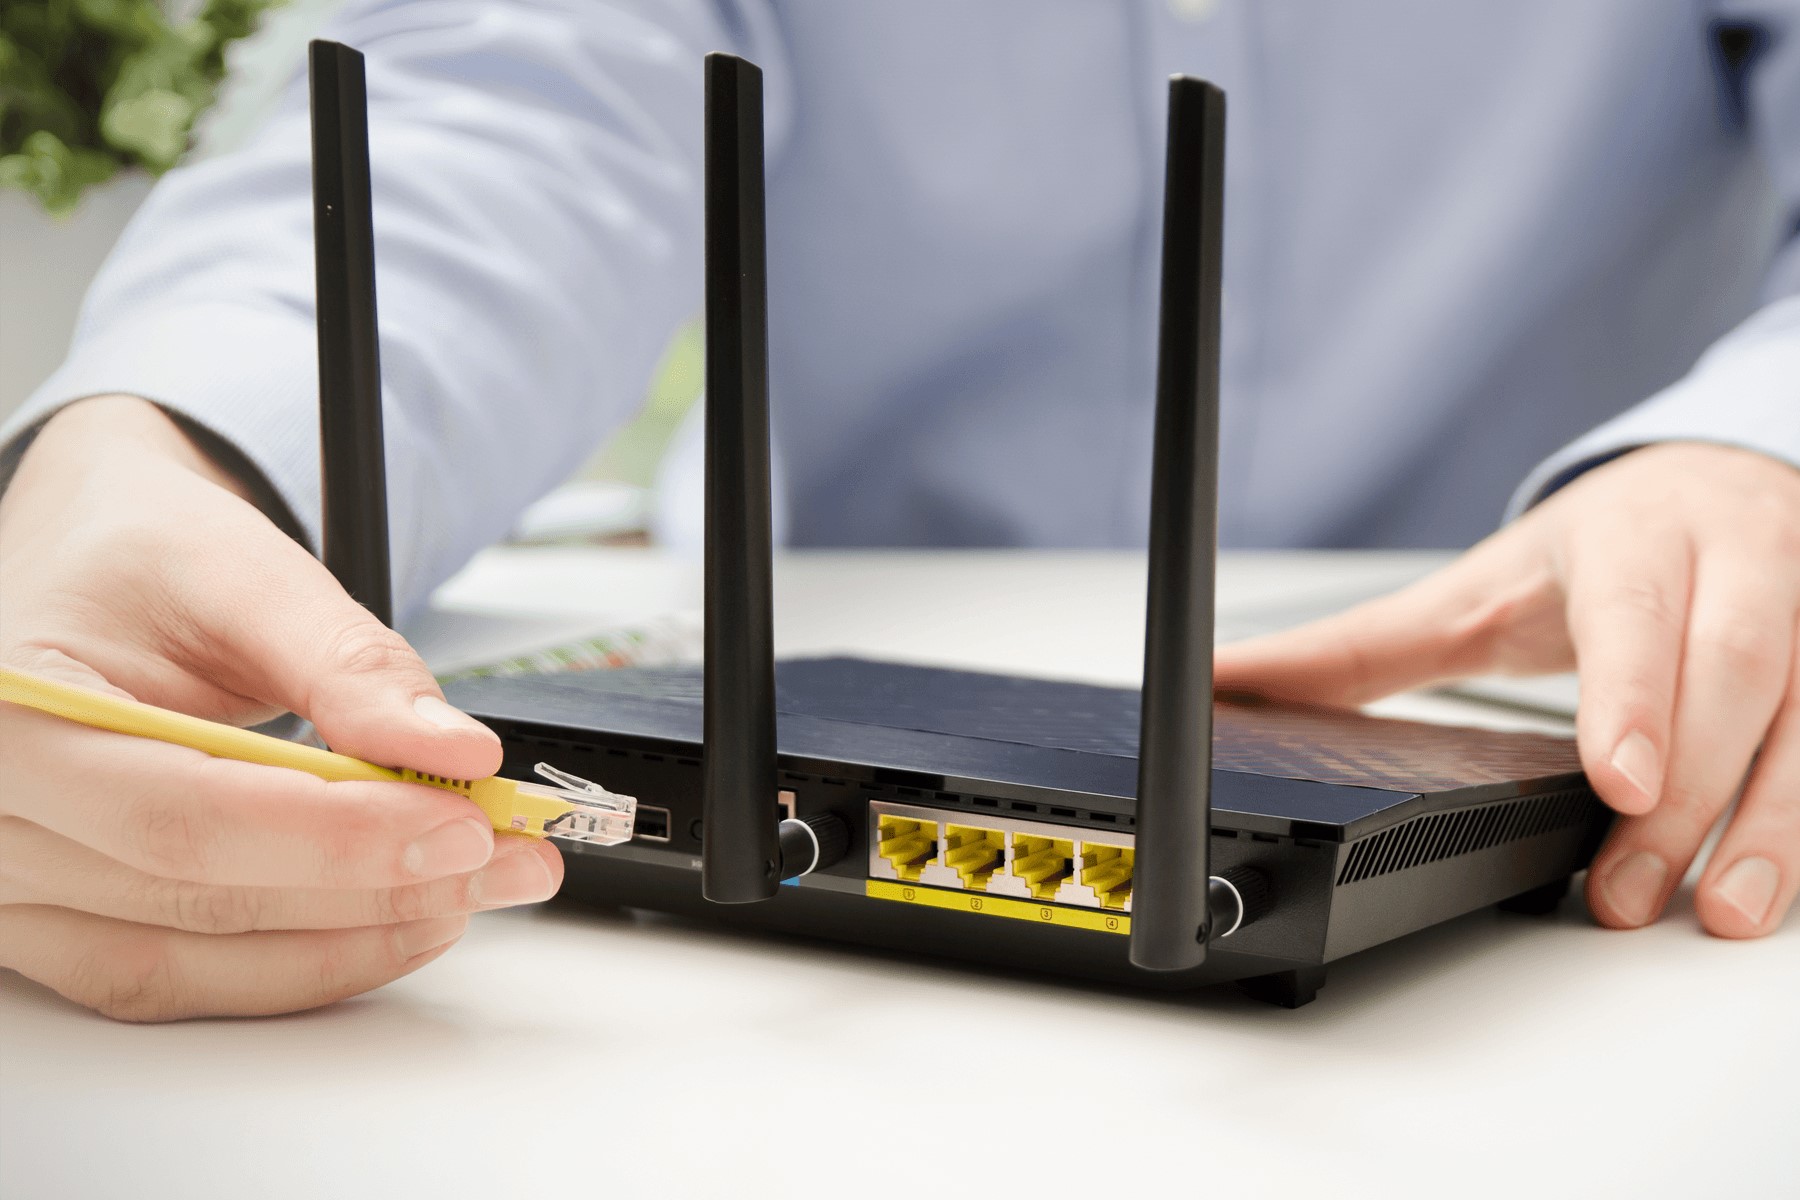
- Steady Wi-Fi Connection: A reliable and stable Wi-Fi connection is crucial for your Ring doorbell to function properly. Make sure your Wi-Fi network reaches the area where the doorbell is installed.
- Wi-Fi Network Name and Password: You will need the name (SSID) and password of your Wi-Fi network. These will be used during the setup process to connect your Ring doorbell to the internet.
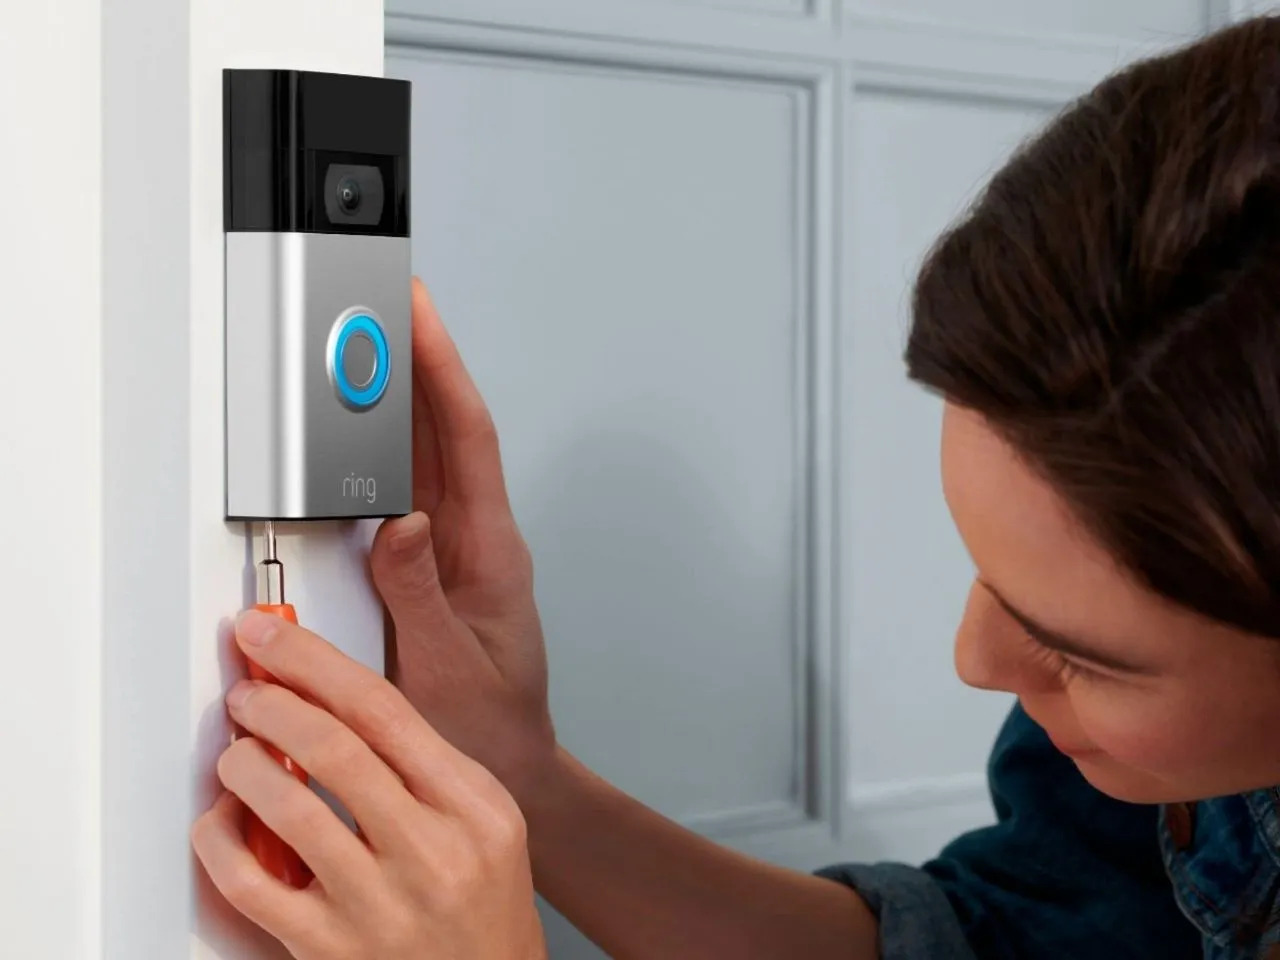
- Screwdriver and Drill: Depending on the installation method, you may need a screwdriver and drill to mount the Ring doorbell properly.
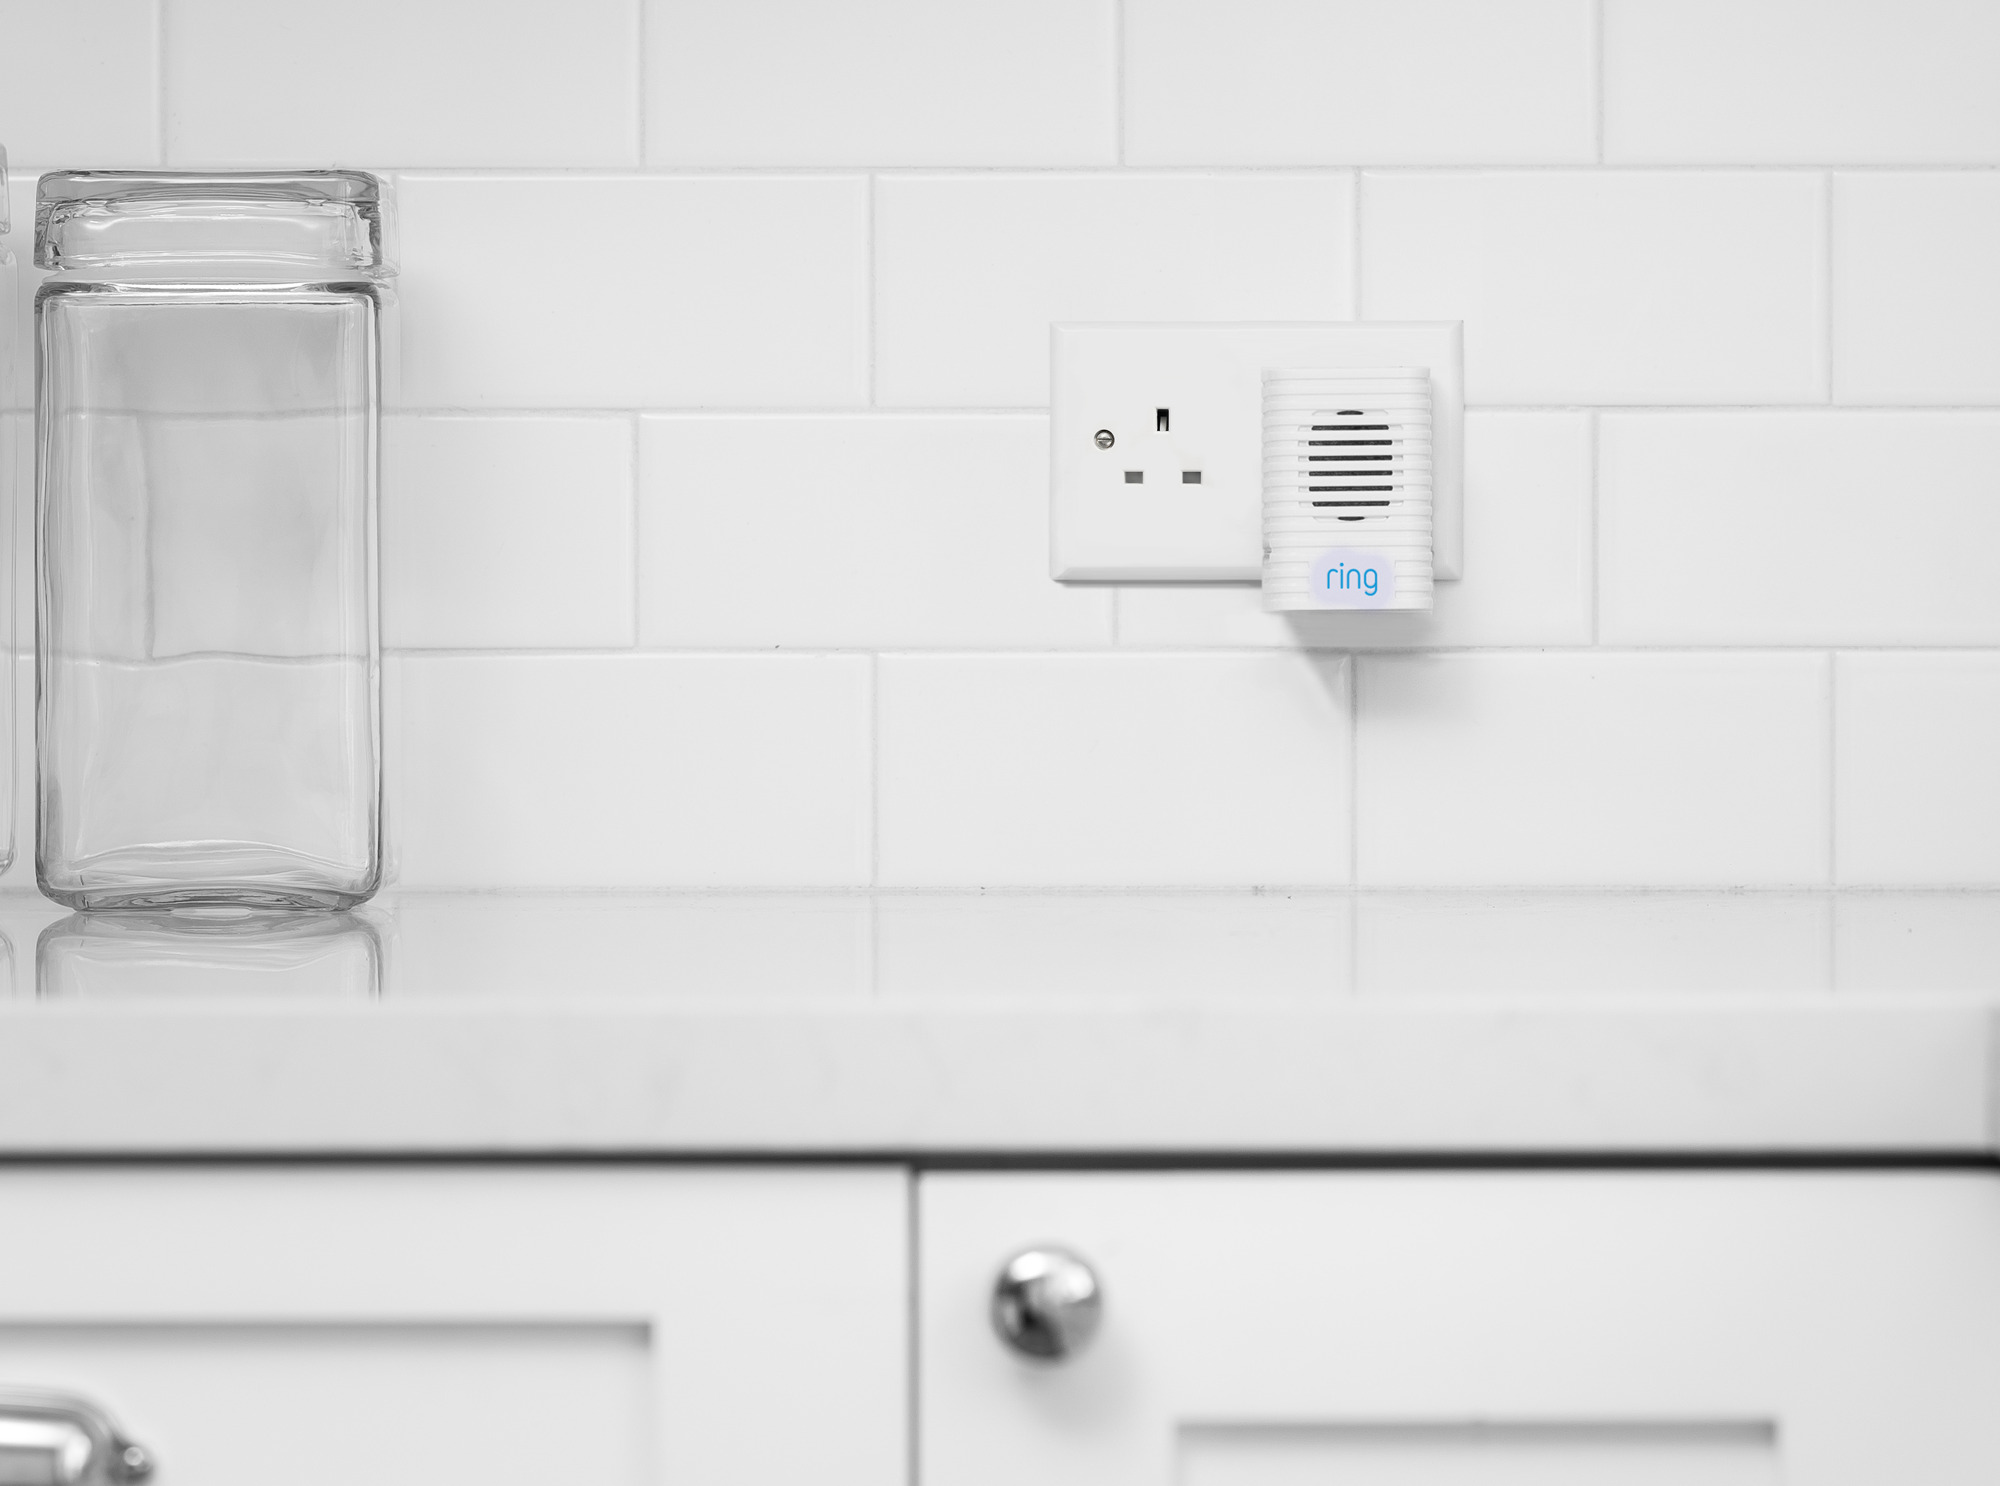
- Chime Kit (optional): If you want to hear a traditional doorbell sound inside your home, you may need a chime kit that is compatible with your Ring doorbell model.
It’s important to gather all the necessary equipment before starting the setup process to avoid any interruptions. Once you have everything you need, you can move on to the next step: downloading the Ring app.
Step 3: Downloading the Ring App
Before you can connect to your existing Ring doorbell, you need to download the Ring app on your smartphone or tablet. The Ring app is available for both iOS and Android devices and can be downloaded from the respective app stores.
Here’s how you can download the Ring app:
- Open the App Store (for iOS devices) or Google Play Store (for Android devices) on your smartphone or tablet.
- In the search bar, type “Ring” and tap on the search icon.
- Look for the official Ring app developed by “Ring.com” and tap on it.
- Tap on the “Install” or “Get” button to begin the download and installation process.
- Wait for the app to download and install on your device. This may take a few moments depending on your internet connection.
- Once the app is installed, tap on the “Open” button to launch the Ring app.
Alternatively, you can also scan the QR code on the Ring packaging or visit the Ring website to find the download links for the app.
After downloading the Ring app, ensure that your device is connected to the internet and move on to the next step: creating a Ring account.
Step 4: Creating a Ring Account
Before you can connect to your existing Ring doorbell, you need to create a Ring account. The Ring account will serve as your central hub for managing all your Ring devices and accessing their features. Here’s how you can create a Ring account:
- Open the Ring app on your smartphone or tablet.
- Tap on the “Create Account” or “Sign Up” button.
- Enter your email address in the provided field. Make sure to use a valid and accessible email address as you will receive important notifications and account-related information in the future.
- Create a strong and unique password for your Ring account. Make sure to follow the password requirements, such as including uppercase and lowercase letters, numbers, and special characters.
- Tap on the “Next” or “Continue” button to proceed.
- On the next screen, enter your first and last name in the appropriate fields.
- Review and agree to the Ring terms of service and privacy policy.
- Tap on the “Create Account” or “Sign Up” button to complete the account creation process.
Once you have successfully created a Ring account, you will have access to the full range of features and settings offered by Ring devices. Your account will also allow you to receive important security notifications and alerts related to your Ring doorbell.
After creating a Ring account, you can move on to the next step: connecting your Ring doorbell to Wi-Fi.
When connecting to an existing Ring doorbell, make sure to have the Ring app downloaded and updated on your smartphone. Follow the in-app instructions to connect the doorbell to your Wi-Fi network and complete the setup process.
Read more: How To Connect To A Ring Doorbell
Step 5: Connecting to Wi-Fi
Now that you have downloaded the Ring app and created a Ring account, it’s time to connect your Ring doorbell to your Wi-Fi network. This step is crucial as it allows your doorbell to communicate with your smartphone or tablet through the Ring app. Here’s how you can connect to Wi-Fi:
- Open the Ring app on your smartphone or tablet.
- Tap on the “Set Up a Device” or “Add Device” option in the app’s menu.
- Select the “Ring Video Doorbell” or the specific model that matches your device.
- Follow the on-screen instructions to prepare the doorbell for setup, which may include inserting the battery or putting the doorbell into setup mode.
- Once the doorbell is ready, the app will prompt you to join the doorbell’s Wi-Fi network. Go to your device’s Wi-Fi settings and connect to the network with the name provided in the app.
- Return to the Ring app and wait for it to detect the connected doorbell.
- Select your home Wi-Fi network from the list and enter the network password when prompted.
- Wait for the doorbell to connect to your home Wi-Fi network. This process may take a few moments.
- Once connected, the Ring app will confirm the successful Wi-Fi connection and prompt you to proceed with the setup process.
It’s important to ensure that your smartphone or tablet remains within range of both your home Wi-Fi network and the doorbell during the setup process. This will help establish a strong and stable connection.
With your Ring doorbell successfully connected to Wi-Fi, you can now move on to the next step: pairing the doorbell with the app.
Step 6: Pairing the Doorbell with the App
Now that your Ring doorbell is connected to your Wi-Fi network, it’s time to pair it with the Ring app on your smartphone or tablet. Pairing your doorbell with the app will allow you to control and access its features directly from your mobile device. Here’s how you can pair the doorbell with the app:
- Open the Ring app on your smartphone or tablet.
- Tap on the “Set Up a Device” or “Add Device” option in the app’s menu.
- Select the “Ring Video Doorbell” or the specific model that matches your doorbell.
- Follow the on-screen instructions to put the doorbell into pairing mode. This typically involves pressing a button on the doorbell or using the app to initiate the pairing process.
- Once the doorbell is in pairing mode, the app will search for the device and display it in the list of available devices.
- Select your doorbell from the list and follow the prompts to complete the pairing process.
- During the pairing process, you can customize settings such as the doorbell’s location, motion detection sensitivity, and notification preferences.
- Once the pairing process is complete, you will be able to see a live video feed from your doorbell and access its features through the Ring app.
It’s important to note that during the pairing process, you may be required to update the firmware of your doorbell to ensure it has the latest software features and security enhancements. If prompted, make sure to follow the instructions provided by the app to update the firmware.
After successfully pairing your Ring doorbell with the app, you can proceed to the next step: testing the connection.
Step 7: Testing the Connection
After pairing your Ring doorbell with the app, it’s crucial to test the connection to ensure that everything is working correctly. Testing the connection will allow you to verify that you can receive notifications, view the live video feed, and interact with visitors through the two-way audio feature. Here’s how you can test the connection:
- Open the Ring app on your smartphone or tablet.
- From the app’s home screen, select your connected Ring doorbell.
- Tap on the “Live View” option to access the live video feed from your doorbell.
- Check if you can see a clear and real-time video feed from your doorbell’s camera on your device’s screen.
- Test the two-way audio feature by speaking into the microphone on your device and listening for the sound through the doorbell’s speaker.
- Verify that you can receive push notifications on your smartphone or tablet when someone triggers the motion detection or presses the doorbell button.
- Try adjusting the settings in the app, such as motion detection sensitivity or notification preferences, to ensure that changes take effect on your doorbell.
- Perform additional tests, such as recording a video, taking a snapshot, or accessing the event history, to confirm that all features are functioning as intended.
If you encounter any issues during the testing process, double-check your Wi-Fi connection, ensure that your device is within range, and review the settings in the Ring app. If necessary, consult the Ring support documentation or reach out to their customer support for assistance.
After successfully testing the connection and ensuring that all features are working as expected, you can move on to the final step: customizing the settings of your Ring doorbell.
Step 8: Customizing Settings
Now that your Ring doorbell is successfully connected and functioning, it’s time to customize its settings to suit your preferences. The Ring app offers a range of options that allow you to personalize your doorbell’s behavior and notification settings. Here’s how you can customize the settings:
- Open the Ring app on your smartphone or tablet.
- Select your connected Ring doorbell from the app’s home screen.
- Tap on the “Device Settings” or “Settings” option.
- Explore the different customization options available to you, such as:
- Adjusting motion detection sensitivity: You can fine-tune the sensitivity of the motion sensors to reduce false alerts or capture more activity.
- Setting up motion zones: Define specific areas in the camera’s field of view where you want motion detection to be more focused or disabled.
- Customizing notification preferences: Specify which types of events, such as motion detection or doorbell press, should trigger notifications on your smartphone or tablet.
- Enabling or disabling features: Explore options such as controlling the night vision mode, enabling or disabling the chime sound, or adjusting the camera’s field of view.
- Managing video storage: Depending on your Ring subscription plan, you can configure how long recorded videos are stored in the cloud and access your video history.
- Creating a schedule: Set up specific time periods during which motion detection is active or customize the behavior of your doorbell during different times of the day.
- Make changes to the settings based on your preferences and needs.
- Once you have customized the settings to your liking, make sure to save the changes in the app.
Take the time to explore the various settings and options available in the Ring app to make your doorbell work optimally for you.
Remember that you can always revisit the settings and make adjustments as needed. It’s important to regularly check the settings to ensure they align with your current requirements and any changes in your home environment.
Congratulations! You have successfully connected to an existing Ring doorbell and customized its settings. Enjoy the convenience, security, and peace of mind that your Ring doorbell provides.
Are you planning to expand your Ring setup? Don’t hesitate to explore other Ring devices, such as security cameras or Ring Alarm, to create a comprehensive and integrated home security system.
Thank you for following this step-by-step guide. If you have any further questions or need assistance, don’t hesitate to consult the Ring support resources or reach out to their customer support team. Happy home security monitoring!
Conclusion
Connecting to an existing Ring doorbell is a simple and straightforward process that allows you to fully utilize the features and benefits of this popular smart doorbell. By following the step-by-step guide outlined in this article, you can successfully connect to your Ring doorbell and customize its settings to suit your preferences.
The Ring doorbell offers a range of features, including live video feed, two-way audio communication, motion detection, cloud storage, and customizable settings. These features provide convenience, security, and peace of mind, allowing you to monitor your front door and interact with visitors remotely.
Throughout the setup process, it’s important to ensure that you have the necessary equipment, such as your smartphone or tablet, a reliable Wi-Fi connection, and any required tools for installation. By gathering these items beforehand, you can streamline the process and avoid interruptions.
Remember to download the Ring app, create a Ring account, connect your doorbell to your Wi-Fi network, and pair it with the app. After testing the connection and customizing the settings to your liking, you are ready to enjoy the full functionality of your Ring doorbell.
Stay informed about any updates or additional features offered by Ring by regularly checking their website, app, or support resources. As technology advances, there may be new options and enhancements available for your Ring doorbell.
Whether you are a new homeowner with an existing Ring doorbell or have decided to invest in one, connecting to your Ring doorbell is a simple and rewarding process. Enjoy the convenience, security, and peace of mind that your Ring doorbell provides. Feel confident in knowing that you have taken an important step toward protecting your home and loved ones.
Thank you for following this comprehensive guide on connecting to an existing Ring doorbell. If you have any further questions or require assistance, don’t hesitate to reach out to Ring’s support team. Wishing you a seamless and enjoyable experience with your Ring doorbell!
Frequently Asked Questions about How To Connect To An Existing Ring Doorbell
Was this page helpful?
At Storables.com, we guarantee accurate and reliable information. Our content, validated by Expert Board Contributors, is crafted following stringent Editorial Policies. We're committed to providing you with well-researched, expert-backed insights for all your informational needs.


0 thoughts on “How To Connect To An Existing Ring Doorbell”