Articles
How To Cut Backing For A Quilt
Modified: August 22, 2024
Learn the best techniques for cutting backing fabric for your quilt in this informative article. Find step-by-step instructions and helpful tips to ensure a perfect fit.
(Many of the links in this article redirect to a specific reviewed product. Your purchase of these products through affiliate links helps to generate commission for Storables.com, at no extra cost. Learn more)
Introduction
When it comes to quilting, the backing fabric is an essential component. It serves as the foundation for the quilt and provides a cohesive and beautiful finish. However, cutting the backing fabric can be a bit daunting, especially for beginners. With the right techniques and tools, you can easily cut the backing fabric for your quilt with precision and accuracy.
In this article, we will guide you through the step-by-step process of cutting backing fabric for a quilt. From choosing the right fabric to trimming the excess, you will learn everything you need to know to successfully cut backing fabric for your next quilting project.
Before we dive into the process, let’s take a moment to gather the materials you will need:
- Fabric for backing
- Rotary cutter
- Quilting ruler
- Cutting mat
- Fabric pen or chalk
- Straight pins
- Iron and ironing board
- Scissors
Now that we have our materials ready, let’s proceed to the first step: choosing the backing fabric.
Key Takeaways:
- Master the art of cutting backing fabric by choosing the right fabric, precise measurements, and careful cutting. Create a solid foundation for your quilt and enjoy the quilting process with confidence.
- Achieve a professional finish by trimming excess fabric and aligning layers for a seamless edge. Embrace creativity and enjoy the journey of creating beautiful, cherished quilts.
Read more: How To Cut Back Thyme
Materials Needed
Before we begin cutting the backing fabric for your quilt, let’s gather all the necessary materials. Having these tools at hand will make the process easier and more efficient. Here’s what you’ll need:
- Fabric for backing: Choose a fabric that complements your quilt top and is suitable for quilting. Make sure to measure the size of your quilt top to determine the amount of fabric you’ll need.
- Rotary cutter: A rotary cutter is a handy tool for cutting fabric accurately. Make sure to have a sharp blade for clean cuts.
- Quilting ruler: A quilting ruler is a transparent ruler with measurements specifically designed for quilting. It helps ensure precise cuts and measurements.
- Cutting mat: A self-healing cutting mat provides a stable and safe surface for cutting fabric. It also helps protect your work surface and extends the life of your rotary cutter blade.
- Fabric pen or chalk: A fabric pen or chalk is used to mark measurements and cutting lines on the fabric. Choose a pen or chalk that is easily visible and washes out after quilting.
- Straight pins: Straight pins are useful for securing the fabric in place while cutting. They ensure that the fabric stays flat and prevents any shifting.
- Iron and ironing board: It’s important to press the fabric before cutting to remove any wrinkles or creases. An iron and ironing board will help in achieving a smooth and flat surface.
- Scissors: While a rotary cutter is the primary tool for cutting fabric, scissors can come in handy for trimming threads or making small adjustments.
Having these materials ready will not only make the cutting process smoother but also ensure that you achieve clean and precise cuts for your backing fabric. Now that we have everything we need, let’s move on to the next step: choosing the right fabric for the backing.
Step 1: Choosing the Backing Fabric
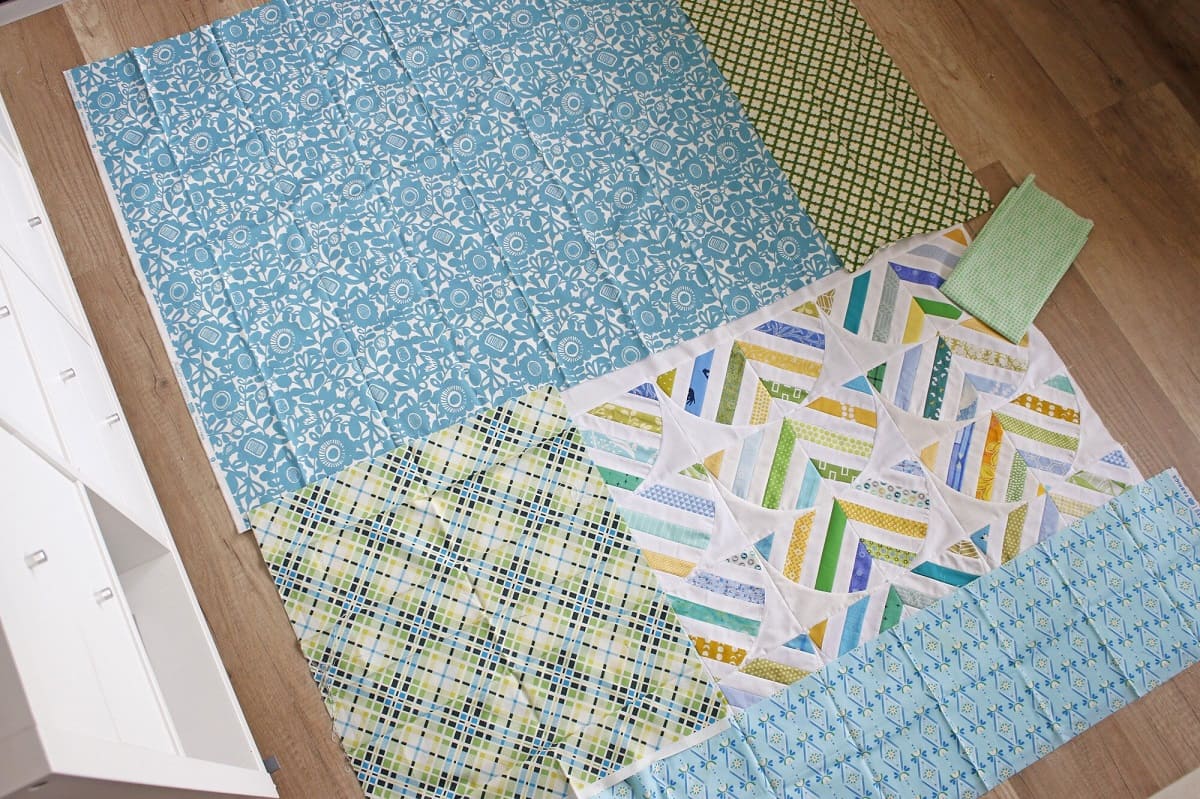
Choosing the right fabric for the backing of your quilt is important to achieve a cohesive and visually appealing finished product. Here are some factors to consider when selecting the backing fabric:
- Color and pattern: The color and pattern of the backing fabric should complement the quilt top. You can choose a solid color that matches one of the predominant colors in the quilt or opt for a pattern that adds visual interest.
- Fabric type: Consider the type of fabric that will work best for your project. Quilting cotton is a popular choice due to its durability and wide variety of prints, but you can also experiment with other types of fabric like flannel or muslin.
- Size and seam allowance: Measure the size of your quilt top and add additional allowance for seam allowance. Make sure the backing fabric is large enough to cover the entire quilt top with a little extra on all sides.
- Texture and feel: Consider the texture and feel of the fabric, especially if the quilt will be used for cuddling or snuggling. Soft and cozy fabrics can enhance the comfort of the finished quilt.
- Directional prints: If your fabric has a directional print, be mindful of how you align it with the quilt top. Take into account the orientation of the pattern and make sure it will look cohesive when the quilt is finished.
- Pre-washing: It’s advisable to pre-wash your backing fabric before cutting to remove any shrinkage or potential bleeding of colors. Follow the instructions on the fabric bolt for best results.
Take your time to consider these factors and choose a backing fabric that not only complements your quilt top but also meets your desired criteria. Once you have selected the perfect fabric, it’s time to move on to the next step: preparing the backing fabric for cutting.
Step 2: Preparing the Backing Fabric
Before you can start cutting the backing fabric for your quilt, it’s important to properly prepare it to ensure accurate and clean cuts. Follow these steps to prepare the backing fabric:
- Wash and press: If you haven’t already pre-washed the fabric, it’s a good idea to do so now. This will help remove any shrinkage and ensure that the fabric is clean and ready for use. After washing, press the fabric with an iron to remove any wrinkles or creases.
- Square off the fabric: Take the washed and pressed fabric and trim off any uneven or jagged edges. Use a quilting ruler and rotary cutter to make straight cuts and create a squared-off piece of fabric.
- Ironing: Lay the fabric on an ironing board and give it a final press to make sure it’s completely smooth and flat. This will help in accurately marking and cutting the fabric.
- Secure the fabric: To prevent the fabric from shifting while you’re cutting, pin or tape the fabric to your cutting mat or tabletop. This will help ensure that your cuts are precise and prevent any distortion.
- Double-check measurements: Measure the size of your quilt top one more time and compare it to the squared-off fabric. Make sure the fabric is large enough to cover the entire quilt top with a little extra on all sides to account for seam allowance.
By properly preparing the backing fabric, you’ll create a solid foundation for your quilt and make the cutting process much easier. With the fabric ready, it’s time to move on to the next step: measuring and marking the fabric for cutting.
When cutting backing for a quilt, be sure to measure the quilt top and add at least 4-6 inches to the width and length to allow for quilting and any shrinkage. This extra fabric will ensure that the backing fully covers the quilt top.
Step 3: Measuring and Marking
Once you have prepared the backing fabric, it’s time to measure and mark the fabric for cutting. Accurate measurements and markings are crucial to ensure that you cut the fabric to the right size. Follow these steps to measure and mark the fabric:
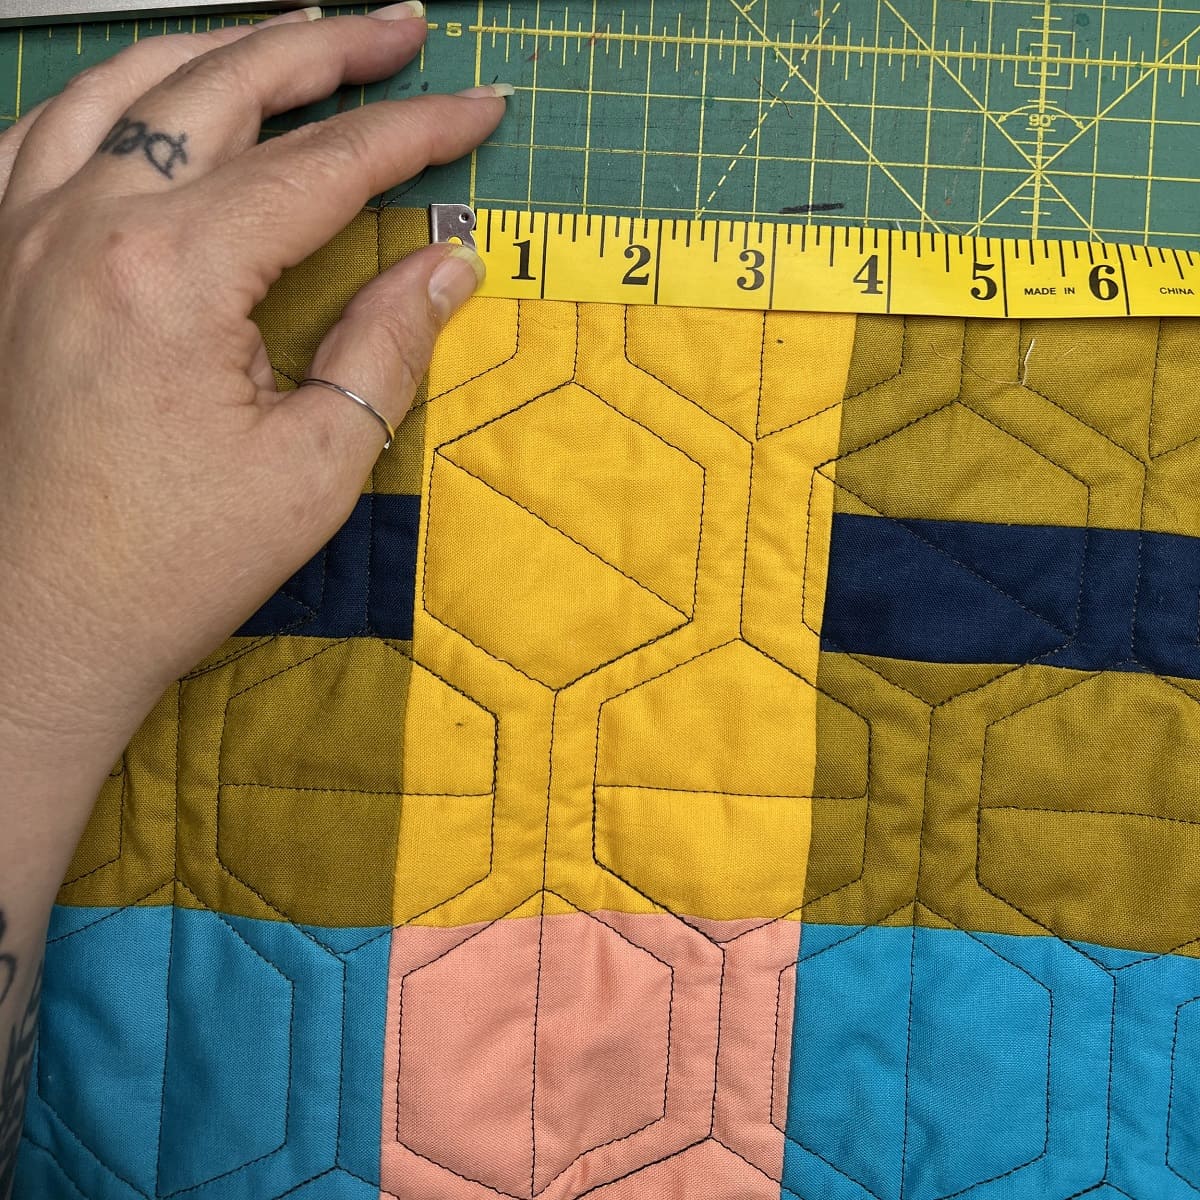
- Measure the quilt top: Place your quilt top on a flat surface and measure the length and width. Take note of these measurements as they will determine the size of your backing fabric.
- Add seam allowance: Add the desired seam allowance to the measurements of your quilt top. The standard seam allowance is typically 1/4 inch, but you can adjust it according to your preferred quilting techniques.
- Mark the measurements: Use a fabric pen or chalk to mark the measurements on your backing fabric. Start by marking the length and width of the fabric, ensuring that the markings are straight and accurate.
- Check and recheck: Double-check the measurements and markings to ensure accuracy. It’s better to be precise at this stage than to encounter issues later when assembling the quilt.
- Optional: Mark other reference points: Depending on your quilt pattern or design, you may need to mark additional points on the fabric, such as the center or specific placements for motifs or blocks. Use the fabric pen or chalk to mark these reference points.
Taking the time to measure and mark the backing fabric accurately will help you achieve a well-fitting backing for your quilt. Once you have completed the measurements and markings, it’s time to move on to the next step: cutting the backing fabric.
Read more: What To Use For Quilt Backing
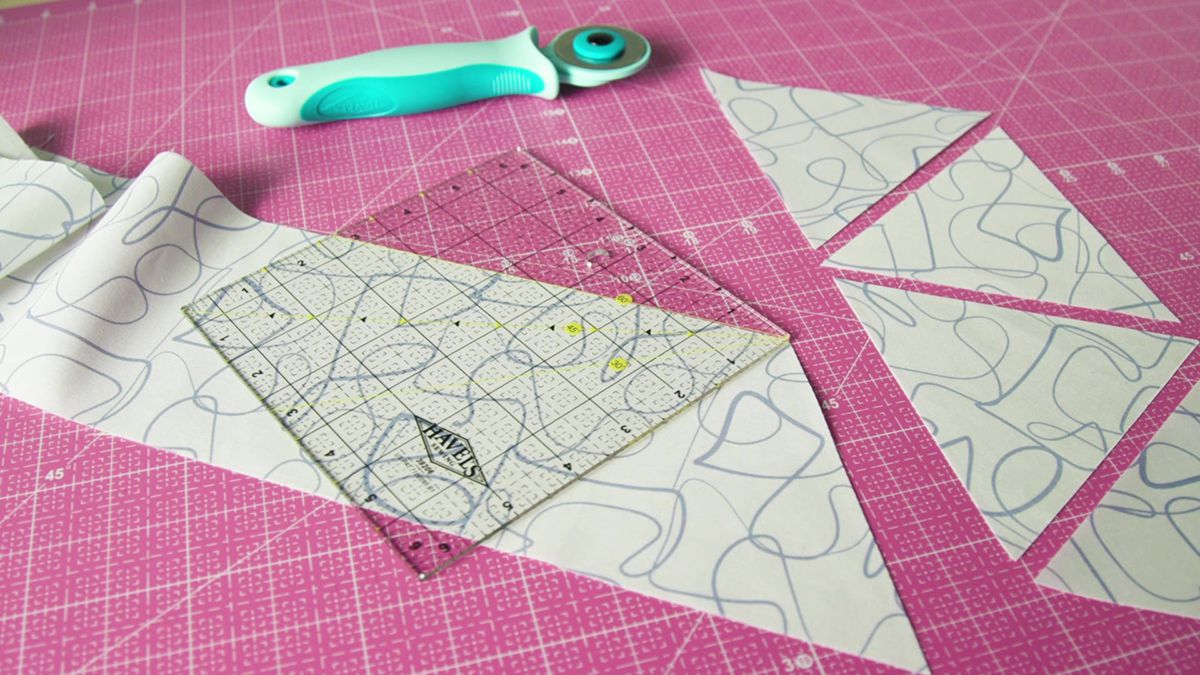
Step 4: Cutting the Backing Fabric
After measuring and marking the backing fabric, it’s time to cut it to the desired size. Cutting the fabric accurately is crucial to ensure that it fits perfectly with your quilt top. Follow these steps to cut the backing fabric:
- Prepare your cutting area: Make sure you have a clean and flat surface to work on. Place your cutting mat on the surface and ensure it is securely positioned.
- Align the fabric: Place the marked fabric on the cutting mat, ensuring that the markings are visible and aligned parallel to the edges of the cutting mat.
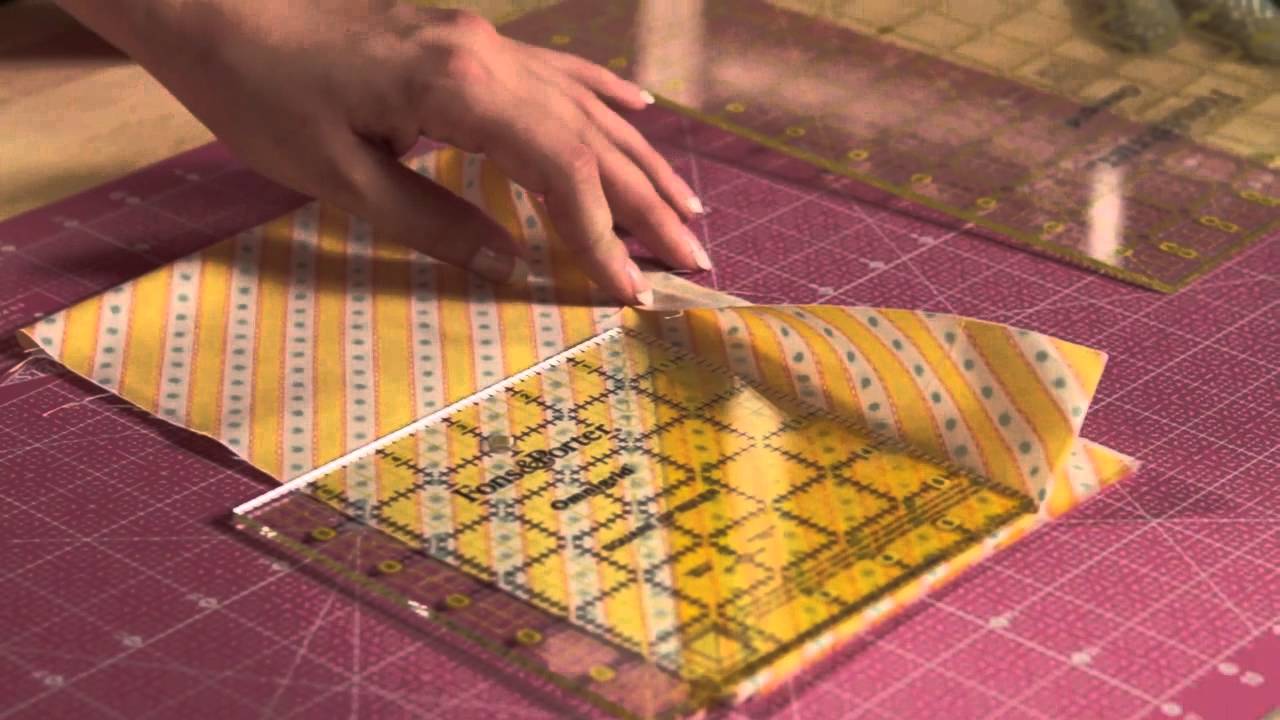
- Use a quilting ruler: Take your quilting ruler and place it along the marked lines of your fabric. Ensure that it is straight and secure, holding down the ruler firmly with one hand.
- Cut with a rotary cutter: With your other hand, hold the rotary cutter and carefully cut along the edge of the quilting ruler. Apply gentle pressure and maintain a smooth and continuous motion. Take your time and cut slowly to ensure clean and accurate cuts.
- Continue cutting: Move along the marked lines of the fabric, using the quilting ruler as a guide. Cut all the way through the fabric until you reach the end of the marked lines.
Remember to take breaks and reposition the fabric as needed to maintain accuracy. Double-check your cuts and make any necessary adjustments before proceeding. Also, be cautious with the rotary cutter as it is sharp and can cause injury if not used properly.
Once you have completed cutting the backing fabric, set aside any excess fabric for later use if desired. Now, it’s time to move on to the final step: trimming any excess fabric from the backing.
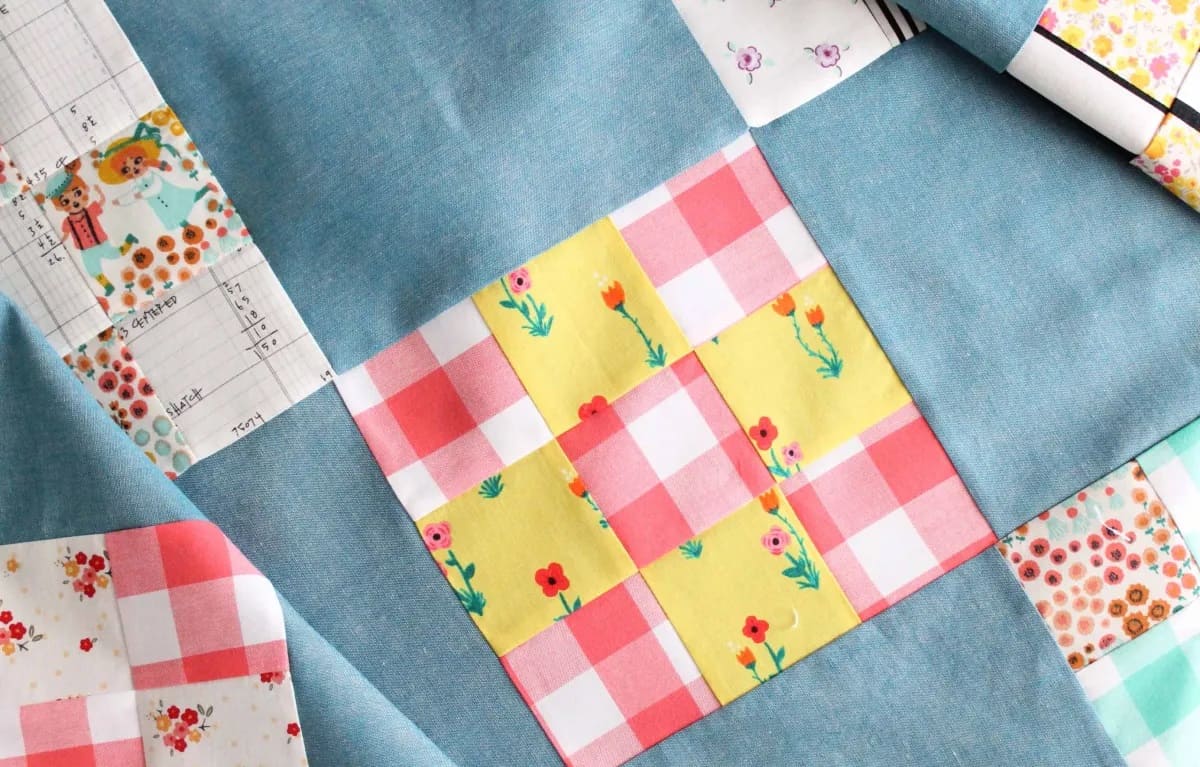
Step 5: Trimming Excess Fabric
After cutting the backing fabric to the desired size, it’s important to trim any excess fabric to ensure a clean and professional finish for your quilt. Follow these steps to trim the excess fabric:
- Inspect the edges: Examine the edges of the backing fabric to identify any uneven or jagged areas. If necessary, use scissors to trim these edges for a neater appearance.
- Align the quilt top: Lay your quilt top on a flat surface and place the trimmed backing fabric on top, ensuring that the edges align properly. Make any adjustments as needed to ensure a precise fit.
- Pin the layers together: Once the quilt top and backing fabric are aligned, use straight pins to secure the layers together. Pin along the edges, spacing the pins a few inches apart to prevent shifting during the quilting process.
- Trim the excess fabric: With the layers pinned together, use scissors or a rotary cutter to trim the excess backing fabric, following the edge of the quilt top. Take care to cut close to the edge, avoiding any excessive bulk.
- Remove the pins: Once you have trimmed the excess fabric, carefully remove the straight pins. Pay close attention to ensure that no pins are accidentally left in the fabric that could pose a safety hazard later on.
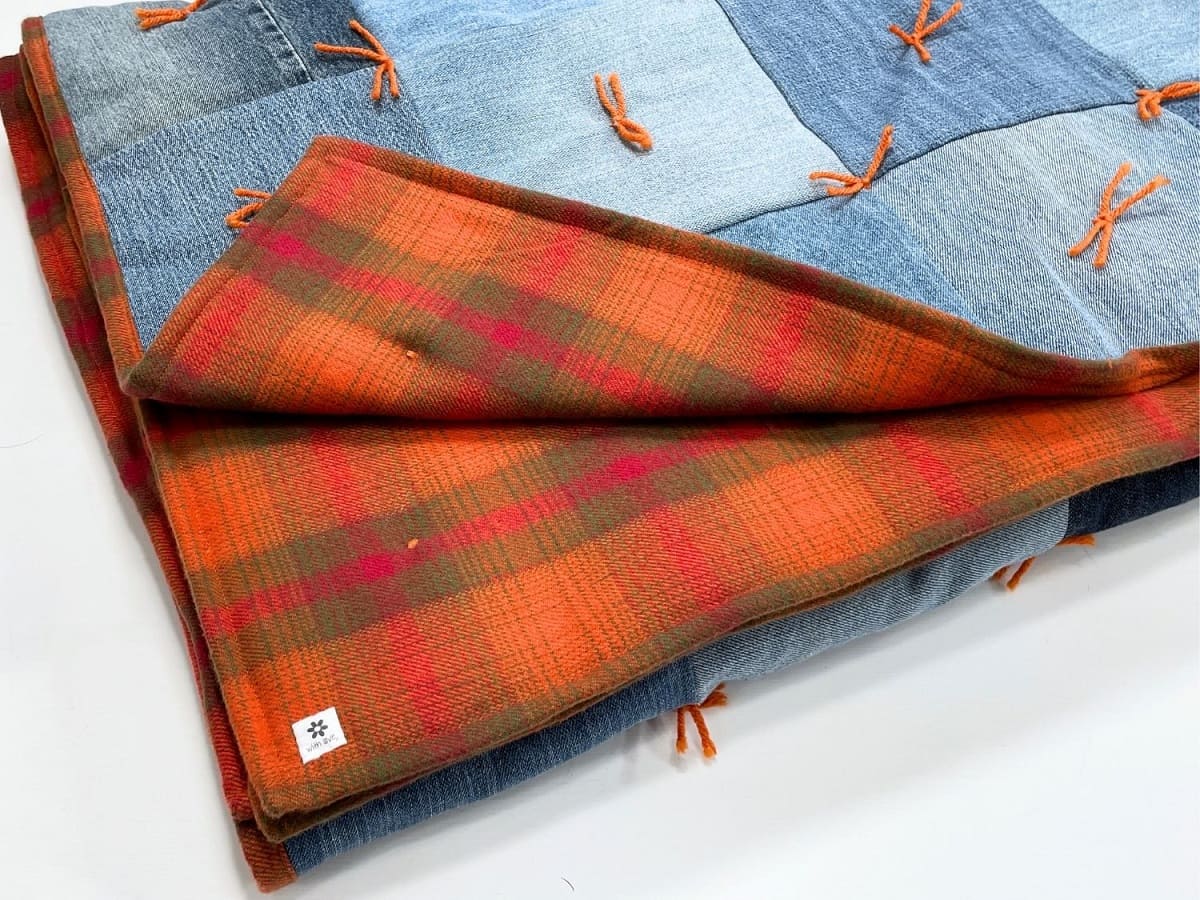
By trimming the excess fabric, you create a clean and tidy edge for your quilt and prepare it for further quilting or finishing techniques. With the excess fabric removed, your quilt is now ready for the next steps in the quilting process.
Congratulations! You have successfully cut the backing fabric for your quilt. With careful measurements, precise cutting, and attention to detail, you’ve created a solid foundation for your quilt. Now, you can move forward with the assembly and quilting of your project, knowing that the backing fabric fits perfectly with your quilt top.
Remember to enjoy the quilting process and embrace your creativity as you bring your quilt to life. Happy quilting!
Conclusion
Cutting the backing fabric for a quilt is a fundamental step in the quilting process. By following the steps outlined in this article, you can confidently and accurately cut the backing fabric for your next quilt project.
We began by discussing the importance of choosing the right fabric for the backing, considering factors such as color, pattern, size, and texture. With the appropriate fabric selected, we then moved on to the preparation phase, which involved washing, pressing, and squaring off the fabric.
Next, we delved into the crucial step of measuring and marking the backing fabric. Proper measurements and markings ensure that you cut the fabric to the correct size, considering the dimensions of your quilt top and adding seam allowances when necessary.
With the fabric accurately marked, we proceeded to the actual cutting process. By using a quilting ruler and rotary cutter, along with a steady hand and careful attention, you can achieve clean and precise cuts along the marked lines.
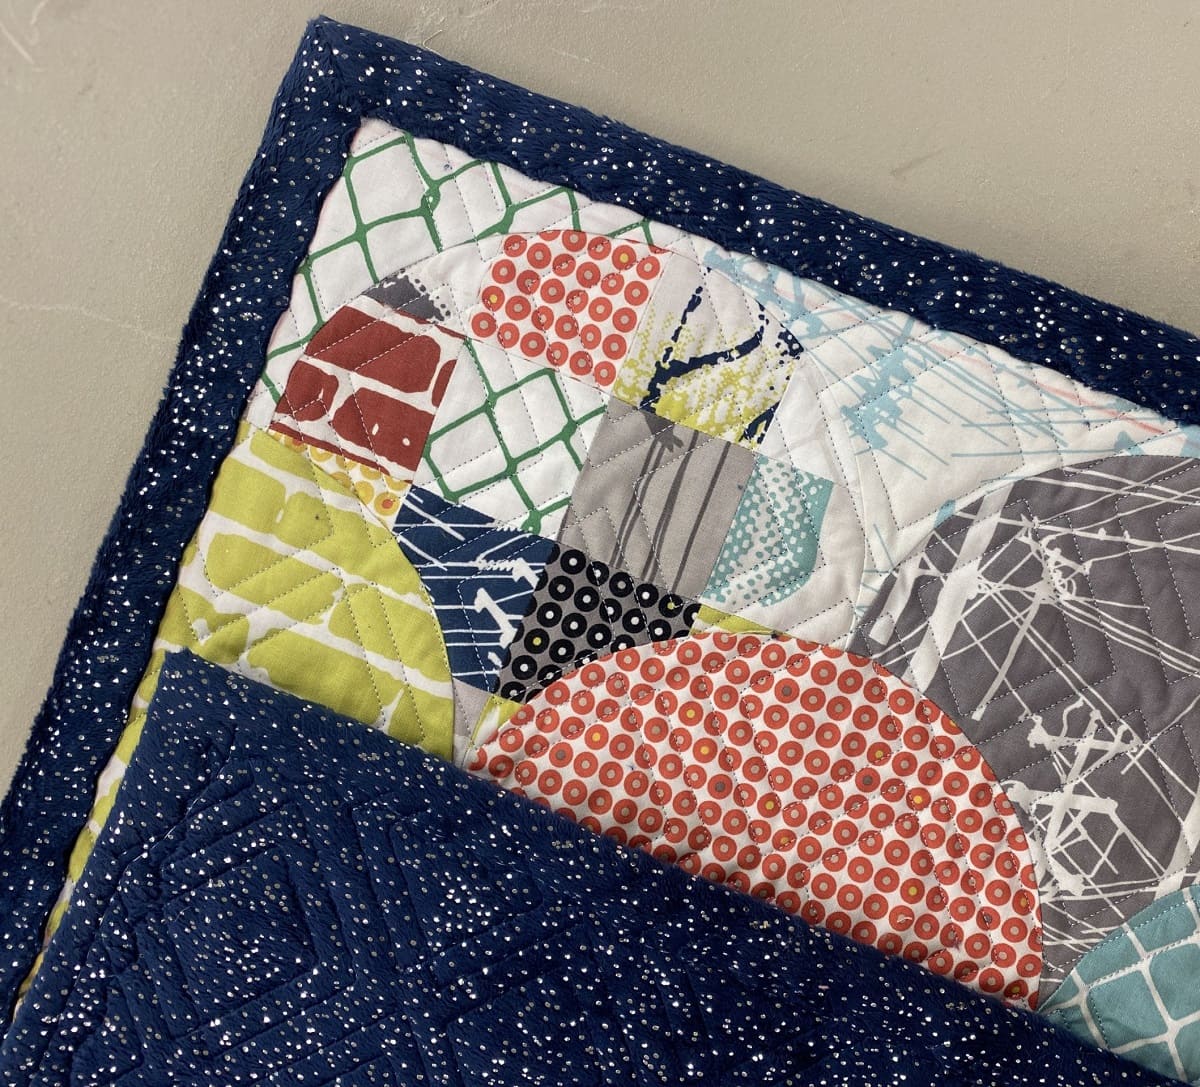
Finally, we addressed the importance of trimming any excess fabric to create a neat and professional finish. By aligning the quilt top, pinning the layers together, and carefully trimming the excess fabric, you create a smooth and seamless edge for your quilt.
Remember, practice makes perfect when it comes to cutting backing fabric for your quilts. With each project, you will improve your skills and develop a better understanding of the process.
Now that you have mastered the art of cutting backing fabric, you can progress with confidence to the next stages of your quilting journey. Enjoy the process, let your creativity soar, and create beautiful quilts that will be cherished for years to come!
Frequently Asked Questions about How To Cut Backing For A Quilt
Was this page helpful?
At Storables.com, we guarantee accurate and reliable information. Our content, validated by Expert Board Contributors, is crafted following stringent Editorial Policies. We're committed to providing you with well-researched, expert-backed insights for all your informational needs.


0 thoughts on “How To Cut Backing For A Quilt”