Articles
How To Cut Triangles For A Quilt
Modified: December 7, 2023
Learn the technique of cutting triangles for quilts with this step-by-step guide! Find helpful articles and tips to perfect your quilting skills and create beautiful designs.
(Many of the links in this article redirect to a specific reviewed product. Your purchase of these products through affiliate links helps to generate commission for Storables.com, at no extra cost. Learn more)
Introduction
Quilting is a wonderful craft that allows you to create beautiful and functional pieces of art. One of the key elements in quilting is cutting fabric into precise shapes, such as triangles. Triangles can add interest and depth to quilt designs, and learning how to cut them accurately is essential to achieve the desired outcome.
In this article, we will explore different methods for cutting triangles for a quilt. Whether you are a seasoned quilter or a beginner, these techniques will help you create stunning and professional-looking quilts.
Before we delve into the cutting techniques, let’s take a look at the basic tools and materials you will need:
- Ruler
- Rotary cutter
- Self-healing cutting mat
- Pins
- Iron and ironing board
- Fabric of your choice
Now that we have our tools ready, let’s dive into the world of triangle cutting!
Key Takeaways:
- Master the art of cutting triangles for quilts with precision and confidence using the right tools, understanding measurements, and following step-by-step cutting methods. Let your creativity soar as you explore the endless possibilities of quilt designs.
- Ensure professional-looking results by incorporating valuable tips and tricks into your cutting process, such as using sharp tools, holding the ruler securely, and maintaining consistent seam allowances. Embrace the joy of quilting and unleash your creativity with stunning and precise triangle cuts.
Basic Tools and Materials
Before you begin cutting triangles for your quilt, it’s essential to ensure you have the right tools and materials on hand. Having the proper equipment will make the process easier and more accurate. Here are the basic tools and materials you will need:
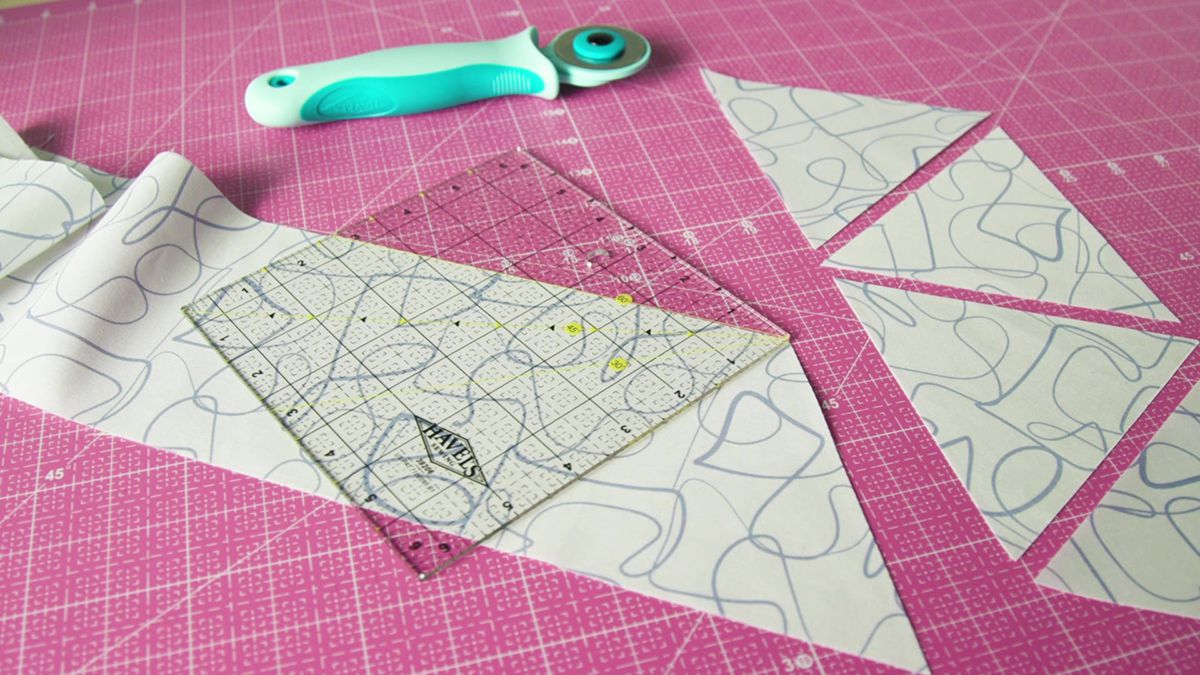
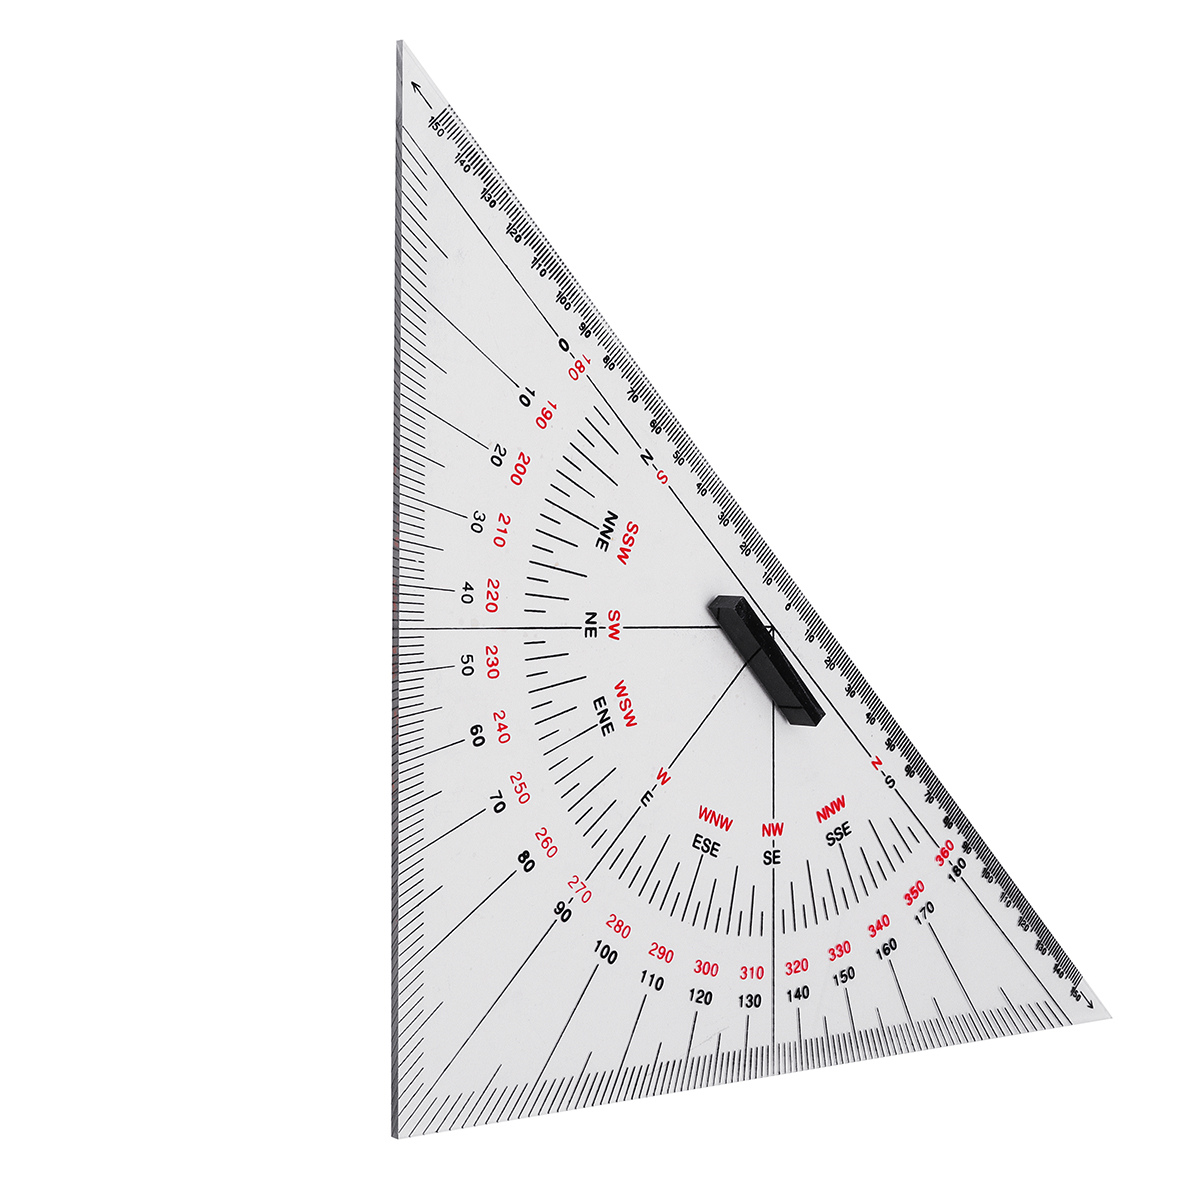
- Ruler: A quilting ruler is a long, transparent ruler with measurement markings. It is crucial for measuring and aligning fabric accurately. Look for a ruler that has clear markings for both horizontal and vertical measurements.
- Rotary cutter: A rotary cutter is a useful tool for cutting fabric precisely. It consists of a circular blade that rotates when you push it along the fabric. Make sure you choose a rotary cutter with a sharp blade to ensure clean cuts.
- Self-healing cutting mat: A self-healing cutting mat provides a stable and safe surface for cutting fabric. It is made of a special material that prevents the surface from being damaged by the rotary cutter. Look for a mat that is large enough to accommodate your fabric and has clear measurement markings.
- Pins: Pins are handy for holding fabric layers together while cutting. They help to prevent shifting and ensure accurate cuts. Choose sharp, thin pins that are easy to insert and remove without causing damage to the fabric.
- Iron and ironing board: Pressing your fabric before cutting is crucial for achieving accurate measurements. An iron and ironing board will help you remove any wrinkles or creases that can affect your cuts. Make sure to set your iron to the appropriate heat setting for your fabric.
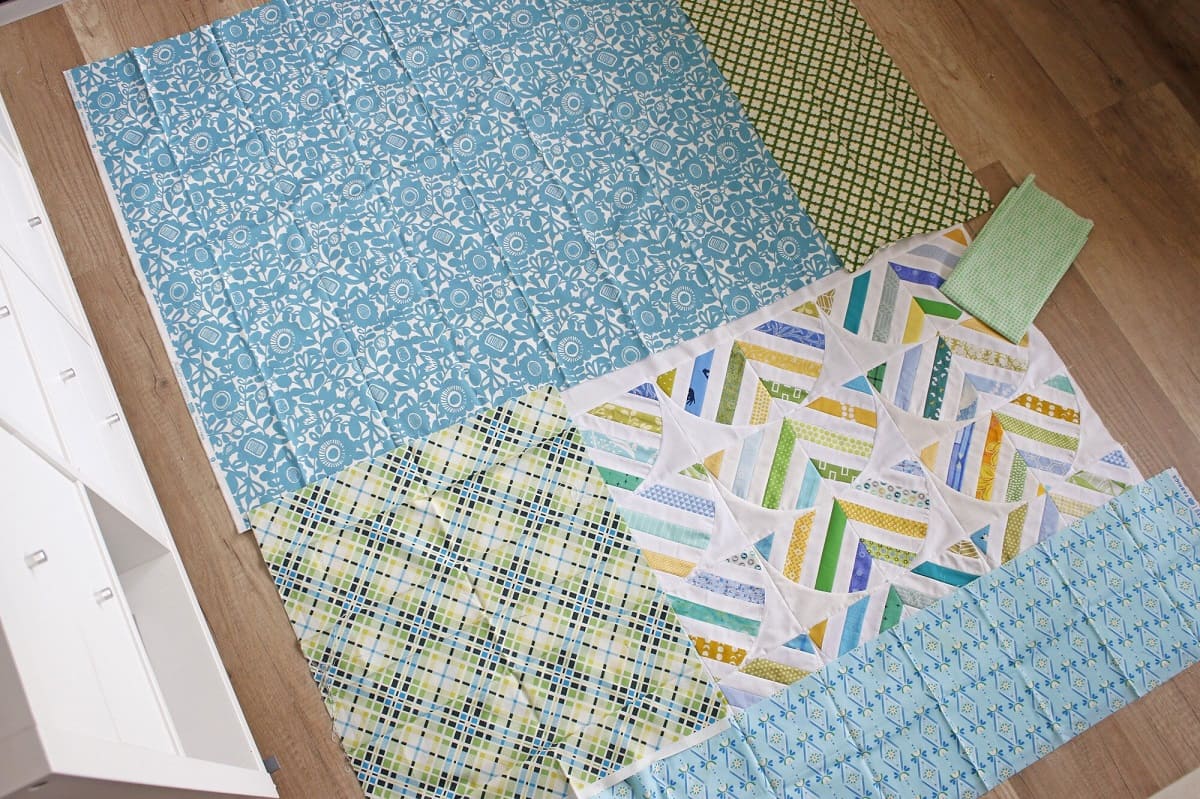
- Fabric of your choice: Selecting the right fabric is essential for your quilt. Choose fabrics that complement each other in terms of color, pattern, and texture. It’s also important to pre-wash and press your fabric before cutting to prevent any shrinkage or distortion.
Having these basic tools and materials in your quilting arsenal will set you up for success in cutting triangles for your quilt. Now that you’re equipped with the essentials, let’s move on to understanding triangle measurements.
Understanding Triangle Measurements
Before you start cutting triangles for your quilt, it’s crucial to understand the different measurements associated with triangles. These measurements will vary depending on the type of triangle you are cutting, such as half-square triangles, quarter-square triangles, or equilateral triangles. Here are the key measurements to consider:
- Base: The base of a triangle is the bottom side, or the side on which the triangle rests. It is typically the longest side of the triangle and is used as a reference for other measurements.
- Height: The height of a triangle is the distance from the base to the highest point of the triangle, also known as the apex.
- Sides: The sides of a triangle are the two remaining sides that connect to the apex. These sides can be of equal length (in the case of equilateral triangles) or different lengths.
- Angles: Triangles have three angles: one at the apex and two at the base. The sum of the angles in any triangle is always 180 degrees.
When it comes to cutting triangles for your quilt, you will often encounter measurements like finished size and seam allowances. The finished size refers to the size of the triangle after it has been sewn into the quilt, while the seam allowance is the extra fabric added to the measurements to allow for the sewing seam.
It is essential to consider the seam allowance when cutting your triangles to ensure the final dimensions match your intended design. Common seam allowances in quilting are ¼ inch or ½ inch. Therefore, when cutting your fabric, you will need to add the seam allowance to the measurements.
Now that you have a good understanding of triangle measurements, let’s explore different methods for cutting triangles for your quilt.
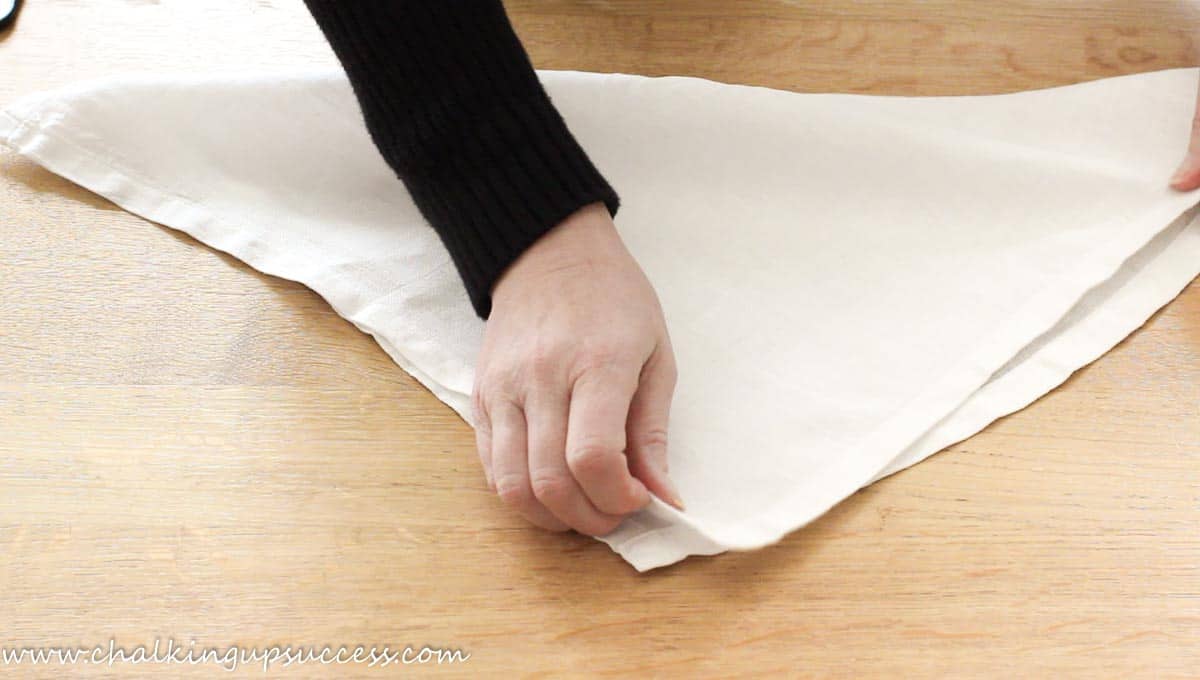
Method 1: Cutting Half-Square Triangles
Half-square triangles are one of the most commonly used triangle shapes in quilting. They are versatile and can create a wide range of designs and patterns. Here’s a step-by-step guide on how to cut half-square triangles:
- Start by determining the finished size of your half-square triangle. This will depend on your quilting pattern or design.
- Cut two fabric squares with a size that is 1 inch larger than your finished half-square triangle size. For example, if your finished size is 4 inches, cut two 5-inch fabric squares.
- Place the two fabric squares on top of each other, right sides together.
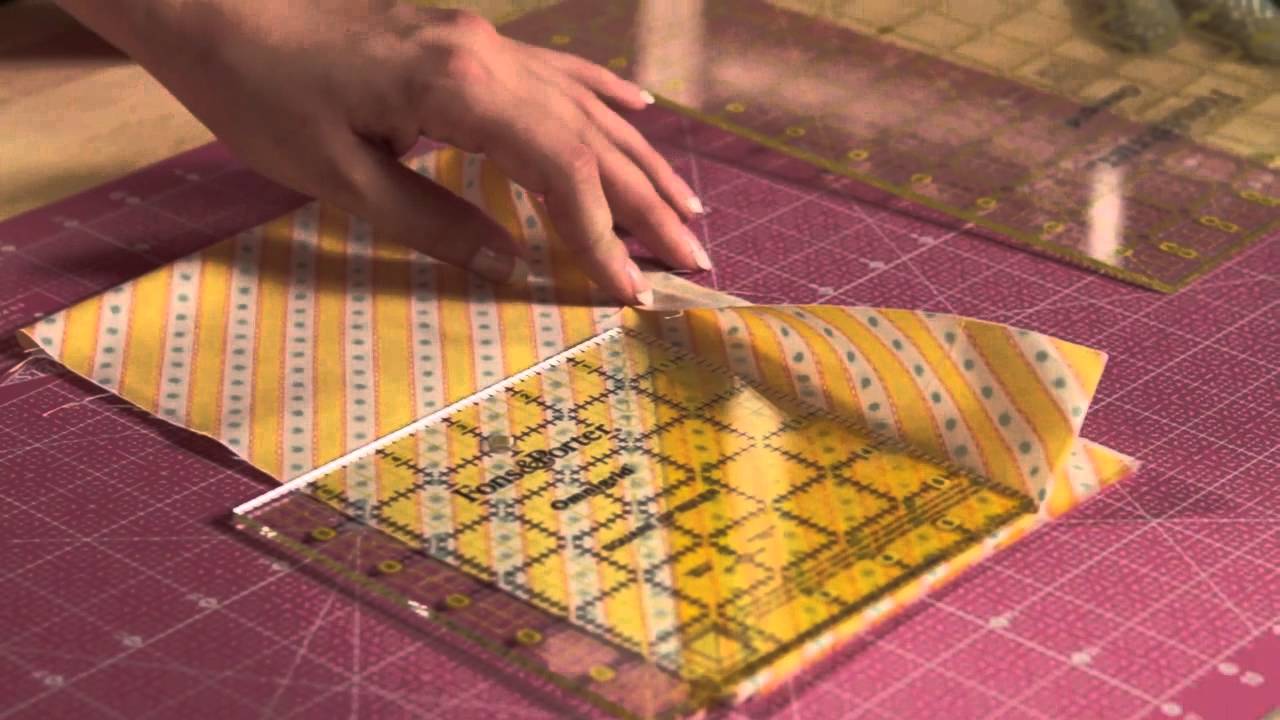
- Using your ruler, draw a diagonal line from one corner to the opposite corner on the top fabric square. This line will serve as your cutting guide.
- Pin the two fabric squares together to prevent any shifting during the cutting process.
- Using your rotary cutter, cut along the drawn diagonal line to separate the fabric into two triangles.
- Press the fabric triangles open with an iron, being careful not to stretch or distort the shape.
- Trim the excess fabric and square up the half-square triangles to the desired finished size, using your ruler and rotary cutter.
By following these steps, you can easily cut accurate and precise half-square triangles for your quilt. Remember to always measure twice and cut once to ensure your triangles are uniform in size.
Now that you have mastered cutting half-square triangles, let’s move on to method 2: cutting quarter-square triangles.
When cutting triangles for a quilt, use a clear acrylic ruler with a 45-degree line to ensure accurate and consistent cuts. This will help your quilt pieces fit together perfectly.
Method 2: Cutting Quarter-Square Triangles
Quarter-square triangles, also known as hourglass or four-patch triangles, are another popular shape used in quilting. They add visual interest and variety to quilt designs. Here’s a step-by-step guide on how to cut quarter-square triangles:
- Start by determining the finished size of your quarter-square triangle. This will depend on your quilting pattern or design.
- Cut two fabric squares with a size that is 1.41 times larger than your finished quarter-square triangle size. For example, if your finished size is 4 inches, cut two 5.64-inch fabric squares.
- Place the two fabric squares on top of each other, right sides together.
- Using your ruler, draw two diagonal lines that intersect in the center of the fabric squares, creating an “X” shape. These lines will serve as your cutting guides.
- Pin the fabric squares together to prevent any shifting during the cutting process.
- Using your rotary cutter, cut along the drawn diagonal lines to separate the fabric into four triangles.
- Press the fabric triangles open with an iron, being careful not to stretch or distort the shape.
- Trim the excess fabric and square up the quarter-square triangles to the desired finished size, using your ruler and rotary cutter.
Following these steps will allow you to cut precise and symmetrical quarter-square triangles for your quilt design. Take your time to ensure accurate cutting and alignment of the fabric squares.
Now that you have mastered cutting quarter-square triangles, let’s move on to method 3: cutting equilateral triangles.
Read more: How To Cut Quilt Squares
Method 3: Cutting Equilateral Triangles
Equilateral triangles are triangular shapes with equal side lengths and angles measuring 60 degrees. They are commonly used to create geometric designs and tessellations in quilting. Here’s a step-by-step guide on how to cut equilateral triangles:
- Start by determining the finished size of your equilateral triangle. This will depend on your quilting pattern or design.
- Cut a fabric strip with a width that is slightly larger than your finished equilateral triangle height. For example, if your finished size is 4 inches, cut a fabric strip that is around 4.5 inches wide.
- Using your ruler, mark equidistant points along the fabric strip that are the same distance apart as your finished equilateral triangle side length. For example, if your finished size is 4 inches, mark points every 4 inches along the strip.
- Connect the marked points with diagonal lines to create the outlines of the equilateral triangles.
- Position your ruler along the outermost diagonal line and align it with the desired finished size measurement.
- Use your rotary cutter to cut along the ruler, creating the first equilateral triangle.
- Continue cutting along the remaining diagonal lines to cut out additional equilateral triangles.
- Repeat this process with additional fabric strips as needed to cut the desired number of equilateral triangles.
It is important to note that cutting equilateral triangles requires precise measurement and alignment. Take your time to accurately mark and cut along the marked lines to achieve symmetrical and uniform triangles.
Now that you have learned different methods for cutting triangles for your quilt, let’s move on to some tips and tricks to ensure accurate and professional-looking cuts.
Tips and Tricks for Accurate Cutting
Cutting triangles for your quilt requires precision and accuracy to ensure that they fit together seamlessly. Here are some helpful tips and tricks to enhance your cutting skills:
- Use a sharp rotary cutter: A sharp rotary cutter will ensure clean and accurate cuts. Replace the blade regularly to maintain optimal cutting performance.
- Hold your ruler securely: When cutting, make sure your ruler is held firmly in place to prevent it from slipping. Consider using non-slip quilting rulers or adding grip dots to improve stability.
- Measure twice, cut once: Double-check your measurements before making any cuts. Taking the time to verify your measurements will help you avoid costly mistakes.
- Press fabric before cutting: Ensure your fabric is well-pressed and free of wrinkles or creases. This will help you achieve accurate cuts and prevent distortion of shapes.
- Invest in a good cutting mat: A self-healing cutting mat provides a smooth and stable surface for cutting, ensuring clean and precise cuts. Choose a mat that is large enough to accommodate your fabric and has clear measurement markings.
- Take care when aligning fabric: Pay attention to aligning fabric edges accurately before cutting. A slight misalignment can result in uneven triangles.
- Use a consistent seam allowance: When sewing triangles together, it’s important to have a consistent seam allowance. This will ensure that the finished triangles fit together seamlessly.
- Take breaks when needed: Cutting fabric can be a repetitive task that requires concentration. Take breaks if you feel fatigued to maintain accuracy and prevent mistakes.
By incorporating these tips into your cutting process, you can improve your accuracy and create precise and professional-looking triangles for your quilt.
Now that you have learned various techniques and tips for cutting triangles, you are ready to embark on your quilting journey with confidence and skill. Remember to practice and have fun exploring the endless possibilities that triangles offer in quilt designs.
Happy quilting!
Conclusion
Cutting triangles for a quilt is an exciting and essential step in the quilting process. By mastering the techniques outlined in this article, you can create stunning quilts with intricate designs and precise shapes. Understanding triangle measurements, using the right tools, and following the cutting methods will ensure accurate and professional-looking results.
Remember to start with the basic tools and materials required for quilting, including a ruler, rotary cutter, cutting mat, pins, iron, and fabric. These tools will assist you in achieving clean and precise cuts.
Whether you are cutting half-square triangles, quarter-square triangles, or equilateral triangles, each method requires attention to detail and careful measurement. Take your time to mark and cut the fabric accurately, and always double-check your measurements before making any cuts.
Additionally, following some valuable tips and tricks, such as using a sharp rotary cutter, holding the ruler securely, and pressing the fabric before cutting, will help enhance your cutting skills and ensure professional results.
Now that you have learned the techniques and gained confidence in cutting triangles, you can unleash your creativity and explore the limitless possibilities in quilt design. Combine different triangle shapes, play with colors and patterns, and let your imagination guide you in creating unique and stunning quilts.
Quilting is not only a craft but also a form of artistic expression. Enjoy the process of cutting triangles and watch your quilt come to life with precision and beauty. So, gather your tools, select your fabrics, and start cutting triangles for your next quilt masterpiece!
Frequently Asked Questions about How To Cut Triangles For A Quilt
Was this page helpful?
At Storables.com, we guarantee accurate and reliable information. Our content, validated by Expert Board Contributors, is crafted following stringent Editorial Policies. We're committed to providing you with well-researched, expert-backed insights for all your informational needs.


0 thoughts on “How To Cut Triangles For A Quilt”