Articles
How To Install Rockwool Insulation
Modified: February 23, 2024
Learn how to install Rockwool insulation with our informative articles. Find step-by-step instructions and tips for a successful installation.
(Many of the links in this article redirect to a specific reviewed product. Your purchase of these products through affiliate links helps to generate commission for Storables.com, at no extra cost. Learn more)
Introduction
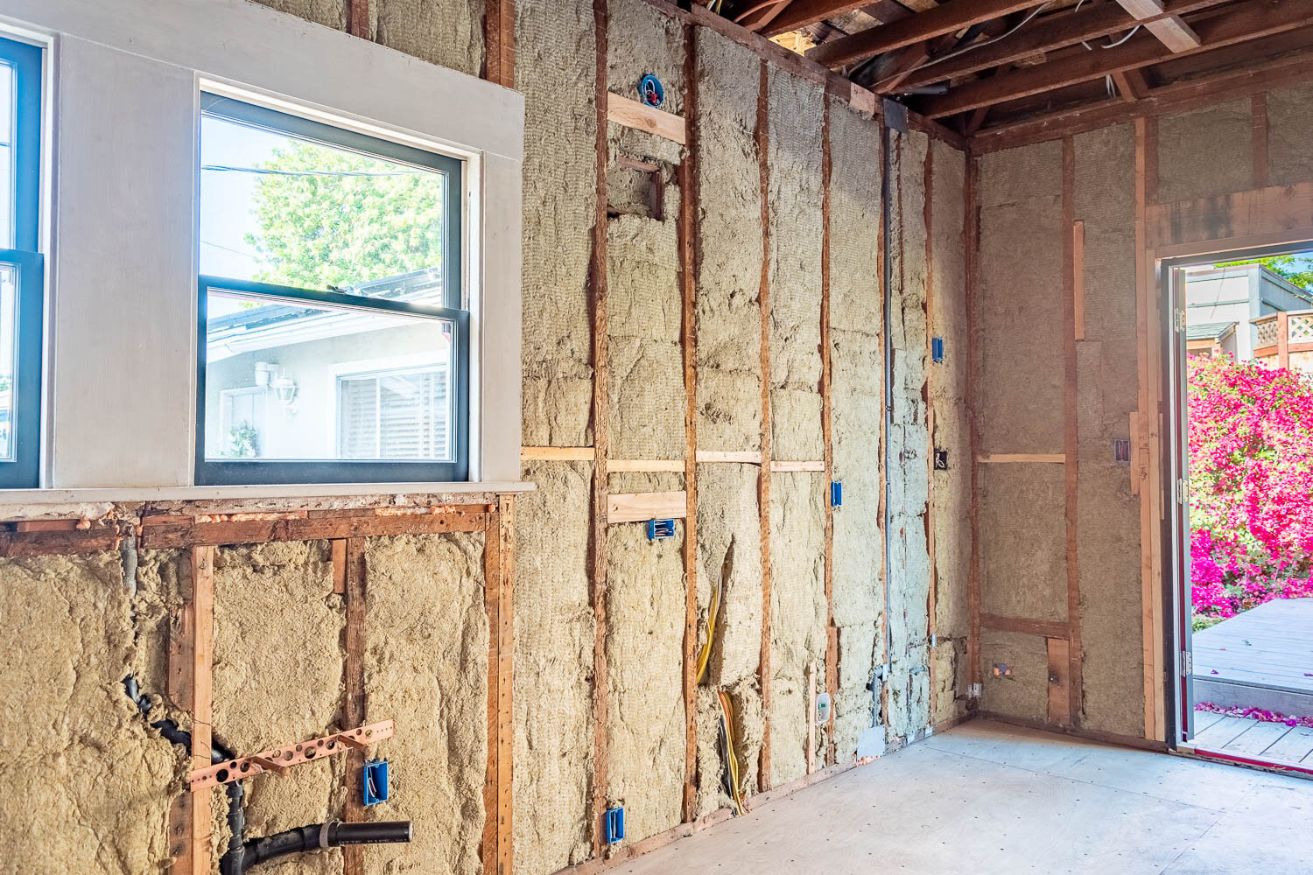
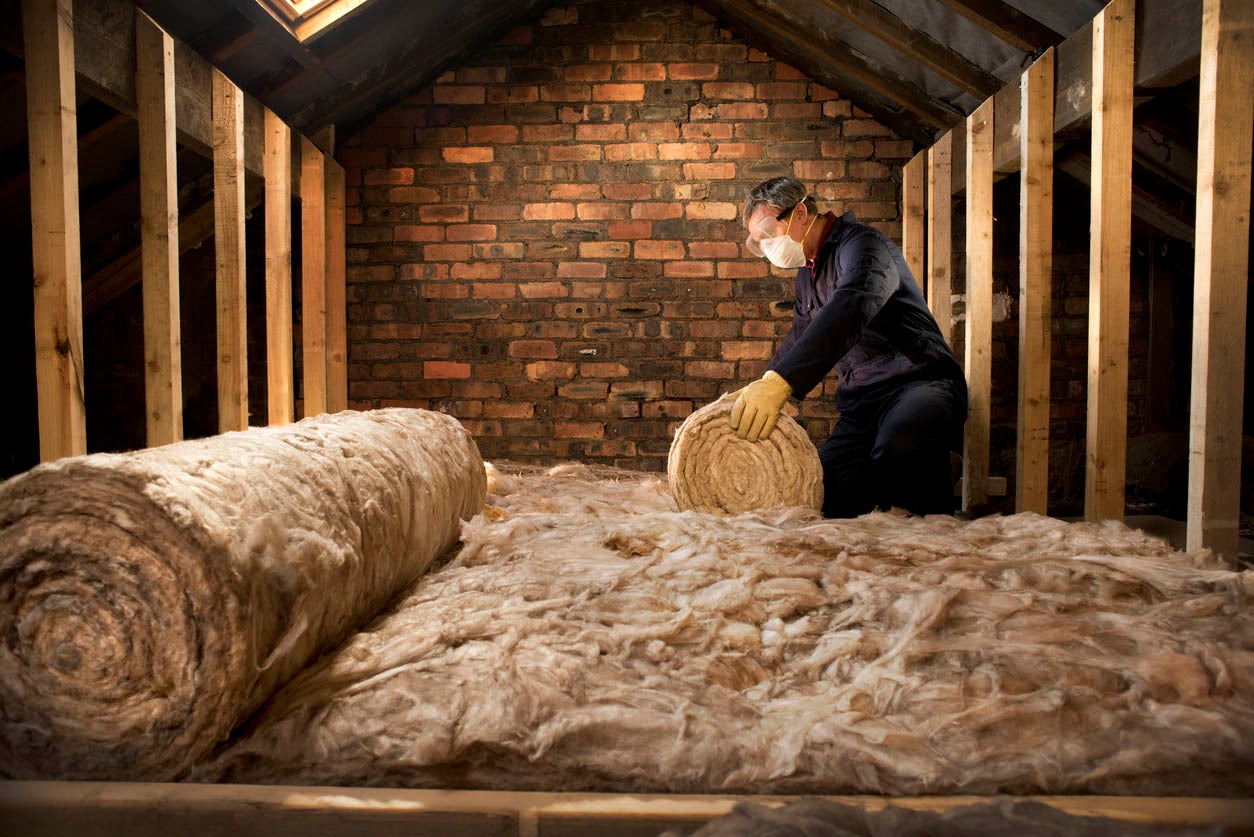
When it comes to insulating your home, one material that is highly effective is Rockwool insulation. Made from volcanic rock, Rockwool is a versatile and durable insulation material that provides excellent thermal and acoustic insulation properties. Installing Rockwool insulation in your home can help improve energy efficiency, reduce noise transmission, and create a more comfortable living environment.
In this article, we will guide you through the step-by-step process of installing Rockwool insulation. We will cover everything from gathering the necessary materials to sealing any gaps or voids. By following these instructions, you can ensure a successful installation and reap the benefits of Rockwool insulation in your home.
Key Takeaways:
- Properly installing Rockwool insulation can significantly improve energy efficiency, reduce noise transmission, and create a more comfortable living environment. By following the step-by-step process and ensuring thorough inspection, homeowners can enjoy long-lasting benefits.
- From gathering necessary materials to sealing any gaps or voids, the installation of Rockwool insulation requires attention to detail and precision. By taking the time to install and maintain Rockwool insulation properly, homeowners can enhance the energy efficiency and overall performance of their homes.
Read more: How To Cut Rockwool Insulation
Step 1: Gather the Necessary Materials
Before you begin the installation process, it is essential to gather all the necessary materials. Having everything ready will streamline the process and ensure a smooth installation. Here are the materials you will need:
- Rockwool Insulation: Purchase the appropriate amount of Rockwool insulation for your specific project. Consider factors such as the area size and desired R-value when determining the quantity needed.
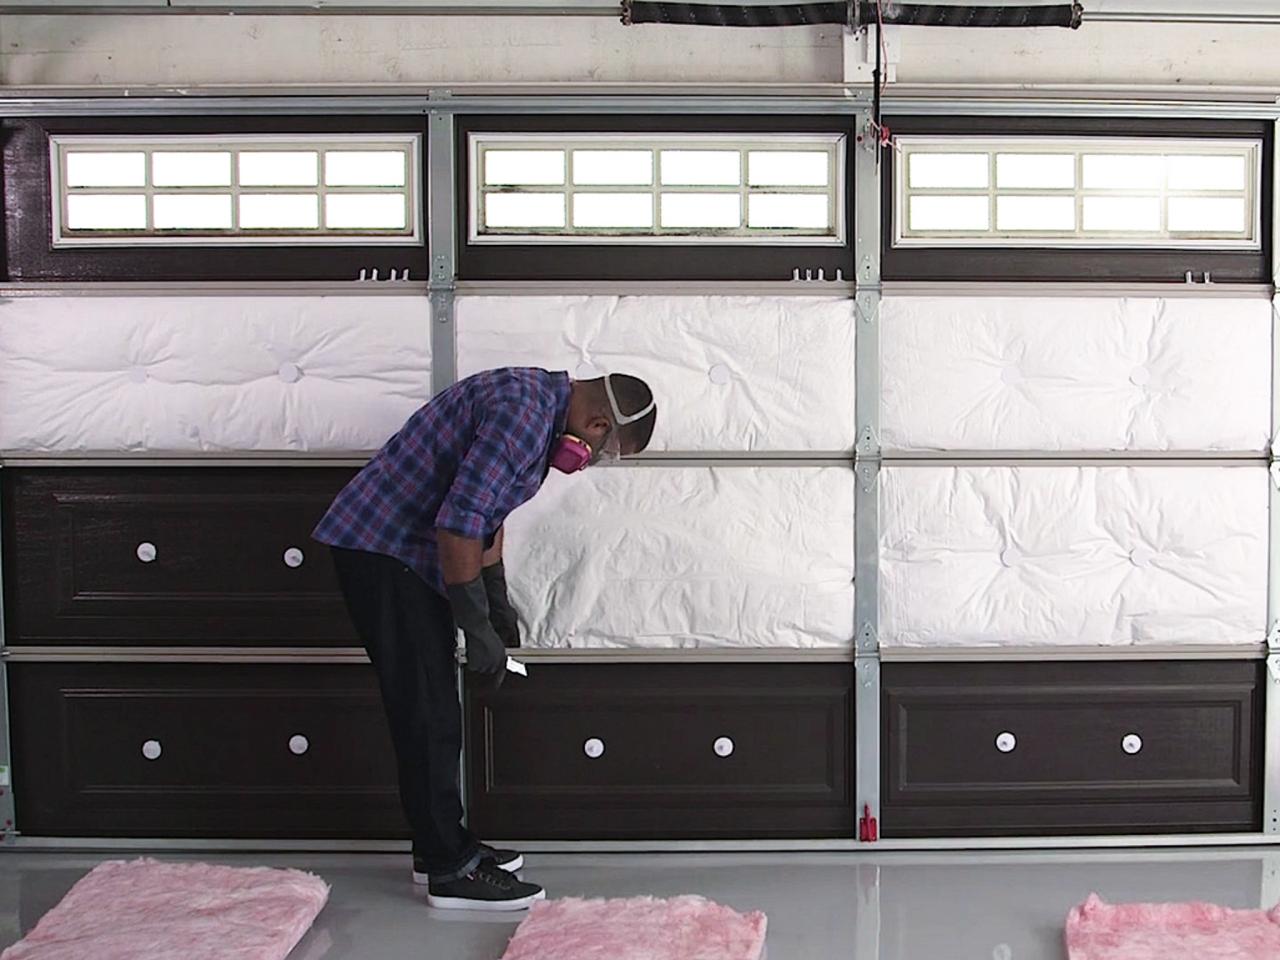
- Protective Gear: Ensure your safety by wearing the proper protective gear, which should include gloves, safety glasses, and a dust mask. This will protect you from any potential health hazards.
- Measuring Tape: A measuring tape will be necessary to accurately measure the dimensions of the installation area and cut the insulation accordingly.
- Utility Knife: A sharp utility knife will be required for cutting the Rockwool insulation to the desired size and shape.
- Staple Gun or Adhesive: Depending on your specific installation needs, you may require a staple gun or adhesive to secure the Rockwool insulation in place.
- Sealing Material: To ensure a tight and airtight seal, consider having a sealing material, such as caulk or expanding foam, on hand to fill any gaps or voids.
- Ladder or Scaffolding: If you are working in an area with a high ceiling, you may need a ladder or scaffolding to access the installation area safely.
- Clean-up Supplies: Lastly, make sure to have garbage bags or boxes for waste disposal, as well as a broom or vacuum cleaner to clean up any loose debris.
By gathering all the necessary materials beforehand, you will be fully prepared to embark on the Rockwool insulation installation process.
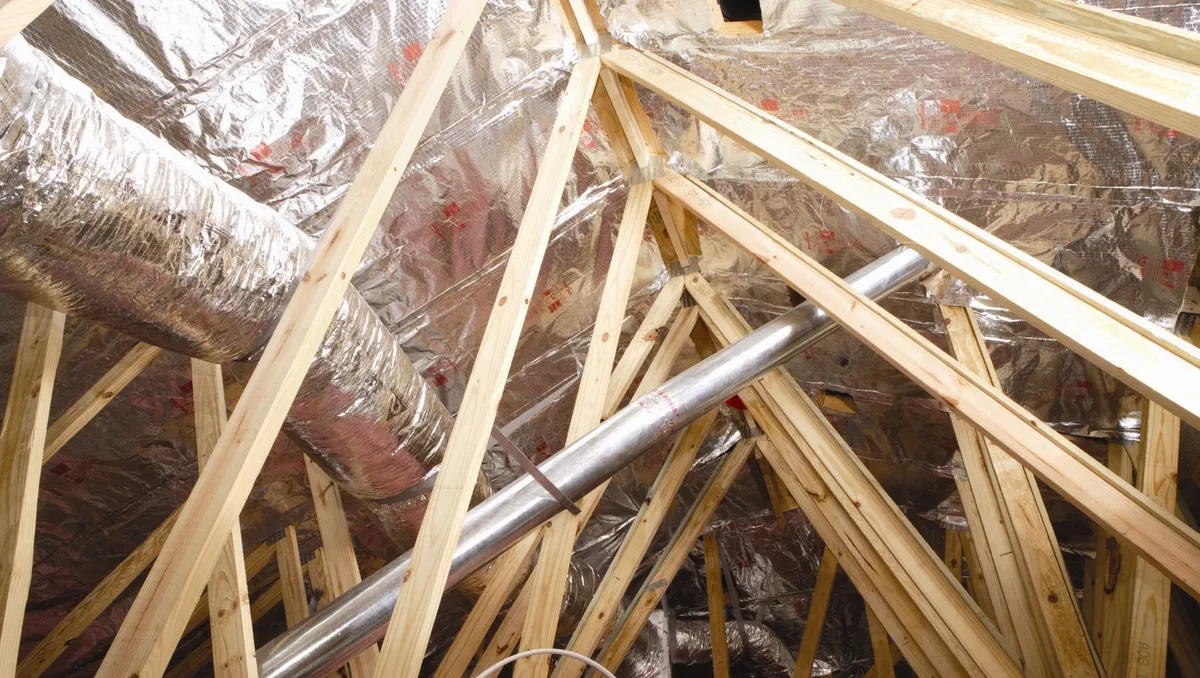
Step 2: Prepare the Area for Installation
Before you begin installing Rockwool insulation, it is crucial to prepare the area properly. This will ensure a smooth and efficient installation process. Follow these steps to prepare the area:
- Clear the Space: Remove any obstacles, furniture, or objects from the area where you will be installing the Rockwool insulation. This will provide you with a clear and unobstructed workspace.
- Ensure Safety: Take the necessary safety precautions by turning off any electrical circuits in the vicinity of the installation area. This will prevent any accidents or electrical hazards during the installation process.
- Clean the Surface: It is important to have a clean, dry, and dust-free surface before installing Rockwool insulation. Use a broom or vacuum cleaner to remove any debris or dust from the area.
- Patch Any Holes: Inspect the walls or surfaces for any existing holes or cracks. Patch them up with the appropriate filler or sealant to ensure a smooth and even surface for the insulation installation.
- Apply Vapor Barrier (if needed): Depending on your specific needs and the location of the installation, you may need to apply a vapor barrier to prevent moisture buildup. Consult with a professional or refer to the manufacturer’s instructions for guidance on vapor barrier installation.
By properly preparing the area for installation, you will create an optimal environment for installing Rockwool insulation. This will help ensure the effectiveness and longevity of the insulation.
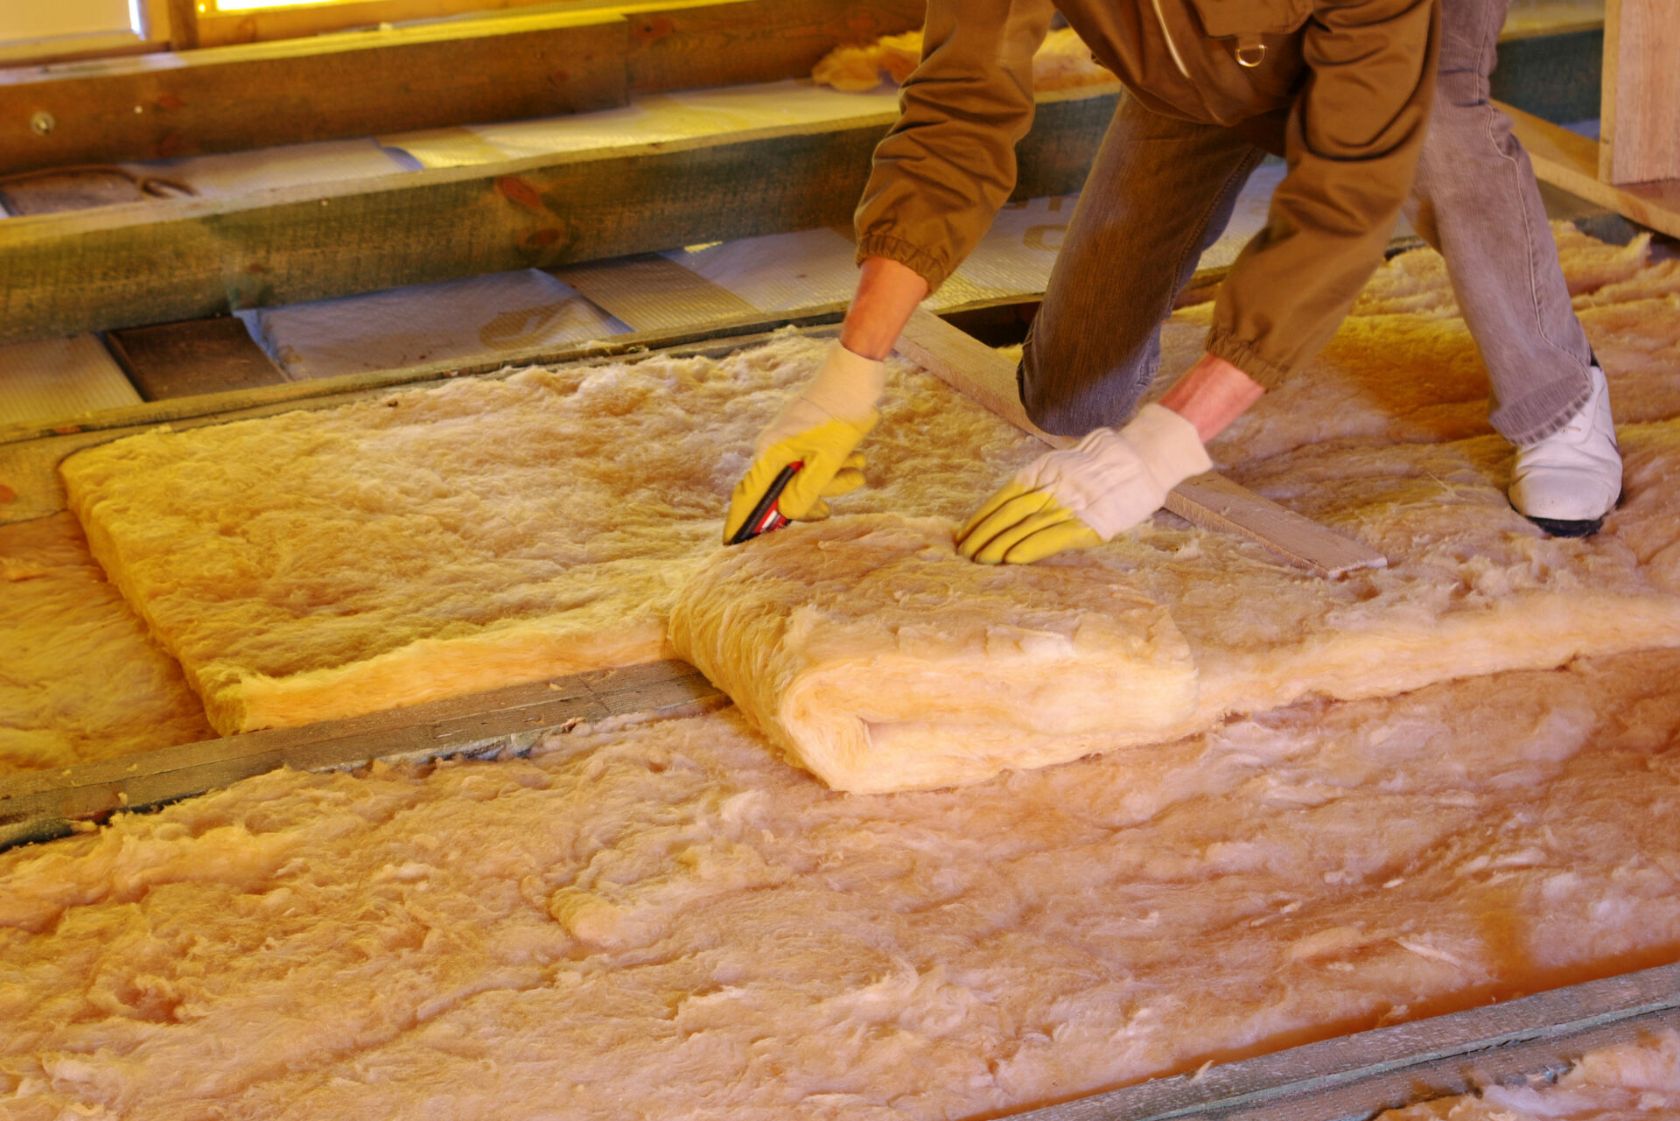
Step 3: Measure and Cut the Rockwool Insulation
Once the area is prepared, it’s time to measure and cut the Rockwool insulation to fit perfectly into the installation space. Here’s how you can do it:
- Measure the Space: Use a measuring tape to measure the height, width, and depth of the area where you will be installing the Rockwool insulation. Take accurate measurements to ensure a snug fit.
- Transfer Measurements: Transfer the measurements onto the Rockwool insulation using a marker or pencil. Ensure that the marked lines are visible and easy to follow.
- Cut the Insulation: Using a sharp utility knife, carefully cut along the marked lines on the Rockwool insulation. Apply even pressure and make multiple cuts if necessary to achieve a clean and precise cut.
- Double-Check Measurements: After cutting the insulation, double-check the dimensions to ensure they match the installation space correctly. Make any necessary adjustments by trimming the edges as needed.
- Repeat for Each Piece: If your installation requires multiple pieces of Rockwool insulation, repeat the measuring and cutting process for each piece. Keep track of the measurements to ensure consistency throughout the installation.
It’s important to take your time and be precise when measuring and cutting the Rockwool insulation. Accurate measurements and clean cuts will result in a professional and effective insulation installation.
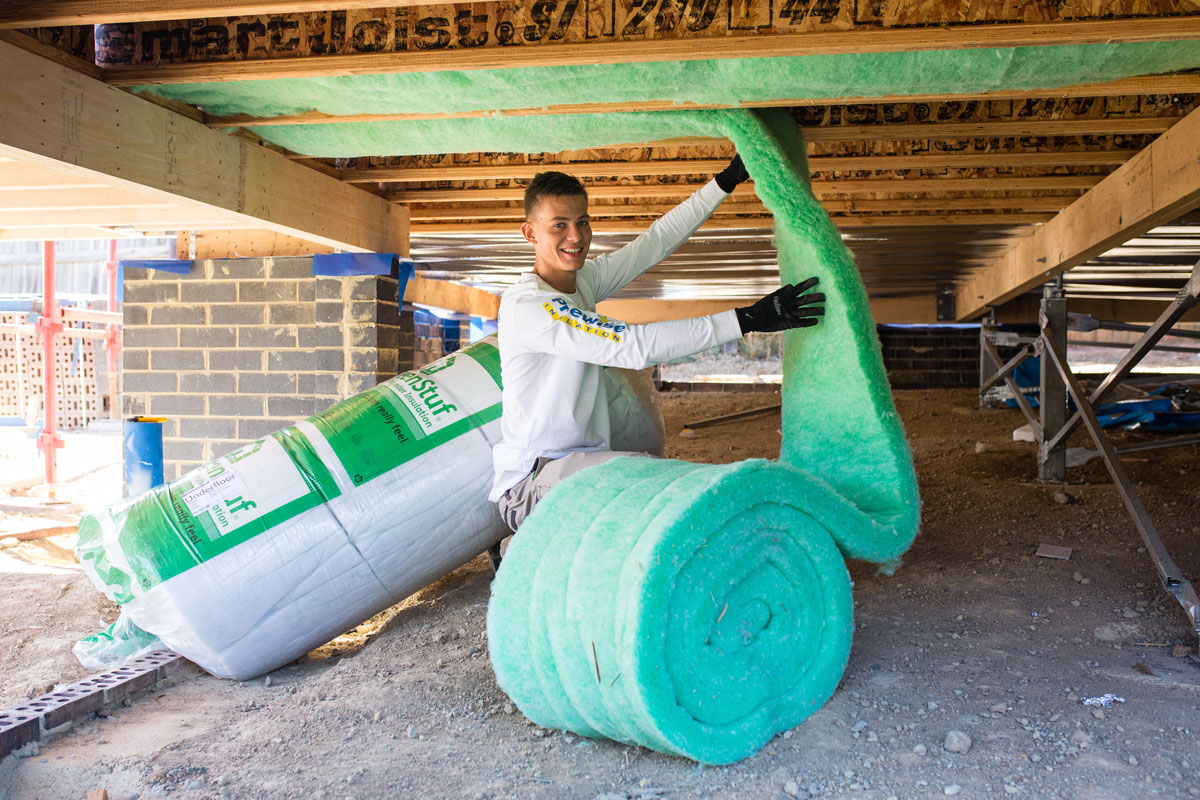
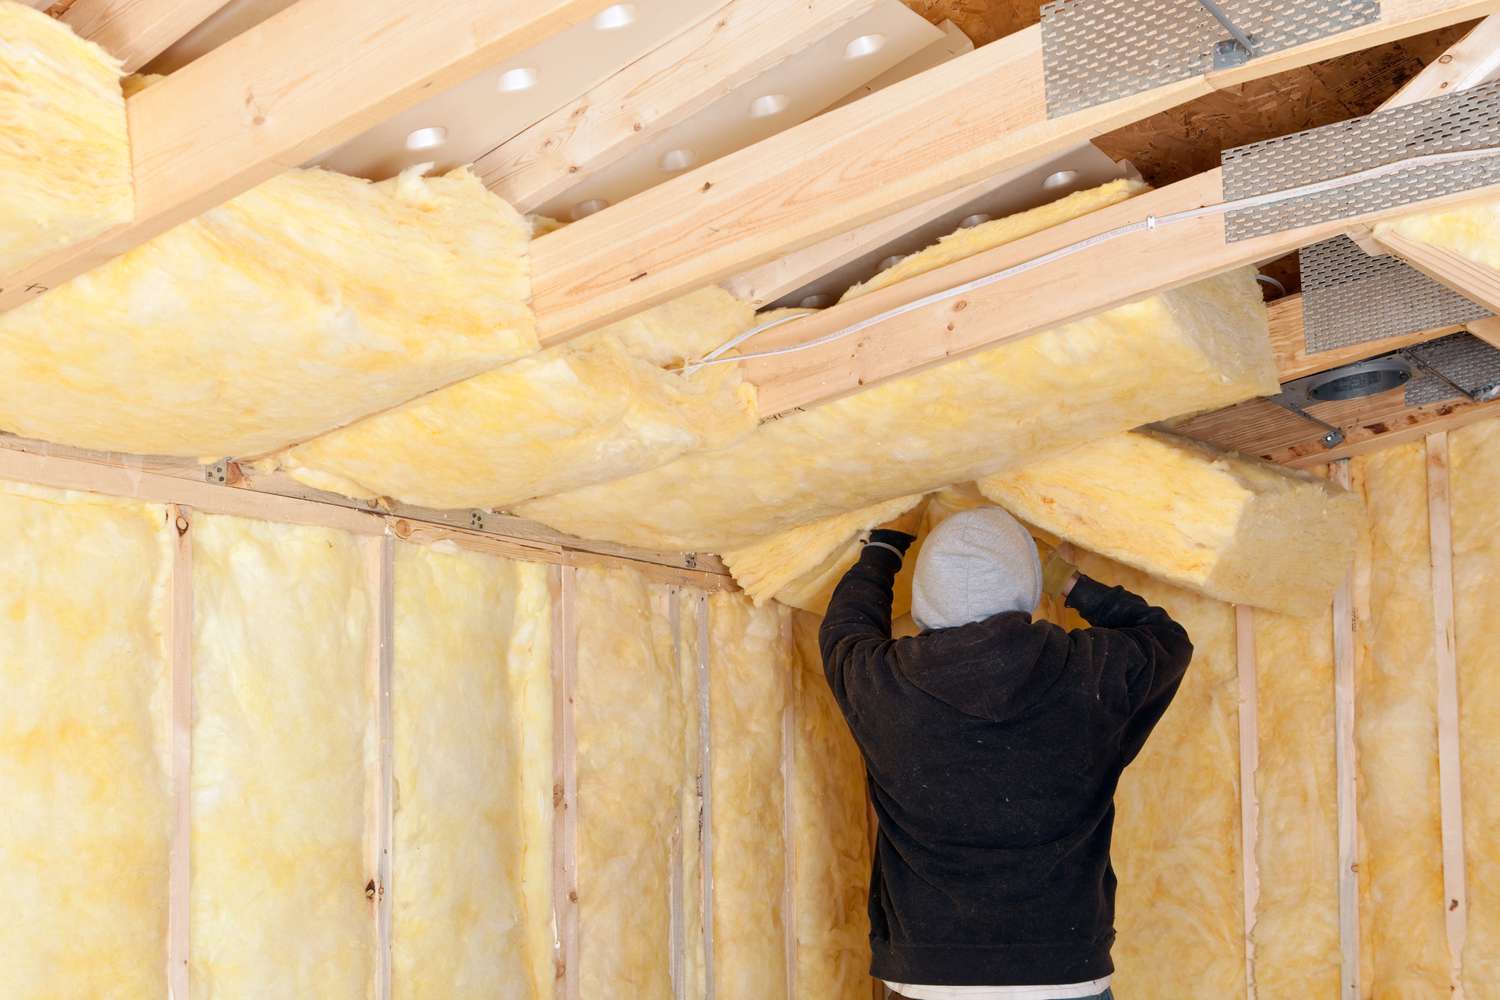
Step 4: Install the Rockwool Insulation Properly
Now that you have the Rockwool insulation pieces cut to the correct size, it’s time to install them in the designated area. Follow these steps to ensure a proper installation:
- Start from the Bottom: Begin installing the Rockwool insulation from the bottom of the installation area and work your way up. This will help prevent any gaps or unevenness in the insulation.
- Squeeze the Insulation: Slightly compress the Rockwool insulation to fit it into the installation space. This will ensure a snug and secure fit without gaps or voids.
- Fit the Insulation: Insert the Rockwool insulation into the space, ensuring that it fits tightly and snugly. Push it into any corners or edges, making sure it is flush against the surface.
- Secure the Insulation: Depending on your specific installation requirements, you may need to secure the Rockwool insulation in place. This can be done using a staple gun or adhesive. Follow the manufacturer’s instructions for proper securing techniques.
- Continue Layering: If your insulation installation requires multiple layers, repeat the same process for each layer. Ensure that each piece of Rockwool insulation fits tightly against the previous layer and covers the entire installation area.
- Pay Attention to Joints: When installing Rockwool insulation, pay special attention to the joints and seams. Ensure that they overlap and are properly sealed to eliminate any potential gaps or thermal bridging.
Remember to take your time and be thorough during the installation process. Properly installed Rockwool insulation will provide effective thermal and acoustic insulation for your home.
When installing Rockwool insulation, make sure to wear proper protective gear such as gloves, a mask, and goggles to avoid irritation from the fibers.
Read also: 10 Unbelievable Rockwool Insulation For 2025
Step 5: Seal Any Gaps or Voids
Once you have installed the Rockwool insulation, it’s important to seal any gaps or voids to maximize its efficiency and effectiveness. Here’s how you can seal the insulation:
- Inspect for Gaps: Carefully inspect the installed Rockwool insulation for any visible gaps or voids. Pay close attention to corners, edges, and joints where gaps are more likely to occur.
- Prepare the Sealing Material: Depending on the type of gaps you need to seal, choose an appropriate sealing material such as caulk, expanding foam, or weatherstripping. Read the manufacturer’s instructions for proper usage.
- Fill Gaps or Voids: Using the selected sealing material, fill in any gaps or voids to create an airtight seal. Apply the material evenly, ensuring that it completely covers the gaps without blocking any ventilation or air circulation.
- Smooth the Surface: Use a putty knife or your finger to smooth the sealed areas and remove any excess sealing material. This will help create a neat and seamless finish.
- Check for Proper Sealing: After sealing, double-check all the areas to ensure that the gaps or voids have been adequately filled. A well-sealed installation will enhance the insulation’s performance and prevent any drafts or energy leaks.
Sealing any gaps or voids in the Rockwool insulation will enhance its thermal efficiency and help maintain a consistent indoor temperature. It also prevents air infiltration, reducing energy consumption and ensuring maximum insulation performance.
Step 6: Clean Up and Dispose of Waste Materials
After completing the installation and sealing process, it’s essential to clean up the work area and properly dispose of any waste materials. Follow these steps for a thorough clean-up:
- Collect Loose Debris: Use a broom, shop vacuum, or dustpan to gather any loose debris, such as Rockwool insulation fibers or offcuts. Ensure that the work area is free from any remnants of the installation.
- Dispose of Waste Materials: Place the collected waste materials, such as Rockwool insulation scraps or packaging, into garbage bags or appropriate containers. Check with your local waste management guidelines for proper disposal methods.
- Seal and Secure Waste Bags: To prevent any potential release of insulation fibers, securely tie and seal the waste bags. This will maintain a safe and clean work environment.
- Clean Tools and Equipment: Clean your utility knife, staple gun, or any other tools used during the installation process. Remove any adhesive residue or debris to ensure they remain in good condition for future use.
- Return Unused Materials: If you have any Rockwool insulation or other unused materials, keep them securely stored or return them to their original packaging. This will prevent any unnecessary waste and make it easier for future projects.
Properly cleaning up and disposing of the waste materials will leave your work area tidy and minimize any potential hazards. It also promotes environmental responsibility by ensuring proper waste management.
Step 7: Inspect the Installed Insulation
Once you have completed the Rockwool insulation installation, it’s important to take the time to inspect the installed insulation. This final step ensures that the insulation is properly in place and functioning effectively. Follow these steps to inspect the installed insulation:
- Check for Proper Coverage: Inspect the entire installation area to ensure that the Rockwool insulation covers the desired surface fully. There should be no visible gaps or areas left uninsulated.
- Look for Compression or Shifts: Examine the insulation for any signs of compression or shifts. The insulation should remain evenly distributed and adequately filling the space without excessive compression or gaps.
- Verify Sealed Gaps and Voids: Double-check the areas where you applied sealing material to seal any gaps or voids. Ensure that the sealing material has properly adhered and formed an airtight seal.
- Check for Moisture or Mold: Inspect the installed insulation for any signs of moisture or mold growth. If you notice any dampness or visible mold, it may indicate a problem with moisture infiltration that needs to be addressed.
- Assess Overall Insulation Integrity: Step back and evaluate the overall integrity of the insulation installation. Look for any areas that may need additional attention or adjustments to improve the insulation’s performance.
By performing a thorough inspection, you can ensure that the Rockwool insulation is installed correctly and functioning as intended. Any issues or areas requiring attention can be addressed promptly, ensuring optimal insulation performance and energy efficiency in your home.
Conclusion
Installing Rockwool insulation is a valuable investment in improving the energy efficiency and comfort of your home. By following the step-by-step process outlined in this article, you can successfully install Rockwool insulation and enjoy its numerous benefits.
Remember to gather all the necessary materials, prepare the area properly, measure and cut the insulation accurately, and install it securely. Take the time to seal any gaps or voids and thoroughly inspect the installed insulation to ensure its effectiveness.
Rockwool insulation offers excellent thermal and acoustic insulation properties, helping to reduce energy consumption, minimize noise transmission, and create a more comfortable living environment. By properly installing and maintaining Rockwool insulation, you can enhance the energy efficiency and overall performance of your home.
Make sure to adhere to safety guidelines and dispose of waste materials responsibly. Regular inspection and upkeep of the installed insulation will ensure its long-lasting effectiveness and prevent any potential issues.
By taking the time to install Rockwool insulation properly, you will reap the benefits of improved energy efficiency, noise reduction, and comfort in your home for years to come.
Frequently Asked Questions about How To Install Rockwool Insulation
Was this page helpful?
At Storables.com, we guarantee accurate and reliable information. Our content, validated by Expert Board Contributors, is crafted following stringent Editorial Policies. We're committed to providing you with well-researched, expert-backed insights for all your informational needs.


0 thoughts on “How To Install Rockwool Insulation”