

Articles
How To Diagnose Car AC Problems
Modified: August 27, 2024
Learn how to diagnose car AC problems with these informative articles. Find out what might be causing your AC to malfunction and how to fix it.
(Many of the links in this article redirect to a specific reviewed product. Your purchase of these products through affiliate links helps to generate commission for Storables.com, at no extra cost. Learn more)
Introduction
Welcome to the world of car air conditioning! In the scorching heat of summer or the blistering cold of winter, a reliable and efficient car AC system can be a lifesaver. However, just like any other mechanical component, car AC systems can experience problems from time to time. Understanding how to diagnose these issues can save you time, money, and discomfort.
In this article, we will explore some common car AC problems and provide a step-by-step guide to diagnosing them. Whether you’re an experienced car enthusiast or a novice DIYer, this information will empower you to identify and potentially resolve AC problems on your own.
Before we delve into specific troubleshooting techniques, it’s important to note that while diagnosing car AC problems can be done by car owners, it is always recommended to consult a professional if you’re unsure or uncomfortable with performing the necessary repairs. Safety should be a top priority when working with car electrical systems and refrigerants.
Now, let’s dive into the various AC issues you might encounter and the steps to diagnose and resolve them.
Key Takeaways:
- Regular maintenance and servicing of your car’s AC system can prevent issues. Keep filters clean, inspect for leaks, and seek professional maintenance checks for efficient cooling and heating.
- Diagnosing car AC problems is possible, but prioritize safety. Seek professional assistance if unsure, and follow a systematic approach to ensure a comfortable driving experience.
Read more: How To Check AC Pressure In Car
Common Car AC Problems
Car air conditioning systems can experience a range of issues. Some of the most common problems include:
- No cool air: One of the most frequent complaints is when the AC system blows warm or hot air instead of cool air. This can occur due to a variety of reasons, such as a refrigerant leak, a faulty compressor, or a clogged condenser. It’s important to diagnose the root cause to address the problem effectively.
- Insufficient airflow: Another issue is when the air conditioning system is running, but there is limited airflow coming out of the vents. This can be caused by a clogged cabin air filter, a malfunctioning blower motor, or even obstructions in the air ducts. Proper airflow is essential for effective cooling, so it’s important to identify and resolve this problem.
- Weird smells or odors: If your car’s AC system emits strange odors when turned on, it could be a sign of mold or mildew growth in the vents or a dirty cabin air filter. These odors not only make the driving experience unpleasant but can also impact the air quality inside the vehicle. Deep cleaning the AC system and replacing the air filter can help eliminate these odors.
- Unusual noises: Unusual noises coming from the AC system can indicate a problem. Squealing sounds could be a belt issue, while a clicking noise might suggest a faulty compressor clutch. Rattling or banging noises may be a sign of loose or damaged components. Identifying the source of the noise can help determine the necessary repairs.
- Intermittent cooling: If you notice that your car’s AC system cools inconsistently, working well at times and then struggling to cool again, it may be due to a refrigerant leak, a faulty sensor, or an issue with the compressor clutch. Diagnosing the cause will help you address the root of the problem and restore consistent cooling.
Now that we’ve identified some common car AC problems, let’s move on to the steps you can take to diagnose these issues and potentially resolve them yourself.
Assessing Air Flow
When it comes to diagnosing car AC problems, the first step is to assess the air flow from the vents. Insufficient or weak airflow can indicate a clogged air filter, a malfunctioning blower motor, or blockages in the air ducts. Here’s what you can do to assess the air flow:
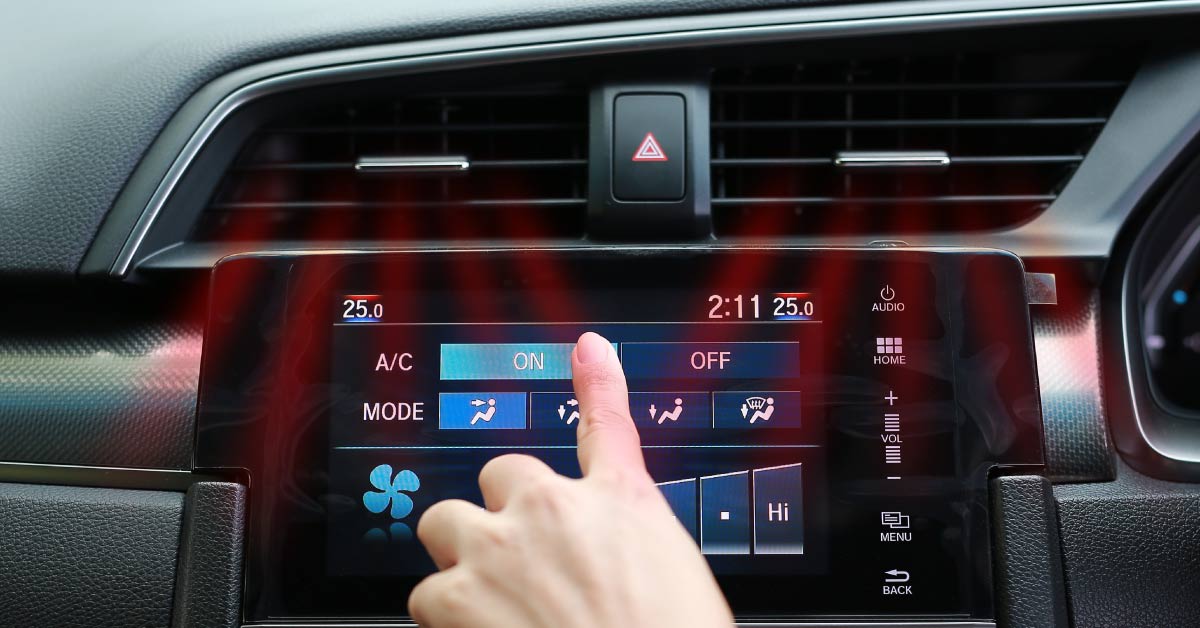
- Adjust the fan speed: Start by turning on your car’s AC system and adjusting the fan speed to the highest setting. Pay attention to the airflow coming out of the vents. If the airflow is weak or barely noticeable, it may indicate an issue with the blower motor.
- Check the air filter: Locate and inspect the cabin air filter. In most cars, it is located behind the glove compartment or under the hood. Remove the filter and inspect it for any dirt, debris, or clogs. If the filter is dirty or clogged, replace it with a new one to improve air flow.
- Inspect the air ducts: Visually inspect the air ducts for any obstructions. Leaves, debris, or even small animals can find their way into the ducts and restrict air flow. If you notice any blockages, carefully remove them using a vacuum cleaner or compressed air.
- Test the blower motor: If the air filter and ducts are clear, but you still experience weak airflow, the blower motor may be the culprit. Use a multimeter to test the voltage at the blower motor connection. If there is power but the motor isn’t running, it may need to be replaced.
Assessing the air flow is an essential step in diagnosing car AC problems. By examining the fan speed, checking the air filter, inspecting the air ducts, and testing the blower motor, you can determine if there are any issues affecting the airflow. Once you’ve completed this step, you can move on to the next phase of diagnosing the AC system.
Checking for Refrigerant Leaks
Refrigerant leaks are a common cause of car AC problems. When there’s a refrigerant leak in the system, it can lead to decreased cooling performance or even a complete failure of the AC system. Here’s how you can check for refrigerant leaks:
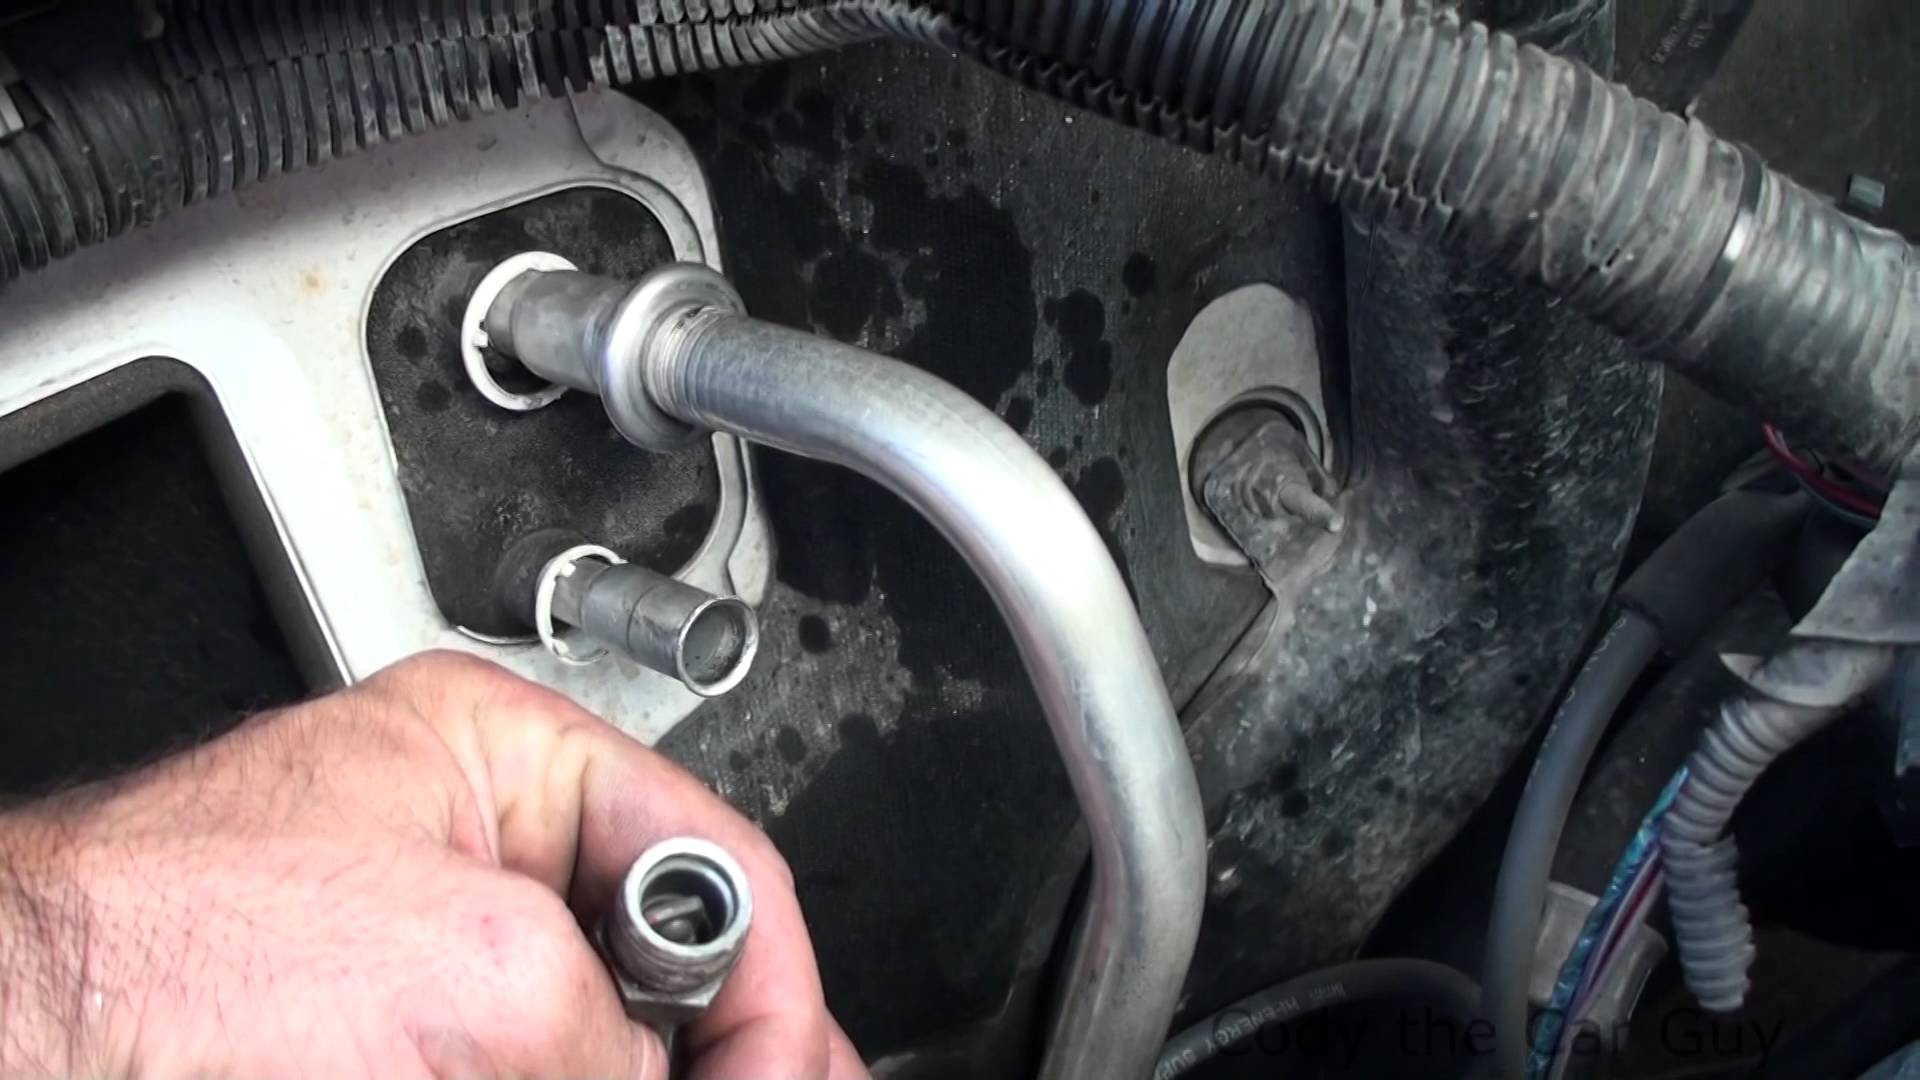
- Visual inspection: Start by visually inspecting the AC components, including the condenser, hoses, and connections. Look for any signs of oil stains or greasy residue, which may indicate a refrigerant leak. Pay particular attention to the fittings and connections, as they are common places for leaks to occur.
- UV dye detection: If you suspect a refrigerant leak but can’t visually identify it, you can use UV dye. Add UV dye to your car’s AC system according to the manufacturer’s instructions. Run the AC system for a while and then use a UV light to inspect the components. The dye will glow under the UV light, helping you pinpoint the source of the leak.
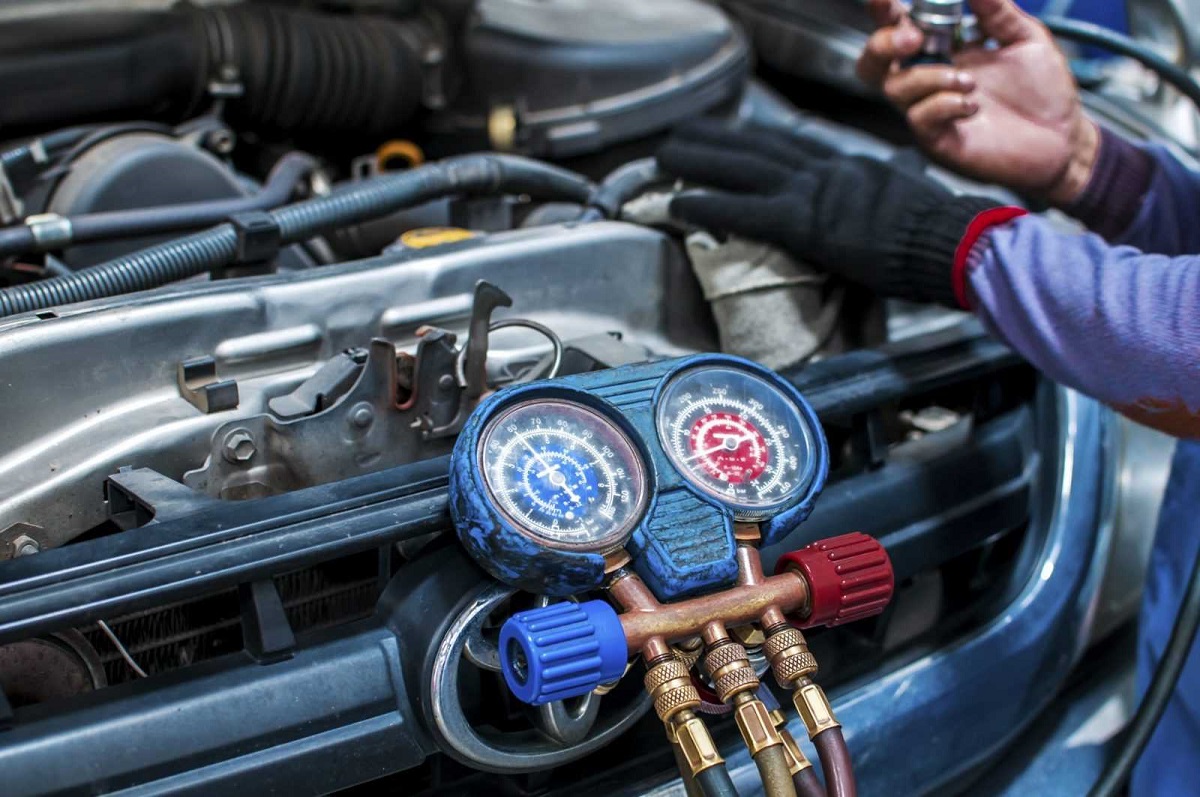
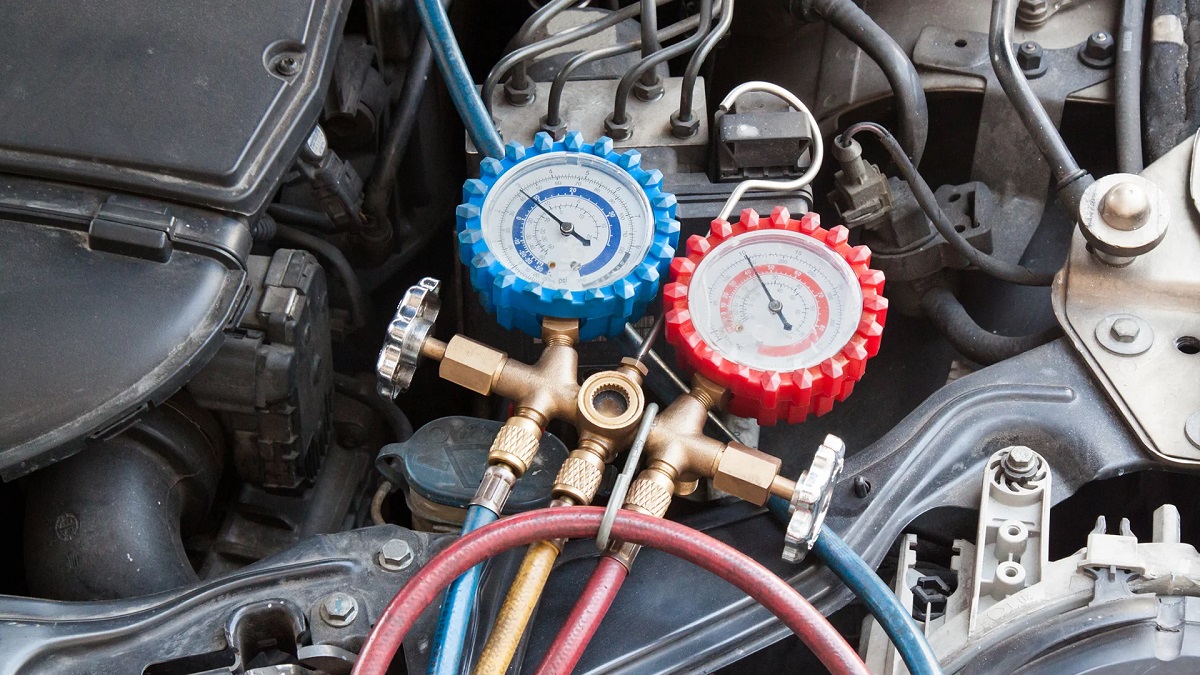
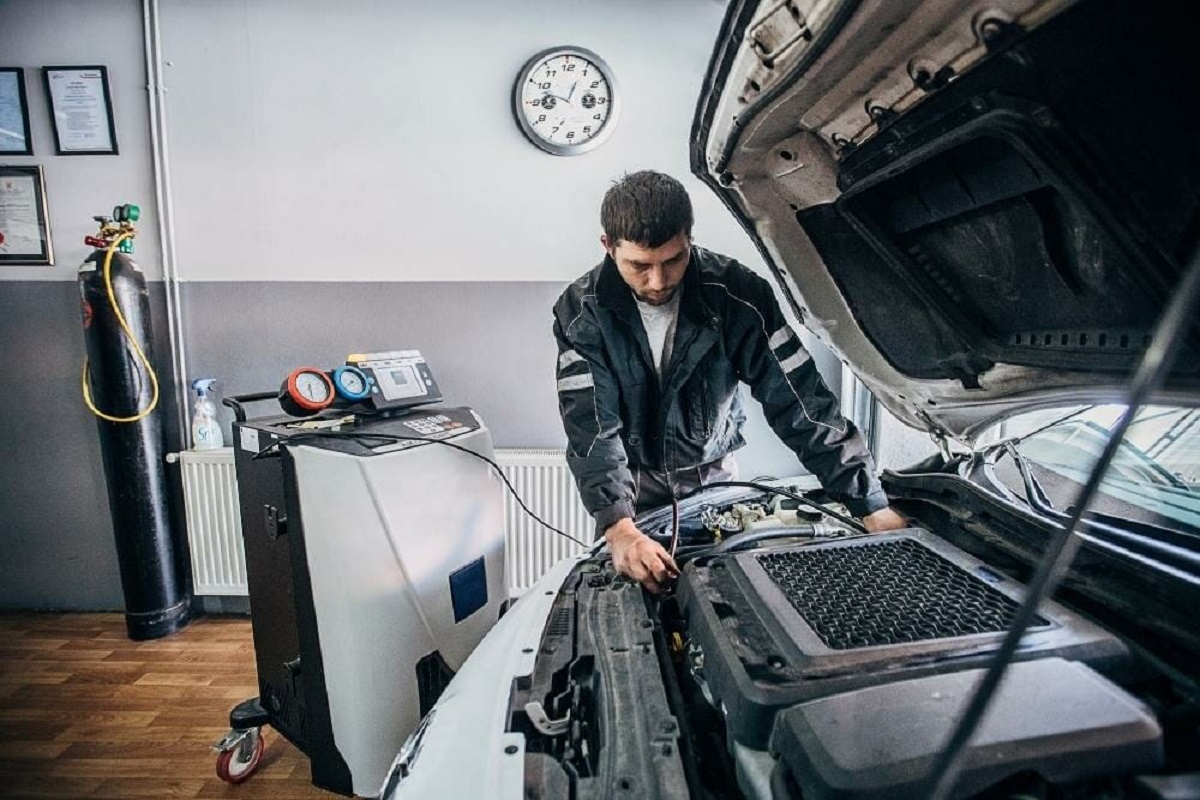
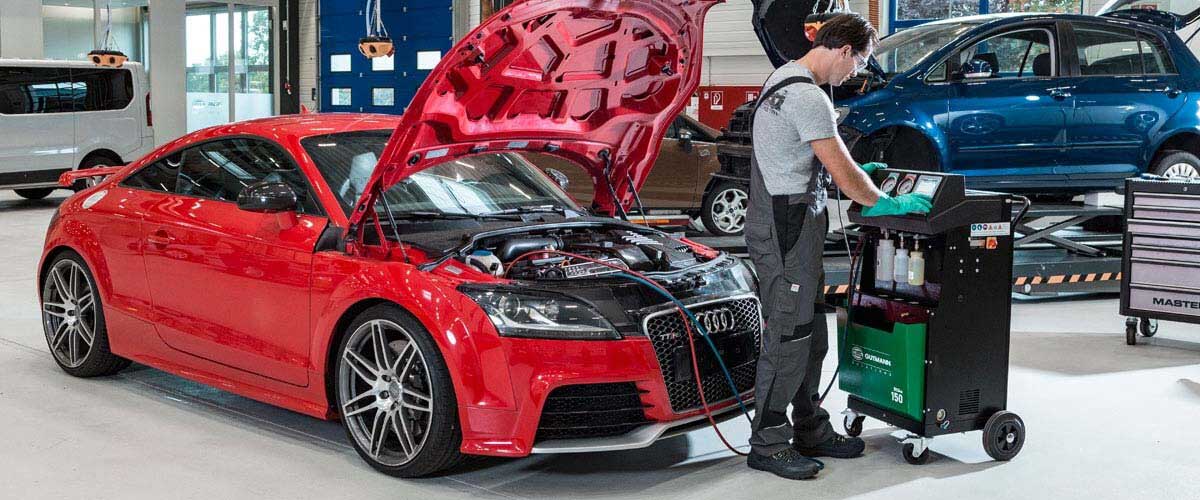
- Pressure test: Another method to check for refrigerant leaks is to perform a pressure test. This test involves connecting a set of gauges to the AC system and monitoring the pressure readings. If there’s a significant drop in pressure over time, it indicates a leak in the system. It’s important to note that a pressure test should only be conducted by professionals or experienced individuals, as it involves working with refrigerants and high-pressure systems.
- Electronic leak detector: An electronic leak detector is a device that can detect tiny amounts of refrigerant leaking from the AC system. It works by sensing the refrigerant molecules in the air. Move the detector around the AC components and connections to identify any leaks. This method is more accurate and efficient than visual inspection alone.
If you identify a refrigerant leak, it’s crucial to address it promptly. Depending on the severity of the leak, you may be able to repair it yourself by tightening loose fittings or replacing damaged hoses. However, for larger leaks or complex repairs, it’s best to seek professional assistance. Remember to always prioritize your safety and refer to manufacturer guidelines when working with refrigerants.
Now that you’ve checked for refrigerant leaks, let’s move on to the next step in diagnosing car AC problems.
Check the refrigerant levels in your car’s AC system. Low refrigerant can indicate a leak or other issue that needs to be addressed by a professional.
Testing Compressor Functionality
The compressor plays a crucial role in the car’s air conditioning system, as it’s responsible for circulating the refrigerant and pressurizing it. If the compressor is not functioning correctly, it can result in a lack of cool air or an overall AC system failure. Here’s how you can test the functionality of the compressor:
- Engage the AC system: Start by turning on the car’s AC system and setting it to the maximum cooling setting. Listen for a click or a hum when the AC is activated. This sound indicates that the compressor clutch has engaged. If you don’t hear anything, it may be a sign of a faulty compressor.
- Check the compressor clutch: Locate the compressor under the hood of your car. Look for the clutch pulley on the front of the compressor. With the engine off, use a wrench or socket to attempt to rotate the clutch pulley. It should spin freely and smoothly. If it feels stiff or doesn’t rotate at all, it may indicate a problem with the compressor clutch.
- Check the AC pressure: Connect a pressure gauge to the low-pressure port of the AC system, usually located near the compressor. Start the engine and turn on the AC system to the maximum cooling setting. Monitor the pressure reading on the gauge. If the pressure is significantly lower or higher than the recommended levels, it may indicate an issue with the compressor or the overall AC system.
- Consult a professional: If you suspect a problem with the compressor, it’s best to consult a professional. They have the necessary expertise and equipment to perform more in-depth diagnostics, such as testing the compressor’s electrical connections and internal components.
By testing the functionality of the compressor, you can determine if it’s operating properly or if there are any issues that need to be addressed. If you encounter any problems with the compressor, it’s advisable to seek professional assistance to ensure accurate diagnosis and repairs.
Next, let’s move on to examining the electrical connections related to the car’s AC system.
Read more: How To Test AC Compressor In Car
Examining Electrical Connections
The electrical connections in your car’s AC system play a crucial role in ensuring its proper functioning. Issues with the electrical connections can lead to various AC problems, such as the compressor not engaging or the blower motor not working. Here’s how you can examine the electrical connections:
- Inspect the fuses: Start by checking the fuses related to the AC system. Refer to your car’s manual to locate the AC-related fuses in the fuse box. Visually inspect the fuses to ensure they are not blown or damaged. Replace any blown fuses with new ones of the correct amperage.
- Check the relays: Relays are responsible for controlling the flow of electrical power to different AC components. Locate the AC relay(s) in the relay box or fuse box. If you suspect a faulty relay, you can perform a simple test by swapping it with a similar one in the relay box and checking if the AC system starts functioning. If it does, then the original relay may need to be replaced.
- Inspect wiring harnesses: Examine the wiring harnesses connected to the AC system components, such as the compressor and the blower motor. Look for any signs of loose, damaged, or corroded wires or connectors. Tighten any loose connections and replace any damaged or corroded components.
- Test electrical continuity: To ensure proper electrical continuity, you can use a multimeter to check the resistance or continuity of the wires and connectors. This can help you identify any breakages or faults in the electrical connections. Follow the multimeter instructions and refer to a wiring diagram specific to your vehicle to perform accurate continuity tests.
- Consider professional assistance: If you’re unsure or uncomfortable working with the electrical connections, it’s always recommended to seek professional help. They have the expertise and tools to diagnose and repair electrical issues effectively and safely.
By examining the electrical connections in your car’s AC system, you can identify any issues that may be affecting its functionality. Inspecting fuses, checking relays, inspecting wiring harnesses, and testing electrical continuity are essential steps in the diagnostic process.
Now, let’s move on to evaluating the performance of the blower motor in your car’s AC system.
Evaluating Blower Motor Performance
The blower motor is responsible for circulating the cooled or heated air from the car’s AC system to the interior cabin. A malfunctioning blower motor can result in weak or no airflow, which can impact the cooling or heating performance of your car’s AC system. Here’s how you can evaluate the performance of the blower motor:
- Turn on the fan: Start by turning on the fan in your car’s AC system and adjusting the speed settings. Listen for any unusual noises coming from the blower motor. Squealing, grinding, or rattling sounds can indicate a problem with the motor.
- Adjust the airflow direction: Test the functionality of the blower motor by adjusting the airflow direction from the vents. Make sure the air is flowing correctly through all the vents, such as the front and rear vents and the defroster vents. If the airflow is weak or if it’s only coming from certain vents, it may indicate a problem with the blower motor.
- Check the blower motor speed: Use the different speed settings of the fan to assess the blower motor’s performance. If the airflow is significantly weaker at higher speeds or if the fan stops working at certain speeds, there may be an issue with the blower motor resistor or the motor itself.
- Inspect the blower motor: Locate the blower motor usually located behind the glove compartment or under the dashboard. Inspect it for any signs of debris or obstructions that may be affecting its performance. Clean out any debris and ensure the motor is free of any blockages.
- Test the blower motor resistor: The blower motor resistor controls the speed of the fan. If the fan only works on certain speed settings or not at all, the resistor may be faulty. Use a multimeter to test the resistance across the resistor’s terminals. If there is no resistance or if the resistance values are outside the specified range, the resistor may need to be replaced.
By evaluating the performance of the blower motor, you can determine if it’s functioning correctly or if there are any issues that need to be addressed. Pay attention to any unusual noises, check the airflow direction and speed, inspect the blower motor for debris, and test the blower motor resistor if necessary.
With these steps, you have now covered the major areas of diagnosing car AC problems. Remember, if you encounter any issues that you’re unsure or uncomfortable with, it’s always best to seek the assistance of a professional to ensure accurate diagnosis and repairs.
Now, let’s wrap up our discussion.
Conclusion
Diagnosing car AC problems can be a daunting task, but with the right knowledge and approach, you can identify and potentially resolve the issues. By taking a systematic approach and following the steps outlined in this article, you can assess air flow, check for refrigerant leaks, test compressor functionality, examine electrical connections, and evaluate blower motor performance.
It’s essential to remember that while diagnosing car AC problems is possible for car owners, it’s crucial to prioritize safety and seek professional assistance if you’re unsure or uncomfortable with performing the necessary repairs. Working with car electrical systems and refrigerants can be hazardous, so always exercise caution.
A well-functioning car AC system is essential for a comfortable driving experience, especially during hot summers or cold winters. By diagnosing and addressing AC problems promptly, you can ensure efficient cooling or heating and avoid further damage to the system.
If you’re unable to resolve the AC issues on your own or if you’re unsure about the diagnosis, it’s highly recommended to consult an automotive professional. They have the expertise, knowledge, and specialized tools to accurately identify and repair car AC problems.
Remember, regular maintenance and servicing of your car’s AC system can help prevent issues from arising in the first place. Keeping the filters clean, inspecting for leaks, and getting professional maintenance checks can go a long way in ensuring the longevity and efficiency of your car’s AC system.
We hope this article has provided you with valuable insights into diagnosing common car AC problems. By following the step-by-step guide, you can be better equipped to tackle AC issues and enjoy a comfortable and enjoyable driving experience.
Safe travels and stay cool!
Frequently Asked Questions about How To Diagnose Car AC Problems
Was this page helpful?
At Storables.com, we guarantee accurate and reliable information. Our content, validated by Expert Board Contributors, is crafted following stringent Editorial Policies. We're committed to providing you with well-researched, expert-backed insights for all your informational needs.








0 thoughts on “How To Diagnose Car AC Problems”