Articles
How To Install Foil Insulation
Modified: December 7, 2023
Learn how to install foil insulation with our informative articles. Get step-by-step instructions and valuable tips for a successful installation.
(Many of the links in this article redirect to a specific reviewed product. Your purchase of these products through affiliate links helps to generate commission for Storables.com, at no extra cost. Learn more)
Overview
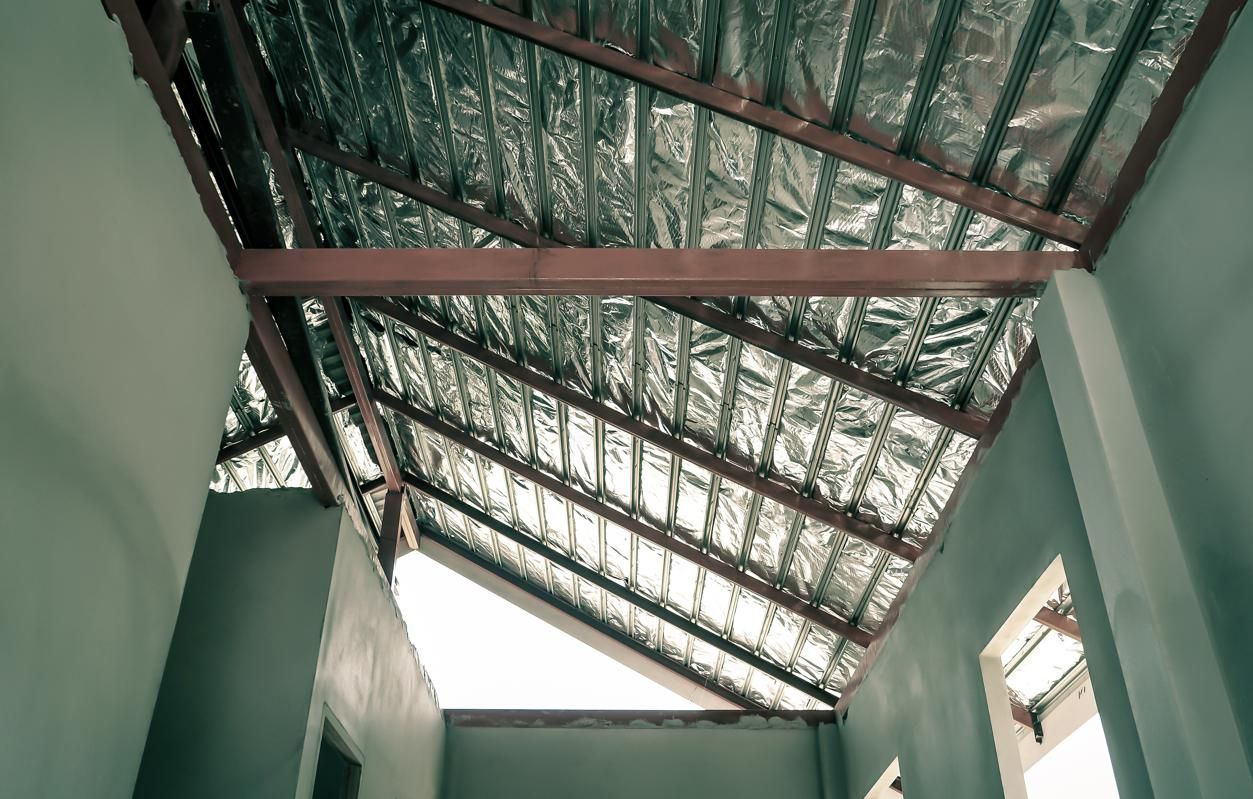
Foil insulation is a popular choice for reducing heat loss and increasing energy efficiency in buildings. It is commonly used in homes, offices, and other structures to improve insulation and save on heating and cooling costs. The installation process of foil insulation may seem daunting at first, but with the right materials and techniques, it can be a relatively simple and rewarding DIY project.
In this article, we will guide you through the step-by-step process of installing foil insulation in your home or building. From gathering materials to securing the insulation in place, we will cover everything you need to know to successfully install foil insulation and enjoy its benefits.
Before we dive into the installation process, it’s important to understand what foil insulation is and how it works. Foil insulation is composed of a reflective material, usually aluminum foil, that is combined with a layer of insulation, such as foam or fiberglass. This combination creates a barrier that reflects heat back into the building, preventing it from escaping and reducing the amount of external heat entering the building.
Now that we have a brief understanding of foil insulation, let’s move on to the installation process. In the following steps, we will outline the materials you will need, how to prepare the installation area, measure and cut the foil insulation, apply adhesive, install the insulation, insulate the seams and gaps, and secure the insulation in place.
By the end of this article, you’ll have the knowledge and confidence to successfully install foil insulation in your home or building, saving energy and improving comfort. So, let’s get started with step one: gathering the materials required for the installation.
Key Takeaways:
- Installing foil insulation is a DIY project that can improve energy efficiency and reduce heating and cooling costs. Proper preparation, accurate measurement, and secure installation are key to success.
- Insulating seams and gaps, securing the insulation in place, and completing the installation are crucial for long-term effectiveness. Regular maintenance ensures continued energy savings and comfort.
Read more: How To Install Foil Faced Insulation Sheets
Step 1: Gather Materials
Before you begin the installation process, it’s important to gather all the necessary materials. This will ensure a smooth and efficient installation. Here are the materials you will need:
- Foil insulation: Choose the type of foil insulation that best suits your needs and the specific area you will be insulating. Foil insulation comes in rolls or sheets, so make sure to calculate the amount you will need based on the area to be covered.
- Measuring tape: This will be used to measure the dimensions of the installation area and the foil insulation.
- Utility knife or scissors: These tools will be used to cut the foil insulation to size.
- Adhesive: Select an adhesive that is suitable for your installation area and foil insulation type. Make sure it is designed for use with foil insulation to ensure a secure bond.
- Safety equipment: It’s important to prioritize safety during the installation process. Wear protective gloves and goggles to protect yourself from any potential hazards.
- Step ladder: Depending on the height of the installation area, you may need a step ladder to reach and install the foil insulation.
By gathering these materials beforehand, you will have everything you need to complete the installation process without any delays. Ensure that you have the correct quantity of foil insulation and adhesive to cover the desired area, as running out of materials midway can be inconvenient and may affect the overall effectiveness of the installation.
Once you have gathered all the necessary materials, you are ready to move on to the next step: preparing the installation area.
Step 2: Prepare the Installation Area
Preparing the installation area is an important step to ensure that the foil insulation adheres properly and provides maximum insulation benefits. Follow these guidelines to properly prepare the installation area:
- Clean the surface: Clear any debris, dirt, or dust from the surface where the foil insulation will be installed. This will help the adhesive bond better and create a smooth surface for installation.
- Repair any damages: Inspect the installation area for any cracks, holes, or damages. Fill any gaps or repair damages using appropriate materials. This will help prevent air leakage and improve the overall insulation effectiveness.
- Check for moisture: Moisture can compromise the performance of the foil insulation. Before proceeding, ensure that there are no signs of moisture or leaks in the installation area. If there are any issues, address them before installing the foil insulation.
- Protect electrical outlets and fixtures: If there are electrical outlets or fixtures in the installation area, make sure to protect them by covering them with tape or plastic. This will prevent any adhesive or insulation material from coming into contact with them.
- Mark the areas: Use a pencil or marker to mark the areas where the foil insulation will be installed. This will serve as a guide during the installation process and ensure that the insulation is applied accurately.
By properly preparing the installation area, you are setting the foundation for a successful foil insulation installation. Taking the time to clean, repair, and protect the area will not only improve the adhesion of the insulation but also contribute to its long-term effectiveness. Once you have prepared the installation area, you can move on to the next step: measuring and cutting the foil insulation.
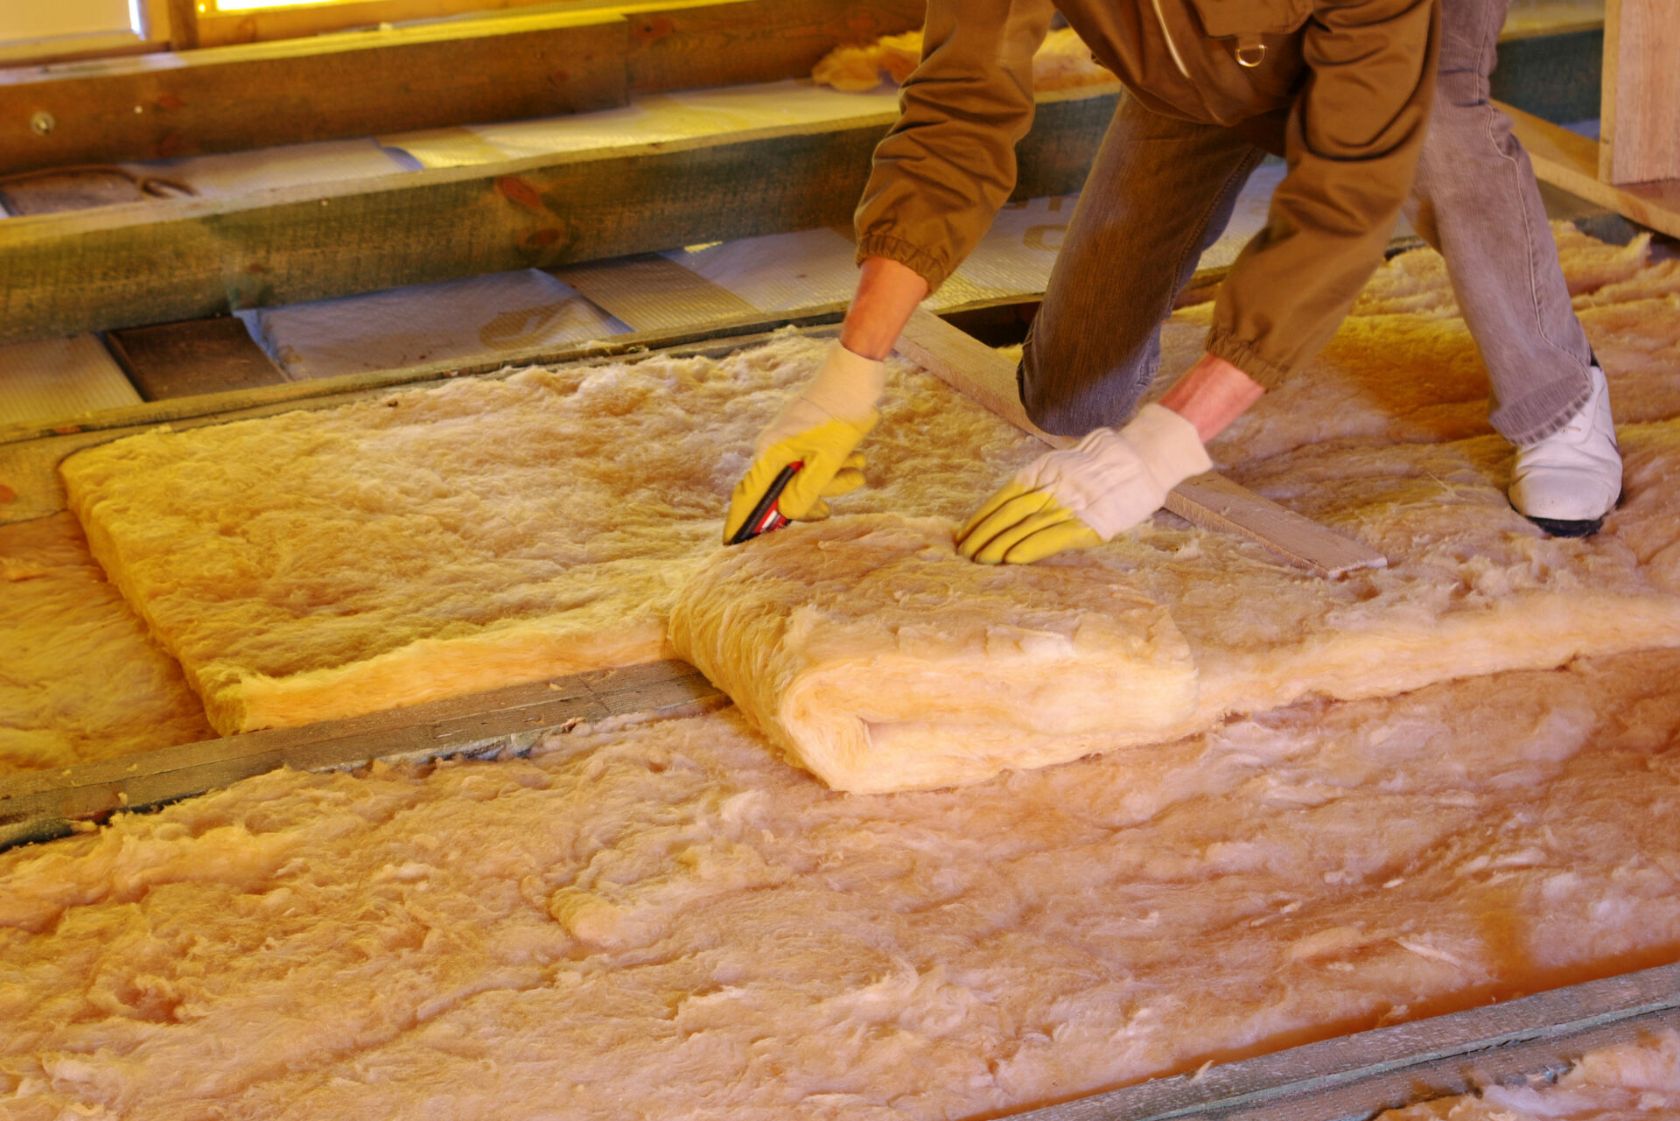
Step 3: Measure and Cut the Foil Insulation
Accurate measurements and precise cutting are crucial for a proper fit and effective insulation. Follow these steps to measure and cut the foil insulation:
- Measure the installation area: Use a measuring tape to determine the dimensions of the area where the foil insulation will be installed. Measure both the length and width, and record these measurements.
- Transfer measurements to the foil insulation: Unroll the foil insulation and lay it flat on a clean surface with the reflective side facing down. Use a pencil or marker to transfer the recorded measurements onto the insulation.
- Cut the foil insulation: Use a utility knife or sharp scissors to cut the foil insulation along the marked lines. Make sure to cut straight and avoid jagged edges or uneven cuts. Repeat this process for each section of the insulation.
- Trim excess material: If necessary, trim any excess material from the foil insulation. This will help ensure a proper fit and prevent overlapping or bunching of the insulation.
When measuring and cutting the foil insulation, always follow the manufacturer’s instructions and guidelines. Take care to make accurate measurements and use sharp cutting tools to achieve clean and precise cuts. Remember to leave a small margin around the edges to ensure a proper fit during installation.
Once you have measured and cut the foil insulation to the appropriate size, you are ready to move on to the next step: applying adhesive.
Step 4: Apply Adhesive
Applying adhesive is a crucial step in ensuring that the foil insulation remains securely in place. Follow these steps to apply the adhesive properly:
- Read the adhesive instructions: Before applying the adhesive, carefully read the manufacturer’s instructions and guidelines. Familiarize yourself with the recommended application methods and any safety precautions.
- Prepare the adhesive: Prepare the adhesive according to the manufacturer’s instructions. This may involve mixing components, activating the adhesive, or diluting it with water. Follow the instructions closely to achieve the desired consistency.
- Apply the adhesive: Using a trowel or brush, apply a thin and even layer of adhesive to the installation area. Ensure that the adhesive is evenly distributed, covering the entire surface where the foil insulation will be placed. Work in small sections to prevent the adhesive from drying before you can install the insulation.
- Smooth the adhesive: After applying the adhesive, use a flat edge or a smooth, clean piece of cardboard to spread and smooth the adhesive. This will help ensure an even and consistent bond between the installation area and the foil insulation.
It is important to use the right type of adhesive that is compatible with foil insulation. Consult with a professional or refer to the manufacturer’s recommendations to select the appropriate adhesive.
When applying the adhesive, take care to work in a well-ventilated area and wear protective gloves as recommended by the adhesive manufacturer. Adhere to any safety precautions provided to avoid skin or eye irritation.
Once the adhesive has been applied, you are ready to proceed to the next step: installing the foil insulation.
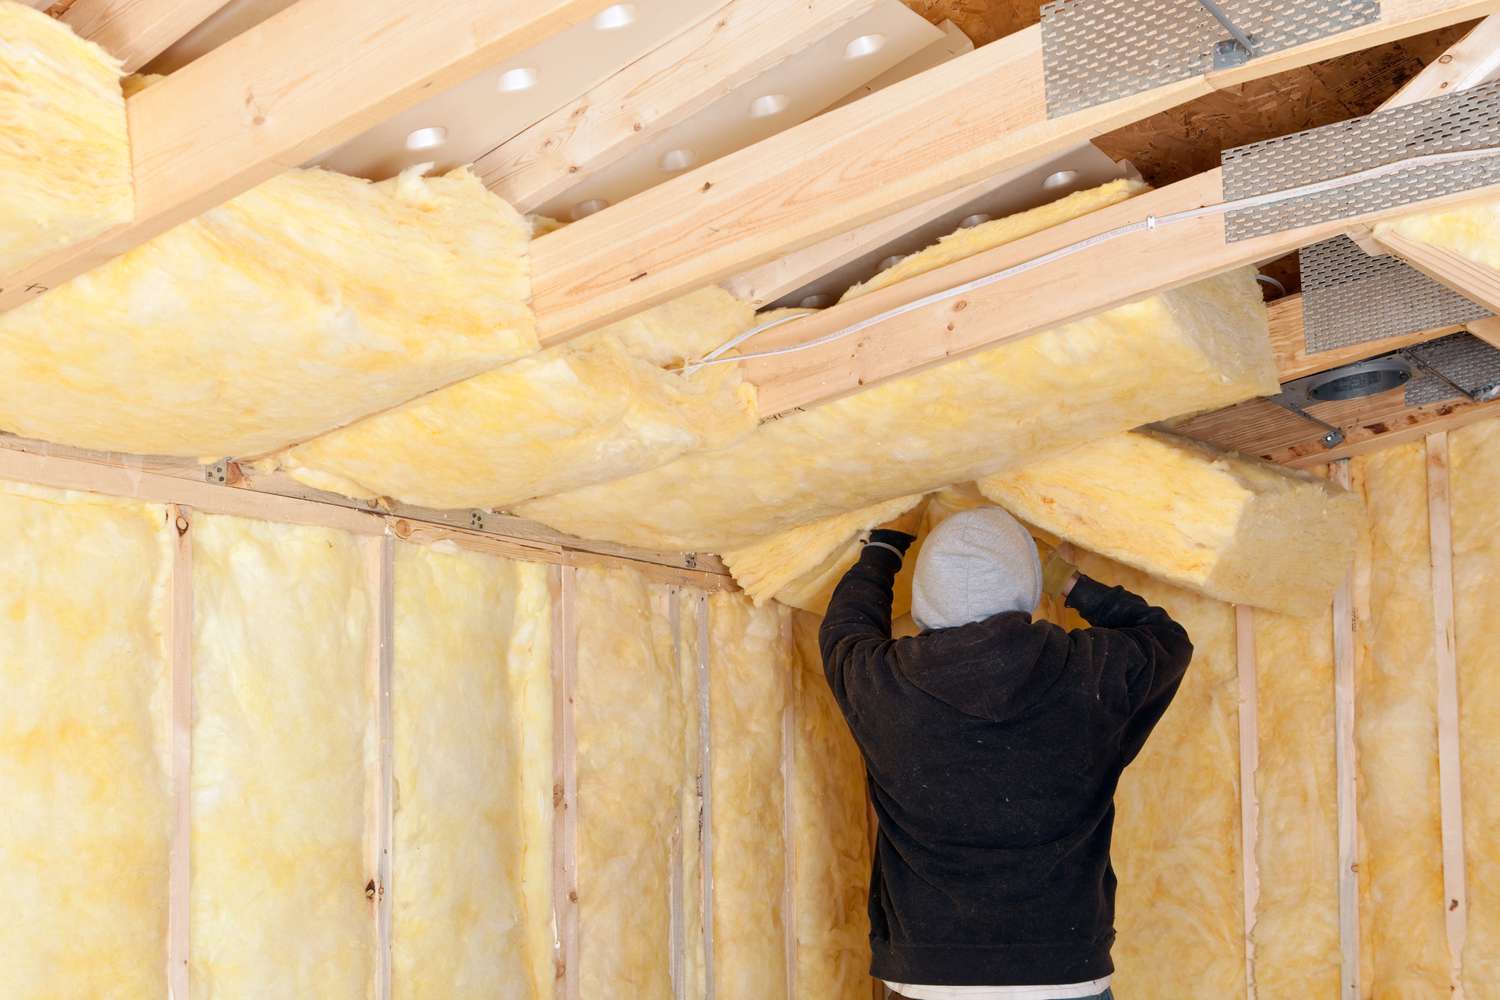
When installing foil insulation, make sure to properly seal all seams and edges to prevent air leakage and maximize its effectiveness. Use a utility knife to cut the insulation to the correct size and a staple gun to secure it in place.
Read more: How To Install Insulation In An Attic
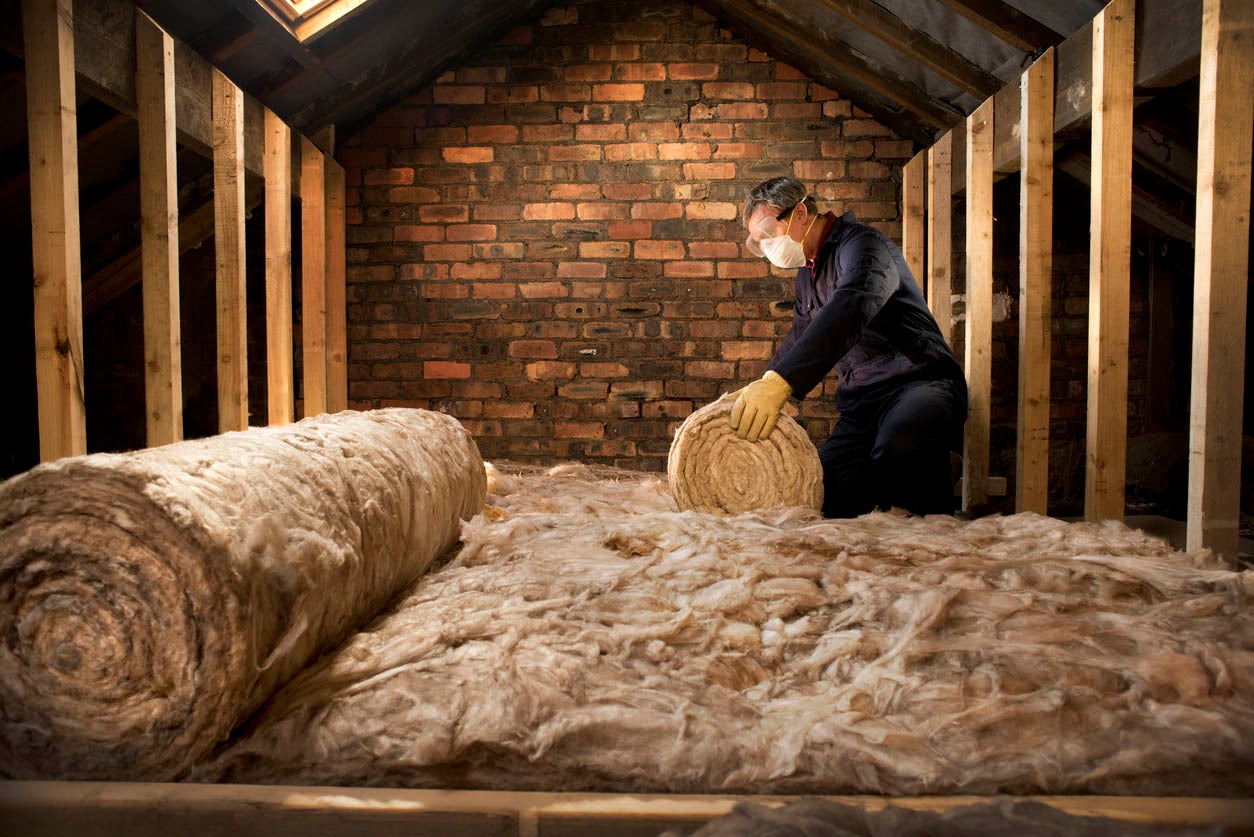
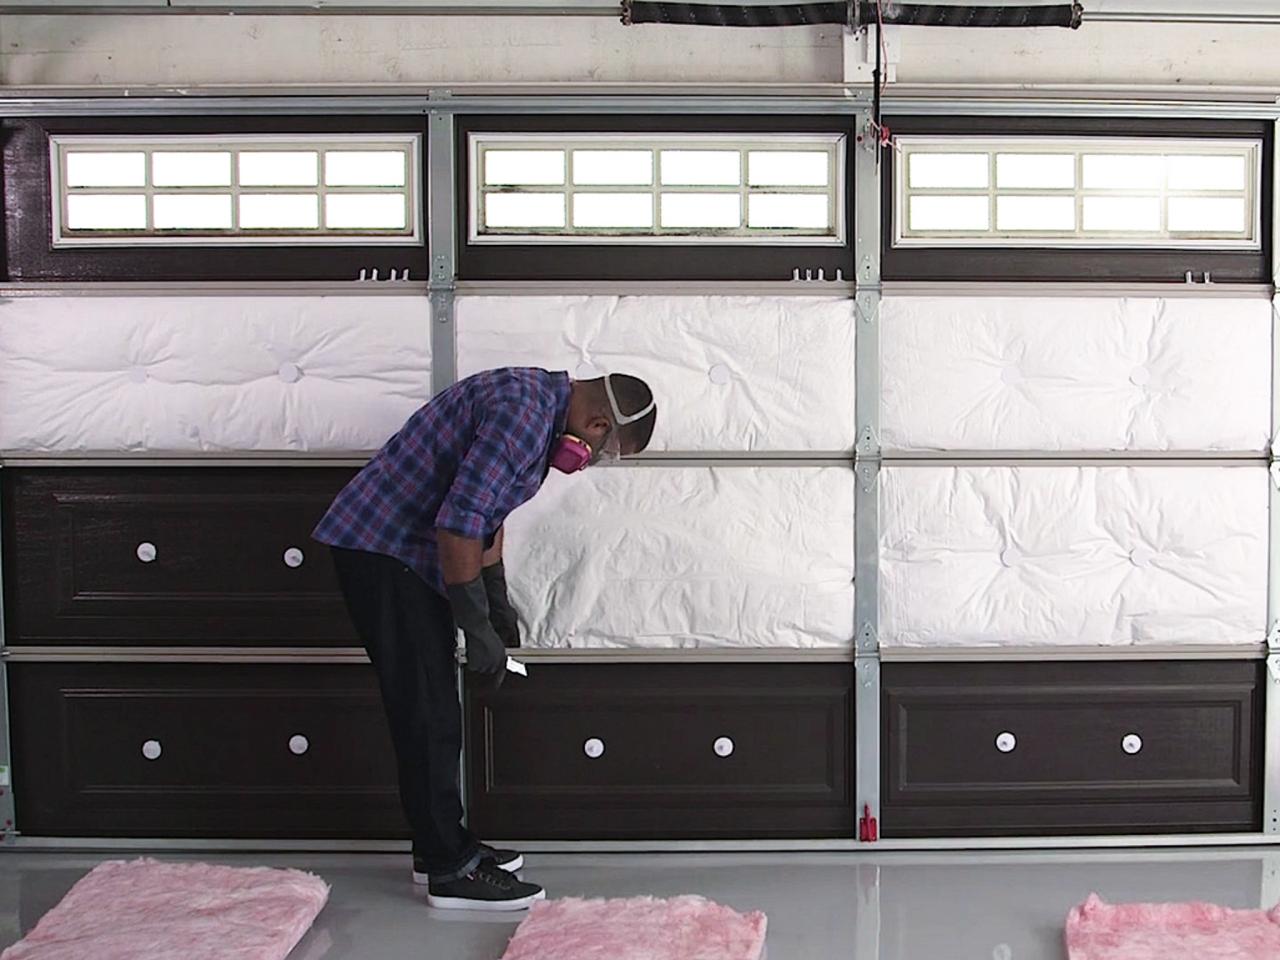
Step 5: Install the Foil Insulation
Now that the adhesive has been applied, it’s time to install the foil insulation. Follow these steps to ensure a proper installation:
- Position the foil insulation: Carefully position the cut pieces of foil insulation onto the adhesive-covered area. Start from one corner and gradually press the insulation onto the adhesive, ensuring a smooth and wrinkle-free installation.
- Smooth out the insulation: Once the insulation is in place, use a clean cloth or a roller to smooth out any air bubbles or wrinkles. This will help the insulation adhere better and provide optimal insulation performance.
- Overlap or butt edges: Depending on the type of foil insulation you are using, you may need to overlap or butt the edges together. Consult the manufacturer’s instructions for the recommended method. If overlapping, ensure that the overlapping sections are securely bonded and create a tight seal.
- Trim excess insulation: Use a utility knife or scissors to trim any excess foil insulation along the edges. This will help create a neat and seamless installation.
Take your time during the installation process to ensure the foil insulation is properly positioned and adhered to the adhesive. Pay attention to any special instructions provided by the manufacturer regarding the installation technique for the specific type of foil insulation you are using.
Remember to work systematically, covering one section at a time, and carefully aligning the edges of the insulation. Taking these precautions will result in a clean and professional-looking installation.
Once the foil insulation is installed, it’s time to move on to the next step: insulating the seams and gaps.
Step 6: Insulate Seams and Gaps
Insulating the seams and gaps of the foil insulation is an important step to ensure maximum efficiency and prevent any air leakage. Follow these steps to effectively insulate the seams and gaps:
- Inspect the seams and gaps: Take a close look at the installed foil insulation and identify any seams or gaps where air may potentially escape. These areas are commonly found where two pieces of foil insulation meet or around windows, doors, or vents.
- Use foil tape: Foil tape is specifically designed for insulating seams and gaps in foil insulation. Cut small strips of foil tape and use them to seal any gaps or seams. Press the tape firmly to ensure a secure bond.
- Apply adhesive if needed: In some cases, adhesive may be required to reinforce the seal in addition to the foil tape. Consult the manufacturer’s instructions to determine if adhesive is necessary.
- Insulate around windows and doors: Pay extra attention to insulating around windows, doors, and other openings. Use a combination of foil tape and adhesive to create a tight seal and prevent air leakage.
- Check for any missed spots: After insulating the seams and gaps, carefully inspect the entire installation area to ensure no areas have been missed. Address any overlooked spots to achieve complete insulation coverage.
Insulating the seams and gaps will help enhance the overall effectiveness of the foil insulation by preventing heat loss and maintaining airtightness. It is important to use high-quality foil tape specifically designed for this purpose to achieve a reliable and long-lasting seal.
Once you have properly insulated the seams and gaps, it’s time to secure the foil insulation in place. This is the next step, let’s move on.
Step 7: Secure the Foil Insulation in Place
Securing the foil insulation in place is essential to ensure it remains properly installed and maintains its effectiveness over time. Follow these steps to securely fasten the foil insulation:
- Use insulation fasteners: Insulation fasteners, such as metal or plastic clips, can be used to secure the foil insulation to the surface. Place the fasteners at regular intervals along the edges of the foil insulation, ensuring they penetrate both the insulation and the underlying surface.
- Attach with adhesive or tape: In areas where fasteners are not suitable or desired, you can use adhesive or tape to reinforce the bond between the foil insulation and the surface. Apply adhesive or tape along the edges and press firmly to create a secure attachment.
- Secure with staples: For certain types of foil insulation, such as those with a foam backing, staples can be used to hold the insulation in place. Insert staples at regular intervals along the edges, making sure they penetrate both the insulation and the underlying surface.
- Follow manufacturer’s recommendations: Consult the manufacturer’s instructions for specific recommendations on securing the foil insulation. Different types and brands of foil insulation may have different requirements, so it’s important to follow their guidelines for best results.
By securing the foil insulation in place, you ensure that it remains intact and performs optimally. This step is particularly important in high-traffic areas or areas prone to movement or vibrations.
Take your time to properly secure the foil insulation and ensure that it is fastened tightly. The installation should be secure and free from any loose or sagging sections that may compromise its effectiveness. Once you have secured the insulation, it’s time to move on to the final step: completing the installation.
Step 8: Complete the Installation
Congratulations! You’re on the final step of completing the foil insulation installation. Follow these final steps to wrap up the process:
- Clean up: Dispose of any waste materials and clean up the installation area. Remove any protective coverings or tape that were used to safeguard electrical outlets or fixtures.
- Inspect the installation: Take a thorough look at the installed foil insulation to ensure it is properly aligned, secured, and free from any visible defects or gaps.
- Test for effectiveness: Once the installation is complete, monitor the temperature and energy consumption in the insulated space. You should notice a decrease in heat loss and an improvement in energy efficiency.
- Maintain the foil insulation: Regularly inspect the foil insulation to check for any signs of wear or damage. If any issues are detected, repair or replace the affected areas to maintain the insulation’s effectiveness.
Completing the installation of foil insulation provides numerous benefits, including improved energy efficiency, reduced heat loss, and increased comfort. It is a worthwhile investment that can help save on heating and cooling costs in the long run.
Remember to consult the manufacturer’s instructions and guidelines for any specific maintenance or care recommendations for your particular type of foil insulation. By following these recommendations, you can ensure the longevity and effectiveness of the insulation.
With the installation complete, take a moment to appreciate your efforts in enhancing the insulation of your home or building. You can now enjoy the benefits of a more energy-efficient and comfortable environment.
Thank you for following this step-by-step guide on how to install foil insulation. We hope this article has been helpful and that your installation process was smooth and successful. Enjoy the improved insulation and energy savings!
Read more: How To Install Insulation In The Ceiling
Conclusion
Installing foil insulation is a practical and effective way to improve energy efficiency and reduce heat loss in your home or building. By following the step-by-step guide outlined in this article, you can confidently undertake the installation process and enjoy the benefits of a well-insulated space.
From gathering the necessary materials to securing the foil insulation in place, each step plays a crucial role in achieving optimal results. Proper preparation of the installation area, accurate measurement and cutting of the foil insulation, and the use of suitable adhesive are essential for a successful installation.
Insulating the seams and gaps prevents air leakage and ensures that the insulation functions at its best. By securely fastening the foil insulation using appropriate methods such as insulation fasteners, adhesive, or staples, you can maintain its position and effectiveness over time.
Completing the installation of foil insulation marks the end of the process. Take pride in your efforts and remember to maintain the insulation by conducting regular inspections and making any necessary repairs. By doing so, you can ensure that the foil insulation continues to provide energy savings and improved comfort for years to come.
Now that you have a comprehensive understanding of how to install foil insulation, you can confidently embark on this DIY project. Enjoy the benefits of a more energy-efficient and comfortable environment as you reduce your heating and cooling costs.
Thank you for joining us on this journey and may your installation of foil insulation bring you the desired energy savings and comfort!
Frequently Asked Questions about How To Install Foil Insulation
Was this page helpful?
At Storables.com, we guarantee accurate and reliable information. Our content, validated by Expert Board Contributors, is crafted following stringent Editorial Policies. We're committed to providing you with well-researched, expert-backed insights for all your informational needs.


0 thoughts on “How To Install Foil Insulation”