Articles
How To Install An Aluminum Fence
Modified: August 24, 2024
Learn how to properly install an aluminum fence with our helpful articles. Gain step-by-step instructions and ensure a secure and attractive fencing solution.
(Many of the links in this article redirect to a specific reviewed product. Your purchase of these products through affiliate links helps to generate commission for Storables.com, at no extra cost. Learn more)
Introduction
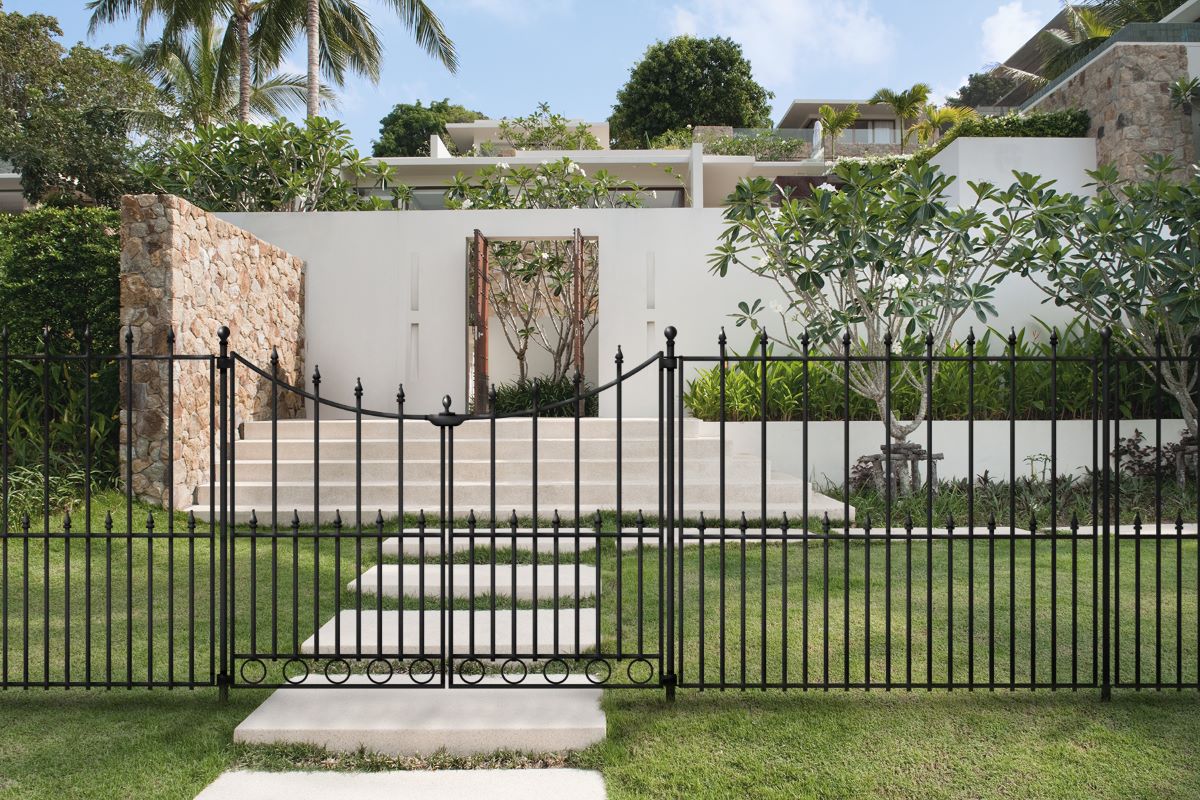
Installing an aluminum fence is a great way to enhance the beauty, security, and privacy of your property. The sleek and modern design of aluminum fences adds a touch of elegance to any residential or commercial space. Not only are they durable and low-maintenance, but they also offer a wide range of customization options to suit your specific needs and preferences.
In this comprehensive guide, we will walk you through the step-by-step process of installing an aluminum fence. Whether you are a seasoned DIY enthusiast or a novice, this article will provide you with the necessary information and tips to successfully complete the installation.
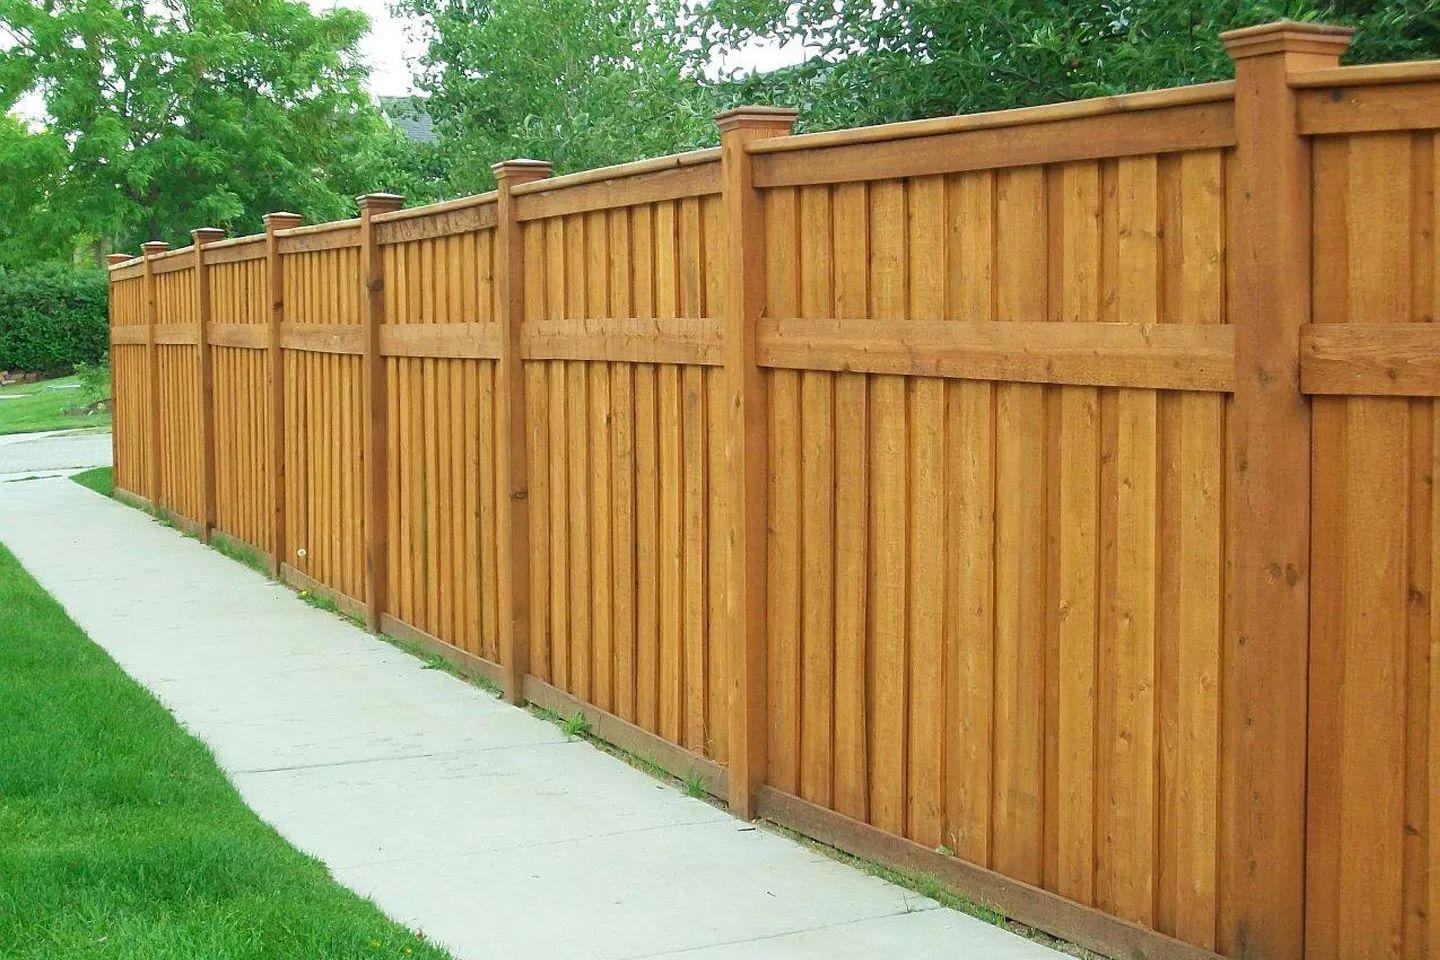
Before delving into the installation process, it’s important to understand the benefits of choosing an aluminum fence. Unlike traditional wooden fences, aluminum fences are resistant to rust, weathering, and require minimal upkeep. Additionally, they are available in a wide variety of styles, colors, and heights, allowing you to find the perfect match for your property.
Installing an aluminum fence not only adds aesthetic appeal but also improves the security of your property. The sturdy construction and non-climbable design of aluminum fences make them a reliable choice for both residential and commercial purposes. With the ability to add gates and additional security features, an aluminum fence provides an extra layer of protection and peace of mind.
Furthermore, an aluminum fence offers privacy without sacrificing the view. The spacing between the pickets can be customized to suit your privacy needs, whether you want full privacy or a more open design that allows visibility. This flexibility allows you to maintain your privacy while still enjoying the surrounding landscape.
Now that we’ve covered the benefits of an aluminum fence, let’s dive into the step-by-step installation process. But before we begin, it’s important to gather the necessary tools and materials to ensure a smooth and efficient installation.
Key Takeaways:
- Installing an aluminum fence enhances property aesthetics, security, and privacy. From measuring and marking the layout to adding finishing touches, meticulous attention to detail ensures a durable and visually appealing boundary.
- Regular maintenance, including cleaning, rust prevention, and gate hardware checks, is essential for preserving the longevity and beauty of an aluminum fence. By staying vigilant and addressing issues promptly, the fence will continue to enhance the property for years to come.
Read more: How Much Should An Aluminum Fence Cost
Step 1: Gather the Necessary Tools and Materials
Before you start the installation process, it’s crucial to have all the tools and materials you’ll need right at your fingertips. This will ensure that the installation process goes smoothly without any unnecessary interruptions. Here is a list of essential tools and materials you’ll need:
1. Aluminum fence panels: Purchase enough panels to cover the desired length of your fence. Measure the area accurately to determine the number of panels required.
2. Fence posts: These vertical supports provide stability to the fence. Make sure to choose the appropriate height and thickness based on the type of ground and the height of your fence.
3. Post caps: These decorative accessories are placed on top of each fence post and add a finishing touch to the overall appearance.
4. Concrete mix: It’s important to properly anchor your fence posts in the ground to ensure stability. Concrete mix is used to secure the posts firmly in place.
5. Screws or brackets: Depending on the design of your aluminum fence, you’ll either need screws or brackets to attach the fence panels to the posts. Make sure to choose the appropriate size and type of fasteners for a secure installation.
6. Level: A level is essential to ensure that your fence panels and posts are perfectly aligned and straight.
7. Post hole digger: This tool is used to dig holes for the fence posts. It will make the digging process more efficient and ensure the proper placement of the posts.
8. Tape measure: Accurate measurements are key to a successful fence installation. A tape measure will help you determine the correct spacing between fence panels and posts.
9. Safety gear: Don’t forget to prioritize safety during the installation process. Wear gloves, safety glasses, and appropriate footwear to protect yourself from potential hazards.
10. Power drill: A power drill will be necessary for drilling holes, attaching brackets or screws, and completing other essential tasks during the installation process.
11. String or chalk line: Use string or a chalk line to mark the fence layout accurately. This will ensure that your fence is straight and follows the intended design.
12. Hammer: A sturdy hammer will come in handy for driving nails, adjusting panel height, and other miscellaneous tasks.
Keep in mind that this list may vary based on the specific requirements of your particular project. It’s always a good idea to check with the manufacturer or consult a professional to ensure you have all the necessary tools and materials before starting the installation process. With these items in hand, you’re ready to move on to the next step – measuring and marking the fence layout.
Step 2: Measure and Mark the Fence Layout
Accurate measurements and proper markings are crucial for a successful aluminum fence installation. Before you start digging the post holes and setting up the fence panels, take the time to measure and mark the desired layout of your fence. Here’s how to do it:
1. Gather your tools: Make sure you have a tape measure, string or chalk line, and stakes on hand.
2. Establish the property boundaries: If you haven’t already, locate and mark the boundaries of your property. This will help you determine where your fence will be installed and ensure you stay within your property lines.
3. Determine the fence line: Decide on the specific placement of your fence line. This could be along the property boundaries, around the perimeter of your yard, or within specific areas. Use the tape measure to measure the length of the desired fence line.
4. Mark the corners: Starting at one corner of your fence line, use stakes and string or a chalk line to mark the location of each corner post. This will create a straight and level guideline for the fence.
5. Measure and mark the post spacing: Determine the spacing between each fence post based on the width of your fence panels. Typically, the spacing is around 6 to 8 feet, but it may vary depending on your specific fence design. Measure the distance from the first corner post and mark the locations of the subsequent posts along the fence line.
6. Check for even spacing: Use a tape measure to ensure equal spacing between each post. Adjust the locations if necessary to maintain a consistent distance.
7. Adjust for gate placement: If you plan to include a gate in your fence, determine the location and mark it on the fence line. Take into account the width of the gate and any necessary clearance.
8. Double-check your measurements: Before proceeding to the next step, double-check your measurements and ensure that your markings are accurate. This will prevent any errors or inconsistencies during the installation process.
Remember, taking the time to measure and mark the fence layout accurately will determine the overall appearance and functionality of your aluminum fence. It’s worth investing the extra effort to ensure a precise and visually appealing result. Once you’re confident with your markings, it’s time to move on to the next step – digging the fence post holes.
Step 3: Dig the Fence Post Holes
Once you have measured and marked the layout of your aluminum fence, it’s time to start digging the fence post holes. The proper depth and spacing of the post holes are essential for the stability and longevity of your fence. Follow these steps to ensure a successful installation:
1. Prepare the post hole digger: Make sure your post hole digger is in good working condition. Remove any dirt or debris from the blades and check for any signs of damage or wear.
2. Start at the corner: Begin digging the first post hole at one of the marked corner locations. Insert the post hole digger into the ground and use your body weight to drive the blades into the soil. Use a rocking motion to loosen the soil and create a hole.
3. Determine the depth: Check the manufacturer’s instructions or consult a professional to determine the appropriate depth for your fence post holes. As a general guideline, the depth should be at least one-third the height of the fence post. For example, if your fence posts are 6 feet tall, the holes should be at least 2 feet deep.
4. Dig the hole: Continue digging the hole, making sure to remove any rocks or clumps of soil that may obstruct the post insertion. Use a shovel if necessary to loosen the soil and create a neat and uniform hole.
5. Check for level: Periodically check the levelness of the hole as you dig. This will ensure that your fence posts will be perfectly straight once installed.
6. Measure the spacing: Measure the spacing between each post hole to ensure consistency. Use the tape measure to confirm that the distance meets the requirements of your fence design.
7. Repeat the process: Move along the fence line, digging post holes at the marked locations. Take your time and ensure that each hole is of the correct depth and diameter. Adjust the size of the hole as needed to accommodate the specific dimensions of your fence posts.
8. Remove excess soil: Once all the post holes are dug, remove any excess soil from the holes. This will provide enough space for adding concrete and securing the fence posts.
Remember, the quality of the post holes will directly impact the stability and durability of your fence. Take your time during this step to ensure that the holes are deep enough and properly spaced. With the post holes ready, you are now ready to move on to the next step – inserting the fence posts.
Step 4: Insert the Fence Posts
With the fence post holes dug and prepared, it’s time to move on to the next step – inserting the fence posts. The proper installation of the posts is crucial for the stability and overall integrity of your aluminum fence. Follow these steps to ensure a secure and long-lasting installation:
1. Prepare the fence posts: Before inserting the posts, ensure they are clean and free from any dirt or debris. If needed, wipe them down with a damp cloth to remove any excess dirt.
2. Prepare the concrete mix: Mix the concrete according to the manufacturer’s instructions. It should have a thick, oatmeal-like consistency. Avoid making it too runny or too dry, as this can compromise the strength of the installation.
3. Insert the first post: Starting with the corner or gate post, carefully lower it into the prepared hole. Ensure the post is level and properly aligned with the fence line.
4. Brace the post: To ensure the post remains level and straight, brace it temporarily. Use scrap pieces of wood or adjustable braces to hold the post in position until the concrete sets.
5. Add the concrete: Pour the prepared concrete mix into the hole, filling it around the post. Use a shovel or trowel to evenly distribute the concrete and eliminate any air pockets.
6. Check for level: While the concrete is still wet, check the levelness of the post. Make any necessary adjustments to ensure it remains straight and aligned with the other posts.
7. Repeat the process: Move along the fence line, inserting the remaining posts into their respective holes. Follow the same steps of bracing, adding concrete, and checking for levelness for each post.
8. Allow the concrete to set: Give the concrete ample time to set and cure, following the manufacturer’s recommended timeframe. Avoid placing any stress or weight on the posts until the concrete has fully hardened.
9. Remove the temporary braces: After the concrete has set, remove the temporary braces or support structures from the fence posts. Ensure that the posts are securely in place and able to support the weight of the fence panels.
By properly inserting the fence posts and allowing the concrete to set, you will ensure that your aluminum fence stands strong and stable for years to come. With the posts securely in place, you are now ready to move on to the next step – installing the fence panels.
When installing an aluminum fence, make sure to properly measure and mark the layout of the fence before digging any post holes. This will ensure that the fence is straight and properly aligned.
Read more: Where To Buy Aluminum Fence Panels
Step 5: Install the Fence Panels
Now that the fence posts are securely in place, it’s time to install the aluminum fence panels. This step will bring your fence to life and transform your property’s appearance. Follow these steps to ensure a smooth and efficient installation process:
1. Prepare the panels: Before installing the fence panels, examine them for any damage or defects. Ensure that they are clean and free from any debris or dirt. If needed, wipe them down with a damp cloth.
2. Start at one end: Begin the installation at one end of the fence line. Position the first panel between the two posts, ensuring that it is aligned and level. Use a level to verify its straightness.
3. Attach the panel: Depending on the design of your fence, you will either use screws or brackets to attach the panel to the posts. Follow the manufacturer’s instructions for the specific method recommended for your fence style.
4. Secure the panel: Use a power drill or screwdriver to fasten the screws or brackets securely into the fence posts. Make sure the panel is firmly attached and stable.
5. Check for level and alignment: After installing the first panel, use a level to ensure that it is level and aligned with the other panels. Make any necessary adjustments to ensure a straight and cohesive appearance.
6. Repeat the process: Move along the fence line, installing the remaining fence panels, one at a time. Ensure that each panel is level, aligned, and securely attached to the fence posts.
7. Connect the panels: If the fence design requires multiple panels to be connected, ensure a seamless connection between each panel. Follow the manufacturer’s instructions for connecting the panels properly and securely.
8. Confirm spacing: As you install each panel, double-check the spacing between them. Ensure that the panels are evenly spaced and provide the desired level of privacy or visibility.
9. Trim panels if necessary: If any panels need to be trimmed to fit the desired length, carefully measure and mark the cut lines. Use a saw or appropriate cutting tool to trim the panels. Ensure a clean and precise cut.
Throughout the installation process, remember to take your time and pay attention to the details. Double-check the levelness and alignment of each panel to ensure a professional and visually appealing outcome. Once all the fence panels are installed, you can proceed to the next step – attaching the gate.
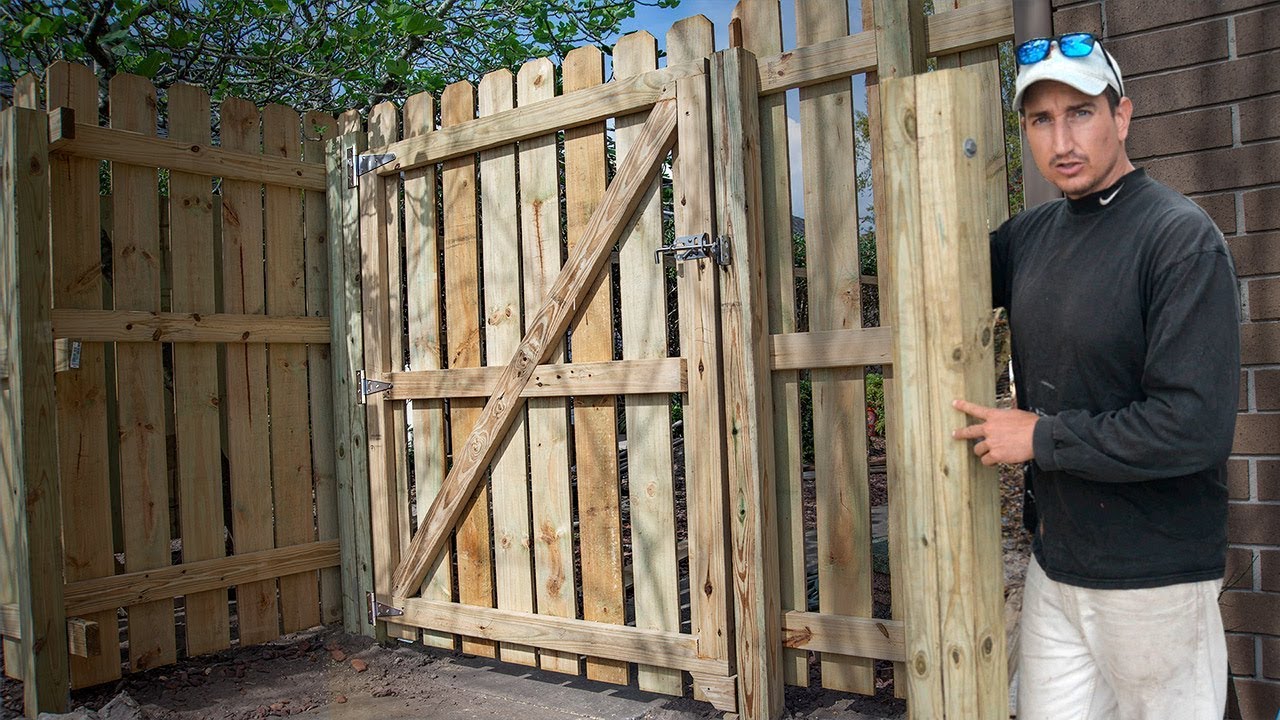
Step 6: Attach the Gate
Adding a gate to your aluminum fence provides functionality and convenience, allowing easy access to your property. Whether it’s a walk-through gate or a larger gate for vehicles, follow these steps to properly attach the gate:
1. Select the gate: Choose a gate that matches the style and dimensions of your aluminum fence. Ensure that it is the correct width and height for your needs. Consider whether you want a single gate or a double gate for larger openings.
2. Locate the gate opening: Determine the desired location for the gate along the fence line. Measure and mark the precise spot where the gate will be installed.
3. Prepare the fence posts: Before attaching the gate, ensure that the fence posts on either side of the gate opening are level and securely in place. Adjust or reinforce the posts as needed.
4. Position the gate: Place the gate in the desired position, making sure it is centered within the gate opening. Use shims or blocks to hold the gate in place temporarily.
5. Attach the hinges: Depending on the style of your gate, attach the hinges to the gate and the adjacent fence post. Use screws or bolts to secure the hinges firmly to both the gate and the post. Ensure the hinges are level and aligned.
6. Confirm swing direction: Determine the swing direction of your gate (inward or outward) and ensure it does not obstruct any pathways or barriers. Adjust the gate if needed.
7. Install the latch or lock: If your gate includes a latch or lock mechanism, follow the manufacturer’s instructions to install it securely. Make sure the latch or lock functions properly and securely holds the gate in place.
8. Test the gate: Open and close the gate multiple times to ensure it operates smoothly. Verify that it is properly aligned and securely latches or locks.
9. Make any necessary adjustments: If the gate does not close properly or seems misaligned, make any necessary adjustments. Loosen or tighten screws or hinges as needed to ensure proper operation.
By following these steps, you will successfully attach the gate to your aluminum fence, providing easy access and enhancing the functionality of your property. With the gate securely in place, you can move on to the next step – securing the fence with post caps.
Step 7: Secure the Fence with Post Caps
Post caps add the finishing touch to your aluminum fence, providing both aesthetic appeal and protection for the fence posts. They come in various designs and styles, allowing you to customize the look of your fence. Follow these steps to securely attach post caps to your aluminum fence:
1. Select the post caps: Choose post caps that complement the style and design of your aluminum fence. Consider the size and shape of the fence posts when selecting the appropriate post caps.
2. Prepare the post tops: Ensure that the tops of the fence posts are clean and free from any debris or dirt. If needed, wipe them down with a damp cloth to remove any excess dirt or dust.
3. Apply adhesive (if necessary): Depending on the type of post caps you have chosen, you may need to apply adhesive to the inside of the cap before attaching it to the post. Follow the manufacturer’s instructions for the specific adhesive and application method.
4. Position the post cap: Carefully place the post cap on top of the fence post, ensuring that it is centered and aligned. Apply gentle pressure to secure it in place.
5. Adjust if necessary: Check that the post cap is level and properly seated on the post. Make any necessary adjustments by gently adjusting the cap’s position.
6. Secure the post cap: Use a rubber mallet or a hammer with a block of wood to gently tap down on the post cap, ensuring it is securely attached. Be careful not to damage the cap or the post during this process.
7. Repeat the process for each post: Move along the fence line, repeating the process for each fence post. Take your time and ensure that each post cap is properly attached and aligned.
8. Inspect the post caps: Once all the post caps are installed, inspect them to ensure they are securely attached and level. Make any necessary adjustments or re-secure any loose caps.
Post caps not only enhance the appearance of your aluminum fence but also protect the fence posts from the elements, preventing moisture and debris from entering the posts and potentially causing damage. By following these steps, you will complete the installation of your aluminum fence with a professional and polished finish. With the post caps securely in place, you’re now ready for the final step – adding the finishing touches and performing regular maintenance.
Step 8: Finishing Touches and Maintenance
Congratulations! You have successfully installed your aluminum fence. Now it’s time to add the finishing touches and implement a regular maintenance routine to keep your fence looking great for years to come. Follow these steps for the final touches and ongoing maintenance:
1. Inspect the fence: Take a close look at your fence to ensure everything is secure and properly aligned. Check for any loose screws, brackets, or panels. Make any necessary adjustments or repairs.
2. Clean the fence: Regularly clean your aluminum fence to maintain its appearance. Use a mixture of mild soap and warm water to remove dirt, grime, and any stains. Avoid using abrasive cleaners or tools that may scratch the surface.
3. Rinse with water: After cleaning, rinse the fence with a hose to remove any soap residue. This will prevent buildup and keep your fence looking fresh.
4. Address rust or damage: If you notice any signs of rust on your aluminum fence, treat it promptly. Use a rust converter or remove the rust with a wire brush and apply a rust-resistant paint or primer. Repair any damaged areas by replacing panels or repairing bent or broken components.
5. Trim vegetation: Keep vegetation, such as bushes or tree branches, away from your fence. Trim them regularly to prevent them from leaning on or damaging the fence.
6. Check gate hardware: Periodically inspect the hardware of your gate, including hinges, latches, and locks. Ensure they are functioning properly and make any necessary adjustments or replacements if needed.
7. Consider annual inspections: Schedule an annual inspection of your aluminum fence to catch any potential issues early on. Hire a professional if necessary to thoroughly check the fence’s stability, connections, and overall condition.
8. Apply protective coating: Consider applying a protective coating or wax to your aluminum fence to enhance its durability and weather resistance. Follow the manufacturer’s instructions for the specific product recommendations and application techniques.
9. Stay vigilant: Regularly inspect your fence for any signs of damage, wear, or potential security concerns. Address these issues promptly to prevent further damage and ensure the longevity of your fence.
By following these finishing touches and ongoing maintenance tips, you will keep your aluminum fence looking beautiful and functional for many years. Regular care and maintenance will not only prolong its lifespan but also preserve its aesthetic appeal. With the installation process complete and a maintenance routine in place, you can now enjoy the benefits of your aluminum fence – enhanced security, privacy, and an attractive addition to your property.
Read more: How To Install An Aluminum Awning On A House
Conclusion
Installing an aluminum fence is a rewarding project that can enhance the aesthetics, security, and value of your property. Throughout this comprehensive guide, we have walked you through the step-by-step process of installing an aluminum fence, from gathering the necessary tools and materials to adding the finishing touches and implementing a maintenance routine.
By carefully measuring and marking the fence layout, digging the fence post holes to the proper depth, and securely inserting the fence posts, you have built a solid foundation for your aluminum fence. The installation of the fence panels, attachment of the gate, and addition of post caps have transformed your fence into a functional and visually appealing boundary.
Maintaining your aluminum fence is a critical aspect of ensuring its longevity and continued beauty. Regular inspections, cleaning, and addressing any maintenance issues promptly will keep your fence in optimal condition for years to come.
Remember to consider the manufacturer’s recommendations and consult professionals whenever needed. Each step of the installation process requires attention to detail, precision, and patience, and the reward is a strong and durable fence that will serve you well for many years.
Enjoy the benefits of your aluminum fence – increased security, privacy, and an enhanced outdoor space. Whether you’re looking to define your property boundaries, increase the safety of your home, or improve the visual appeal of your landscape, an aluminum fence is a versatile and practical choice.
We hope that this guide has provided you with the knowledge and confidence to tackle your aluminum fence installation with ease. Take pride in your achievement and enjoy the many benefits that come with having an attractive and functional aluminum fence on your property.
Frequently Asked Questions about How To Install An Aluminum Fence
Was this page helpful?
At Storables.com, we guarantee accurate and reliable information. Our content, validated by Expert Board Contributors, is crafted following stringent Editorial Policies. We're committed to providing you with well-researched, expert-backed insights for all your informational needs.


0 thoughts on “How To Install An Aluminum Fence”