Articles
How To Put Tarp On Roof
Modified: August 28, 2024
Learn how to properly put a tarp on your roof with our informative articles. Protect your home from leaks and damage.
(Many of the links in this article redirect to a specific reviewed product. Your purchase of these products through affiliate links helps to generate commission for Storables.com, at no extra cost. Learn more)
Introduction
When it comes to protecting your roof from the elements, a tarp can be a lifesaver. Whether you’re dealing with a leak, damage from a storm, or in need of a temporary fix while waiting for roofing repairs, knowing how to properly put a tarp on your roof is essential. In this article, we will guide you through the step-by-step process of securely installing a tarp on your roof and safeguarding your home.
Before we dive into the details, it’s important to prioritize safety. Working on a roof can be dangerous, so take proper precautions to avoid accidents or injuries. Make sure to use appropriate safety equipment, such as a harness, gloves, and non-slip footwear. If you are uncomfortable or unsure about climbing on your roof, it’s best to hire a professional.
To successfully put a tarp on your roof, you will need a few materials. These include:
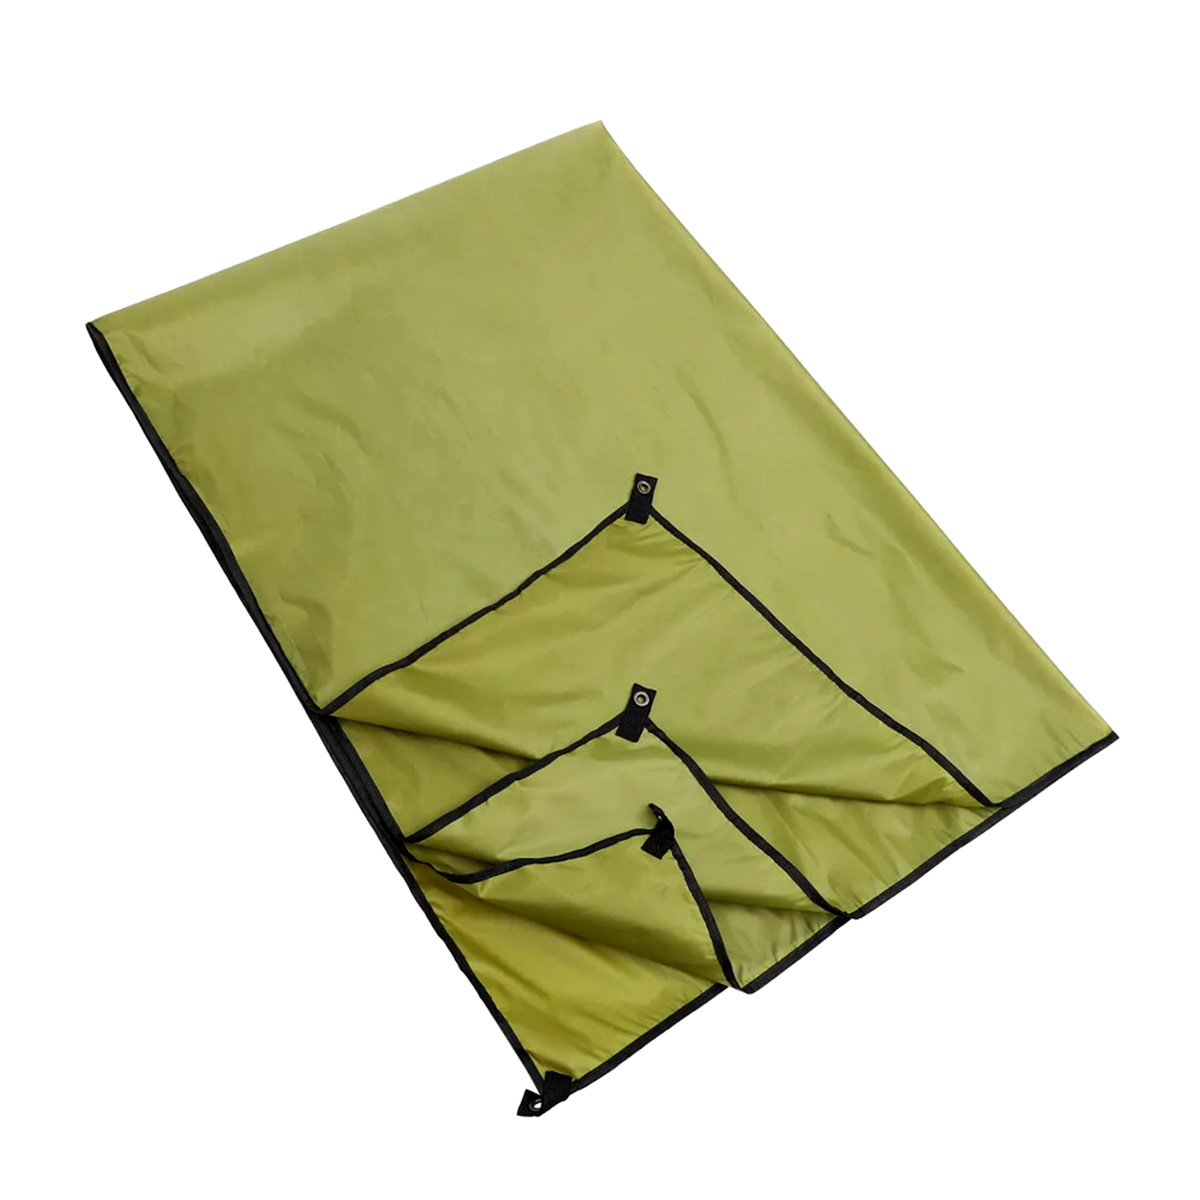
- A heavy-duty tarp
- Bungee cords or ropes
- Nails or screws
- A ladder or scaffolding
- A utility knife
- A hammer or screwdriver
- Waterproof sealant
Now that you have your materials ready, let’s get started on putting that tarp on your roof.
Key Takeaways:
- Safeguard your home by following safety precautions, gathering the necessary materials, and meticulously measuring, cutting, and securing the tarp to protect your roof from leaks and damage.
- Prioritize regular inspections, proper sealing of tarp edges, and checking for a secure installation to ensure effective temporary protection while arranging for permanent roof repairs.
Read more: How To Put A Roof On A Pergola
Safety Precautions
Before you begin working on your roof, it’s crucial to prioritize safety. Roof work can be hazardous, and taking proper precautions can help prevent accidents and injuries. Here are some essential safety measures to keep in mind:
- Use appropriate safety equipment: Wear a harness, safety goggles, gloves, and non-slip footwear to protect yourself from potential falls and injuries.
- Check the stability of the roof: Make sure the roof is stable and can support your weight before climbing up. Avoid working on a roof that seems weak or unstable.
- Use a sturdy ladder or scaffolding: Utilize a sturdy and secure ladder or scaffolding to access the roof. Ensure that the ladder is placed on even ground and is properly secured.
- Take weather conditions into account: Avoid working on the roof during inclement weather, such as strong winds, heavy rain, or icy conditions. Slippery surfaces can increase the risk of accidents.
- Beware of electrical hazards: Be cautious of any nearby power lines or electrical equipment. Keep a safe distance and take necessary precautions to avoid electrical hazards.
- Work with a partner: It’s recommended to have someone else present while you work on the roof. They can assist you, help hold the ladder, or provide immediate help in case of an emergency.
- Be mindful of the time of day: Choose a time to work on the roof when there is sufficient daylight. Working in low light conditions can increase the risk of accidents and mistakes.
Remember, if you are unsure about your ability to safely work on the roof, it’s always best to seek professional help. Your safety should be the top priority!
Materials Needed
Before you start installing a tarp on your roof, it’s important to gather all the necessary materials. Having everything ready will ensure a smooth and efficient process. Here are the materials you’ll need:
- Heavy-duty tarp: Choose a tarp that is durable and waterproof to effectively protect your roof.
- Bungee cords or ropes: These will be used to secure the tarp in place and withstand various weather conditions.
- Nails or screws: Depending on the type of roof and tarp, you may need nails or screws to anchor the tarp to the roof.
- Ladder or scaffolding: Ensure you have a stable and secure ladder or scaffolding to safely access the roof.
- Utility knife: A utility knife will come in handy for cutting the tarp to the desired size.
- Hammer or screwdriver: You’ll need these tools to secure the tarp and nails/screws to the roof.
- Waterproof sealant: To ensure a watertight seal, have waterproof sealant available to reinforce the edges and seams of the tarp.
It’s essential to use high-quality and appropriate materials to ensure the tarp effectively protects your roof from the elements. Invest in a heavy-duty tarp that can withstand strong winds, heavy rain, and even UV rays.
Before you begin the installation process, double-check that you have all the necessary materials on hand. This will help save time and avoid any interruptions during the project.
Step 1: Measure and Cut the Tarp
The first step in installing a tarp on your roof is to measure and cut the tarp to the appropriate size. This ensures that it will adequately cover the damaged area and provide proper protection.
- Measure the area: Start by assessing the damaged area on your roof. Measure the length and width of the area to determine the size of the tarp you will need. Add a few extra feet on each side to account for securing the tarp.
- Unroll the tarp: Lay out the tarp on a clean and flat surface, making sure it is fully extended. Smooth out any wrinkles or folds to ensure accurate measurements.
- Measure and mark: Use a measuring tape and a marker to measure and mark the dimensions of the tarp according to the measurements taken from the damaged area. Ensure precise markings to achieve a seamless fit.
- Cut the tarp: Using a sharp utility knife, carefully cut along the marked lines to separate the desired section of the tarp. Take your time and use caution to avoid any accidents or uneven cuts.
- Trim excess material: If necessary, trim any excess material from the edges of the tarp. This will help prevent the tarp from flapping or getting caught in the wind during installation.
Remember, accuracy is key when measuring and cutting the tarp. Taking the time to ensure the correct dimensions will result in a well-fitted tarp that effectively covers the damaged section of your roof.
Once you have measured and cut the tarp, you are ready to move on to the next step: preparing the roof for tarp installation.
Step 2: Prepare the Roof
Before you can secure the tarp to your roof, it’s essential to properly prepare the surface. This step involves cleaning the area, removing debris, and ensuring a smooth and stable foundation for the tarp installation.
- Clean the roof: Safely climb onto the roof using a ladder or scaffolding. Remove any debris, such as leaves, branches, or dirt, from the damaged area. Use a broom or a leaf blower to clear the surface.
- Inspect for damage: While cleaning the roof, inspect for any additional damage or loose shingles. If you find any, make a note to repair them after the tarp installation or consider hiring a professional roofer for a thorough inspection.
- Secure loose shingles: If there are any loose or damaged shingles, carefully secure them back in place or remove them if necessary. Ensuring a stable surface will prevent further damage and help the tarp sit evenly on the roof.
- Smooth out the area: Use your hand or a broom to smooth out any bumps or irregularities in the damaged area. This will ensure that the tarp lays flat and provides effective coverage.
- Check for leaks: Inspect the damaged area for any signs of leaks. If you notice any water dripping or moisture, address the issue before proceeding with tarp installation. Fixing leaks will prevent water from seeping through the tarp and damaging your roof further.
By taking the time to prepare the roof properly, you are setting a solid foundation for the tarp installation. This step ensures that the tarp will adhere well to the roof’s surface and provide effective protection against the elements.
Once you have prepared the roof, you are ready to move on to the next step: securing the tarp to the roof.
When putting a tarp on a roof, make sure to secure it tightly to prevent it from being blown away by wind. Use strong ropes or bungee cords to anchor the tarp securely.
Read more: How To Put On A Tin Roof
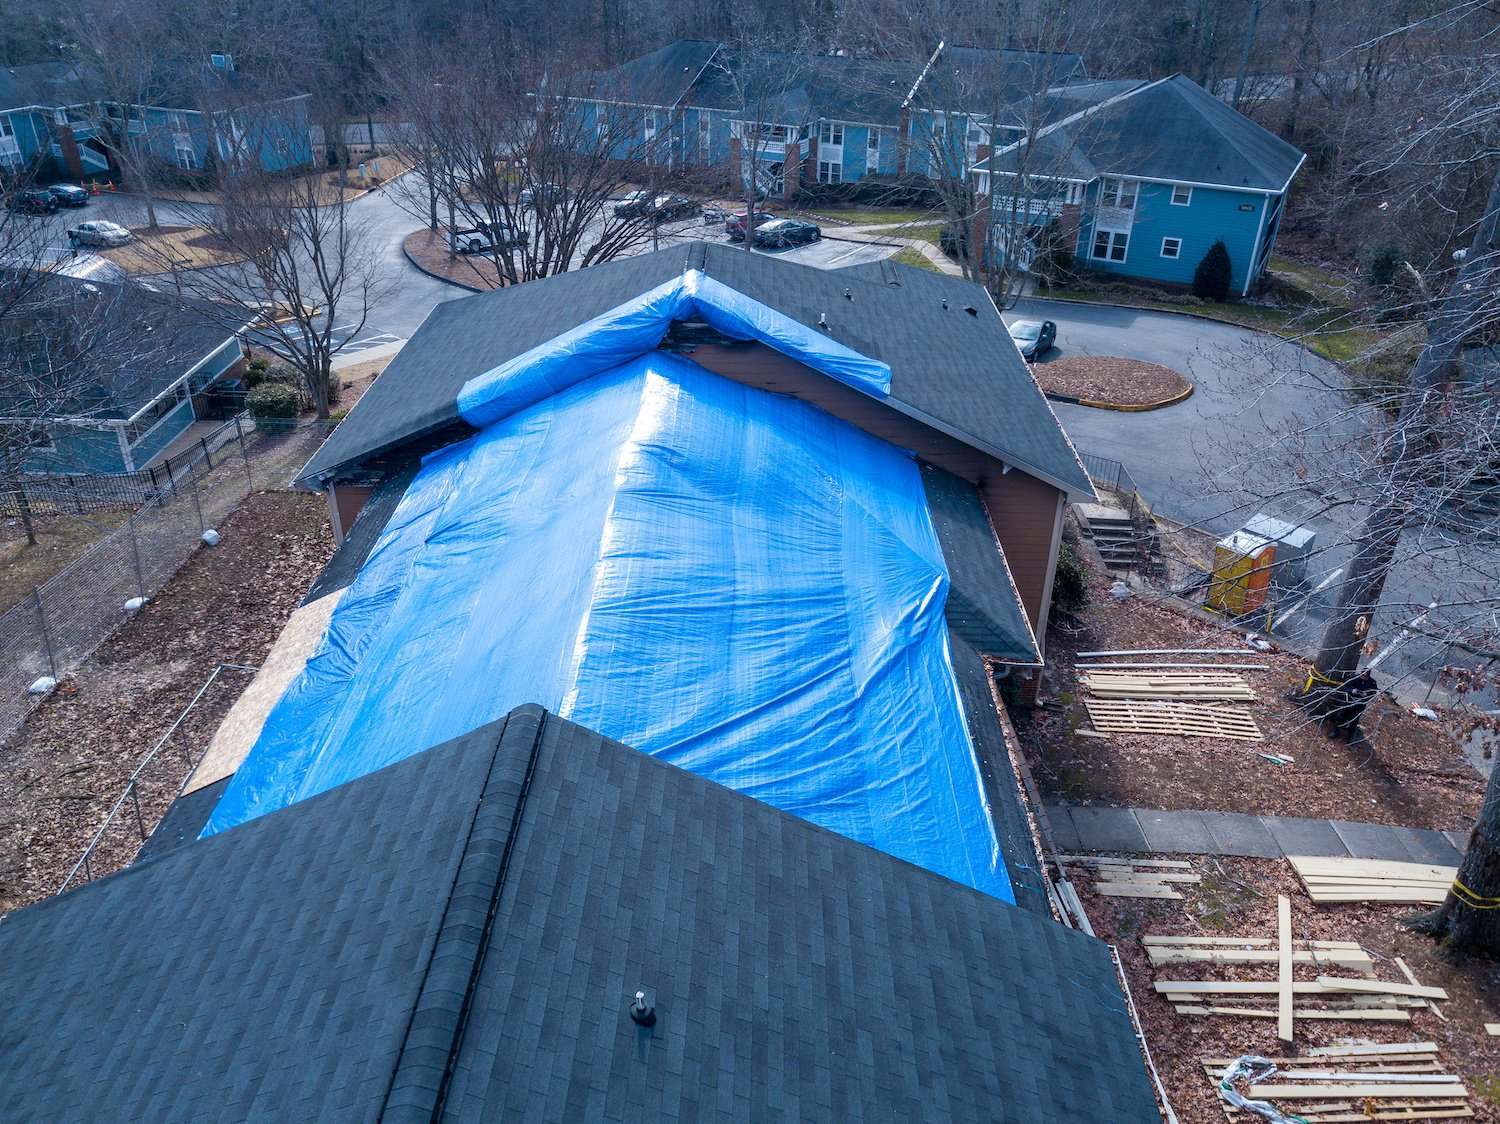
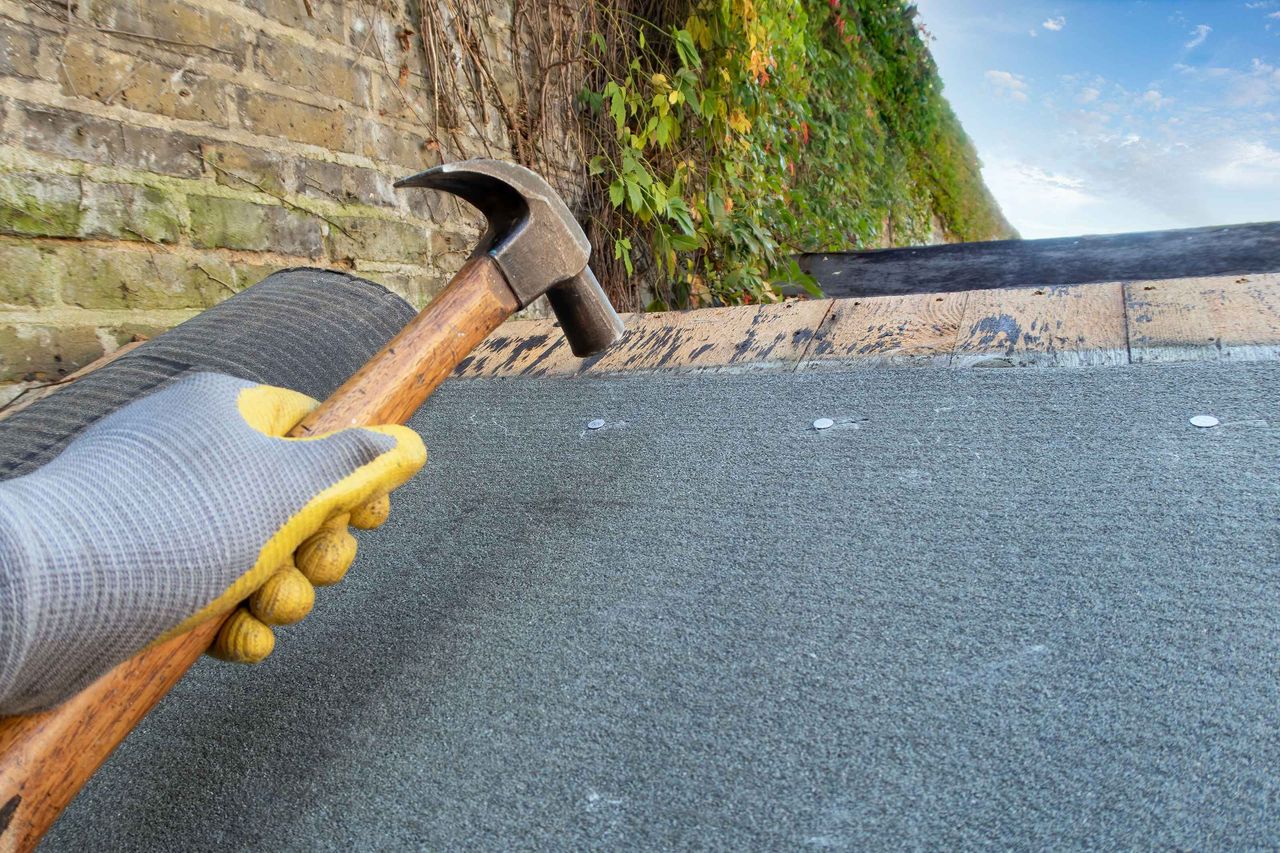
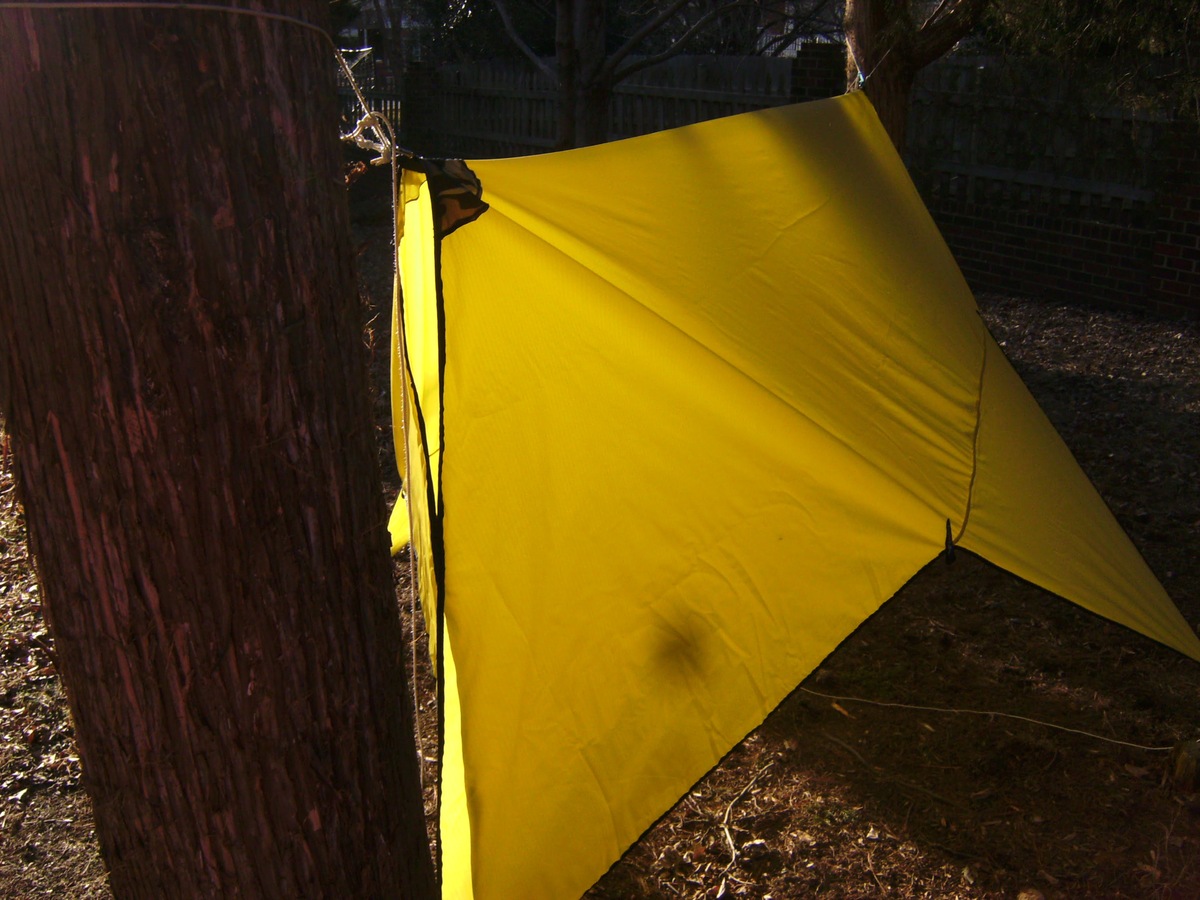
Step 3: Secure the Tarp to the Roof
Now that you have measured, cut, and prepared the tarp and the roof, it’s time to secure the tarp to the roof. This step involves carefully placing and fastening the tarp to ensure it stays in place and provides reliable protection.
- Position the tarp: With the help of a partner, carefully position the cut tarp over the damaged area on the roof. Make sure the tarp extends past the damaged section and covers a sufficient area to prevent any water from seeping through.
- Use bungee cords or ropes: Attach bungee cords or ropes to the corners and edges of the tarp. Secure them to the roof, ensuring a tight and sturdy hold. Place additional cords or ropes along the sides of the tarp for added security and to prevent wind from lifting the tarp.
- Consider using nails or screws: If necessary, you can also use nails or screws to anchor the tarp to the roof. This is particularly useful for roofs with a steeper slope. Hammer or screw them through the reinforced edges of the tarp and into the roof to provide extra stability.
- Avoid puncturing the tarp: Be cautious while using nails or screws, as puncturing the tarp can create holes and compromise its waterproofing capabilities. If possible, opt for bungee cords or ropes for securing the tarp.
- Tighten the cords: Ensure that the bungee cords or ropes are tightened evenly, pulling the tarp securely against the roof. This will prevent any water from pooling on the tarp’s surface and causing damage.
Keep in mind that the tarp should be stretched tightly and evenly across the damaged area to provide the best possible protection. Evaluate the tautness of the tarp and make adjustments as necessary to achieve a secure and snug fit.
Once the tarp is securely fastened to the roof, you are ready to move on to the next step: sealing the edges of the tarp.
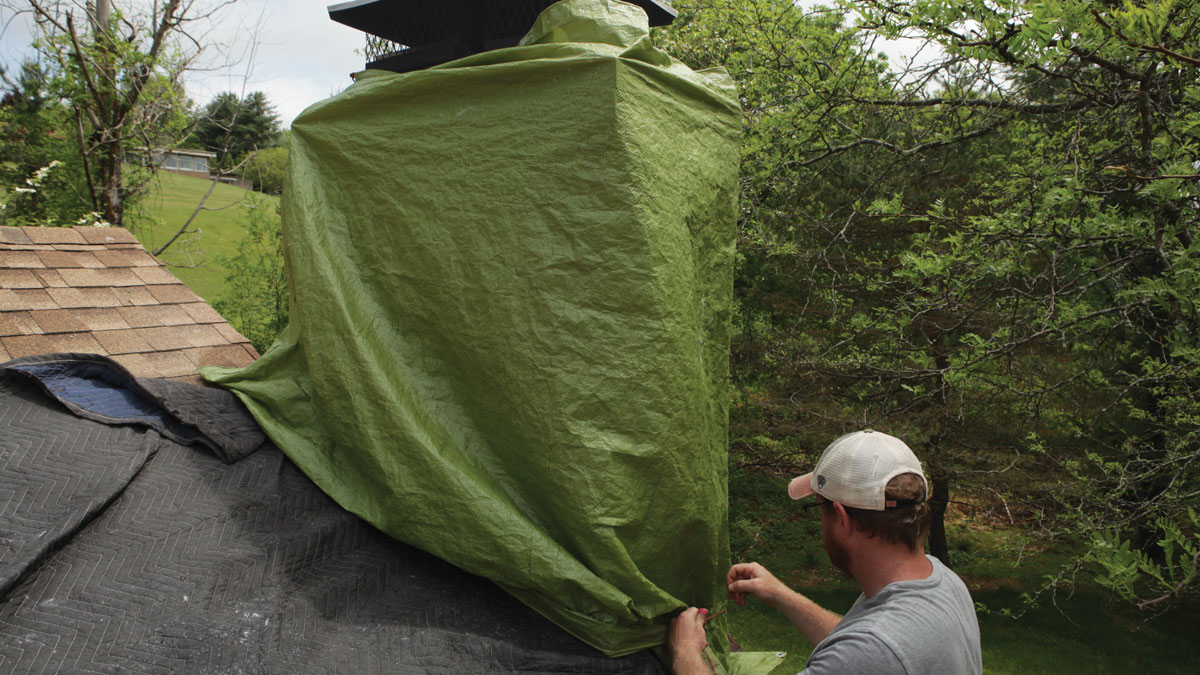
Step 4: Seal the Edges
Sealing the edges of the tarp is an important step to ensure that no water or debris can pass through and compromise the protective barrier. Properly sealing the edges will help reinforce the tarp and enhance its durability and effectiveness.
- Inspect the edges: Carefully examine the edges of the tarp to identify any areas that may require sealing. Look for loose ends, gaps, or places where water could potentially enter.
- Trim excess material: If there is any excess tarp material sticking out beyond the secured area, trim it using a utility knife. This will help create clean, even edges that are easier to seal.
- Apply waterproof sealant: Using a waterproof sealant, such as silicone caulk, apply a generous amount along the edges of the tarp. Make sure to cover any gaps or vulnerable areas to prevent water from seeping underneath the tarp.
- Smooth and spread the sealant: Use a putty knife or your gloved finger to spread and smooth out the sealant along the edges. This will ensure an even coat and a secure seal.
- Allow the sealant to dry: Follow the manufacturer’s instructions to determine the recommended drying time for the sealant. Allow it to dry completely before exposing the tarp to harsh weather conditions.
Sealing the edges of the tarp provides an additional layer of protection against moisture and ensures a more secure and watertight barrier. It helps to minimize the risk of leaks and further damage to your roof.
Once the edges are sealed, it’s important to regularly inspect the tarp and reapply sealant as needed to maintain its integrity and effectiveness. Be proactive in addressing any potential issues to ensure that your tarp continues to protect your roof until permanent repairs can be made.
With the edges sealed and the tarp properly secured, you are ready to move on to the final step: checking for a secure installation.
Step 5: Check for Secure Installation
In the final step of installing a tarp on your roof, it’s crucial to check for a secure and properly installed tarp. This step will give you peace of mind, knowing that your roof is adequately protected until permanent repairs can be made.
- Inspect the tarp: Take a thorough look at the tarp and its placement on the roof. Ensure that it is stretched tightly and evenly across the damaged area, with no sagging or loose sections.
- Verify the fasteners: Double-check the bungee cords, ropes, nails, or screws used to secure the tarp. Make sure they are tightly fastened and in good condition to withstand the elements.
- Test the stability: Gently tug on the tarp to check its stability. It should be firmly anchored and resistant to movement. If you notice any areas that are loose or need reinforcement, make the necessary adjustments.
- Look for gaps or leaks: Inspect the edges and seams of the tarp for any gaps or signs of leaks. Pay close attention to vulnerable areas such as corners or joints, and ensure they are properly sealed with waterproof sealant.
- Monitor during harsh weather: Keep an eye on the tarp’s performance during inclement weather conditions. Make sure it effectively repels water and remains securely in place. Address any issues promptly to prevent further damage.
Regularly monitoring the tarp’s installation and performance is essential. Weather conditions and external factors can impact its effectiveness over time. Conduct periodic checks to ensure the tarp is still providing the necessary protection.
Remember that a tarp is a temporary solution. While it can offer crucial protection from the elements, it’s important to arrange permanent repairs for your roof as soon as possible. Consult with a professional roofing contractor to assess the extent of the damage and determine the best course of action.
By following these steps and checking for a secure tarp installation, you can rest assured that your roof is adequately protected until permanent repairs can be made.
Congratulations on successfully installing a tarp on your roof! With proper care and maintenance, your tarp will help safeguard your home until permanent roofing repairs are completed.
Conclusion
Installing a tarp on your roof can provide temporary but essential protection from leaks and further damage. By following the step-by-step process outlined in this article, you can secure a tarp on your roof effectively and ensure the safety of your home.
Remember to prioritize safety throughout the process by using appropriate safety equipment, working with a partner, and being mindful of weather conditions. Safety should be your top priority when working on a roof.
Gathering the necessary materials, measuring and cutting the tarp, preparing the roof, securing the tarp, sealing the edges, and checking for a secure installation are all crucial steps in the process. Each step plays a vital role in ensuring the tarp’s effectiveness and longevity.
While a tarp provides temporary protection, it’s important to arrange for permanent repairs to your roof as soon as possible. Consult with a professional roofing contractor to assess the damage and determine the best course of action for long-term solutions.
Regularly inspect the tarp and make any necessary adjustments or repairs to ensure it continues to provide the required protection. Keep an eye on the weather, as extreme conditions can put additional stress on the tarp and the roof.
Installing a tarp on your roof requires careful planning, attention to detail, and a commitment to safety. By following the steps and guidelines provided in this article, you can effectively protect your home and buy valuable time until permanent repairs can be made.
Thank you for reading and best of luck with your tarp installation!
Frequently Asked Questions about How To Put Tarp On Roof
Was this page helpful?
At Storables.com, we guarantee accurate and reliable information. Our content, validated by Expert Board Contributors, is crafted following stringent Editorial Policies. We're committed to providing you with well-researched, expert-backed insights for all your informational needs.


0 thoughts on “How To Put Tarp On Roof”