
Articles
How To Cut Drywall For Electrical Box
Modified: January 6, 2024
Learn the step-by-step process of cutting drywall for electrical box installation with informative articles. Gain valuable tips and techniques for a successful DIY project.
(Many of the links in this article redirect to a specific reviewed product. Your purchase of these products through affiliate links helps to generate commission for Storables.com, at no extra cost. Learn more)
Introduction
When it comes to electrical installations, one of the essential tasks is cutting drywall for electrical boxes. Whether you’re adding new outlets, switches, or light fixtures, properly cutting and installing the drywall is crucial for a safe and professional-looking result.
Although it might seem intimidating at first, cutting drywall for electrical boxes can be a straightforward process with the right tools and techniques. In this article, we will guide you step-by-step on how to cut drywall for an electrical box, ensuring a precise fit and efficient installation.
Before we begin, it’s important to note that safety should always be your top priority. Make sure to turn off the power to the circuit you’ll be working on, and wear protective goggles, gloves, and a dust mask to minimize any potential hazards.
Now, let’s dive into the tools and materials you’ll need for this project.
Key Takeaways:
- Ensure safety by turning off power and using protective gear. Measure, mark, score, and cut with precision for a secure and professional-looking electrical box installation.
- Test fit, make adjustments, and secure the electrical box in place. Finish by smoothing edges, checking wiring, and testing functionality for a successful DIY project.
Tools and Materials Needed
Before you start cutting drywall for an electrical box, gather the following tools and materials:
- Measuring tape or ruler
- Pencil or marker
- Utility knife
- Keyhole saw or drywall saw
- Screwdriver
- Drywall rasp or sandpaper
- Electrical box and mounting screws
- Drywall anchors (if needed)
Ensure that all your tools are clean and in good working condition before you begin. Having these tools in hand will make the process much smoother and more efficient.
Now that you have the necessary tools and materials, let’s move on to the step-by-step process of cutting drywall for an electrical box.
Step 1: Mark the Location of the Electrical Box
The first step in cutting drywall for an electrical box is determining the precise location where the box will be installed. This is crucial for ensuring proper wiring and alignment with other electrical components.
Start by taking accurate measurements and locating the desired spot for the electrical box. Use a measuring tape or ruler to measure and mark the center of the box on the wall. Double-check your measurements to ensure accuracy.
Next, use a pencil or marker to outline the shape and size of the electrical box on the wall. Take into consideration the dimensions of the box and leave enough space around it for the box and any necessary wiring.
When marking the location, be sure to take into account any studs, pipes, or obstacles that may be behind the wall. You don’t want to accidentally cut into any hidden wires or pipes, which can be dangerous and costly.
Once you have marked the location, you can proceed to the next step of measuring and marking the cutout on the drywall.
Step 2: Measure and Mark the Cutout on the Drywall
After you have determined the location of the electrical box, it’s time to measure and mark the cutout on the drywall. This will ensure that the box fits snugly and securely into the wall.
Begin by measuring the dimensions of the electrical box. Use a measuring tape or ruler to measure the height and width of the box. Take note of these measurements as they will guide you when marking the cutout.
Next, transfer these measurements to the drywall. Place the electrical box against the wall, aligning it with the markings you made in the previous step. Use a pencil or marker to trace the outline of the box onto the drywall.
Make sure to mark the corners and edges accurately for a precise cutout. If the box has rounded corners, use a round object like a coin or a small bottle to trace the curve onto the drywall.
Remember to leave a bit of extra space around the perimeter of the cutout to allow for the thickness of the electrical box and any wiring that will be connected to it.
Once you have marked the cutout on the drywall, you are ready to move on to the next step: scoring the drywall with a utility knife.
Step 3: Use a Utility Knife to Score the Drywall
Scoring the drywall with a utility knife is an important step in cutting out the marked area for the electrical box. This will create a clean and precise cut, allowing for a seamless fit of the box.
Start by aligning a straight edge, such as a ruler or a level, along one side of the marked cutout line. This will serve as a guide for your utility knife. Press down firmly on the straight edge and use a utility knife to score the drywall along the line.
Apply consistent pressure as you make the scoring cut, ensuring that you cut through the top layer of the drywall, but not all the way through. The purpose of scoring is to create a shallow groove that will make it easier to cut out the shape later.
Repeat this process for all sides of the marked cutout, scoring along the lines with the utility knife. Take your time and be careful to maintain a straight and even cut along the entire perimeter.
Once you have scored all the sides, you can move on to the next step of actually cutting out the drywall using a keyhole saw or a drywall saw.
Note: If you’re working with thicker or more rigid drywall, you may need to adjust the pressure of your knife or make multiple passes to ensure a clean score.
Read more: How To Put Electrical Box In Drywall
Step 4: Cut Out the Drywall with a Keyhole Saw
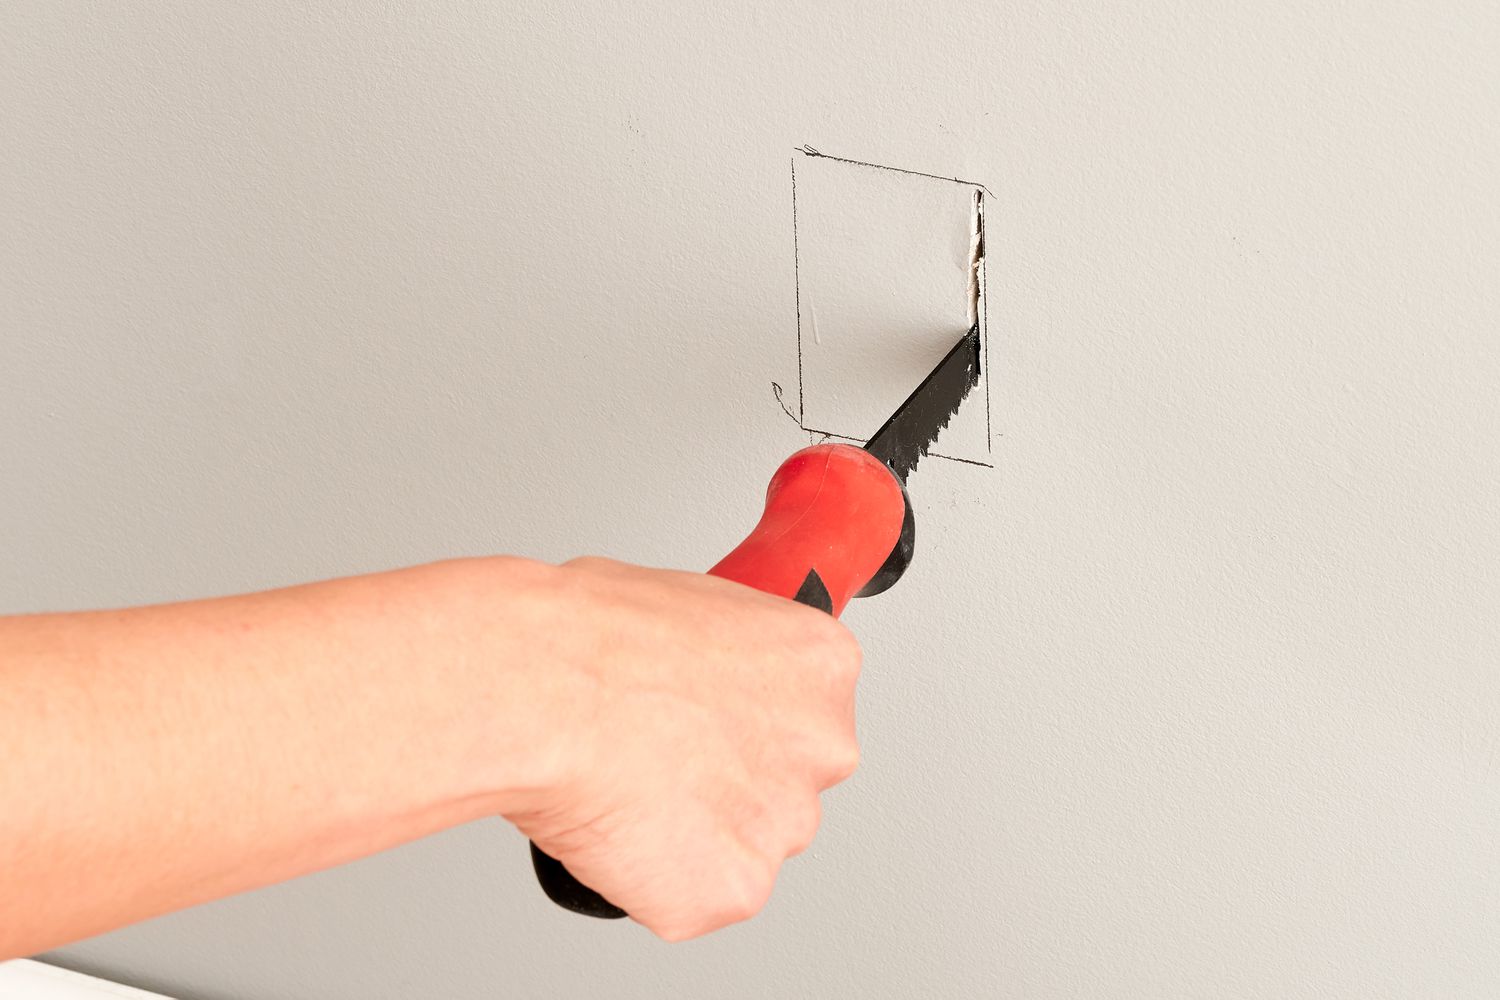
Now that you have scored the drywall, it’s time to cut out the marked area using a keyhole saw or a drywall saw. This step requires precision and careful attention to ensure a clean and accurate cut.
Start by inserting the blade of the keyhole saw or drywall saw into one of the scored corners. Angle the saw slightly towards the center of the marked cutout to prevent accidentally cutting beyond the traced lines.
Using a steady and controlled motion, begin sawing along the lines that you scored in the previous step. Take your time and use light pressure to gradually cut through the drywall. It’s important to maintain a smooth and even motion to prevent the saw from jerking or veering off track.
Continue sawing along the marked cutout lines until you have completed the perimeter of the box. Be mindful of any curves or rounded corners and adjust your sawing technique accordingly to maintain the accuracy of the cutout.
As you approach the end of the cut, be cautious not to apply too much force or rush the process. Take your time and ensure that the cut is clean and precise.
Once you have completely cut out the marked area, remove the section of drywall to reveal the opening for the electrical box.
Now that the cutout is complete, you can proceed to the next step: test fitting the electrical box.
When cutting drywall for an electrical box, use a keyhole saw to carefully trace the outline of the box, then gently cut along the lines to create a precise opening. Be sure to turn off the power before working near electrical boxes.
Step 5: Test Fit the Electrical Box
After cutting out the drywall, it’s important to test fit the electrical box to ensure that it fits securely and flush against the wall. This step allows you to make any necessary adjustments before proceeding with the installation.
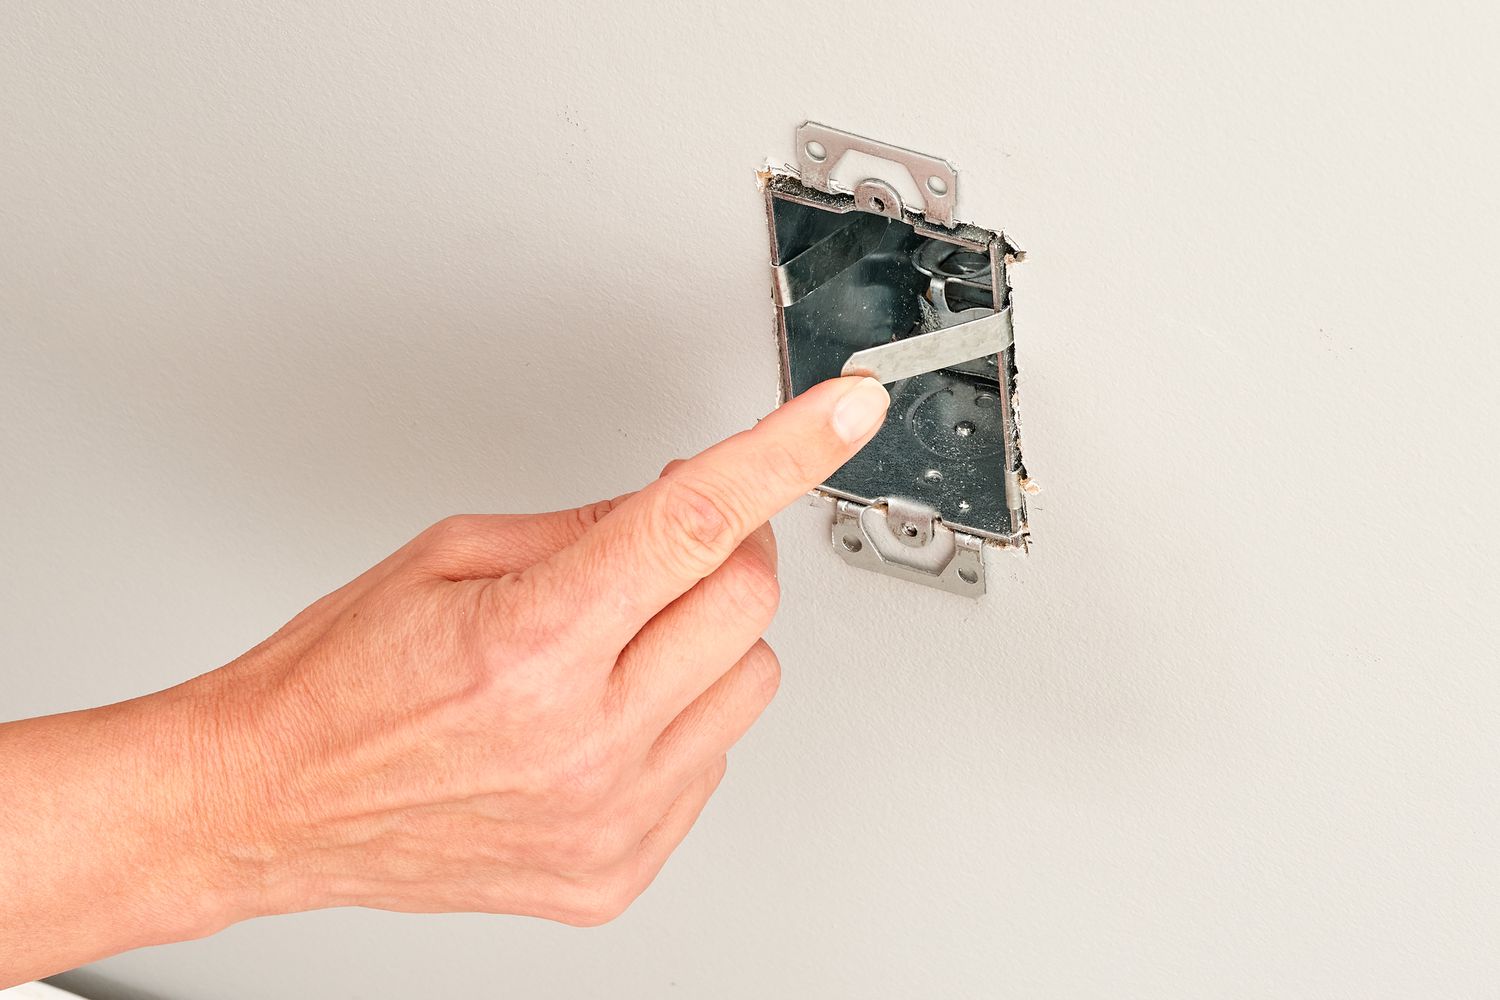
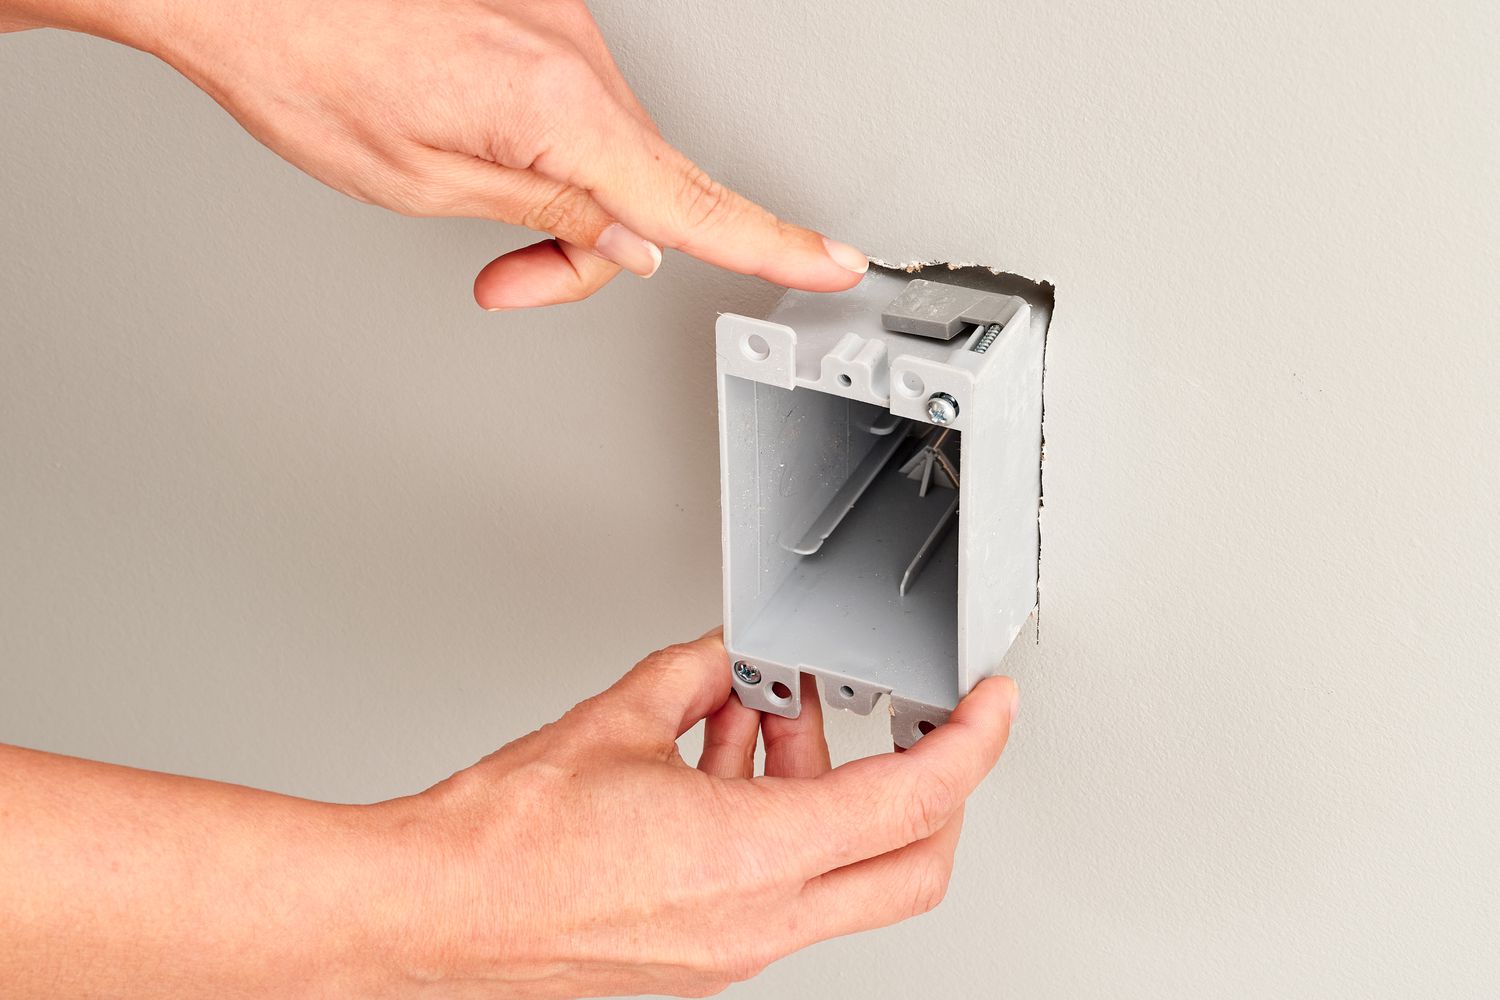
Begin by gently inserting the electrical box into the cutout. Ensure that the box fits snugly and that all sides sit flush against the wall. If there are any gaps or the box doesn’t fit properly, you may need to trim the edges of the cutout for a better fit.
Use a pencil or marker to mark any areas that require trimming. Remove the electrical box from the cutout and set it aside.
With a utility knife or a drywall saw, carefully trim the marked areas of the cutout to create a better fit for the electrical box. Make small, precise cuts and check the fit regularly to avoid removing too much material.
Once you have made the necessary adjustments, test fit the electrical box again. Repeat the process until the box fits securely and sits flush against the wall.
Remember, it’s crucial to ensure that the electrical box is properly fitted as this will prevent any gaps or instability once the installation is complete.
Now that you have achieved a proper fit for the electrical box, it’s time to move on to making any final adjustments if necessary.
Step 6: Make Final Adjustments if Necessary
After test fitting the electrical box, it’s important to make any final adjustments to ensure a perfect fit and a professional-looking installation. This step allows you to address any minor issues or imperfections that may be present.
Start by inspecting the cutout and the fit of the electrical box. Look for any areas that may need additional trimming or smoothing.
If there are any rough edges or uneven sections around the cutout, use a drywall rasp or sandpaper to smooth them out. Gently rub the rasp or sandpaper against the edges to create a clean and even surface.
Next, check if the electrical box sits level with the wall. If it’s slightly recessed or protruding, use a screwdriver to adjust the depth of the mounting screws. Loosen the screws slightly to adjust the position of the box, then tighten them back securely once the box is in the desired position.
Ensure that the box sits flush against the wall and there are no gaps or misalignments. This will ensure a secure and professional-looking installation.
If you encounter any major issues or concerns during this step, it’s advisable to consult a professional electrician for assistance. They can provide expert guidance and help resolve any complex issues that may arise.
Once you have made any necessary adjustments and are satisfied with the fit and appearance of the electrical box, you’re ready to move on to securing the box in place.
Step 7: Secure the Electrical Box in Place
Now that you have ensured a proper fit for the electrical box, it’s time to secure it in place. This step involves attaching the box securely to the wall to ensure stability and safety.
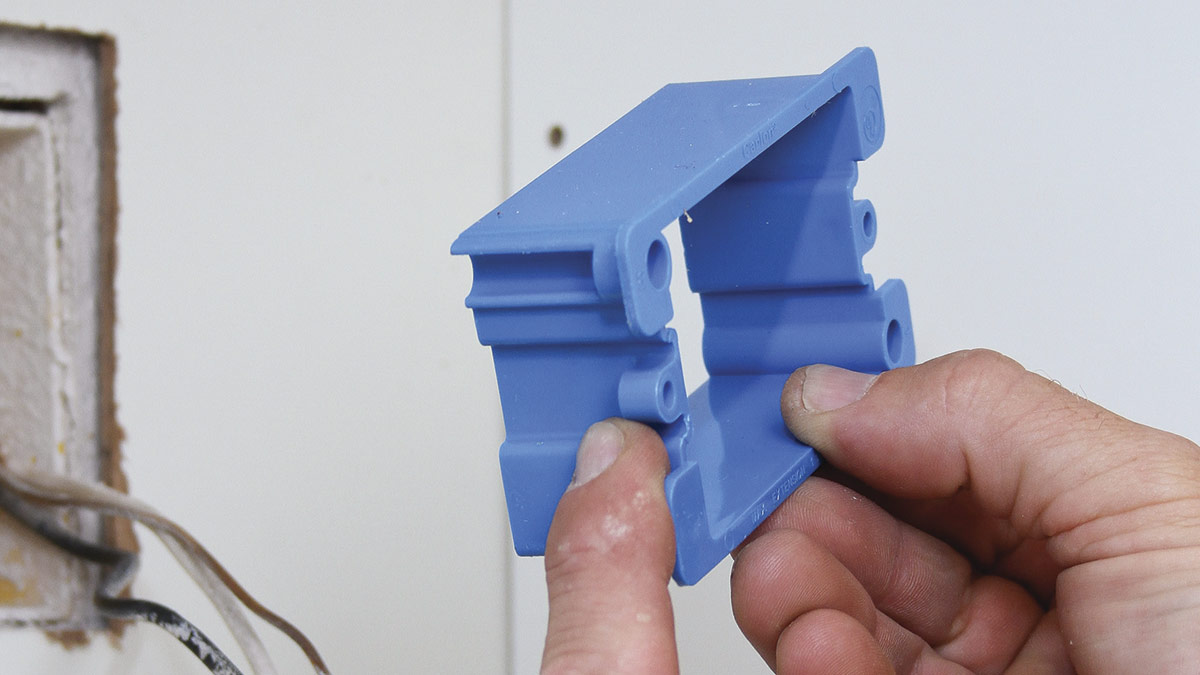
Begin by aligning the mounting holes of the electrical box with the corresponding holes in the wall. Insert the mounting screws through the holes and into the wall. Use a screwdriver to tighten the screws, ensuring a secure attachment.
Make sure to tighten the screws evenly to prevent any gaps or misalignment of the box. Be careful not to overtighten the screws as this may damage the drywall or the threads of the box.
If the electrical box does not have pre-drilled mounting holes, you may need to use drywall anchors for added stability. Insert the anchors into the wall where the mounting holes of the box will be located. Then, insert the mounting screws through the box and into the anchors, tightening them to secure the box in place.
Ensure that the electrical box is level and flush against the wall. Check all sides to verify that the box is secure and stable.
Once the electrical box is securely attached, double-check all connections and wiring. Make sure there are no loose or exposed wires. If any adjustments need to be made, such as tightening wire connections or trimming excess wires, do so before proceeding to the next step.
Now that the electrical box is securely in place, you can move on to the final step: adding the finishing touches.
Read also: 12 Best Drywall Electrical Box for 2024
Step 8: Finishing Touches
Congratulations, you’re in the final step of cutting drywall for an electrical box! The last step involves adding the finishing touches to complete the installation.
Begin by inspecting the area around the electrical box for any imperfections or rough edges. Use a drywall rasp or sandpaper to smooth out any uneven surfaces, creating a clean and professional finish.
Next, check all the wiring and connections inside the electrical box. Ensure that all wires are properly secured and that there are no exposed or loose connections. If needed, trim any excess wires and organize them neatly inside the box.
Once you’ve ensured the safety and cleanliness of the wiring, it’s time to install the cover plate. Attach the cover plate over the electrical box, lining up the screws with the corresponding holes. Use a screwdriver to tighten the screws and secure the plate in place.
Make sure the cover plate sits flush against the wall, with no gaps or misalignment. This will give the installation a polished appearance.
Finally, turn the power back on to the circuit and test the electrical box to ensure it’s functioning properly. Plug in a device or use a voltage tester to check for power in the outlet or switch, depending on the type of electrical box you installed.
If everything is functioning correctly, congratulations! You have successfully cut drywall for an electrical box and completed the installation.
Remember, if you have any doubts or concerns at any point during the process, it’s always best to consult a professional electrician for guidance and assistance.
With proper planning and the right tools, cutting drywall for an electrical box can be a manageable DIY project. By following these steps and paying attention to detail, you can ensure a safe and professional-looking installation that meets all electrical codes and standards.
Now, step back and admire your finished work. You’ve successfully cut drywall for an electrical box and have added a valuable improvement to your home.
Happy DIYing!
Conclusion
Cutting drywall for an electrical box is a fundamental task in electrical installations. It allows for the proper placement of outlets, switches, and other electrical components in your home or workspace. By following the step-by-step guide outlined in this article, you can confidently and successfully cut drywall for an electrical box.
Throughout the process, it’s important to prioritize safety. Remember to turn off the power to the circuit you’re working on and use protective gear, such as goggles, gloves, and a dust mask, to minimize potential hazards.
Having the right tools and materials is essential for a smooth and efficient process. A measuring tape, utility knife, keyhole saw, and screwdriver are among the tools you’ll need, along with an electrical box, mounting screws, and potentially drywall anchors.
From marking the location of the electrical box to test fitting it and making final adjustments, each step is crucial to ensuring a proper fit and a professional-looking installation. Take your time and make precise cuts, using a scoring technique with a utility knife before cutting out the drywall with a keyhole saw.
Once the electrical box fits securely in the cutout, secure it in place using mounting screws or drywall anchors. Double-check all the connections and wires, and add the finishing touches with a cover plate. Test the functionality of the electrical box, and if everything works correctly, you can be proud of your achievement.
Remember, if you’re unsure or uncomfortable with any aspect of the process or encounter any complex issues, it’s best to consult a professional electrician for guidance and assistance.
With patience, attention to detail, and the knowledge gained from this article, you can successfully cut drywall for an electrical box and contribute to a safe and efficient electrical system. Happy DIYing!
Frequently Asked Questions about How To Cut Drywall For Electrical Box
Was this page helpful?
At Storables.com, we guarantee accurate and reliable information. Our content, validated by Expert Board Contributors, is crafted following stringent Editorial Policies. We're committed to providing you with well-researched, expert-backed insights for all your informational needs.

0 thoughts on “How To Cut Drywall For Electrical Box”