
Articles
How To Fill Driveway Expansion Joints
Modified: October 25, 2024
Learn how to effectively fill driveway expansion joints with these informative articles. Improve the durability and appearance of your driveway with our expert tips and techniques.
(Many of the links in this article redirect to a specific reviewed product. Your purchase of these products through affiliate links helps to generate commission for Storables.com, at no extra cost. Learn more)
Introduction
When it comes to maintaining and preserving your driveway, one important aspect to consider is the filling of driveway expansion joints. These joints, also known as control joints, are the spaces between concrete slabs that allow for movement and prevent cracking. Over time, these joints can deteriorate or become filled with debris, which can affect the overall integrity and lifespan of your driveway.
Filling driveway expansion joints is a simple yet crucial task that can help prevent further damage and ensure the longevity of your driveway. In this article, we will guide you through the process of filling these joints, from cleaning and preparing them to choosing the right filler material and applying it correctly.
By following these steps, you will not only improve the appearance of your driveway but also protect it from potential issues such as water damage and weed growth. So, let’s dive in and learn how to fill driveway expansion joints effectively!
Key Takeaways:
- Properly filling driveway expansion joints is crucial for preventing damage, minimizing tripping hazards, and improving the overall appearance of your driveway. Regular maintenance and choosing the right filler material are essential for long-term protection.
- By following a step-by-step process, including cleaning and preparing the joints, choosing the right filler material, and allowing it to cure properly, you can effectively fill and maintain your driveway expansion joints, ensuring the longevity of your driveway.
Read more: How To Fill Hole In Driveway
What Are Driveway Expansion Joints?
Driveway expansion joints are essential components of any concrete or asphalt driveway. They are the spaces intentionally left between the individual slabs or sections of the driveway, allowing for natural expansion and contraction due to temperature fluctuations and ground movement. These joints help prevent the formation of cracks, distortion, and buckling, which can occur when the driveway does not have room to expand or contract.
Expansion joints act as a buffer zone, absorbing the stress and movement that inevitably occur in driveways over time. They allow the concrete or asphalt to expand or compress without causing damage to the entire surface. Without expansion joints, pressure would build up, leading to unsightly and potentially hazardous cracks in the driveway.
Expansion joints are typically made of flexible materials, such as rubber or foam, that can withstand the movement and pressure exerted on them. They are placed strategically along the length and width of the driveway, dividing it into manageable sections. The width and spacing of the joints depend on various factors, including the climate, soil conditions, and the type of driveway material used.
In addition to their functional purposes, driveway expansion joints also serve an aesthetic function by creating clean lines and separating the individual slabs or sections. They help maintain the overall appearance of the driveway, giving it a neat and organized look.
Over time, however, expansion joints can deteriorate or become clogged with debris, compromising their effectiveness. That’s why it’s crucial to regularly clean and fill these joints to maintain the structural integrity and visual appeal of your driveway.
In the next section, we will explore why it is important to fill driveway expansion joints and the benefits it provides.
Why Fill Driveway Expansion Joints?
Filling driveway expansion joints is not just a matter of aesthetics; it plays a vital role in preserving the integrity and longevity of your driveway. Here are some specific reasons why you should make it a priority to fill these joints:
- Preventing further damage: Unfilled or deteriorated expansion joints can become entry points for water, dirt, and debris. These substances can seep into the cracks and gaps in the joints, causing erosion, weakening the underlying layers, and leading to more significant damage over time. By filling the joints, you create a barrier that prevents the infiltration of these harmful elements.
- Protecting against weed growth: Without proper filling, expansion joints can become a breeding ground for weeds and other unwanted vegetation. The gaps provide the ideal environment for seeds to settle and grow, leading to an unsightly and challenging weed problem. Filling the joints prevents weed growth, saving you from the hassle of constant maintenance and weed removal.
- Minimizing tripping hazards: Uneven or sunken expansion joints can create hazardous conditions by creating potential tripping hazards. Filling these joints ensures a smooth and even surface, reducing the risk of accidents and injuries for both pedestrians and vehicles.
- Prolonging the life of your driveway: Driveways endure constant stress and pressure from vehicles, weather conditions, and regular use. Properly filled expansion joints help distribute this stress evenly, preventing it from concentrating on weak spots and causing cracks or damage to the entire driveway surface. By reducing the likelihood of cracks and distortion, you can significantly extend the lifespan of your driveway.
- Improving the appearance of your driveway: Filling driveway expansion joints gives your driveway a polished and well-maintained look. It creates clean lines and a uniform surface by eliminating gaps and cracks. A visually appealing driveway not only enhances the overall curb appeal of your property but also adds value should you decide to sell in the future.
By understanding the importance of filling driveway expansion joints and the benefits it provides, you can take proactive steps to protect your driveway and ensure its longevity. Now, let’s move on to the tools and materials you’ll need to complete this task.
Tools and Materials Needed
Before you begin filling driveway expansion joints, gather the necessary tools and materials to ensure a smooth and efficient process. Here’s what you’ll need:
- Safety gear: Always prioritize safety when working on any project. Wear protective gloves, safety glasses, and a dust mask to protect yourself from any potential hazards.
- Wire brush: A wire brush will help clean the expansion joints and remove any debris or loose material. Choose a brush with stiff bristles to effectively scrub away any buildup.
- Pressure washer or garden hose: Cleaning the expansion joints thoroughly requires a powerful stream of water. If you have a pressure washer, use it to blast away dirt and grime. Alternatively, a garden hose with a high-pressure nozzle can also do the job.
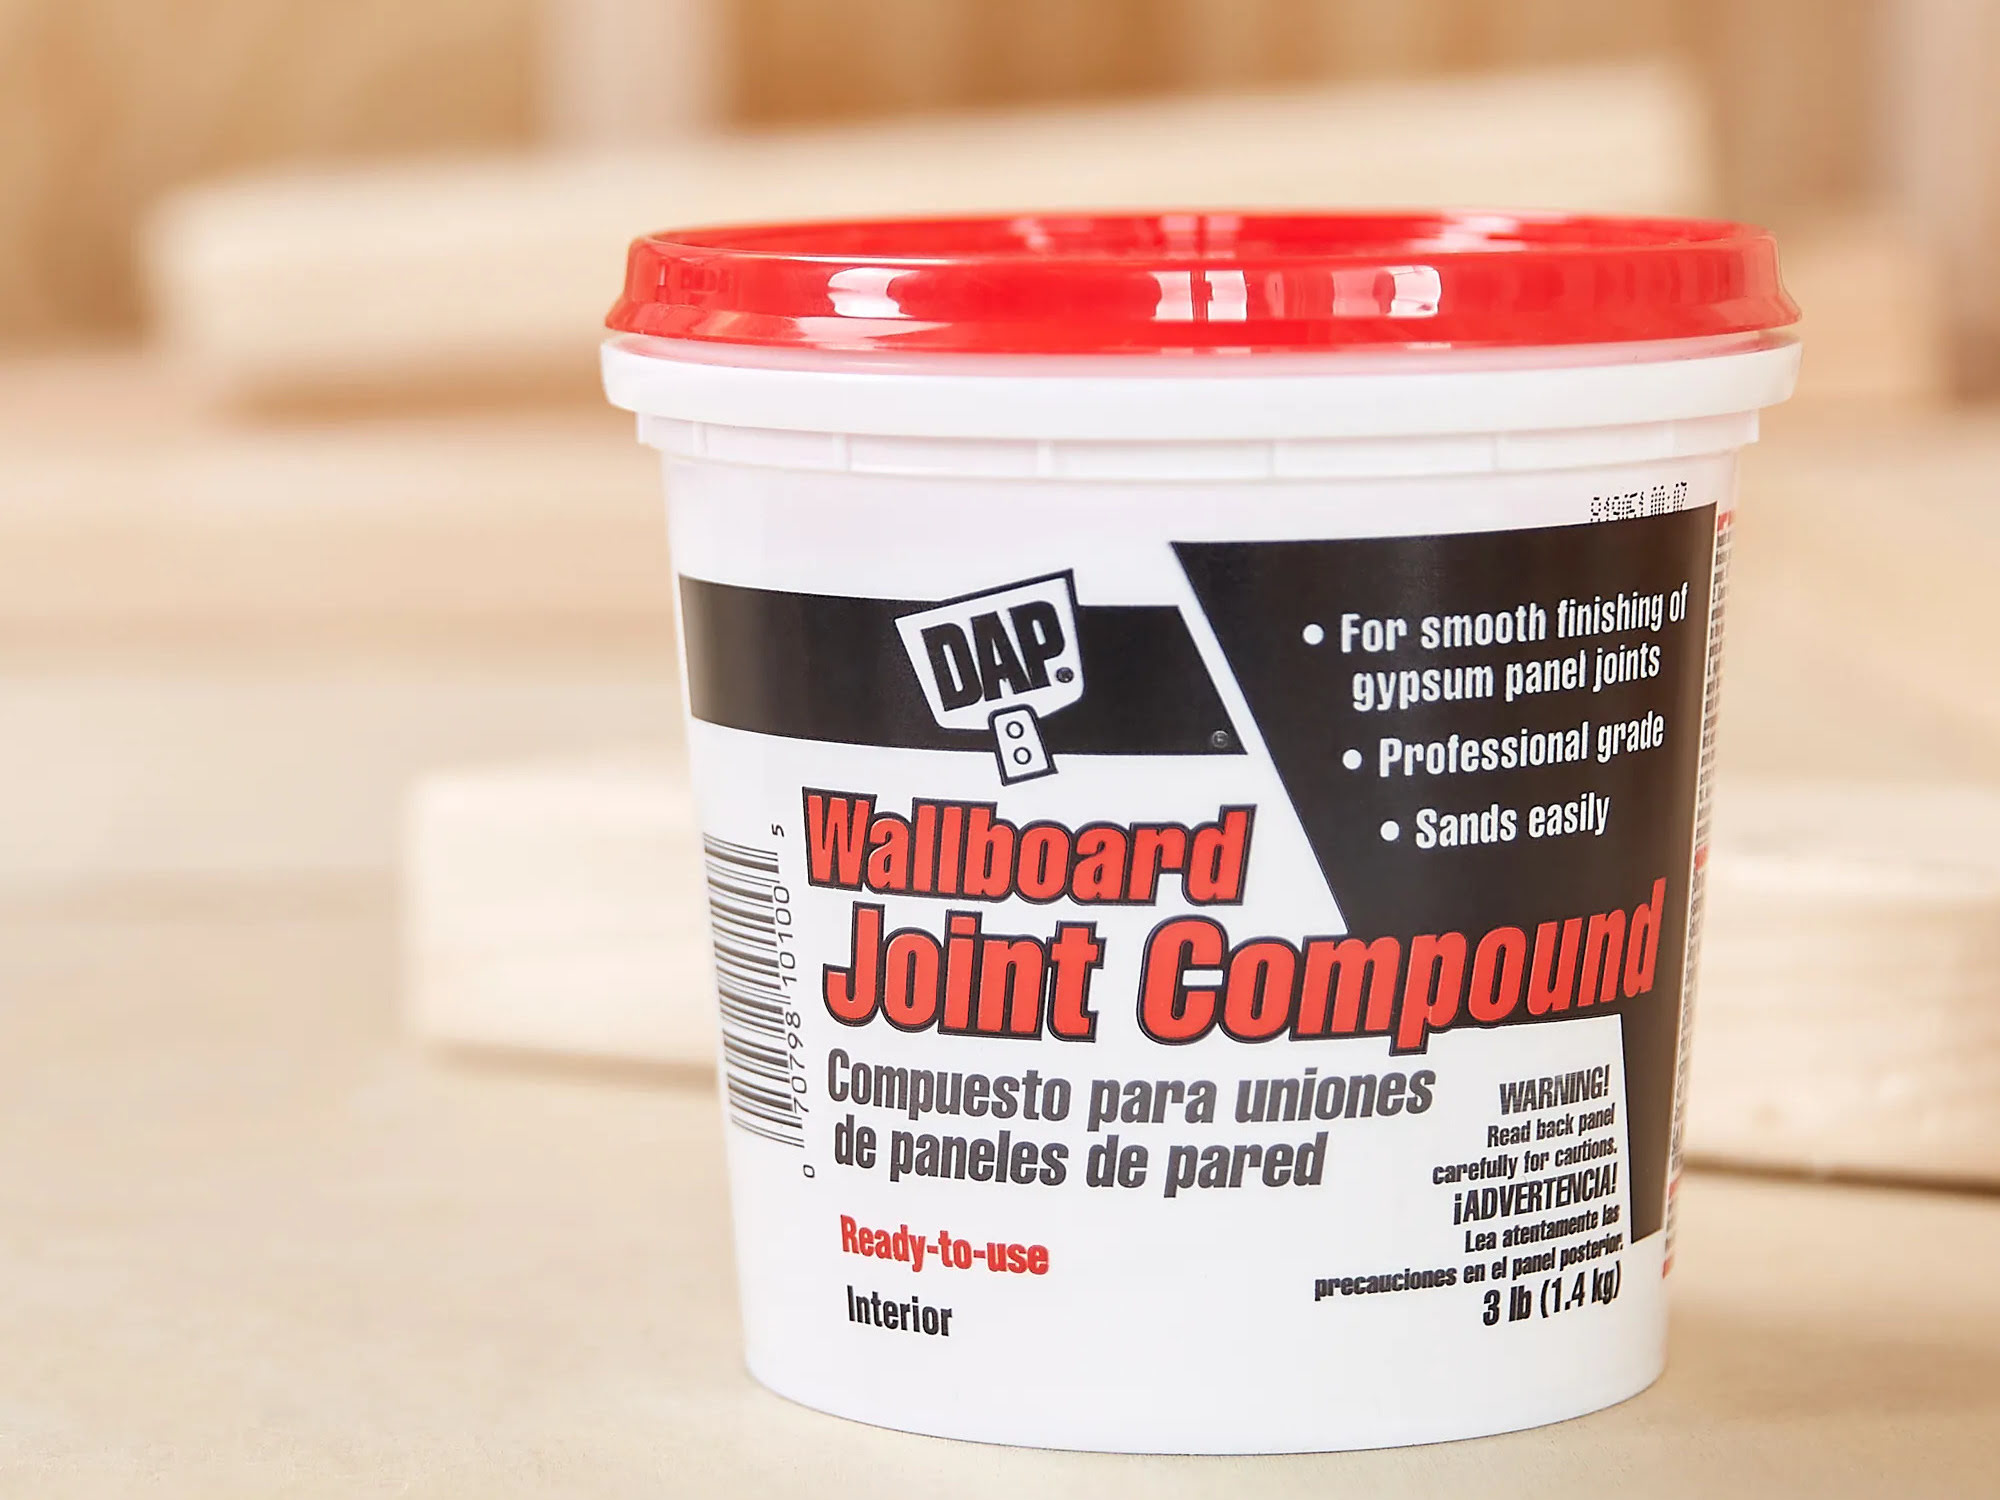
- Joint filler material: The type of filler material you choose will depend on various factors, such as the size and depth of the joints, the climate in your area, and your personal preference. Common filler materials include liquid sealants, polymeric sand, or premixed joint fillers specifically designed for driveway expansion joints.
- Applicator: An applicator tool, such as a caulk gun or trowel, will be needed to apply the filler material into the expansion joints. Choose an applicator that allows for easy and precise application.
- Scraping tool or putty knife: Use a scraping tool or putty knife to smooth and level the filler material once it is applied. This will help create a seamless and even surface.
- Broom or brush: A broom or brush will come in handy for sweeping away any excess filler material and ensuring a clean finish.
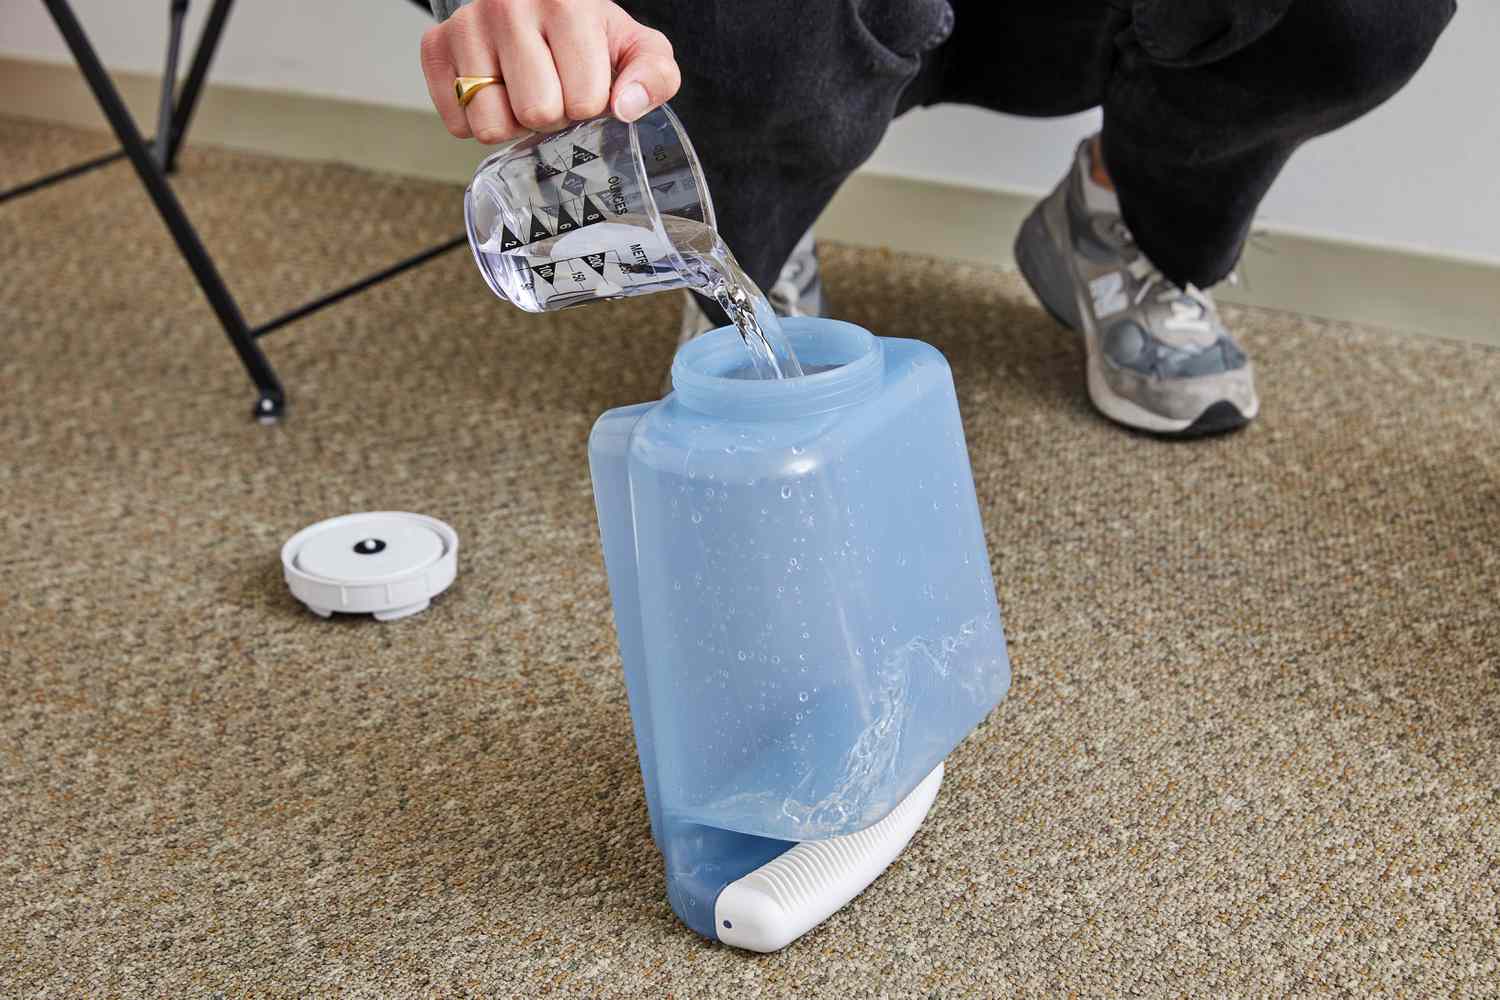
- Water: Depending on the type of joint filler material you use, water may be required for mixing or activating the filler. Make sure to have a water source nearby.
Having these tools and materials ready will save you time and ensure that you can complete the task efficiently. Before you begin, carefully read the instructions provided with the filler material to understand the specific requirements and recommendations for its application.
Now that you have all the necessary tools and materials, you’re ready to move on to the step-by-step process of filling driveway expansion joints. The first step is to clean and prepare the joints, which we’ll explore in the next section.
Step 1: Clean and Prepare the Joints
The first step in filling driveway expansion joints is to clean and prepare them. Proper cleaning is essential to ensure a solid bond between the filler material and the joint surfaces. Follow these steps to effectively clean and prepare the joints:
- Remove debris: Use a wire brush to remove any loose debris, dirt, or vegetation from the expansion joints. Scrub the joints thoroughly to ensure they are free from any obstructions.
- Power wash or rinse: If you have a pressure washer, use it to spray high-pressure water into the joints, flushing out any remaining dirt and debris. Start from one end of the joint and work your way to the other end, ensuring that all parts of the joint are thoroughly cleaned. If you don’t have a pressure washer, a garden hose with a high-pressure nozzle can be used as an alternative.
- Allow to dry: After cleaning the expansion joints, give them sufficient time to dry completely. Depending on the weather conditions, this may take a few hours or longer. It is important to ensure that the joints are completely dry before proceeding to the next step.
- Inspect for any damage: While cleaning, inspect the joints for any signs of damage or deterioration. Look for cracks, gaps, or other irregularities that may require additional repair or treatment.
- Remove old filler: If there is any leftover or deteriorated filler material in the joints, use a scraping tool or putty knife to remove it. Make sure to clean out any residue or loose particles to create a clean surface for the new filler material.
By thoroughly cleaning and preparing the expansion joints, you ensure that the filler material will adhere properly and provide a long-lasting solution. Taking the time to complete this step will greatly contribute to the success of your driveway expansion joint filling project.
Now that the joints are cleaned and prepared, it’s time to move on to the next step: choosing the right filler material. We’ll explore this in detail in the following section.
Read more: How To Fill Gaps In A Driveway
Step 2: Choose the Right Filler Material
Choosing the right filler material for your driveway expansion joints is crucial for a successful and long-lasting result. The type of filler material you select will depend on several factors including the size and depth of the joints, the climate in your area, and personal preference. Consider the following options when deciding on the suitable filler material:
- Liquid sealants: Liquid sealants, often in the form of a self-leveling polyurethane or silicone, are commonly used for filling driveway expansion joints. They are easy to apply and can effectively seal the joints against water and debris. Liquid sealants are suitable for both narrow and wide joints and are especially useful for joints with irregular shapes or depths.
- Polymeric sand: Polymeric sand is a mixture of sand and polymers that hardens and binds together when activated with water. It forms a strong and durable joint filler, suitable for moderate to wide joints. Polymeric sand is resistant to weather conditions, weed growth, and erosion, making it a popular choice for filling driveway expansion joints.
- Premixed joint fillers: Premixed joint fillers, often in the form of a cementitious or epoxy-based compound, offer a convenient option for filling driveway expansion joints. These fillers are available in various colors, allowing you to match them to your driveway’s surface. They provide a strong bond, durability, and resistance to cracking and shrinking.
- Foam fillers: Foam fillers are lightweight and flexible materials specifically designed for expansion joints. They come in rolls or strips and are easily inserted into the joints to provide support and insulation. Foam fillers are ideal for narrow expansion joints and can effectively prevent the intrusion of debris and water.
Consider the specific needs of your driveway and consult the manufacturer’s instructions for each filler material to determine the most suitable option. It’s essential to choose a filler material that matches the size and depth of your expansion joints and provides the necessary durability and resistance to weather conditions in your area.
Once you have chosen the appropriate filler material, you’re ready to move on to the next step: applying the filler material to the expansion joints. We’ll guide you through this process in the following section.
Clean out the expansion joints with a wire brush or pressure washer before filling them with a flexible concrete sealant to prevent water damage and weed growth.
Step 3: Apply the Filler Material
Now that you have chosen the right filler material, it’s time to apply it to the driveway expansion joints. Follow these steps to ensure a proper and effective application:
- Prepare the filler material: If the filler material requires mixing or activation, follow the manufacturer’s instructions to prepare it accordingly. Some fillers may need to be mixed with water or a catalyst before application.
- Load the filler material: Load the prepared filler material into an applicator tool, such as a caulk gun or trowel, depending on the recommended method provided by the manufacturer. Ensure that the applicator is filled completely and ready for use.
- Start at one end: Begin applying the filler material at one end of the expansion joint. Slowly and steadily dispense the filler material into the joint, making sure to fill it completely from the bottom up. Use a back-and-forth motion or a steady hand to ensure even distribution.
- Continue along the joint: Move along the length of the expansion joint, filling it with the filler material in a consistent manner. Take care to avoid any gaps or uneven application. If necessary, apply additional filler material to ensure the joint is completely filled.
- Smooth the surface: Once the joint is filled with the material, use a scraping tool or putty knife to smoothly level the surface. Gently glide the tool over the filled joint, removing any excess material and creating a uniform appearance.
- Clean up any spills: If you accidentally spill filler material onto the driveway surface, promptly wipe it away with a damp cloth or sponge. It’s important to clean up any spills before the material dries and becomes challenging to remove.
Take your time during the application process, ensuring that the filler material is evenly distributed within the expansion joints. Pay attention to any irregularities or voids and address them promptly to achieve a seamless and professional finish.
Once the filler material is applied, you’re ready to move on to the next step: smoothing and leveling the filler. We’ll explore this step in detail in the following section.
Step 4: Smooth and Level the Filler
After applying the filler material to the driveway expansion joints, the next step is to smooth and level the filler to create a seamless and even surface. Follow these steps to ensure a professional and appealing finish:
- Wait for the filler to settle: Allow the filler material to settle for a few minutes after application. This will ensure that it has time to spread and adhere properly within the expansion joint.
- Use a scraping tool or putty knife: Take a scraping tool or putty knife and gently glide it over the filled joint. Smooth out any uneven areas and remove any excess material. Apply light pressure to avoid displacing the filler material.
- Check for any gaps or voids: Inspect the filled joint for any gaps or voids that may have been missed during the initial application. If necessary, apply additional filler material to these areas and repeat the smoothing process.
- Ensure a flush finish: Make sure that the filler material is flush with the surface of the driveway. This will help maintain a seamless appearance and prevent any tripping hazards.
- Clean up any residue: Once the filling and leveling process is complete, clean up any residue or spills of the filler material. Use a damp cloth or sponge to wipe away any excess material from the driveway surface.
Taking the time to smooth and level the filler material will not only enhance the overall visual appeal of your driveway but also contribute to a more durable and long-lasting result. A well-leveled and flush surface will prevent debris accumulation and minimize the risk of water infiltration, ensuring that your driveway expansion joints remain in good condition over time.
Now that you have successfully smoothed and leveled the filler material, the final step is to allow it to cure properly. We’ll cover this crucial step in the next section.
Step 5: Allow the Filler to Cure
After carefully smoothing and leveling the filler material in the driveway expansion joints, it’s important to allow adequate time for the filler to cure. Curing refers to the process in which the filler material hardens and reaches its maximum strength. Follow these guidelines to ensure proper curing:
- Read the manufacturer’s instructions: Different filler materials have varying curing times and requirements. Refer to the manufacturer’s instructions provided with the specific filler material for the recommended curing period.
- Avoid traffic or use: During the curing process, avoid driving or walking on the filled expansion joints. Excessive weight or foot traffic can disrupt the curing process and affect the final result.
- Protect from water and moisture: Keep the filled joints protected from exposure to water and moisture during the curing period. Avoid any activities such as washing the driveway or heavy rain that may introduce excessive moisture to the freshly filled joints.
- Ensure optimal temperature and humidity: The temperature and humidity levels can influence the curing process. Ideally, the ambient temperature should be within the recommended range provided by the filler material manufacturer. Avoid curing in extreme hot or cold conditions, as this can affect the quality of the final result.
- Monitor for any damage: Regularly inspect the filled expansion joints for any signs of damage or deterioration during the curing period. If any issues arise, address them promptly to ensure proper curing and prevent any further damage.
- Follow additional instructions if provided: Some filler materials may have specific additional instructions or recommendations for the curing process. Read and follow these instructions carefully to achieve the best possible outcome.
By allowing the filler material to cure properly, you ensure that it reaches its maximum strength and durability. This will provide long-lasting protection for your driveway expansion joints.
After the appropriate curing time has passed, you can resume normal use of your driveway, taking comfort in knowing that your filled expansion joints are now sturdy and well-protected.
Now that you have successfully completed all the necessary steps for filling driveway expansion joints, let’s move on to some tips for maintaining these joints to ensure their longevity.
Read more: How To Make A Scarf Joint
Tips for Maintaining Driveway Expansion Joints
Maintaining your driveway expansion joints is essential to maximize their lifespan and prevent the need for frequent repairs or replacements. Here are some helpful tips to keep your joints in optimal condition:
- Regularly inspect the joints: Take time to inspect the expansion joints on a regular basis. Look for signs of damage, cracks, or gaps. Address any issues promptly to prevent further deterioration.
- Keep the joints clean: Regularly clean the expansion joints to remove debris, dirt, and plant growth. Use a broom or brush to sweep away any accumulations. This will help prevent the joints from clogging and maintain their effectiveness.
- Perform routine maintenance: Apply a fresh layer of sealer or filler material to the expansion joints every few years, or as recommended by the manufacturer. This will help maintain the integrity of the joints and protect them from damage.
- Avoid using harsh chemicals: When cleaning or maintaining your driveway, avoid using harsh chemicals or solvents near the expansion joints. These substances can deteriorate the filler material and weaken the joints.
- Address any issues promptly: If you notice any signs of damage or deterioration, such as cracks or sinking joints, take immediate action. Repairing or replacing damaged expansion joints as soon as possible will prevent further issues and maintain the structural integrity of your driveway.
- Prevent water accumulation: Ensure that water does not collect or pool in the expansion joints. Proper drainage and slope of the driveway will help prevent water from sitting in the joints, reducing the risk of water damage and potential erosion.
- Avoid excessive weight: Be mindful of heavy vehicles or equipment parked on your driveway for extended periods. Excessive weight or constant pressure can strain the expansion joints and lead to cracking or damage.
- Monitor for weed growth: Keep an eye out for weeds or other vegetation that may grow in the expansion joints. Remove any weeds promptly to prevent their roots from causing damage to the joints.
- Consider professional assistance: If you are unsure about how to properly maintain or repair your driveway expansion joints, it is wise to seek professional assistance. They can provide expert advice and guidance to ensure the longevity and functionality of your joints.
By following these maintenance tips, you can preserve the condition and effectiveness of your driveway expansion joints, helping to prolong the lifespan of your driveway as a whole.
Now that you have learned how to fill and maintain your driveway expansion joints, you are equipped with the knowledge and skills to ensure the longevity and integrity of your driveway. Remember to prioritize regular inspections and maintenance to prevent costly repairs and maintain a beautiful and functional driveway for years to come.
If you have any further questions or concerns about filling driveway expansion joints, consult with a professional in the field for personalized assistance.
Conclusion
Filling driveway expansion joints is an essential task for maintaining the integrity and longevity of your driveway. By following the step-by-step process and incorporating the tips mentioned in this article, you can effectively fill your expansion joints and keep them in excellent condition for years to come.
We started by understanding what driveway expansion joints are and their importance in preventing damage and cracking. We then discussed the reasons why filling these joints is crucial, such as preventing further damage, minimizing tripping hazards, and improving the overall appearance of your driveway.
Next, we delved into the tools and materials needed for the filling process. Having the necessary safety gear, a wire brush, pressure washer or garden hose, joint filler material, applicator, scraping tool or putty knife, broom or brush, and water will ensure a smooth and efficient filling process.
We then provided a detailed guide on each step of the filling process, including cleaning and preparing the joints, choosing the right filler material, applying the filler material, smoothing and leveling the filler, and allowing it to cure properly.
To ensure the longevity of your driveway expansion joints, we provided useful tips for their maintenance, such as regular inspections, keeping the joints clean, performing routine maintenance, avoiding harsh chemicals, addressing issues promptly, and preventing water accumulation.
In conclusion, we have equipped you with the knowledge and skills to properly fill and maintain your driveway expansion joints. Taking the time to fill these joints and maintain them will not only enhance the appearance of your driveway but also protect it from further damage and extend its lifespan.
Remember, if you are uncertain or uncomfortable with the filling process, it is always best to seek professional assistance. Their expertise will ensure that the job is done effectively and efficiently.
Now, armed with the information provided in this article, you can confidently embark on filling your driveway expansion joints and enjoy a well-maintained and impressive driveway for years to come.
Frequently Asked Questions about How To Fill Driveway Expansion Joints
Was this page helpful?
At Storables.com, we guarantee accurate and reliable information. Our content, validated by Expert Board Contributors, is crafted following stringent Editorial Policies. We're committed to providing you with well-researched, expert-backed insights for all your informational needs.


0 thoughts on “How To Fill Driveway Expansion Joints”