
Articles
How To Repair A Drywall Ceiling
Modified: December 7, 2023
Learn how to repair a drywall ceiling with helpful articles and tips. Fix cracks, holes, and water damage easily and efficiently.
(Many of the links in this article redirect to a specific reviewed product. Your purchase of these products through affiliate links helps to generate commission for Storables.com, at no extra cost. Learn more)
Introduction
The ceiling is an integral part of any room, providing protection and adding to the overall aesthetics of the space. However, over time, wear and tear, water damage, or even accidents can cause the drywall ceiling to become damaged or develop cracks. Repairing a drywall ceiling may seem like a daunting task, but with the right materials, tools, and a step-by-step approach, it can be a manageable DIY project.
In this article, we will guide you through the process of repairing a drywall ceiling. Whether you are a seasoned DIY enthusiast or a novice, by following these steps and using the right techniques, you can restore your drywall ceiling to its former glory.
Before we dive into the repair process, let’s take a look at the materials you will need:
Key Takeaways:
- Repairing a drywall ceiling is a manageable DIY project with the right materials and step-by-step approach. Thoroughly assess the damage, prepare the work area, and follow the precise installation and finishing steps for professional-looking results.
- Prioritize safety, patience, and attention to detail when repairing a drywall ceiling. From assessing the damage to painting the surface, take the time to achieve a seamless and polished finish. If unsure, consult a professional for help.
Read more: How To Drywall A Basement Ceiling
Materials Needed
Before you start repairing your drywall ceiling, make sure you have the following materials on hand:
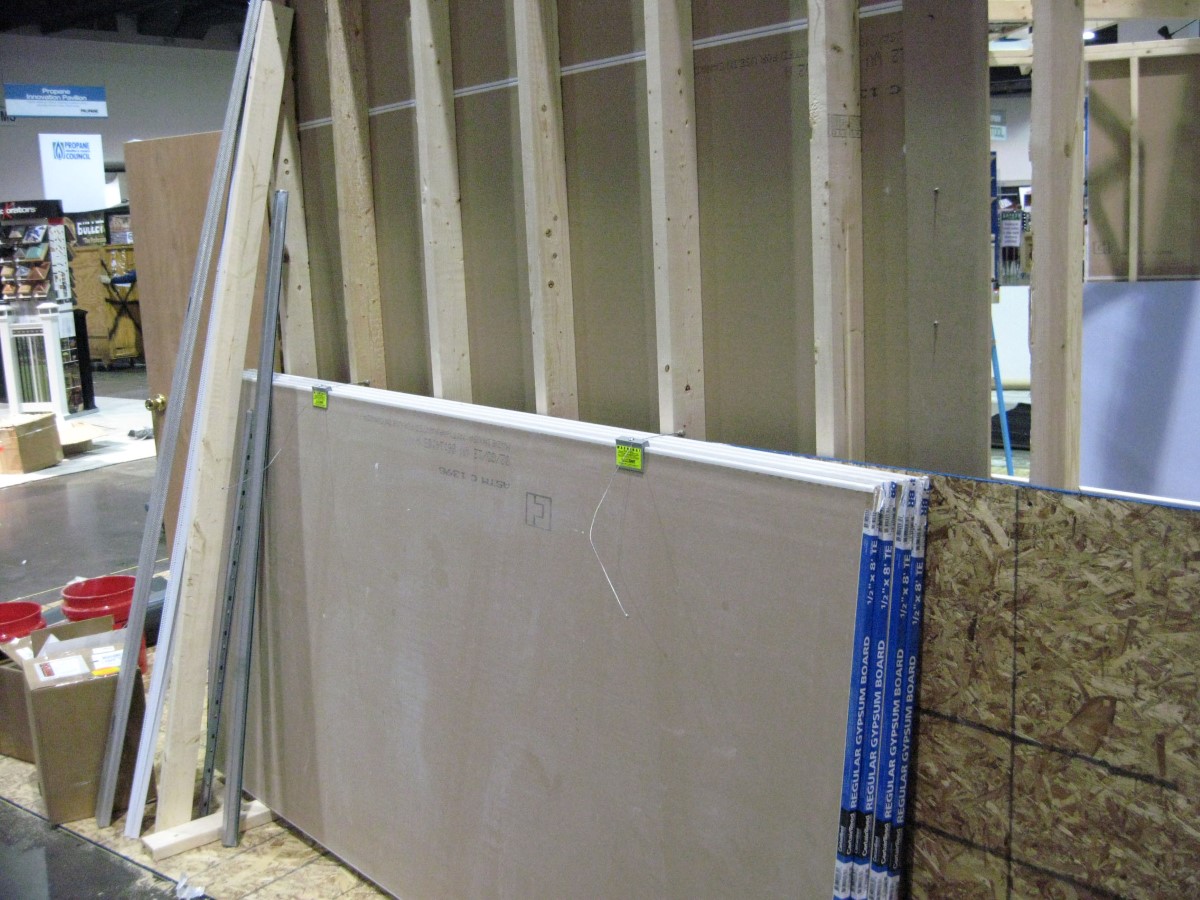
- Drywall patch or replacement piece
- Drywall screws
- Drywall joint compound
- Drywall tape
- Sanding sponge or sandpaper
- Primer
- Paint
- Paint roller or paintbrush
- Paint tray
- Painters tape
- Putty knife or taping knife
- Screwdriver or drill
- Ladder
- Drop cloth or plastic sheeting
- Dust mask
- Protective goggles
- Clean cloth or sponge
Having these materials ready will ensure that you have everything you need to complete the repair process efficiently and effectively. Now that you have gathered all the necessary materials, let’s move on to the step-by-step process of repairing a drywall ceiling.
Step 1: Assess the Damage
The first step in repairing a drywall ceiling is to assess the extent of the damage. This will help you determine the best course of action and the materials needed for the repair.
Start by examining the ceiling for any signs of cracks, holes, or water damage. Use a flashlight if necessary to get a closer look. Pay attention to the size and severity of the damage. Small cracks or holes can often be patched up, while larger or more severe damage may require partial or complete replacement of the affected drywall.
Once you have assessed the damage, take note of the measurements and make a list of the materials you will need for the repair. This may include drywall patches or replacement pieces, drywall screws, joint compound, and drywall tape.
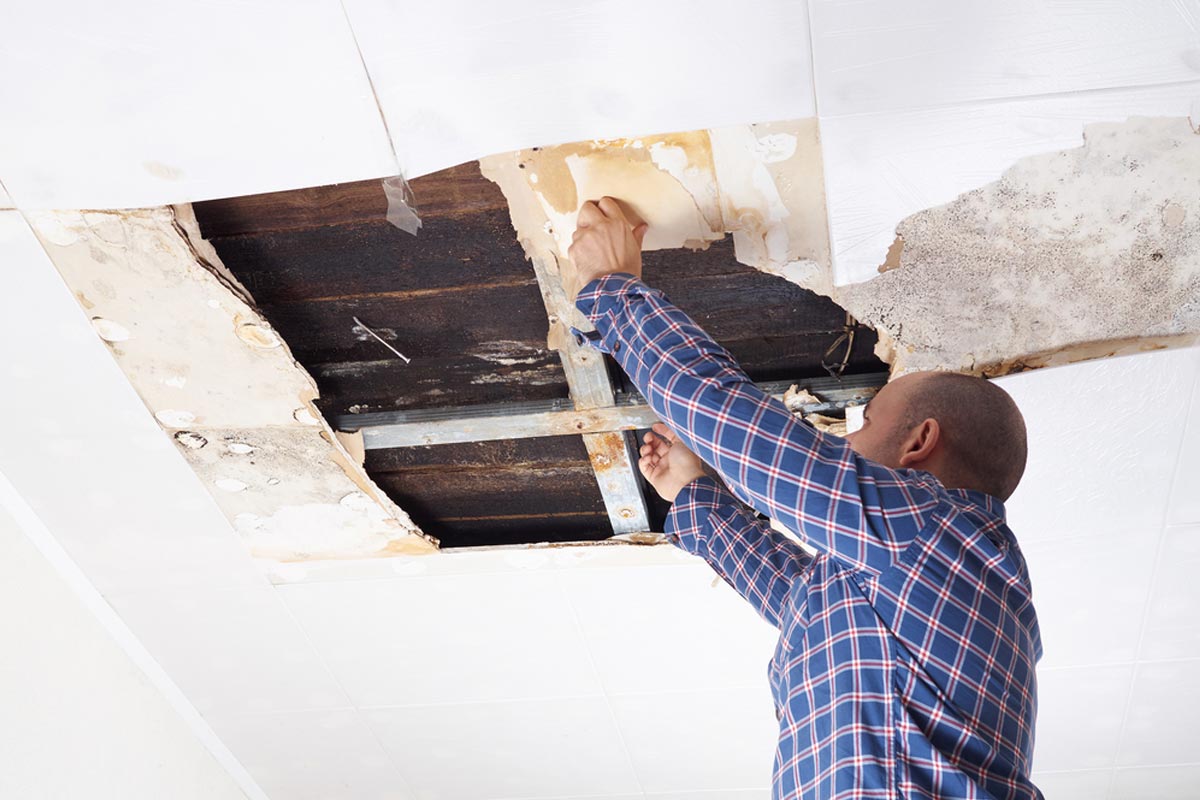
Additionally, if you notice any signs of water damage, such as discoloration or sagging, it is important to identify and fix the source of the water leak before proceeding with the repair. This will prevent further damage to the repaired area in the future.
By thoroughly assessing the damage and determining the appropriate materials needed, you will be better prepared to move on to the next steps of the repair process.
Step 2: Prepare the Work Area
Before you start making repairs to the drywall ceiling, it is essential to prepare the work area to ensure a smooth and efficient process. Here are the steps to follow:
-
- Cover the floor and furniture: Lay down a drop cloth or plastic sheeting to protect the floor and any furniture in the vicinity of the repair area. This will prevent any debris or dust from accumulating and making a mess.
- Clear the area: Remove any objects, such as light fixtures or ceiling fans, from the work area. This will provide you with more space and prevent accidental damage to these items during the repair process.
- Ensure proper ventilation: Open windows or use fans to promote good airflow and ventilation in the room. This will help dissipate any dust or fumes that may be generated during the repair.
- Wear protective gear: Put on a dust mask to protect your lungs from dust particles, as well as protective goggles to shield your eyes from any debris. This is especially important during sanding and other activities that may create fine particles.
</ol
By taking the time to prepare the work area, you will create a clean and safe environment for the repair process. This will also make it easier for you to move around and work efficiently on the ceiling.
Step 3: Remove Damaged Portions
Once you have prepared the work area, it’s time to remove the damaged portions of the drywall ceiling. This step is crucial in creating a smooth and seamless repair. Follow these steps to remove the damaged portions:
-
-
- Mark the damaged area: Use a pencil to mark the boundaries of the damaged area. This will help you accurately cut out the section that needs to be replaced.
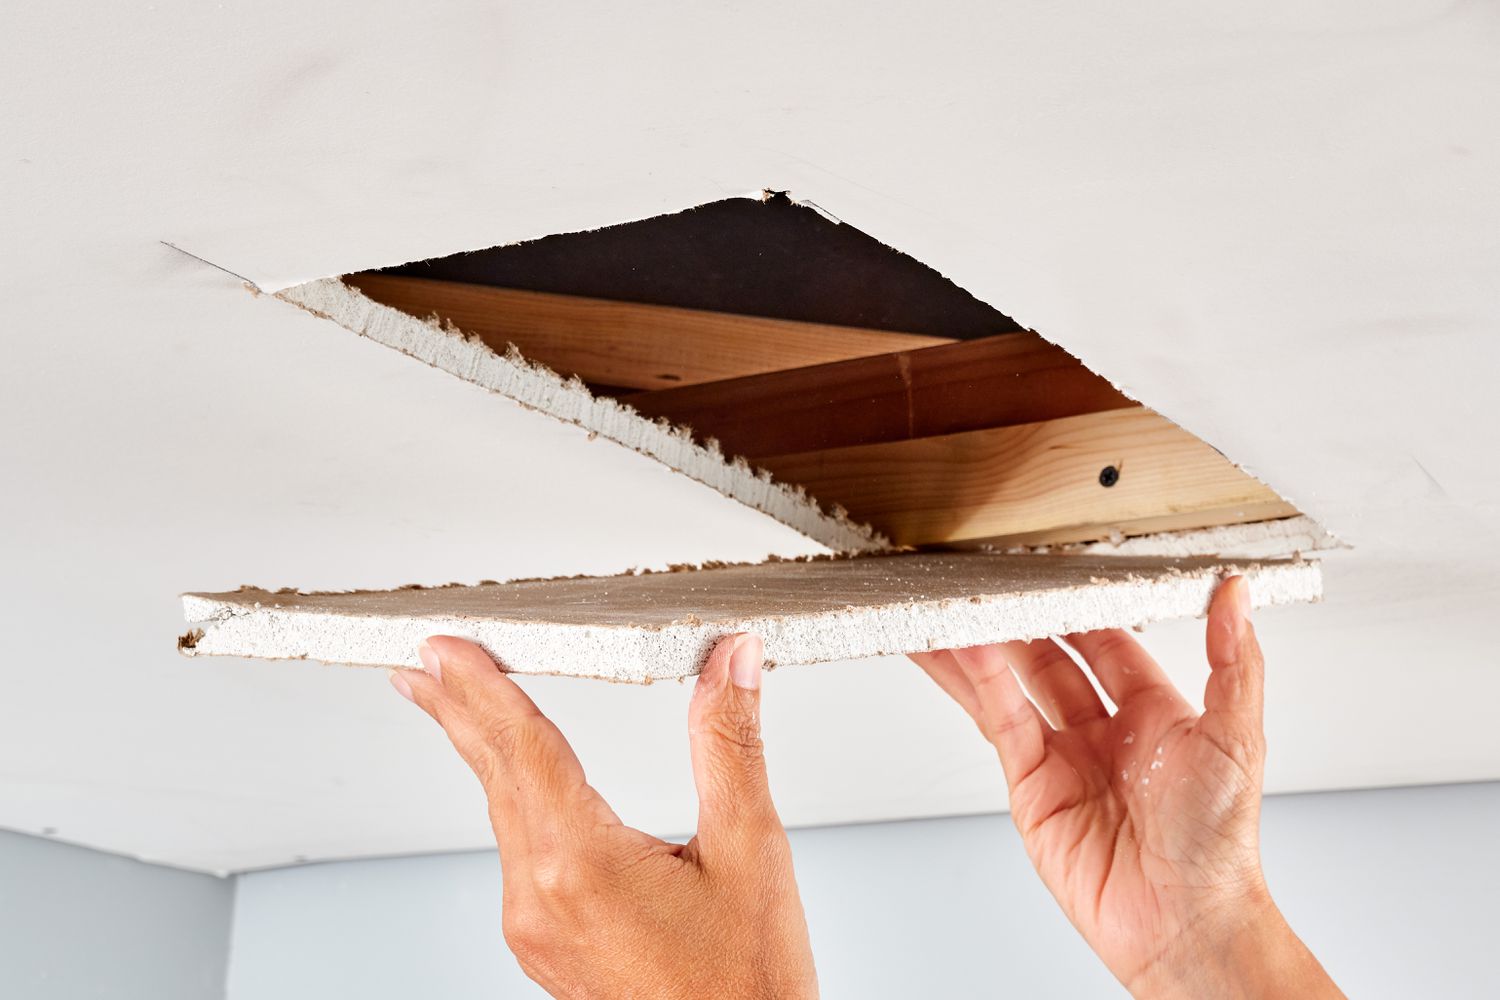
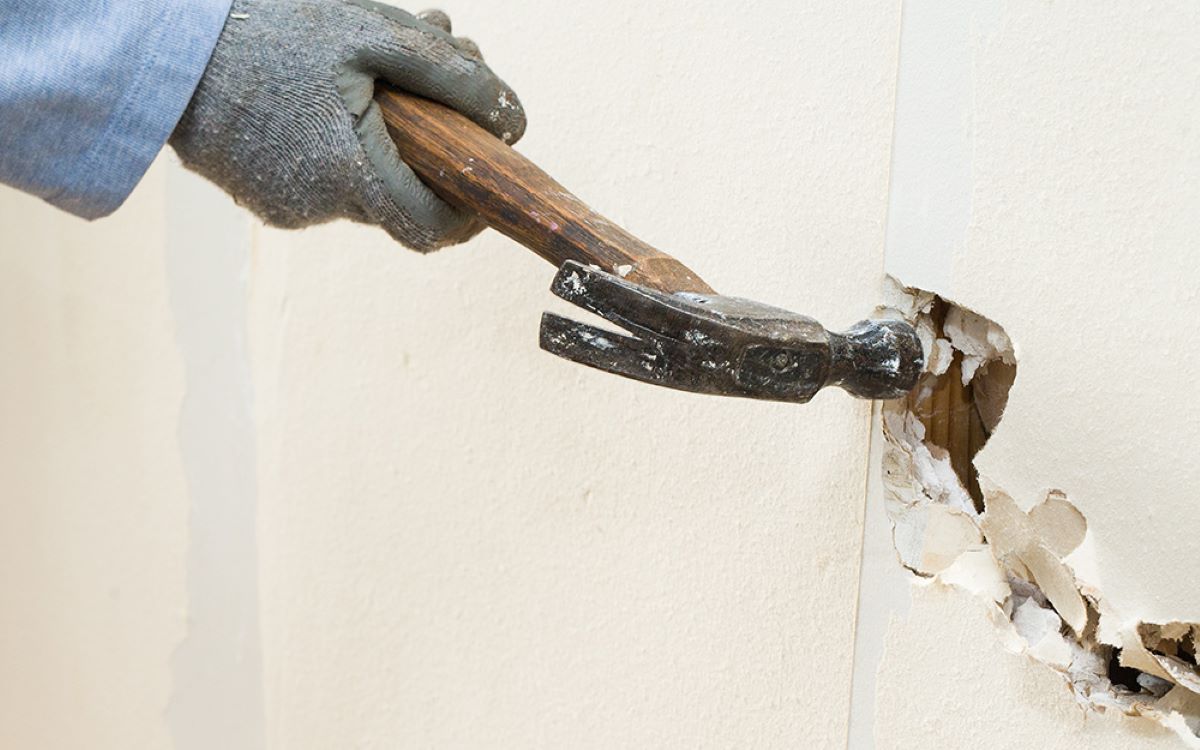
- Cut along the marked lines: Using a utility knife or a drywall saw, carefully cut along the marked lines to remove the damaged drywall. Make sure to cut through both the outer layer of the drywall and the underlying material.
- Remove the cut-out section: Gently pry out the cut-out section using a pry bar or a chisel. Be careful not to damage the surrounding intact drywall.
- Clean up the edges: Use a utility knife or a sanding block to clean up the edges of the remaining drywall. This will create a smooth surface for the new drywall patch to adhere to.
-
Once you have successfully removed the damaged portions of the drywall ceiling, you are ready to move on to the next step of the repair process.
When repairing a drywall ceiling, be sure to properly secure the new drywall patch to the ceiling joists to ensure a strong and stable repair. Use drywall screws to attach the patch and then apply joint compound to smooth out the seams.
Read more: How To Drywall Basement Ceiling
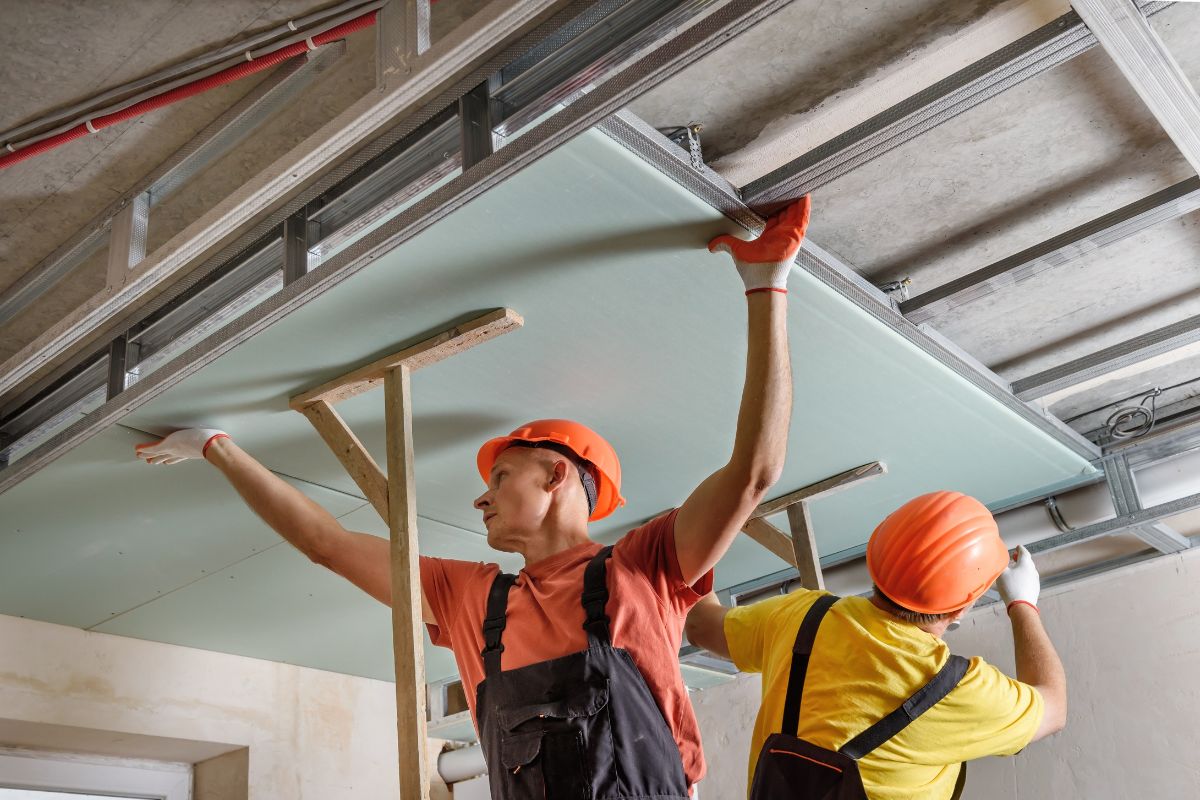
Step 4: Install New Drywall
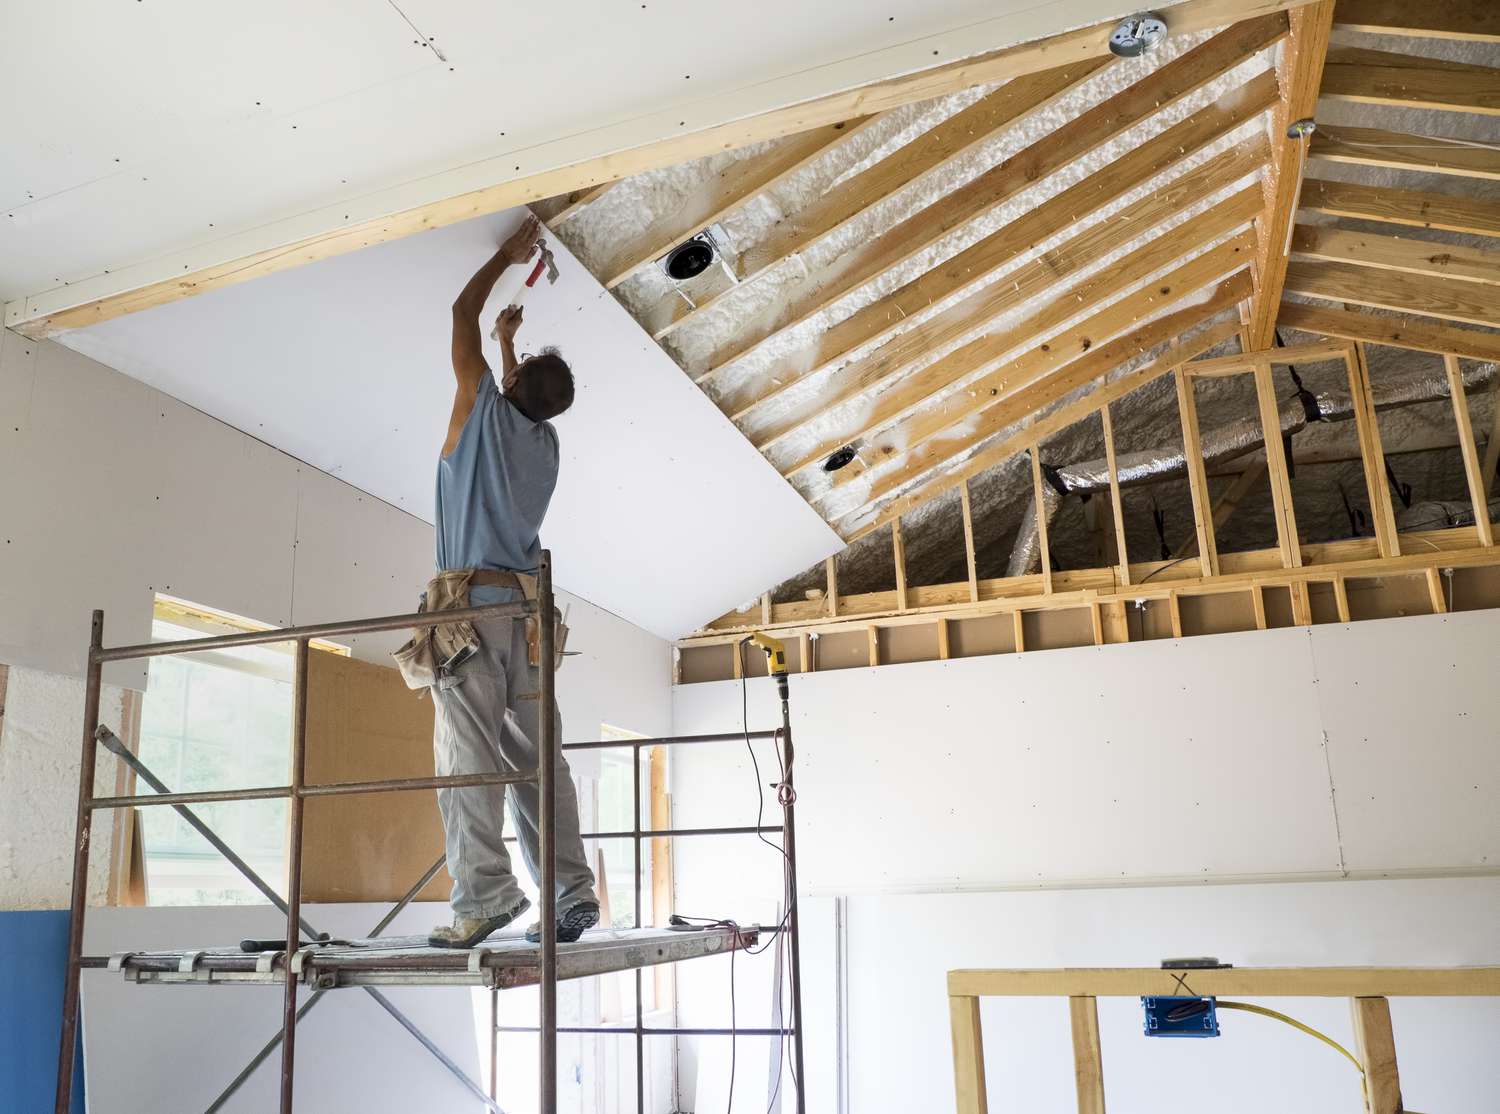
With the damaged portions of the drywall ceiling removed, it’s now time to install new drywall. Here’s a step-by-step guide on how to install the new drywall:
-
-
- Measure and cut the new drywall: Measure the dimensions of the opening you created and cut a piece of new drywall to fit. Make sure to use a sharp utility knife or a drywall saw for a clean and precise cut.
- Position the new drywall: Carefully position the new drywall piece into the opening, ensuring that it fits snugly and aligns with the existing ceiling surface.
- Secure the drywall: Attach the new drywall to the ceiling joists or furring strips using drywall screws. Place the screws at regular intervals, about 6 inches apart, along the edges and in the center of the drywall piece. Be sure to countersink the screws slightly below the surface of the drywall.
- Check for levelness: Use a level to check if the new drywall is flush and level with the surrounding ceiling surface. Make any necessary adjustments by tightening or loosening the screws.
-
It is important to ensure that the new drywall is securely and evenly attached to the ceiling. This will provide a solid foundation for the next steps of the repair process.
Step 5: Tape and Mud the Seams
After installing the new drywall, the next step in repairing the drywall ceiling is to tape and mud the seams. This process will help create a seamless and smooth surface. Follow these steps:
-
-
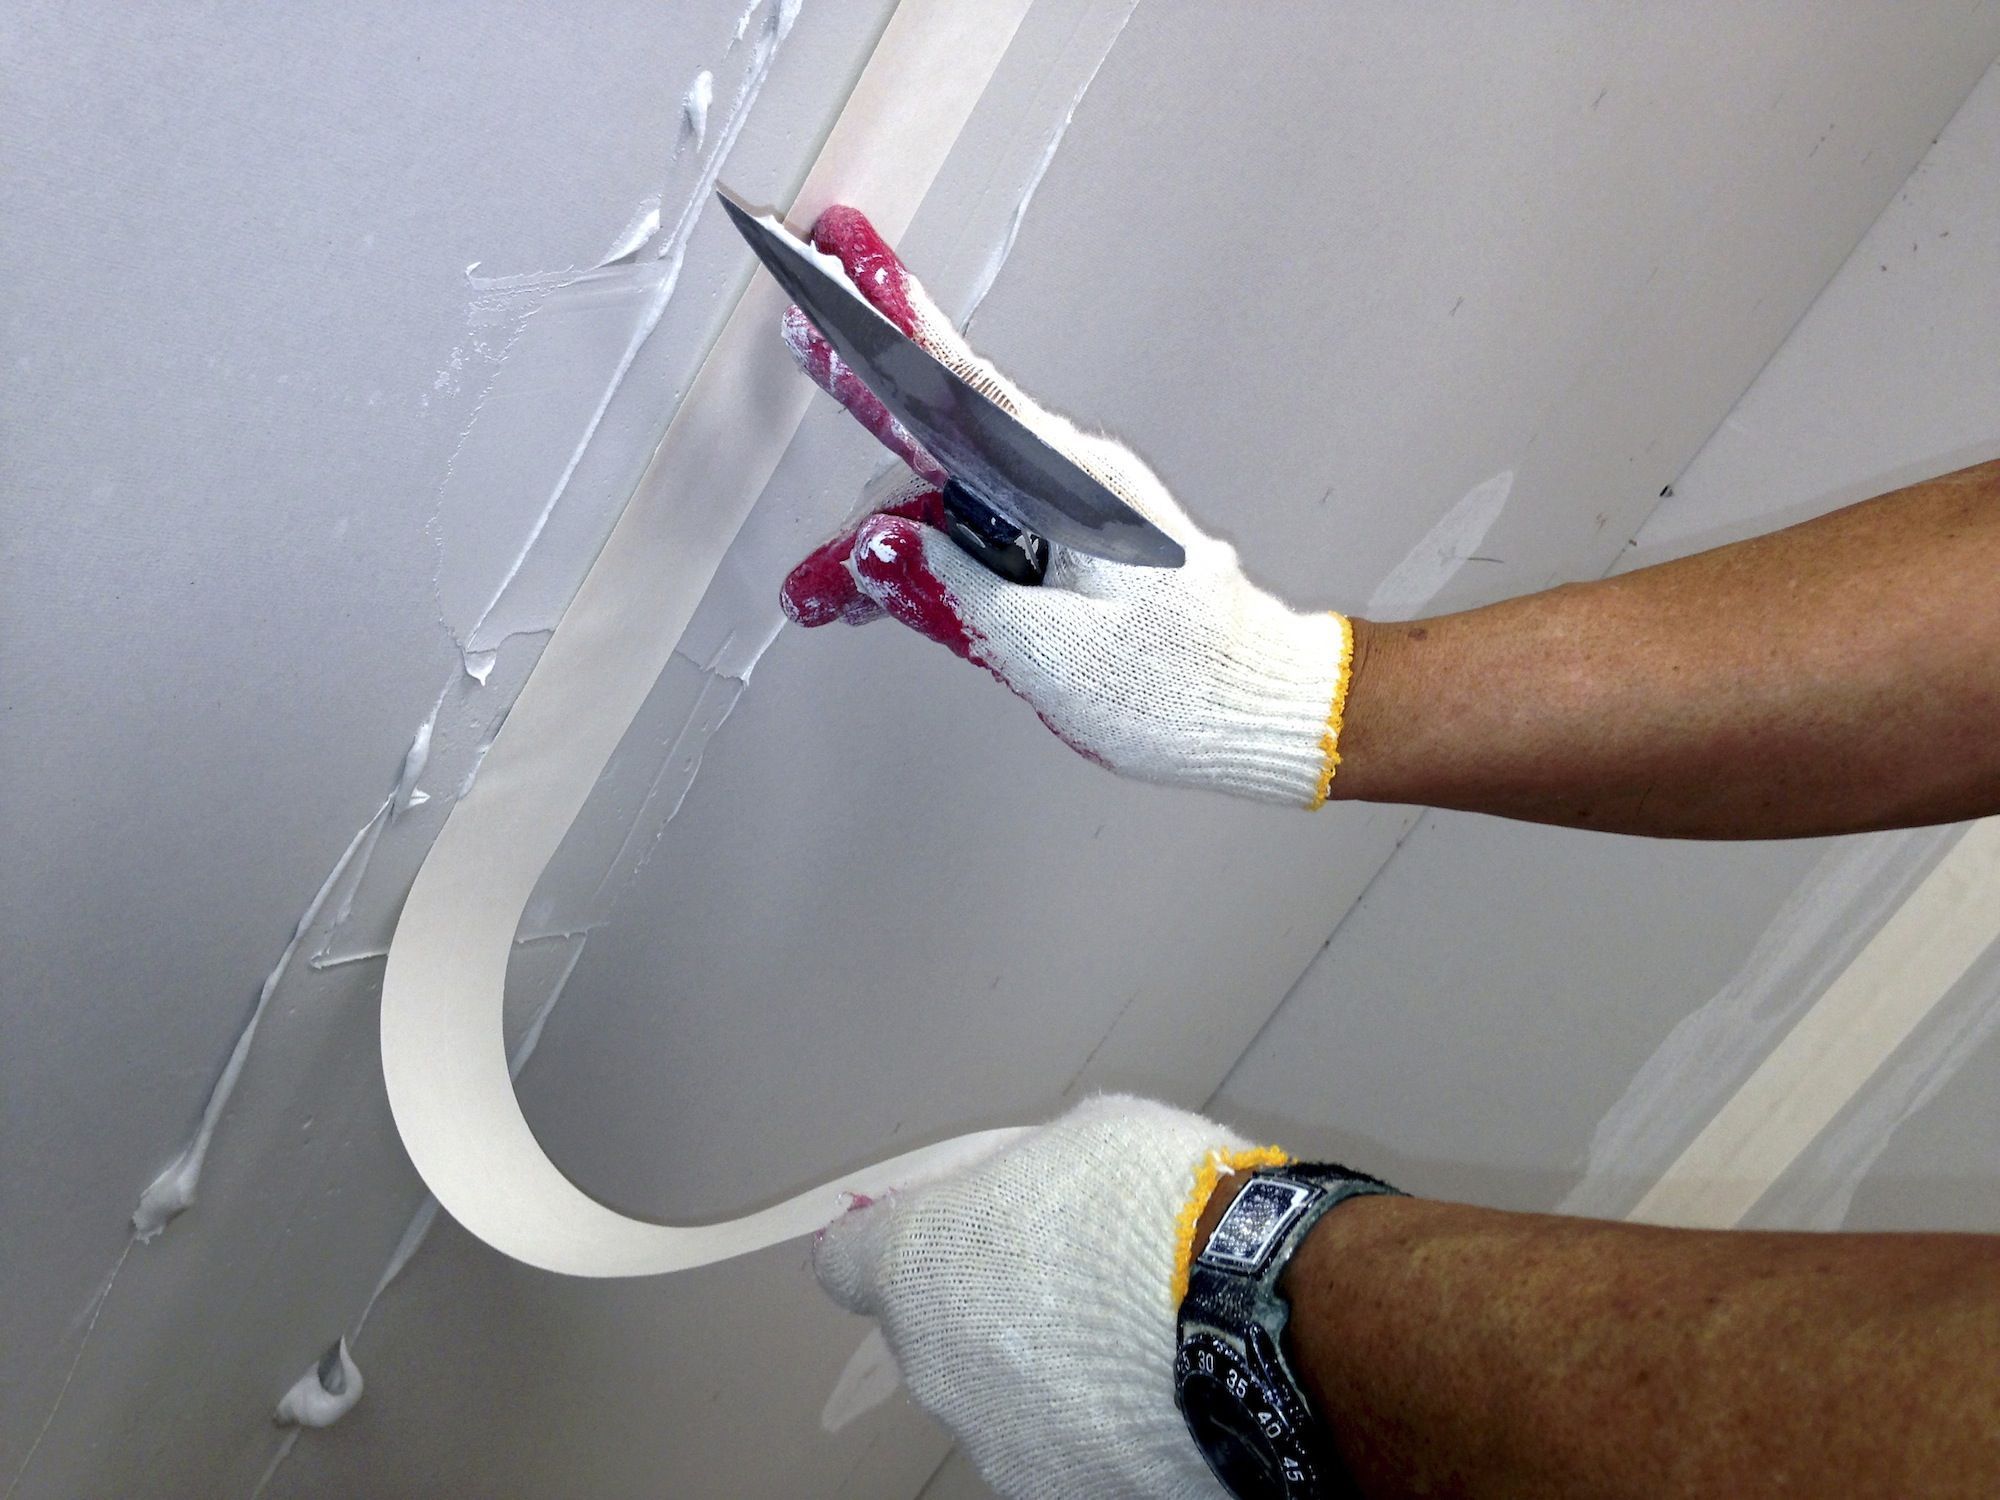
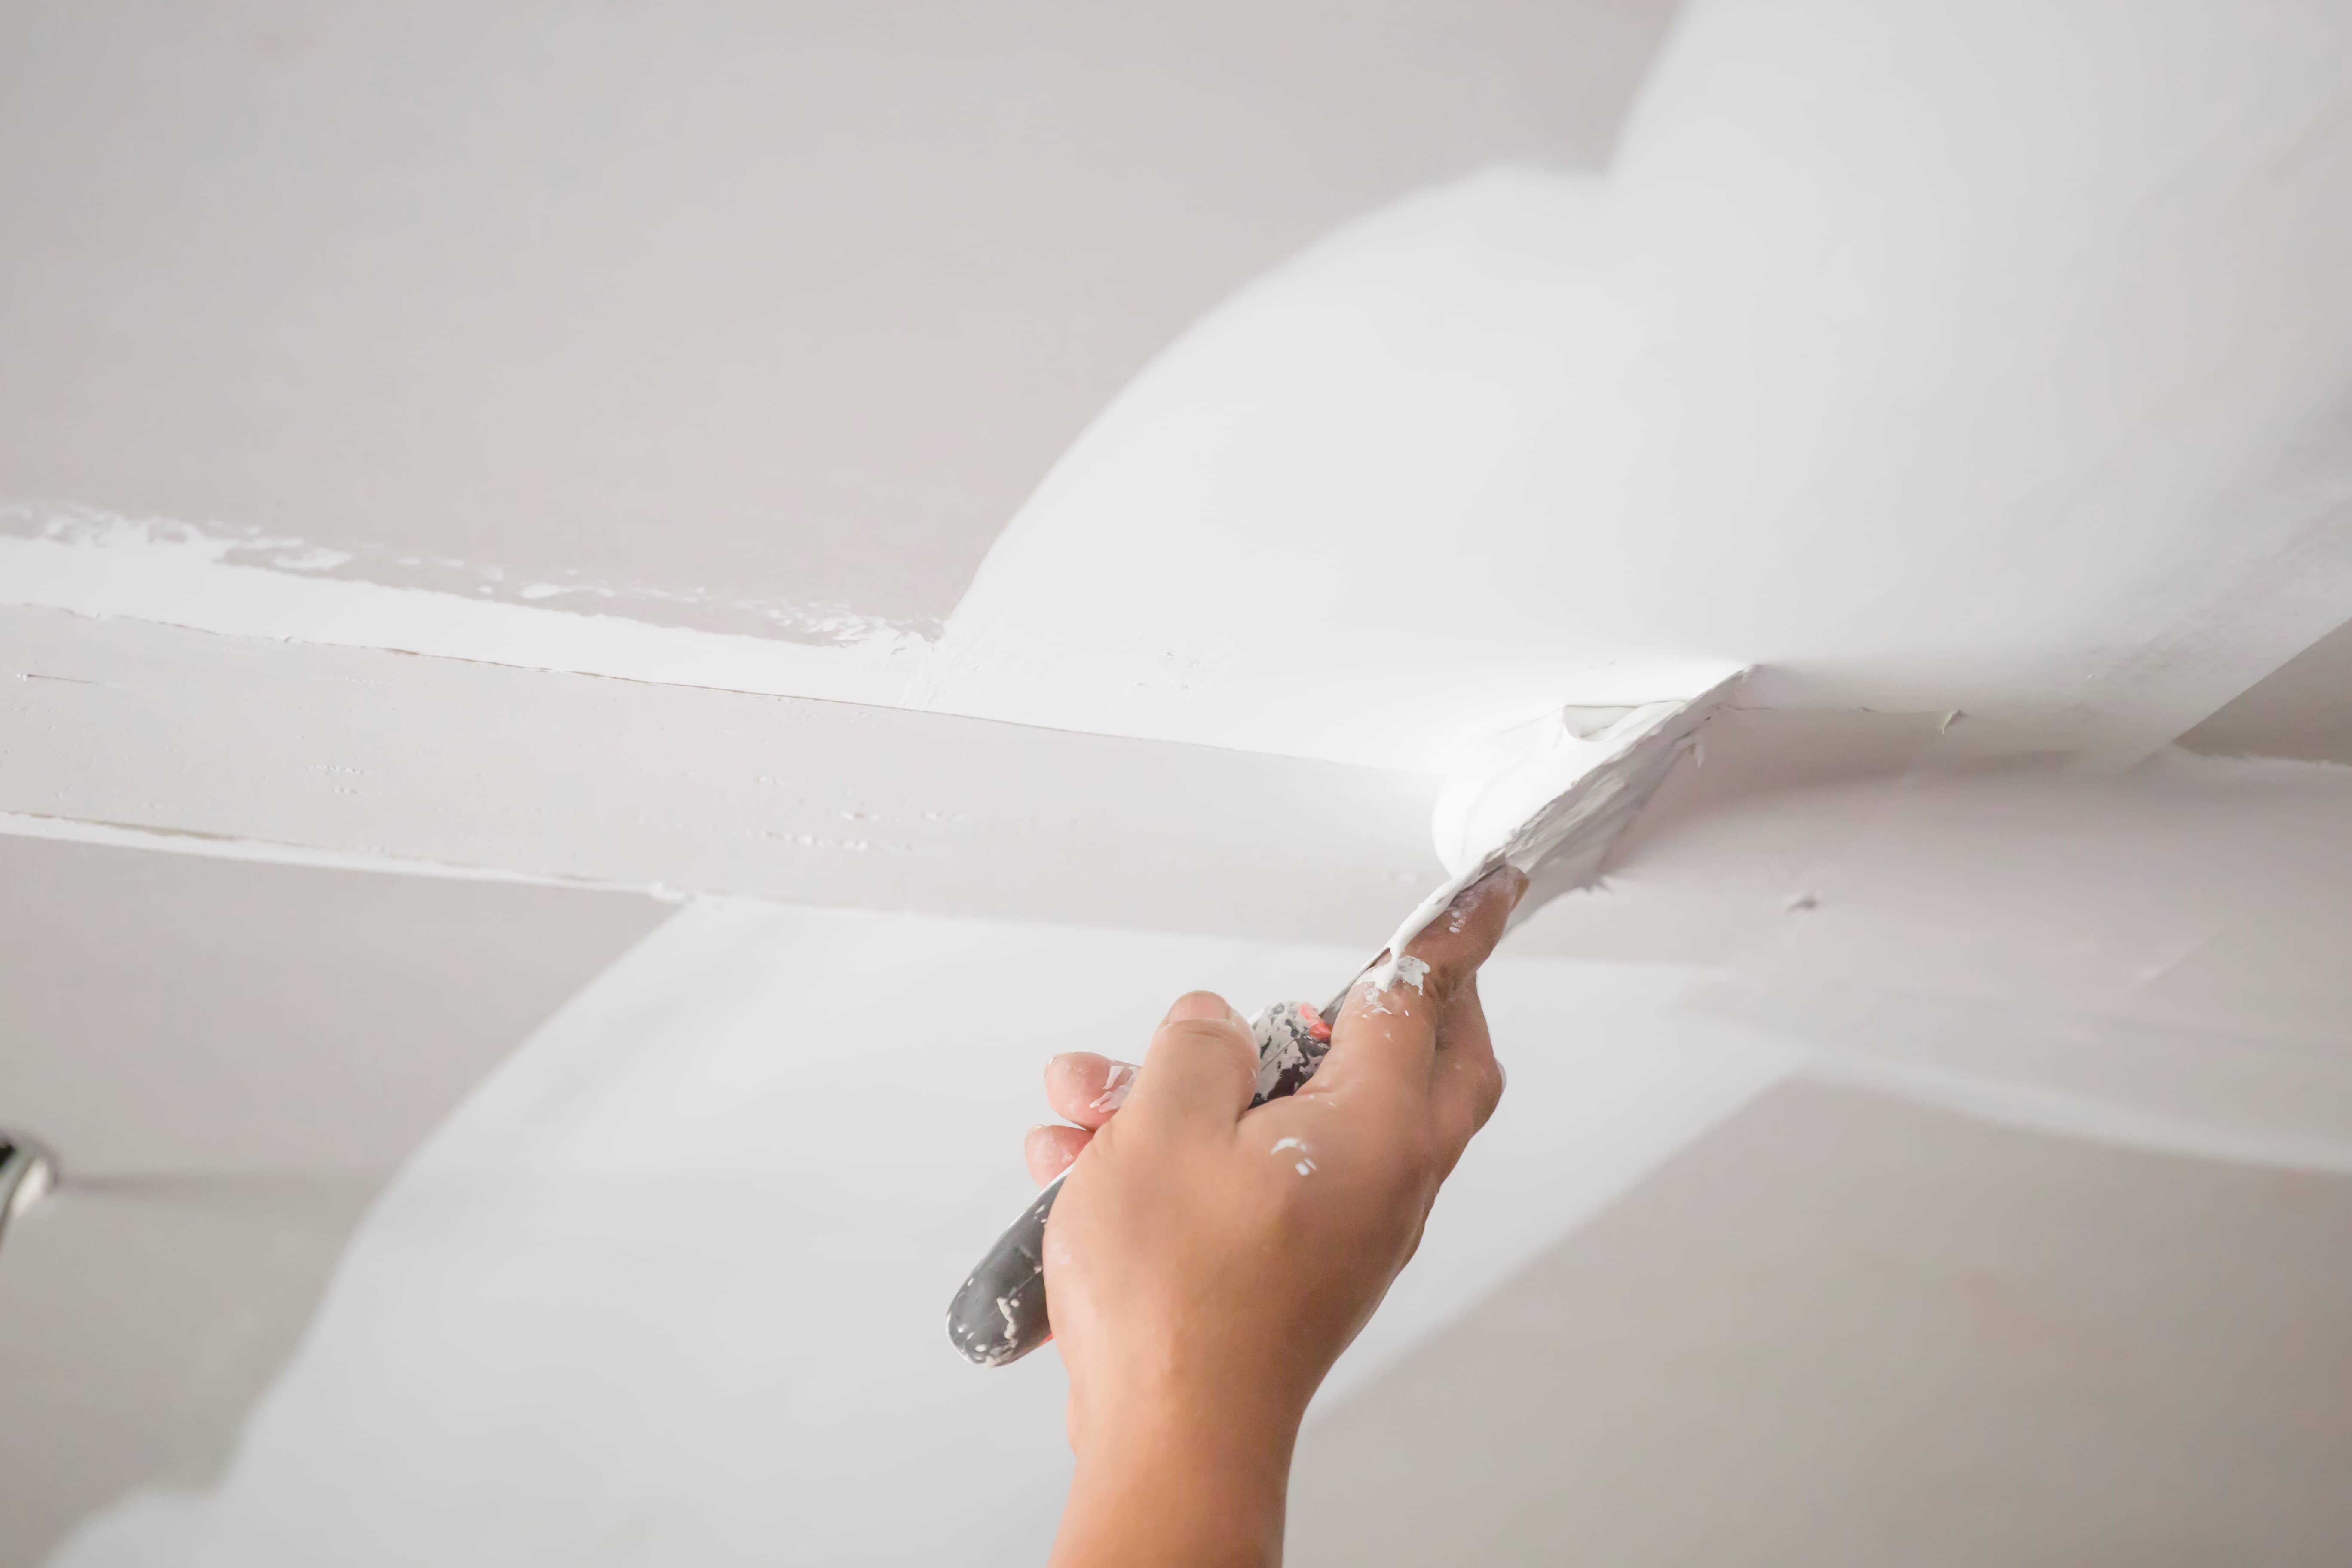
- Apply drywall tape: Take a roll of drywall tape and cut a piece slightly longer than the length of the seam. Position the tape over the seam, pressing it firmly to adhere to the drywall.
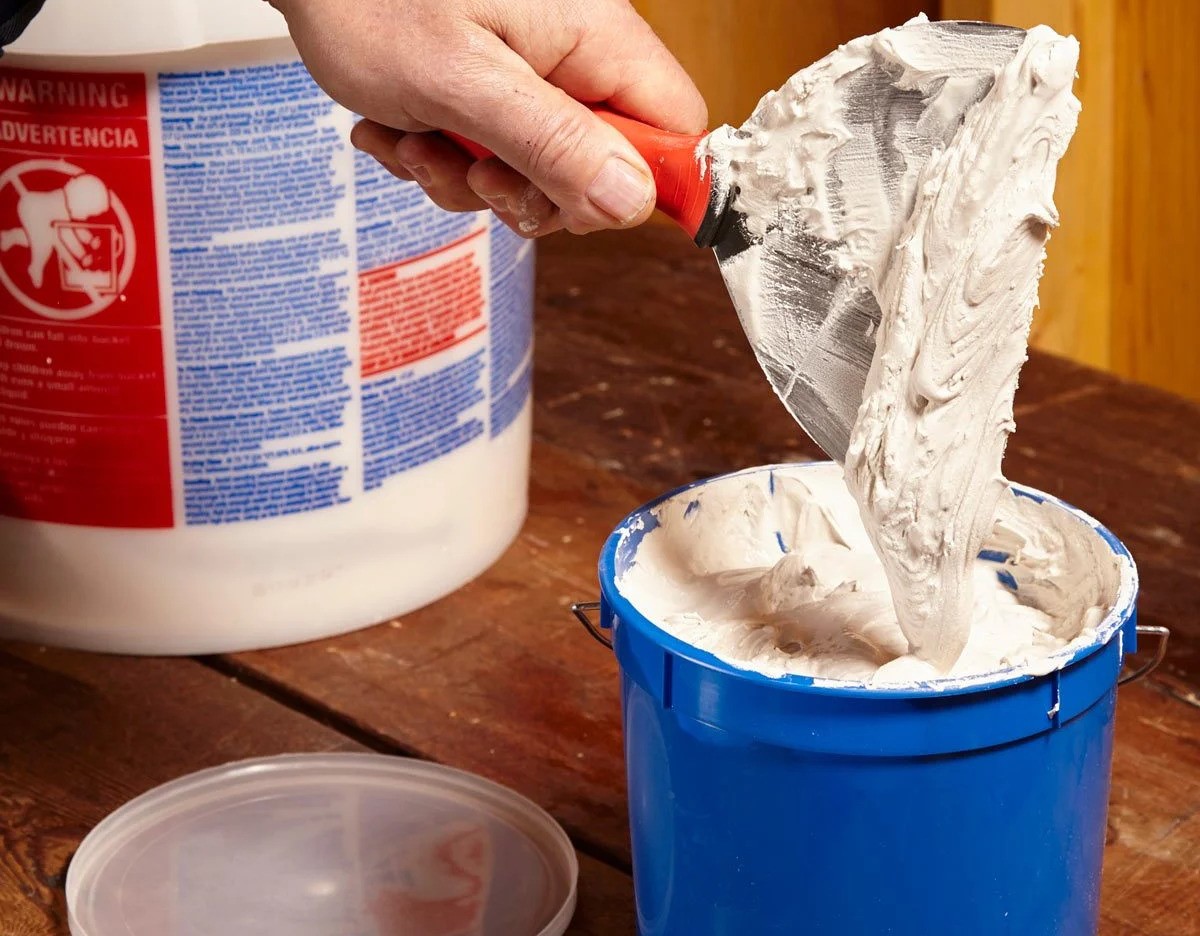
- Spread joint compound: Using a putty knife or a taping knife, spread a thin layer of joint compound over the taped seam. Extend the compound a few inches beyond the width of the tape to ensure a smooth transition.
- Embed the tape: Gently press the tape into the joint compound using the putty knife or taping knife. Smooth out any bubbles or wrinkles in the tape as you go.
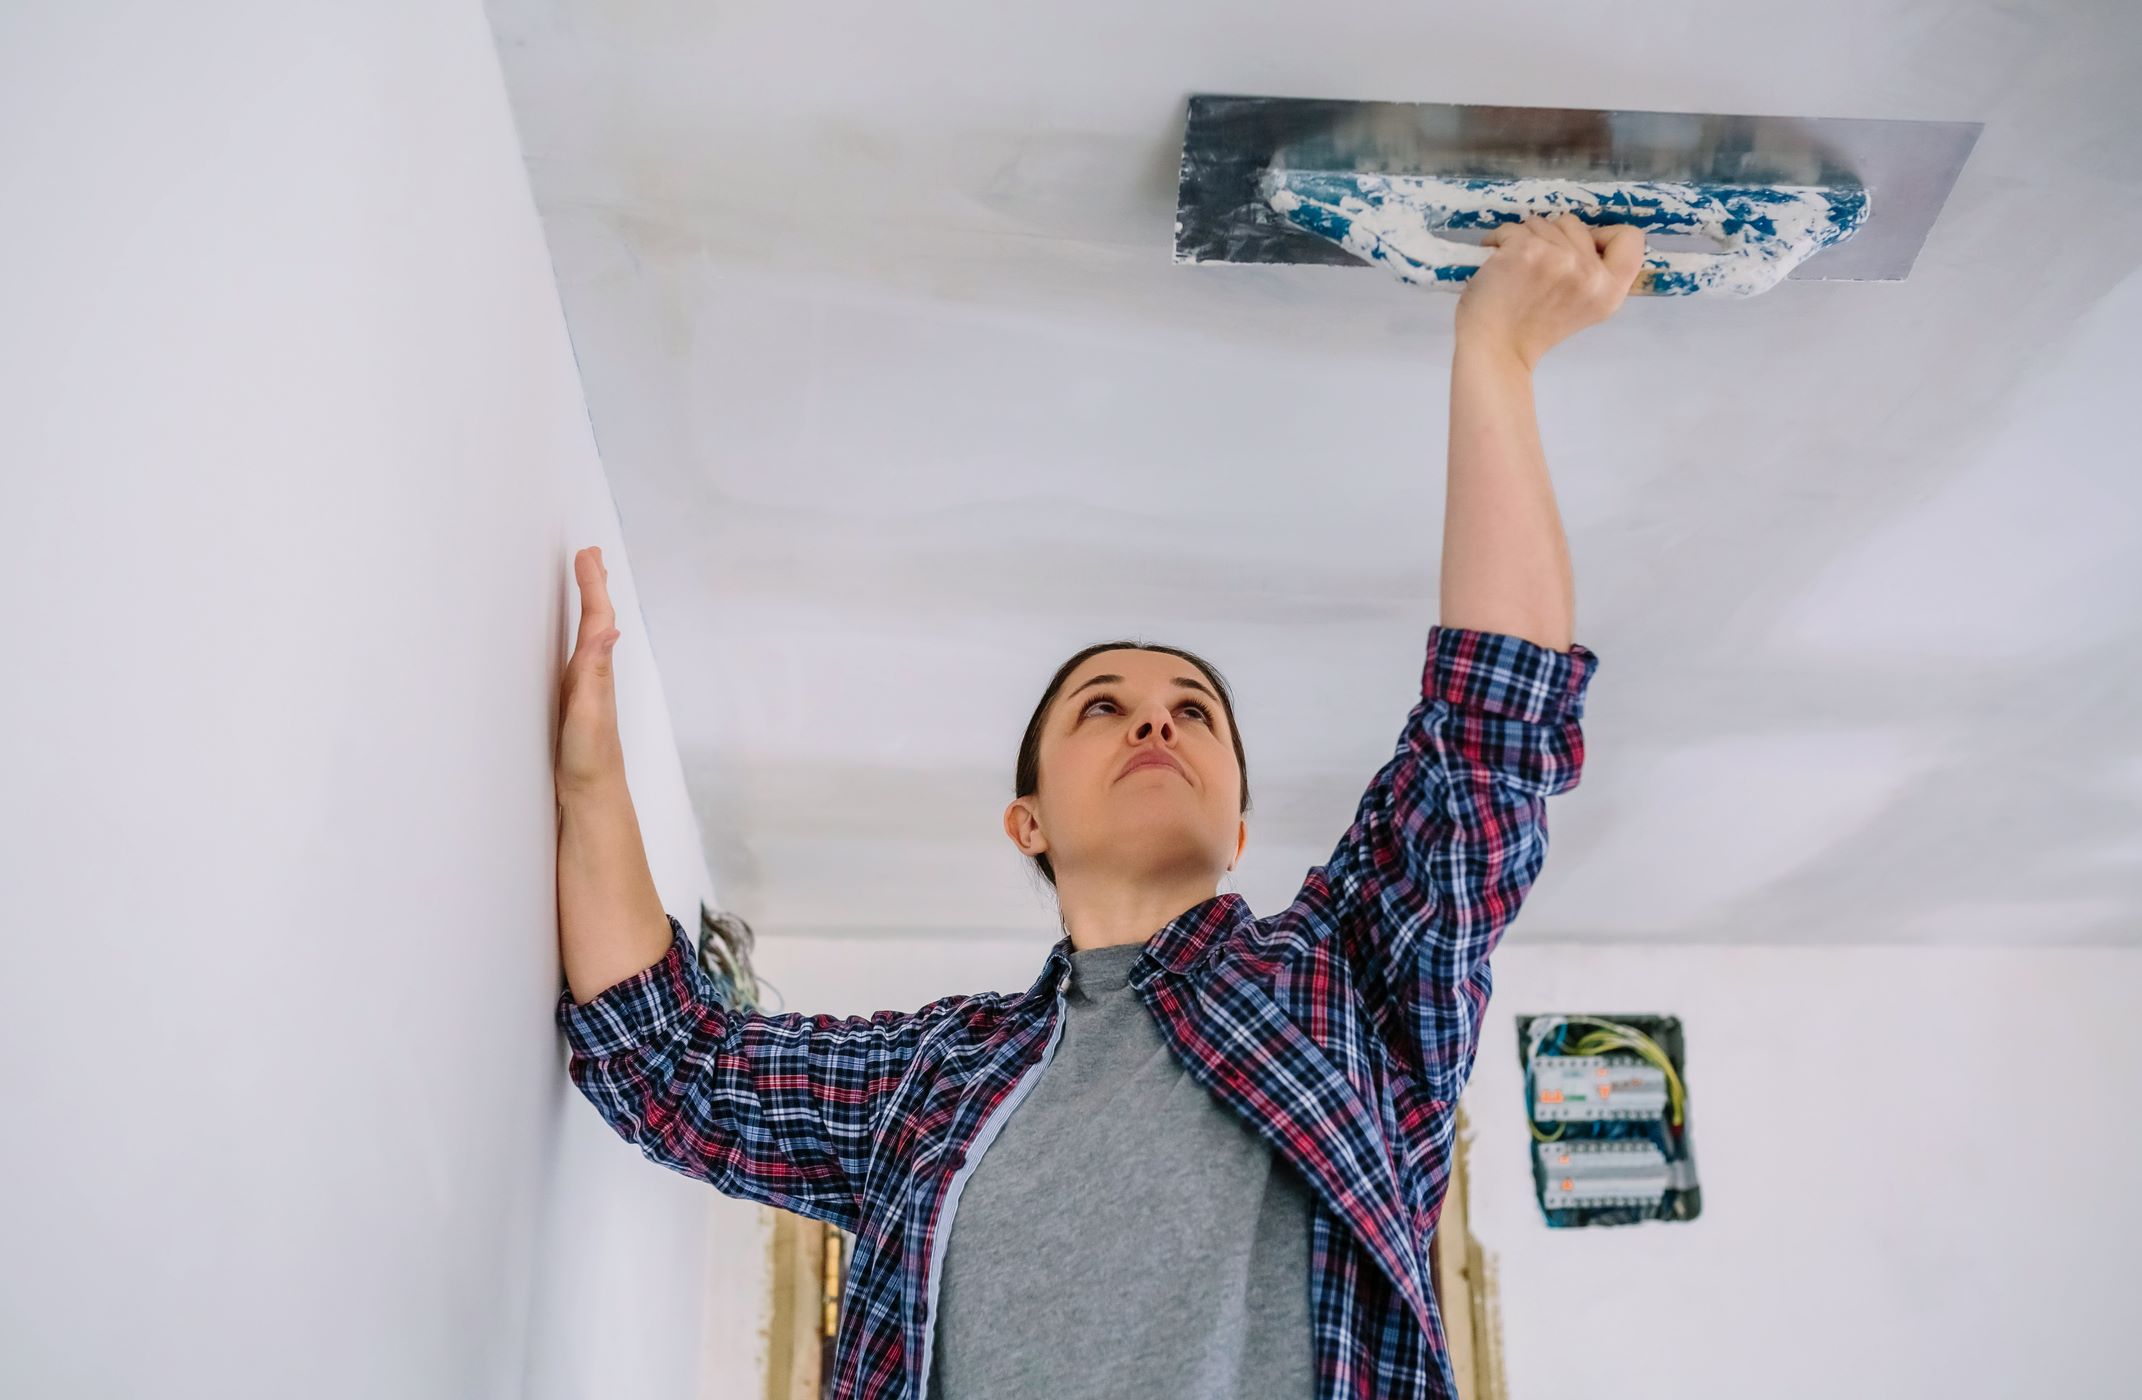
- Apply additional coats of joint compound: Once the first layer of joint compound has dried, apply subsequent coats to build up the thickness and ensure a smooth finish. Feather the edges of each coat to blend it with the surrounding ceiling surface.
- Sand the dried compound: After the final coat has dried, use a sanding sponge or sandpaper to smooth out any imperfections and create a seamless finish. Be careful not to sand too aggressively and damage the surrounding drywall.
-
Remember to allow each layer of joint compound to dry thoroughly before applying the next coat. This may take several hours or even overnight depending on the humidity and temperature. Take your time during this step to achieve a professional-looking result.
Step 6: Sand and Prime
Once you have finished taping and mudding the seams of the drywall ceiling, it’s time to sand and prime the repaired area. This step will help create a smooth and even surface for the final paint application. Follow these steps:
-
-
- Sand the repaired area: Use a sanding sponge or fine-grit sandpaper to gently sand the dried joint compound until it is smooth and flush with the surrounding ceiling. Be sure to feather the edges of the compound to blend it seamlessly.
- Clean the area: Use a clean cloth or sponge to wipe away any dust or debris from the sanded area. It is important to have a clean surface before applying primer.
- Apply primer: Using a brush or roller, apply a coat of primer to the repaired area. Make sure to cover the entire surface, including the patched drywall and the surrounding ceiling. Allow the primer to dry according to the manufacturer’s instructions.
- Sand the primed area (optional): If you notice any imperfections or rough spots on the primed surface, lightly sand them with a fine-grit sandpaper. This will ensure a smoother finish when you apply the final paint.
-
The sanding and priming process is crucial in achieving a professional-looking result. Take your time to carefully sand and prime the repaired area, paying attention to detail. This will help create a seamless transition between the repaired section and the rest of the ceiling.
Step 7: Paint the Ceiling
The final step in repairing a drywall ceiling is to paint the surface. This step will not only provide a finished look but also help protect and blend the repaired area with the rest of the ceiling. Follow these steps to paint the ceiling:
-
-
- Choose the paint color: Select a paint color that matches the existing ceiling or complements the overall décor of the room.
- Prepare the paint: Stir the paint thoroughly to ensure that it is well-mixed and ready for application.
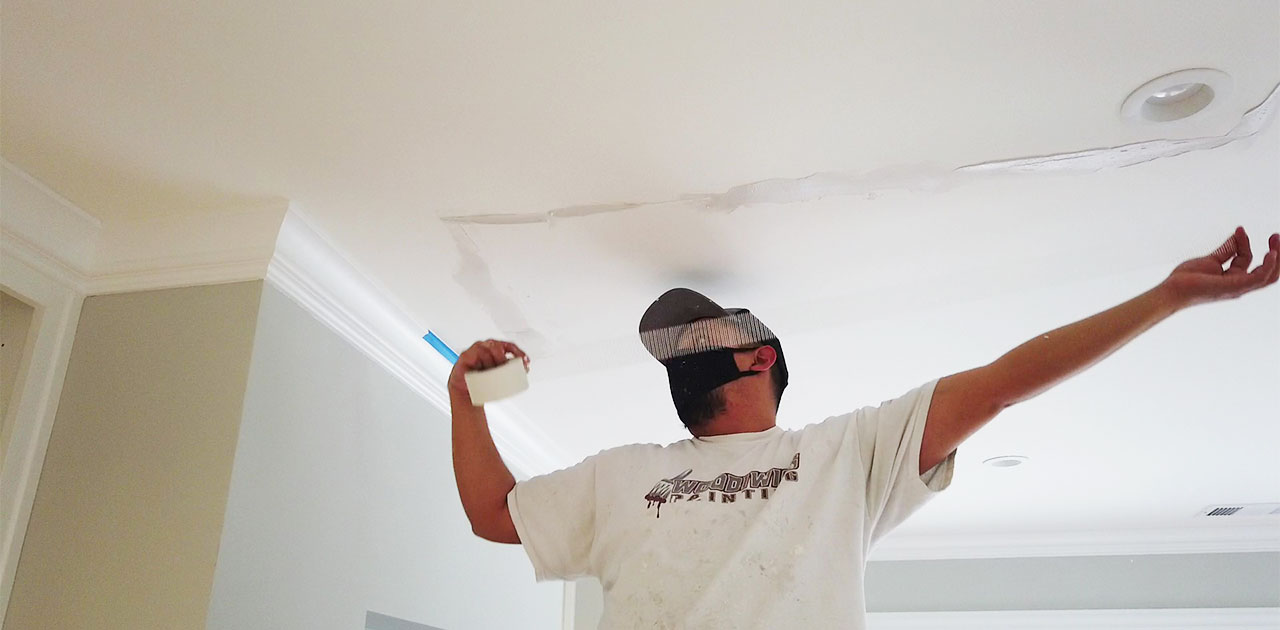
- Protect the surrounding areas: Use painter’s tape to carefully mask off any adjacent walls or trim to prevent accidental paint splatters or drips.
- Start painting: Use a roller or paintbrush to apply the paint to the ceiling, starting from one corner and working your way across in smooth and even strokes. Apply multiple coats as needed, allowing each coat to dry completely before applying the next.
- Blend the repaired area: When painting the repaired area, feather the paint outwards to blend it seamlessly with the surrounding ceiling. Take care to ensure that the repaired section is evenly coated.
- Allow the paint to dry: Follow the manufacturer’s instructions regarding the drying time for the paint. Ensure that the paint is completely dry before removing any protective tape or moving furniture back into the room.
-
Painting the ceiling will help give your repaired drywall a fresh and polished look. Take your time and apply the paint in thin, even coats to achieve the best results.
Read more: How Thick Should Ceiling Drywall Be?
Conclusion
Repairing a drywall ceiling may seem like a challenging task, but with the right materials, tools, and a step-by-step approach, it can be successfully accomplished. By following the steps outlined in this article, you can restore your drywall ceiling to its former glory and improve the overall aesthetic appeal of your space.
Remember to assess the damage thoroughly before starting the repair process and gather all the necessary materials. Prepare the work area to create a clean and safe environment, and remove the damaged portions of the drywall ceiling with precision. Install new drywall securely, and tape and mud the seams to create a seamless finish. Take the time to sand and prime the repaired area before applying the final coat of paint.
Throughout the entire process, prioritize safety by wearing protective gear such as gloves, goggles, and a dust mask. Follow manufacturer’s instructions for drying times and ventilation during painting. Keep in mind that patience and attention to detail are essential when repairing a drywall ceiling.
By following these steps, you can tackle drywall ceiling repairs with confidence and achieve professional-looking results. However, if you feel unsure about any step or encounter extensive damage, it is always a good idea to consult a professional for help.
Now that you have the knowledge and understanding of how to repair a drywall ceiling, it’s time to roll up your sleeves, gather your tools, and bring new life to your damaged ceiling.
Frequently Asked Questions about How To Repair A Drywall Ceiling
Was this page helpful?
At Storables.com, we guarantee accurate and reliable information. Our content, validated by Expert Board Contributors, is crafted following stringent Editorial Policies. We're committed to providing you with well-researched, expert-backed insights for all your informational needs.


0 thoughts on “How To Repair A Drywall Ceiling”