Home>Articles>How To Finish Gap Between New Pantry Cabinet And Counter
Articles
How To Finish Gap Between New Pantry Cabinet And Counter
Modified: October 18, 2024
Learn how to seamlessly finish the gap between your new pantry cabinet and counter with these helpful articles.
(Many of the links in this article redirect to a specific reviewed product. Your purchase of these products through affiliate links helps to generate commission for Storables.com, at no extra cost. Learn more)
Introduction
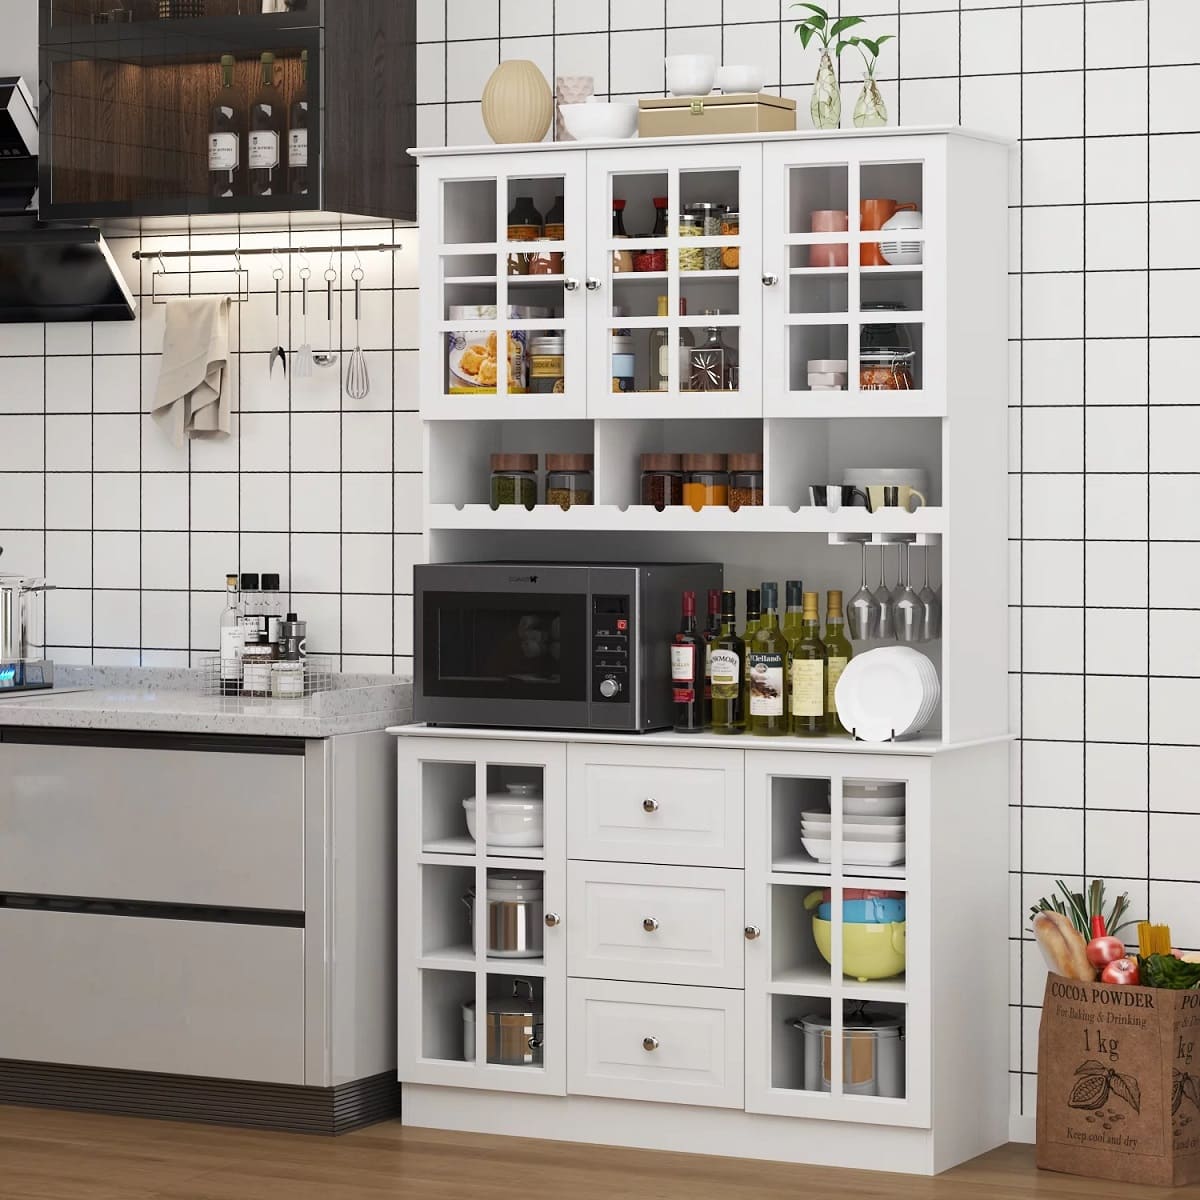
Welcome to our comprehensive guide on how to finish the gap between a new pantry cabinet and the counter. When installing a new pantry cabinet, it is common to encounter a small gap between the cabinet and the surrounding counters. This gap may be a result of uneven walls, floors, or simply an unfortunate alignment issue.
Not only can this gap be aesthetically displeasing, but it can also cause practical problems, such as allowing crumbs and debris to accumulate or even compromising the stability of the cabinet. Fortunately, with a few simple steps and the right materials, you can bridge this gap and achieve a seamless and professional finish.
In this article, we will guide you through the process of finishing the gap between your new pantry cabinet and the counter. We will cover everything from understanding the gap and measuring it accurately to choosing the right filler material and ensuring a secure connection. We will also provide optional steps for sanding, painting, or staining the filler material to match your cabinet and counter’s aesthetic.
So, whether you are a DIY enthusiast or a homeowner looking to tackle this project yourself, this guide will equip you with the knowledge and tools necessary to achieve a flawless result. Let’s dive in and bridge that gap!
Key Takeaways:
- Understanding the cause of the gap and choosing the right filler material are crucial for bridging the space between a new pantry cabinet and the counter effectively. Proper preparation and assessment ensure a seamless and professional finish.
- Optional steps such as sanding, painting, or staining the filler material can enhance its appearance and blend it seamlessly with the surrounding surfaces. Regular maintenance is essential to ensure the longevity and functionality of the filled gap.
Read more: How To Fill Gap Between Baseboard And Floor
Understanding the Gap Between the New Pantry Cabinet and Counter
Before you can effectively bridge the gap between your new pantry cabinet and the counter, it’s important to understand why the gap exists in the first place. There can be several reasons for this gap, and knowing the cause will help you determine the best approach for fixing it.
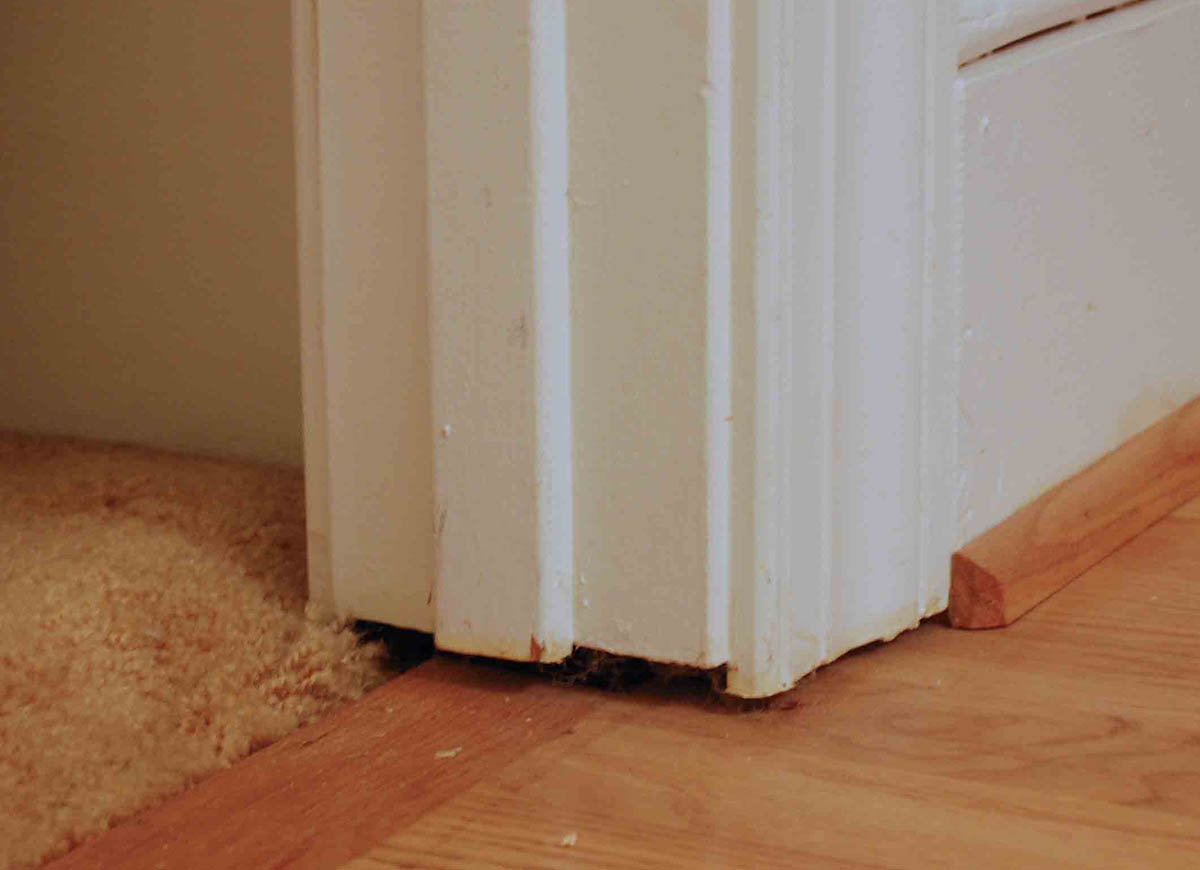
One common reason for the gap is uneven or unlevel floors and walls. In older houses or those with settling, it’s not uncommon for the walls or floors to be slightly uneven. This can create gaps between the cabinet and the counter when you try to install them flush against each other.
Another reason for the gap could be an alignment issue during installation. If the cabinet or the counter were not properly leveled or placed, it can result in a visible gap between the two. This can happen even in new constructions if the installation is not done meticulously.
Understanding the cause of the gap will help you determine the best course of action. If the gap is due to uneven floors or walls, you may need to address the underlying issue before attempting to fill the gap. This could involve floor leveling or wall repairs to ensure a solid and even foundation for the cabinet and counter.
On the other hand, if the gap is simply caused by a minor alignment issue, you may be able to fix it without major renovations. In such cases, using a filler material can effectively bridge the gap and create a seamless connection between the pantry cabinet and the counter.
By taking the time to understand the gap and its cause, you can approach the project with confidence and choose the most appropriate solution. In the next section, we will discuss the tools and materials you will need to successfully fill the gap and create a polished finish.
Preparing the Necessary Tools and Materials
Before you begin filling the gap between your new pantry cabinet and the counter, it’s essential to gather all the necessary tools and materials. Having everything ready beforehand will make the process smoother and more efficient. Here’s a list of items you will need:
- Measuring tape or ruler: To accurately measure the dimensions of the gap.
- Pencil or marker: To mark the measurements on the filler material.
- Level: To ensure that the filler material is installed straight and level.
- Scissors or utility knife: To cut the filler material to the desired size.
- Filler material: There are various options available, such as wood, plastic, or foam filler strips. Choose one that matches your cabinet and counter’s material and color.
- Adhesive: Depending on the filler material and the surface of the cabinet and counter, you may need an appropriate adhesive to secure the filler in place.
- Sandpaper or sanding block: Optional, but useful if you plan to sand the filler material for a smoother finish.
- Paint or stain (matching the cabinet and counter): If you want to paint or stain the filler material to blend seamlessly with the surrounding surfaces.
- Paintbrush or sponge applicator: For applying paint or stain, if desired.
By having these tools and materials ready, you can streamline the process and ensure that you have everything you need to finish the gap between your pantry cabinet and the counter.
It is also worth mentioning that proper safety equipment, such as gloves and goggles, should be worn as needed throughout the process. Safety should always be a priority when working with tools and materials.
Now that you have the necessary tools and materials prepared, the next step is to measure and assess the gap between the pantry cabinet and the counter. We will discuss this in detail in the following section.
Measuring and Assessing the Gap
Measuring and accurately assessing the gap between your new pantry cabinet and the counter is crucial to ensure a proper fit for the filler material. Here’s a step-by-step guide to help you measure and assess the gap:
- Start by clearing any debris or objects from the gap. This will give you a clear and accurate measurement.
- Take a measuring tape or ruler and measure the length of the gap. Measure from one end to the other and note down the measurement.
- Next, measure the width of the gap. Measure from the front edge of the cabinet to the edge of the counter, noting down the measurement.
- Consider the depth of the gap as well. Measure from the front face of the cabinet to the back of the counter. This measurement will help you determine the thickness of the filler material.
- Assess the unevenness of the gap. In some cases, the gap may not be consistent in width or depth throughout. Make note of any variations or irregularities you observe.
Once you have gathered these measurements and assessed the gap, you will have a better understanding of the dimensions and requirements for the filler material. It’s important to be as precise as possible when measuring, as even small variations can affect the fit and appearance of the filler.
If you notice any significant unevenness or irregularities in the gap, it may be necessary to address these issues before proceeding. This can involve using a leveler or sanding down any high points to create a smooth and even surface for the filler material.
By taking the time to measure and assess the gap accurately, you can ensure a seamless fit for the filler material and achieve a polished finish between your pantry cabinet and the counter. In the next section, we will discuss different filler material options and how to choose the right one for your project.
Choosing and Using the Right Filler Material
Choosing the right filler material is vital to bridge the gap between your new pantry cabinet and the counter effectively. The filler material you select should be easy to work with, durable, and blend seamlessly with the surrounding surfaces. Here are some popular filler material options:
- Wood filler: Wood filler is an excellent choice if your pantry cabinet and counter are made of wood or have a wood finish. It is typically available in a variety of shades to match different wood tones. Wood filler can be sanded, stained, or painted for a seamless and natural-looking finish.
- Plastic or PVC filler strips: If you prefer a low-maintenance option, plastic or PVC filler strips are a good choice. They are flexible, easy to cut, and can be adhered directly to the gap using an appropriate adhesive. Plastic fillers come in different colors, so you can choose one that matches your pantry cabinet and counter.
- Foam filler tape: Foam filler tape is a versatile option that works well for gaps that are uneven or have irregular shapes. It compresses easily, making it suitable for filling gaps of varying widths. Foam filler tape is available in different thicknesses and can be trimmed to fit the specific dimensions of your gap.
When selecting a filler material, consider the size, depth, and evenness of the gap, as well as the material of your pantry cabinet and counter. It’s essential to choose a filler material that will provide a secure and stable connection between the two surfaces.
Once you have chosen the right filler material, it’s time to use it to bridge the gap. Start by cutting the filler material to the measured length and width of the gap. Use a pair of scissors or a utility knife to achieve precise cuts.
If using wood filler, follow the manufacturer’s instructions to mix and apply the filler to the gap. Smooth out the surface using a putty knife or a damp cloth, and allow it to dry completely. If necessary, sand the filler material to create a seamless finish before moving on to the next step.
If using plastic or PVC filler strips, apply an appropriate adhesive to the back of the strip and carefully press it into the gap, ensuring it is aligned with the surrounding surfaces. Use a level to ensure the strip is installed straight and level. Wipe away any excess adhesive and let it dry according to the adhesive manufacturer’s instructions.
For foam filler tape, peel off the backing and carefully press the tape into the gap, molding it to the shape of the uneven or irregular surfaces. Trim any excess tape using scissors or a utility knife. Ensure the tape is firmly adhered and aligned with the cabinet and counter.
By choosing the right filler material and using it correctly, you can effectively bridge the gap between your pantry cabinet and the counter. In the next section, we will discuss how to ensure a secure and seamless connection between the two surfaces.
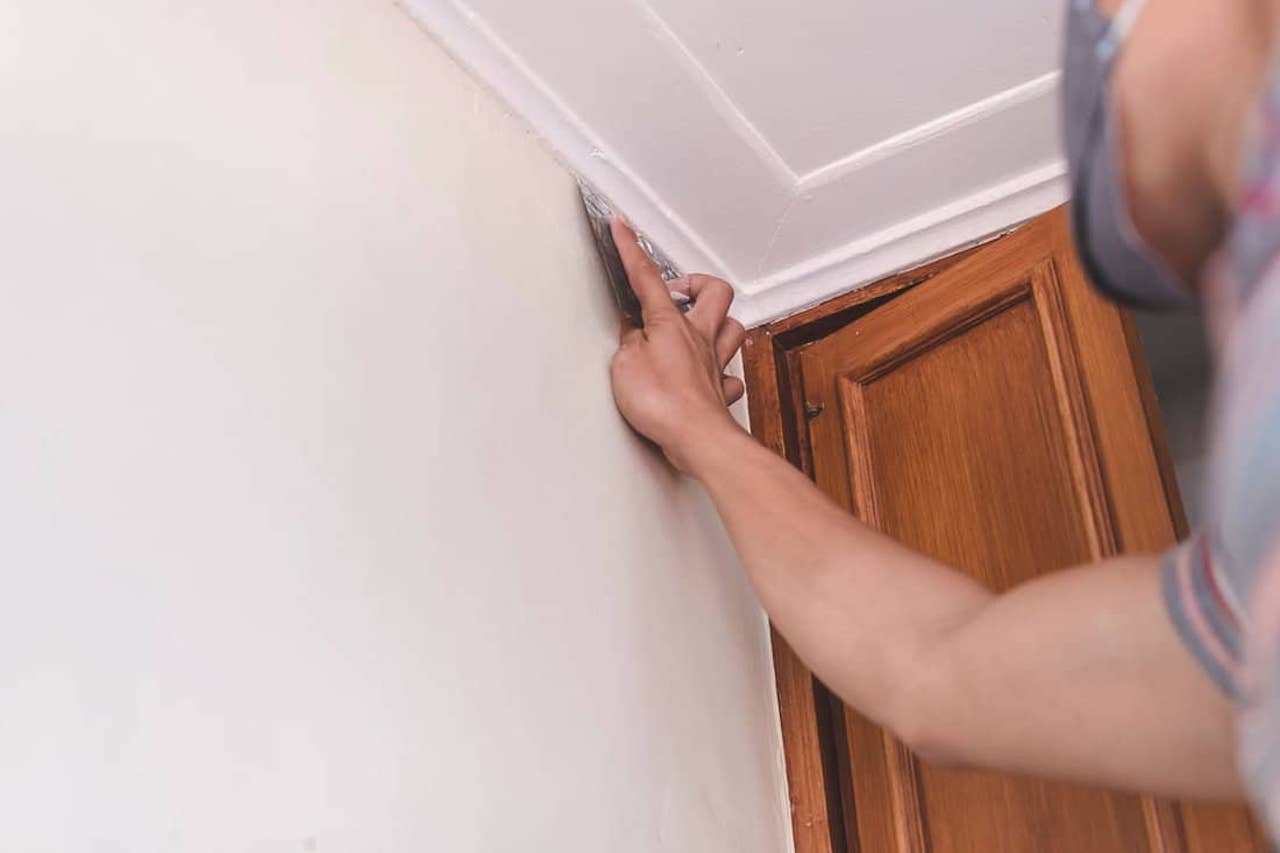
Use a trim or molding to cover the gap between the pantry cabinet and the counter. Measure the gap and choose a trim that fits snugly to create a seamless finish.
Read more: How To Seal Gap Between Siding And Concrete
Installing the Filler Material to Bridge the Gap
Now that you have selected the appropriate filler material, it’s time to install it and bridge the gap between your new pantry cabinet and the counter. Proper installation is crucial to ensure a secure and seamless connection. Follow these steps to install the filler material:
- Prepare the surface: Clean the area surrounding the gap to remove any dust, debris, or adhesive residue. This will allow the filler material to adhere properly and create a strong bond.
- Apply adhesive (if necessary): If your filler material requires adhesive for installation, carefully apply the adhesive to the back of the filler material or the surface of the cabinet/counter. Refer to the adhesive manufacturer’s instructions for the proper application method.
- Align and press the filler material: Position the filler material in the gap, ensuring it is aligned with the edges of the cabinet and counter. Press it firmly into place, applying even pressure along the length of the gap. Make sure the filler is flush with the surrounding surfaces.
- Secure the filler material: Depending on the type of filler material, additional steps may be required to ensure its stability. For wood filler, you can use small finishing nails to secure it in place. For plastic or PVC filler strips, adhesive alone may be sufficient. Foam filler tape usually adheres firmly without any additional support.
- Check for any gaps or unevenness: After installing the filler material, inspect the connection between the pantry cabinet and the counter. Look for any gaps or areas that may require adjustment. If necessary, gently remove the filler material and make any adjustments before reinstalling it.
Taking your time during the installation process will help ensure a secure and seamless connection. Use a level to check that the filler material is installed straight and level. A tight and snug fit will provide a professional and polished finish.
Once you are satisfied with the installation, allow the adhesive to fully cure or the filler material to dry according to the manufacturer’s instructions. This will ensure that the connection remains stable and durable over time.
Now that the gap is bridged and the filler material is securely in place, you can move on to the optional steps of sanding, painting, or staining the filler material to achieve a more cohesive and aesthetically pleasing finish. We will discuss these options in the next section.
Ensuring a Secure and Seamless Connection
After installing the filler material to bridge the gap between your new pantry cabinet and the counter, it’s important to ensure a secure and seamless connection between the two surfaces. Here are some tips to help you achieve this:
- Check for stability: Once the filler material is in place, gently test its stability. Apply light pressure along the gap and see if the filler remains securely in position. If there is any movement or instability, you may need to reevaluate the installation or consider using additional securing methods like nails, screws, or additional adhesive.
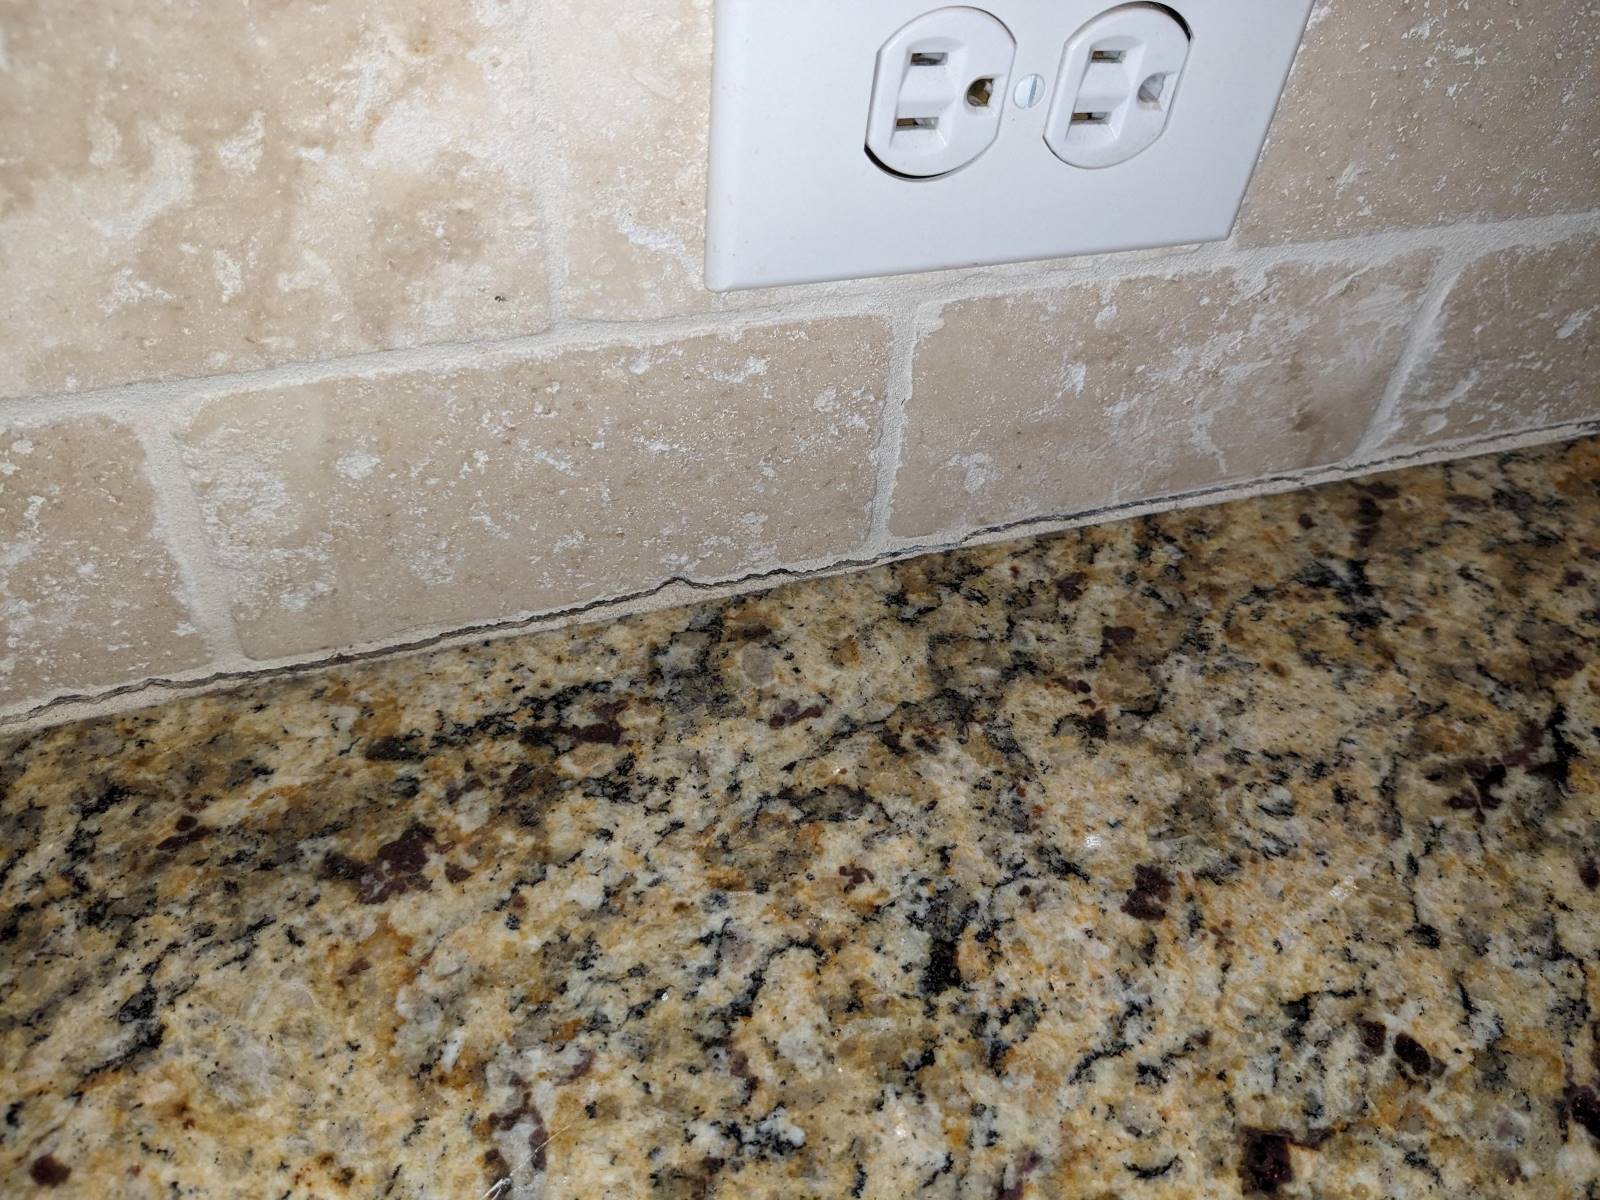
- Inspect for gaps and unevenness: Carefully examine the connection between the pantry cabinet and the counter. Look for any visible gaps or inconsistencies in the filler material. If you notice any gaps or unevenness, you may need to remove the filler material and make adjustments before reinstalling it.
- Ensure a flush fit: The filler material should ideally be flush with the surrounding surfaces of the pantry cabinet and the counter. Use a level or straight edge to check if the filler is aligned and level with the adjacent surfaces. If necessary, make any adjustments to achieve a flush fit.
- Test the strength and durability: To ensure a long-lasting connection, apply slight pressure or resistance to the area where the gap was filled. This can help determine if the filler material is securely bonded to both the pantry cabinet and the counter. Make sure the connection remains stable and does not show signs of separation or shifting.
By following these steps, you can ensure that the filler material provides a secure and seamless connection between your pantry cabinet and the counter. Taking the time to check for stability, inspect for gaps, ensure a flush fit, and test the strength will help ensure a long-lasting and professional result.
In the next section, we will discuss optional steps, such as sanding, painting, or staining the filler material, to make it blend seamlessly with the surrounding surfaces.
Sanding, Painting, or Staining the Filler Material (Optional)
Once the filler material has been installed to bridge the gap between your new pantry cabinet and the counter, you have the option to further enhance its appearance by sanding, painting, or staining the filler material. These optional steps can help the filler blend seamlessly with the surrounding surfaces. Here’s how you can proceed:
- Sanding: If you used wood filler or any other material that can be sanded, consider sanding the filler material to create a smooth and seamless finish. Use fine-grit sandpaper or a sanding block to gently sand the surface, making sure to follow the grain of the filler. Wipe away any dust before moving on to the next step.
- Painting: If you want to change the color or match the filler material with the cabinet and counter, painting can be an excellent option. Choose a paint color that matches or complements the surrounding surfaces. Apply a thin coat of paint using a brush or sponge applicator, allowing it to dry completely between coats. Multiple thin coats will provide a more even and professional-looking finish.
- Staining: If you used wood filler and want to maintain a natural wood look, staining is a great choice. Select a stain color that closely matches the color of your pantry cabinet and counter. Apply the stain using a brush or cloth, following the manufacturer’s instructions for the proper application technique and drying time. Multiple coats may be necessary to achieve the desired color intensity.
Before you begin sanding, painting, or staining, it’s important to protect the surrounding areas from any accidental splatters or spills. Cover the cabinet, counter, and nearby surfaces with drop cloths or protective sheets to prevent any damage or staining.
Remember, these optional steps are not a requirement, but they can greatly improve the overall look and cohesion of your pantry cabinet and counter. Choose the method (sanding, painting, or staining) that best suits your preferences and complements your kitchen’s aesthetic.
Finally, once you have finished sanding, painting, or staining the filler material, allow it to cure or dry completely before using your pantry cabinet. This will ensure the finish remains intact and durable over time.
In the final section, we will provide some concluding remarks and additional tips for maintaining the finished gap between your pantry cabinet and the counter.
Final Touches and Maintenance Tips
Congratulations! You have successfully filled and finished the gap between your new pantry cabinet and the counter. Before we conclude, here are a few final touches and maintenance tips to ensure the longevity and aesthetic appeal of your newly bridged gap:
- Clean and maintain: Regularly clean the area around the filled gap to prevent the accumulation of dirt, crumbs, or spills. Use a gentle household cleaner and a soft cloth to wipe down the surfaces. Avoid using abrasive cleaners or scrub brushes that may damage the filler material or surrounding surfaces.
- Inspect for wear and tear: Periodically inspect the filled gap for any signs of wear, cracking, or shifting. If you notice any damage or instability, address it promptly to prevent further issues. Depending on the filler material used, you may need to replace or reinforce it over time.
- Address any gaps or shifting: In the event that the gap reappears or the filler material shifts over time, take immediate action to address the issue. This may involve reapplying adhesive, replacing the filler material, or adjusting the installation to ensure a secure and seamless connection.
- Touch up paint or stain: If you have chosen to paint or stain the filler material, periodically inspect the finish for any signs of fading, chipping, or wear. Touch up the paint or stain as needed to maintain a consistent and visually appealing appearance.
- Stay vigilant: Keep an eye out for any changes in the pantry cabinet and counter area that may impact the filled gap. These can include shifts in the foundation, changes in temperature or humidity, or other factors that may affect the stability or appearance of the filler material.
By regularly inspecting and maintaining the filled gap, you can ensure that it remains secure, visually pleasing, and functional for years to come.
With these final touches and maintenance tips in mind, you have successfully completed the process of finishing the gap between your new pantry cabinet and the counter. The gap is now elegantly filled, creating a seamless connection that enhances both the aesthetics and functionality of your kitchen.
We hope this comprehensive guide has provided you with the knowledge and confidence to tackle this project and achieve professional results. Remember to always follow safety guidelines, manufacturer’s instructions, and applicable building codes when working on any home improvement project.
Enjoy the beautiful and functional finish of your pantry cabinet and counter, and revel in the satisfaction of a job well done!
Conclusion
Finishing the gap between your new pantry cabinet and the counter is an essential step in creating a polished and cohesive look in your kitchen. By understanding the gap, preparing the necessary tools and materials, measuring and assessing the space, choosing the right filler material, and installing it correctly, you can achieve a secure and seamless connection.
The optional steps of sanding, painting, or staining the filler material allow you to further enhance its appearance and make it blend seamlessly with the surrounding surfaces. Regular maintenance, such as cleaning and inspecting for wear and tear, is crucial to ensure the longevity and functionality of the filled gap.
This comprehensive guide has provided you with the knowledge and steps necessary to finish the gap between your new pantry cabinet and the counter successfully. Always remember to prioritize safety, follow manufacturer’s instructions, and maintain a vigilant approach to spot any issues that may arise over time.
Now that you have the tools, knowledge, and confidence, it’s time to embark on your project and create a beautifully finished gap that adds charm and value to your kitchen. Enjoy your new pantry cabinet and the seamless, professional finish you have achieved!
Frequently Asked Questions about How To Finish Gap Between New Pantry Cabinet And Counter
Was this page helpful?
At Storables.com, we guarantee accurate and reliable information. Our content, validated by Expert Board Contributors, is crafted following stringent Editorial Policies. We're committed to providing you with well-researched, expert-backed insights for all your informational needs.


0 thoughts on “How To Finish Gap Between New Pantry Cabinet And Counter”