Articles
How To Fill A Gap Between Vanity And Wall
Modified: March 1, 2024
Learn how to fill the gap between your vanity and wall with our informative articles. Find the tips and tricks you need for a seamless bathroom renovation.
(Many of the links in this article redirect to a specific reviewed product. Your purchase of these products through affiliate links helps to generate commission for Storables.com, at no extra cost. Learn more)
Introduction
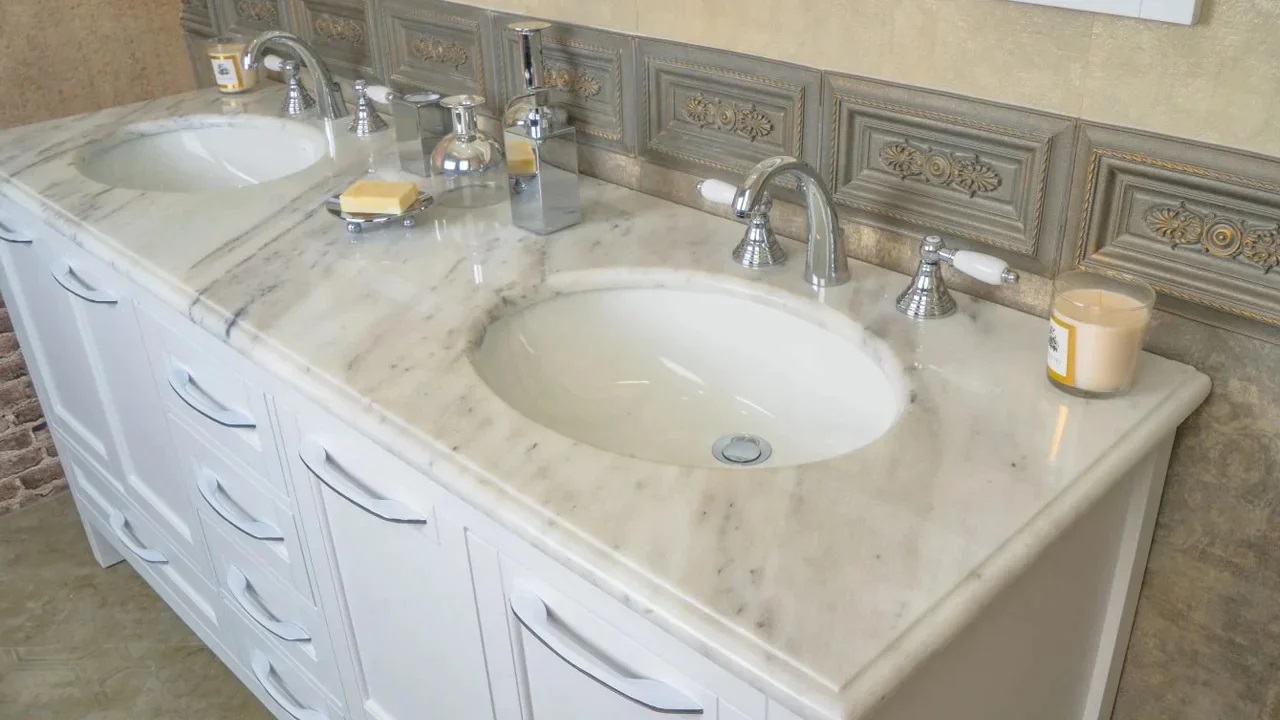
Welcome to this article on how to fill a gap between a vanity and a wall. If you’ve ever encountered a gap that seems impossible to fix, rest assured that you’re not alone. Many homeowners face the challenge of dealing with gaps that occur when installing or replacing vanities in their bathrooms.
The gap between a vanity and a wall can be unsightly and can also collect dirt and debris, making it difficult to clean. It’s important to address this issue to ensure a seamless and visually appealing bathroom. Fortunately, with the right tools and techniques, you can easily fill the gap and create a professional-looking finish.
In this article, we’ll guide you through the process of filling the gap between a vanity and a wall, step by step. We’ll cover everything from understanding the gap to measuring it, choosing the right filler material, preparing the area, applying the filler, and adding the finishing touches. By the end of this article, you’ll have the knowledge and confidence to tackle this project and achieve a flawless result.
So, let’s get started and learn how to fill that troublesome gap between your vanity and the wall!
Key Takeaways:
- Achieve a flawless bathroom finish by understanding, measuring, and filling the gap between your vanity and the wall with the right filler material and meticulous preparation. Enjoy a seamless and professional result with confidence and patience.
- Transform your bathroom into a visually appealing space by filling the gap between your vanity and the wall. Choose the right filler material, apply it with precision, and add the finishing touches for a polished and seamless outcome.
Read more: How To Fill Gap Between Wall And Ceiling
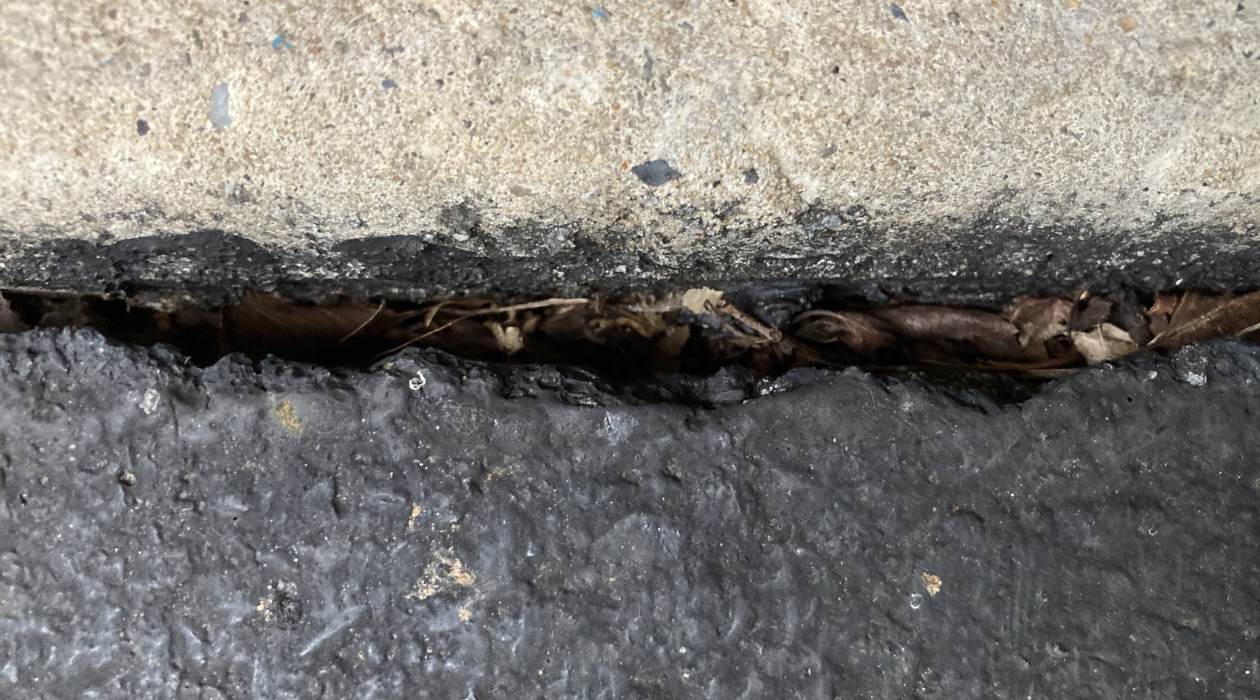
Understanding the Gap
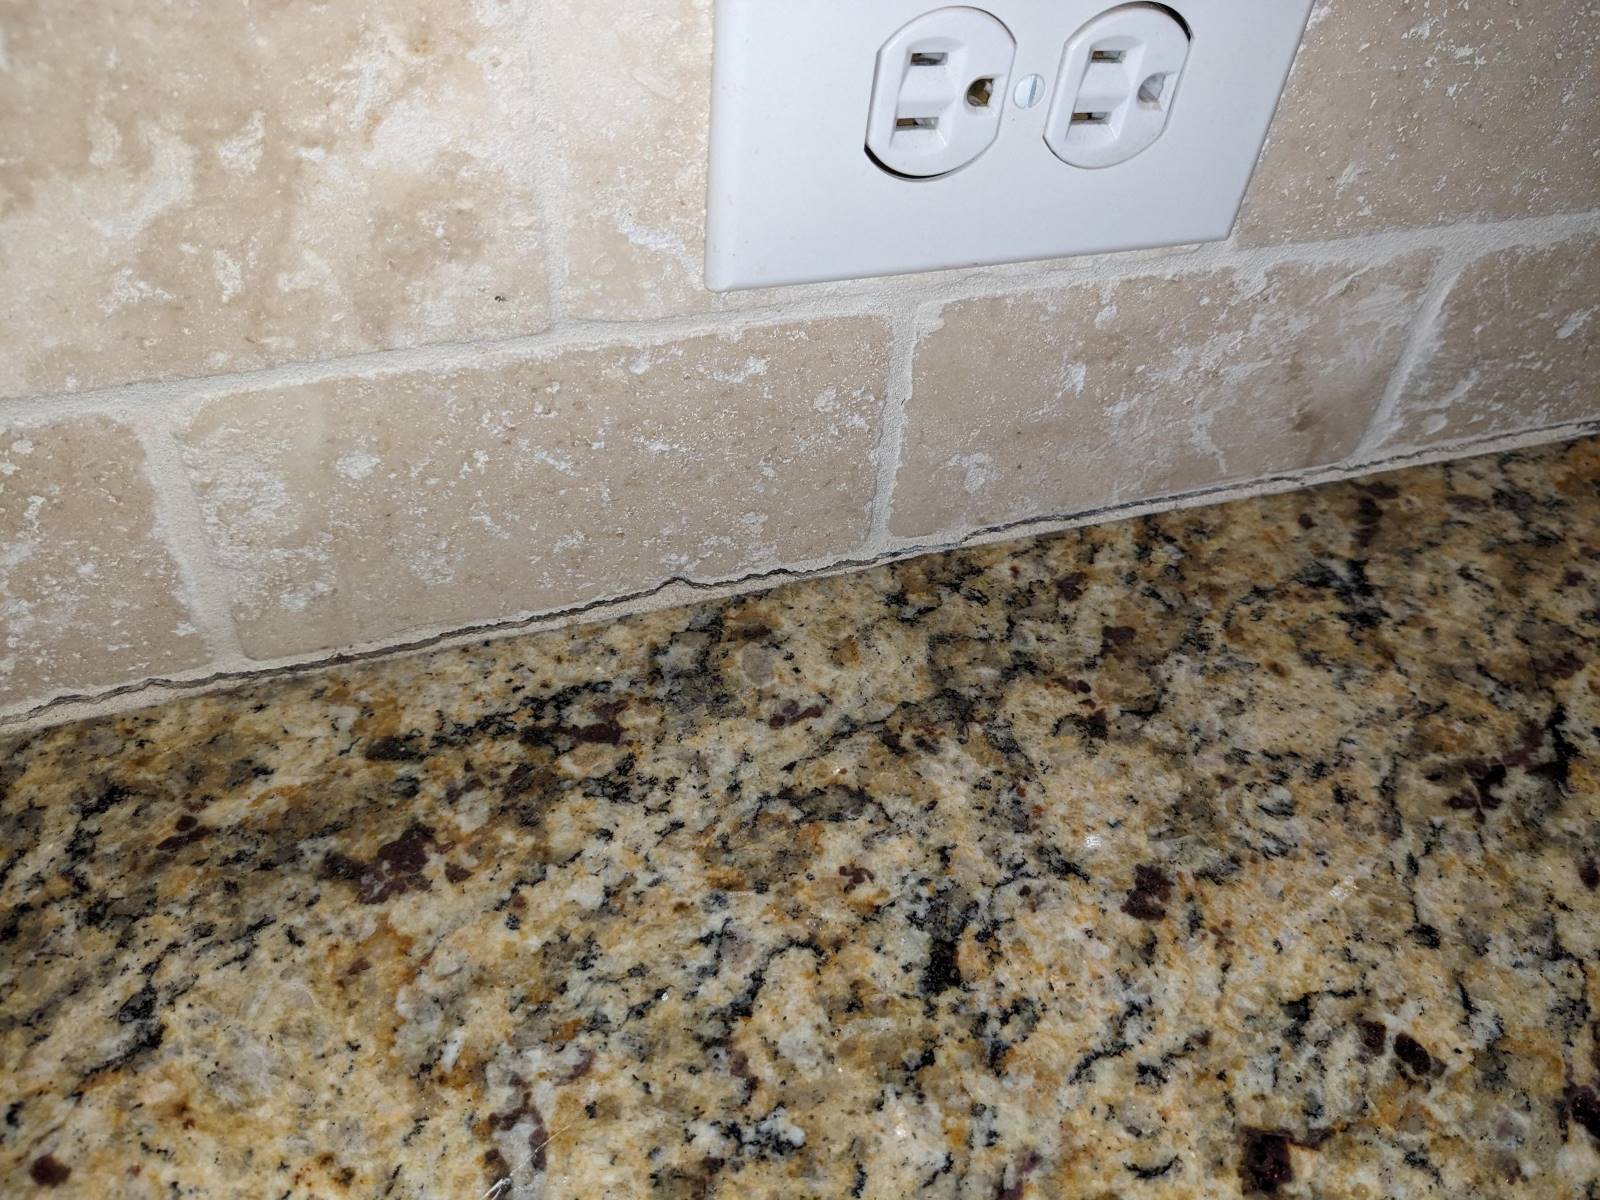
Before you can begin filling the gap between your vanity and the wall, it’s important to understand what might have caused it in the first place. Gaps can occur due to various reasons, such as uneven walls, incorrect measurements, or the vanity not being installed properly.
One common reason for gaps is the inconsistency in wall surfaces. It’s common for walls to have slight imperfections or irregularities, which can create gaps when the vanity is installed. Additionally, if the vanity is not properly aligned with the wall during installation, it can result in a noticeable gap.
Understanding the nature of the gap will help you choose the right approach and materials for filling it. If the gap is small and consistent, you may only need a thin filler material. However, if the gap is larger or irregular in shape, you may require a more substantial filler material or even consider using trim or molding to cover it.
Take a close look at the gap and assess its size and shape. This will allow you to determine the best course of action for filling it and achieving a seamless finish. Remember, addressing the underlying cause of the gap and taking appropriate measures will ensure a long-lasting solution.
Measuring the Gap
Once you understand the nature of the gap between your vanity and the wall, the next step is to accurately measure its size. Measuring the gap will help you determine the amount of filler material you’ll need and ensure a precise fit.
To measure the gap, you’ll need a measuring tape or ruler. Start by placing one end of the measuring tape against the wall and extend it to the edge of the vanity. Take note of the measurement at this point. Next, move the tape from the vanity to the other edge of the gap and measure again.
It’s important to measure the width of the gap at multiple points to account for any variations. Some gaps may be wider at one end and narrower at the other. By measuring at different points, you’ll get a more accurate average width for the gap.
In addition to measuring the width of the gap, you should also measure its depth. This will determine how much filler material you’ll need to adequately fill the gap. Use a ruler or measuring tape to measure the distance from the back of the vanity to the wall at various points along the gap.
Write down the measurements of both the width and depth of the gap. This information will be crucial when selecting the appropriate filler material and determining the quantity needed. Having precise measurements will ensure a snug and secure fit, eliminating any gaps or unevenness.
Remember, accurate measurements are key to achieving a professional and seamless result. Take your time during this step to ensure you have the correct dimensions before moving forward with the filling process.
Choosing the Right Filler Material
Now that you have measured the gap between your vanity and the wall, it’s time to select the right filler material. The filler material will help bridge the gap and create a smooth, even surface.
When choosing a filler material, consider the size and depth of the gap, as well as the overall aesthetic you want to achieve. Here are a few options to consider:
- Silicone Caulk: Silicone caulk is a popular choice for filling small gaps. It is easy to apply, dries quickly, and provides a flexible and waterproof seal. Silicone caulk is available in a range of colors, allowing you to match it to your vanity or wall for a seamless blend.
- Wood Filler: If the gap is deeper and wider, you may consider using a wood filler. Wood filler is a putty-like substance that can be applied and shaped to fit the gap. It is ideal for wooden vanities or gaps that require a more solid and permanent solution. Wood filler can be sanded and painted to match the surrounding surface.
- Trim or Molding: In some cases, you may prefer to cover the gap with trim or molding. This is especially useful if the gap is uneven or irregular in shape. Trim or molding can be cut to size and attached to the wall or vanity, providing a decorative and seamless solution.
Consider the pros and cons of each filler material and choose the one that best suits your needs. If you’re unsure which option to go for, consult a home improvement professional who can provide you with expert advice.
Once you have chosen the filler material, make sure to check the manufacturer’s instructions for proper application and drying time. Following these guidelines will ensure a successful and long-lasting fill for your vanity gap.
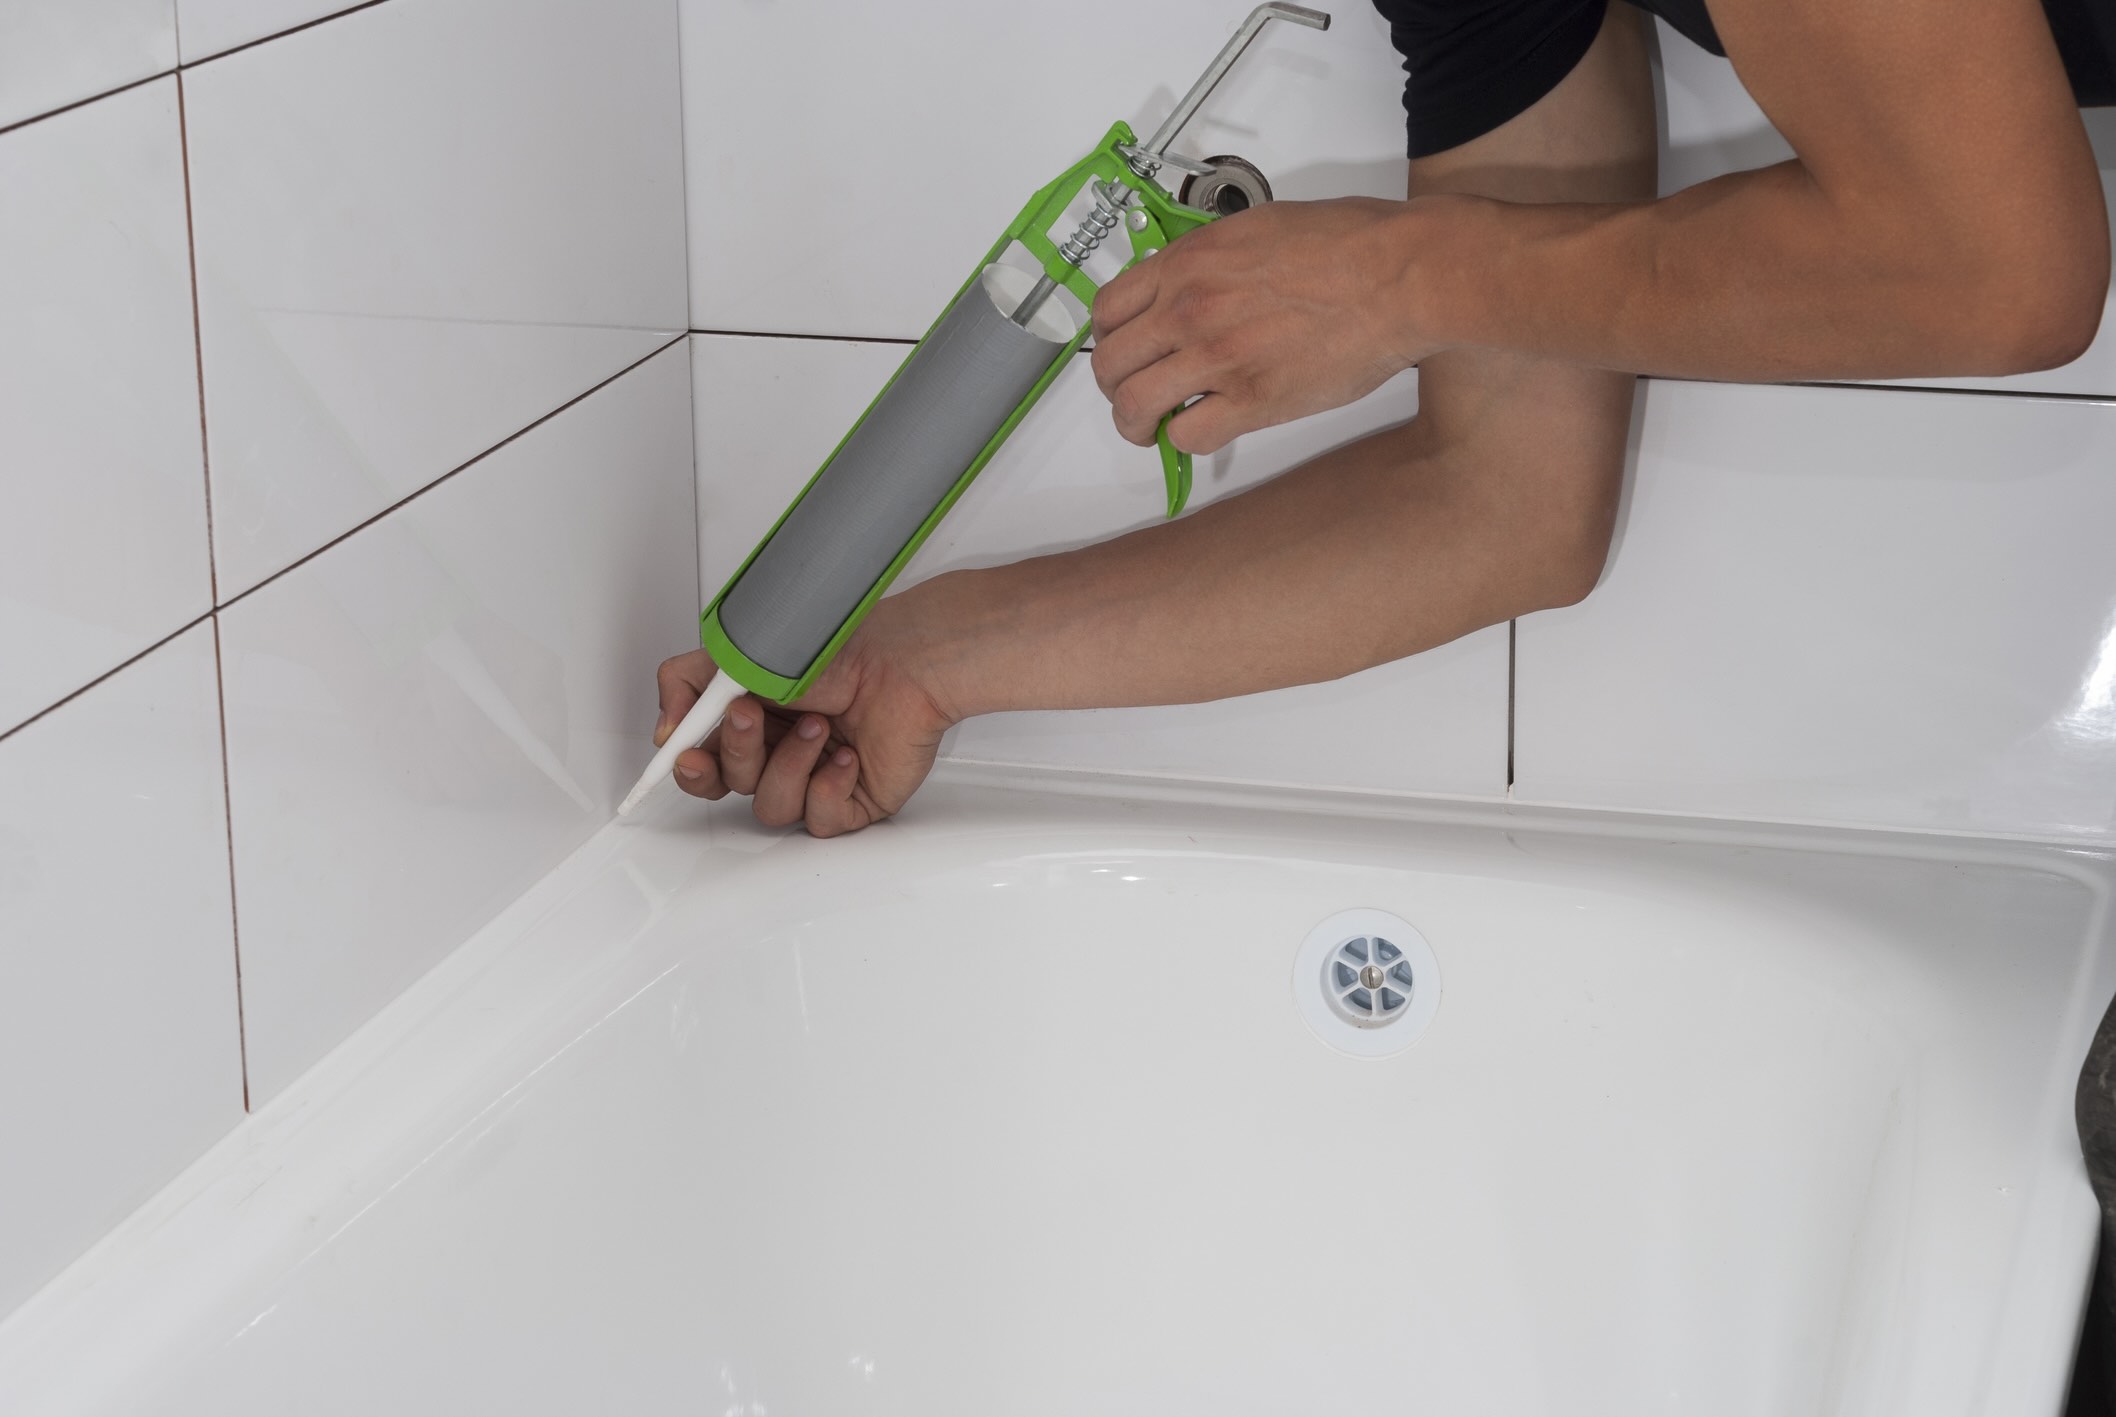
Use a silicone caulk to fill the gap between the vanity and the wall. Apply a bead of caulk along the gap, then smooth it out with a caulk tool or your finger. This will create a seamless and waterproof seal.
Preparing the Area
Before you start applying the filler material to the gap between your vanity and the wall, it’s important to properly prepare the area. Taking the time to prepare will ensure better adhesion and a more seamless finish.
Here are some steps you can follow to prepare the area:
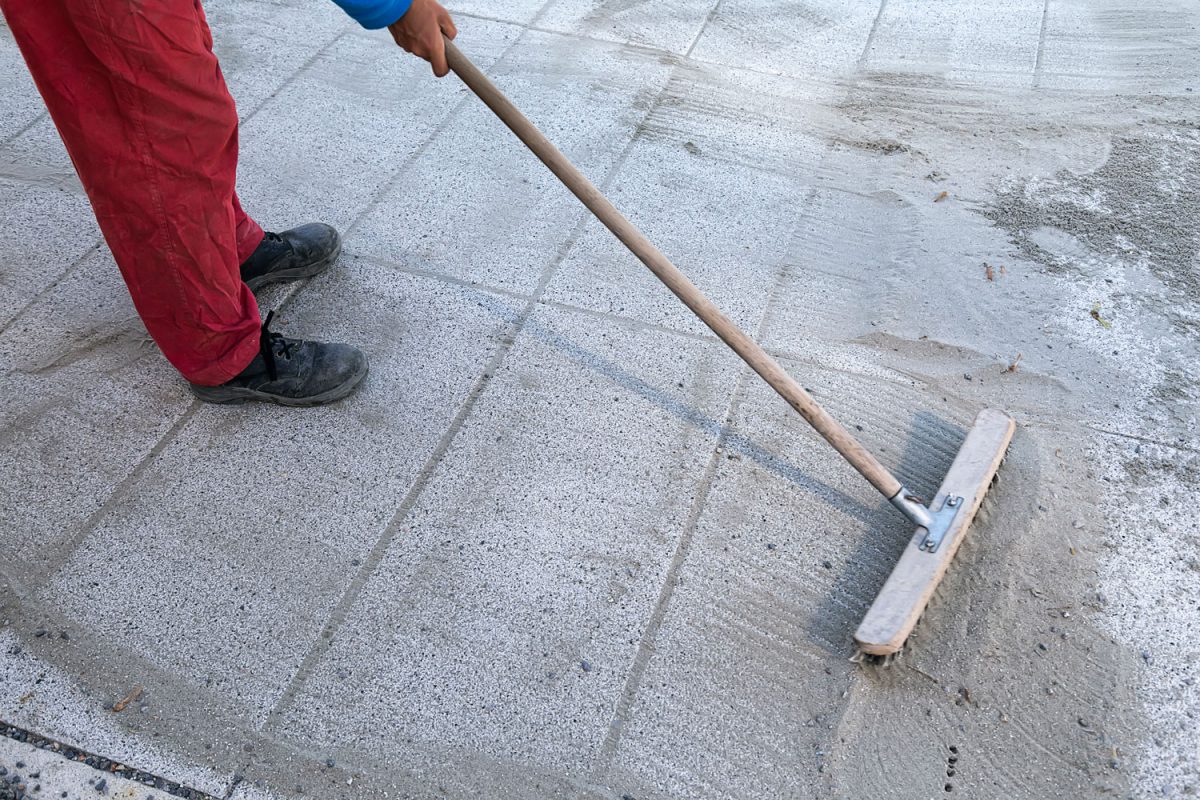
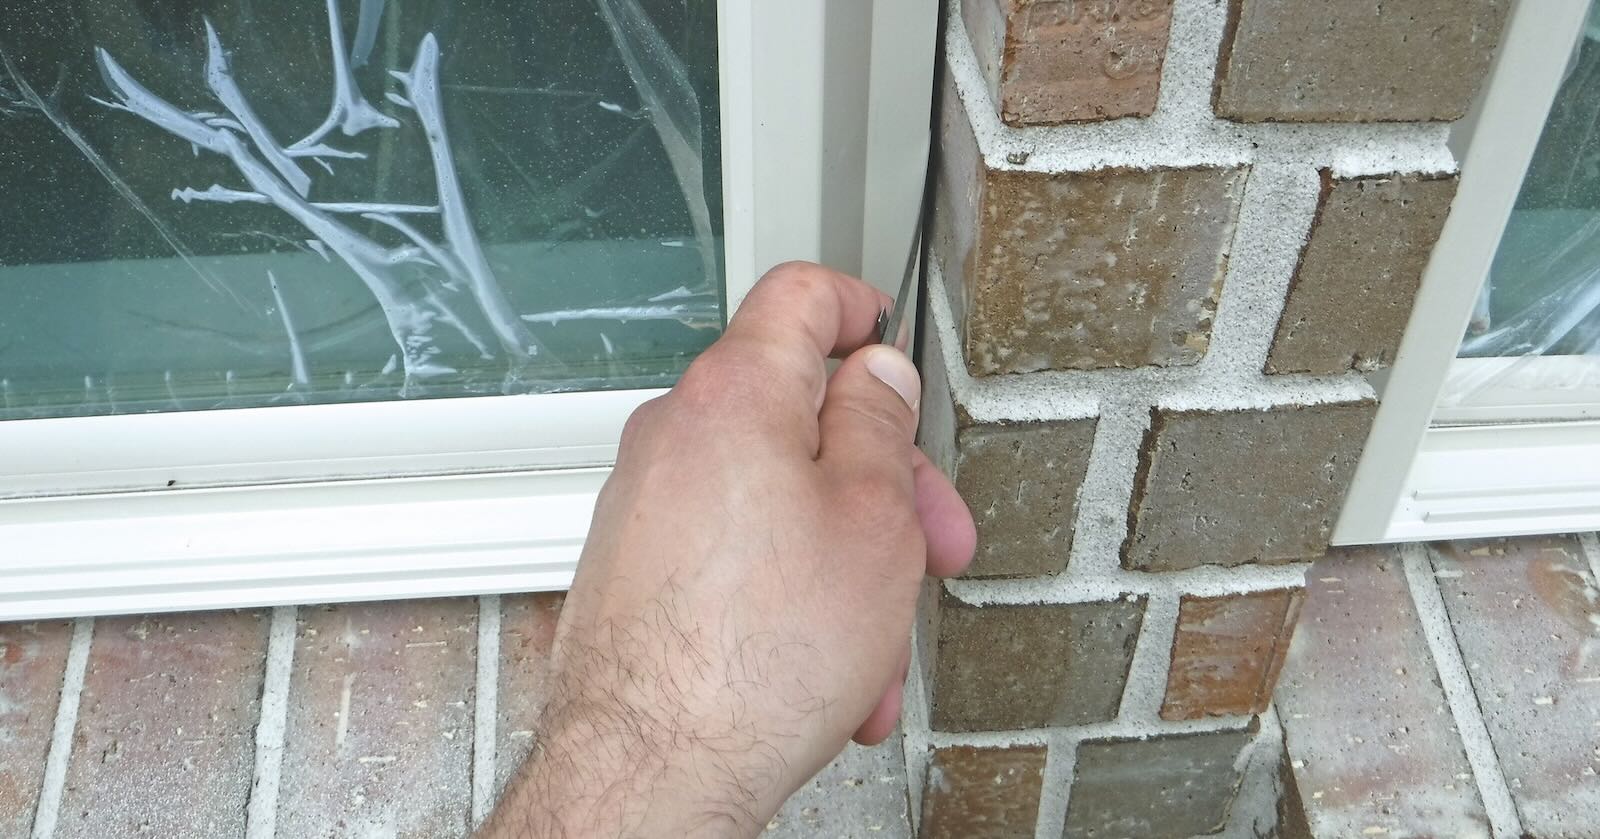
- Clean the Gap: Use a soft brush or cloth to clean out any dirt, debris, or loose particles from the gap. A clean surface will allow the filler material to adhere better and create a smoother finish.
- Remove old caulk or filler: If there is any old caulk or filler material in the gap, remove it using a caulk-removing tool or a scraper. Make sure to clean out any residue to provide a clean and even surface for the new filler material.
- Sand the edges: If the edges of the gap are rough or uneven, consider lightly sanding them to create a smoother surface. Sanding can help the filler material adhere better and result in a more seamless finish.
- Protect surrounding areas: To prevent accidental spills or smudges, use painter’s tape to protect the surrounding areas, such as the vanity or the wall. This will ensure that only the desired areas are filled and minimize the need for additional cleanup.
By properly preparing the area, you’ll create an optimal surface for applying the filler material. This will lead to a more professional-looking result and minimize the chances of the filler material cracking or becoming loose over time.
Take the time to complete these preparation steps thoroughly before moving on to the next stage of filling the gap. It may seem like a small detail, but proper preparation can make a significant difference in the final outcome.
Read more: How To Fill Gap Between Baseboard And Floor
Applying the Filler Material
Now that you have prepared the area, it’s time to apply the filler material to fill the gap between your vanity and the wall. The application process will depend on the type of filler material you have chosen.
If you are using silicone caulk:
- Cut the tip of the caulk tube at a 45-degree angle to create a small opening. Insert the tube into a caulk gun for easier and more precise application.
- Apply a thin and even bead of caulk along the gap, starting at one end and moving to the other. Use steady pressure on the caulk gun to achieve a consistent flow.
- Using a caulk smoothing tool or your finger, smooth out the caulk along the gap. Remove any excess caulk to create a clean and flush finish.
- Allow the caulk to dry according to the manufacturer’s instructions before moving on to the next step.
If you are using wood filler:
- Take a small amount of wood filler and knead it in your hands to soften it and make it more pliable.
- Press the wood filler into the gap, using a putty knife or your fingers. Ensure that the filler fills the gap completely and is level with the surface of the vanity and the wall.
- Smooth out the wood filler with a putty knife, removing any excess and creating a smooth finish. Use the edge of the putty knife to create a flush edge along the gap.
- Allow the wood filler to dry and harden according to the manufacturer’s instructions. Sand the surface if necessary to achieve a seamless result.
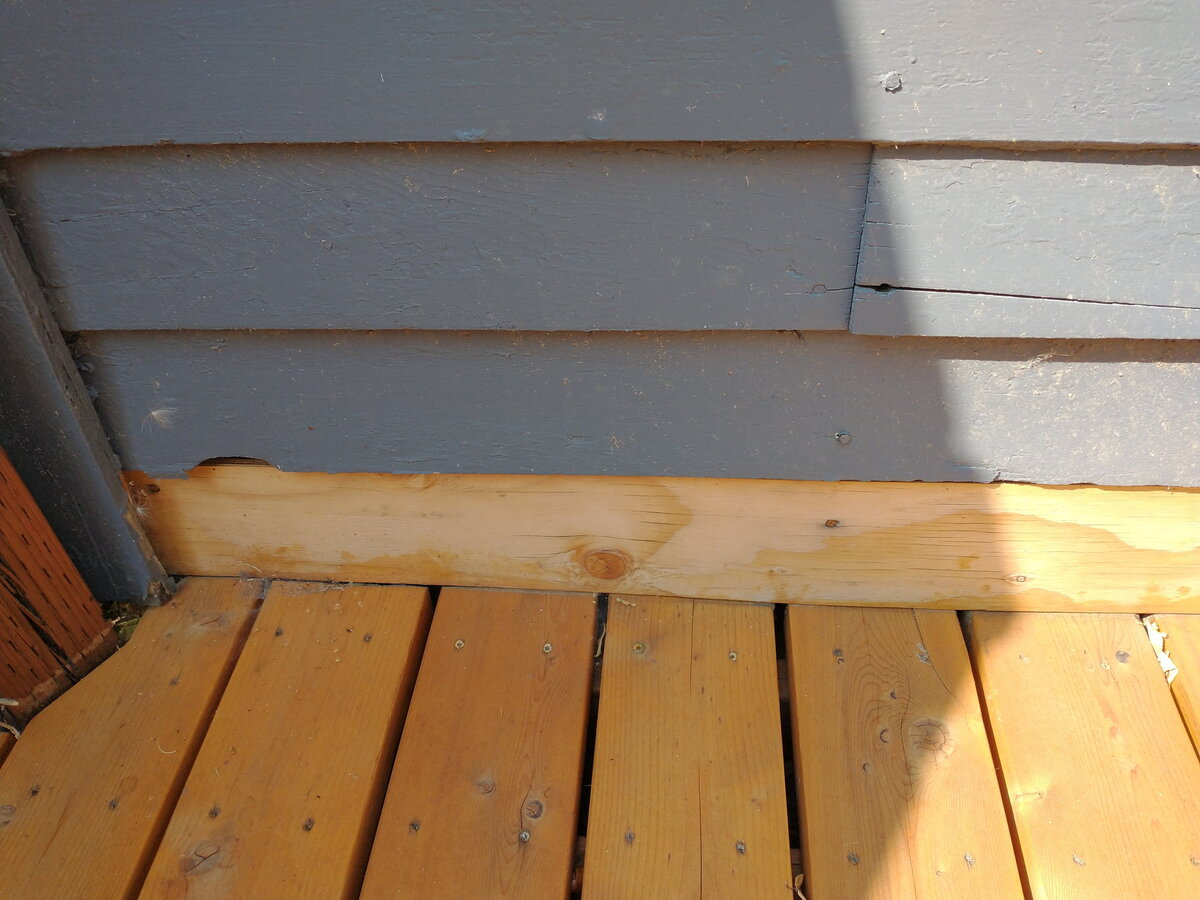
If you are using trim or molding:
- Cut the trim or molding to the appropriate size to fit the length of the gap.
- Apply a thin layer of adhesive to the back of the trim or molding and press it firmly onto the surface, covering the gap completely.
- Secure the trim or molding in place using finishing nails or a brad nailer, ensuring that it is firmly attached.
- If necessary, use wood filler to fill any gaps or nail holes in the trim or molding. Allow the filler to dry and sand the surface if needed.
Regardless of the filler material you choose, follow the instructions provided by the manufacturer for the best results. Allow the filler material to dry or cure fully before proceeding to the next step.
By applying the filler material carefully and evenly, you will achieve a seamless finish that will blend in perfectly with your vanity and wall, leaving no trace of the previous gap.
Finishing Touches
After applying the filler material to fill the gap between your vanity and the wall, it’s time to add the finishing touches to complete the project and achieve a polished look.
Here are some final steps you can take:
- Sanding: If you used wood filler or trim, lightly sand the filled area to ensure a smooth and level surface. Sanding will also help blend the filled area with the surrounding surfaces, creating a seamless finish.
- Painting or staining: Depending on the material of your vanity and the filler used, you may need to paint or stain the filler material to match the surrounding surfaces. Use paint or stain that closely matches the color of your vanity and wall, and apply it evenly to achieve a cohesive look.
- Sealing: If you used silicone caulk to fill the gap, check if it requires sealing. Some silicone caulks may require an additional coat of sealant to ensure long-term durability and prevent moisture penetration.
- Cleaning and inspection: Once all the finishing touches are complete, thoroughly clean the vanity and the area surrounding the filled gap. Inspect the area to ensure a seamless and professional finish. Make any necessary adjustments or touch-ups as needed.
It’s important to note that the specific finishing touches will vary depending on the materials and techniques used. Always refer to the instructions provided by the manufacturer for the appropriate finishing steps.
By taking the time to complete these finishing touches, you’ll achieve a result that not only fills the gap but also seamlessly blends with your vanity and wall. The end result will be a polished and attractive addition to your bathroom.
Conclusion
Filling the gap between your vanity and the wall is a task that may seem daunting at first, but with the right approach and materials, it can be easily accomplished. By following the steps outlined in this article, you can achieve a seamless and professional-looking finish in your bathroom.
Understanding the nature of the gap and accurately measuring its size are crucial steps in the process. Choosing the right filler material based on the size and shape of the gap will ensure a secure and visually pleasing result. Preparing the area, whether it’s cleaning out debris or sanding rough edges, sets the foundation for a successful fill.
Applying the filler material using the appropriate methods and techniques helps create a smooth and even surface. Whether you opt for silicone caulk, wood filler, or trim, following the instructions provided by the manufacturer is key to achieving the best results.
Finishing touches such as sanding, painting or staining, sealing, and thorough cleaning ensure that the filled gap seamlessly blends with the surrounding surfaces. Paying attention to these details will result in a polished and professional appearance.
Now that you have the knowledge and confidence to tackle the gap between your vanity and the wall, you can transform your bathroom into a space that is not only functional but visually appealing as well. Remember to take your time, be patient, and follow the steps outlined in this article for the best outcome.
Enjoy the satisfaction of filling that troublesome gap and creating a beautiful, seamless finish in your bathroom!
Frequently Asked Questions about How To Fill A Gap Between Vanity And Wall
Was this page helpful?
At Storables.com, we guarantee accurate and reliable information. Our content, validated by Expert Board Contributors, is crafted following stringent Editorial Policies. We're committed to providing you with well-researched, expert-backed insights for all your informational needs.


0 thoughts on “How To Fill A Gap Between Vanity And Wall”