Articles
How To Fill Gap Between Wall And Ceiling
Modified: October 20, 2024
Learn how to fill the gap between your wall and ceiling with our informative articles. Discover effective tips and techniques to achieve a seamless finish.
(Many of the links in this article redirect to a specific reviewed product. Your purchase of these products through affiliate links helps to generate commission for Storables.com, at no extra cost. Learn more)
Introduction
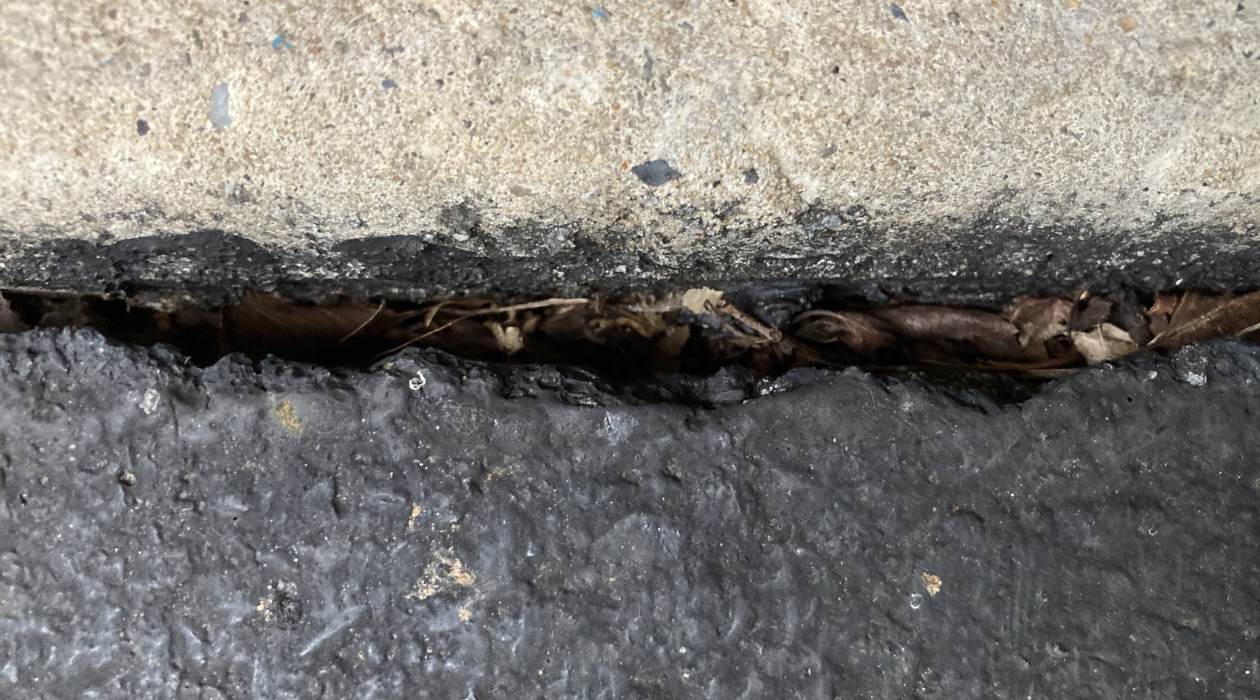
Welcome to our comprehensive guide on how to fill the gap between a wall and a ceiling. If you’ve ever looked closely at the corners of a room, you may have noticed small gaps or cracks where the wall meets the ceiling. These gaps can be unsightly and can also create spaces where dust and pests can enter.
Fortunately, there are several methods you can use to fill these gaps and achieve a seamless and professional-looking finish. In this article, we will explore the various reasons that can cause gaps between walls and ceilings, the tools and materials you will need, and step-by-step techniques to effectively fill and repair these gaps.
Understanding the nature of the gap between a wall and a ceiling is the first step in determining the best approach for filling it. These gaps can occur due to a variety of reasons, including settling of the building, temperature and humidity changes, improper installation, or just natural wear and tear over time.
Before you start filling the gap, it is important to gather the necessary tools and materials. Depending on the technique you choose, you may need common tools such as a caulk gun, putty knife, sandpaper, and a utility knife. Additionally, specific materials like caulk, joint compound, crown molding, foam backer rod, and drywall tape will be required for different methods.
Preparation is key to achieving a successful outcome. Before filling the gap, make sure to clean the area thoroughly and remove any loose debris or old caulk. You may also need to sand down any rough edges or protrusions to create a smooth surface for filling.
Now let’s delve into the various techniques you can use to effectively fill the gap between a wall and a ceiling. Whether you prefer a quick fix with caulk or a more decorative approach with crown molding, we have you covered. Let’s get started!
Key Takeaways:
- Proper preparation, including cleaning, removing old caulk, and gathering necessary tools, is crucial for successfully filling the gap between a wall and a ceiling.
- Attention to detail, patience, and proper technique are essential for achieving a seamless and professional finish when filling the gap between a wall and a ceiling.
Read more: How To Fill A Gap Between Vanity And Wall
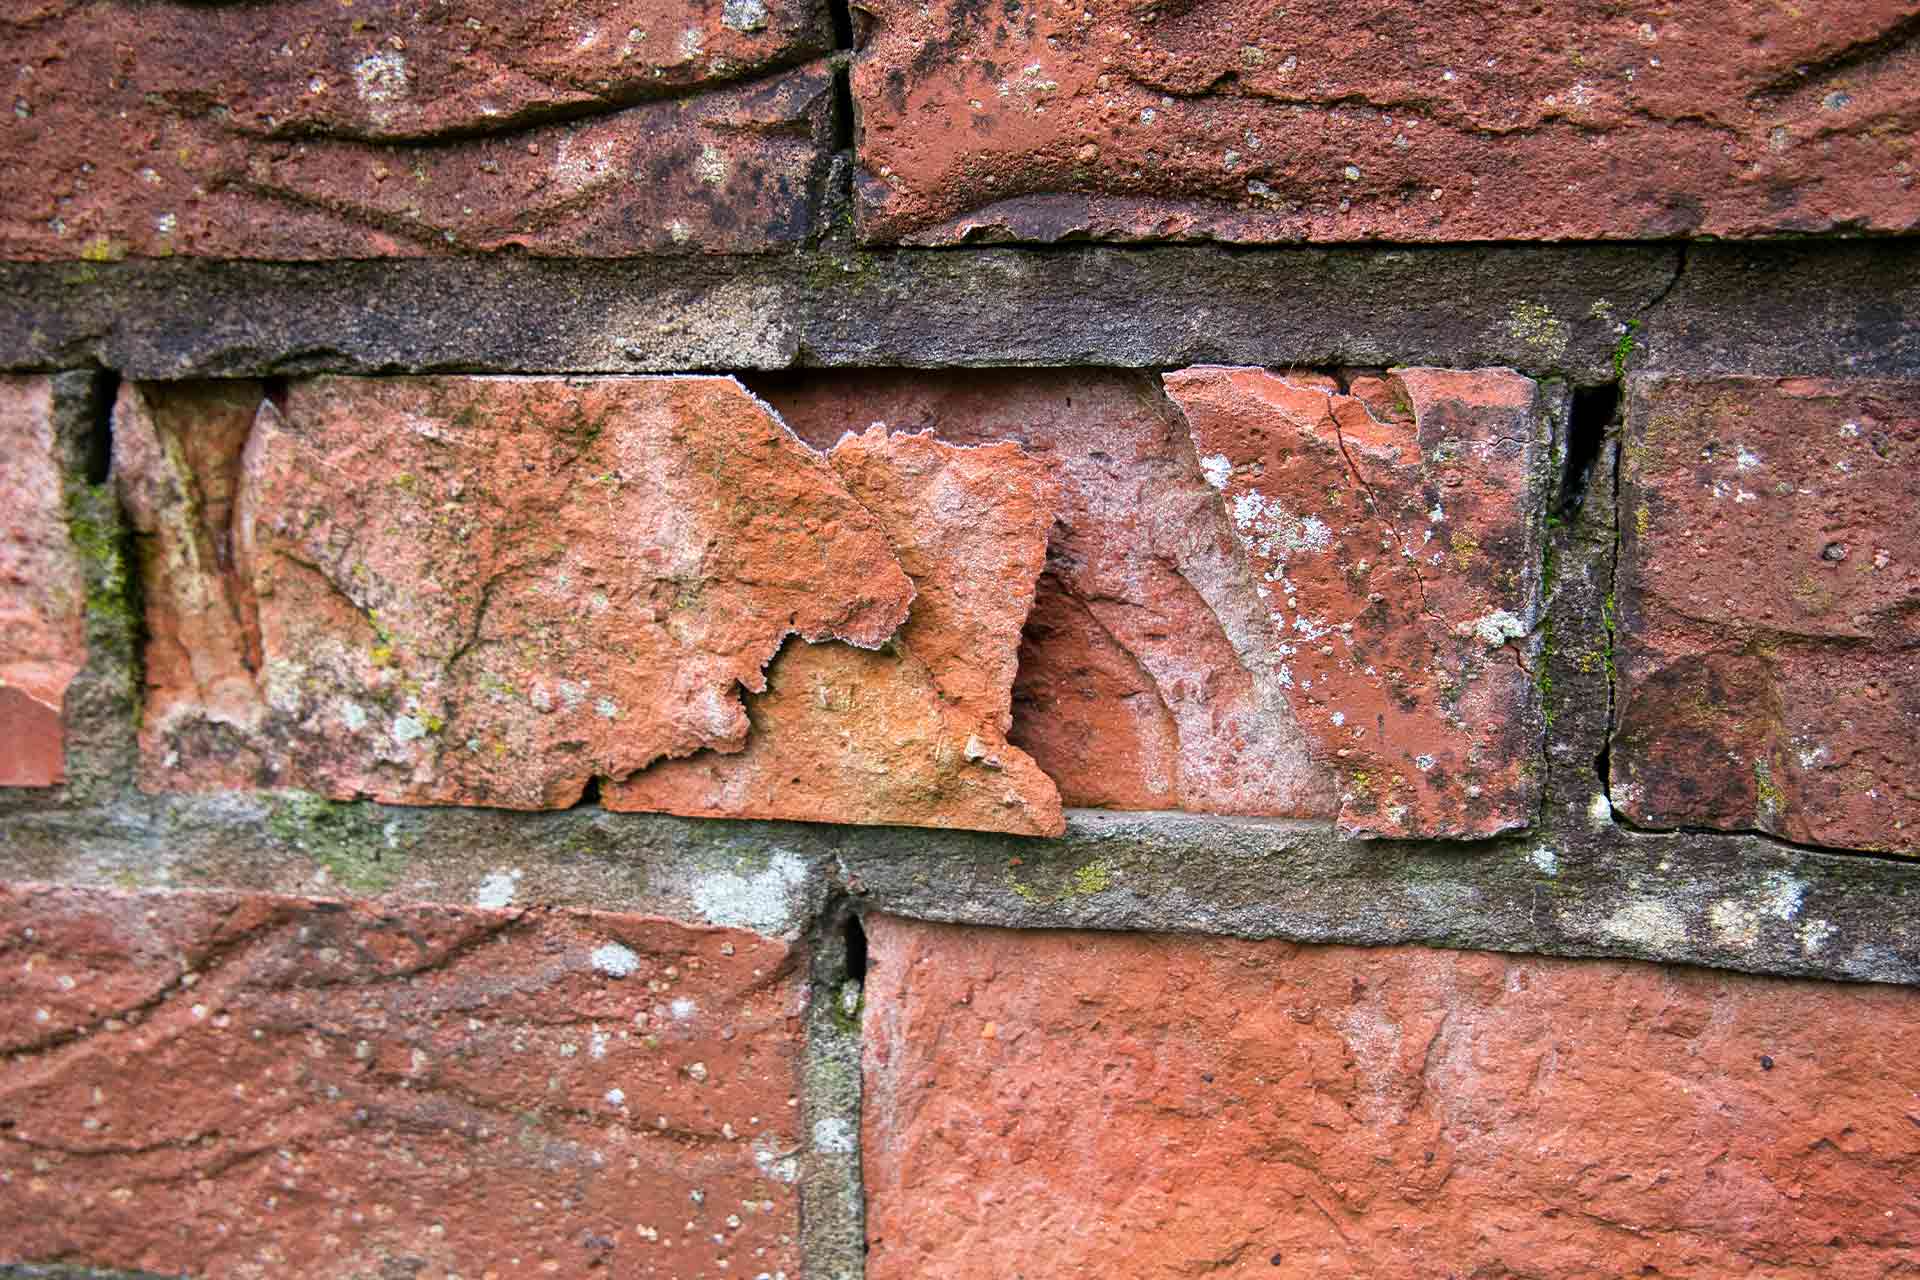
Understanding the Gap Between Wall and Ceiling
The gap between a wall and a ceiling is a common occurrence in both residential and commercial buildings. This gap can vary in size and can be seen at the corners of rooms where the walls meet the ceiling. Understanding the reasons behind these gaps can help us determine the best methods for filling and repairing them.
One of the main reasons for the gap between a wall and a ceiling is the natural settling and movement of a building over time. As a building ages, it can slowly shift and settle, causing small cracks and gaps to appear. Temperature and humidity changes can also contribute to the expansion and contraction of building materials, resulting in gaps between walls and ceilings.
Improper installation during the construction process can also lead to gaps between walls and ceilings. If the drywall or plasterboard was not installed correctly, it can cause uneven surfaces and gaps to form. Additionally, poor workmanship when installing crown molding or other decorative elements can create gaps that need to be addressed.
Another factor that can contribute to the gap between a wall and a ceiling is the use of different materials. For example, if the wall is made of drywall and the ceiling is made of plaster, the two materials may expand and contract at different rates, resulting in a visible gap. Similarly, if different layers of paint or wallpaper were applied to the wall and ceiling, the differences in thickness can also create gaps.
It is important to note that these gaps are not only cosmetic issues but can also affect the energy efficiency of a space. Gaps can allow air to flow freely between rooms, which can lead to drafts and a loss of heating or cooling efficiency. Additionally, gaps can provide entry points for dust, dirt, and even pests, compromising the cleanliness and comfort of a room.
By understanding the underlying reasons for the gap between a wall and a ceiling, you can choose the most appropriate method for filling and repairing it. In the next sections, we will explore various techniques that can help you achieve a seamless and professional-looking finish.
Reasons for Gaps Between Wall and Ceiling
There are several reasons why gaps can occur between a wall and a ceiling. Understanding these reasons can help you identify the cause of the gap and choose the most suitable method for filling and repairing it.
1. Settlement and Movement:
Over time, buildings can undergo settling and movement. This natural process can cause the walls and ceilings to shift slightly, leading to gaps. Settlement is more common in older buildings, but it can also occur in newer construction. Factors such as soil conditions, foundation issues, and changes in the building’s load can contribute to settling and movement.
2. Temperature and Humidity Changes:
Fluctuations in temperature and humidity can cause materials to expand and contract. Different rates of expansion and contraction between the wall and ceiling materials can result in gaps. For example, during hot and humid weather, the materials may expand, creating a larger gap. In cold weather, the materials may contract, causing the gap to shrink.
3. Poor Installation:
If the wall or ceiling materials were not installed properly, gaps can occur. This could be due to uneven installation of drywall panels, improper taping and mudding, or inadequate use of fasteners. Additionally, if crown molding or other trim was installed incorrectly, gaps can appear at the joint between the wall and the ceiling.
4. Structural Shifts:
In some cases, structural shifts can cause gaps between the wall and the ceiling. This could be caused by a variety of factors, such as foundation issues, structural damage, or seismic activity. Structural shifts can result in uneven surfaces and gaps where the walls and ceilings meet.
5. Different Materials:
When different materials are used for the walls and ceilings, gaps can occur. For example, if one side is made of drywall and the other side is made of plaster, the materials may expand and contract at different rates, leading to gaps. Similarly, the use of different layers of paint or wallpaper can create variations in thickness, resulting in visible gaps.
6. Settling of Crown Molding:
If crown molding is not properly installed or has not been secured tightly, it can settle and create gaps between the molding and the wall or ceiling. This can be particularly noticeable in older buildings where the molding may have shifted or come loose over time.
Identifying the specific reason for the gap between your wall and ceiling can guide you in selecting the appropriate technique for filling and repairing it. By addressing the underlying cause, you can ensure a long-lasting and aesthetically pleasing solution.
Tools and Materials Needed
Before you begin filling the gap between a wall and a ceiling, it’s important to gather all the necessary tools and materials. Having the right equipment on hand will make the process smoother and more efficient. Here’s a list of the essential tools and materials you will need:
Tools:
- Caulk gun: A caulk gun is essential if you plan to use caulk as your filling material. It will help you apply the caulk smoothly and evenly.
- Putty knife: A putty knife is useful for scraping away old caulk or smoothing out the filling material.
- Sandpaper: Sandpaper will be needed to smooth the filled gap and ensure a seamless finish.
- Utility knife: A utility knife is helpful for cutting materials like foam backer rod or drywall tape to the desired length.
- Measuring tape: A measuring tape will come in handy when working with precise measurements, especially if you plan to install crown molding.
- Trimming tools: If you’re using crown molding or other decorative elements, you may need additional tools such as a miter saw, coping saw, or nail gun for proper installation.
- Safety equipment: Don’t forget to prioritize safety by wearing gloves, safety glasses, and a dust mask when working with certain materials, such as joint compound or caulk.
Materials:
- Caulk: Caulk is a popular choice for filling gaps. Make sure to choose a high-quality caulk that is appropriate for the specific needs of your project, such as paintable caulk for a seamless finish.
- Joint compound: Joint compound, also known as drywall mud, is used to fill larger gaps. It is a versatile material that can be sanded and painted once dry.
- Crown molding: Crown molding is an elegant option for filling gaps and adding a decorative touch. Choose the appropriate size and style that complements your room.
- Foam backer rod: Foam backer rod is a flexible material that is placed in larger gaps before applying caulk or joint compound. It helps create a proper seal and prevents the filling material from sinking into the gap.
- Drywall tape: Drywall tape is used in conjunction with joint compound for larger gaps. It reinforces the joint and provides a smooth surface for finishing.
Remember to check the specific requirements of your project before starting. The tools and materials you need may vary depending on the size of the gap, the desired finish, and the chosen filling method. Gathering everything you need in advance will save you time and ensure a successful outcome.
Preparation before Filling the Gap
Before you begin filling the gap between a wall and a ceiling, proper preparation is key to achieving a seamless and long-lasting result. Taking the time to prepare the area and gather the necessary materials will ensure a smooth and efficient process. Here are the essential steps to follow in preparation:
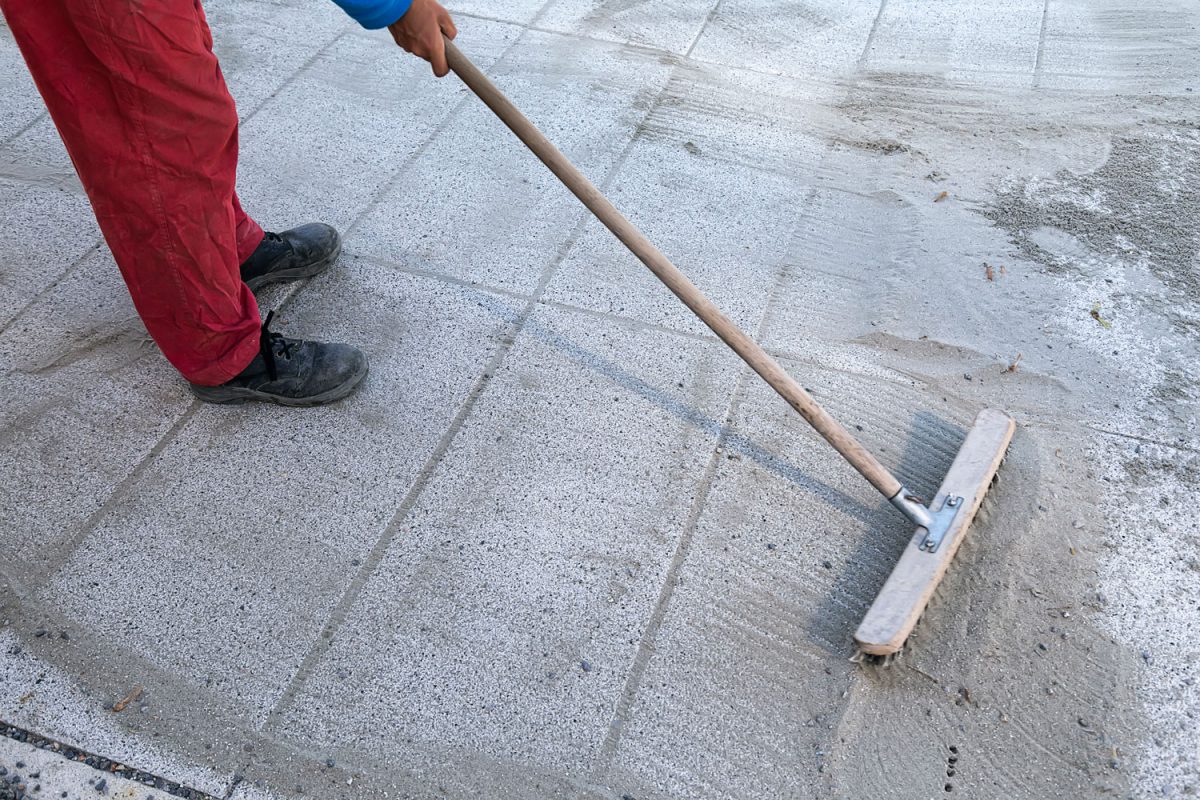
1. Clean the area:
Start by cleaning the gap and the surrounding area. Remove any dust, dirt, or loose debris using a vacuum or a soft brush. This will allow the filling material to adhere properly and create a stronger bond with the surfaces. Additionally, a clean area will help you achieve a more professional-looking finish.
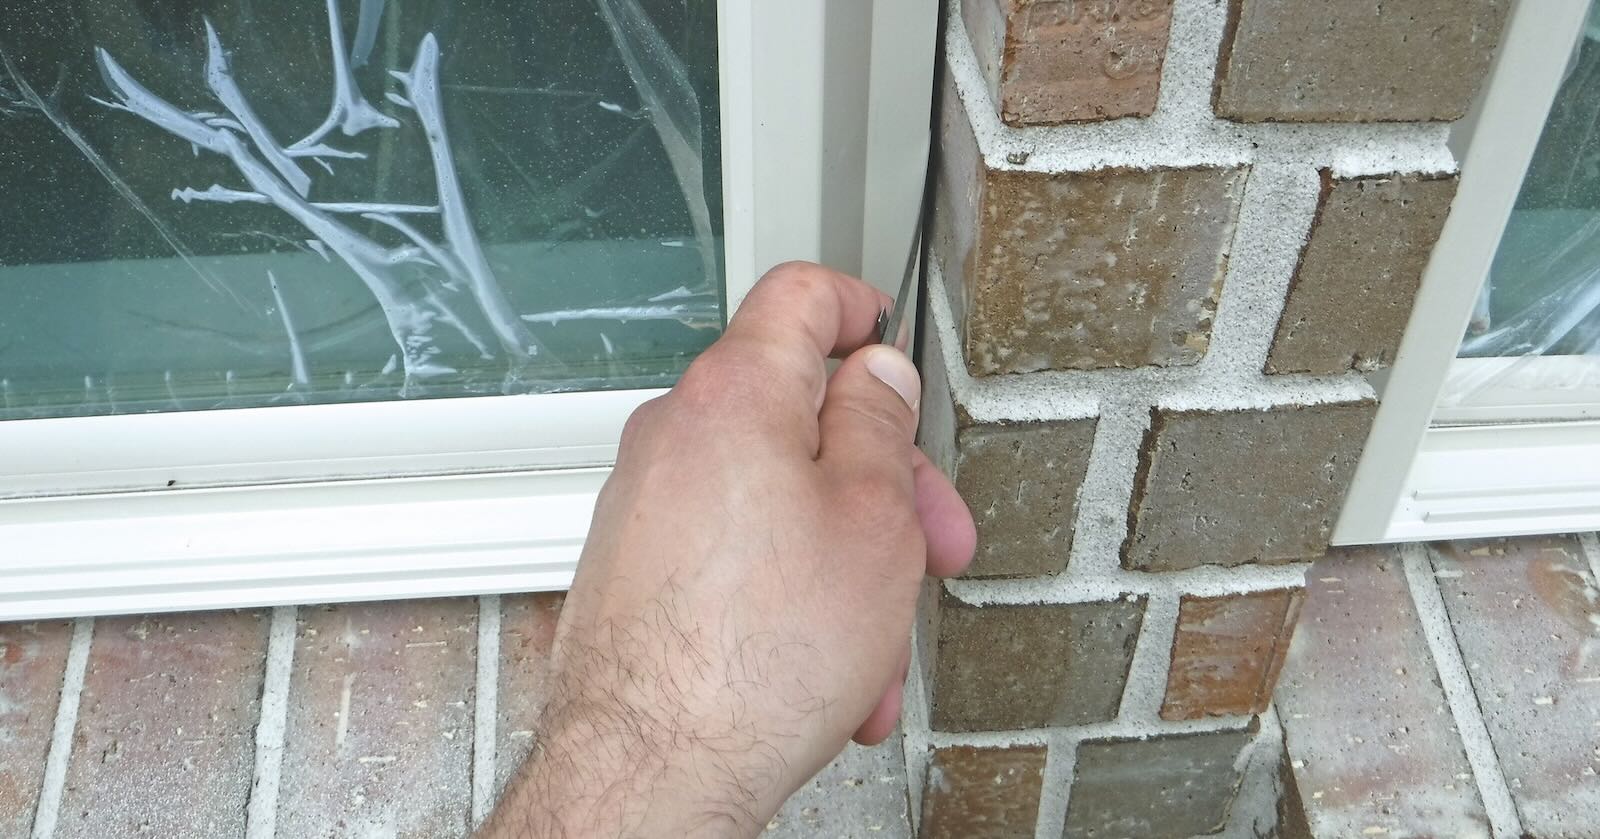
2. Remove old caulk or filler:
If there is old caulk or filler in the gap, it’s important to remove it before applying new filling material. Use a putty knife or a caulk remover tool to scrape away the old caulk. Be gentle to avoid damaging the wall or ceiling surfaces. Removing the old caulk will ensure better adhesion for the new filling material.
3. Smooth the surfaces:
Inspect the surfaces of the wall and ceiling to ensure they are smooth and free from any protrusions or rough edges. If you notice any bumps, use sandpaper or a sanding block to gently smooth them out. By creating a flat and even surface, you will achieve a more seamless result when filling the gap.
4. Consider priming the surfaces:
Depending on the type of filling material you plan to use, priming the surfaces may be necessary. Check the instructions provided by the manufacturer of the filling material and follow their recommendations. Priming can help improve adhesion, prevent stains from bleeding through, and ensure a smooth finish once the gap is filled.
5. Gather the necessary tools and materials:
Refer to our previous section on the “Tools and Materials Needed” to ensure you have all the necessary equipment for the filling process. Double-check that you have the right type and amount of caulk, joint compound, foam backer rod, or any other chosen filling material. Having everything prepared in advance will save you time and prevent interruptions during the filling process.
6. Protect adjacent surfaces:
Before you start filling the gap, consider protecting the adjacent surfaces, such as the wall and ceiling paint or wallpaper. You can use painter’s tape or adhesive-backed plastic sheeting to cover these areas and prevent accidental smudging or damage during the filling process. This step will help you achieve a clean and professional-looking finish.
By following these preparation steps, you will ensure that the surfaces are clean, smooth, and ready for filling. Adequate preparation sets the stage for a successful filling process and helps to achieve a seamless and professional-looking result.
Read more: How To Fill Gap Between Baseboard And Floor
Methods for Filling the Gap
When it comes to filling the gap between a wall and a ceiling, there are several effective methods you can choose from. The method you select will depend on factors such as the size of the gap, your desired finish, and your skill level. Here are some popular techniques to consider:
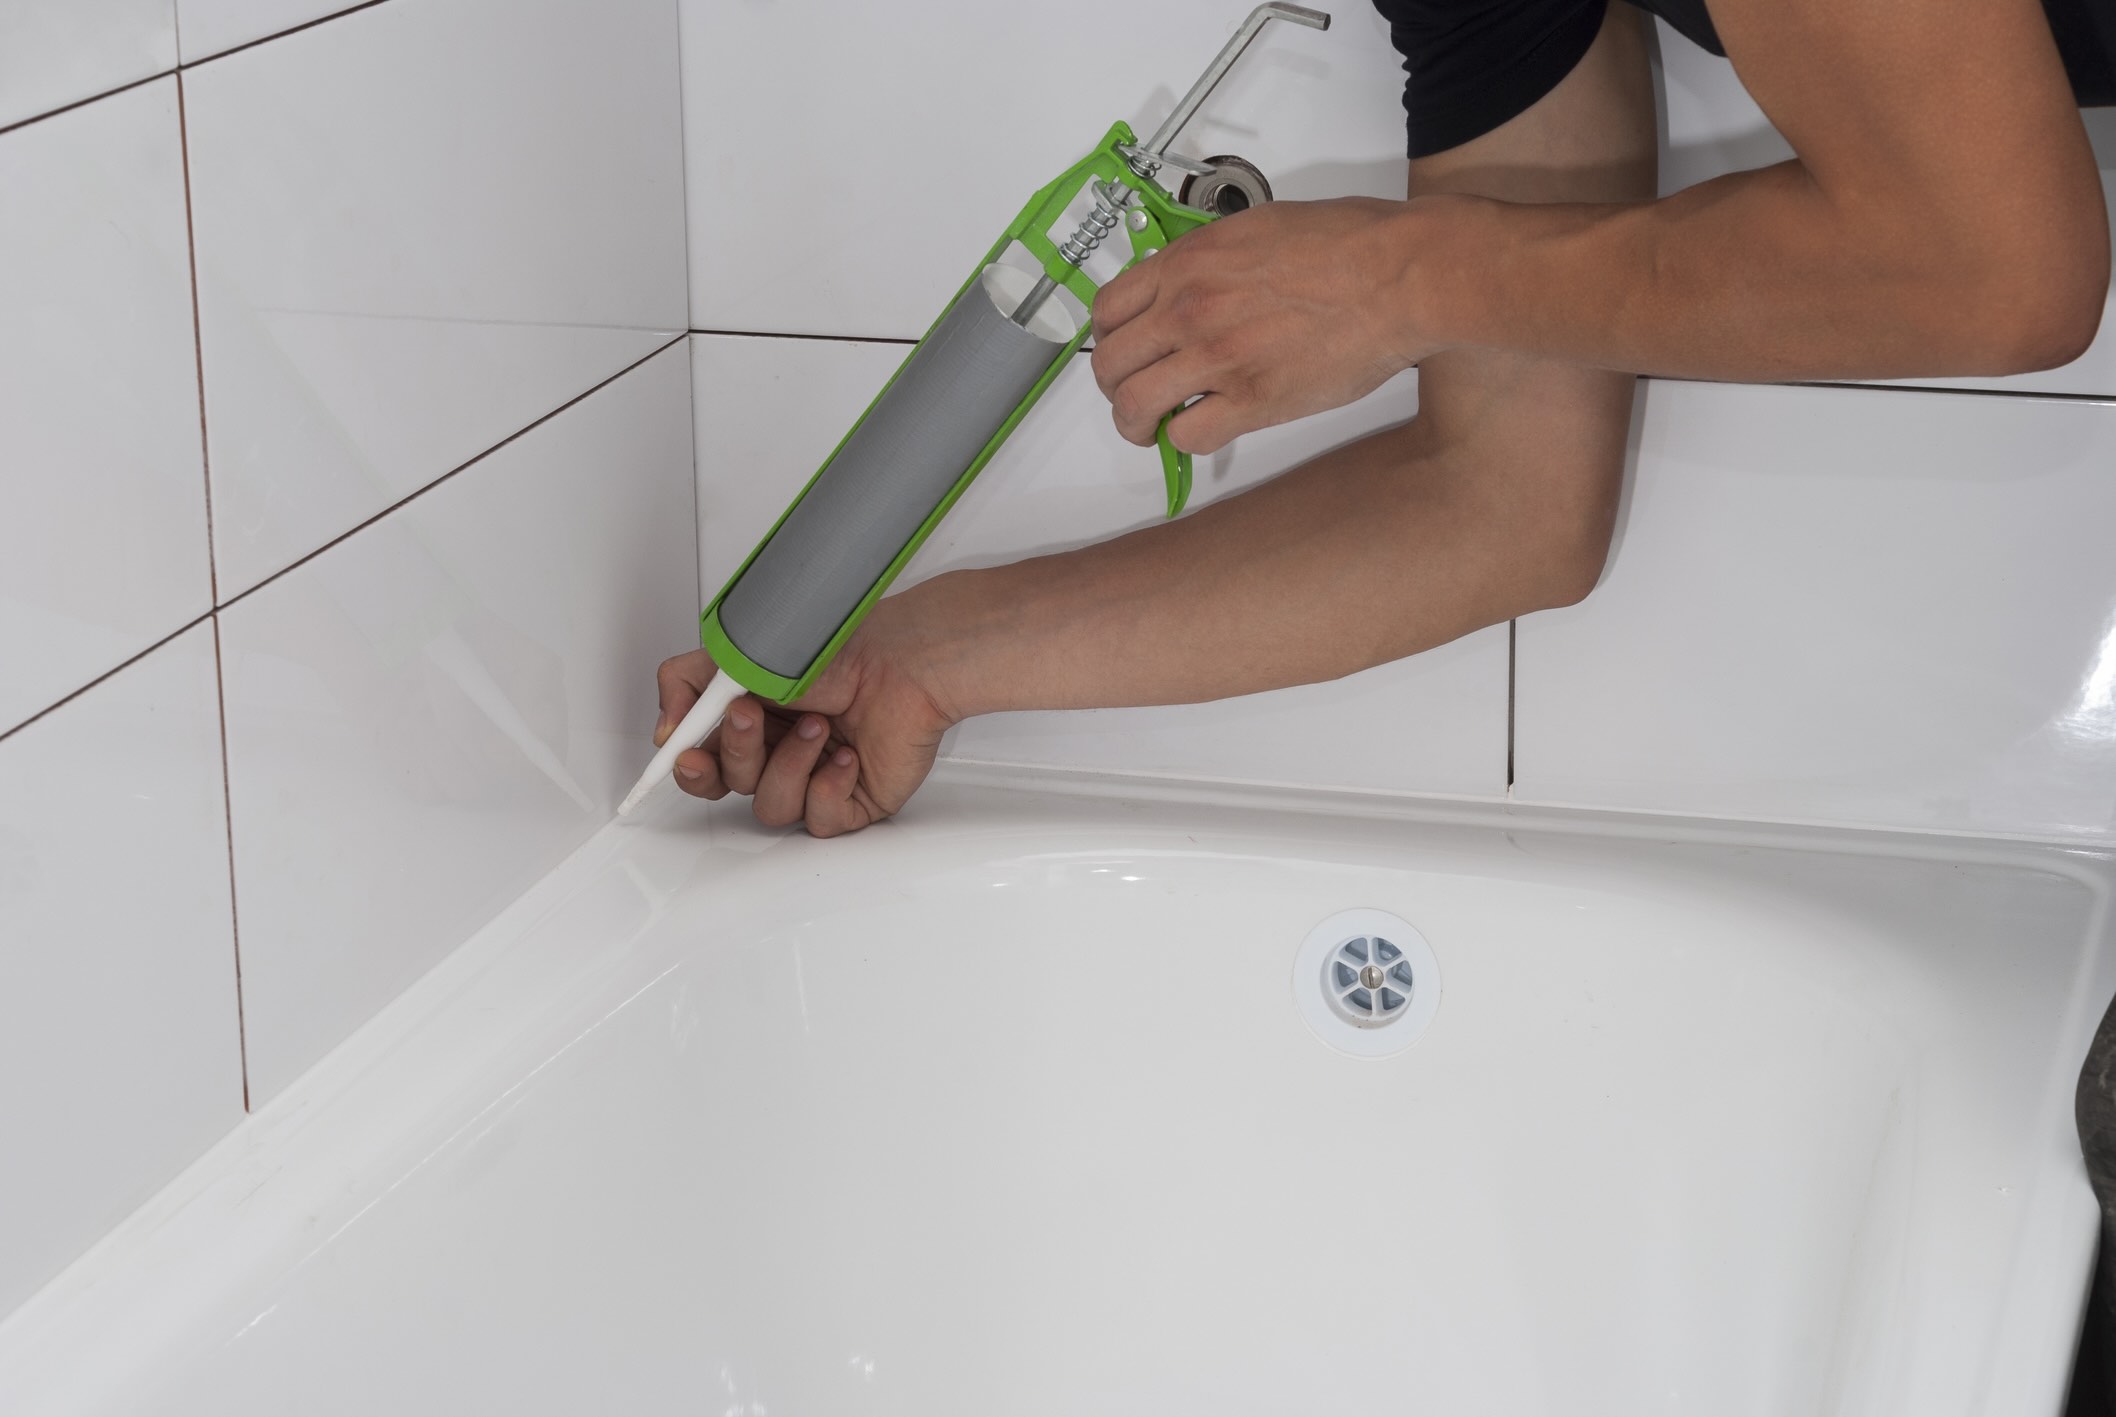
1. Using Caulk:
Caulk is a versatile material that can be used to fill smaller gaps. It is easy to apply and dries relatively quickly. Begin by cutting the tip of the caulk tube at a 45-degree angle, then load the tube into a caulk gun. Apply a smooth and even bead of caulk into the gap, using the gun’s pressure to control the flow. Use a putty knife or your finger to remove any excess caulk and create a smooth finish. Once the caulk is dry, you can paint over it to blend it with the surrounding surfaces.
2. Installing Crown Molding:
Crown molding is an elegant solution for filling larger gaps while adding a decorative touch to the room. It involves installing a molding piece along the junction of the wall and ceiling. Measure the length of the gap and cut the crown molding accordingly using a miter saw. Apply a construction adhesive to the back of the molding and press it firmly against the wall and ceiling. Secure it further with finishing nails, and fill any gaps or nail holes with wood filler. Once the molding is in place and the filler is dry, you can paint or stain the molding to match your desired finish.
3. Using Joint Compound:
Joint compound, also known as drywall mud, is an excellent choice for filling larger gaps. It creates a smooth and seamless finish when properly applied. Start by applying a thin layer of joint compound to the gap using a putty knife. Press the compound firmly into the gap, ensuring it is fully filled. Once the initial layer is dry, apply additional coats as needed to create a smooth and even finish. Sand the surface between coats to achieve a seamless result. After the final coat is dry, you can paint over the joint compound to blend it with the surrounding wall and ceiling.
4. Using Foam Backer Rod:
If the gap is larger and more irregular in shape, using foam backer rod in conjunction with caulk or joint compound can provide a more effective seal. Begin by inserting the foam backer rod into the gap until it sits just below the surface. Then, apply caulk or joint compound over the foam backer rod, ensuring it fills the gap completely. Smooth the filling material with a putty knife and remove any excess. Once the filling material is dry, you can paint over it for a seamless finish.
5. Applying Drywall Tape:
For larger gaps that require reinforcement, applying drywall tape can help create a strong and durable seal. Start by applying a layer of joint compound to the gap using a putty knife. Place the drywall tape over the fresh compound, ensuring it covers the entire length of the gap. Press the tape into the compound to create a strong bond. Apply another layer of joint compound over the tape, smoothing it with the putty knife. Repeat this process until the gap is properly filled and the tape is covered. Sand the surface for a seamless finish, and then apply a coat of primer and paint to match the surrounding wall and ceiling.
Choose the method that best suits your needs and the size of the gap. With proper application and attention to detail, these methods will help you achieve a seamless and professional-looking finish in filling the gap between a wall and a ceiling.
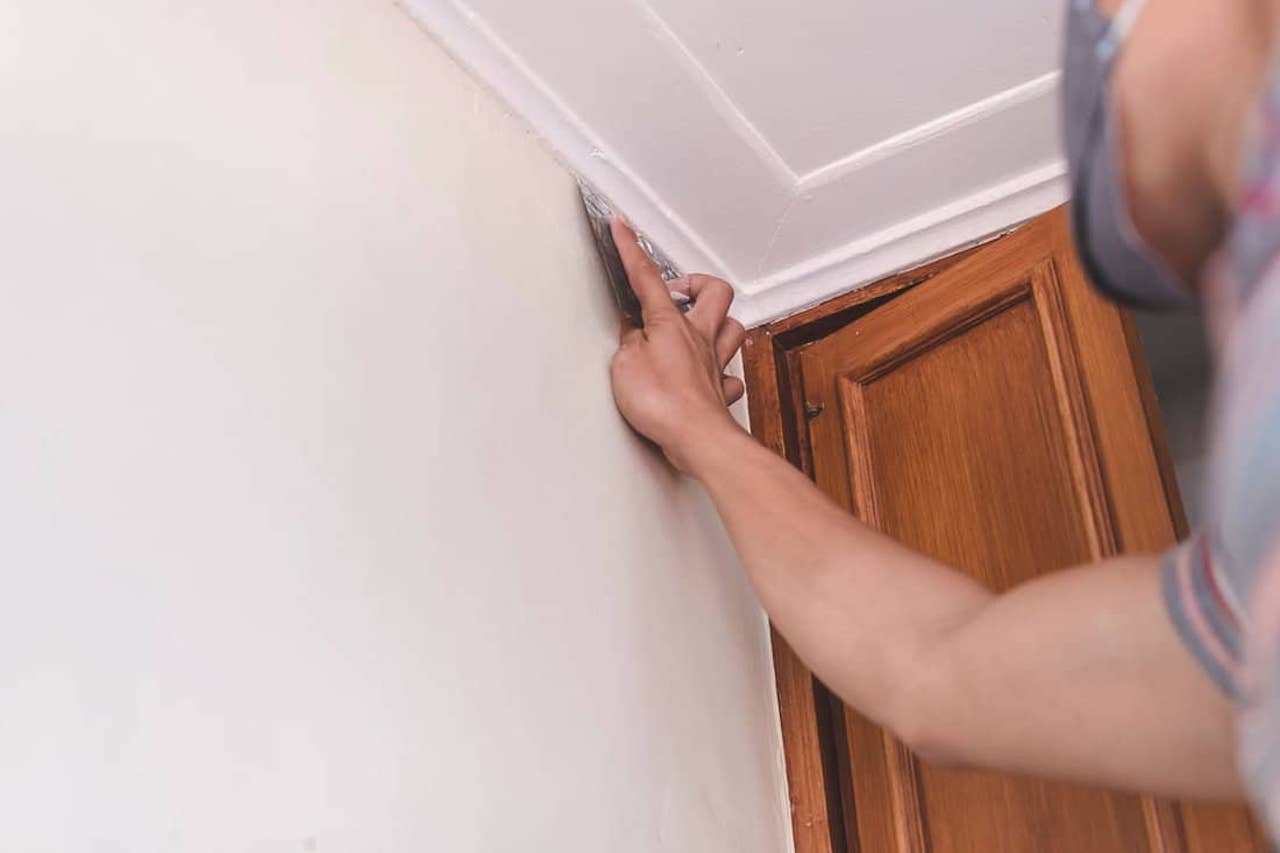
Technique 1: Using Caulk
Using caulk is a popular and straightforward method for filling smaller gaps between a wall and a ceiling. It is a versatile material that provides an effective seal and creates a seamless finish. Here’s a step-by-step guide on using caulk to fill the gap:
1. Gather the necessary materials: Before you begin, make sure you have all the tools and materials required for this technique. These include a caulk gun, a tube of caulk that matches the color of your walls or ceiling, a putty knife, and a damp cloth for cleanup.
2. Prepare the area: Clean the gap and the surrounding area, making sure to remove any loose debris or old caulk. A clean surface will allow the new caulk to adhere properly and create a strong bond.
3. Cut and load the caulk tube: Using a utility knife, cut the tip of the caulk tube at a 45-degree angle. The size of the tip will determine the width of the caulk bead. Insert the caulk tube into the caulk gun, ensuring it is securely in place.
4. Apply the caulk: Hold the caulk gun at a 45-degree angle and slowly squeeze the trigger, applying a smooth and consistent bead of caulk into the gap. Move the caulk gun steadily along the length of the gap, ensuring that the caulk fills it completely. Apply enough caulk to slightly overfill the gap.
5. Smooth and remove excess caulk: Using a putty knife or your finger, gently press the caulk into the gap to ensure good adhesion. Drag the putty knife over the filled gap to level the caulk and remove any excess. Be careful not to remove too much caulk or create uneven spots.
6. Clean up: Immediately after applying the caulk, use a damp cloth to wipe away any excess caulk from the wall or ceiling surfaces. Wipe in a smooth and controlled motion to ensure a clean finish. Keep the cloth damp to prevent the caulk from smearing or sticking to the cloth.
7. Allow the caulk to dry: Follow the manufacturer’s instructions for drying time, which can typically range from several hours to a day. Avoid touching or disturbing the caulk during this time to ensure it sets properly.
8. Paint, if desired: Once the caulk is completely dry, you can paint over it to match the surrounding wall or ceiling. Use a high-quality paint that is suitable for the specific surface, and apply it evenly with a brush or roller. Allow the paint to dry completely before considering the job complete.
Using caulk is a quick and cost-effective method for filling smaller gaps between a wall and a ceiling. It provides a seamless and professional finish while effectively sealing the gap to prevent drafts, dust, and pests from entering the room. With a little practice, you can achieve great results using this technique.
Use a flexible caulk to fill the gap between the wall and ceiling. Cut the caulk tube tip at a 45-degree angle, apply the caulk, and smooth it with a damp finger for a clean finish.
Technique 2: Installing Crown Molding
Installing crown molding is an elegant and decorative solution for filling the gap between a wall and a ceiling. It not only hides the gap but also adds a touch of sophistication to the room. Here’s a step-by-step guide on how to install crown molding:
1. Gather the necessary materials: Before you begin, ensure that you have all the tools and materials required for installing crown molding. These include the crown molding itself, a miter saw for cutting the molding to the correct angles, a coping saw for intricate cuts, construction adhesive, finishing nails, a hammer or nail gun, a level, and a measuring tape.
2. Measure and cut the molding: Measure the length of the gap where you plan to install the crown molding. Using a miter saw, cut the molding at a 45-degree angle to create the first piece. Remember to cut the molding with the correct orientation so that it sits flush against the wall and ceiling. Repeat this step for the remaining pieces, ensuring that each piece is cut at the correct angle for a tight fit at the junction.
3. Apply construction adhesive: Apply small dots or a continuous line of construction adhesive to the back of the crown molding. This will help secure it to the wall and ceiling. Be sure to place the adhesive near the edges and middle of the molding to ensure proper adhesion.
4. Press the molding into place: Carefully press the crown molding against the wall and ceiling, ensuring that it aligns with the gap evenly. Use a level to ensure that the molding is straight. Press firmly along the length of the molding to ensure good contact with the adhesive.
5. Secure with finishing nails: To further secure the crown molding, use finishing nails along the length. Hammer the nails at an angle into the molding, making sure they penetrate the wall studs or ceiling joists. Alternatively, you can use a nail gun for a quicker and more efficient process.
6. Fill nail holes and gaps: After securing the crown molding, use wood filler to fill any nail holes and gaps between the molding and the wall or ceiling. Smooth the wood filler with a putty knife and allow it to dry according to the manufacturer’s instructions. Then, sand the filled areas to create a seamless surface.
7. Paint or stain the molding: Once the wood filler is dry and sanded, you can paint or stain the crown molding to match your desired finish. Choose a high-quality paint or stain that is suitable for the material of the molding, and apply it evenly with a brush or roller. Allow the paint or stain to dry completely before considering the installation complete.
Installing crown molding requires precision and attention to detail, but the outcome can be stunning. It not only fills the gap between a wall and a ceiling but also enhances the overall aesthetic of the room. With the right tools and patience, you can achieve a professional and polished look using this technique.
Technique 3: Using Joint Compound
Using joint compound, also known as drywall mud, is an effective method for filling larger gaps between a wall and a ceiling. It allows for a smooth and seamless finish, creating a seamless transition between the two surfaces. Here’s a step-by-step guide on using joint compound to fill the gap:
1. Gather the necessary materials: Before you begin, gather all the tools and materials required for this technique. You will need joint compound, a putty knife, sandpaper, a utility knife, a damp cloth for cleanup, and a container for mixing the joint compound if necessary.
2. Prepare the joint compound: If using premixed joint compound, skip to the next step. If you have a powdered joint compound, mix it with water according to the manufacturer’s instructions in a clean container. Stir the mixture until it forms a smooth and creamy consistency. Ensure there are no lumps or air bubbles in the joint compound.
3. Apply the joint compound: Using a putty knife, apply a thin layer of joint compound to the gap between the wall and the ceiling. Press the compound firmly into the gap, ensuring it fills it completely. Use the putty knife to smooth the joint compound along the length of the gap, removing any excess and creating a level surface. Fill the gap slightly above the surrounding wall and ceiling surfaces.
4. Let the joint compound dry: Allow the joint compound to dry according to the manufacturer’s instructions. This can take several hours or overnight, depending on the thickness of the applied layer and the humidity in the room. Avoid touching the joint compound during the drying process to prevent any damage or imperfections.
5. Sand the surface: Once the joint compound is completely dry, use sandpaper to smooth the surface. Begin with coarse-grit sandpaper to remove any high spots or rough edges, then switch to finer-grit sandpaper for a smoother finish. Sand gently and in a circular motion, being careful not to sand too aggressively and damage the surrounding surfaces. Wipe away any dust with a damp cloth after sanding.
6. Apply additional layers if needed: Depending on the size of the gap, multiple layers of joint compound may be necessary. If there are still visible indentations or gaps after the first layer has dried and been sanded, repeat the application process. Apply subsequent layers of joint compound, making sure to feather the edges to create a seamless transition between the filled area and the surrounding surfaces. Allow each layer to dry and sand before applying the next.
7. Clean up: After you have achieved a smooth and seamless finish, clean up any remaining dust or debris using a damp cloth. Ensure the area is clean and dry before considering the job complete.
8. Paint or finish: Once the joint compound is dry and the surface is smooth, you can paint or finish the filled gap to match the surrounding wall and ceiling. Apply a coat of primer and then your desired paint color, using a brush or roller for an even application. Allow the paint to dry completely before considering the project complete.
Using joint compound may require patience and multiple applications, but it is a reliable method for filling larger gaps. With proper techniques and attention to detail, you can achieve a seamless and professional finish that seamlessly blends the wall and ceiling together.
Technique 4: Using Foam Backer Rod
If you have a larger and irregular gap between a wall and a ceiling, using foam backer rod in combination with caulk or joint compound can provide an effective seal and create a seamless finish. Foam backer rod acts as a filler and helps prevent the caulk or joint compound from sinking into the gap. Here’s a step-by-step guide on using foam backer rod:
1. Gather the necessary materials: Before starting, ensure that you have all the tools and materials required for this technique. You will need foam backer rod, caulk or joint compound, a caulk gun, a putty knife, a utility knife, sandpaper, a damp cloth for cleanup, and a container for mixing the joint compound if necessary.
2. Measure and cut the foam backer rod: Measure the length of the gap and cut the foam backer rod to the same length. Use a utility knife to ensure a clean and precise cut. The foam backer rod should fit snugly into the gap without being compressed.
3. Insert the foam backer rod: Gently push the foam backer rod into the gap until it is flush with the surface. The foam backer rod should sit just below the level of the wall and ceiling, allowing space for the caulk or joint compound to be applied on top.
4. Apply caulk or joint compound: Using a caulk gun, apply a bead of caulk or a layer of joint compound over the foam backer rod. Ensure that the caulk or joint compound fully fills the remaining space in the gap. Use a putty knife to smooth the caulk or joint compound, creating a level surface that blends with the surrounding wall and ceiling.
5. Allow drying time: Follow the drying time instructions provided by the manufacturer of the caulk or joint compound. This can vary depending on the chosen material and the thickness of the applied layer. Avoid touching or disturbing the caulk or joint compound during the drying process.
6. Sand the surface: Once the caulk or joint compound is completely dry, use sandpaper to smooth the surface, feathering the edges to create a seamless transition between the filled gap and the surrounding surfaces. Sand gently in a circular motion, being careful not to damage the surrounding areas. Wipe away any dust with a damp cloth after sanding.
7. Repeat if necessary: Depending on the size of the gap, you may need to repeat the application of caulk or joint compound and sanding until a smooth and seamless finish is achieved. Apply subsequent layers, allowing drying time in between, until the gap is properly filled.
8. Clean up: After achieving a smooth finish, clean up any remaining dust or debris using a damp cloth. Ensure the area is clean and dry before considering the job complete.
9. Paint or finish: Once the filled gap is dry and clean, you can paint or finish it to match the surrounding wall and ceiling. Apply a coat of primer followed by your desired paint color, using a brush or roller for even application. Allow the paint to dry completely before considering the project complete.
Using foam backer rod in combination with caulk or joint compound is an effective technique for filling larger and irregular gaps. It provides added support to the filling material, ensuring a strong seal and a seamless finish. With attention to detail and patience, you can achieve a professional-looking result that blends the wall and ceiling together seamlessly.
Technique 5: Applying Drywall Tape
When dealing with larger gaps between a wall and a ceiling, using drywall tape in conjunction with joint compound can provide a strong and durable seal. Drywall tape reinforces the joint and helps create a smooth and seamless finish. Here’s a step-by-step guide on applying drywall tape:
1. Gather the necessary materials: Before you begin, make sure you have all the tools and materials required for this technique. These include drywall tape, joint compound, a putty knife, sandpaper, a utility knife, a damp cloth for cleanup, and a container for mixing the joint compound if necessary.
2. Prepare the area: Clean the gap and the surrounding area, removing any loose debris or old caulk. A clean surface will ensure proper adhesion of the drywall tape and joint compound. Smooth any rough or uneven edges using sandpaper.
3. Cut the drywall tape: Measure the length of the gap and cut the drywall tape to the required length using a utility knife. Drywall tape is available in different widths, so choose one that suits the size of your gap. Cut the tape slightly longer than the length of the gap to ensure full coverage.
4. Apply the joint compound: Using a putty knife, apply a thin layer of joint compound to the entire length of the gap. The layer should be slightly wider than the width of the drywall tape. Make sure the joint compound fully covers the gap and extends beyond it.
5. Place the drywall tape: While the joint compound is still wet, carefully place the drywall tape over the gap, pressing it into the compound. Ensure that the tape is centered along the length of the gap and fully adheres to the joint compound. Use the putty knife to smooth out any air bubbles or wrinkles in the tape.
6. Apply another layer of joint compound: Use the putty knife to apply a second layer of joint compound over the drywall tape. This layer should be slightly wider than the first layer, extending beyond the edges of the tape. Feather the edges of the joint compound to create a smooth transition between the filled area and the surrounding surfaces.
7. Let the joint compound dry: Allow the joint compound to dry completely according to the manufacturer’s instructions. This can take several hours or overnight, depending on the thickness of the applied layers and the humidity in the room. Avoid touching or disturbing the joint compound during the drying process.
8. Sand the surface: Once the joint compound is dry, use sandpaper to smooth the surface. Start with coarse-grit sandpaper to remove any high spots or imperfections, then switch to finer-grit sandpaper for a smoother finish. Sand gently in a circular motion, being careful not to damage the surrounding surfaces. Wipe away any dust with a damp cloth after sanding.
9. Apply additional layers if needed: Depending on the size and depth of the gap, you may need to apply additional layers of joint compound and sanding. Repeat the process of applying joint compound, smoothing it over the tape, and allowing it to dry before sanding. Continue until a smooth and seamless finish is achieved.
10. Clean up: After achieving a smooth finish, clean up any remaining dust or debris using a damp cloth. Ensure the area is clean and dry before considering the job complete.
11. Paint or finish: Once the joint compound is dry and the surface is smooth, you can paint or finish the filled gap to match the surrounding wall and ceiling. Apply a coat of primer and then your desired paint color, using a brush or roller for an even application. Allow the paint to dry completely before considering the project complete.
Using drywall tape with joint compound is a reliable technique for filling larger gaps and achieving a strong and seamless finish. With attention to detail and proper application, you can create a professional-looking result that seamlessly blends the wall and ceiling together.
Finishing and Sanding the Filled Gap
Once you have filled the gap between a wall and a ceiling using your chosen technique, the next step is to finish and sand the filled area. This process ensures a seamless transition between the filled gap and the surrounding surfaces. Here’s a step-by-step guide on how to finish and sand the filled gap:
1. Inspect the filled gap: Take a close look at the filled gap to ensure that the filling material has dried completely. Check for any uneven spots, ridges, or imperfections that may need further attention before moving on to the finishing and sanding process.
2. Fill any remaining gaps or holes: If you notice any small gaps, nail holes, or imperfections in the filled gap, apply a small amount of the chosen filling material (such as caulk, joint compound, or wood filler) to these areas. Use a putty knife or your finger to smooth and level the filling material. Allow it to dry completely.
3. Sand the filled gap: Use sandpaper to carefully sand the filled gap and its surrounding area. Start with a coarse-grit sandpaper and gently sand the filled area in a circular motion. This will help level any uneven spots and smooth out the surface. Gradually switch to finer-grit sandpaper to achieve a smoother finish. Always sand in the direction of the gap, taking care not to oversand or damage the surrounding surfaces.
4. Feather the edges: Pay close attention to feathering the edges of the filled gap. This means gradually sanding the edges of the filling material, blending it smoothly into the surrounding wall and ceiling. Feathering the edges will help create a seamless and natural transition between the filled gap and the adjacent surfaces.
5. Clean up the dust: After sanding, use a damp cloth or vacuum cleaner to clean up any dust created during the sanding process. Wipe the surface gently to remove any remaining sanding residue, ensuring a clean and smooth finish.
6. Inspect and touch up: Take a final look at the filled gap and its surroundings. If you notice any areas that still appear uneven or need further sanding, repeat the sanding process until you achieve the desired smoothness. Touch up any spots that may require a bit more filling material and leveling. Allow the touch-up to dry completely before proceeding.
7. Prime and paint: Once you are satisfied with the smoothness of the filled gap, apply a coat of primer to the entire surface, including the filled area and the surrounding wall and ceiling. Priming will help ensure an even and consistent paint application. After the primer has dried, apply your chosen paint color to the entire surface. Use a brush or roller for an even coat, making sure to feather the paint edges to blend with the rest of the wall and ceiling.
By carefully finishing and sanding the filled gap, you will achieve a seamless and professional-looking result. Taking your time, paying attention to detail, and using the appropriate techniques will ensure that the filled gap blends with the surrounding surfaces, creating a cohesive and aesthetically pleasing finish.
Conclusion
Filling the gap between a wall and a ceiling is a task that may be necessary to achieve a seamless and polished finish in your home or office. Understanding the nature of the gap and the reasons behind its occurrence is crucial in determining the most suitable method for filling and repairing it.
In this comprehensive guide, we have explored various techniques for filling the gap between a wall and a ceiling, including using caulk, installing crown molding, applying joint compound, using foam backer rod, and incorporating drywall tape. Each technique has its own advantages and suitability based on the size of the gap, desired finish, and personal preference.
Regardless of the technique you choose, proper preparation is key. Cleaning the area, removing old caulk or filler, and ensuring a smooth surface will pave the way for a successful filling process. Gathering the necessary tools and materials, including caulk, joint compound, molding, or backer rod, will ensure a smooth and efficient workflow.
During the filling process, attention to detail is important. Applying the filling material evenly, smoothing it out, and removing any excess will help achieve a seamless and professional-looking finish. Once the gap is filled, it is essential to allow adequate drying or setting time before proceeding to the sanding and finishing stage.
Sanding the filled area, feathering the edges, and achieving a smooth surface are vital aspects of the process. Careful sanding ensures that the filled gap seamlessly blends with the surrounding wall and ceiling, creating a cohesive look. Lastly, applying primer and paint further enhances the overall aesthetics of the filled area, resulting in a polished and visually pleasing outcome.
By following the steps outlined in this guide and using the techniques that best suit your needs, you can successfully fill the gap between a wall and a ceiling, achieving a professional and seamless finish in your living or work space.
Remember, practice, patience, and attention to detail are key to obtaining a flawless result. So go ahead, tackle that gap with confidence, and enjoy the transformed look of your room!
Now that you've mastered filling gaps between walls and ceilings, why not tackle more intricate home maintenance tasks? Our guide on home repair offers practical advice for fixing a range of common household issues. Whether you're dealing with a leaky faucet or patching up drywall, our step-by-step strategies will help you get the job done right. Don't let small repairs accumulate; learn to address them swiftly and efficiently with our expert tips.
Frequently Asked Questions about How To Fill Gap Between Wall And Ceiling
Was this page helpful?
At Storables.com, we guarantee accurate and reliable information. Our content, validated by Expert Board Contributors, is crafted following stringent Editorial Policies. We're committed to providing you with well-researched, expert-backed insights for all your informational needs.


0 thoughts on “How To Fill Gap Between Wall And Ceiling”