
Articles
How To Fix Ceiling Fan Light
Modified: January 18, 2024
Learn how to fix your ceiling fan light with our helpful articles. Get step-by-step instructions and troubleshooting tips to solve common issues.
(Many of the links in this article redirect to a specific reviewed product. Your purchase of these products through affiliate links helps to generate commission for Storables.com, at no extra cost. Learn more)
Introduction
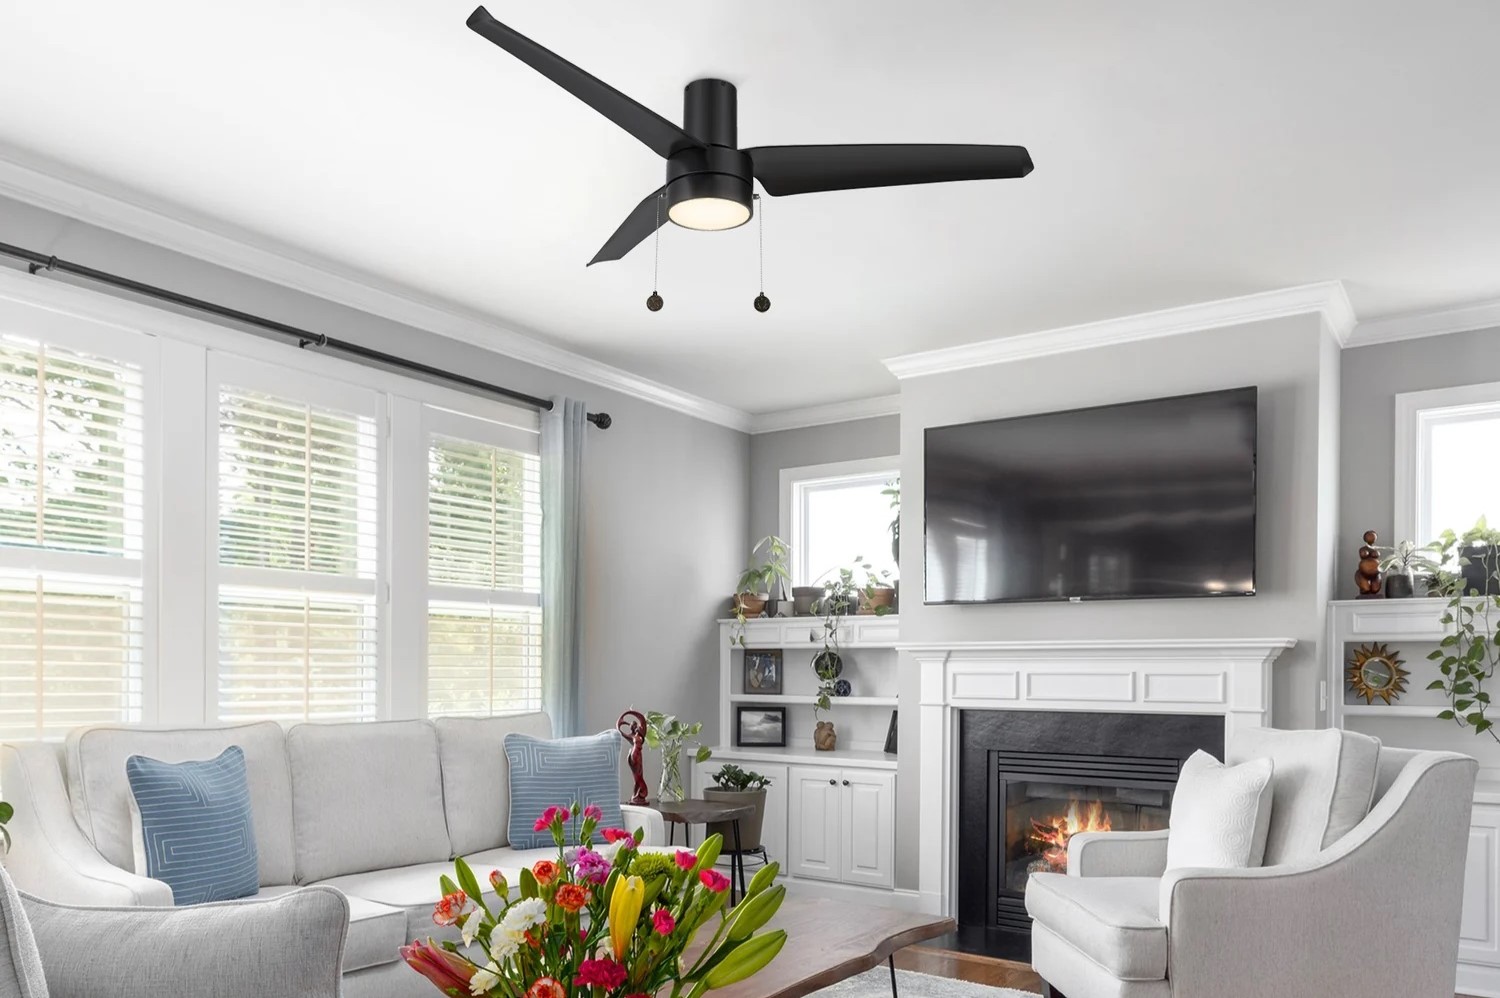
Ceiling fans are not only functional but also add style and character to any room. They can provide a cool breeze in the summer and distribute warm air during the winter months. Along with providing a refreshing airflow, many ceiling fans are equipped with built-in lights to illuminate the space below. However, like any electrical appliance, ceiling fan lights can encounter issues from time to time.
It can be frustrating when the light on your ceiling fan stops working or flickers. Luckily, many common problems with ceiling fan lights can be resolved with a few simple steps and basic tools. In this article, we will walk you through the process of fixing a ceiling fan light.
Before you begin, it is important to emphasize safety. Always turn off the electricity to the ceiling fan at the circuit breaker before performing any work. Additionally, if you are not comfortable or confident in your abilities, it is recommended to hire a professional electrician to handle the task.
Now, let’s gather the tools and materials you will need for the repair.
Key Takeaways:
- Safety first! Always turn off the electricity and use the right tools when fixing a ceiling fan light. Inspect, replace, and test the bulb and wiring connections to ensure a successful repair.
- With patience and caution, you can troubleshoot and fix common ceiling fan light issues. Remember, if in doubt, seek professional assistance to ensure safety and proper repair.
Read more: How To Fix A Ceiling Fan Light Socket
Tools and Materials Required
Before you start fixing the ceiling fan light, you will need the following tools and materials:
- Screwdriver set: You will need a screwdriver to remove any screws holding the light cover in place.
- Replacement light bulb: If the issue is with a burnt-out bulb, you will need a new one to replace the old.
- Wire stripper: In case you need to cut and strip any wires during the repair.
- Electrical tape: Essential for insulating and securing any exposed wires.
- Step ladder: To safely reach and access the ceiling fan.
- Voltage tester: This tool is necessary to ensure the power has been properly turned off before working on the fan.
Once you have gathered all the necessary tools and materials, you are ready to begin troubleshooting and fixing the ceiling fan light.
Step 1: Turn Off Electricity
Safety is of utmost importance when working with electrical components. Before starting any repairs on your ceiling fan light, you must ensure that the electricity is switched off to prevent any accidents or electrical shocks.
To turn off the power to the ceiling fan, you’ll need to locate the circuit breaker panel in your home. This panel is usually located in the basement, utility room, or garage. It contains a series of switches or breakers that control the power supply to different areas of your home.
Look for the breaker that corresponds to the ceiling fan and lights. It may be labeled as “Ceiling Fan” or “Lighting.” Flip the switch to the “off” position to cut off the power supply.
As an extra precaution, it is highly recommended to use a voltage tester to verify that the power has indeed been disconnected. This small handheld device can detect the presence of electrical current and ensure that it is safe to proceed with the repair.
Double-check that the ceiling fan and lights are no longer operating by attempting to turn them on. If they do not respond, it indicates that the power has been successfully turned off.
With the electricity disabled, you can move on to the next steps of fixing your ceiling fan light. Always prioritize safety and proceed with caution to avoid any potential hazards.
Step 2: Remove the Light Cover
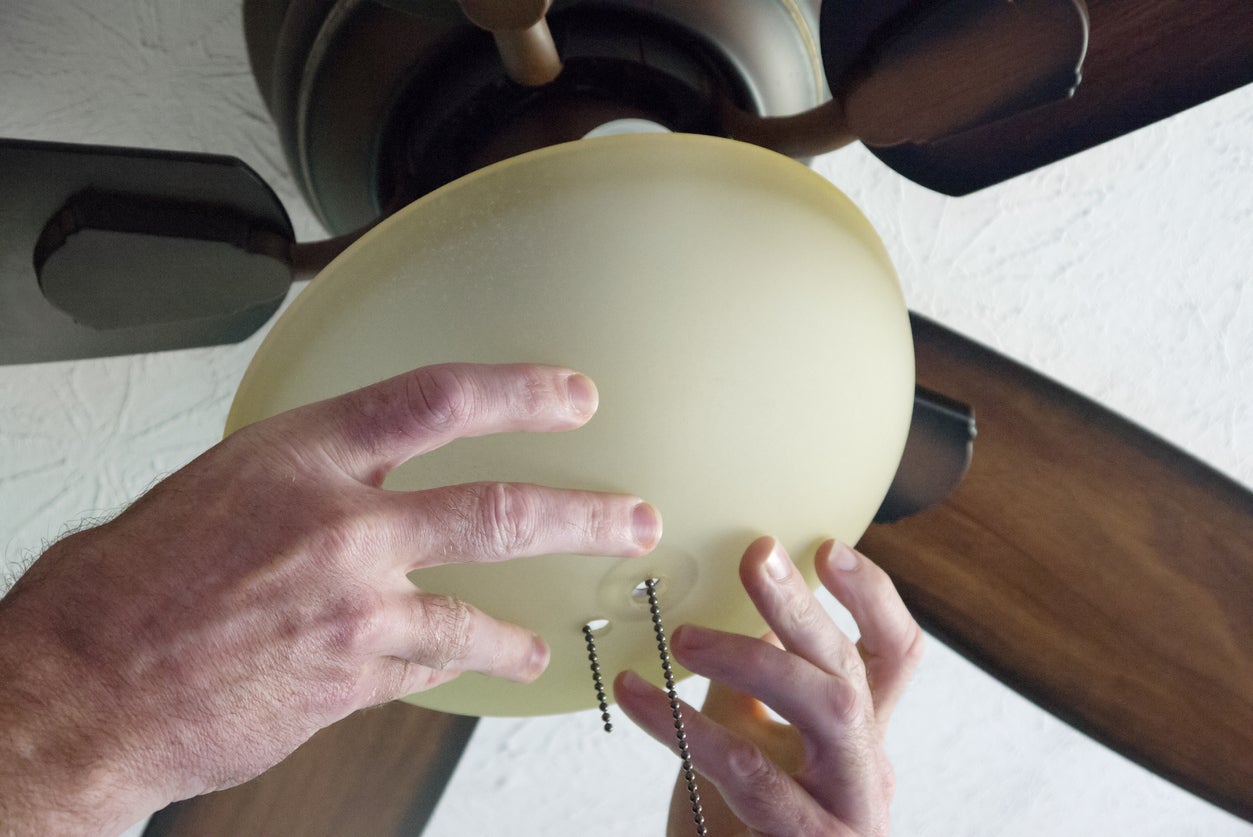
Once you have turned off the electricity, it’s time to remove the light cover to access the components of the ceiling fan light.
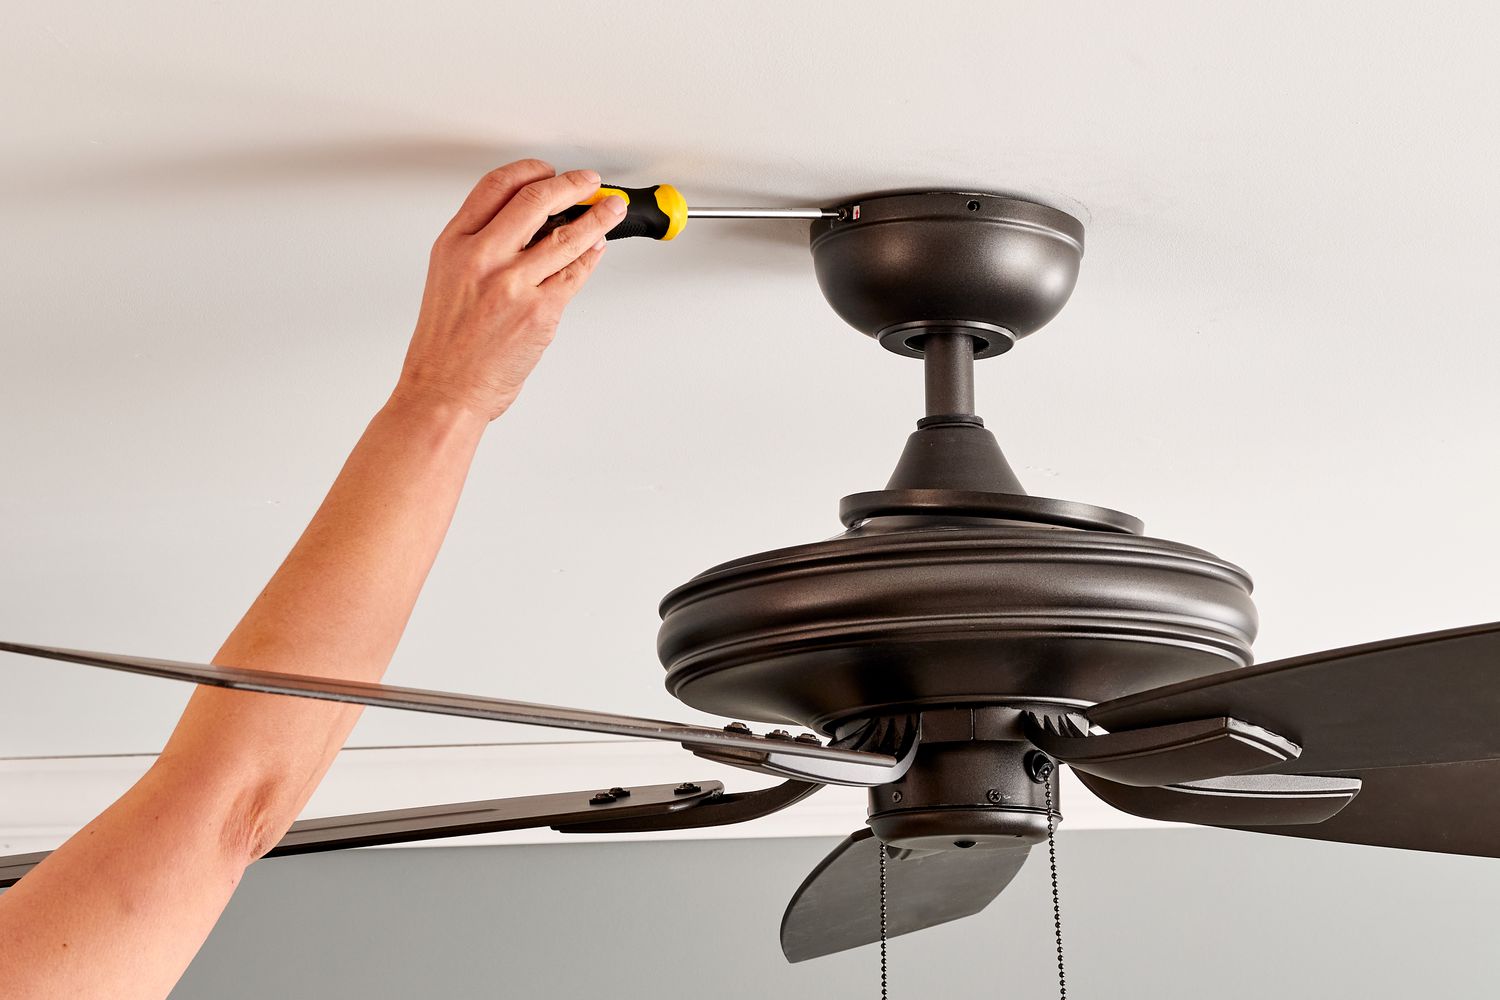
Start by locating the screws or fasteners that hold the light cover in place. These are typically located on the sides or bottom of the cover. Use a screwdriver that fits the type of screws or fasteners used and carefully remove them.
Place the screws or fasteners in a secure location, such as a small container, to prevent them from getting lost.
After removing the screws or fasteners, gently pull down on the light cover to detach it from the mounting bracket. Be cautious as you remove the cover, as it may have clips or hooks that need to be disengaged.
Set the light cover aside in a safe place where it won’t be damaged.
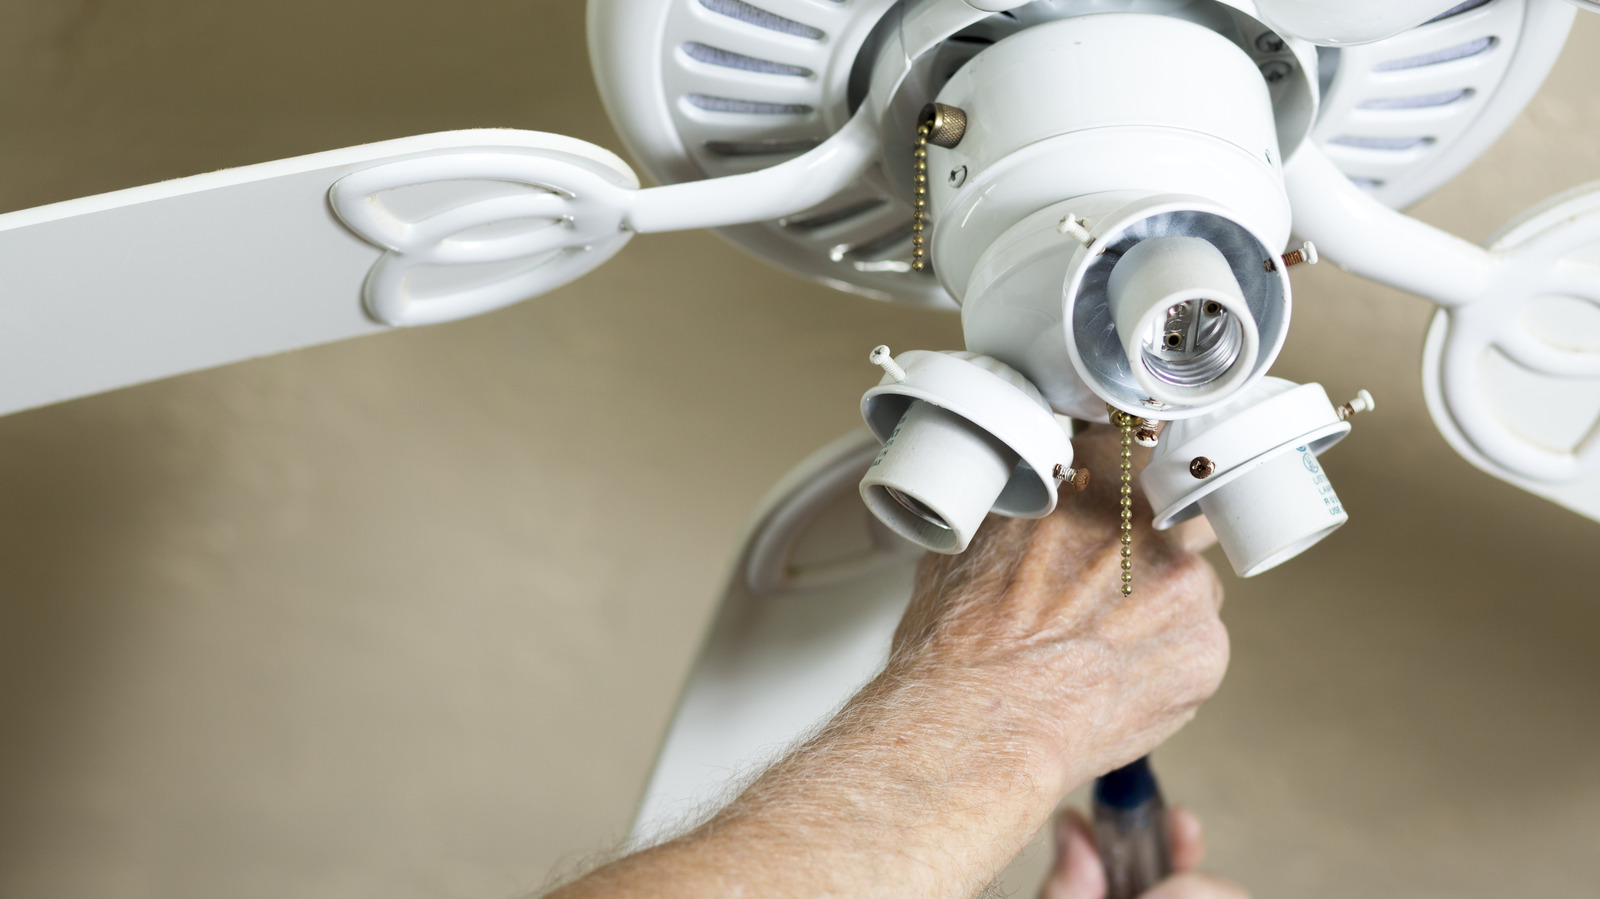
With the light cover removed, you will now have access to the internal components of the ceiling fan light. Take a moment to inspect the wiring and bulb to identify any obvious issues or damages. If the problem is not immediately apparent, proceed to the next step to further troubleshoot the problem.
Now that the light cover is off, you can move on to inspecting and replacing the bulb in the next step.
Step 3: Inspect and Replace the Bulb
After removing the light cover, it’s time to inspect the bulb. A burnt-out or faulty bulb is a common reason for a ceiling fan light to stop working.
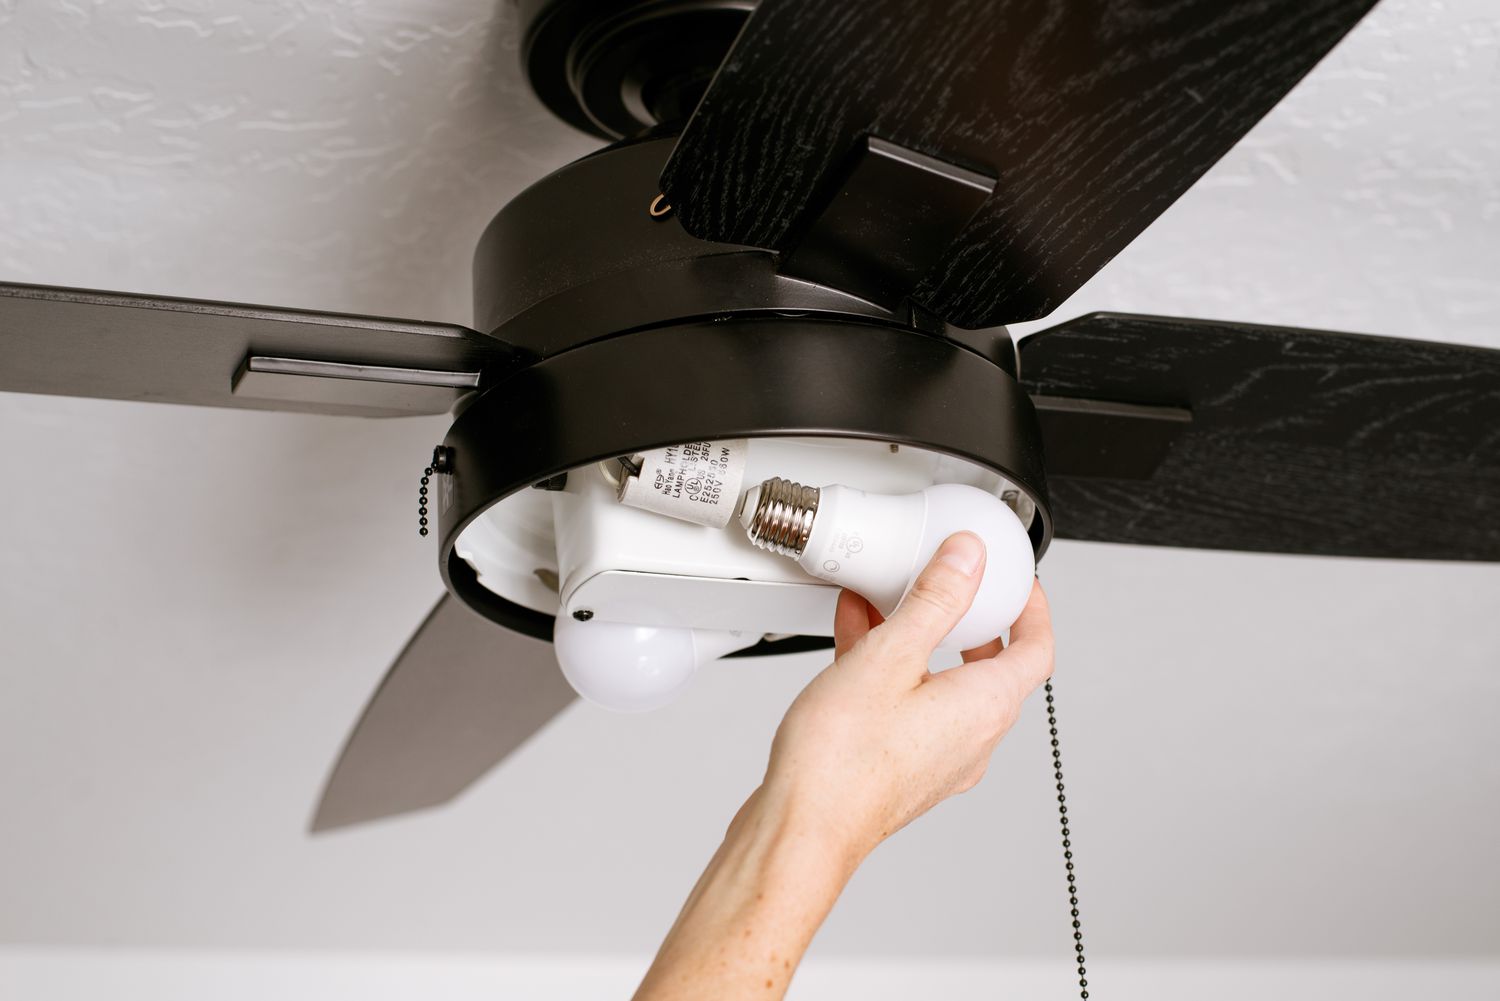
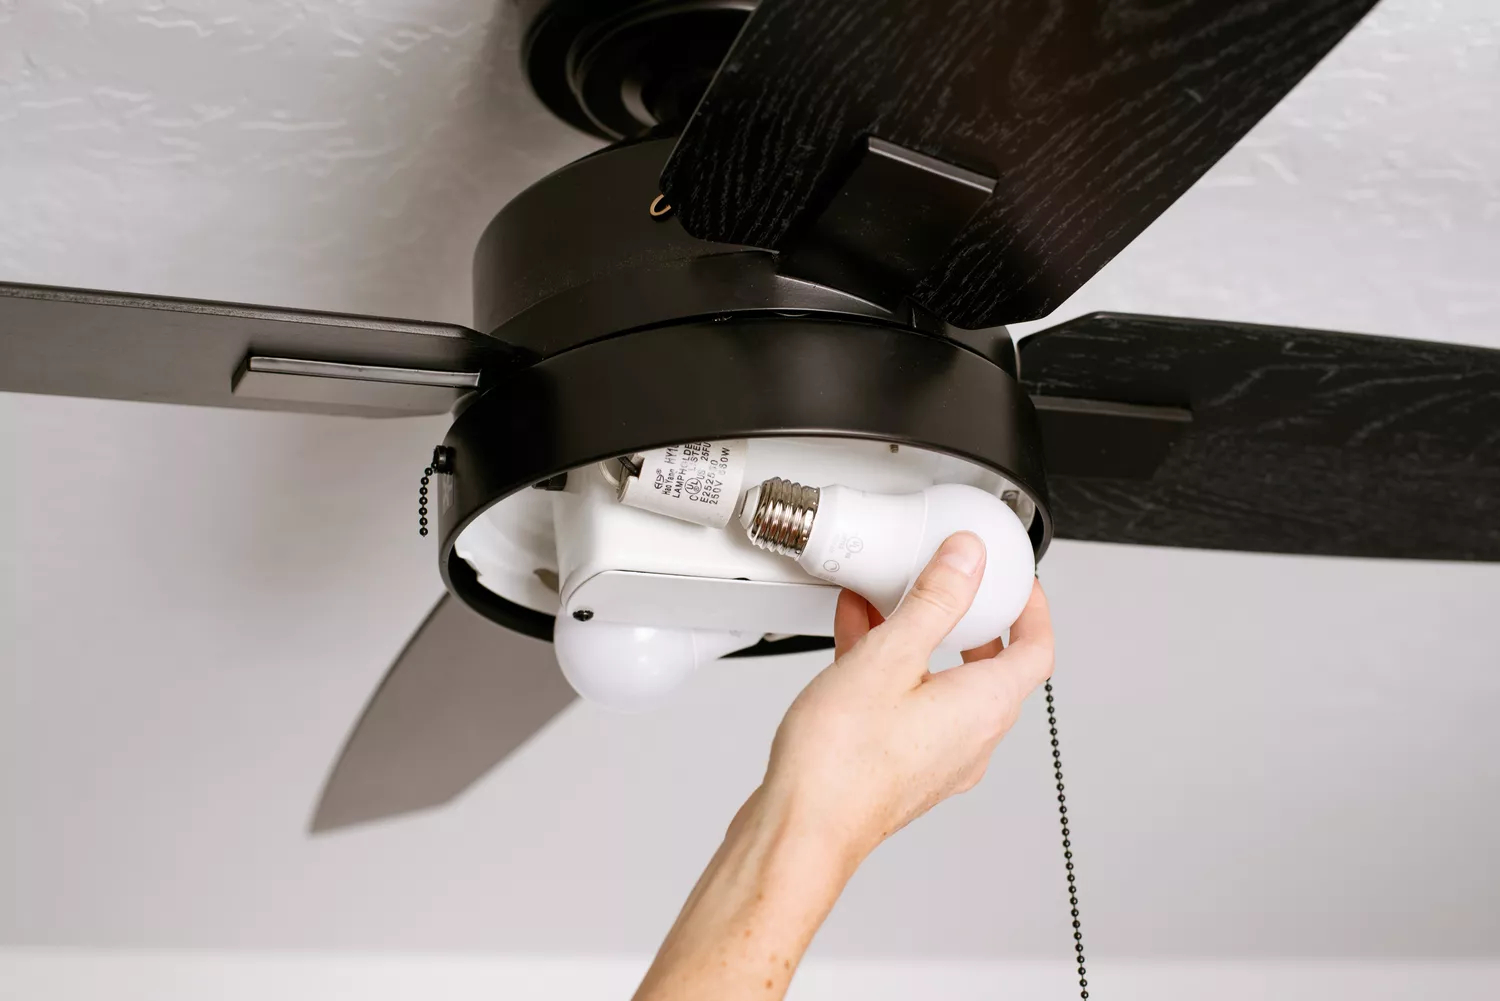
Begin by carefully removing the existing bulb from its socket. Twist it counterclockwise to unscrew it, and set it aside.
Take a close look at the bulb for any signs of damage, such as a broken filament or blackened areas. If you notice any visible issues, it’s time to replace the bulb.
Before selecting a replacement bulb, check the wattage and socket type recommended by the ceiling fan manufacturer. Using the wrong wattage or an incompatible socket type can cause problems and potentially damage the fan’s electrical system.
Choose a new bulb with the same wattage and socket type as the old one. Screw it into the socket in a clockwise direction until it is securely in place.
Once the new bulb is in position, give it a test by turning on the power to the ceiling fan. If the light illuminates, you have successfully replaced the bulb. If it still doesn’t work, proceed to the next step to check the wiring connections.
Now that you have inspected and replaced the bulb (if necessary), it’s time to move on to the next step to examine the wiring connections.
Check the light bulb and socket for any signs of damage or corrosion. If the bulb is fine, the issue may be with the wiring or the light kit itself. Consider consulting a professional electrician for further diagnosis and repair.
Step 4: Check the Wiring Connections
If replacing the bulb did not resolve the issue with your ceiling fan light, it’s time to inspect the wiring connections. Faulty or loose connections can disrupt the flow of electricity, causing the light to malfunction.
Before proceeding, ensure that the electricity to the ceiling fan is switched off to prevent any accidents or electrical shocks.
Examine the wiring connections inside the exposed area of the ceiling fan. Look for any loose or disconnected wires. If you notice any loose wires, use a wire stripper to remove a small portion of the insulation covering the wire ends.
Once the wire ends are exposed, twist them tightly together and secure them with a wire nut. Make sure the connection is secure and that no bare wires are exposed.
Inspect the other wiring connections in the ceiling fan, such as the connections between the light kit and the fan. Ensure that all the connections are secure and properly fastened.
If you notice any frayed or damaged wires during your inspection, it is crucial to replace them. Cut away the damaged portion of the wire using a wire cutter/stripper and strip a small portion of the insulation from the wire ends before reconnecting them.
After inspecting and repairing any faulty wiring connections, it’s time to test the functionality of the light again.
Remember to proceed with caution and prioritize safety throughout this process. If you’re unsure or uncomfortable working with electrical wires, it is recommended to seek the assistance of a professional electrician.
Now that you have checked and repaired the wiring connections, proceed to the next step to test the functionality of the ceiling fan light.
Step 5: Test the Light Functionality
With the bulb replaced and the wiring connections checked and repaired, it’s time to test the functionality of the ceiling fan light.
Before proceeding, ensure that the electricity to the ceiling fan is switched off to avoid any electrical hazards.
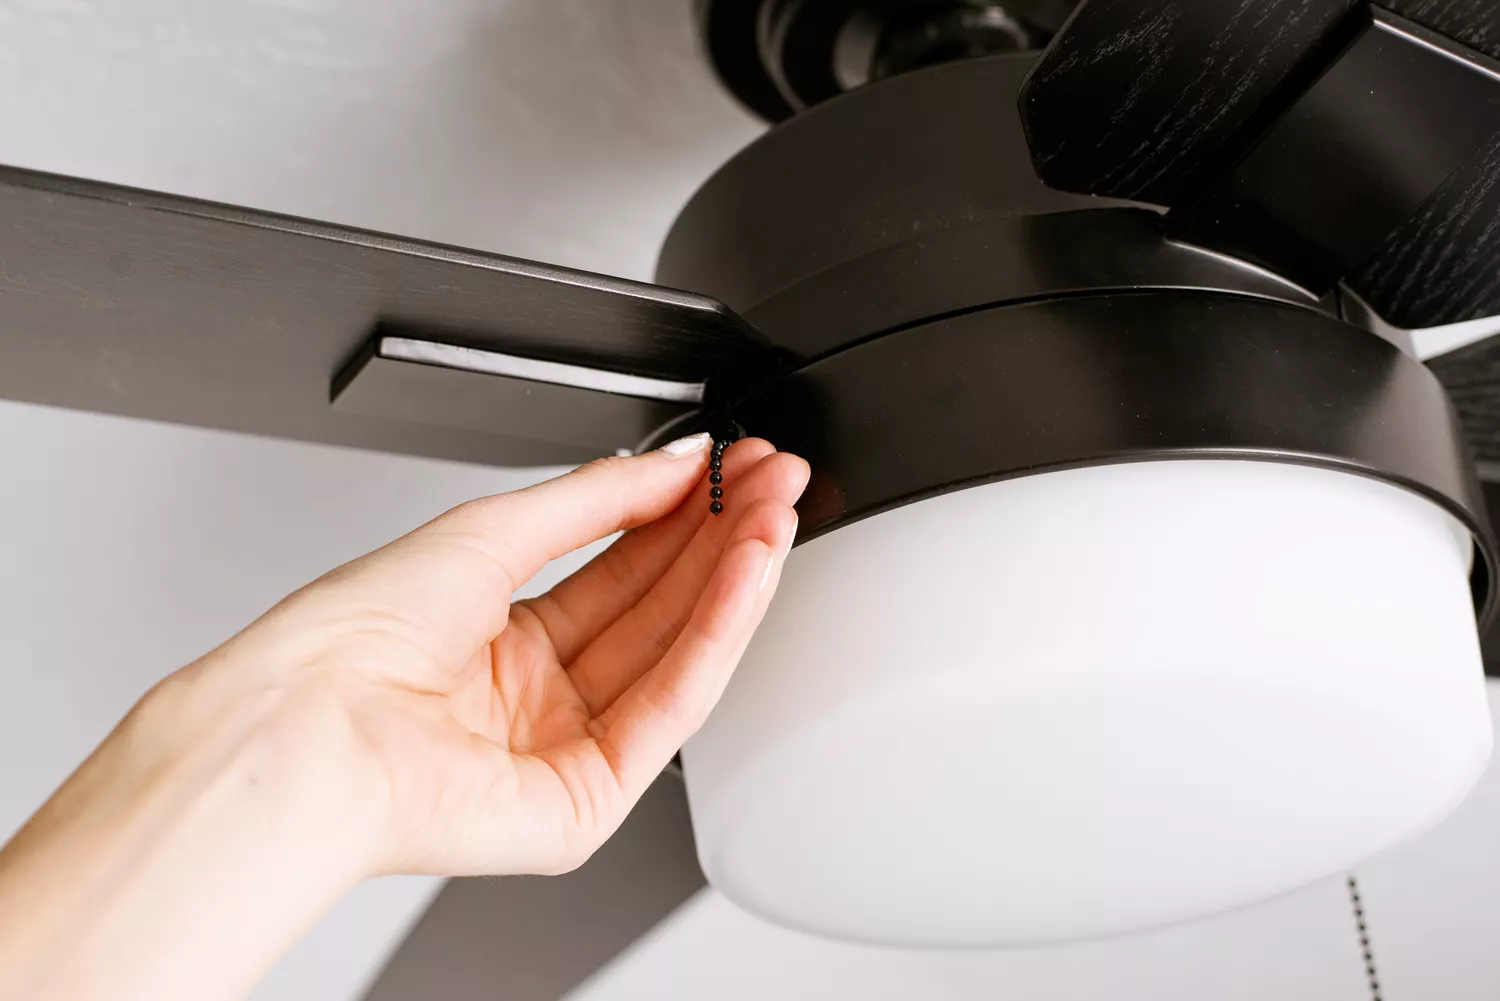
Turn on the power to the ceiling fan at the circuit breaker panel. Once the power is restored, use the appropriate switches or remote control to activate the light function of the fan.
Observe the light to see if it turns on and remains stable without flickering. If the light illuminates as intended, congratulations! You have successfully fixed the ceiling fan light issue.
However, if the light still does not work or flickers, there might be a deeper issue with the fan’s electrical system. At this point, it is recommended to consult a professional electrician who can assess and troubleshoot the problem further.
Remember, when testing the light functionality, always prioritize safety. If you encounter any strange smells, sparks, or unusual behavior from the ceiling fan, immediately switch off the power and seek professional assistance.
Now that you have tested the functionality of the ceiling fan light, it’s time to move on to the next step of reinstalling the light cover.
Step 6: Reinstall the Light Cover
After successfully fixing the ceiling fan light, it’s time to reinstall the light cover to complete the repair.
Before proceeding, make sure the electricity to the ceiling fan is switched off to prevent any accidents or electrical shocks.
Take the light cover that you had set aside earlier and align it with the mounting bracket on the ceiling fan. Carefully lift it into place, making sure it sits flush and evenly on the fan.
Look for any hooks or clips on the light cover that need to be engaged. If applicable, slide the cover into position until it clicks or locks into place.
Next, locate the screws or fasteners that hold the light cover in place. Insert the screws into the corresponding holes and use a screwdriver to tighten them securely. Ensure that the cover is held firmly in place.
Double-check that all screws are tightened but avoid over-tightening, as this may damage the light cover or the fan housing.
With the light cover reinstalled, you have completed the physical repair of the ceiling fan light. However, before moving on to the final step, it’s essential to restore the power and test the light one more time.
Now that the light cover is securely in place, proceed to the last step to restore power to the ceiling fan.
Step 7: Restore the Power
With the light cover securely reinstalled, it’s time to restore power to the ceiling fan and test the light one final time.
Before proceeding, double-check that all screws and fasteners on the light cover are tightened and secure. This will ensure the cover remains in place during operation.
Go to the circuit breaker panel in your home and locate the breaker that was previously turned off for the ceiling fan. Flip the switch or toggle back to the “on” position to restore power to the fan.
Once the power is restored, you can use the appropriate switch or remote control to turn on the ceiling fan light.
Observe the light to ensure it illuminates without any issues. Check for proper brightness, stable operation, and the absence of flickering or dimming.
If the light functions as expected, congratulations! You have successfully fixed and restored the power to your ceiling fan light.
However, if the light still does not work or exhibits any abnormal behavior, it may indicate a more significant issue with the fan’s electrical system. In this case, it is recommended to seek the assistance of a professional electrician who can further diagnose and resolve the problem.
Remember to prioritize safety during this process. If you notice any unusual sparks, smells, or feel any heat coming from the ceiling fan, immediately switch off the power and consult a professional.
By following these steps and restoring the power, you have completed the process of fixing your ceiling fan light. Enjoy the renewed functionality and illumination it provides to your space!
Let’s conclude the article.
Read more: How To Replace A Light With A Ceiling Fan
Conclusion
Fixing a ceiling fan light can be an achievable task with basic tools and a methodical approach. By following the steps outlined in this guide, you can troubleshoot and repair common issues that may arise with your ceiling fan light.
Starting with the crucial step of turning off the electricity, you can ensure your safety throughout the repair process. Removing the light cover allows you to access the internal components, inspect and replace the bulb as needed.
If the issue persists, checking the wiring connections is the next logical step. By identifying and addressing any loose or damaged wiring, you can restore the proper flow of electricity to the light.
After troubleshooting and fixing the issue, it’s essential to test the light’s functionality. This step ensures that the repairs were successful and the light operates as intended.
Finally, reinstalling the light cover and restoring the power completes the repair process. This last step brings everything together and allows you to enjoy the renewed functionality of your ceiling fan light.
Remember, safety should always be your top priority. If you are unsure or uncomfortable working with electricity, it’s best to consult a professional electrician who can handle the repairs for you.
With a little patience and the willingness to take on the task, you can save time and money by fixing your ceiling fan light yourself. Now you can enjoy the ambiance and illumination it brings to your home with confidence.
Thank you for reading this guide, and we hope it has been helpful in assisting you with fixing your ceiling fan light!
Frequently Asked Questions about How To Fix Ceiling Fan Light
Was this page helpful?
At Storables.com, we guarantee accurate and reliable information. Our content, validated by Expert Board Contributors, is crafted following stringent Editorial Policies. We're committed to providing you with well-researched, expert-backed insights for all your informational needs.


0 thoughts on “How To Fix Ceiling Fan Light”