Articles
How To Fix Buckling Laminate Floor
Modified: December 7, 2023
Learn effective techniques and tips to repair buckling laminate floors with our informative articles. Enhance your flooring skills and restore the beauty of your home!
(Many of the links in this article redirect to a specific reviewed product. Your purchase of these products through affiliate links helps to generate commission for Storables.com, at no extra cost. Learn more)
Introduction
Laminate flooring is a popular choice for homeowners due to its durability, affordability, and easy maintenance. However, one common issue that many people face with laminate floors is the occurrence of buckling. Buckling refers to when the laminate planks lift or warp, resulting in unsightly bumps or ridges on the surface of the floor.
Not only is buckling aesthetically unappealing, but it can also pose a safety hazard and cause further damage to the flooring if left unaddressed. If you are dealing with buckling in your laminate floor, it’s important to understand the causes and how to fix the problem to ensure the longevity and functionality of your flooring.
In this article, we will delve into the reasons behind buckling in laminate floors and provide a step-by-step guide on how to fix this issue. Additionally, we will discuss preventive measures to minimize the chances of buckling in the future.
So, if you’re ready to say goodbye to those unsightly bumps on your laminate floor, let’s dive into the world of buckling and how to fix it!
Key Takeaways:
- Addressing the root cause of buckling, such as moisture issues and poor installation, is crucial for effective repair and prevention. Proper preparation, assessment, and reinstalling techniques are essential for restoring laminate flooring to its original condition.
- Preventing future buckling in laminate floors requires maintaining a stable indoor environment, using proper underlayment, and addressing moisture issues promptly. Following installation guidelines and regular maintenance will help preserve the durability and aesthetic appeal of laminate flooring.
Read more: How To Fix Buckled Wood Floor
Understanding Buckling in Laminate Floors
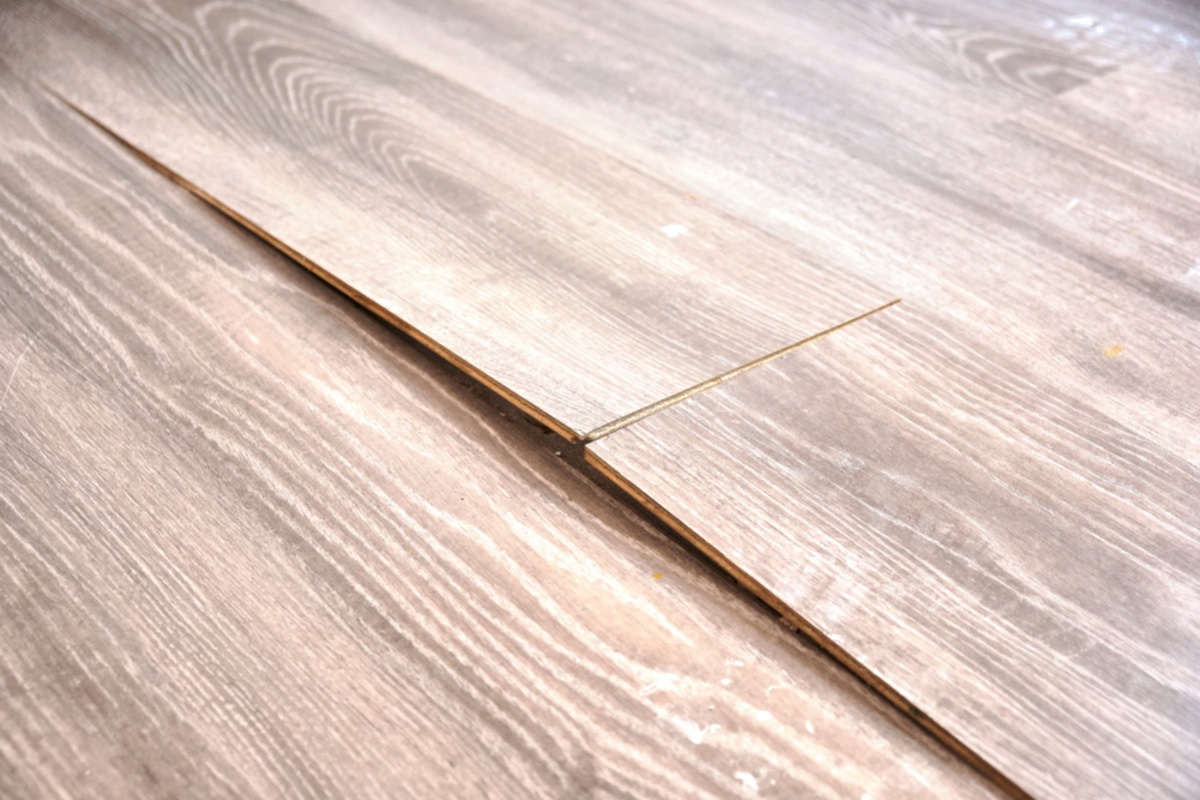
Buckling in laminate floors occurs when the boards no longer remain flat and level, causing them to lift and create uneven surfaces. This can be a frustrating and unsightly problem for homeowners, but it’s essential to understand why it happens in the first place.
One of the primary causes of buckling in laminate floors is moisture. Laminate flooring is made up of layers, including a core layer that is susceptible to moisture absorption. When exposed to excessive moisture, such as high humidity levels or water spills that seep into the flooring, the core layer expands. As a result, the laminate planks no longer have room to lay flat, causing them to buckle and rise.
Another common cause of buckling is poor installation. If the flooring was not properly acclimated to the environment or the subfloor was not prepared adequately, it can lead to buckling over time. Additionally, improper expansion gaps between the laminate boards and the walls or other fixed structures can restrict the natural expansion and contraction of the flooring, resulting in buckling.
Furthermore, extreme temperature changes can also contribute to buckling in laminate floors. When subjected to significant fluctuations in temperature, the laminate planks can expand or contract, leading to buckling or gaps between the boards. This is especially common in areas that experience drastic seasonal temperature variations.
Understanding the underlying causes of buckling in laminate floors is crucial because it helps determine the appropriate solutions to fix the issue. In the following sections, we will delve into the step-by-step process of assessing the extent of damage, preparing for repairs, and actually repairing the buckling in your laminate floor.
Causes of Buckling in Laminate Floors
Before diving into the process of fixing buckling in laminate floors, it’s important to understand the various causes behind this issue. By identifying the root causes, you can not only address the immediate problem but also take preventive measures to avoid future episodes of buckling.
1. Moisture: Excess moisture is one of the leading causes of buckling in laminate floors. When laminate flooring absorbs moisture, the core layer swells, causing the planks to lift and buckle. This can happen due to water spills, excessive humidity, or inadequate moisture barriers.
2. Poor Installation: Incorrect installation techniques can contribute to buckling over time. If the laminate flooring was not properly acclimated to the environment before installation or if the subfloor was not prepared adequately, it can lead to tension and pressure on the planks, resulting in buckling.
3. Lack of Expansion Gaps: Laminate flooring needs space to expand and contract with temperature and humidity changes. If there are insufficient expansion gaps between the laminate planks and the walls or fixed structures, the flooring will have no room to expand, leading to buckling.
4. Subfloor Issues: Problems with the subfloor can also cause buckling in laminate floors. Uneven subfloors, moisture issues in the subfloor, or an improper subfloor material can all contribute to the buckling of the laminate planks.
5. Extreme Temperature Changes: Drastic fluctuations in temperature can cause the laminate planks to expand or contract. When this happens repeatedly, it can result in buckling or gaps between the boards. This is especially common in areas exposed to significant seasonal temperature variations.
It’s important to note that a combination of these factors may contribute to buckling in laminate floors. Identifying the specific causes for your flooring will help you determine the most effective solution for repair and prevention.
Now that we have a clear understanding of the causes behind buckling, let’s move on to the next step: assessing the extent of damage.
Assessing the Extent of Damage
Before you can begin the process of repairing buckling in your laminate floor, it’s essential to assess the extent of the damage. This evaluation will help determine the severity of the issue and provide insight into the necessary steps for repair.
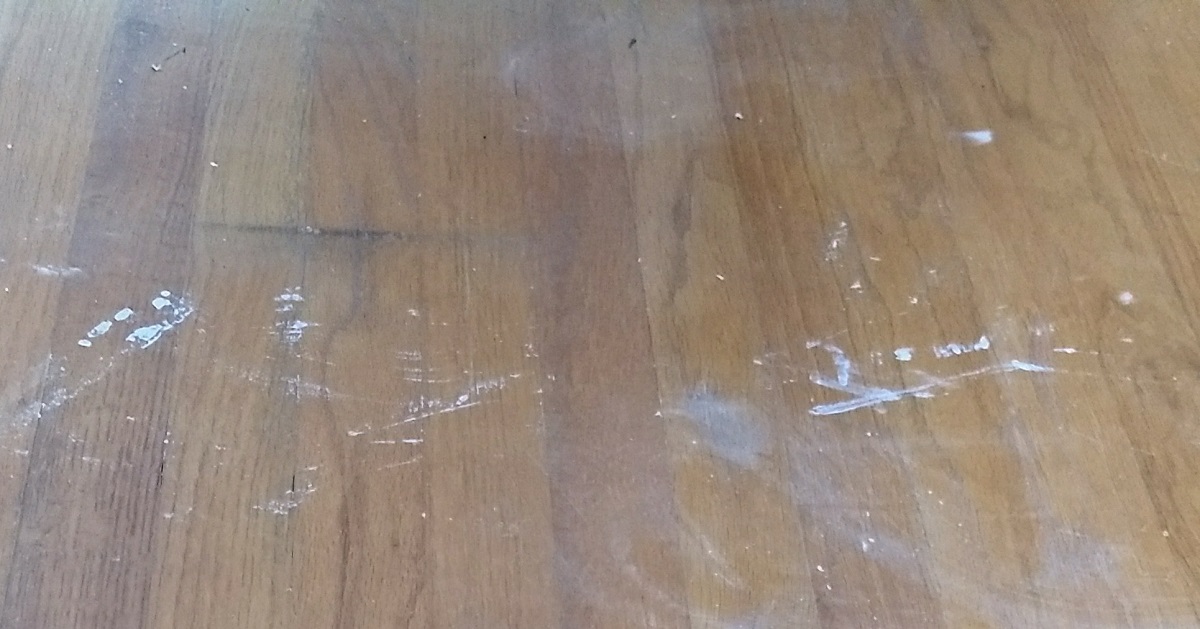
1. Visual Inspection: Start by visually examining the affected area. Look for any signs of buckling, such as lifted or warped laminate planks. Take note of the areas where the buckling is most significant and where it may be causing obstacles or safety hazards.
2. Moisture Testing: Since moisture is a common cause of buckling, it’s crucial to determine whether excessive moisture is present in the affected area. Use a moisture meter to test the moisture levels in the subfloor and the affected laminate planks. High moisture readings suggest a moisture-related issue that needs to be addressed.
3. Check Expansion Gaps: Inspect the expansion gaps between the laminate planks and the walls or fixed structures. Ensure that there is an adequate gap for expansion and contraction. If the gaps are too narrow or nonexistent, it may contribute to the buckling problem.
4. Assess Surrounding Areas: Check the surrounding areas of the buckled laminate floor. Look for any signs of moisture damage, such as water stains, mold growth, or dampness. This will help determine if the problem is localized or if there are underlying issues affecting a larger area.
By conducting a thorough assessment of the damage, you will have a clearer understanding of the scope of the problem. This knowledge will guide you in making informed decisions on how to proceed with the necessary repairs. Now that you’ve assessed the extent of damage, it’s time to prepare for the repairs.
Preparing for Repairs
Before you start repairing the buckling in your laminate floor, it’s important to properly prepare the area to ensure a successful and long-lasting fix. Taking the time to prepare will help create the optimal conditions for repairing the damaged flooring.
1. Gather Necessary Tools and Materials: Make sure you have all the tools and materials you’ll need for the repair. This can include a circular saw or laminate floor cutter, pry bar, adhesive, replacement laminate planks, expansion spacers, tapping block, and a hammer. Having everything readily available will save you time and ensure a smooth repair process.
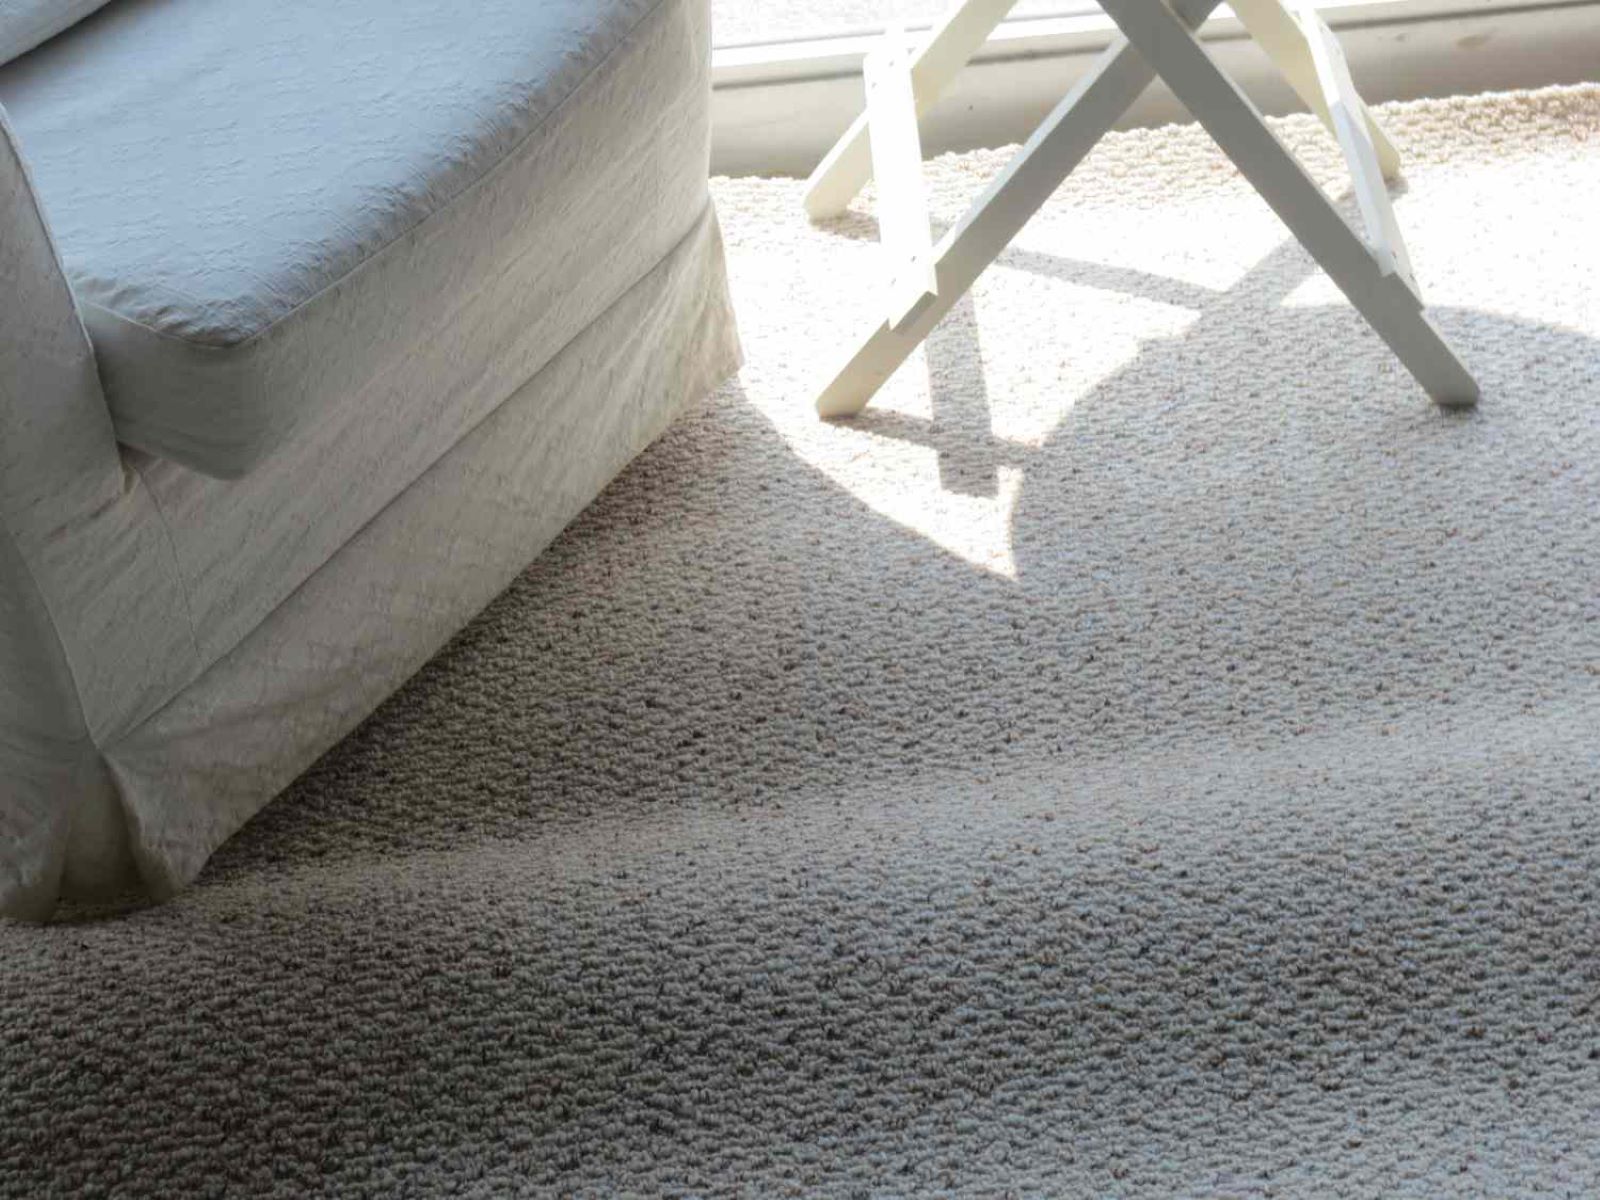
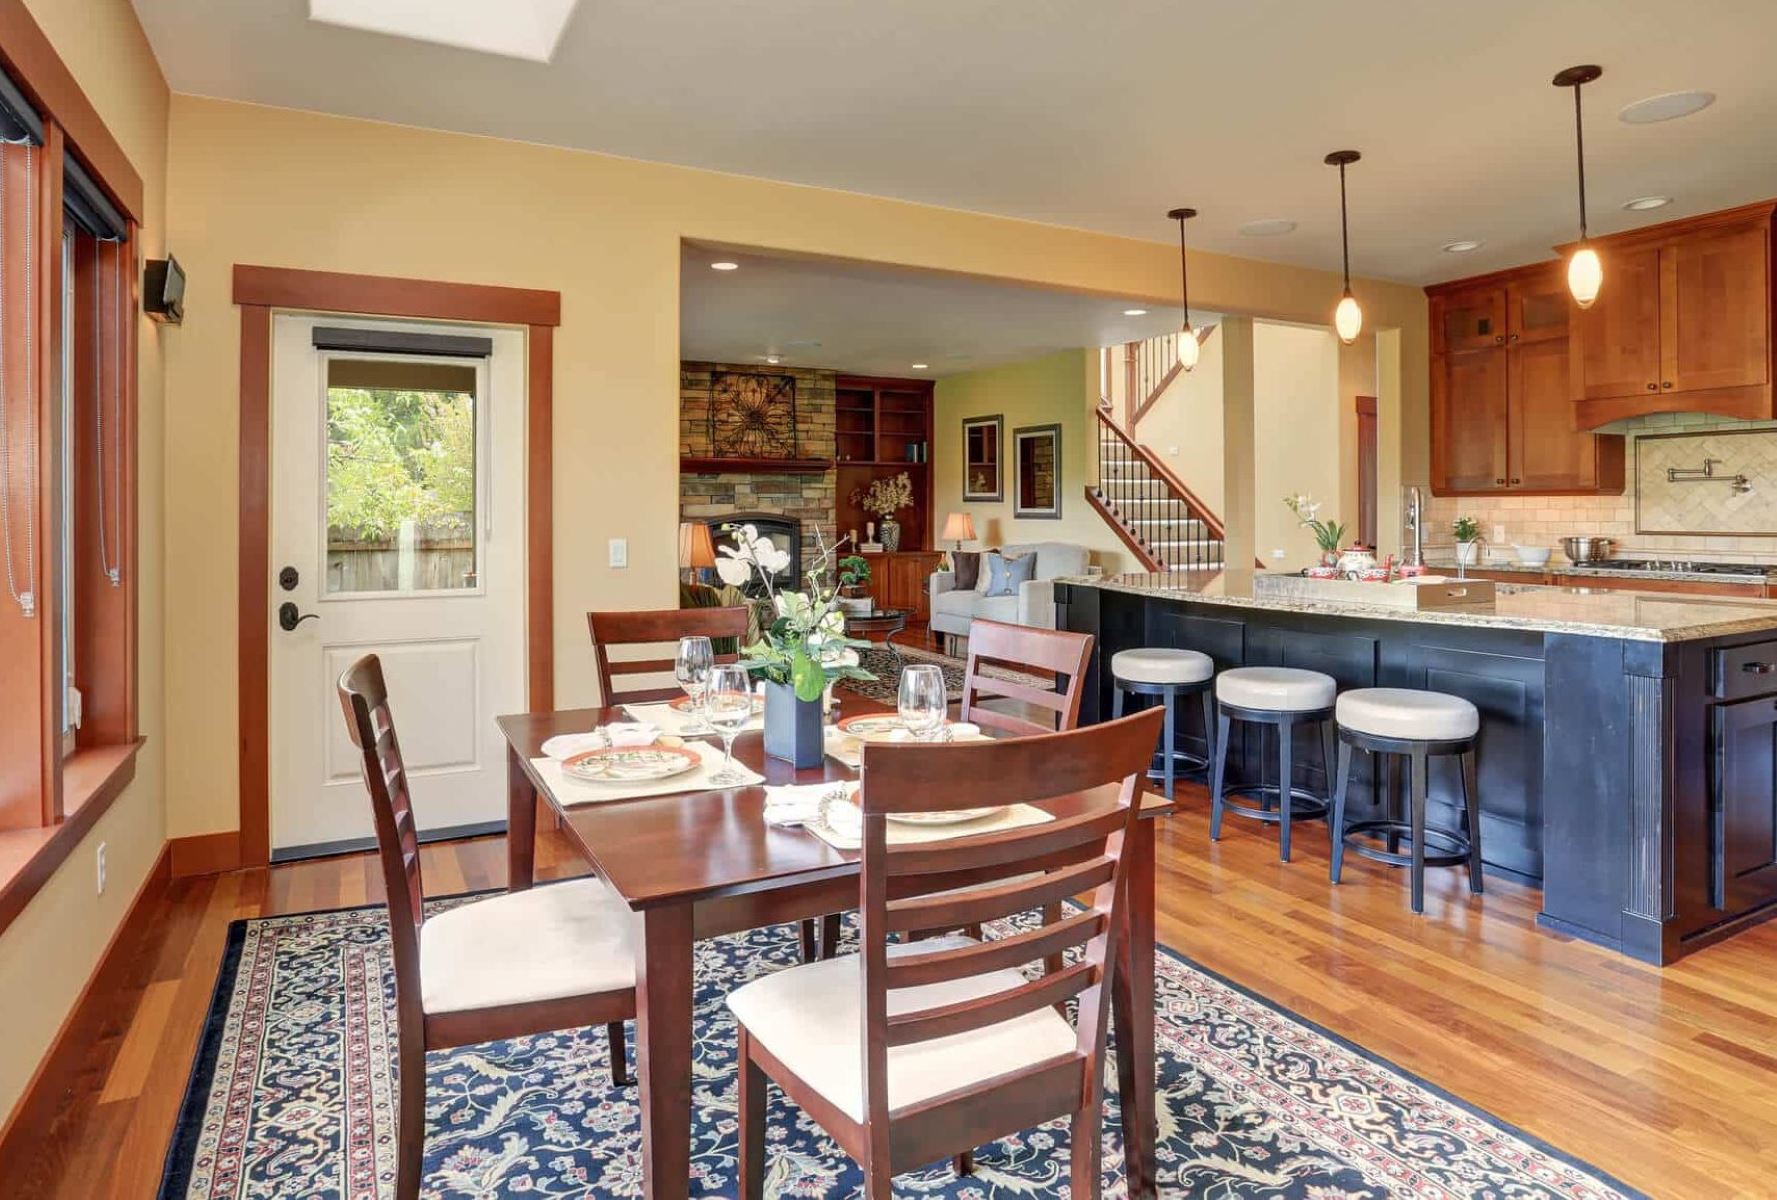
2. Clear the Area: Remove any furniture, rugs, or obstacles from the affected area. This will give you ample space to work and allow for easy access to the buckled laminate planks. Clearing the area will also help prevent any accidental damage to surrounding objects during the repair process.
3. Acclimate Replacement Planks: If you need to replace the buckled laminate planks, it’s crucial to acclimate the new planks to the environment. This involves leaving them in the room where they will be installed for a period of time to adjust to the temperature and humidity. Follow the manufacturer’s guidelines for acclimation to ensure proper installation.
4. Address Moisture Issues: If excessive moisture was identified as a cause of the buckling, it’s essential to address the underlying moisture issue before proceeding with the repairs. This may involve locating and fixing the source of the moisture, such as a leak or improper moisture barrier installation. Drying out the affected area is crucial to prevent future buckling.
5. Plan the Repair Strategy: Evaluate the extent of the buckling and determine the best approach for repair. This may involve removing and replacing only the affected laminate planks or addressing the entire floor if the buckling is widespread. Plan out your repair strategy to ensure a systematic and effective process.
By properly preparing for the repairs, you set the foundation for a successful resolution to the buckling issue. It’s time to roll up your sleeves and move on to the next step: repairing the buckling in your laminate floor.
Read more: How To Fix Peeling Laminate Floor
Repairing Buckling in Laminate Floors
Once you have assessed the damage and prepared the area, it’s time to move on to repairing the buckling in your laminate floor. The following step-by-step guide will walk you through the process and help restore your flooring to its original condition.
Step 1: Removing Baseboards
Start by removing the baseboards along the walls near the buckled area. Use a pry bar or a putty knife to gently pry them off. This will allow you to access the edges of the laminate planks for removal and replacement.
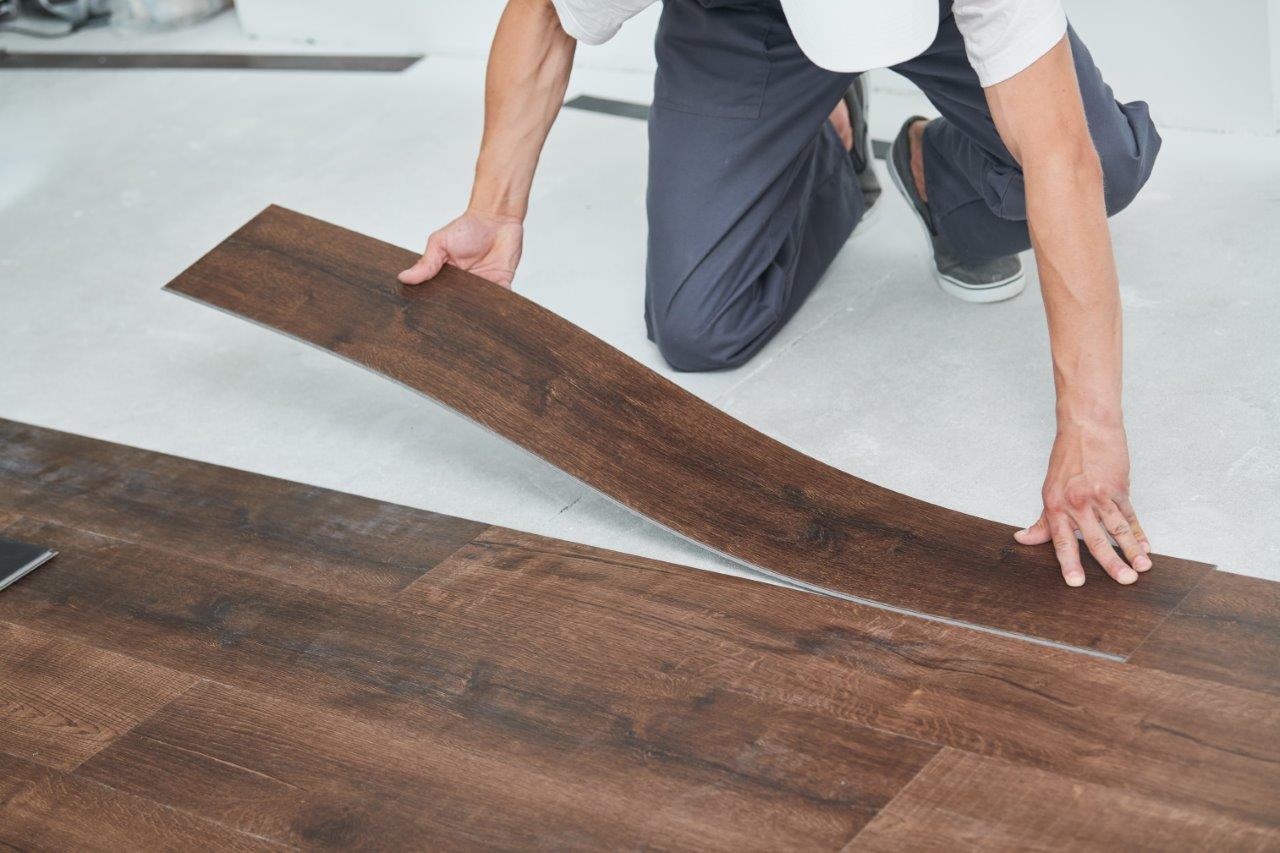
Step 2: Removing Affected Laminate Planks
Carefully remove the buckled laminate planks by inserting a pry bar or a chisel into the gap between the planks and gently lifting them. Work your way along the row, removing the affected planks until you reach the end of the buckled area. Take care not to damage the surrounding planks that are still in good condition.
Step 3: Addressing the Root Cause
If the cause of the buckling was moisture-related, take the necessary steps to address the underlying issue. Repair any leaks, improve ventilation, or ensure proper moisture barriers are in place before proceeding with the repair. It’s essential to resolve the root cause to prevent future buckling.
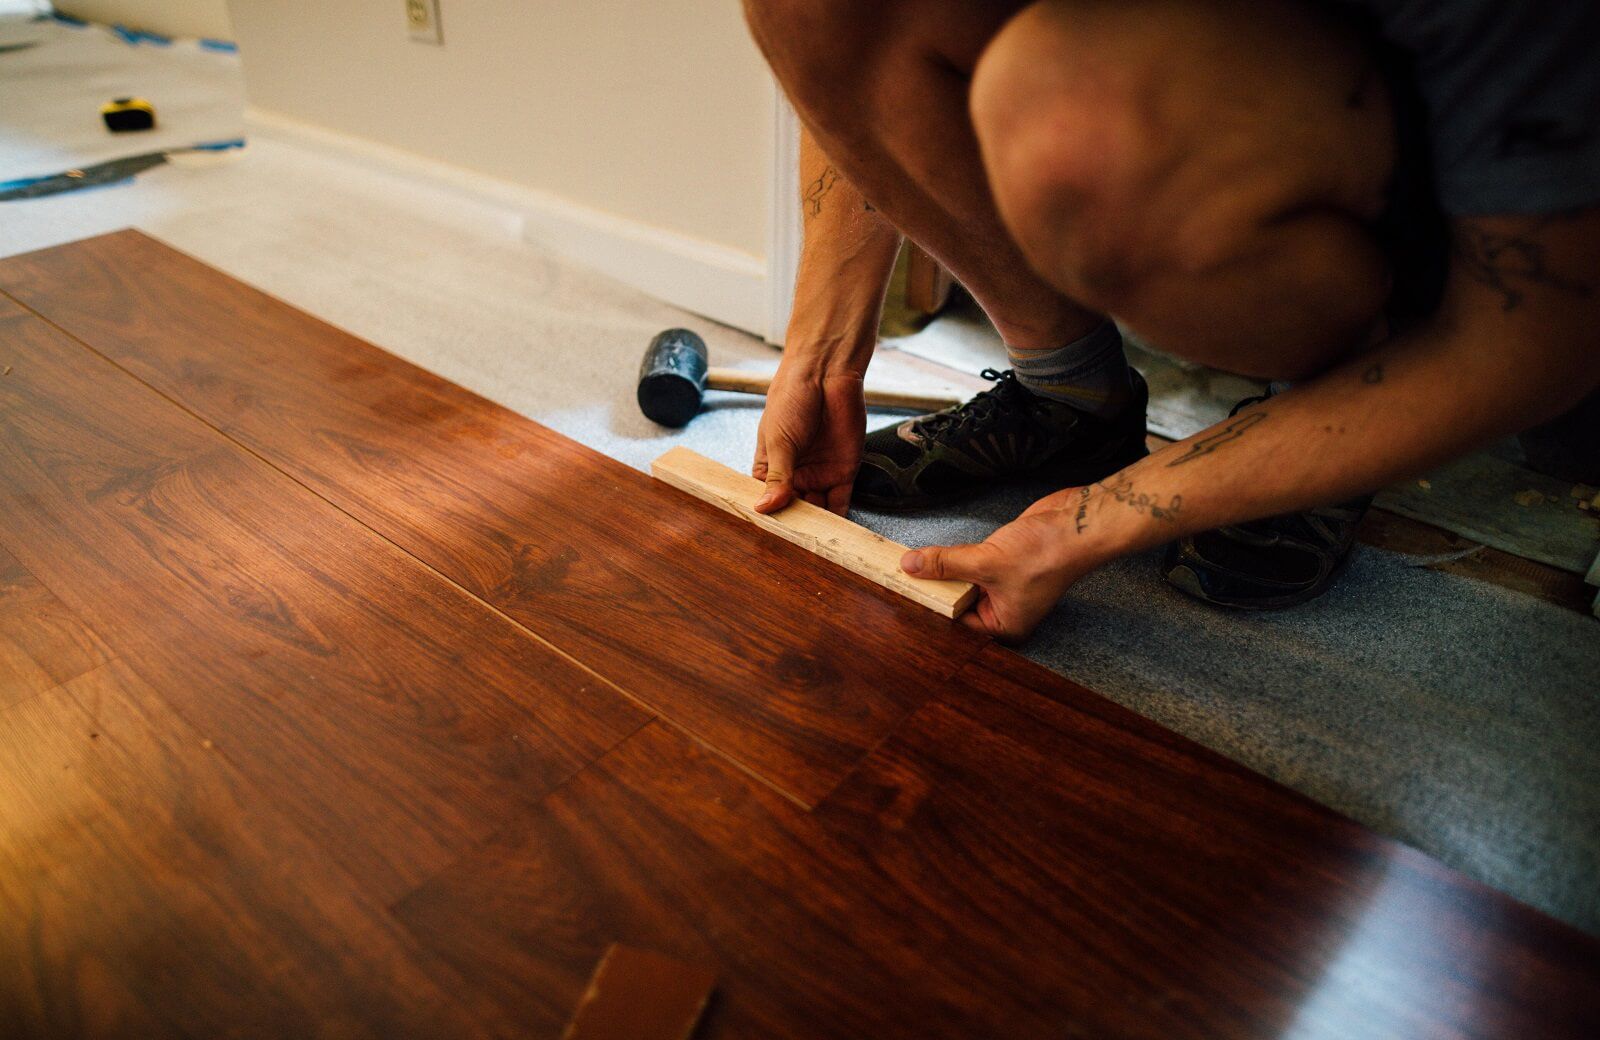
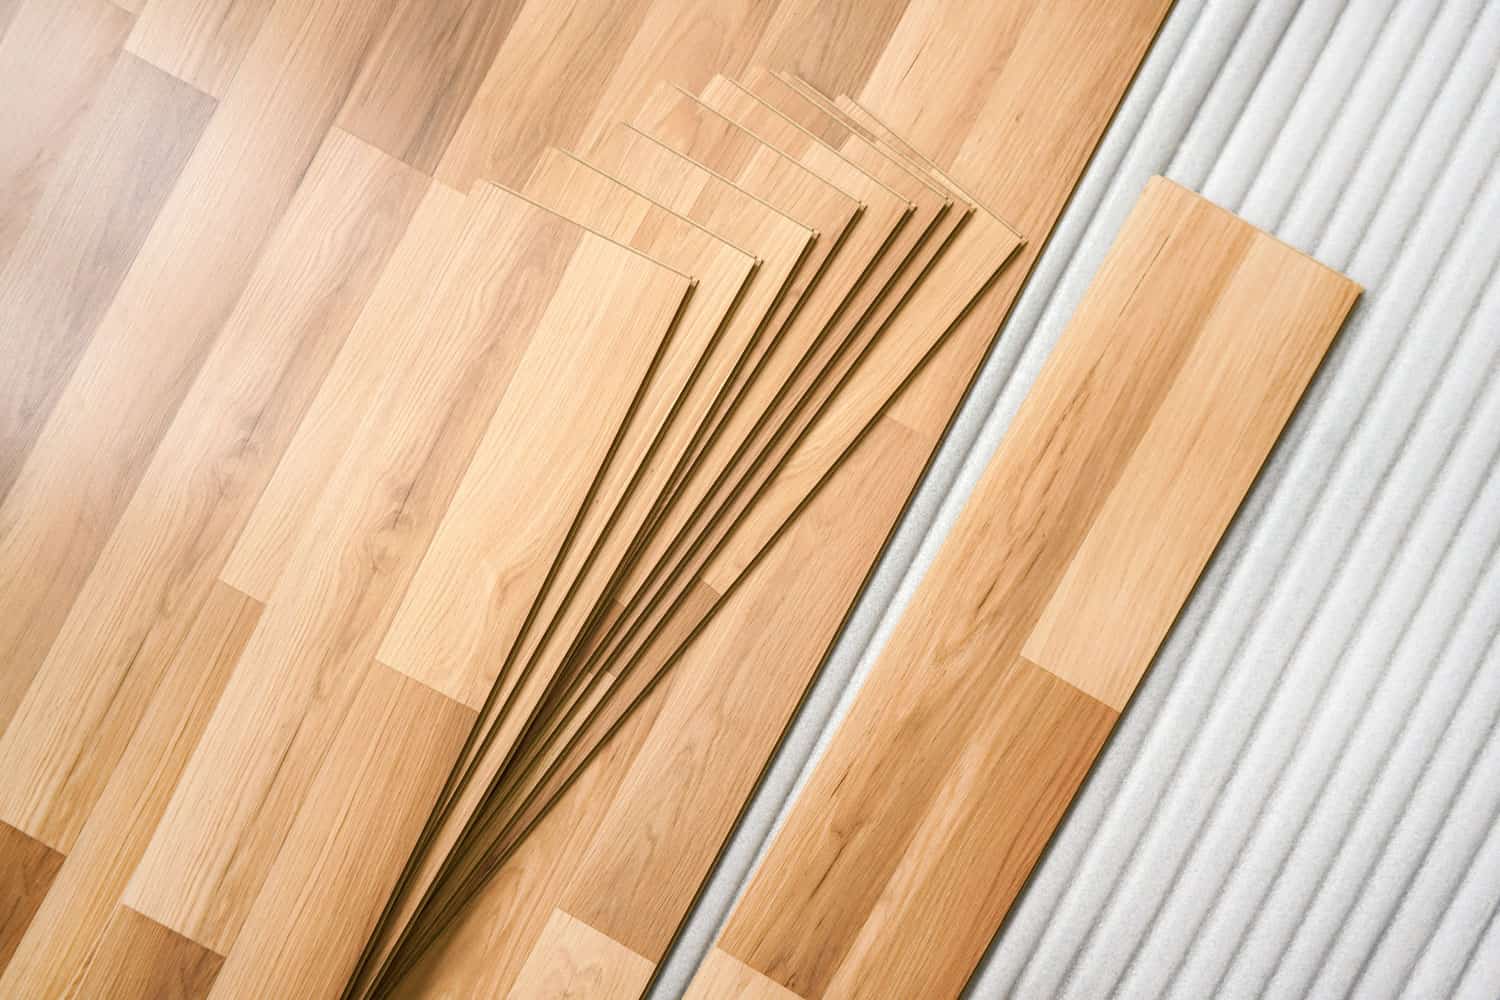
Step 4: Reinstalling Laminate Planks
Once the underlying issue has been addressed, it’s time to reinstall the laminate planks. Start by inserting expansion spacers along the walls to create the necessary gap for expansion. Then, begin reinstalling the planks by fitting them into the grooves of the adjacent planks and tapping them gently with a tapping block and a hammer to secure them in place. Continue this process until all the affected laminate planks have been replaced.
Step 5: Replacing Baseboards
After the laminate planks are securely reinstalled, it’s time to replace the baseboards. Align the baseboards with the wall and use a hammer or a nail gun to secure them back in place. Make sure the baseboards are flush against the wall and covering the expansion gap.
Once you have completed these steps, take a step back and admire your repaired laminate floor. The buckling should be resolved, and your flooring should once again have a smooth and level surface. However, it’s important to note that if the buckling issue persists or is widespread, it’s best to consult a professional for a more comprehensive assessment and solution.
Now that your laminate floor is repaired, let’s explore some preventive measures to minimize the chances of buckling in the future.
Step 1: Removing Baseboards
The first step in repairing the buckling in your laminate floor is to remove the baseboards along the walls near the affected area. The baseboards cover the gaps between the laminate planks and the walls, so removing them will provide you with easier access to the edges of the laminate planks for removal and replacement.
Here are the steps to remove the baseboards:
- Start by gathering the necessary tools, including a pry bar or putty knife and a small hammer.
- Begin at one end of the baseboard and carefully insert the pry bar or putty knife between the baseboard and the wall.
- Gently pry the baseboard away from the wall, working your way along its length.
- If necessary, use the small hammer to tap the end of the pry bar to provide additional leverage.
- Continue prying the baseboard away from the wall until it is completely removed.
- Repeat this process for all the baseboards along the walls near the buckled area.
It’s important to be cautious while removing the baseboards to avoid damaging them or the walls. Take your time and work carefully to ensure a clean removal.
Once you have successfully removed the baseboards, set them aside in a safe place. You will reinstall them later after repairing the buckling in the laminate floor. Removing the baseboards allows you to access the edges of the laminate planks, making the removal and replacement process easier and more efficient.
Now that you have completed the first step, it’s time to move on to the next step: removing the affected laminate planks from the buckled area.+
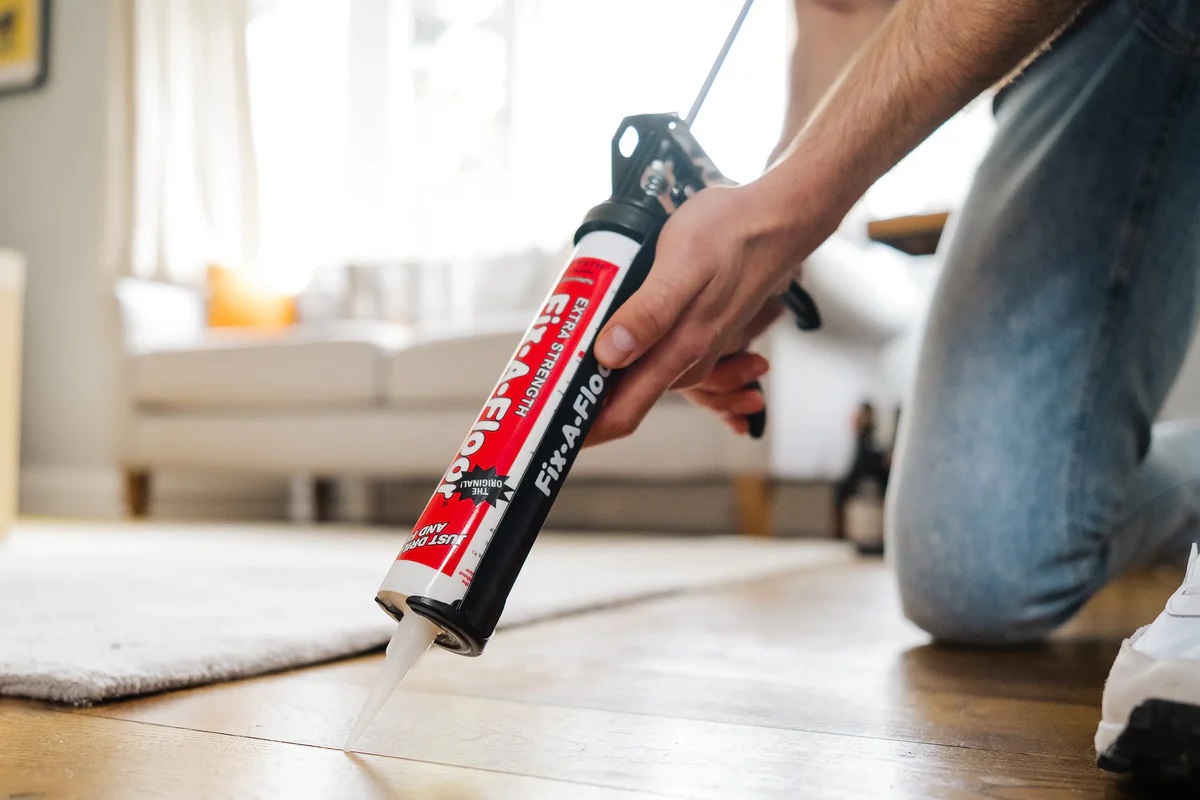
Use a laminate floor repair kit to fix buckling caused by moisture. Remove damaged planks, dry the area, and replace with new planks using the repair kit.
Step 2: Removing Affected Laminate Planks
After removing the baseboards, the next step in repairing the buckling in your laminate floor is to remove the affected laminate planks. These planks have lifted or warped, contributing to the uneven surface of your flooring.
Follow these steps to remove the affected laminate planks:
- Start at one end of the buckled area and identify the first affected laminate plank to be removed.
- Insert a pry bar or chisel into the gap between the affected plank and the adjacent one, near the edge of the plank.
- Gently apply pressure and lift the pry bar or chisel to separate the affected plank from the adjacent one.
- Continue moving along the row, repeating the process for each affected plank until you reach the end of the buckled area.
- Be careful not to damage the surrounding laminate planks that are still in good condition.
- If necessary, use a hammer and tapping block to gently tap the pry bar or chisel to help loosen and remove the affected planks.
It’s important to work slowly and carefully when removing the affected laminate planks to minimize any additional damage to the flooring. Take your time to ensure a clean removal and avoid causing any further buckling or warping.
Once you have successfully removed the affected planks, set them aside. Depending on the severity of the buckling, you may need to remove multiple planks. Make sure to keep them in the same order as they were installed to facilitate their replacement later on.
With the affected planks removed, you have completed the second step in repairing the buckling in your laminate floor. Next, we will address the root cause of the problem to prevent future issues.
Step 3: Addressing the Root Cause
After removing the affected laminate planks, it’s crucial to address the root cause of the buckling to prevent future issues. Identifying and resolving the underlying problem will ensure that your repaired laminate floor remains stable and free of buckling. Here are some steps to address the root cause:
- If the buckling was caused by moisture, investigate the source of the excess moisture. This could be a water leak, high humidity levels, or inadequate moisture barriers.
- Repair any leaks or plumbing issues that may be contributing to the moisture problem. This could involve fixing faulty pipes, sealing gaps, or replacing damaged plumbing fixtures.
- Improve ventilation in the area to reduce humidity levels. Ensure that there is proper airflow and consider using dehumidifiers, especially in high-moisture areas like basements or bathrooms.
- Inspect the subfloor for any signs of moisture damage. If the subfloor is wet or damp, it may need to be dried out or replaced to prevent moisture from affecting the laminate planks again.
- Check if there are any gaps or lack of expansion space around the perimeter of the laminate floor. These gaps allow the planks to expand and contract with changes in temperature and humidity. If necessary, add expansion spacers along the walls to provide the necessary gap.
- Consider using a moisture barrier or underlayment designed for laminate flooring to further protect against moisture-related issues. Consult with a flooring professional to choose the most suitable barrier for your specific circumstances.
Addressing the root cause of the buckling is essential to prevent future problems and maintain the integrity of your laminate floor. By addressing moisture issues and ensuring proper expansion gaps, you create a more stable environment for the flooring and reduce the risk of buckling.
Once you have taken the necessary steps to resolve the root cause, you can proceed to the next step of the repair process: reinstalling the laminate planks. This will help restore the even and smooth surface of your flooring.
Read more: How To Fix Scratch On Laminate Floor
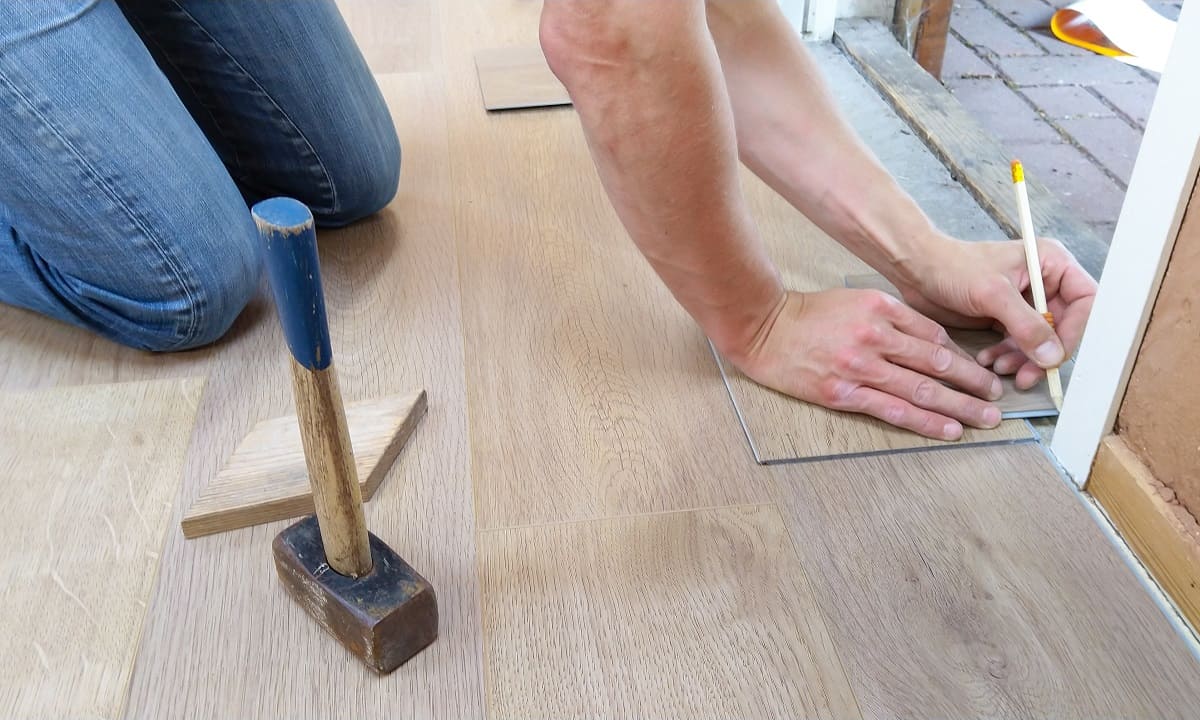
Step 4: Reinstalling Laminate Planks
After addressing the root cause of the buckling and ensuring that the underlying issues have been resolved, it’s time to reinstall the laminate planks in the repaired area. Reinstalling the planks properly will restore the smooth and even surface of your laminate floor. Here are the steps to follow:
- Start by inserting expansion spacers along the walls to create the necessary gap for expansion. These spacers will help prevent future buckling due to temperature and humidity changes.
- Begin at one end of the buckled area and align the tongue of the first replacement laminate plank with the groove of the existing plank.
- Angle the replacement plank slightly and insert its long edge into the groove of the adjacent plank.
- Gently lower the replacement plank onto the floor, making sure it is aligned and snugly fitted with the adjacent planks.
- Continue installing the replacement planks, connecting them with the existing planks, and working your way along the row.
- Use a tapping block and a hammer to gently tap each plank into place. This ensures a secure fit and eliminates any gaps between the planks.
- Repeat the process for each row of replacement planks until the buckled area is fully restored.
As you reinstall the laminate planks, be mindful of maintaining the proper expansion gap between the planks and the walls or fixed structures. The spacers you inserted in the first step will help ensure consistent and appropriate spacing.
Take care to align the planks properly and tap them gently into place to avoid causing any further damage or buckling. It’s important to work carefully and methodically to achieve a seamless and level surface.
Once you have reinstalled all the replacement planks and restored the buckled area, you are one step closer to completing the repair process. The last step is to replace the baseboards, which will give your laminate floor a finished and polished appearance.
Step 5: Replacing Baseboards
The final step in repairing the buckling in your laminate floor is to replace the baseboards. Reinstalling the baseboards will not only help cover the expansion gaps but also provide a polished and finished look to your newly repaired flooring. Follow these steps to replace the baseboards:
- Take the previously removed baseboards and ensure they are clean and free of any debris or damage. If needed, touch up any paint or repairs.
- Start at one end of the wall and position the baseboard against the wall, lining it up with the previously marked location.
- Use a hammer and nails or a nail gun to attach the baseboard securely to the wall. Place the nails approximately every 16 inches along the length of the baseboard.
- If the baseboard is longer than the wall, use a miter saw or a coping saw to cut the baseboard to the appropriate length. Ensure the cut is straight and fits snugly against the adjacent baseboard or corner piece.
- If there are any inside or outside corners, use a miter saw or coping saw to create the appropriate angles for a clean and seamless fit. Connect the corner pieces with the straight sections of the baseboard using nails or a nail gun.
- Continue installing the baseboards along each wall, making sure they are level and aligned with each other.
As you reinstall the baseboards, pay attention to any electrical outlets or switches on the wall. Cut appropriate openings or notches in the baseboards to accommodate them, ensuring a proper fit against the wall.
Take your time to ensure that the baseboards are securely fastened and properly aligned. This will result in a professional and seamless finish for your repaired laminate floor.
After the baseboards are in place, step back and admire your newly repaired laminate flooring. The buckling should now be resolved, and your floor should have a smooth and level surface once again.
Remember that if the buckling issue persists or is widespread, it’s best to consult a professional for a more thorough assessment and solution.
By following these steps and taking the necessary precautions, you can successfully repair the buckling in your laminate floor and restore its beauty and functionality.
Preventing Future Buckling in Laminate Floors
Now that you have repaired the buckling in your laminate floor, it’s essential to take preventive measures to avoid future occurrences. By implementing these preventative steps, you can maintain the integrity and longevity of your laminate flooring. Here are some tips for preventing future buckling:
- Maintain a consistent indoor environment: Keep the temperature and humidity levels in your home stable. Extreme fluctuations in temperature and humidity can cause the laminate planks to expand or contract, leading to buckling. Use air conditioning, dehumidifiers, or humidifiers to regulate the indoor climate.
- Use proper underlayment: Install a suitable underlayment beneath your laminate flooring. This provides an additional barrier against moisture and helps absorb sound and minimize movement, reducing the risk of buckling.
- Properly acclimate the laminate planks: Allow the laminate planks to acclimate to the room’s environment before installation. Follow the manufacturer’s guidelines for acclimation, which typically involve leaving the planks in the room for a specified period of time to adjust to the temperature and humidity.
- Ensure proper installation: Hire a professional or carefully follow the manufacturer’s instructions for installation. Improper installation, such as failure to leave adequate expansion gaps or using inappropriate adhesive, can lead to buckling. Choose experienced installers or educate yourself on proper installation techniques.
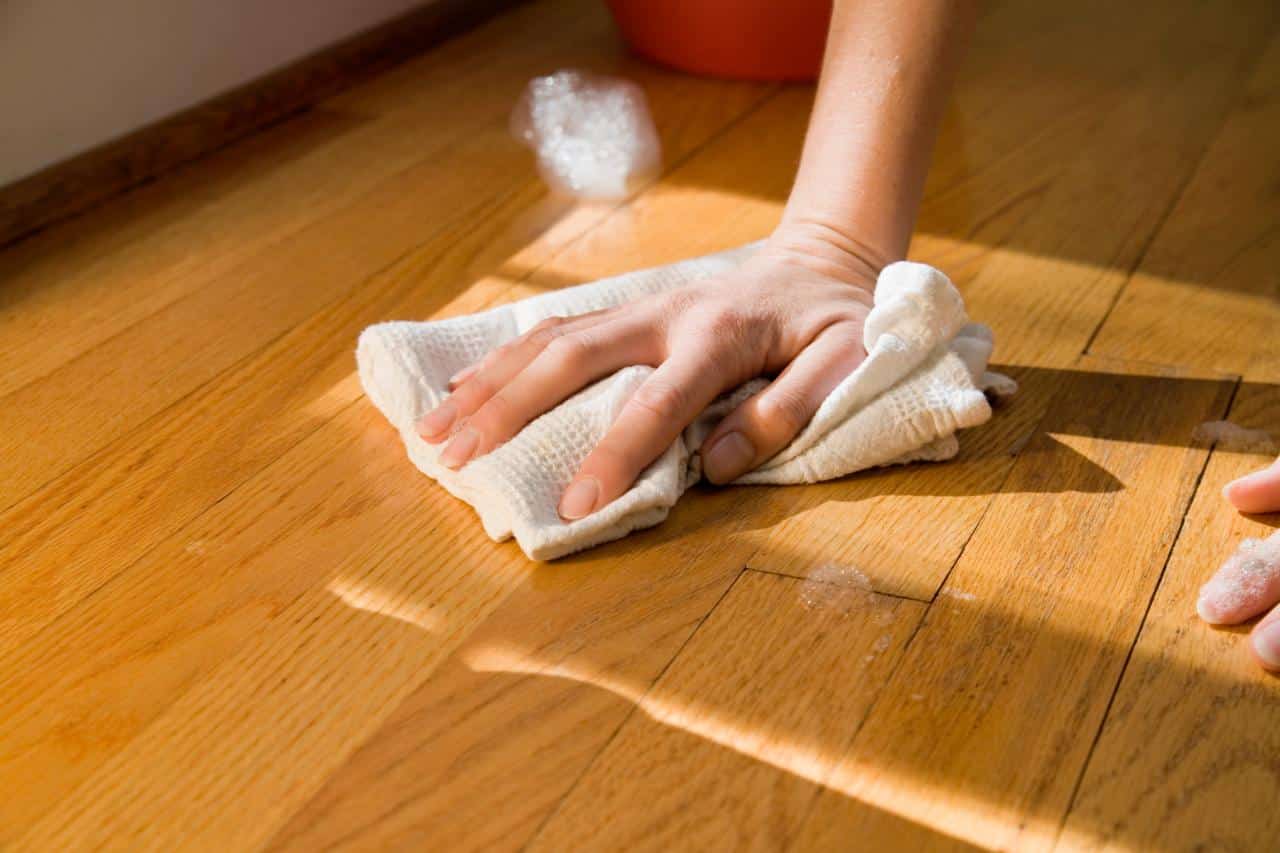
- Address moisture issues promptly: Keep a close eye on any potential sources of moisture, such as leaks or spills. Promptly clean up any spills and repair leaks to prevent water from seeping into the laminate flooring. Use rugs or mats in high-moisture areas, such as kitchens and bathrooms, to minimize exposure to water.
- Avoid excessive weight or impact: Laminate flooring is durable, but it is still susceptible to damage from heavy furniture or sharp objects. Place protective pads or coasters under heavy furniture, and use caution when moving or rearranging items to avoid scratching or denting the floor.
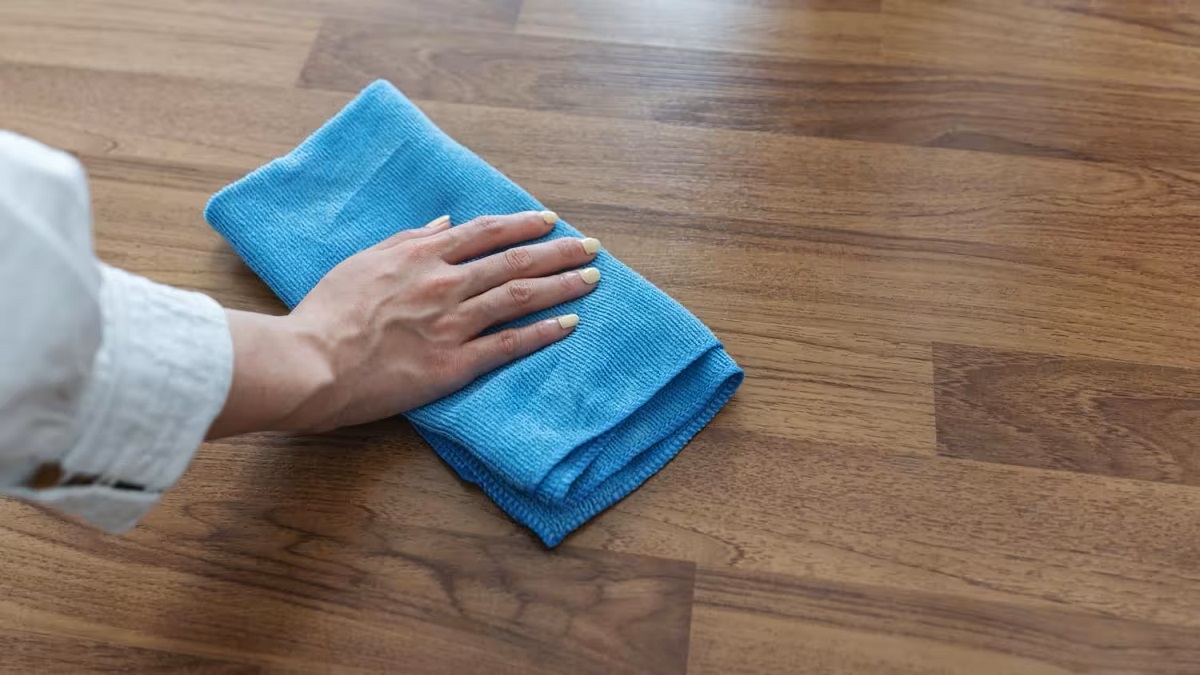
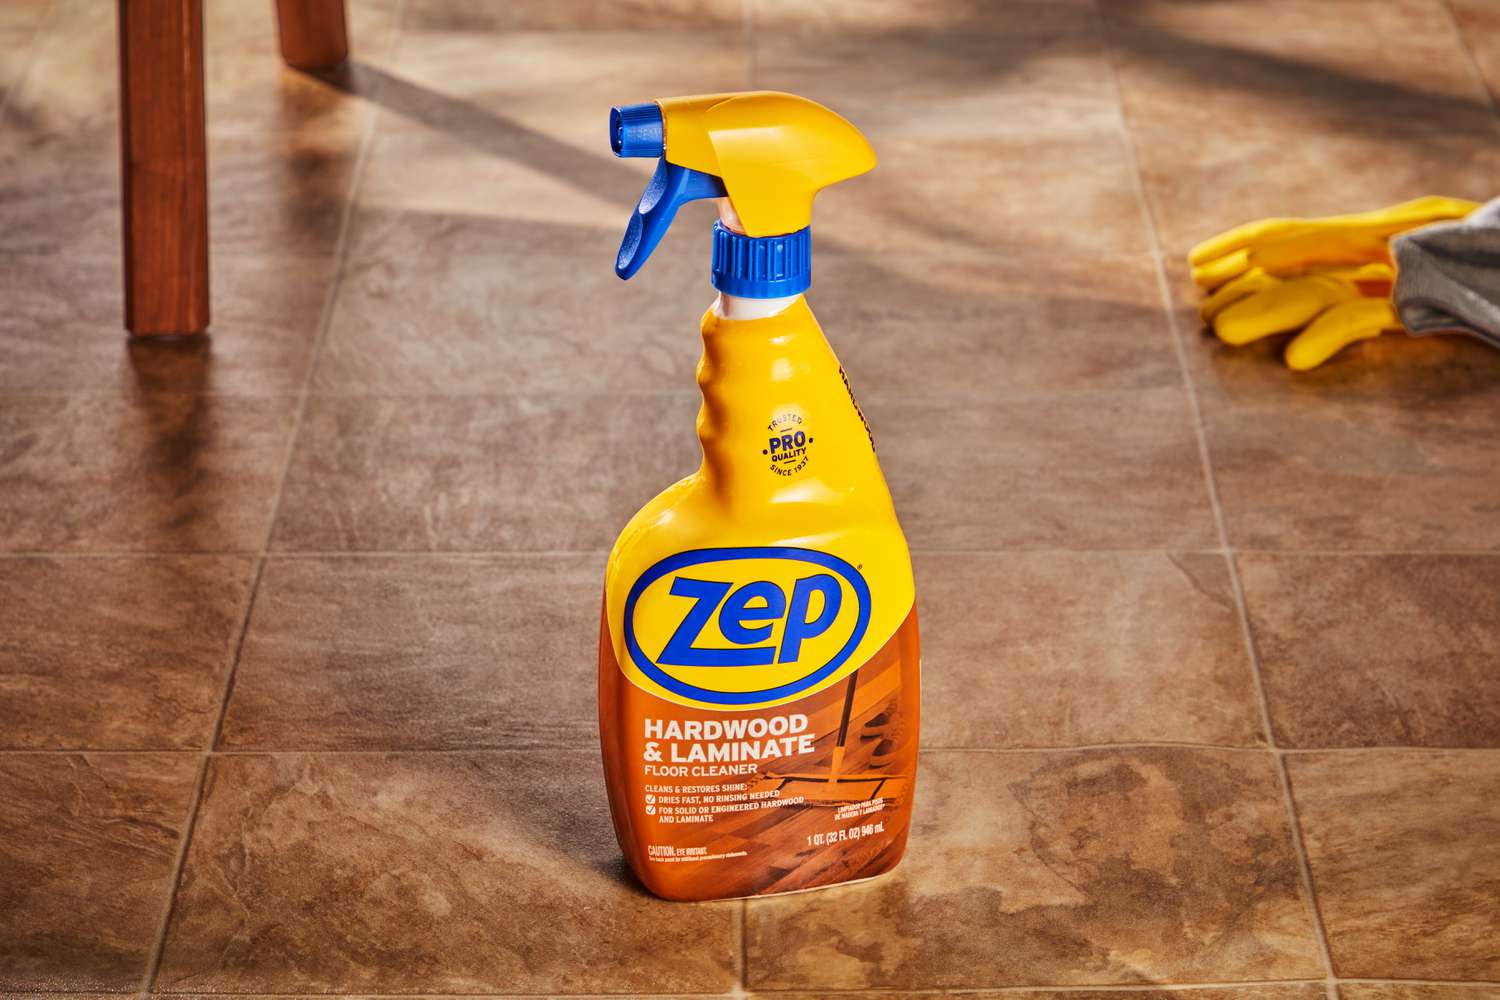
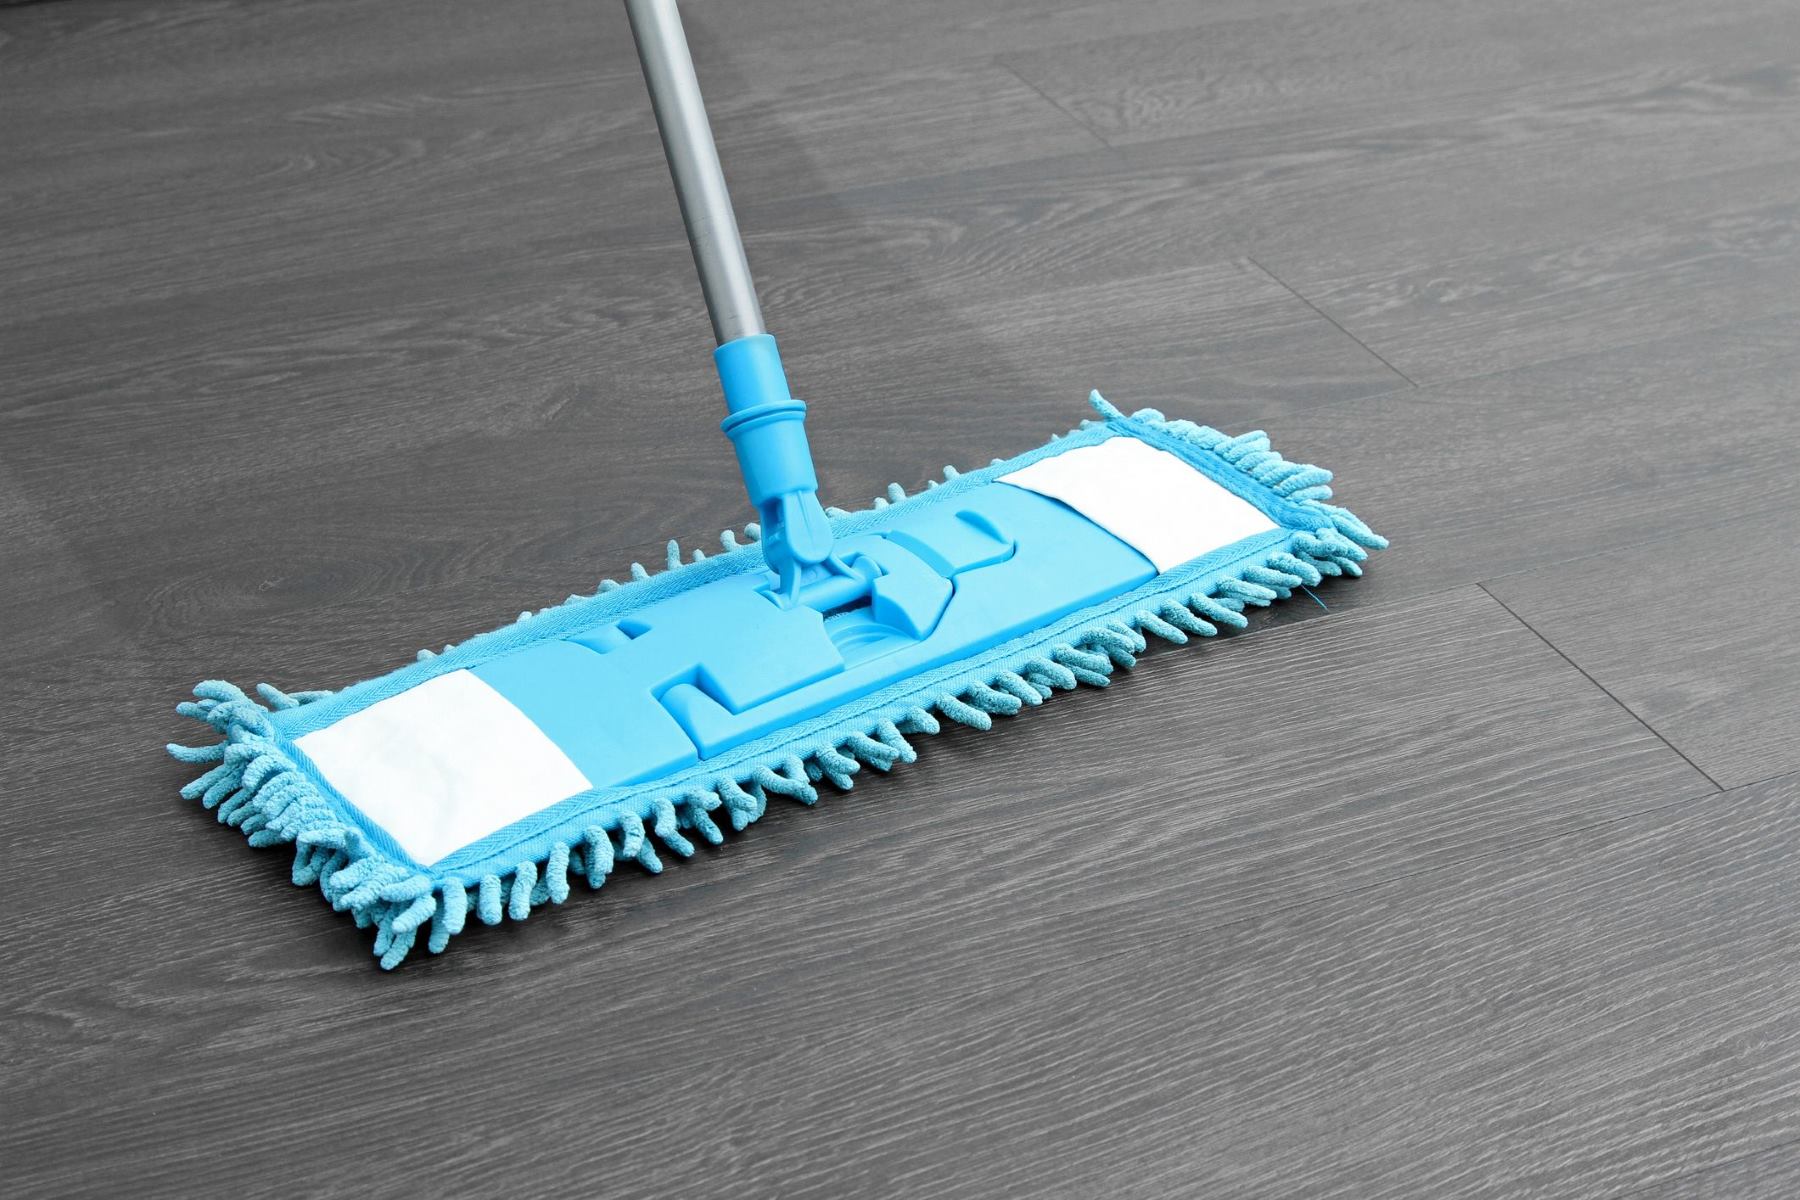
- Regularly clean and maintain the flooring: Follow the recommended cleaning and maintenance guidelines for your laminate flooring. Regularly sweep or vacuum the floor to remove dirt and debris that can cause damage. Use only approved cleaning products and avoid excessive moisture when mopping.
By implementing these preventative measures, you can significantly reduce the risk of buckling in your laminate floors. Maintaining a stable indoor environment, addressing moisture issues, and following proper installation and maintenance practices will help preserve the beauty and functionality of your flooring for years to come.
Remember, if you encounter any issues or notice signs of buckling, it’s important to address them promptly to prevent further damage. Consult with professionals or flooring experts if needed to ensure the proper resolution of any problems.
By following these preventive steps, you can enjoy your laminate flooring without the worry of buckling, allowing you to fully appreciate its durability and aesthetic appeal.
Conclusion
Buckling in laminate floors is a common issue that can be both unsightly and potentially damaging to your flooring. However, with the right knowledge and steps, you can successfully repair the buckling and prevent future occurrences. By understanding the causes of buckling, conducting a thorough assessment of the damage, and addressing the root cause, you can effectively restore your laminate floor to its original condition.
Through the process of removing baseboards, removing affected laminate planks, addressing the root cause, reinstalling the planks, and replacing the baseboards, you can repair the buckling and enjoy a smooth and level laminate floor once again. Taking preventive measures, such as maintaining a stable indoor environment, using proper underlayment, and addressing moisture issues promptly, will help minimize the chances of future buckling.
Remember to follow proper installation techniques and regularly clean and maintain your laminate flooring to ensure its long-term durability and beauty. If necessary, consult with professionals or flooring experts for expert advice and assistance.
By actively addressing and preventing buckling in laminate floors, you can enjoy the benefits of this versatile and affordable flooring option without the worry of unsightly deformities. With proper care and attention, your laminate floors will provide you with a durable, attractive, and comfortable living space for years to come.
So, go ahead and tackle the buckling in your laminate floor, knowing that you have the knowledge and tools to overcome this common issue. Your efforts will be rewarded with a smooth, aesthetically pleasing floor that enhances the overall beauty and functionality of your home.
Frequently Asked Questions about How To Fix Buckling Laminate Floor
Was this page helpful?
At Storables.com, we guarantee accurate and reliable information. Our content, validated by Expert Board Contributors, is crafted following stringent Editorial Policies. We're committed to providing you with well-researched, expert-backed insights for all your informational needs.

0 thoughts on “How To Fix Buckling Laminate Floor”