Articles
How To Fix A Creaky Floor
Modified: October 31, 2024
Learn how to fix a creaky floor with these helpful articles. Say goodbye to annoying squeaks and enjoy a quiet, sturdy surface.
(Many of the links in this article redirect to a specific reviewed product. Your purchase of these products through affiliate links helps to generate commission for Storables.com, at no extra cost. Learn more)
Introduction
Creaky floors can be an annoying and frustrating problem for homeowners. The constant squeaking and groaning can disrupt the peaceful atmosphere of a home and even cause sleepless nights. If you’re tired of tiptoeing around your house and are ready to tackle those creaky floors head-on, you’ve come to the right place.
In this article, we will explore the common causes of creaky floors and provide you with a comprehensive guide on how to fix them. Whether you have hardwood, laminate, or even carpeted floors, these solutions can help you stop the noise and restore tranquility to your home.
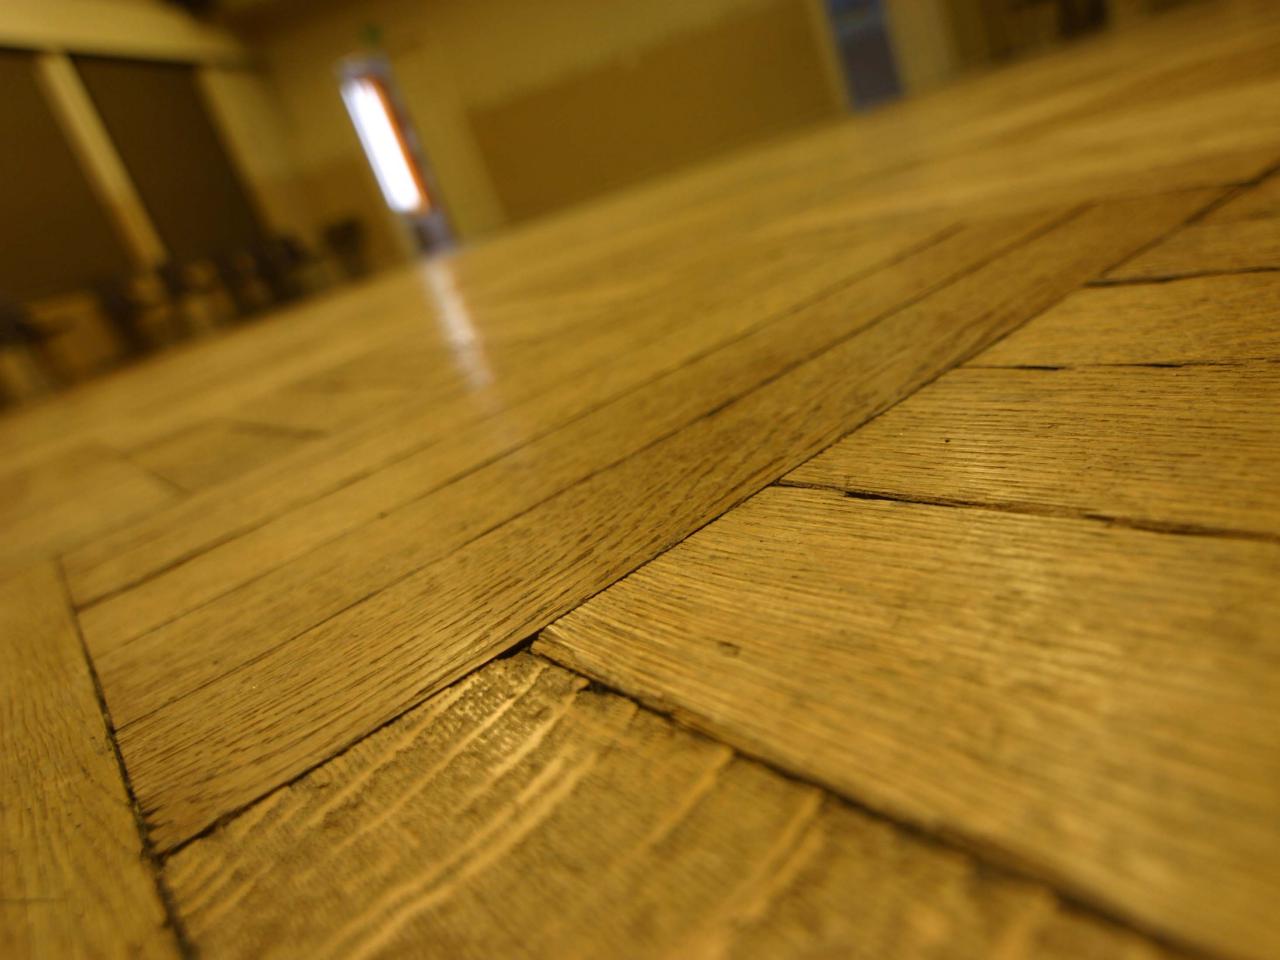
Before we dive into the fixes, it’s important to understand what causes creaky floors. The most common culprit is the natural movement of wood due to changes in humidity and temperature. Over time, this can cause the floorboards to rub against each other or against the subfloor, resulting in those pesky creaking sounds.
Other causes of creaky floors include loose floorboards, gaps between floorboards, damaged or rotten floorboards, and inadequate support from the floor joists. By identifying the root cause of the problem, you’ll be better equipped to implement the appropriate fix for your specific situation.
Now, let’s dive into the different methods you can use to fix your creaky floors and enjoy a peaceful and quiet living space.
Key Takeaways:
- Say goodbye to creaky floors by identifying the root cause and implementing DIY fixes such as tightening loose floorboards, lubricating squeaky areas, and filling gaps. For complex issues, seek professional assistance for long-lasting results.
- Enjoy a peaceful and quiet living space by addressing creaky floors with practical solutions. From reinforcing floor joists to installing a subfloor overlay, take action to eliminate bothersome creaking sounds and restore tranquility to your home.
Read more: How To Fix The Floor
Identifying the Cause of Creaky Floors
Before you can effectively fix your creaky floors, it’s important to identify the root cause of the issue. By doing so, you can address the specific problem and ensure that your chosen solution will provide long-lasting results.
Here are some common causes of creaky floors and how to identify them:
- Natural Wood Movement: As mentioned earlier, the natural movement of wood due to changes in humidity and temperature can cause creaking. To determine if this is the cause of your creaky floors, pay attention to whether the squeaking is more pronounced during certain weather conditions or times of the day.
- Loose Floorboards: Loose floorboards are another common cause of creaking. To check if this is the issue, carefully walk over the creaky area and listen for any movement or shifts in the floorboards. You may also visually inspect the floorboards for any visible gaps or signs of looseness.
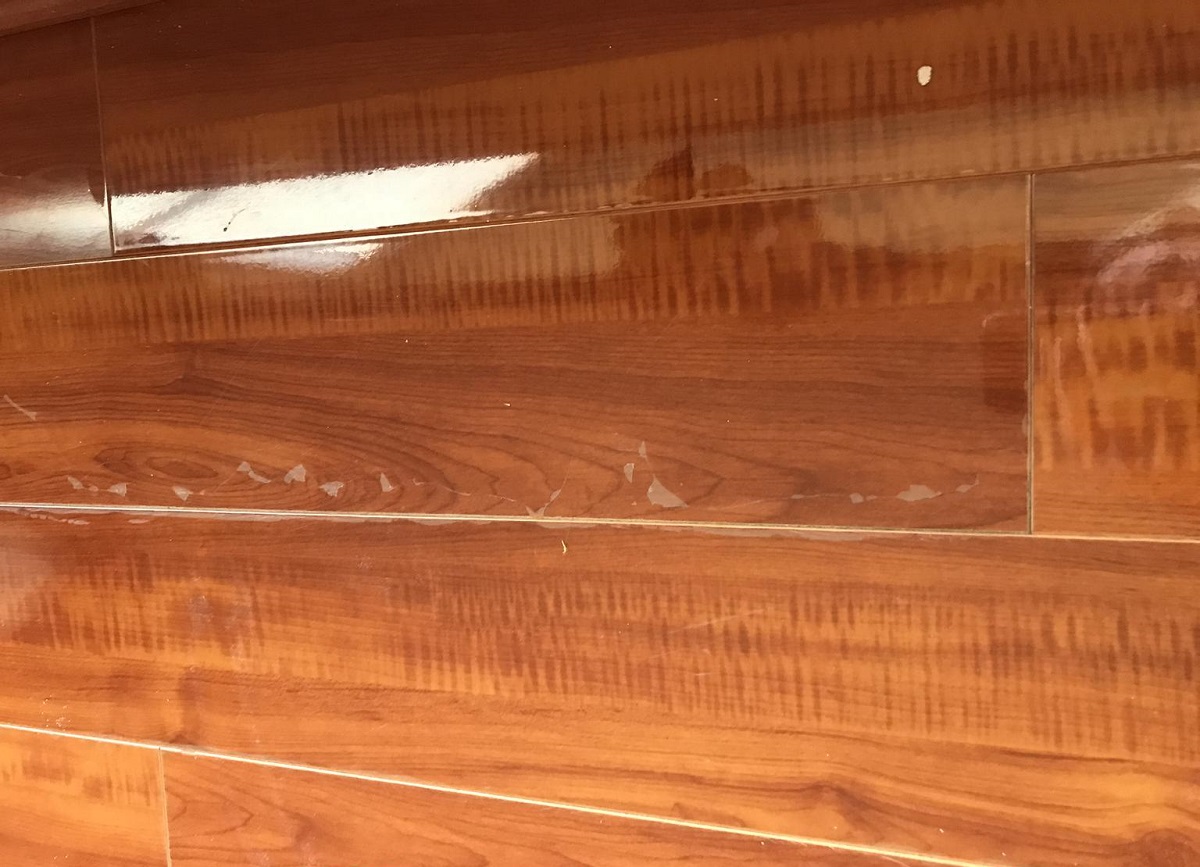
- Gaps between Floorboards: Gaps between floorboards can also contribute to creaking sounds. To determine if this is the problem, run your fingers along the edges of the floorboards to feel for any gaps or separations. Additionally, you may notice drafts or air coming up through the gaps.
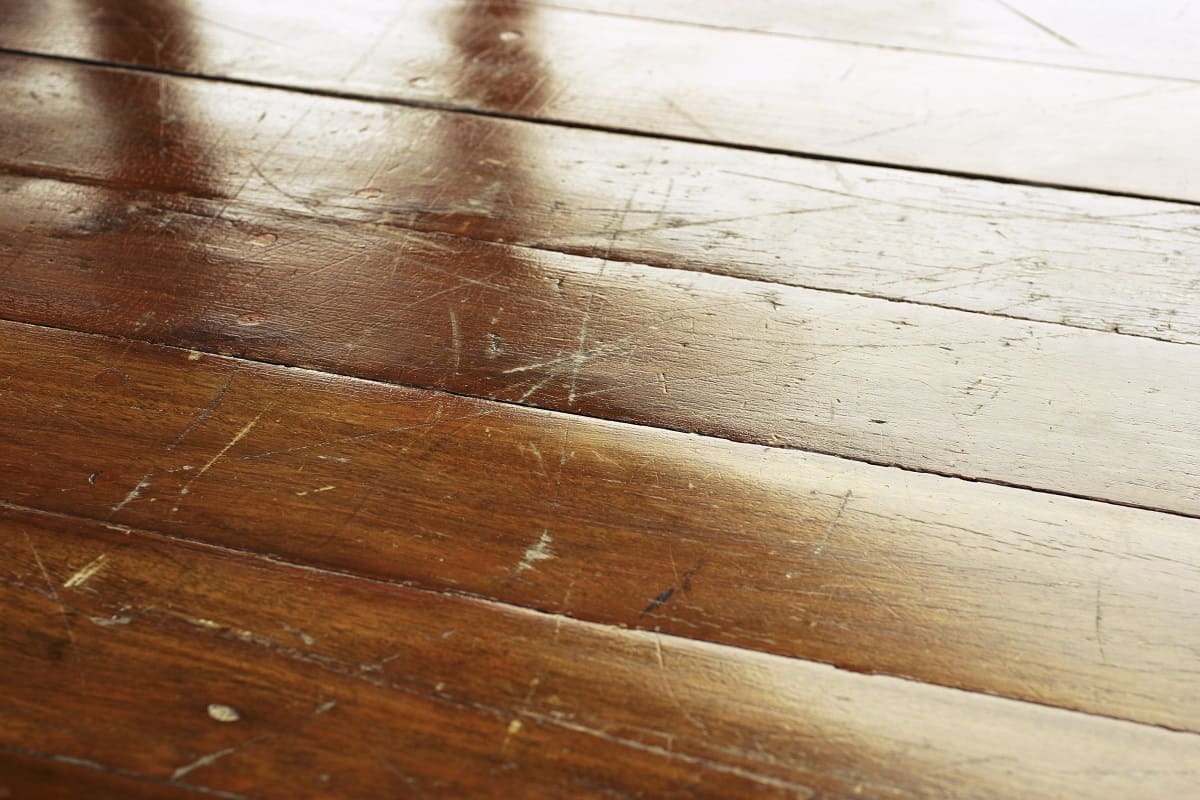
- Damage or Rot in Floorboards: If your creaky floors are accompanied by visible damage or rot in the floorboards, it’s likely that this is the cause of the issue. Inspect the floorboards for any cracks, splits, or areas of decay. You may also notice a soft or spongy feeling when walking on these damaged areas.
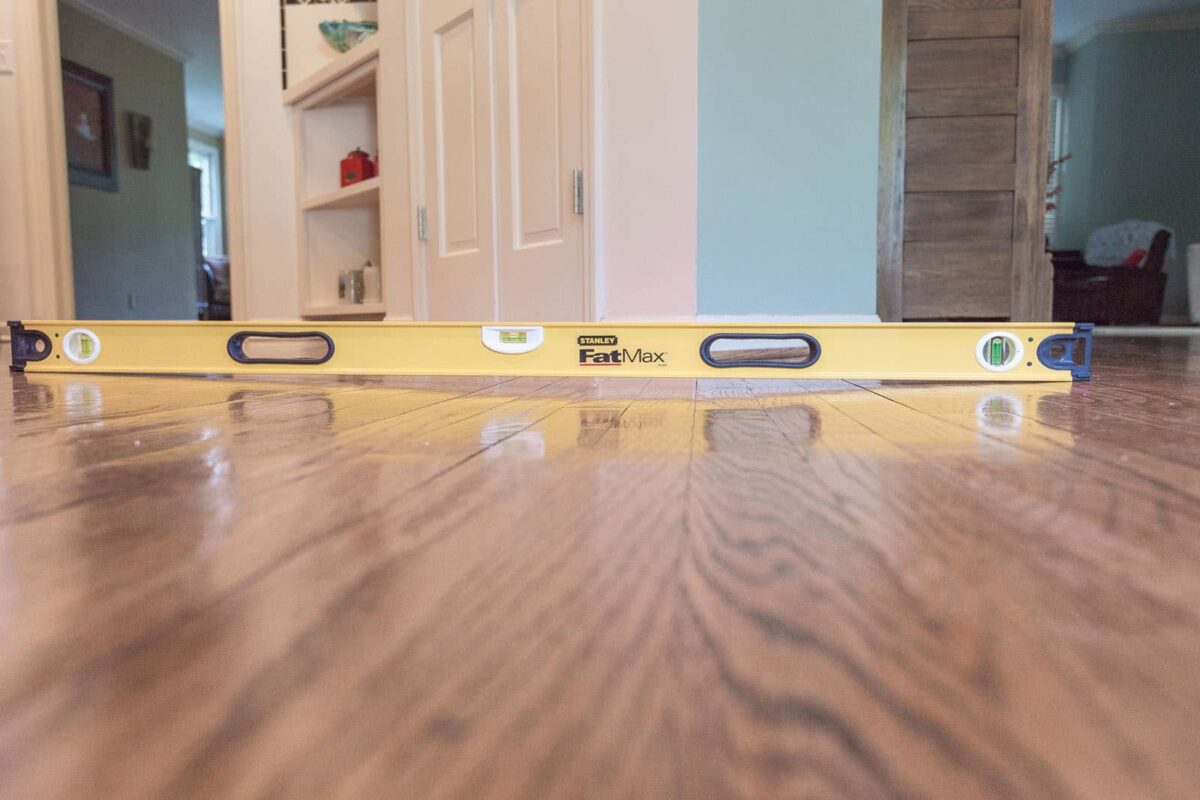
- Insufficient Floor Joist Support: In some cases, creaky floors can be attributed to inadequate support from the floor joists. To verify if this is the cause, access the space below the floor (e.g., basement or crawl space) and inspect the condition of the joists. Look for any signs of sagging, bending, or cracking.
By carefully assessing the condition of your floors and identifying the specific cause of the creaking, you’ll be better prepared to choose the most suitable fix. In the next section, we will explore various methods to address these common causes and put an end to those bothersome creaky floors.
Fixing Creaky Floors
Once you’ve identified the cause of your creaky floors, it’s time to implement the appropriate fix. From tightening loose floorboards to filling gaps between floorboards, there are several effective methods you can use to silence those irritating creaks.
Here are some common fixes for creaky floors:
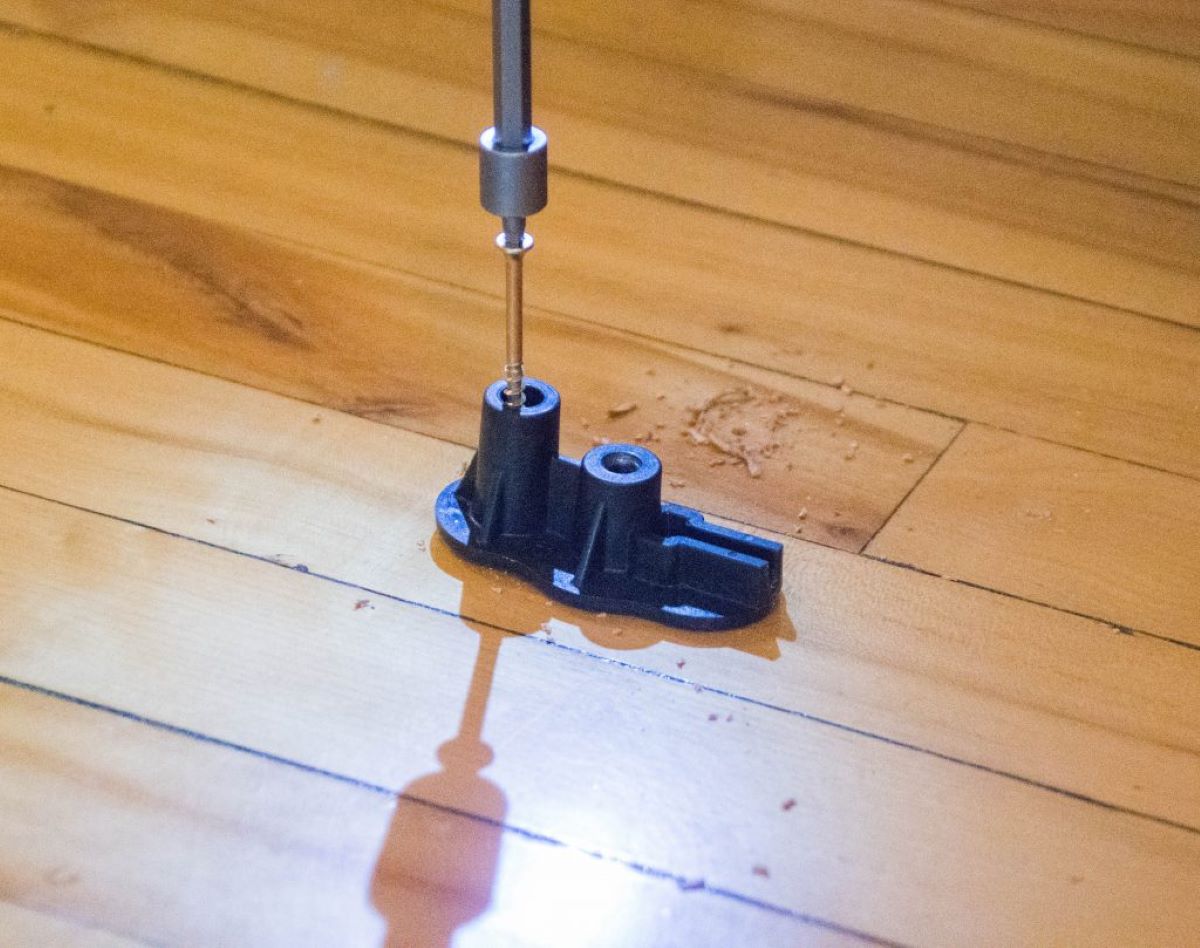
- Tighten Loose Floorboards: If loose floorboards are the problem, you can fix them with screws or nails. Locate the loose boards by stepping on them and listening for squeaks. Then, use a screwdriver or hammer to tighten the boards to the subfloor. Be careful not to overtighten, as this can cause damage.
- Lubricate Squeaky Floorboards: Lubricating the floorboards can minimize friction and reduce squeaking. Apply a lubricating substance, such as powdered graphite or talcum powder, into the gaps between the boards. Use a brush or cloth to distribute the lubricant evenly.
- Fill Gaps in the Floorboards: Gaps between floorboards can be filled with wood filler or caulk. First, clean out any debris or loose material from the gaps. Then, apply the filler or caulk using a putty knife or caulk gun, making sure to push it deep into the gaps. Smooth the surface and allow it to dry according to the manufacturer’s instructions.
- Reinforce Floor Joists: If the problem stems from insufficient support from the floor joists, reinforcing them can solve the issue. Install additional support beams or sister joists alongside the existing joists to provide extra stability and reduce movement.
- Install Additional Support Braces: In some cases, adding support braces can help alleviate creaking floors. This involves installing perpendicular support beams or columns beneath the floor, distributing the weight and reducing the flexing of the floorboards.
- Replace Damaged or Rotten Floorboards: If your creaky floors are a result of damaged or rotten floorboards, replacement is necessary. Remove the affected boards, ensuring you have the appropriate measurements, and install new ones in their place. You may need the assistance of a professional if the damage is extensive.
- Install a Subfloor Overlay: In situations where the existing floor is beyond repair, installing a subfloor overlay can provide a fresh and stable surface. This involves adding a layer of plywood or other suitable material over the existing subfloor, eliminating any creaks caused by the original floorboards.
- Consult a Professional for Complex Issues: If you’re uncertain about the cause or unable to fix the creaky floors yourself, it’s advisable to seek the assistance of a professional. They will have the expertise and tools to diagnose the problem accurately and recommend the most appropriate solution.
Remember, the method you choose will depend on the specific cause of your creaky floors and the extent of the problem. By implementing these fixes, you can say goodbye to those annoying creaks and enjoy a silent and peaceful living space once again.
In the next section, we will provide some additional tips and considerations to help you maintain your floors and prevent future creaking issues.
Fix 1: Tighten Loose Floorboards
Loose floorboards are a common cause of creaky floors. When the boards are not properly secured to the subfloor, they can move and rub against each other, resulting in those annoying creaking sounds. Luckily, tightening loose floorboards is a relatively simple and effective solution.
Here’s a step-by-step guide on how to tighten loose floorboards:
- Locate the Loose Floorboards: Walk over the creaky area and listen for squeaking sounds. You can also visually inspect the floorboards for any visible gaps or signs of looseness.
- Gather the Necessary Tools: You’ll need a screwdriver or a drill with a screwdriver bit, as well as screws or nails.
- Mark the Location for Screws or Nails: Once you’ve identified the loose floorboards, mark the location where you will insert the screws or nails. It’s best to place them near the edges of the boards, where they will provide the most stability.
- Tighten the Floorboards: Insert the screwdriver or screwdriver bit into the marked spots and begin tightening the screws. Alternatively, you can use a hammer and nails to secure the boards. Be sure not to overtighten, as this can cause damage to the floorboards or the subfloor.
- Test for Creaks: After tightening the loose floorboards, carefully walk over the previously creaky area and listen for any remaining squeaks. If you still hear any noise, you may need to insert additional screws or nails in the problem areas.
- Trim Excess Screw Length (Optional): If you used screws to tighten the floorboards and the screw heads extend above the surface of the boards, you can use a screwdriver or a saw to trim them down for a flush finish.
It’s important to note that tightening loose floorboards may not completely eliminate creaking if there are other underlying issues, such as gaps between floorboards or damage to the subfloor. In such cases, you may need to implement additional fixes to address these specific problems.
By taking the time to tighten loose floorboards, you can significantly reduce creaking sounds and restore stability to your floors. However, if you’re unsure about the process or feel uncomfortable handling the repairs yourself, it’s always best to consult with a professional to ensure a proper and long-lasting fix.
Next, we will explore another common fix for creaky floors: lubricating squeaky floorboards.
Fix 2: Lubricate Squeaky Floorboards
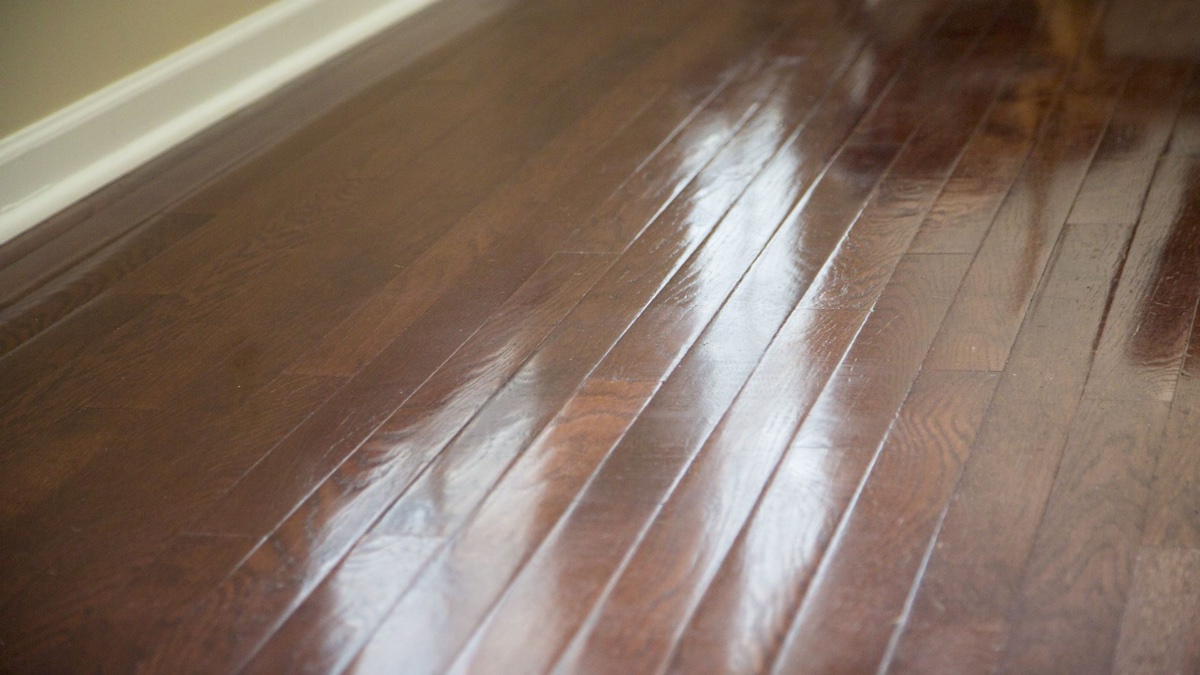
If you’re dealing with squeaky floorboards that are rubbing against each other, lubricating them can help reduce friction and eliminate those annoying creaking sounds. This fix is especially effective for hardwood or laminate floors.
Here’s a step-by-step guide on how to lubricate squeaky floorboards:
- Identify the Squeaky Areas: Walk over your floors and listen for squeaking sounds. Take note of the specific areas where the noise is most prominent.
- Choose the Right Lubricant: Select a lubricating substance that is suitable for your type of flooring. Powdered graphite or talcum powder are popular choices, as they have dry and slippery properties that can reduce friction.
- Clean the Gaps between Floorboards: Use a broom or vacuum cleaner to remove any dirt, dust, or debris from the gaps between the floorboards. This will ensure that the lubricant can reach the areas where it’s needed.
- Apply the Lubricant: Sprinkle the chosen lubricant into the gaps between the floorboards. Use a brush or cloth to spread and distribute the lubricant evenly. Focus on the areas where the squeaking is most pronounced.
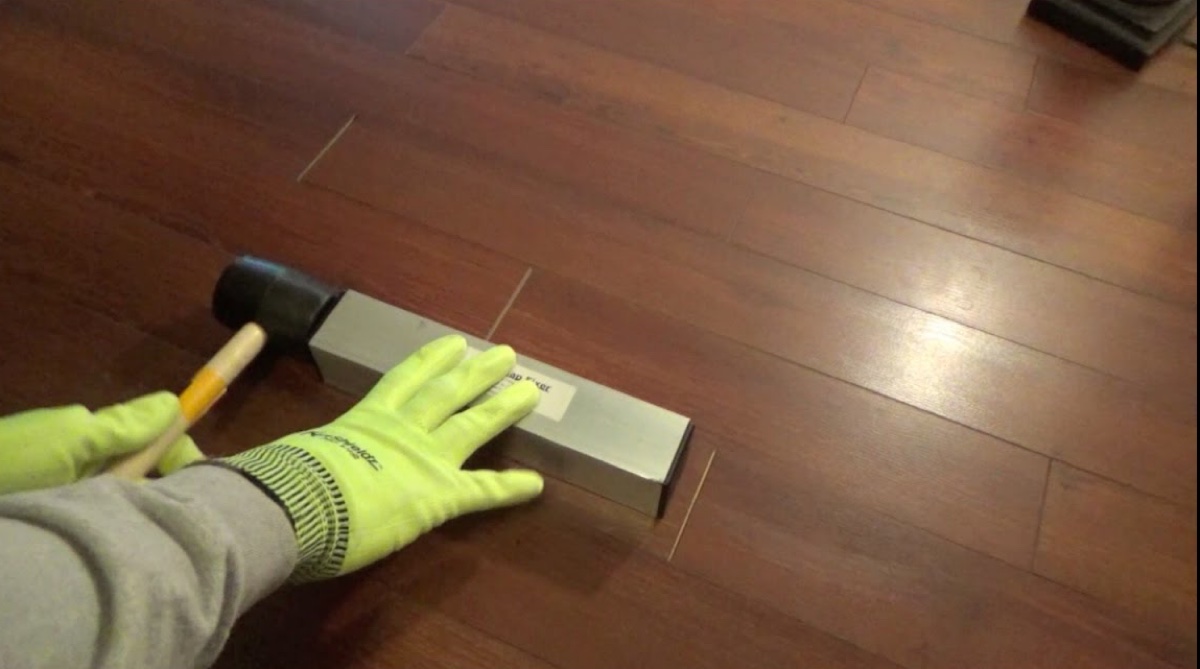
- Work the Lubricant into the Gaps: Once the lubricant is applied, gently tap or press on the floorboards to encourage the substance to penetrate the gaps. This will help to ensure that it reaches the areas where the floorboards may be rubbing against each other.
- Clean Excess Lubricant: Wipe away any excess lubricant from the surface of the floorboards using a clean, dry cloth. This will prevent any slippery residue from remaining on the floor.
It’s important to note that lubricating floorboards is a temporary fix and may require reapplication over time. Additionally, this method may not be suitable for floors with carpeting or rugs, as the lubricant may stain or damage these materials.
If lubricating the floorboards does not completely eliminate the creaking, you may need to consider additional repairs or fixes, such as tightening loose boards or addressing gaps between the floorboards.
By using the appropriate lubricant and applying it correctly, you can significantly reduce friction between the floorboards and enjoy a quieter, creak-free living space. However, if you’re unsure about the process or have concerns about using lubricants on your specific type of flooring, it’s always best to consult with a professional for guidance.
Next, we will explore another fix for creaky floors: filling gaps in the floorboards.
Read more: How To Fix Linoleum Floor
Fix 3: Fill Gaps in the Floorboards
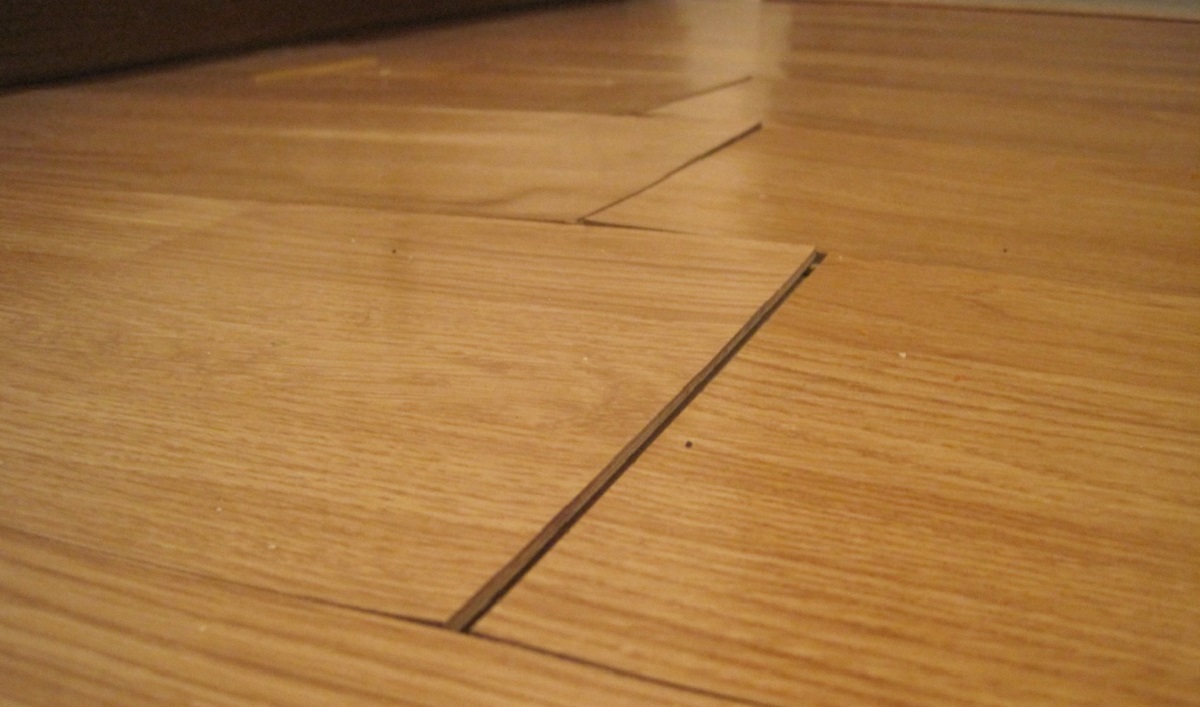
Gaps between floorboards can contribute to creaking sounds and diminish the stability of your floors. Filling these gaps is a straightforward fix that not only helps reduce creaks but also improves the overall appearance of your flooring. This fix is applicable to hardwood, laminate, and other types of floors with visible gaps.
Here’s a step-by-step guide on how to fill gaps in the floorboards:
- Clean the Gaps: Use a broom, vacuum cleaner, or a thin brush to remove any dirt, dust, or debris from the gaps between the floorboards. This will ensure a clean and secure bond for the filler material.
- Select the Appropriate Filler Material: Choose a filler material that is suitable for your type of flooring and the size of the gaps. Wood filler, epoxy resin, or latex-based caulking are common options. Ensure that the color of the filler matches the color of your floorboards for a seamless finish.
- Apply the Filler Material: Squeeze a small amount of filler material onto a putty knife or a caulking gun. Push the material into the gaps between the floorboards, ensuring that it fills the entire depth of the gaps. Smooth the surface of the filler using the putty knife or a wet finger to create an even finish.
- Remove Excess Filler: While the filler is still wet, use a damp cloth or sponge to carefully wipe away excess filler from the surface of the floorboards. This will help create a clean and flush appearance.
- Allow the Filler to Dry: Follow the manufacturer’s instructions regarding the drying time of the filler material. Depending on the product, it may take several hours or more for the filler to completely dry and harden.
- Sand the Filler (Optional): If desired, you can lightly sand the filled areas to create an even and smooth surface. Use fine-grit sandpaper and sand in the direction of the wood grain. Be careful not to sand too aggressively, as this can damage the surrounding floorboards.
- Apply a Finish (Optional): If your flooring has a finish or protective coating, you may choose to apply a compatible finish over the filled areas. This will help blend the repaired sections with the rest of the floor and provide an extra layer of protection.
It’s important to note that filling gaps in floorboards is a cosmetic fix and may not address underlying structural issues. If the gaps are excessive or reappear shortly after filling, it may be indicative of a more significant problem, such as floorboard shrinkage or subfloor movement. In such cases, it’s advisable to consult with a professional for further evaluation and repairs.
By filling the gaps in your floorboards, you can eliminate creaking caused by the boards rubbing against each other and enhance the overall integrity and appearance of your floors.
Next, we will explore another fix for creaky floors: reinforcing floor joists.
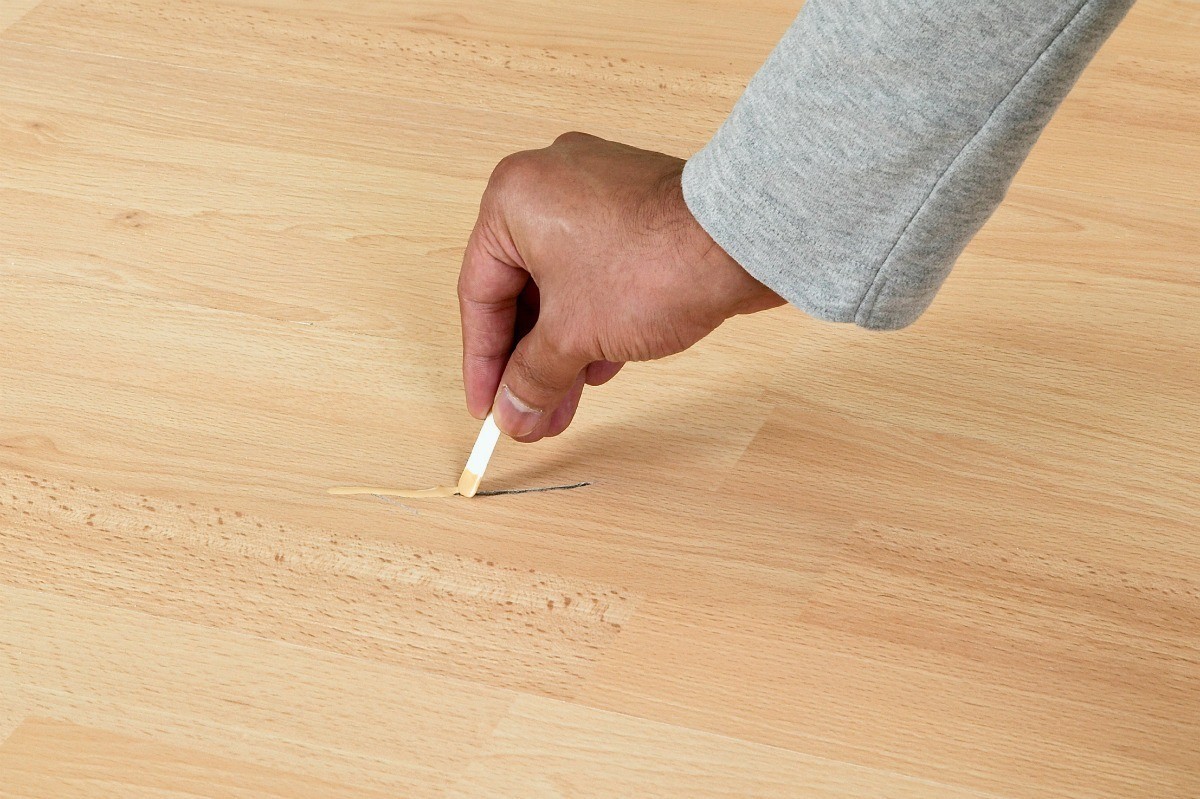
Use talcum powder or powdered graphite to lubricate the joints between floorboards to reduce creaking. Sprinkle the powder into the cracks and then sweep or vacuum up any excess.
Fix 4: Reinforce Floor Joists
In some cases, creaky floors can be a result of inadequate support from the floor joists. When the joists are not properly reinforced, they can flex and cause the floorboards to move and creak. Reinforcing the floor joists can provide additional stability and minimize floor movement, resulting in quieter and more solid floors.
Here’s a step-by-step guide on how to reinforce floor joists:
- Inspect the Floor Joists: Access the space below the floor, such as the basement or crawl space, and inspect the condition of the floor joists. Look for signs of sagging, bending, or cracking. Identify any areas where additional support may be needed.
- Measure and Prepare the Support Beams: Determine the length and width of the support beams needed for reinforcement. Cut the support beams according to the measurements, ensuring a snug fit between the existing joists.
- Position the Support Beams: Place the support beams alongside the existing floor joists, perpendicular to their direction. Use nails, screws, or metal joist hangers to secure the support beams to the existing joists. Be sure to follow appropriate building codes and guidelines for proper installation.
- Add Blocking or Bridging: Install blocking or bridging between the support beams and the existing joists at regular intervals. This will further strengthen the floor structure and reduce any potential movement.
- Secure the Floorboards: Once the support beams and blocking/bridging are in place, secure the floorboards to the reinforced structure using screws or nails. This will help distribute the load evenly and minimize floorboard movement and creaking.
Reinforcing the floor joists can be a complex process that may require professional assistance if you’re not experienced in carpentry or structural work. It’s crucial to ensure that the reinforcement is done correctly and meets safety standards.
If you’re uncertain about the condition of your floor joists or how to reinforce them, it’s best to consult with a qualified contractor or structural engineer. They will be able to assess the situation, provide expert advice, and carry out the necessary reinforcement work for long-lasting and reliable results.
By reinforcing the floor joists, you can strengthen the structural integrity of your floors and minimize any floor movement or flexing that may be causing the creaking sounds.
Next, we will explore another fix for creaky floors: installing additional support braces.
Fix 5: Install Additional Support Braces
For creaky floors caused by weak or inadequate support, installing additional support braces can provide the necessary reinforcement and stability. Support braces help distribute the weight more evenly, reducing floor movement and minimizing creaking sounds. This fix is particularly beneficial for older homes or areas with large spans between floor joists.
Here’s a step-by-step guide on how to install additional support braces for your creaky floors:
- Identify the Problem Areas: Walk over your floors and listen for creaking sounds. Take note of the areas where the creaking is most pronounced or where the floor feels unstable.
- Determine the Placement and Type of Support Braces: Depending on the layout and construction of your home, you might choose to install perpendicular support beams or columns beneath the floor. Consider the location of load-bearing walls and other structural elements to ensure proper support.
- Measure and Cut the Support Braces: Use a tape measure to determine the exact length needed for the support braces. Cut the beams or columns to the appropriate size, ensuring a snug fit between the floor and the foundation or support beams below.
- Secure the Support Braces: Position the support braces beneath the problem areas of the floor, perpendicular to the floor joists. Use nails, screws, or appropriate brackets to secure the support braces to the foundation or existing support beams. Ensure that the braces are level and in direct contact with the underside of the floor.
- Add Additional Bracing (if necessary): Depending on the length and span of the support braces, you may need to add additional bracing for added stability. This can be achieved by installing diagonal braces or cross beams between the support braces and the existing floor joists.
- Test for Improved Stability: After installing the support braces, carefully walk over the previously creaky areas of the floor and observe any improvement in stability and reduction in creaking sounds. Adjust and reinforce as necessary.
When installing additional support braces, it’s essential to ensure that the installation is structurally sound and meets building codes and regulations. If you’re unsure about the process or the load-bearing capacity of your floor, it’s recommended to consult with a professional contractor or structural engineer who can assess your specific situation and provide expert guidance.
By installing additional support braces, you can effectively strengthen the structure of your floors, distribute the load evenly, and significantly reduce creaking and floor movement.
Next, we will explore another fix for creaky floors: replacing damaged or rotten floorboards.
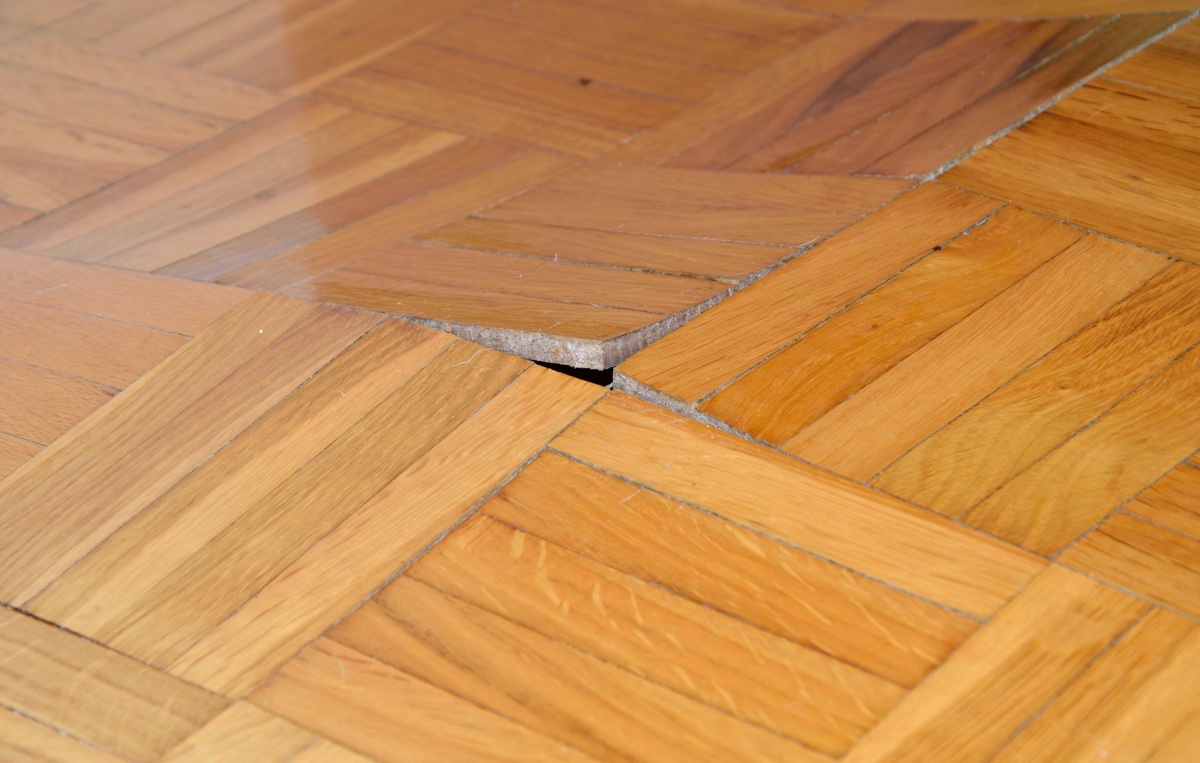
Fix 6: Replace Damaged or Rotten Floorboards
If your creaky floors are a result of damaged or rotten floorboards, replacing them is the ideal solution. Damaged or rotten floorboards can not only cause creaking sounds but also compromise the structural integrity of your floors. By replacing these boards, you can restore stability, eliminate creaks, and improve the overall appearance of your flooring.
Here’s a step-by-step guide on how to replace damaged or rotten floorboards:
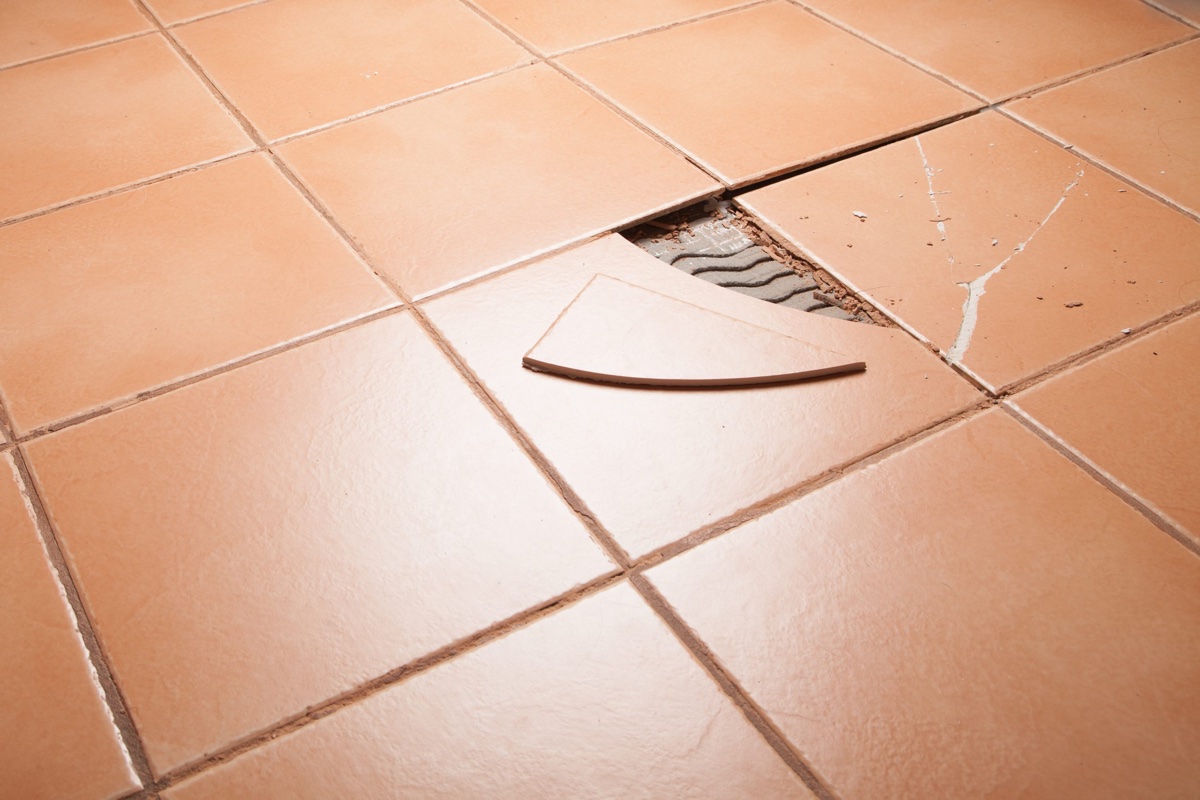
- Identify the Damaged or Rotten Floorboards: Walk over your floors and visually inspect for any obvious signs of damage or rot, such as cracks, splits, or areas of decay. Tap on the floorboards lightly to check for any soft or spongy spots.
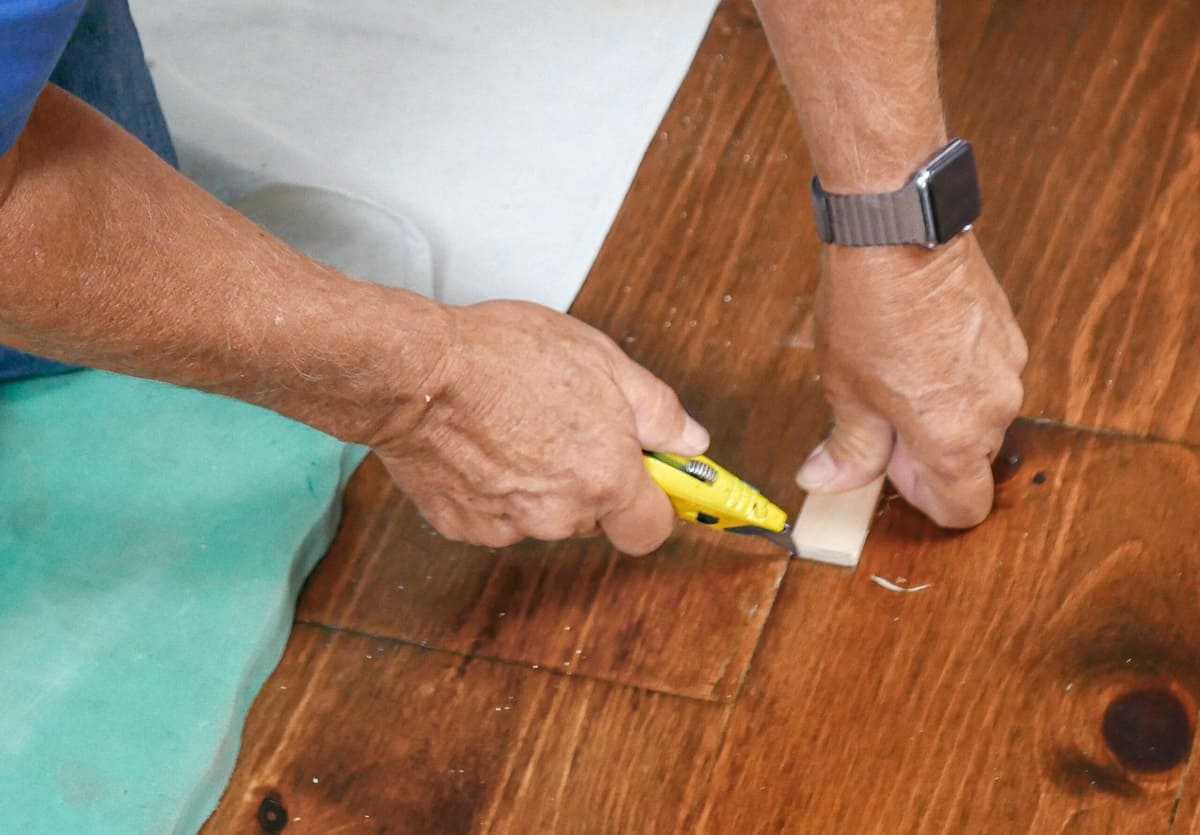
- Gather the Necessary Tools and Replacement Floorboards: You’ll need a circular saw, pry bar, chisel, hammer, measuring tape, replacement floorboards, and any appropriate finishing materials.
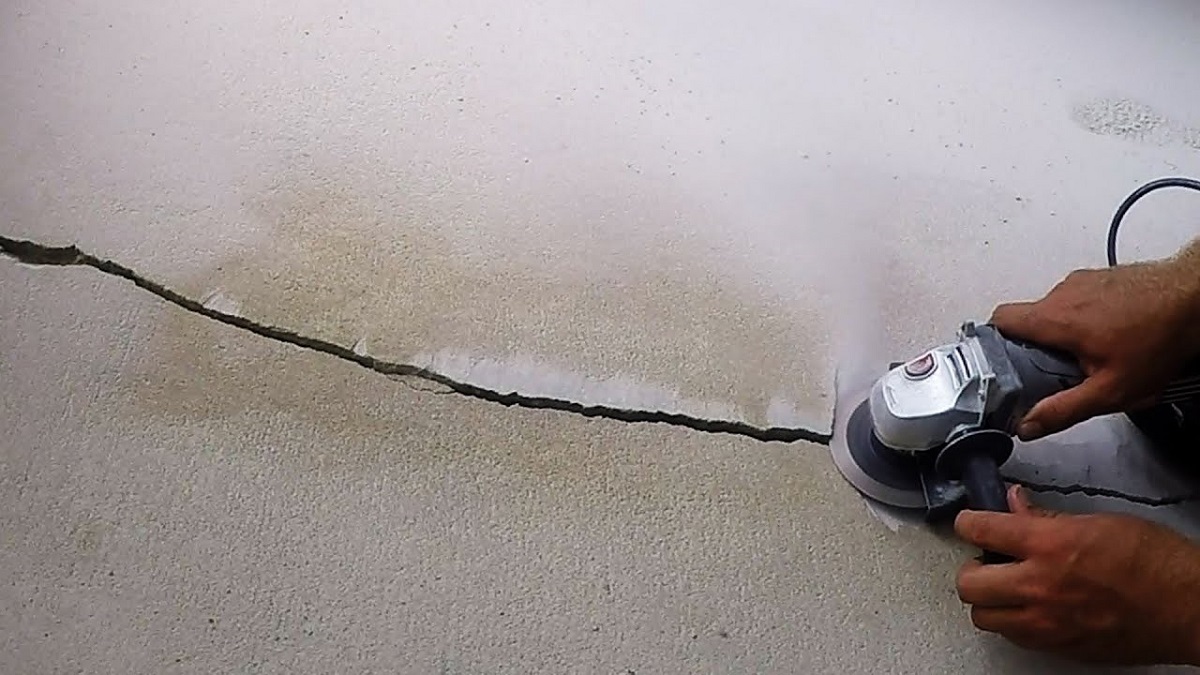
- Begin the Removal Process: Use the circular saw to create parallel cuts along the length of the damaged floorboards. This will enable you to remove them easily without damaging surrounding boards. Use the pry bar and chisel to carefully remove the cut sections of the floorboards.
- Clean the Subfloor: Remove any debris or adhesive residue from the subfloor where the damaged boards were removed. Ensure that the subfloor is clean and level for proper installation of the replacement boards.
- Measure and Cut the Replacement Boards: Measure the length and width of the opening left by the removed floorboards. Use these measurements to cut the replacement boards to the appropriate size. Ensure a snug fit, leaving a small gap for expansion if necessary.
- Install the Replacement Boards: Apply wood adhesive or secure the replacement boards to the subfloor using nails, screws, or appropriate fasteners. Be sure to follow the manufacturer’s instructions and use the recommended installation method for the type of flooring you have.
- Finish the Replacement Floorboards: Sand the replacement boards to create a smooth and even surface. Apply any required finishing materials, such as stain or sealant, to match the color and finish of the surrounding floorboards.
- Allow for Proper Drying or Curing: Follow the manufacturer’s instructions regarding the drying or curing time for any applied finishes or adhesives. This will ensure that the replacement boards are fully secure and ready for use.
Replacing damaged or rotten floorboards requires some level of skill and precision. If you’re uncertain about performing this task yourself, it’s advisable to consult with a professional who can handle the replacement process efficiently and ensure a seamless integration with the existing floor.
By replacing damaged or rotten floorboards, you can eliminate creaking caused by the compromised flooring and restore the overall stability and aesthetics of your floors.
Next, we will explore another fix for creaky floors: installing a subfloor overlay.
Read more: How To Fix A Sagging Floor
Fix 7: Install a Subfloor Overlay
If your creaky floors have extensive damage or are beyond repair, installing a subfloor overlay can provide a fresh and stable surface. This fix is particularly useful for floors with multiple layers of flooring or compromised subfloors. By adding a layer of plywood or another suitable material over the existing subfloor, you can eliminate creaks and create a more solid foundation for your new floor covering.
Here’s a step-by-step guide on how to install a subfloor overlay:
- Inspect the Existing Subfloor: Assess the condition of the existing subfloor, especially around the areas where the creaking is most prominent. Look for any signs of damage, rot, or unevenness.
- Clean the Subfloor: Thoroughly clean the existing subfloor, removing any dirt, debris, or adhesive residue. Ensure that the subfloor is dry and level before proceeding with the installation of the overlay.
- Choose the Overlay Material: Select a suitable material for the subfloor overlay, such as plywood or oriented strand board (OSB). Check the thickness and quality requirements based on your needs and local building codes.
- Measure and Cut the Overlay Material: Measure the dimensions of the areas where the overlay will be installed. Use these measurements to cut the overlay material to fit precisely over the existing subfloor. Leave small gaps for expansion if necessary.
- Apply Adhesive or Fasteners: Apply construction adhesive to the backside of the overlay material or use appropriate fasteners (nails or screws) to secure it to the existing subfloor. Follow the manufacturer’s instructions for proper installation and spacing of fasteners.
- Stagger the Joints: Stagger the joints of the overlay material to ensure a stronger and more stable surface. This will prevent continuous seams and improve overall structural integrity.
- Fill Gaps and Screw/Nail Heads: Fill any gaps between the overlay panels or around screw/nail heads with wood filler or appropriate filler material. Smooth the surface of the filler for an even finish.
- Sand and Level the Overlay Surface: Use a sander or hand sandpaper to smooth out any rough patches or unevenness on the surface of the overlay. This will provide a flat and consistent surface for the new floor covering.
- Install the New Floor Covering: Once the overlay is in place and the surface is prepared, you can proceed with installing the new floor covering of your choice, such as hardwood, laminate, or carpet. Follow the manufacturer’s instructions for proper installation of the specific flooring material.
Installing a subfloor overlay is a more involved process that may require professional assistance, especially if you have limited experience with construction or carpentry work. Consulting with a contractor or flooring specialist can ensure a proper and long-lasting installation.
By installing a subfloor overlay, you can create a solid and stable foundation for your new floor covering, effectively eliminating creaks and providing a fresh and durable surface for years to come.
Finally, we will explore the option of consulting a professional for complex creaky floor issues.
Fix 8: Consult a Professional for Complex Issues
While many creaky floor problems can be resolved through DIY fixes, some cases may require the expertise of a professional. If you’ve tried various methods to fix your creaky floors but still haven’t achieved the desired results, or if you’re dealing with complex issues such as structural damage or extensive floorboard deterioration, it’s best to consult with a professional contractor or flooring specialist.
Here are some reasons why you may need to seek professional assistance:
- Structural Assessments: If you suspect that the creaky floors are due to underlying structural issues, it’s important to have a professional assess the overall integrity of your home’s foundation, floor joists, or support beams. They can identify potential problems and recommend appropriate solutions.
- Extensive Floor Damage: If your floors have suffered significant damage, such as severe water damage, rot, or termite infestation, a professional can determine the extent of the damage and advise on the necessary repairs or replacements.
- Specialized Expertise: Professionals have the specialized knowledge and experience to handle specific flooring materials, complex installations, or custom repairs. They can offer expert guidance and ensure that the correct techniques and materials are used to fix your creaky floors.
- Safety Concerns: If you’re unsure about the structural stability of your floors or the potential risks associated with certain repairs, it’s essential to prioritize your safety. Professionals can evaluate the situation and implement appropriate safety measures while working on your creaky floor issues.
- Long-Term Solutions: Sometimes, quick fixes may not provide permanent solutions for creaky floors. Professionals can offer long-term remedies or preventive measures to ensure that your floors remain squeak-free for years to come.
When consulting a professional, it’s crucial to choose a qualified and reputable contractor or flooring specialist. Research reviews, ask for recommendations, and request quotes from multiple providers to ensure you receive reliable and competitive services.
Remember, while DIY fixes can be cost-effective and successful in many cases, it’s important to recognize your own limitations and seek professional help when needed. Investing in the expertise of a professional can save you time, effort, and potential headache in resolving complex creaky floor issues.
Now you have a comprehensive guide to fixing your creaky floors. By implementing the appropriate fixes and seeking professional help when necessary, you can enjoy quiet and stable floors in your home once again.
Conclusion
Creaky floors can be a nuisance for homeowners, disrupting the peace and quiet of a home. However, with the right knowledge and strategies, you can effectively address and fix creaky floors to restore tranquility to your living space.
In this comprehensive guide, we explored common causes of creaky floors and provided practical solutions for each issue. From tightening loose floorboards and lubricating squeaky areas to filling gaps in floorboards and reinforcing floor joists, there are various DIY fixes you can implement to eliminate those bothersome creaking sounds.
For more complex or extensive issues, such as damaged floorboards or compromised structural stability, it’s important to consult with a professional. Their expertise will ensure that the proper repairs or replacements are done to address the underlying problems effectively.
Throughout the process of fixing creaky floors, it’s essential to prioritize safety, follow manufacturer’s instructions, and, when needed, seek professional assistance. By doing so, you can avoid further damage and achieve long-lasting results.
Remember that prevention is key. Regular maintenance, such as keeping floors clean, maintaining consistent humidity levels, and addressing minor issues promptly, can help prevent creaky floors from occurring in the first place.
With the information provided in this guide, you now have the tools and knowledge to confidently tackle your creaky floors and enjoy the peace and quiet you deserve in your home.
So, don’t let those creaky floors hold you back anymore. Take action, implement the necessary fixes, and reclaim the serenity of your living space.
Frequently Asked Questions about How To Fix A Creaky Floor
Was this page helpful?
At Storables.com, we guarantee accurate and reliable information. Our content, validated by Expert Board Contributors, is crafted following stringent Editorial Policies. We're committed to providing you with well-researched, expert-backed insights for all your informational needs.

0 thoughts on “How To Fix A Creaky Floor”