Articles
How To Level Floor For Laminate
Modified: December 7, 2023
Learn how to articles level a floor for laminate installation with our step-by-step guide. Achieve a smooth, even surface for flawless results.
(Many of the links in this article redirect to a specific reviewed product. Your purchase of these products through affiliate links helps to generate commission for Storables.com, at no extra cost. Learn more)
Introduction
When it comes to installing laminate flooring, having a level surface is crucial for a successful and long-lasting installation. A floor that is not properly leveled can lead to issues such as uneven wear, gaps between boards, and even a distorted appearance. Fortunately, there are several methods to level a floor in preparation for laminate installation.
In this article, we will provide a step-by-step guide on how to level a floor for laminate. We will discuss the importance of assessing the floor, gathering the necessary materials and tools, and preparing the floor before starting the leveling process. Additionally, we will explore different leveling methods, including the use of self-leveling compound and floor patching compound. We will also cover the steps of sanding the floor, installing underlayment, and preparing for the laminate installation.
By following these instructions, you can ensure a smooth and level surface for your laminate flooring, providing a beautiful and functional space in your home.
Key Takeaways:
- Properly assessing, gathering materials, and preparing the floor are crucial initial steps for achieving a level surface for laminate installation. Understanding different leveling methods and meticulous sanding are essential for a successful outcome.
- Installing underlayment and preparing for laminate installation are vital final steps. Attention to detail, proper planning, and following manufacturer’s instructions throughout the process ensure a stunning and durable laminate floor.
Read more: Laminate Wood Flooring
Assessing the Floor
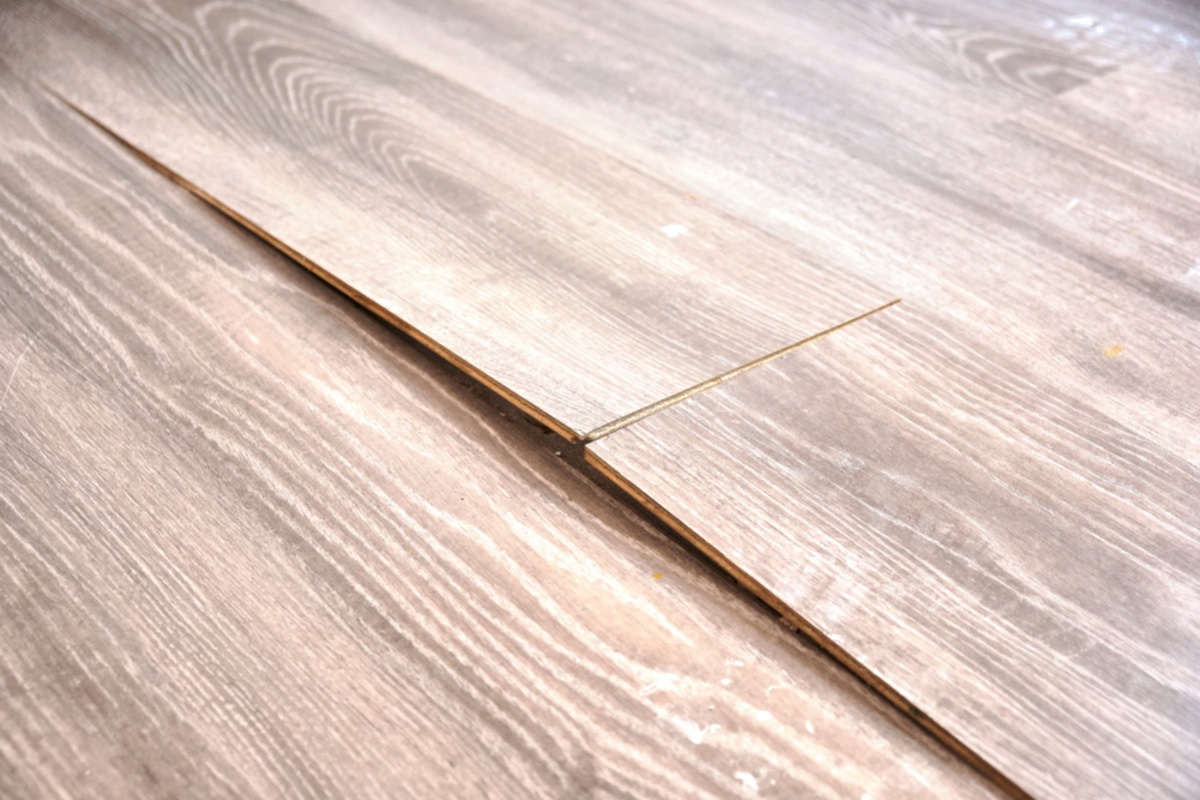
The first step in leveling a floor for laminate installation is to assess the current condition of the floor. This involves identifying any uneven areas, dips, or high spots that may need to be addressed.
Start by thoroughly cleaning the floor to remove any debris or dirt that may affect your assessment. Next, use a straightedge or level to check for any noticeable high or low spots. Place the straightedge across the floor, paying attention to any gaps between the straightedge and the floor surface. These gaps indicate unevenness.
Walk across the floor, paying attention to any areas that feel uneven or squeaky. These areas may require additional leveling or reinforcement.
It is also important to check for moisture issues. Excessive moisture can cause laminate flooring to warp or buckle over time. Use a moisture meter to measure the moisture levels of the floor. If the moisture levels are above the recommended range, it is essential to address the moisture issue before proceeding with the leveling process.
Once you have assessed the floor and identified areas that need attention, you can move on to the next step of gathering the necessary materials and tools.
Gathering Materials and Tools
Before you begin the floor leveling process, it is important to gather all the necessary materials and tools to ensure a smooth and efficient workflow. Here is a list of the items you will need:
- Measuring tape
- Pencil or marker
- Straightedge or level
- Self-leveling compound
- Floor patching compound
- Trowel or trowel set
- Sanding equipment (sander or sandpaper)
- Vacuum cleaner
- Underlayment
- Laminate flooring
- Utility knife
- Gloves and safety goggles
Ensure that you have all these materials and tools readily available before you start the leveling process. This will save you time and allow for a smooth workflow without the need for frequent interruptions.
In addition to these items, it is essential to wear the appropriate protective gear, such as gloves and safety goggles, when working with chemicals or power tools.
Once you have gathered all the necessary materials and tools, you are ready to move on to the next step of preparing the floor for leveling.
Preparing the Floor
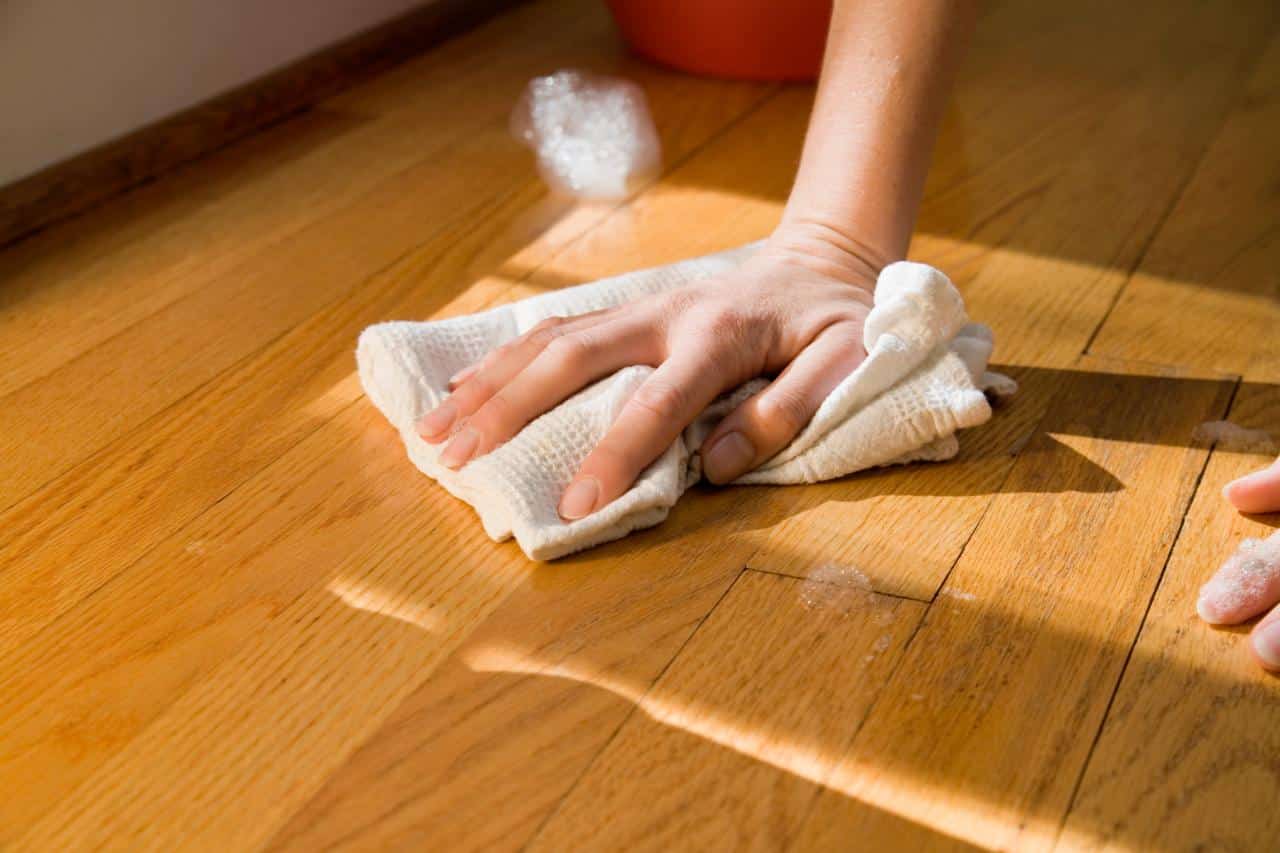
Before you can begin the leveling process, it is crucial to prepare the floor properly. This involves cleaning the surface, removing any loose or damaged material, and ensuring a smooth and stable base for the leveling compounds.
Start by thoroughly cleaning the floor surface. Remove any debris, dust, or dirt using a broom or vacuum cleaner. This will ensure that the leveling compounds adhere properly to the floor and create a strong bond.
Next, inspect the floor for any loose or damaged areas. If you come across loose tiles, boards, or any other flooring material, make necessary repairs or replacements. It is important to have a solid and stable surface before applying the leveling compounds.
If there are any significant cracks or gaps in the floor, it is advisable to fill them with a suitable filler or a floor patching compound. This will help create a smooth and level surface. Follow the instructions provided by the manufacturer of the filler or compound for the correct application technique.
Once these initial preparations are complete, it is time to move on to the leveling methods. Depending on the condition of your floor and the extent of leveling required, you may choose to use self-leveling compound, floor patching compound, or a combination of both.
In the next sections, we will discuss these leveling methods in detail and provide step-by-step instructions for each. By following these instructions, you can achieve a level and stable surface for your laminate flooring installation.
Leveling Methods
There are several leveling methods you can use to ensure a smooth and level floor surface for your laminate installation. The two most common methods are using self-leveling compound and applying floor patching compound. Let’s explore these methods in more detail.
1. Self-Leveling Compound: Self-leveling compound is a popular choice for leveling floors as it provides a quick and efficient solution. This compound is a cement-based mixture that flows easily and fills in low spots and uneven areas.
To use self-leveling compound, follow these steps:
- Prepare the floor by cleaning it thoroughly and filling any cracks or gaps with a suitable filler or patching compound.
- Prime the floor using a primer recommended by the self-leveling compound manufacturer. This helps the compound adhere better to the surface.
- Mix the self-leveling compound according to the manufacturer’s instructions. It is essential to achieve the right consistency for effective leveling.
- Pour the mixed compound onto the lowest areas of the floor. Use a trowel or a screed board to spread and smooth the compound, ensuring an even distribution.
- Allow the compound to set and cure as per the manufacturer’s guidelines. This usually takes several hours or even a day, depending on the specific product.
- After curing, inspect the floor for any imperfections. If necessary, repeat the process with an additional layer of self-leveling compound to achieve the desired levelness.
2. Floor Patching Compound: Floor patching compound is another option for leveling uneven floors. This compound is typically used for smaller areas or localized repairs rather than leveling entire floors.
Follow these steps to apply floor patching compound:
- Clean the floor surface and ensure it is free of any debris or loose material.
- Mix the floor patching compound according to the manufacturer’s instructions. It is important to achieve the correct consistency for proper leveling.
- Apply the compound to the low spots or damaged areas using a trowel or putty knife. Smooth out the compound, ensuring a level surface.
- Allow the compound to dry and cure as recommended by the manufacturer.
- Sand the patched areas to achieve a smooth and even surface. This will help create a seamless transition between the patched areas and the rest of the floor.
These leveling methods will help you achieve a level and stable floor surface for your laminate installation. Choose the method that is most suitable for your specific situation and follow the manufacturer’s instructions for best results.
Read more: How To Lay Laminate Floor
Using Self-Leveling Compound
Self-leveling compound is a popular choice for leveling floors due to its ease of use and effectiveness. It is a cement-based mixture that flows easily and fills in low spots and uneven areas, creating a smooth and level surface for your laminate installation. Here is a step-by-step guide on how to use self-leveling compound:
- Prepare the floor: Start by cleaning the floor thoroughly and removing any debris or loose material. Fill any cracks or gaps with a suitable filler or patching compound. The surface should be clean and solid before applying the self-leveling compound.
- Prime the floor: Apply a primer recommended by the self-leveling compound manufacturer. This will enhance the adhesion of the compound to the floor surface, ensuring a strong bond.
- Mix the self-leveling compound: Follow the manufacturer’s instructions to mix the self-leveling compound. Typically, you will need to combine the compound powder with water in a clean mixing bucket. Use a drill with a mixing attachment to achieve a smooth and even consistency.
- Pour the compound: Pour the mixed self-leveling compound onto the lowest areas of the floor. Start from one corner and work your way towards the opposite end of the room. Aim for a thickness that matches the requirements specified by the manufacturer, usually ranging from 1/8 to 1/4 inch.
- Spread and smooth the compound: Use a trowel or a screed board to spread and smooth the compound across the floor surface. Make sure to fill in all the low spots and level out any uneven areas. Maintain a consistent thickness of the compound throughout the floor for a uniform result.
- Allow the compound to cure: Let the self-leveling compound dry and cure according to the manufacturer’s instructions. This process can take several hours or even a day, depending on the specific product. Avoid walking on the compound during this time to prevent any disturbances.
- Inspect and repeat if necessary: Once the compound has cured, inspect the floor for any imperfections. If there are still low spots or uneven areas, you may need to apply an additional layer of self-leveling compound to achieve the desired levelness. Follow the same steps to pour, spread, and cure the second layer.
Using self-leveling compound provides a reliable solution for obtaining a level floor surface. However, it is important to follow the manufacturer’s instructions carefully and work efficiently to achieve the best results. With a properly leveled floor, you can proceed to the next steps of applying underlayment and installing your laminate flooring.
Before installing laminate flooring, ensure the subfloor is level by using a self-leveling compound or shims to fill in any low spots. This will prevent the laminate from buckling or cracking over time.
Applying Floor Patching Compound
If you have localized areas or smaller spots on your floor that need leveling, floor patching compound can be an effective solution. Floor patching compound is typically used for filling in cracks, repairing damaged areas, or addressing minor unevenness. Here is a step-by-step guide on how to apply floor patching compound:
- Clean the floor: Start by cleaning the floor surface thoroughly, ensuring it is free of debris, dust, or loose material. Use a broom or vacuum cleaner to remove any dirt or particles.
- Mix the compound: Follow the instructions provided by the manufacturer to mix the floor patching compound. The mixing process may vary depending on the specific product, but it usually involves combining the compound powder with water in a clean bucket or container. Use a mixing tool or drill with a mixing attachment for a consistent and smooth mixture.
- Apply the compound: Using a trowel or putty knife, apply the mixed floor patching compound to the areas that need leveling. Fill in cracks, gaps, or low spots, ensuring that the compound is applied evenly and smoothly. Feather the edges of the compound to create a seamless transition with the surrounding floor surface.
- Smooth the compound: After applying the compound, use the trowel or putty knife to smooth out the surface of the compound, removing any excess and ensuring a level finish. Take care to blend the patched areas with the rest of the floor for a cohesive appearance.
- Allow the compound to dry: Give the floor patching compound sufficient time to dry and cure. The drying time will vary based on the specific product, but it typically ranges from a few hours to overnight. Avoid walking on the patched areas until the compound is fully dried to prevent any damage or disturbances.
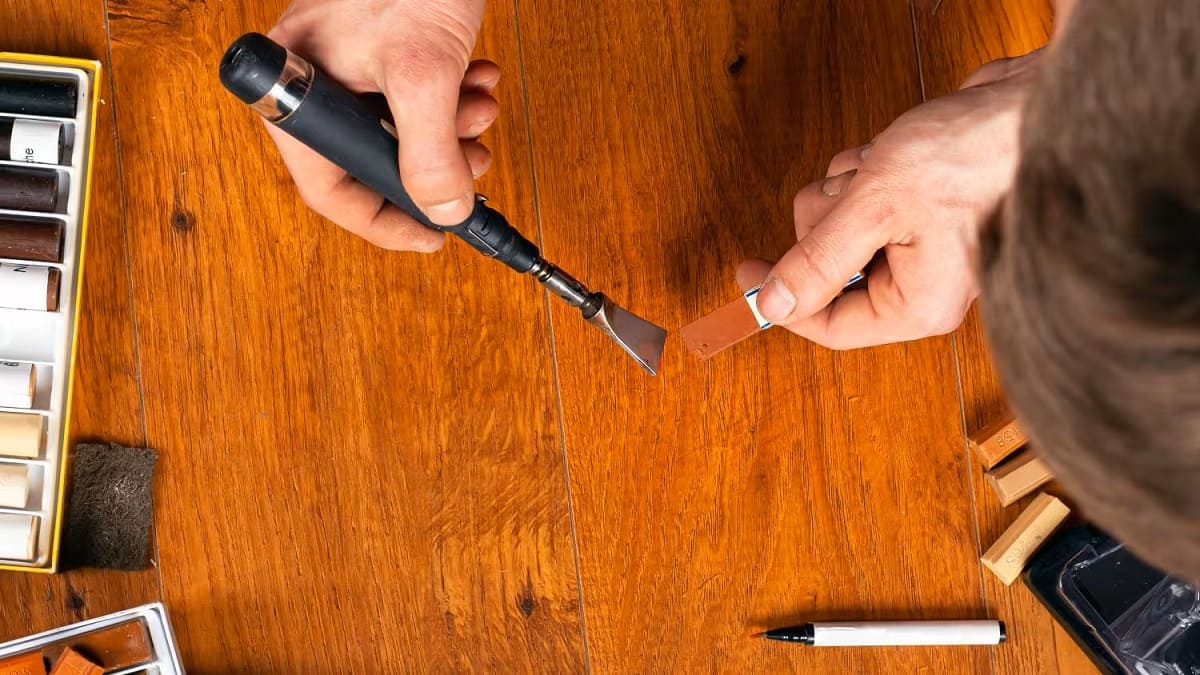
- Sand the patched areas: Once the compound is completely dry, use sandpaper, a sanding block, or a sander to sand the patched areas. This step is important for achieving a smooth and even surface, ensuring that there are no visible transitions between the patched spots and the rest of the floor. Clean up any dust or residue after sanding.
By following these steps, you can effectively apply floor patching compound to level out uneven areas on your floor. Remember to read and follow the instructions provided by the manufacturer of the specific product you are using for the best results. With the floor properly patched and leveled, you can proceed with confidence to the next stages of your laminate flooring installation.
Sanding the Floor
After leveling the floor using self-leveling compound or floor patching compound, sanding is an essential step to achieve a smooth and even surface before installing laminate flooring. Sanding helps to remove imperfections, rough spots, and any unevenness left from the leveling compounds. Here is a step-by-step guide on how to sand the floor:
- Gather the necessary tools: Before you start sanding, gather the appropriate sanding equipment. This may include a random orbital sander, sanding block, or sandpaper with different grits depending on the condition of the floor.
- Start with a coarse grit sandpaper: Begin sanding with a coarse grit sandpaper (around 60-80 grit) to remove any larger imperfections or high spots. Use even and consistent pressure as you move the sander in a back-and-forth motion. Make sure to cover the entire floor surface, paying attention to any areas that feel rough or uneven.
- Transition to finer grit sandpaper: Once you have sanded the floor with the coarse grit sandpaper, switch to a finer grit (around 120-150 grit) to achieve a smoother finish. This second round of sanding will help to remove any remaining roughness and prepare the floor for the installation of the underlayment and laminate flooring.
- Patch and sand any remaining imperfections: During the sanding process, you may notice small imperfections or low spots that were missed during the leveling process. Use a floor patching compound to fill in these areas and allow it to dry according to the manufacturer’s instructions. Once dry, sand these patched areas to ensure a seamless transition with the rest of the floor.
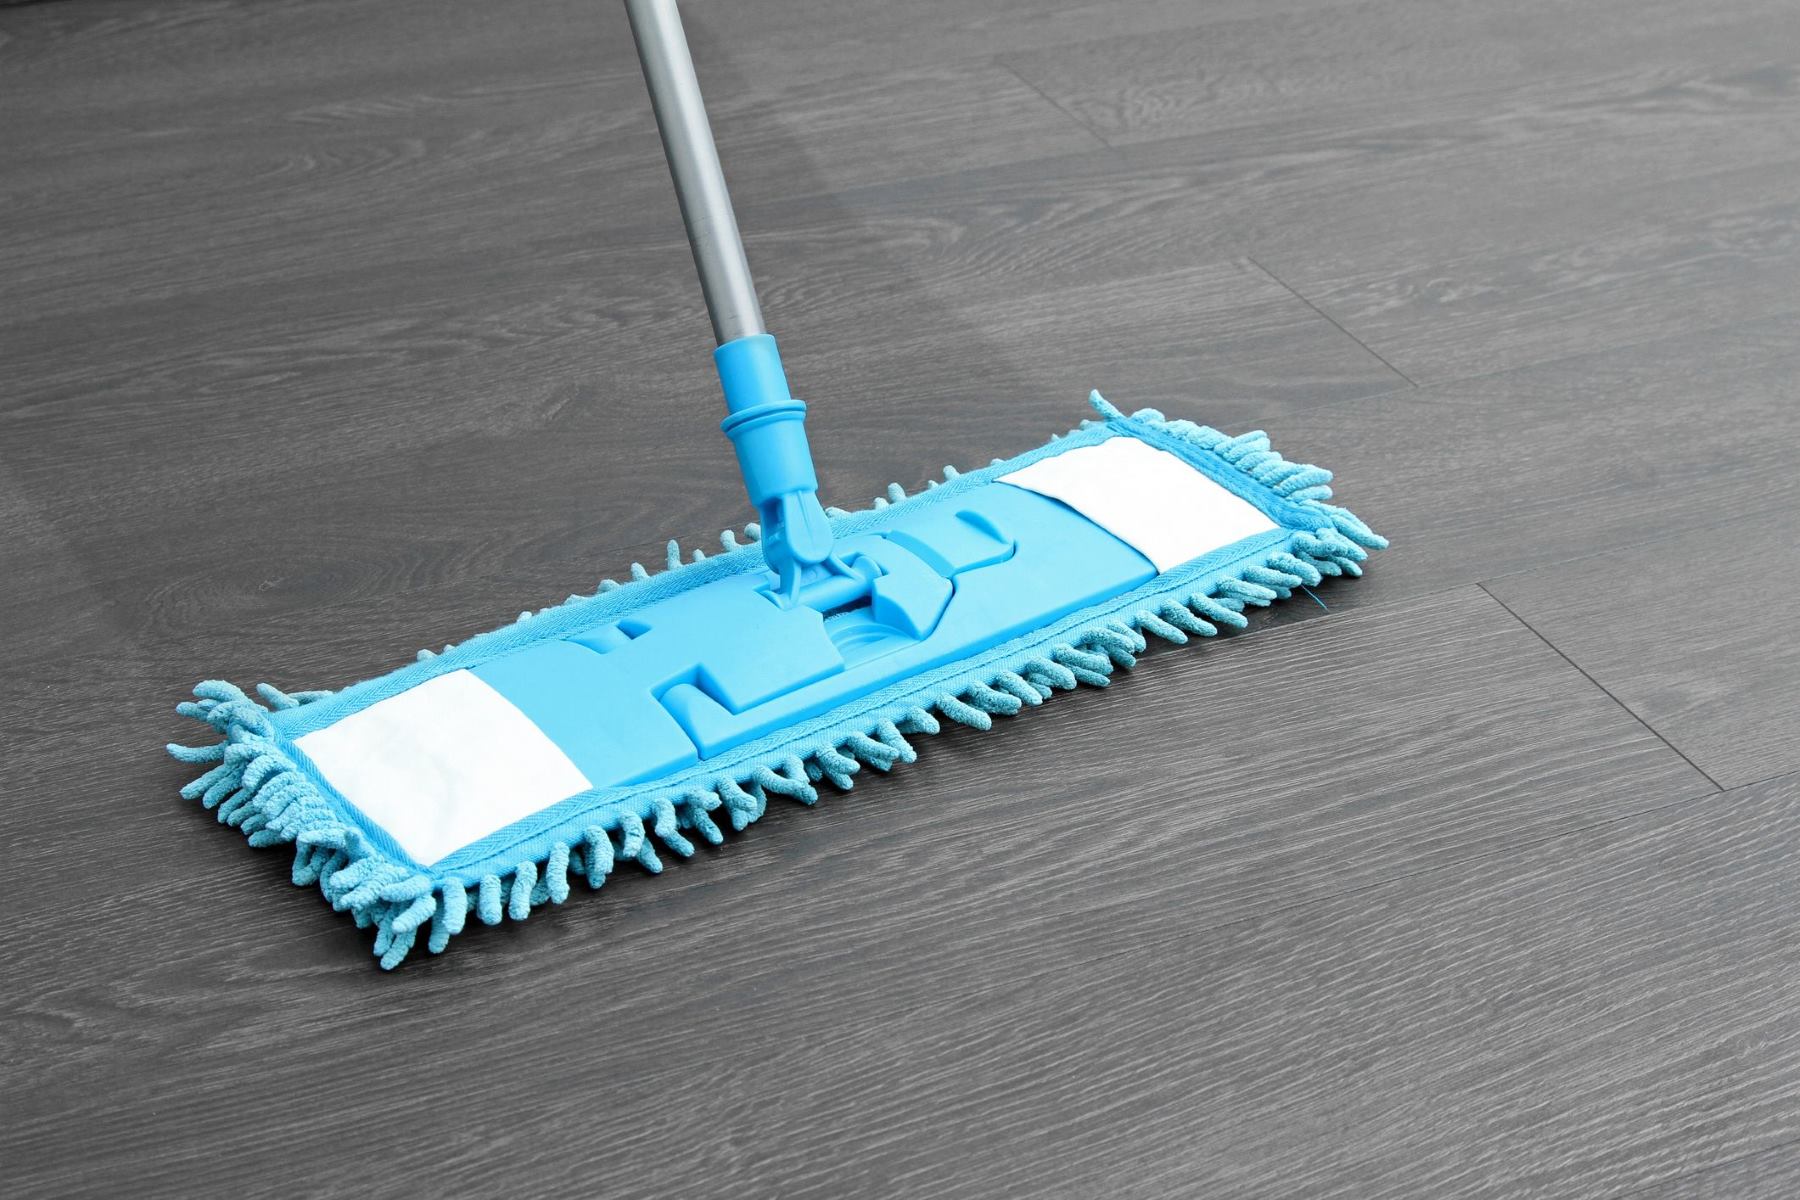
- Clean up the dust: After sanding, clean the floor thoroughly to remove any dust or debris. Use a vacuum cleaner or broom to sweep away the sanding residue, ensuring a clean surface for the installation of the underlayment and laminate flooring.
Sanding the floor creates a smooth and level surface for your laminate flooring installation. It helps to ensure that the laminate boards lay flat and securely, resulting in a beautiful and durable floor. Take your time and pay attention to detail while sanding to achieve the best possible outcome. With the floor properly sanded, you can move on to installing the underlayment and preparing for the final steps of your laminate flooring installation.
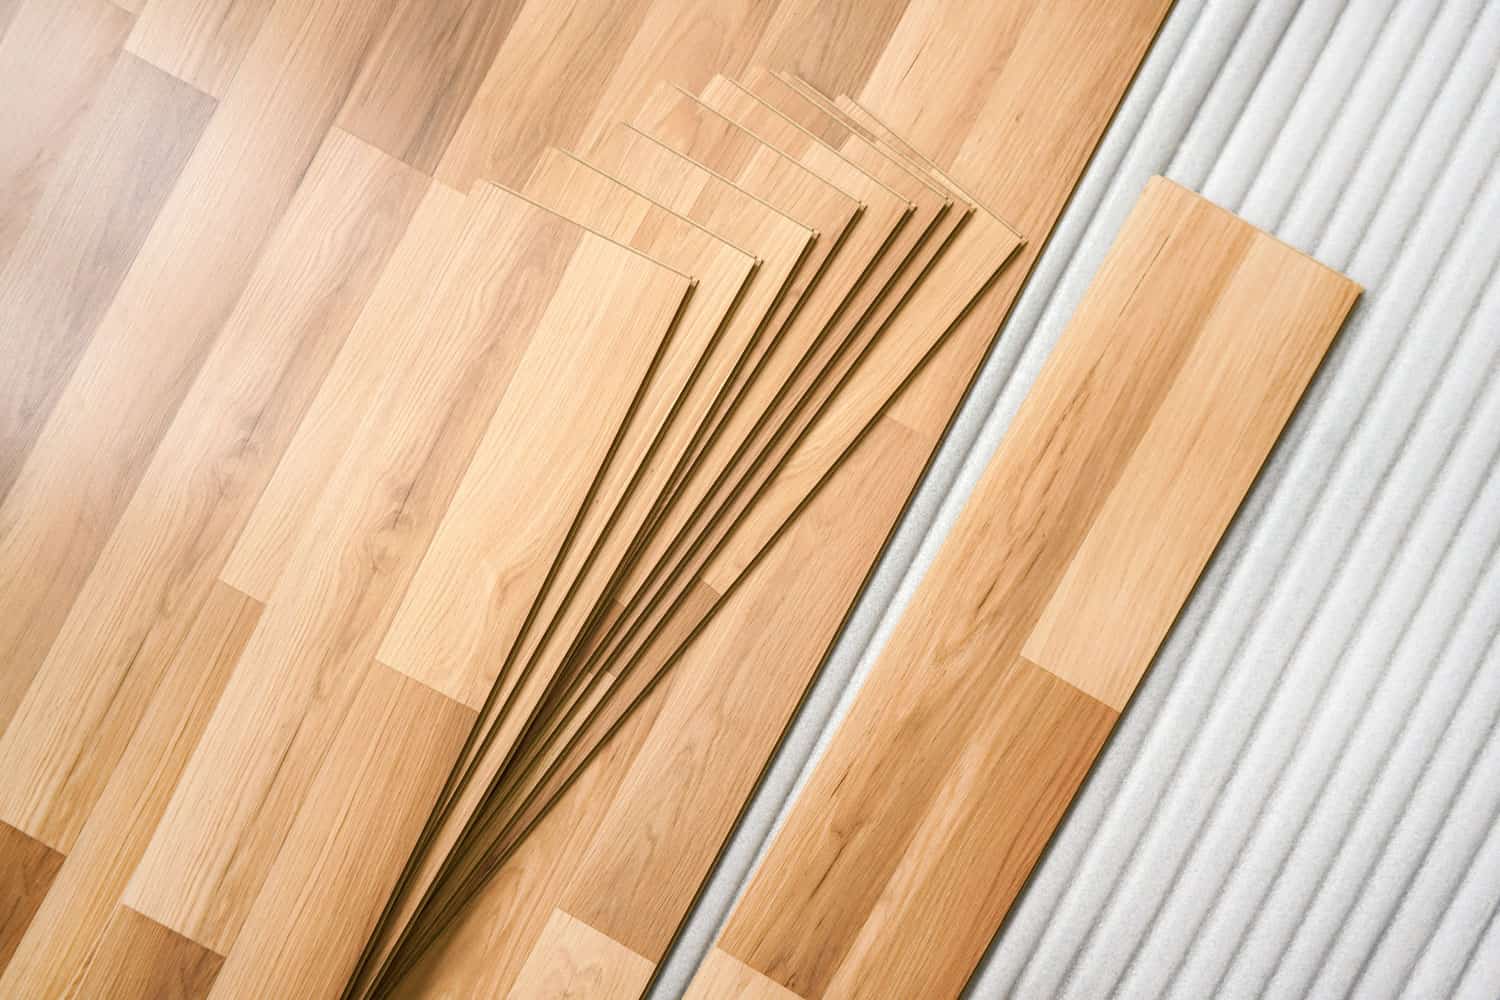
Installing Underlayment
After leveling and sanding the floor, the next step in preparing for laminate flooring installation is to install underlayment. Underlayment serves as a barrier between the subfloor and the laminate flooring, providing cushioning, sound absorption, and moisture resistance. Here is a step-by-step guide on how to install underlayment:
- Gather the necessary materials: Before starting the installation, gather the required materials, including the underlayment rolls or sheets and a utility knife for cutting.
- Prepare the subfloor: Ensure that the subfloor is clean, dry, and free of any debris. Sweep or vacuum the surface to remove dust and dirt. Address any remaining imperfections or unevenness by patching or sanding as needed.
- Start at one corner: Begin the installation at a corner of the room. Leave a small gap, usually around 1/4 inch, between the edge of the underlayment and the walls to allow for expansion.
- Roll out the underlayment: Roll out the underlayment across the floor, ensuring that it extends the full length of the room. Cut the underlayment to size using a utility knife as necessary.
- Secure the underlayment: Secure the underlayment to the subfloor using staples or adhesive tape. Follow the manufacturer’s recommendations for the specific underlayment product you are using.
- Overlap the underlayment edges: When installing multiple rolls or sheets of underlayment, overlap the edges by a few inches. Use adhesive tape or the recommended method by the manufacturer to secure the overlapping edges.
- Trim excess underlayment: Trim any excess underlayment along the perimeter of the room using a utility knife. Ensure that the edges are flush with the walls but still leave a small gap for expansion.
- Inspect the underlayment: Once the underlayment is installed, inspect it for any visible seams or areas that are not properly secured. Make any necessary adjustments or repairs to ensure a smooth and even underlayment surface.
Installing underlayment is an important step in the laminate flooring installation process. It helps to provide a stable, moisture-resistant, and sound-absorbing surface for your laminate flooring. Following these steps will help ensure a proper installation of the underlayment, providing a solid foundation for your laminate flooring.
Read more: How To Install Laminate Flooring
Preparing for Laminate Installation
After completing the necessary steps of leveling the floor, sanding, and installing the underlayment, you are now ready to prepare for the laminate flooring installation itself. Proper preparation will ensure a smooth and successful installation process. Here is a step-by-step guide on how to prepare for laminate installation:
- Acclimate the laminate flooring: Before installation, allow the laminate flooring to acclimate to the room’s temperature and humidity. Stack the unopened boxes of laminate in the room for at least 48 hours, following the manufacturer’s recommendations. This allows the boards to adjust to the climate and reduces the risk of expansion or contraction after installation.
- Prepare the tools: Gather all the necessary tools for the laminate installation, including a tape measure, a pencil or marker, a tapping block, a pull bar, a mallet, and a circular saw or laminate cutter for cutting the boards to size.
- Plan the layout: Plan the layout of the laminate flooring by measuring the room and determining the best starting point. Typically, it is recommended to start the installation from a corner, working your way towards the opposite side of the room. Take into account doorways and transitions between rooms to ensure a seamless flow.
- Prepare the first row: Using a tape measure and a pencil or marker, mark a guideline along the starting wall to ensure a straight installation. Leave a small gap between the guideline and the wall to allow for expansion. Trim the tongue side of the first row of laminate boards if needed to fit flush against the wall.
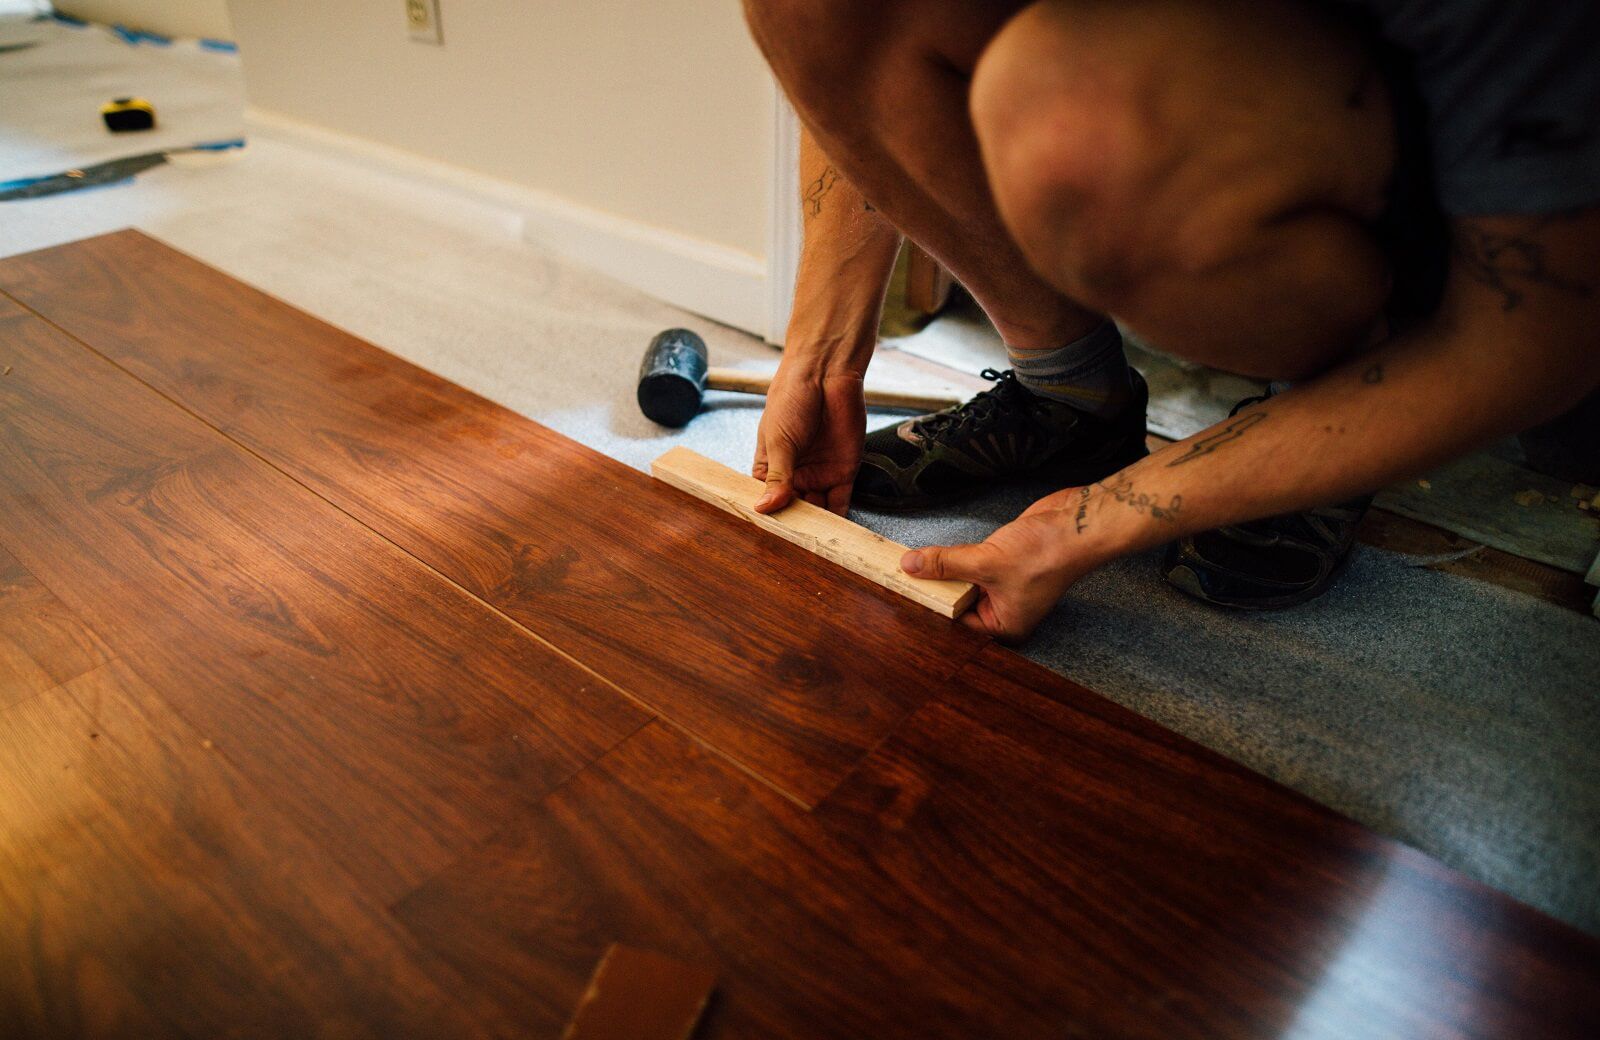
- Install the first row: Place the first row of boards along the guideline, ensuring a snug fit and maintaining the expansion gap along the wall. Use a tapping block and a mallet to securely lock the boards together. Use a pull bar and hammer to close any gaps between the boards.
- Continue the installation: Follow the manufacturer’s instructions for interlocking the remaining rows of laminate boards. Stagger the end joints of the boards and maintain the expansion gap along all walls. Use the tapping block, pull bar, and mallet as needed to ensure a tight fit.
- Trim and cut the boards: Use a circular saw or a laminate cutter to trim the last row of boards to fit if needed. Measure and mark the boards carefully before making any cuts, and ensure that the cut edges will be covered by baseboards or molding.
- Install the finishing touches: Install the appropriate transition pieces, such as thresholds or molding, to complete the laminate installation. These pieces will cover the expansion gaps and provide a finished look to the room.
- Clean and inspect: Thoroughly clean the installed laminate flooring, removing any debris or sawdust. Inspect the floor for any visible gaps or imperfections and make any necessary adjustments or repairs.
By following these steps, you can adequately prepare for the installation of your laminate flooring. Proper planning, measuring, and attention to detail will contribute to a smooth and visually appealing floor that will enhance the beauty and functionality of your space.
Conclusion
Congratulations! You have successfully learned how to level a floor for laminate installation. Achieving a level and stable floor surface is crucial for the proper installation and longevity of your laminate flooring. By following the step-by-step instructions outlined in this article, you can ensure a smooth and seamless installation process.
Assessing the floor, gathering the necessary materials and tools, and preparing the floor are all important preliminary steps to create an ideal surface for the leveling process. Then, you explored different leveling methods such as using self-leveling compound and applying floor patching compound. Each method has its advantages and should be chosen based on the specific needs of your floor.
After leveling the floor, sanding is essential to create a smooth and even surface, eliminating imperfections in preparation for the installation of the underlayment. The underlayment serves as a protective layer and improves the stability and sound absorption of your laminate flooring.
Finally, you learned how to prepare for laminate installation, including acclimating the flooring, planning the layout, and installing the boards correctly. Paying attention to detail during the installation process will ensure a stunning and high-quality final result.
Remember to follow the manufacturer’s instructions for both the leveling compounds and laminate flooring to guarantee the best outcome. Take your time, work carefully, and ensure that all materials and tools are of good quality.
By utilizing the knowledge and techniques outlined in this article, you are well-equipped to create a beautifully leveled and professionally installed laminate floor. Enjoy the process, and soon, you will be able to revel in the beauty and durability of your new flooring.
Frequently Asked Questions about How To Level Floor For Laminate
Was this page helpful?
At Storables.com, we guarantee accurate and reliable information. Our content, validated by Expert Board Contributors, is crafted following stringent Editorial Policies. We're committed to providing you with well-researched, expert-backed insights for all your informational needs.


0 thoughts on “How To Level Floor For Laminate”