Articles
How To Lay Laminate Floor
Modified: August 28, 2024
Discover step-by-step articles on how to lay laminate floor and achieve a beautiful, durable result. Enhance your home with expert tips and guidance.
(Many of the links in this article redirect to a specific reviewed product. Your purchase of these products through affiliate links helps to generate commission for Storables.com, at no extra cost. Learn more)
Introduction
When it comes to transforming the look and feel of your living space, few things are as effective and cost-efficient as laying laminate flooring. Not only is laminate flooring a practical and durable option, but it also offers a wide range of styles and designs to suit any aesthetic preference. Whether you are looking to upgrade your home’s flooring or embark on a DIY project, learning how to lay laminate flooring is a valuable skill that can save you money and enhance your home’s appeal.
In this comprehensive guide, we will take you through the step-by-step process of laying laminate flooring successfully. From gathering the necessary tools and materials to cleaning and inspecting the finished floor, you will gain the knowledge and confidence needed to tackle this project with ease.
By following our expert tips and instructions, you will be able to achieve professional-looking results that will impress both family and friends. So, let’s get started and transform your space with beautiful laminate flooring!
Key Takeaways:
- Transform your living space with professional-looking laminate flooring by following our comprehensive guide. From preparation to finishing touches, achieve impressive results and enjoy the benefits of durable and stylish flooring.
- Embrace the satisfaction of a job well done as you enjoy the fruits of your hard work. With proper care and maintenance, your newly laid laminate floor will provide years of comfort and visual appeal, enhancing your home environment.
Step 1: Gather the Necessary Tools and Materials
Before you begin laying laminate flooring, it’s important to ensure that you have all the necessary tools and materials at hand. This will help streamline the process and make your job easier. Here’s a list of what you’ll need:
- Laminate flooring planks
- Underlayment
- Tape measure
- Pencil or marker
- Safety goggles
- Knee pads
- Utility knife
- Saw (circular saw or jigsaw)
- Hammer
- Chisel
- Spacers
- Crowbar
- Wood glue (if necessary)
It’s essential to have all these tools and materials ready before you start the installation process. This will prevent unnecessary interruptions and ensure a smooth and efficient workflow. Additionally, make sure to wear safety goggles and knee pads to protect yourself during the installation process.
Once you have gathered all the necessary tools and materials, you’re ready to move on to the next step: preparing the subfloor.
Step 2: Prepare the Subfloor
Before laying down laminate flooring, it’s crucial to prepare the subfloor properly. The subfloor should be clean, level, dry, and free from any debris. Follow these steps to ensure a solid foundation for your laminate flooring:
- Remove any existing flooring: If there is old carpet, tile, or vinyl flooring on the subfloor, remove it completely. Use a crowbar and hammer to pry up any nails or staples.
- Inspect the subfloor: Thoroughly inspect the subfloor for any moisture or damage. Fix any issues before proceeding with the installation.
- Level the subfloor: If the subfloor is uneven, use a leveling compound to even it out. This will prevent any gaps or uneven surfaces underneath the laminate flooring.
- Clean the subfloor: Sweep and vacuum the subfloor to remove any dust, dirt, or debris. A clean subfloor will ensure proper adhesion of the underlayment and laminate flooring.
- Acclimate the laminate flooring: Place the unopened boxes of laminate flooring in the room where you will be installing them. Allow them to acclimate to the room’s temperature and humidity for at least 48 hours.
By taking the time to properly prepare the subfloor, you will create a sturdy and even surface for the laminate flooring. This will result in a smooth and professional-looking installation.
Once you have prepared the subfloor, you’re ready to move on to the next step: measuring and cutting the laminate flooring.
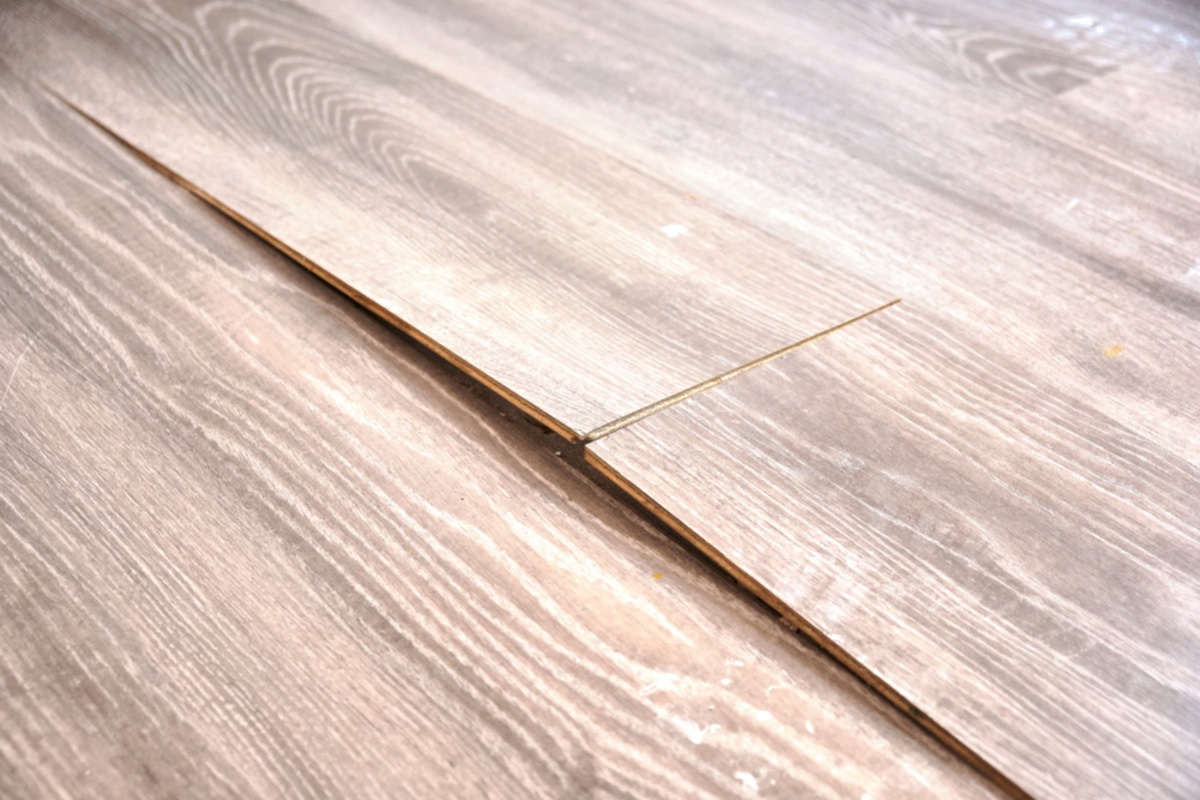
Step 3: Measure and Cut the Laminate Flooring
Accurate measurements and precise cuts are essential for a seamless installation of laminate flooring. In this step, we will guide you on how to measure and cut the laminate flooring planks:
- Measure the room: Use a tape measure to determine the length and width of the room. Multiply the two measurements to find the total square footage. This will help you determine how many boxes of laminate flooring you’ll need to purchase.
- Consider expansion gaps: Laminate flooring needs room to expand and contract with temperature and humidity changes. Leave a small gap (usually 1/4 inch) between the perimeter walls and the laminate flooring.
- Plan the layout: Lay out the laminate flooring planks in the room to visualize the layout before making any cuts. This will help you determine the best starting point and ensure a balanced appearance.
- Measure and mark the planks: Measure and mark the laminate flooring planks according to your desired length. Use a pencil or marker to make the cuts. It’s always better to cut a plank slightly longer than needed and trim it down as necessary.
- Cut the planks: Use a circular saw or jigsaw to cut the laminate flooring planks along the marked lines. Take caution and wear safety goggles while using power tools.
Remember to double-check your measurements and take your time when cutting the laminate flooring. Use a sharp blade in the saw to ensure clean and accurate cuts. It’s always a good idea to have extra laminate flooring planks on hand in case of any mistakes or miscalculations.
Once you have measured and cut the laminate flooring planks, you’re ready to move on to the next step: installing the underlayment.
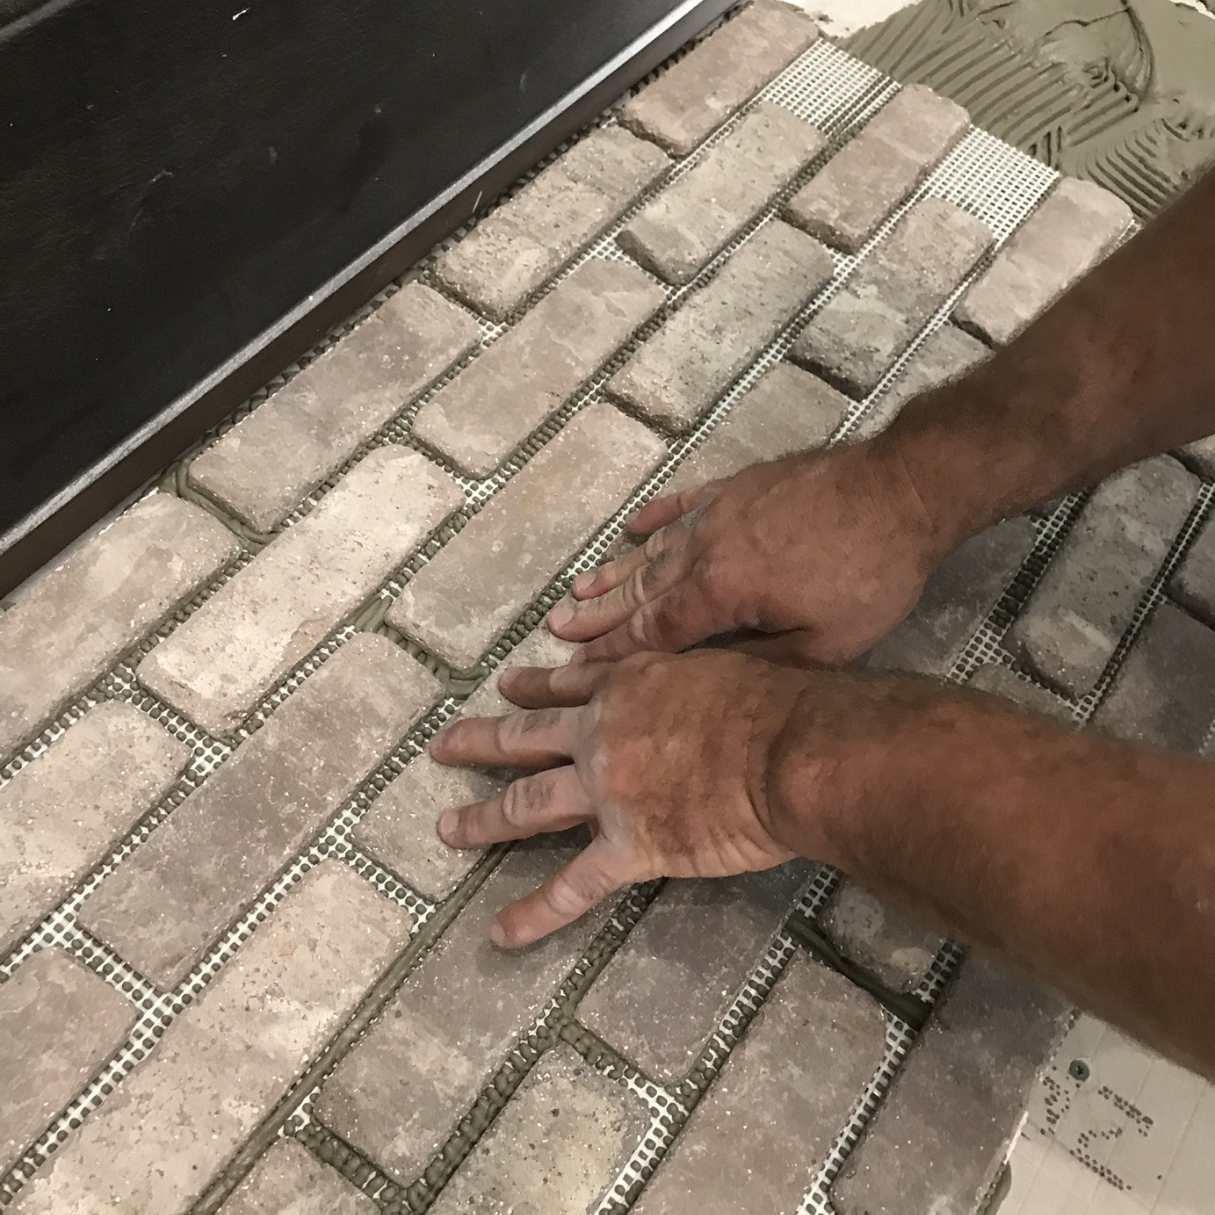
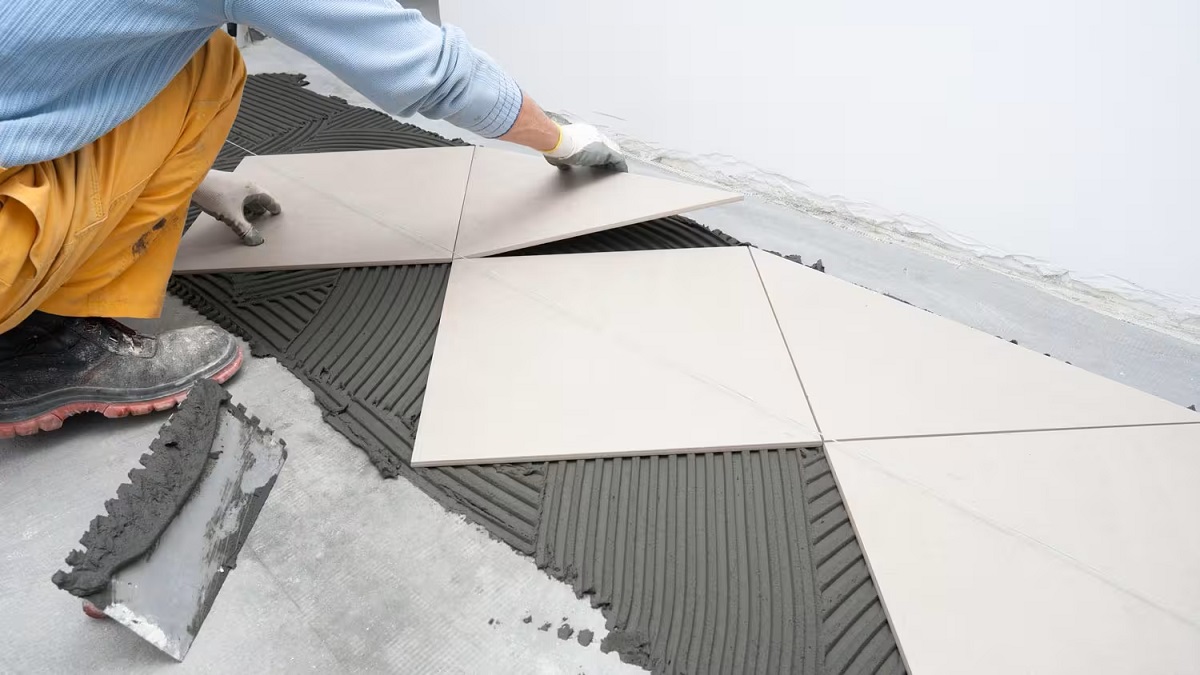
Step 4: Install the Underlayment
Installing an underlayment beneath your laminate flooring provides several benefits, including noise reduction, moisture protection, and added cushioning. Follow these steps to properly install the underlayment:
- Clean the subfloor: Ensure that the subfloor is free from any debris or dust.
- Roll out the underlayment: Begin by rolling out the underlayment across the entire area of the subfloor. Cut it to fit using a utility knife.
- Overlap the underlayment: As you lay each row of underlayment, be sure to overlap the edges by a few inches. This will create a barrier against moisture.
- Tape the seams: Use duct tape to secure the overlapping edges of the underlayment. This will prevent any movement during the installation process.
- Trim excess underlayment: Trim any excess underlayment along the edges using a utility knife.
Installing the underlayment is an important step in the process as it provides a protective barrier and enhances the overall performance of the laminate flooring. Take your time to ensure that the underlayment is properly installed and securely taped.
Once you have installed the underlayment, you’re ready to move on to the next step: laying the first row of laminate flooring.
Read more: How To Level Floor For Laminate
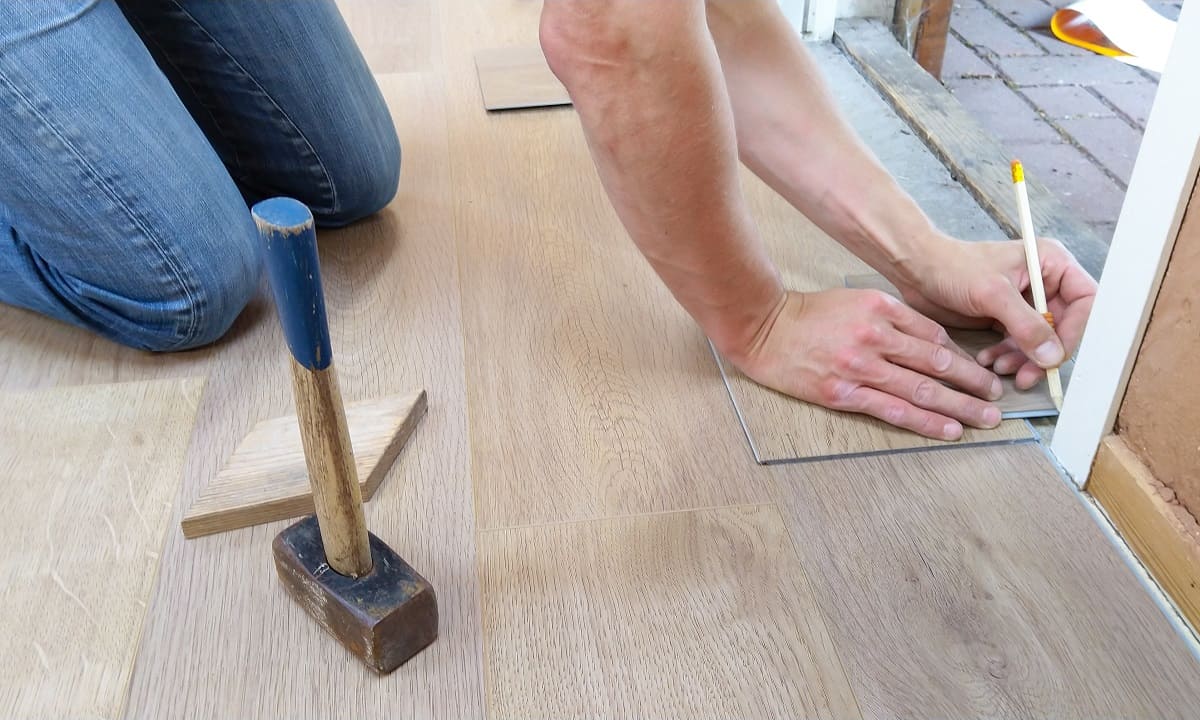
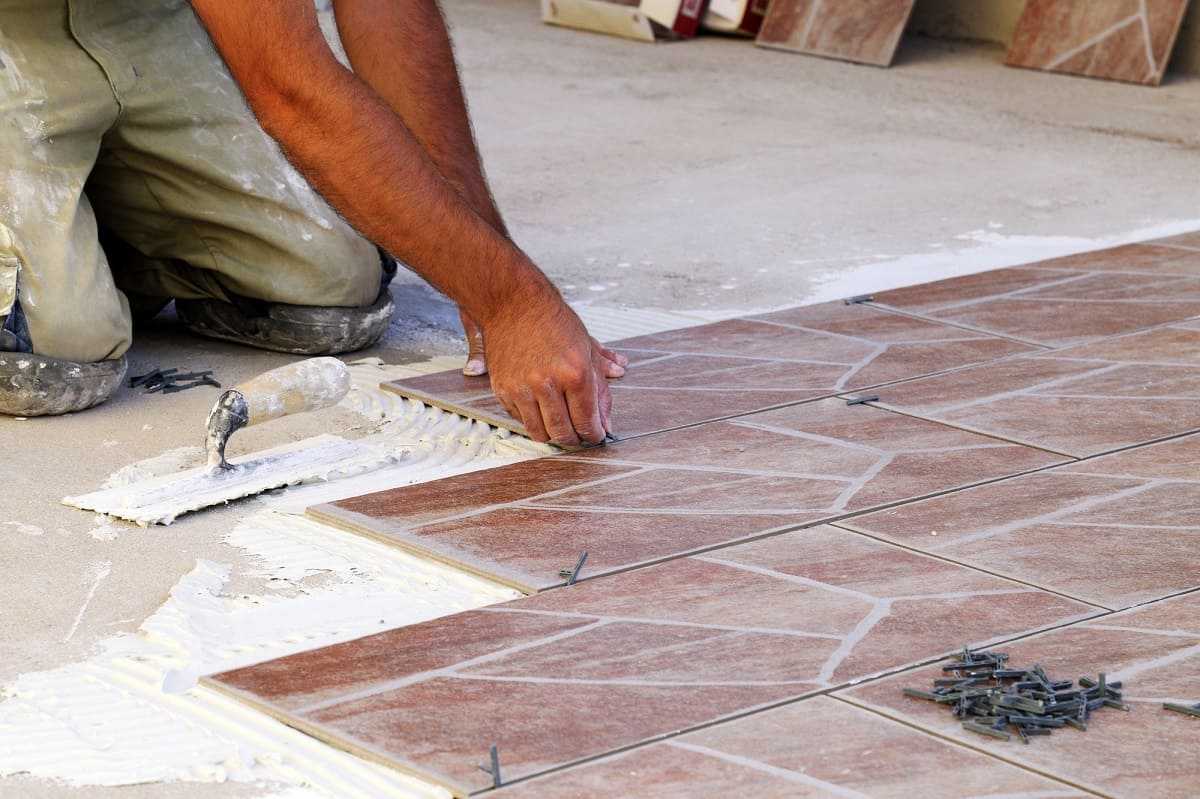
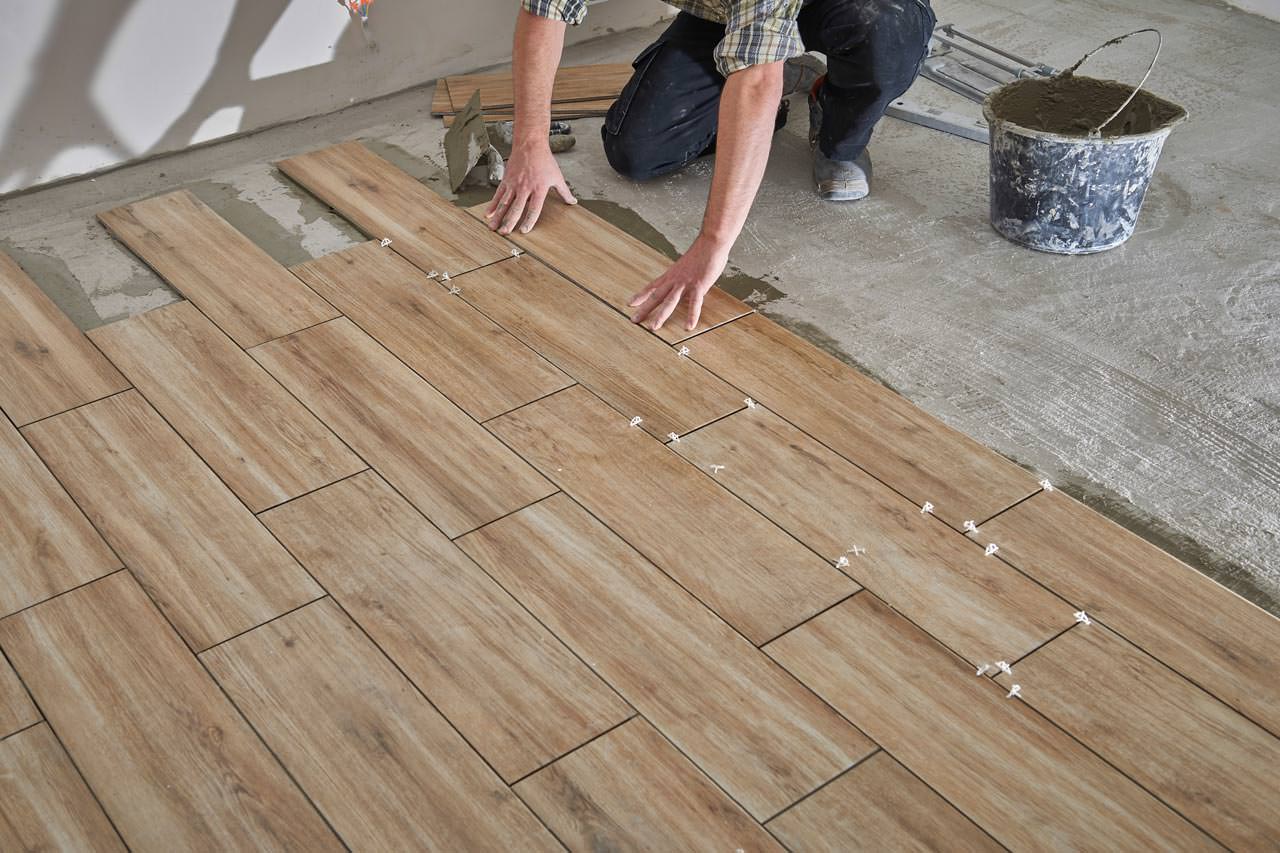
Step 5: Lay the First Row of Laminate Flooring
Now that you have prepared the subfloor and installed the underlayment, it’s time to start laying the laminate flooring. Follow these steps to lay the first row:
- Choose the starting wall: Select the longest and straightest wall in the room as your starting wall.
- Measure and cut the first plank: Measure the length needed for the first plank to fit against the starting wall. Use a saw to make the precise cut.
- Add spacers: Place spacers along the starting wall to create a small gap between the laminate flooring and the wall. This will allow for expansion.
- Apply adhesive (if necessary): Some laminate flooring requires adhesive along the edges. Follow the manufacturer’s instructions to apply the adhesive accordingly.
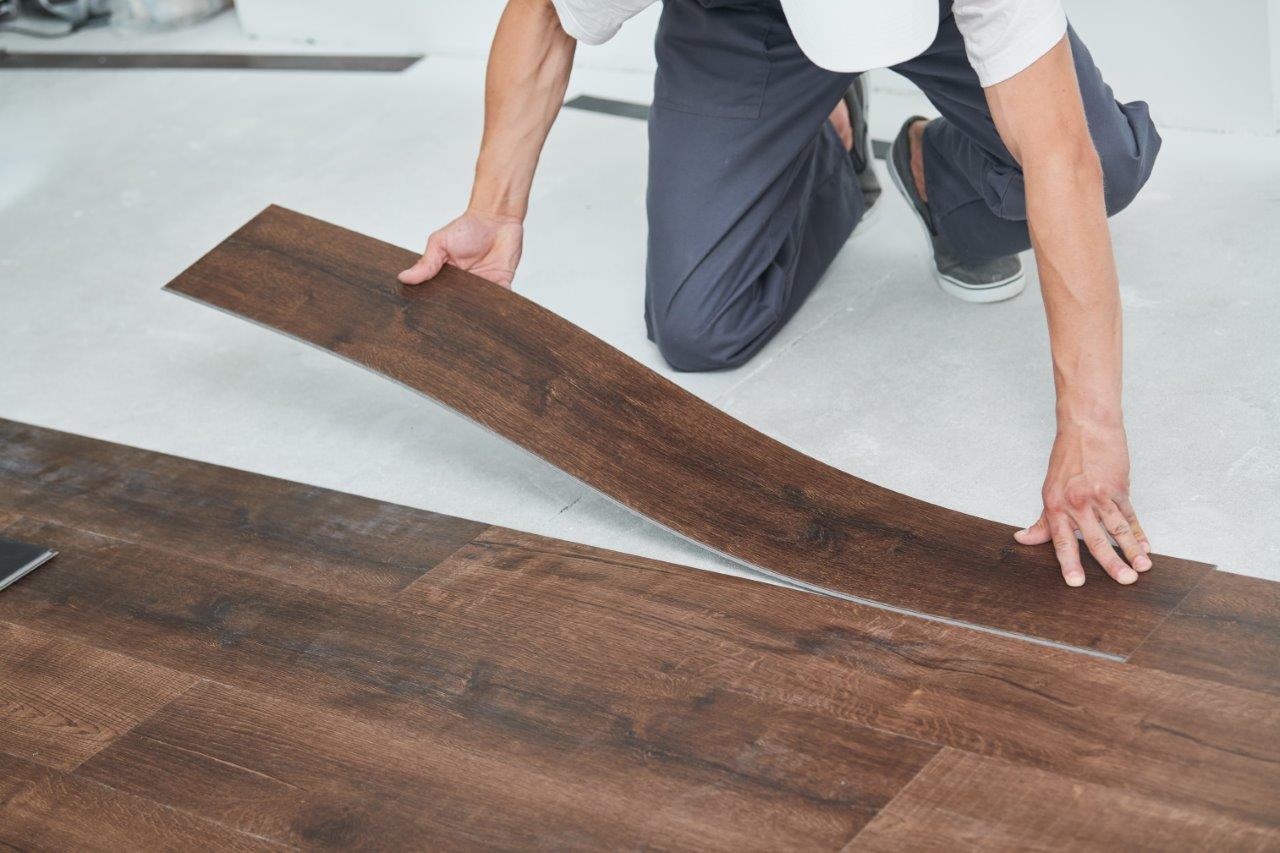
- Click the first plank into place: Start at the corner of the starting wall and angle the tongue of the first plank into the groove of the adjacent plank. Press them together until they click into place.
- Continue laying the first row: Lay the remaining planks in the first row, ensuring a tight and secure fit. Use a tapping block and hammer to gently tap the planks together if needed.
It’s important to take your time and align the planks properly during this step. This will ensure a straight and seamless first row. Remember to keep the spacers in place along the starting wall to maintain the expansion gap.
Once you have laid the first row of laminate flooring, you can move on to the next step: continuing the installation of the remaining planks.
When laying laminate flooring, be sure to leave a 1/4 inch gap around the edges to allow for expansion. This will prevent buckling and warping over time.
Step 6: Continue Installing the Rest of the Laminate Flooring
Now that you have successfully completed the first row, it’s time to continue installing the rest of the laminate flooring. Follow these steps to ensure a seamless and professional installation:
- Prepare the second row: Cut the first plank of the second row to the appropriate length, ensuring a staggered pattern with the first row. Remember to use spacers along the starting wall.
- Click the planks into place: Angle the tongue of each plank into the groove of the adjacent plank and press them together until they click into place. Use a tapping block and hammer if necessary.
- Continue laying the subsequent rows: Repeat the process of measuring, cutting, and clicking the planks into place for each subsequent row. Stagger the planks for a more visually appealing and stable installation.
- Use a pull bar and hammer: As you reach the end of each row, you may need to use a pull bar and hammer to securely fit the planks together. This will ensure a tight and seamless connection.
- Check for gaps and inconsistencies: Regularly check the laminate flooring for any gaps or inconsistencies. Adjust the planks if needed.
It’s important to maintain the appropriate expansion gap and ensure that the planks are securely locked into place during the installation process. Take your time and pay attention to the details to achieve a professional-looking result.
Once you have installed all the laminate flooring planks, you can move on to the next step: trimming and finishing the edges.
Step 7: Trim and Finish the Edges
Trimming and finishing the edges of your laminate flooring is an important step to achieve a polished and seamless look. Follow these steps to trim and finish the edges:
- Remove the spacers: Once all the laminate flooring is installed, remove the spacers along the walls.
- Measure and cut the last row: Measure the width needed for the last row of planks to fit against the opposite wall. Cut the planks accordingly, ensuring a snug fit.
- Install the last row: Click the final row of planks into place, ensuring a secure and tight connection.
- Trim the door casings: Use a jigsaw or undercut saw to carefully trim the bottom of the door casings to allow the laminate flooring to slide underneath. This will create a seamless transition.
- Add quarter-round molding (optional): If desired, install quarter-round molding along the baseboards to cover the expansion gap and provide a finished look.
Trimming and finishing the edges will give your laminate flooring a polished and professional appearance. Take your time to ensure accurate measurements and precise cuts. By completing this step, your flooring will be ready for the final touches.
Once you have trimmed and finished the edges, you can move on to the next step: installing transition strips (if necessary).
Step 8: Install Transition Strips
Transition strips are used to create a seamless and visually pleasing transition between different types of flooring or between rooms. Follow these steps to install transition strips:
- Choose the appropriate transition strip: Depending on the types of flooring and the height difference between them, select the appropriate transition strip. Common types include T-molding, reducer molding, and threshold molding.
- Measure and cut the transition strip: Measure the length needed for the transition strip to fit the doorway or the area between two rooms. Use a saw to make the necessary cuts.
- Install the transition strip: Apply a thin line of adhesive to the bottom of the transition strip, following the manufacturer’s instructions. Press the strip into place, ensuring a secure bond with both flooring types.
- Allow the adhesive to dry: Give the adhesive enough time to dry and set according to the manufacturer’s instructions. This will ensure a sturdy and long-lasting installation.
Transition strips not only provide a smooth transition but also serve as a protective barrier between different types of flooring. They add a finishing touch to your laminate flooring installation, enhancing both the appearance and functionality.
Once you have installed the transition strips, you can move on to the next step: cleaning and inspecting the laminate floor.
Read more: Laminate Wood Flooring
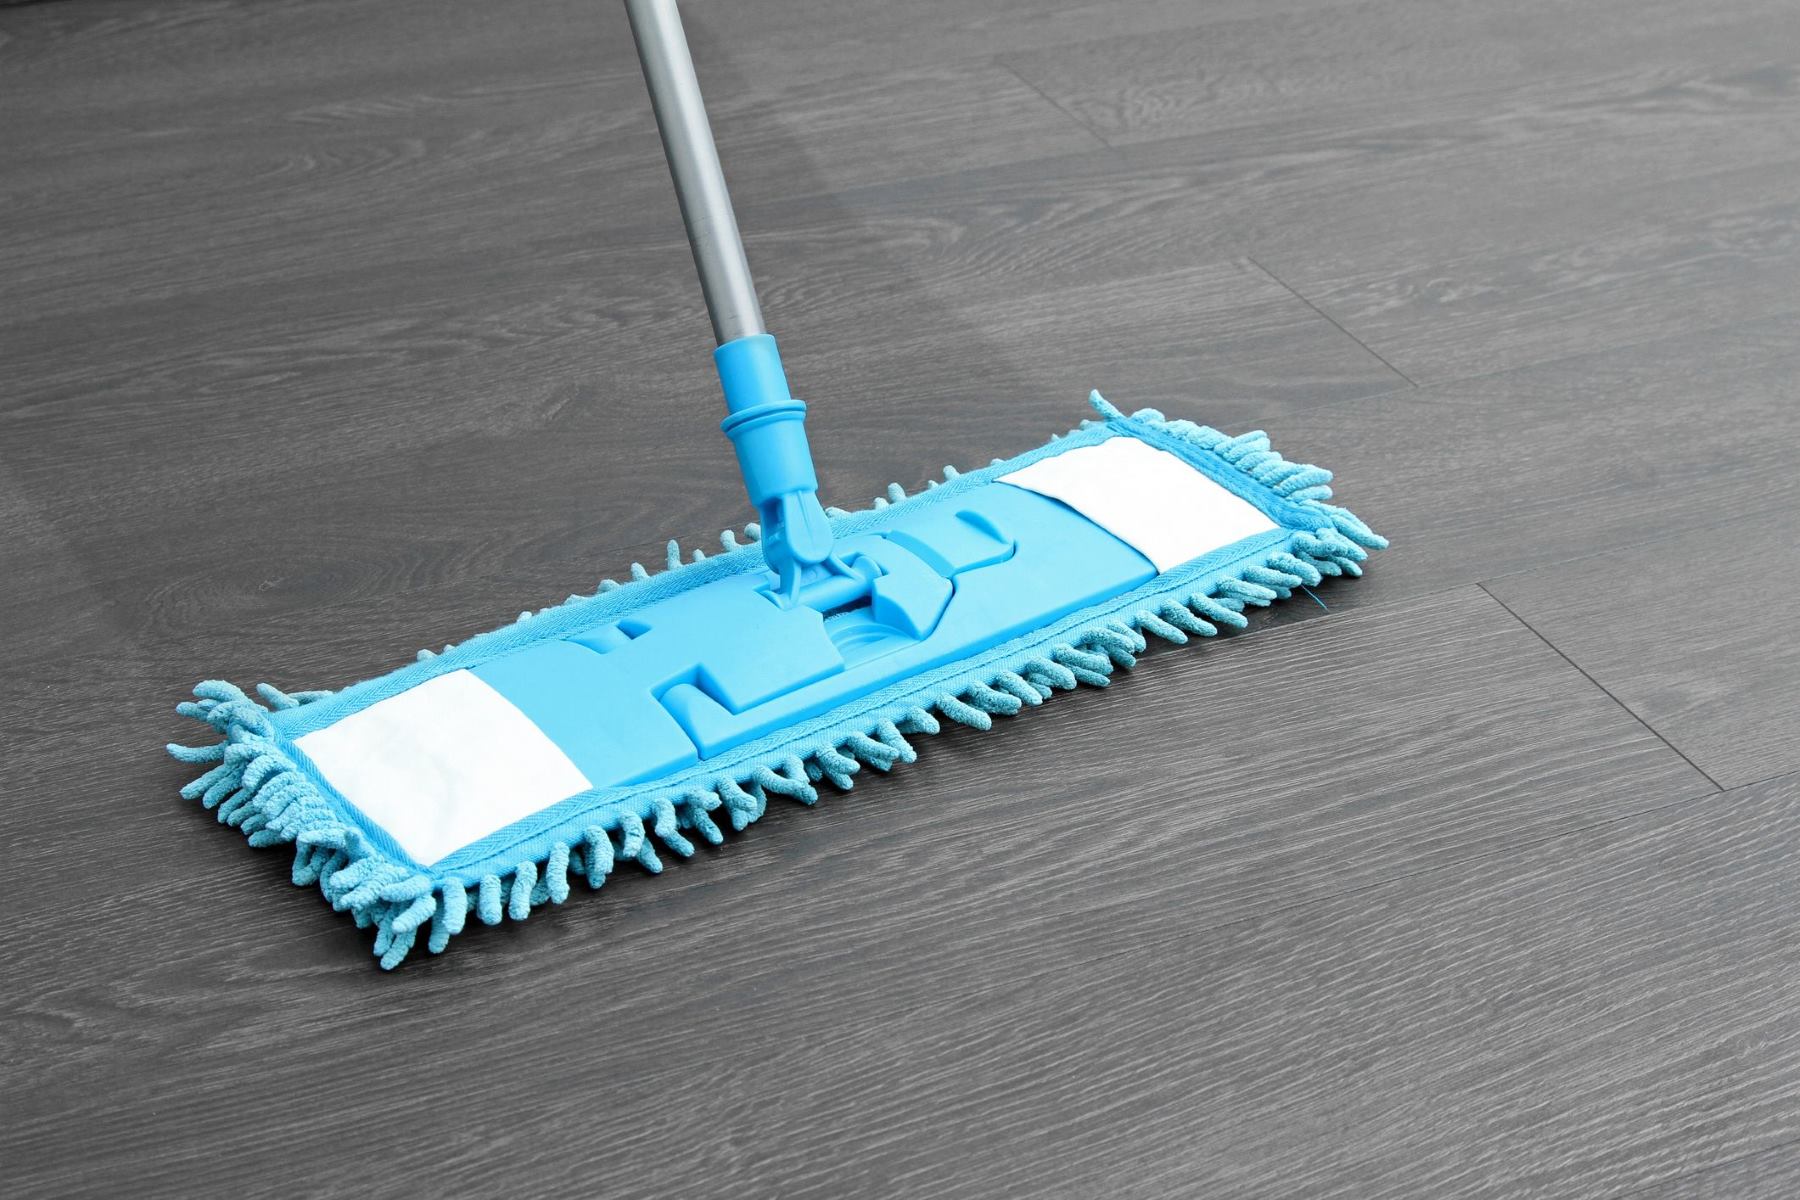
Step 9: Clean and Inspect the Laminate Floor
Once you have completed the installation of your laminate flooring, it’s essential to properly clean and inspect the floor to ensure its longevity and appearance. Follow these steps to clean and inspect your laminate floor:
- Remove any debris: Sweep or vacuum the laminate floor to remove any loose dirt or debris.
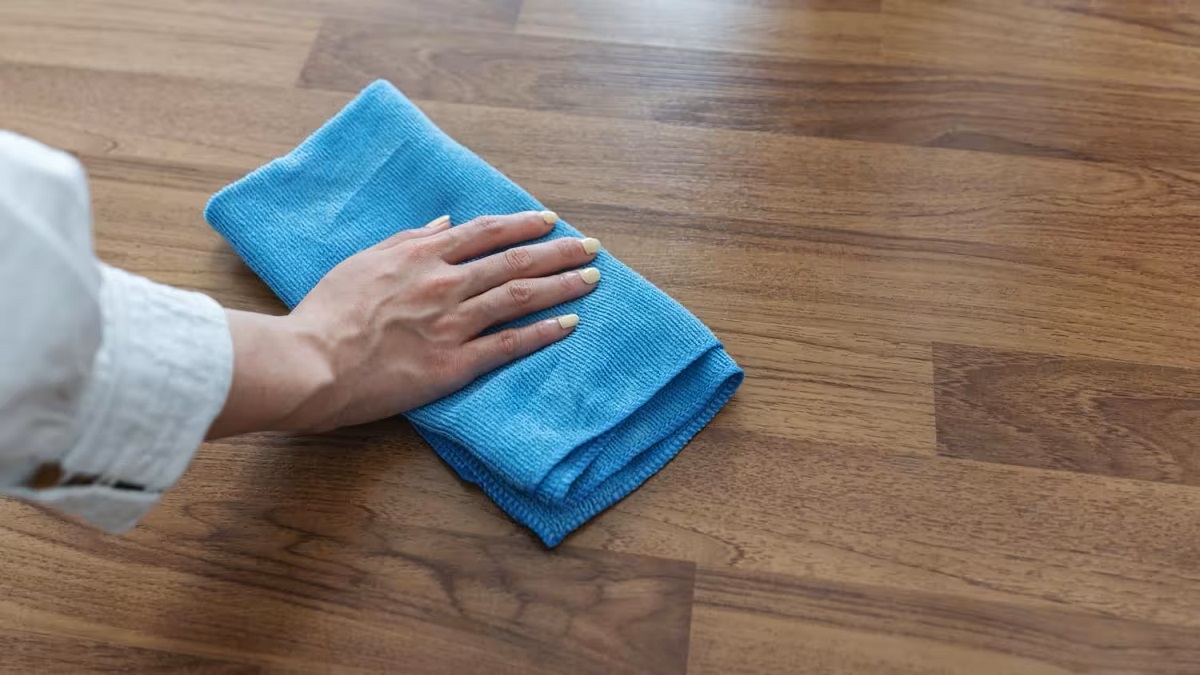
- Mop the floor: Use a damp mop or a microfiber cloth to clean the laminate floor. Avoid using excessive water, as it can cause damage to the flooring. Use a gentle floor cleaner specifically designed for laminate floors.
- Dry the floor: Wipe down the floor with a dry towel or allow it to air dry completely.
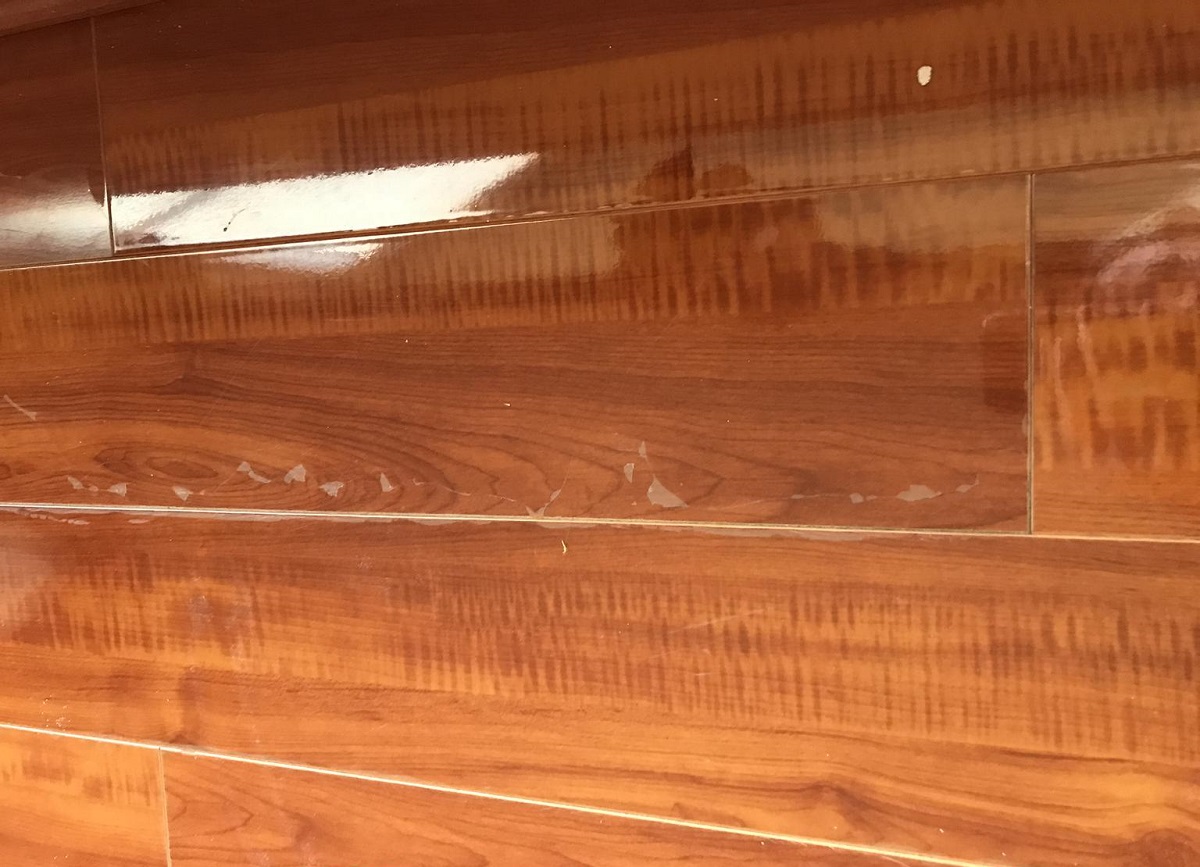
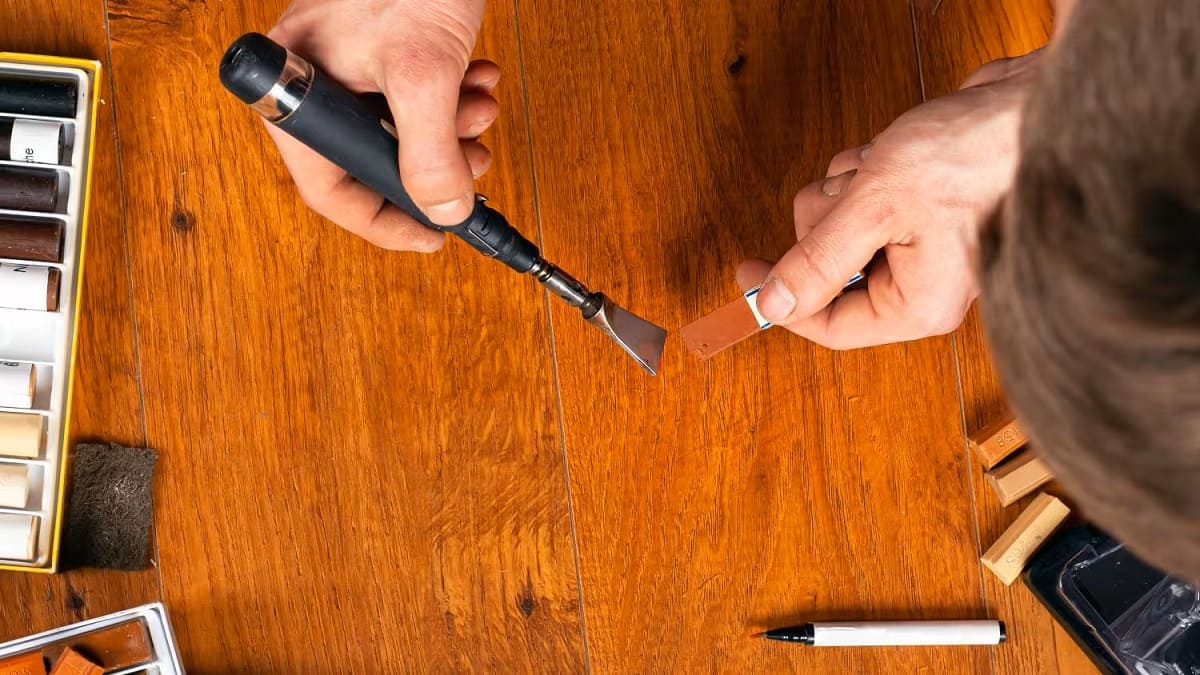
- Inspect for any damage: Carefully inspect the laminate floor for any scratches, dents, or signs of wear and tear. If you notice any damage, consider using touch-up markers or fillers to repair minor imperfections.
- Protect the floor: Use felt pads or furniture coasters under the legs of furniture to prevent scratching or indentations. Avoid dragging heavy objects across the floor.
Regular cleaning and maintenance are vital to preserve the beauty and integrity of your laminate floor. By following these cleaning and inspection steps, you can ensure that your floor remains in excellent condition for years to come.
With the completion of Step 9, you have successfully laid and cared for your laminate flooring. Now, it’s time to enjoy your newly transformed living space!
Step 10: Enjoy Your Newly Laid Laminate Floor
Congratulations! You have successfully completed the installation of your laminate flooring. Now it’s time to sit back, relax, and enjoy the fruits of your hard work. Here are a few tips to maximize your enjoyment of your newly laid laminate floor:
- Arrange your furniture: Once the laminate flooring is installed and properly cured, you can start arranging your furniture in the space. Consider the layout and flow of the room to create a functional and aesthetically pleasing environment.
- Add rugs and mats: Enhance both the style and comfort of your laminate floor by adding rugs or mats in strategic areas. They can provide extra cushioning, protect the floor from heavy foot traffic, and add a decorative touch to your space.
- Maintain regular cleaning: Keep your laminate floor looking pristine by implementing a regular cleaning routine. Sweep or vacuum regularly to remove dirt and debris, and damp mop or use a gentle floor cleaner when necessary.
- Take preventive measures: To prolong the lifespan of your laminate floor, take preventive measures to minimize potential damage. Place doormats at entrances to prevent the tracking of dirt and grit. Use floor protectors on the legs of furniture and avoid wearing high heels or heavy shoes on the floor.
- Enjoy the benefits: Embrace the benefits of having laminate flooring, such as its durability, ease of maintenance, and versatility in design options. With proper care, your laminate floor can provide you with years of enjoyment.
By following these tips, you can ensure that your newly laid laminate floor remains in excellent condition, while creating a comfortable and visually appealing living space.
Now it’s time to kick off your shoes, walk barefoot on your beautiful laminate floor, and relish in the satisfaction of a job well done. Enjoy your new flooring and the transformation it has brought to your home!
Conclusion
Laying laminate flooring is a rewarding and cost-effective way to enhance the aesthetics and functionality of your living space. With the right tools, materials, and a careful step-by-step approach, you can achieve professional-looking results that will impress both yourself and others. By following the steps outlined in this guide, you have gained the knowledge and confidence to tackle your own laminate flooring installation project.
From gathering the necessary tools and materials to cleaning and inspecting the finished floor, each step plays a crucial role in achieving a successful installation. By properly preparing the subfloor, measuring and cutting the laminate flooring planks, installing the underlayment, and laying the flooring with precision, you have created a solid foundation for your new floor.
Additionally, by trimming and finishing the edges, installing transition strips, and cleaning the laminate flooring, you have added the final touches to ensure a seamless and polished appearance. The care and attention you give to your laminate flooring will contribute to its longevity and maintain its beauty for years to come.
Now, as you sit back and enjoy your newly laid laminate floor, remember to take pride in your accomplishment. Revel in the transformation it has brought to your living space and relish the comfort and durability that laminate flooring offers. With proper maintenance and care, your laminate floor will continue to impress and serve as a beautiful foundation for your daily activities.
Thank you for choosing laminate flooring, and we hope this guide has been instrumental in your successful installation. Enjoy your new floor and the joy it brings to your home!
Frequently Asked Questions about How To Lay Laminate Floor
Was this page helpful?
At Storables.com, we guarantee accurate and reliable information. Our content, validated by Expert Board Contributors, is crafted following stringent Editorial Policies. We're committed to providing you with well-researched, expert-backed insights for all your informational needs.

0 thoughts on “How To Lay Laminate Floor”