Home>Articles>How To Fix Hole In Wall From Toilet Paper Holder

Articles
How To Fix Hole In Wall From Toilet Paper Holder
Modified: May 6, 2024
Learn how to easily fix a hole in the wall caused by a toilet paper holder with these step-by-step articles.
(Many of the links in this article redirect to a specific reviewed product. Your purchase of these products through affiliate links helps to generate commission for Storables.com, at no extra cost. Learn more)
Introduction
Having a hole in the wall from a toilet paper holder can be a common problem in many households. It can be unsightly and can disrupt the overall aesthetic of the room. However, fixing it doesn’t have to be a daunting task. With a few simple steps and some basic materials, you can easily repair the hole and restore the wall to its original condition.
In this article, we will guide you through the process of fixing a hole in the wall caused by a toilet paper holder. We will provide you with a comprehensive step-by-step guide, along with a list of materials needed to successfully complete the repair. Whether you’re a seasoned DIY enthusiast or a beginner, this article will equip you with the knowledge and skills needed to tackle this repair project with confidence.
Before we dive into the details, it’s important to note that the specific steps and materials required may vary depending on the size of the hole and the type of wall you’re working with. It’s always a good idea to assess the damage and consult with a professional if needed. However, for small to medium-sized holes in drywall or plaster walls, you can follow the instructions provided in this article to address the issue.
So, if you’re ready to roll up your sleeves and get to work, let’s gather the necessary materials and dive into the first step of fixing that hole in the wall caused by your toilet paper holder.
Key Takeaways:
- Easily repair unsightly holes in the wall from a toilet paper holder with simple steps and basic materials, restoring the wall to its original condition.
- Prepare the area, remove the holder, patch the hole, sand and paint, and reinstall the holder for a seamless and visually appealing repair.
Materials Needed
Before you get started with repairing the hole in the wall from the toilet paper holder, it’s essential to gather all the necessary materials. Having everything readily available will make the process smoother and more efficient. Here’s a list of materials you’ll need:
- Putty Knife: A putty knife will be used to apply the patching compound and smooth it out.
- Patching Compound: This is used to fill the hole and create a smooth surface. Opt for a lightweight spackling compound for smaller holes and joint compound for larger holes.
- Sanding Block or Sandpaper: You’ll need sandpaper or a sanding block to smooth out the patched area once the compound dries.
- Primer: Primer helps the paint adhere to the wall and provides a uniform surface for a finished look.
- Paint: Choose a paint color that matches the existing wall color. This will ensure a seamless repair.
- Paintbrush: Use a paintbrush to apply the primer and paint. Make sure it’s appropriate for the type of paint you’re using.
- Drop Cloth or Plastic Sheets: Protect the surrounding area from any potential mess or splatters by covering it with a drop cloth or plastic sheets.
- Clean Cloth: A clean cloth or sponge will come in handy for wiping away any dust or debris.
Make sure you have all these materials on hand before you begin the repair process. This will save you from rushing to the store midway through the project and ensure a smoother, uninterrupted workflow.
With the necessary materials collected, you’re now ready to proceed with the first step of preparing the area for repair.
Step 1: Prepare the Area
Before you start repairing the hole in the wall from the toilet paper holder, it’s important to properly prepare the area to ensure a successful repair. Follow these steps to prepare the wall:
- Remove any toilet paper or accessories from the holder. Clear the area and ensure it’s free from any obstructions.
- Cover the floor and surrounding area with a drop cloth or plastic sheets to protect it from dust, debris, and any potential splatters.
- Clean the wall surface around the hole. Use a clean cloth or sponge to remove any dirt, dust, or loose particles. This will ensure proper adhesion of the patching compound.
- If the hole is near or around an electrical fixture, make sure to turn off the power supply to that area to avoid any accidents.
- If necessary, you can use painter’s tape to protect adjacent surfaces or fixtures that you don’t want to get damaged or accidentally painted during the repair process.
By taking the time to prepare the area properly, you’ll create a clean and safe working environment. This will allow for a more efficient repair process and a better end result.
Once you’ve prepared the area, you’re now ready to move on to the next step: removing the toilet paper holder.
Step 2: Remove the Toilet Paper Holder
Now that you’ve prepared the area, it’s time to remove the toilet paper holder. Follow these steps to safely remove the holder:
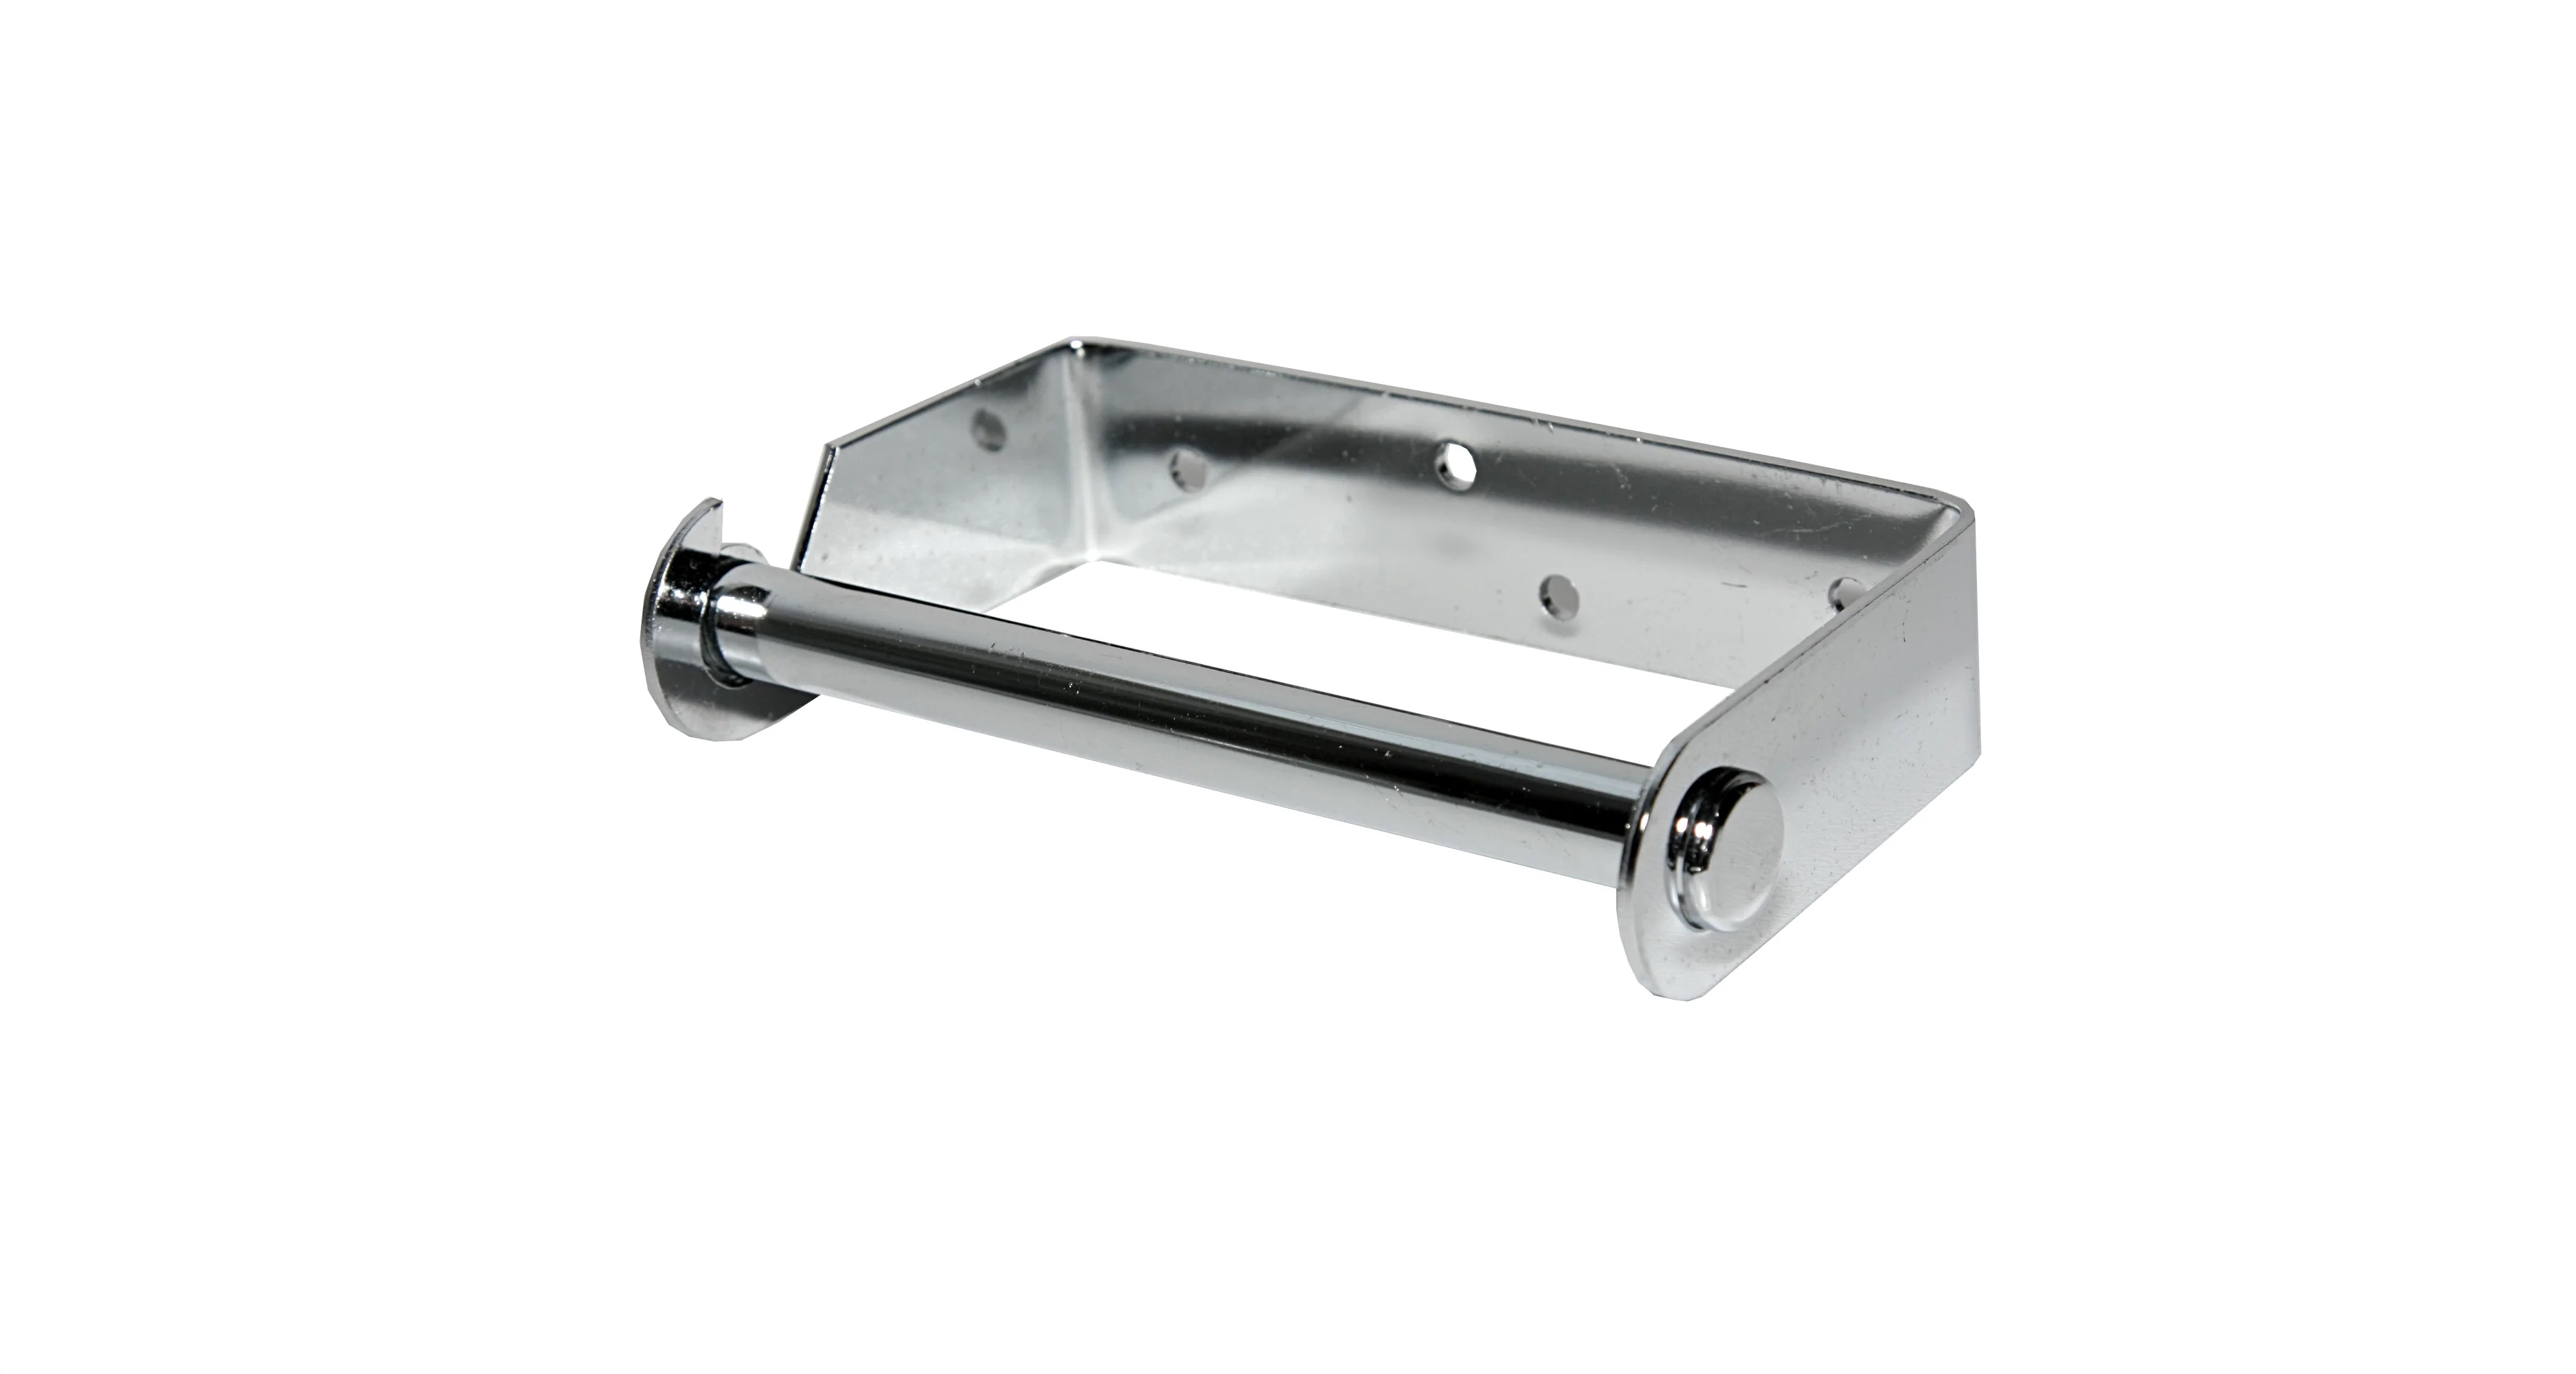
- Take a close look at the holder and locate any screws or mounting brackets that are securing it to the wall. Use a screwdriver or a drill to remove them carefully.
- Gently pull the holder away from the wall, taking care not to damage the surrounding area or create any further holes.
- If the holder is adhesive-mounted, you may need to use a hairdryer to apply heat to the adhesive. This will help loosen its grip, making it easier to remove.
- Once the holder is detached, set it aside in a safe place for later reinstallation.
Removing the toilet paper holder is an important step in the repair process as it allows for better access to the hole and ensures that it doesn’t get damaged during the repair.
With the holder safely removed, you’re now ready to move on to the next step: patching the hole in the wall.
Step 3: Patch the Hole
Now that the toilet paper holder has been removed, it’s time to patch the hole in the wall. Follow these steps to effectively patch the hole:
- Inspect the hole and assess its size. If it’s a small hole, you can use lightweight spackling compound. For larger holes, joint compound may be required. Choose the appropriate compound based on the size of the hole.
- Take a putty knife and scoop a small amount of the patching compound onto it.
- Apply the compound directly into the hole, starting from the center and working your way outward. Use the putty knife to spread and smooth the compound, ensuring that it fills the hole completely.
- For larger holes, you may need to apply the patching compound in layers. Allow each layer to dry before adding the next one. Follow the manufacturer’s instructions for drying time.
- Continue applying the compound until the hole is completely filled and leveled with the surrounding wall surface.
- Use the putty knife to carefully scrape off any excess compound and create a smooth finish.
Remember to follow the instructions provided by the manufacturer for the specific patching compound you’re using. This will ensure that you achieve the best results and a seamless repair.
Once you’ve patched the hole, the next step is to let the compound dry before moving on to the next step.
Use a putty knife to fill the hole with spackling compound. Smooth the surface and let it dry. Sand the area and repaint to match the wall.
Step 4: Sand and Smooth the Area
After patching the hole in the wall, it’s important to sand and smooth the area to create a seamless finish. Follow these steps to effectively sand and smooth the patched area:
- Wait for the patching compound to dry completely. Refer to the manufacturer’s instructions for the specific drying time.
- Once the compound is dry, use a sanding block or sandpaper to gently sand the patched area. Start with a fine-grit sandpaper and gradually move to a finer grit for a smoother finish.
- Hold the sanding block or sandpaper firmly but not too aggressively. Sand in a circular motion, gradually blending the edges of the patch with the surrounding wall.
- As you sand, periodically run your hand over the area to check for smoothness. Continue sanding until the patched area feels smooth and flush with the rest of the wall.
- Remember to remove any dust or debris that accumulates during the sanding process using a clean cloth or sponge.
Sanding the patched area is crucial as it helps create a seamless transition between the patched area and the rest of the wall. Take your time and ensure that you achieve a smooth and even finish before moving on to the next step.
Once you’ve successfully sanded and smoothed the area, you’re ready to move on to the next step: painting or finishing the wall.
Step 5: Paint or Finish the Wall
Now that you have sanded and smoothed the patched area, it’s time to paint or finish the wall to restore its appearance. Follow these steps to complete this step:
- If you’re painting the wall, start by applying a coat of primer to the patched area. This will help the paint adhere better and provide a uniform surface.
- Allow the primer to dry completely according to the manufacturer’s instructions.
- Once the primer is dry, apply paint to the patched area using a brush or a roller, ensuring that the paint color matches the rest of the wall.
- Paint with even strokes, blending the painted area with the surrounding wall to create a seamless finish.
- If necessary, apply multiple coats of paint, allowing each coat to dry before applying the next one.
- If you have a textured wall, try to recreate the texture on the patched area using techniques such as sponge painting or stenciling.
- If you’re working with a wallpapered wall, match the patch with the wallpaper pattern or consider replacing the entire section of wallpaper for a seamless look.
- If you’re using any other finishing method such as wallpaper or wall decals, follow the specific instructions for the chosen method to complete the repair.
Take your time and pay attention to detail while painting or finishing the wall. This will ensure that the repair blends seamlessly with the rest of the wall and restores the overall appearance of the room.
Once you’ve completed painting or finishing, allow the paint or finish to dry completely before proceeding to the final step.
Step 6: Reinstall the Toilet Paper Holder
Now that the patched area has been painted or finished and allowed to dry, it’s time to reinstall the toilet paper holder. Follow these steps to successfully reinstall the holder:
- Refer to the original instructions or packaging of the holder to ensure a proper and secure installation.
- If there were screws or mounting brackets used to secure the holder to the wall initially, locate them and position the holder accordingly.
- Use a screwdriver or drill to carefully screw in the screws or reattach the mounting brackets. Ensure that they are tightened securely without damaging the wall.
- If the holder was adhesive-mounted, ensure that the adhesive surface is clean and free from any residue. Apply the adhesive according to the manufacturer’s instructions and firmly press the holder in place, holding it for a few moments to allow it to adhere.
- Double-check that the holder is level and in the desired position before proceeding.
- Once the holder is securely installed, give it a gentle tug or shake to ensure it’s stable and properly fixed.
Reinstalling the toilet paper holder completes the repair process and restores functionality to the bathroom. Take the time to ensure that the holder is properly installed and securely attached to avoid any future issues.
With the toilet paper holder successfully reinstalled, you can now step back and admire your completed repair project. Your wall is now restored and free from any unsightly holes.
Conclusion
Repairing a hole in the wall from a toilet paper holder may seem like a daunting task, but with the right guidance and materials, it can be a manageable DIY project. By following the steps outlined in this article, you can successfully fix the hole and restore the wall to its original condition.
Remember to gather all the necessary materials before you begin, as preparation is key to a smooth repair process. Take the time to properly prepare the area, remove the toilet paper holder, and patch the hole with the appropriate compound. Once the patching compound is dry, sand and smooth the area to create a seamless finish.
After sanding, it’s crucial to paint or finish the wall to restore its appearance. Choose a paint color that matches the rest of the wall or employ other finishing methods for a consistent look. Finally, reinstall the toilet paper holder, ensuring that it is securely fixed in place.
By following these steps, you’ll be able to fix the hole in the wall caused by the toilet paper holder and create a visually appealing and functional bathroom. Remember to take your time and pay attention to detail for the best results.
With the repair complete, you can now enjoy a perfectly repaired wall, free from any reminders of the past hole. So, roll up your sleeves, gather your materials, and let’s get started on restoring your wall to its former glory.
Now that you've mastered repairing a wall after removing a toilet paper holder, why not perfect where to position one? Our next guide covers all you need to know about optimal placement to ensure convenience and functionality in any bathroom. Whether you're renovating or simply updating fixtures, this advice proves invaluable. Don't miss out on enhancing your space with well-placed amenities!
Frequently Asked Questions about How To Fix Hole In Wall From Toilet Paper Holder
Was this page helpful?
At Storables.com, we guarantee accurate and reliable information. Our content, validated by Expert Board Contributors, is crafted following stringent Editorial Policies. We're committed to providing you with well-researched, expert-backed insights for all your informational needs.

0 thoughts on “How To Fix Hole In Wall From Toilet Paper Holder”