Home>Articles>How To Fix Kitchenaid Refrigerator Water Dispenser
Articles
How To Fix Kitchenaid Refrigerator Water Dispenser
Modified: August 27, 2024
Learn the step-by-step process of fixing your Kitchenaid refrigerator water dispenser with our helpful articles.
(Many of the links in this article redirect to a specific reviewed product. Your purchase of these products through affiliate links helps to generate commission for Storables.com, at no extra cost. Learn more)
Introduction
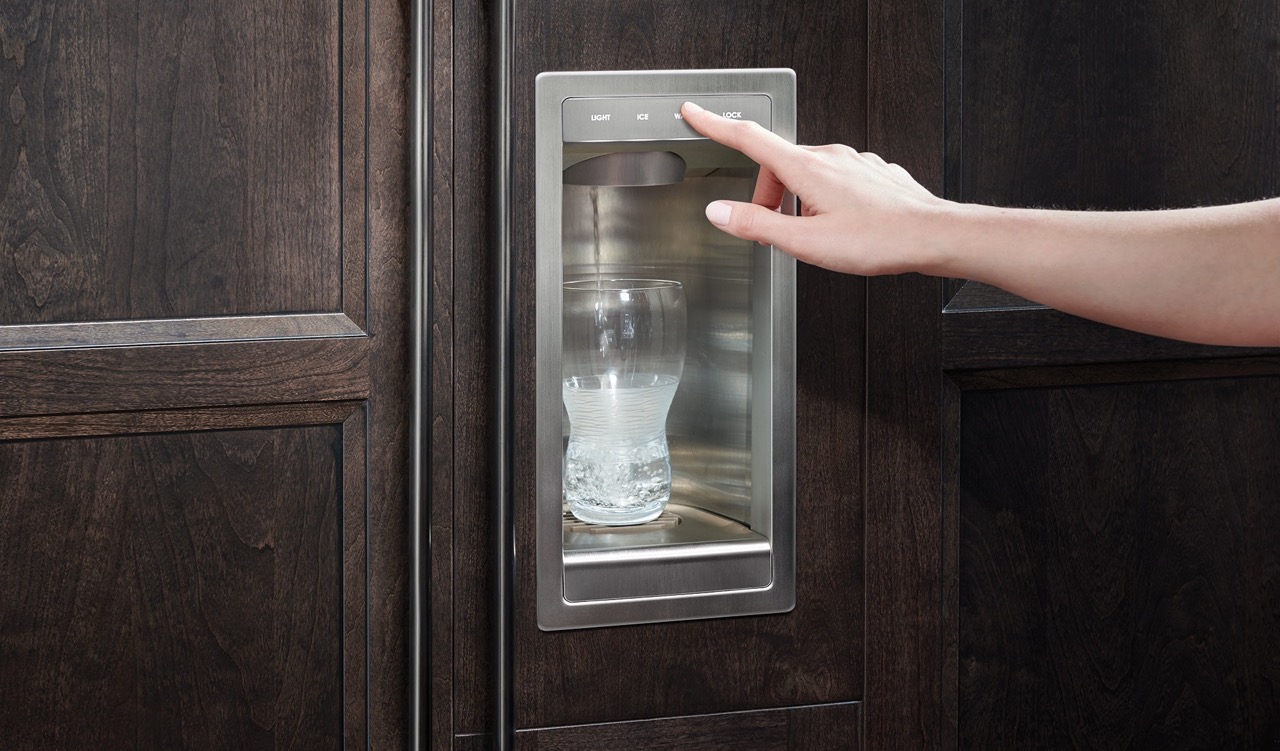
Having a Kitchenaid refrigerator with a water dispenser is convenient, as it allows you to have access to chilled water at any time. However, there may be times when the water dispenser stops working or doesn’t function properly. This can be frustrating, especially if you rely on it for your daily hydration needs.
In this article, we will discuss some common problems with a Kitchenaid refrigerator water dispenser and provide step-by-step instructions on how to fix them. By following these troubleshooting tips, you can save time and money by resolving the issue on your own without the need for professional assistance.
Before we dive into the troubleshooting steps, it’s important to note that safety should always be your utmost priority. Make sure to disconnect the refrigerator from the power supply and shut off the water source before attempting any repairs. Additionally, if you are not confident in your ability to fix the issue, it is advisable to consult a professional technician.
With that in mind, let’s explore some common problems that can occur with a Kitchenaid refrigerator water dispenser and how to resolve them effectively.
Key Takeaways:
- Troubleshoot and fix common issues with your Kitchenaid refrigerator water dispenser by following step-by-step instructions, ensuring safety and saving time and money on professional assistance.
- Gather necessary tools, inspect components, and contact Kitchenaid customer support if needed to restore the convenience and functionality of your refrigerator water dispenser.
Common Problems with Kitchenaid Refrigerator Water Dispenser
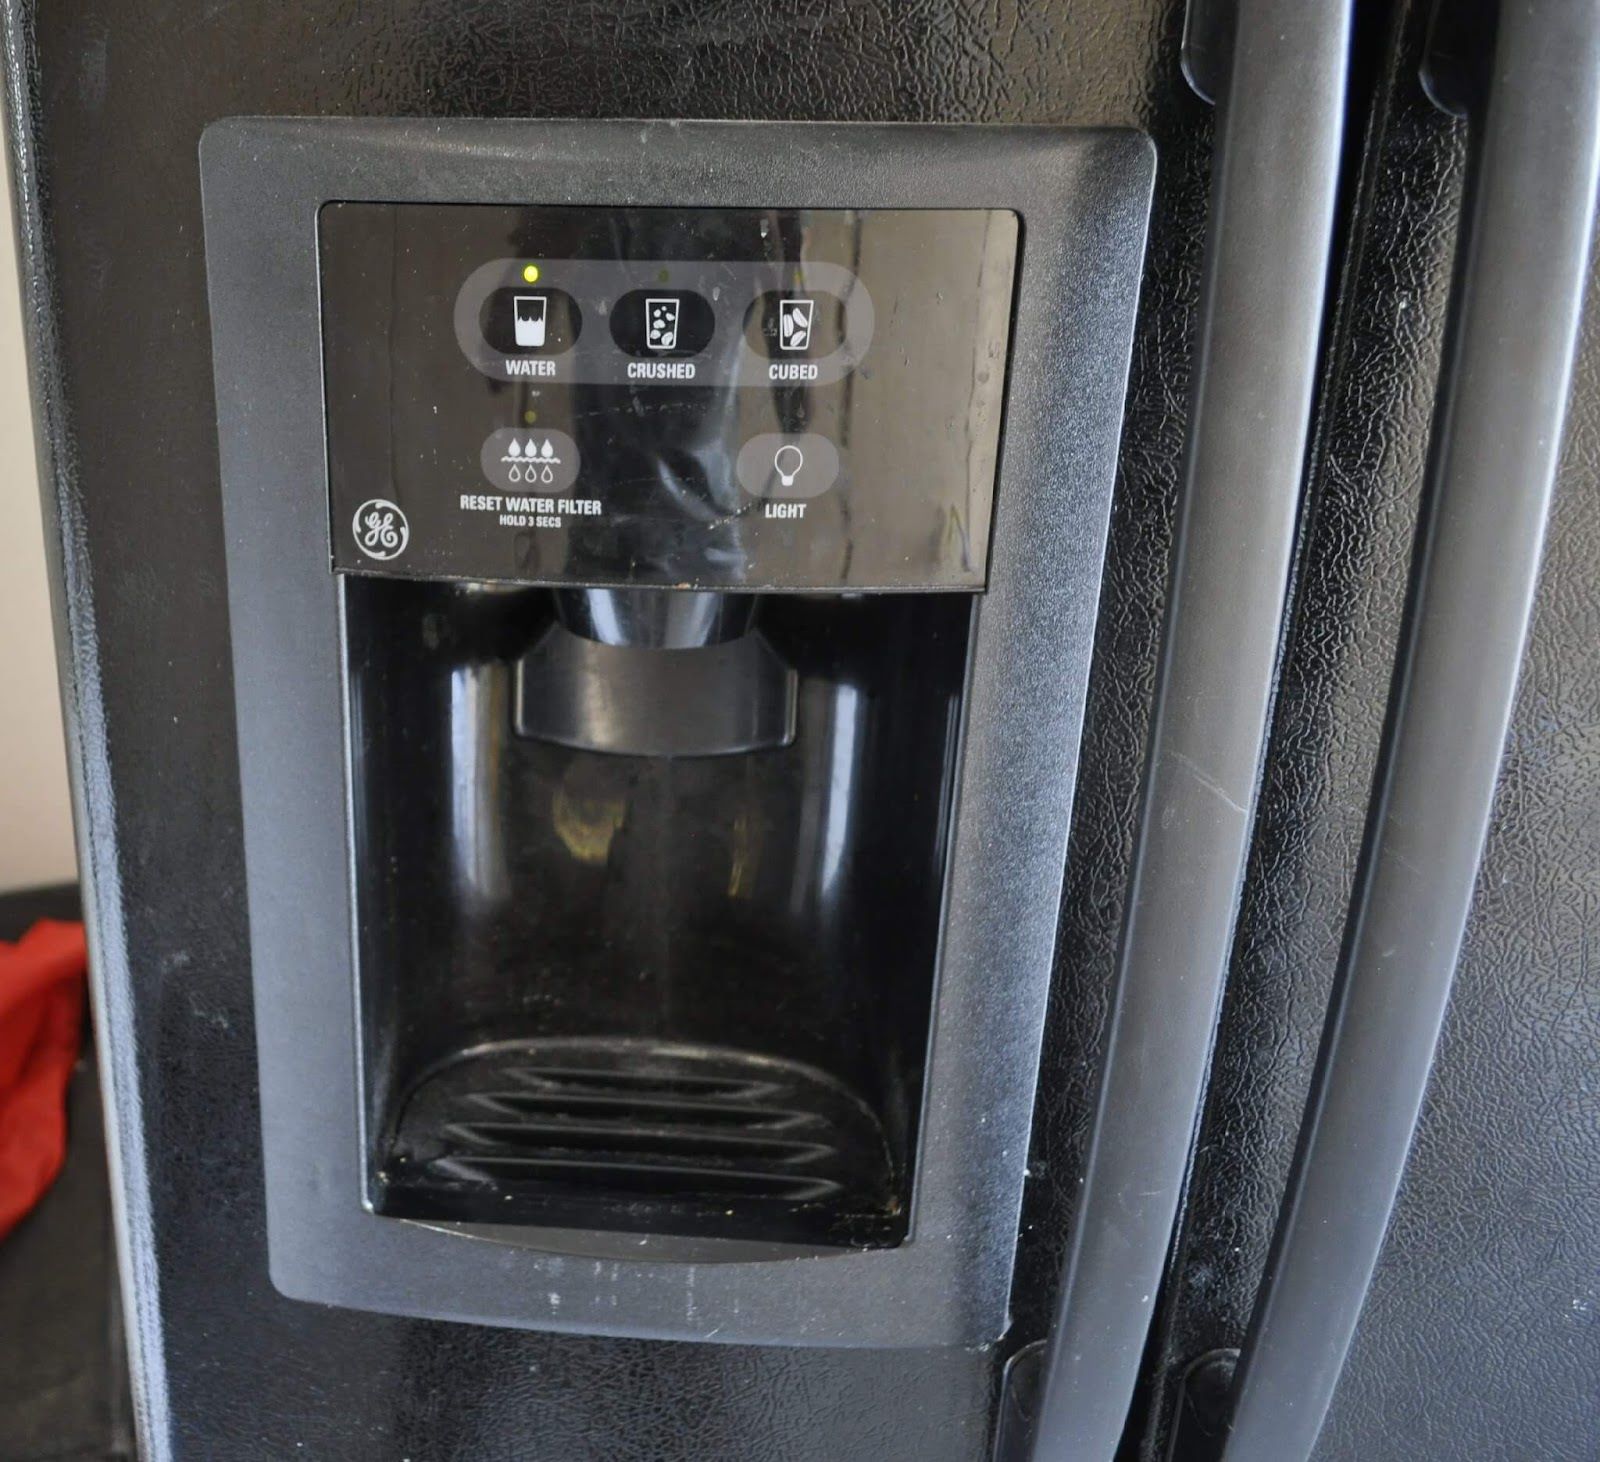
The water dispenser on your Kitchenaid refrigerator may encounter a few common issues that can disrupt its functionality. Here are some of the most common problems you may encounter:
- No water flow: One of the most frustrating issues is when the water dispenser stops producing water altogether. This can be caused by a variety of factors, such as a clogged water filter, a malfunctioning water inlet valve, or a blocked water line.
- Low water pressure: If the water flow from your Kitchenaid refrigerator’s dispenser is weak or has reduced pressure, it can be due to a clogged water filter or a kink in the water supply line.
- Dispenser leaks: Another common problem is when the water dispenser leaks water. This can be caused by a damaged or faulty dispenser actuator, a cracked water tubing, or a malfunctioning water inlet valve.
- Dispenser not working: In some cases, the dispenser may not function at all, meaning it doesn’t dispense water when the lever or button is pressed. This can be attributed to issues such as a faulty control board, a broken dispenser switch, or a defective solenoid.
- Strange taste or odor in water: If you notice an unusual taste or odor in the water dispensed from your Kitchenaid refrigerator, it could be caused by a contaminated water filter or a buildup of impurities in the water supply line.
Now that we have identified the common problems that can occur with a Kitchenaid refrigerator water dispenser, let’s move on to the troubleshooting steps to fix these issues.
Tools and Materials Needed
Before you start troubleshooting and repairing your Kitchenaid refrigerator water dispenser, it’s important to gather the necessary tools and materials. Having these items on hand will make the process smoother and enable you to tackle the problem effectively. Here’s a list of the tools and materials you will need:
- Owner’s manual: This will provide you with specific instructions on your refrigerator model and its components. It’s essential to have the manual handy for reference.
- Protective gloves: Disposable gloves will safeguard your hands from any potential contaminants and maintain hygiene during the repair process.
- Safety goggles: Safety goggles will protect your eyes from any debris or splashes that could occur while working on the water dispenser.
- Adjustable wrench: An adjustable wrench is necessary for disconnecting and connecting water supply lines, as well as tightening or loosening any fittings.
- Phillips and flat-head screwdrivers: These screwdrivers are essential for removing screws and accessing various components of the water dispenser system.
- Pliers: Pliers will come in handy for gripping and manipulating small parts, such as tube clamps or connectors.
- Replacement parts: Depending on the specific issue with your water dispenser, you may need to replace certain parts. This can include a new water filter, water inlet valve, dispenser actuator, dispenser control board, or solenoid. Check your owner’s manual or consult with a Kitchenaid representative to determine the exact replacement parts you need.
- Clean cloth or towel: This is useful for cleaning up any spills or excess water during the repair process.
Having these tools and materials readily available will ensure that you are prepared to diagnose and repair the common problems with your Kitchenaid refrigerator water dispenser. Now that you’re equipped, let’s proceed to the troubleshooting steps.
Step 1: Check the Water Supply
The first and most basic step in troubleshooting your Kitchenaid refrigerator water dispenser is to check the water supply. Here’s what you need to do:
- Locate the water supply valve: Typically, the water supply valve is located at the back of the refrigerator, near the bottom. It is usually connected to a water line.
- Ensure the water supply valve is fully open: Check if the water supply valve is turned on and fully open. If it is closed or partially closed, turn it clockwise to open it fully. This will allow water to flow freely to the dispenser.
- Inspect the water supply line: Examine the water supply line for any kinks, bends, or leaks. A kink or bend can restrict the water flow, while a leak can cause water dispensed to leak onto the floor. If you notice any issues, straighten the line or replace it if necessary.
- Check for frozen water line: In colder climates or during the winter months, the water supply line may freeze, resulting in no water flow to the dispenser. If you suspect a frozen water line, you can try thawing it by using a hairdryer on a low heat setting or by placing hot towels around the line. Be cautious and avoid using excessive heat that could damage the line.
If, after performing these steps, the water supply is confirmed to be functioning properly and there’s still no water flow from the dispenser, you can move on to the next troubleshooting step.
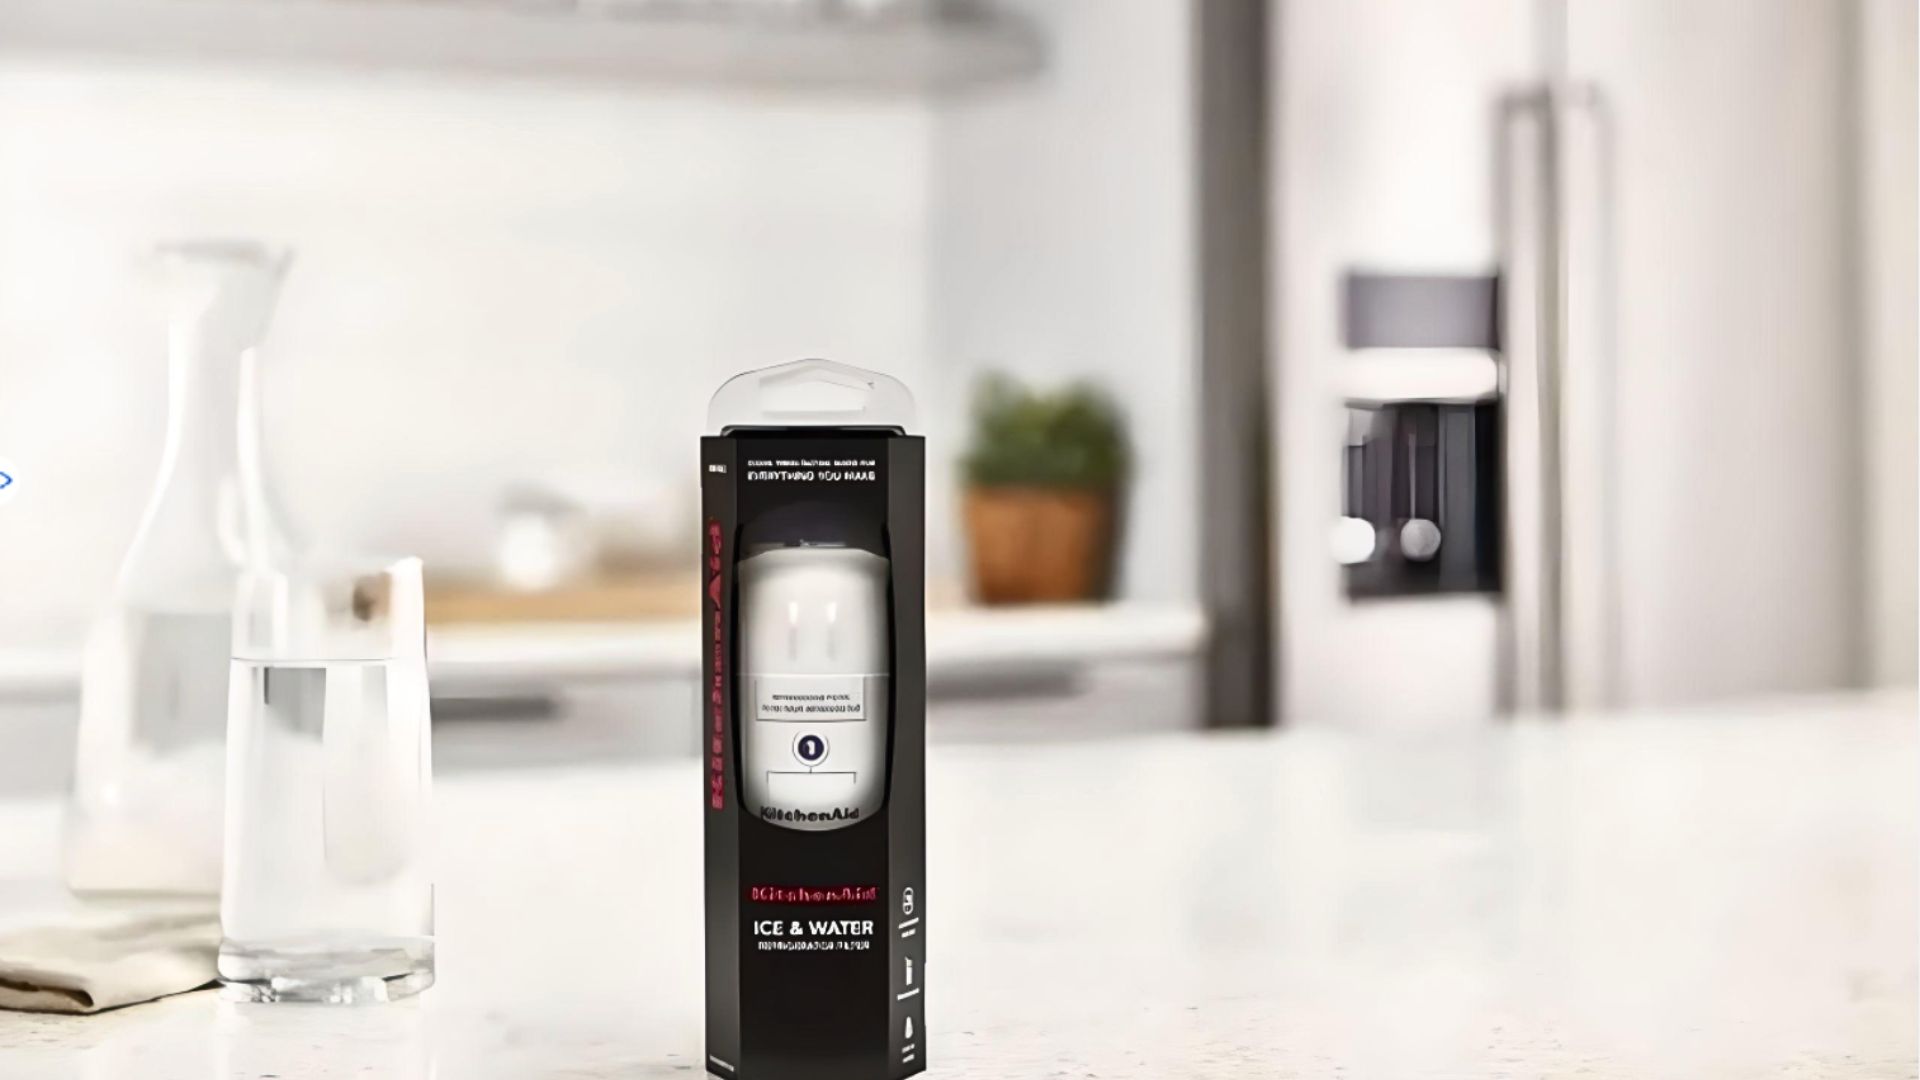
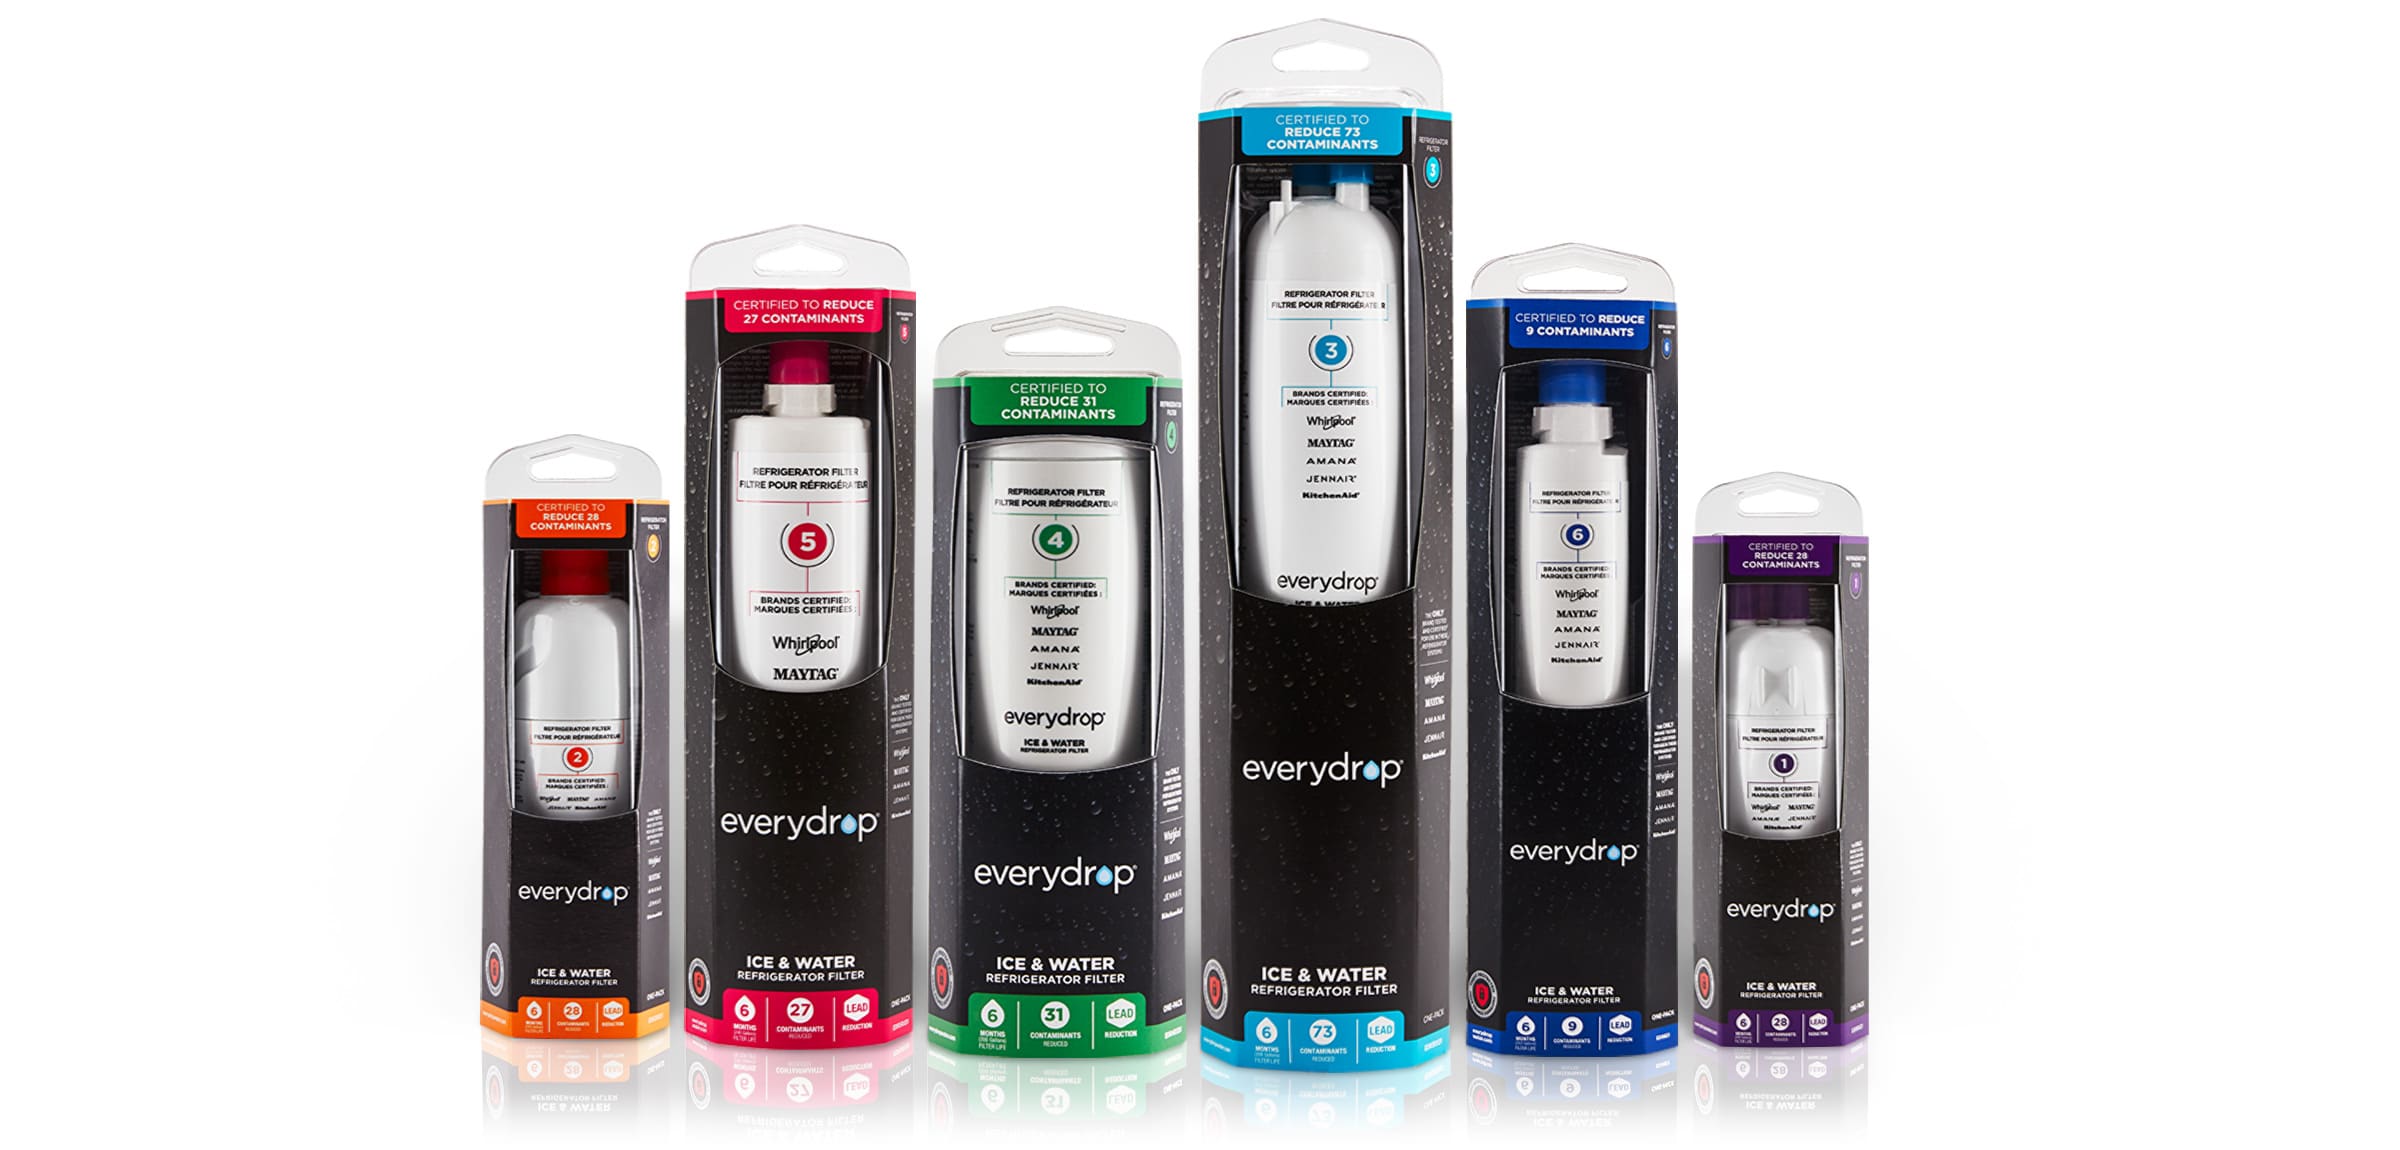
Step 2: Unclog the Water Filter
If the water dispenser on your Kitchenaid refrigerator is not working or the water flow is weak, the next step is to check and unclog the water filter. Here’s how to do it:
- Locate the water filter: The water filter is typically located inside the refrigerator, either in the upper right corner or the lower grille at the base of the refrigerator. Consult your owner’s manual for the specific location of the filter on your model.
- Turn off the water supply: Before removing the water filter, it’s crucial to turn off the water supply. You can do this by shutting off the water supply valve or by turning off the main water supply to your home.
- Remove the water filter: Depending on the type of filter, you may need to twist it counterclockwise or push a release button to remove it. Follow the instructions provided in your owner’s manual for proper removal.
- Inspect and clean the water filter: Examine the filter for any visible clogs or debris. If you notice any, gently rinse the filter under warm water to remove the blockage. Be careful not to apply excessive pressure that could damage the filter.
- Reinstall the water filter: Once the water filter is thoroughly cleaned, reinstall it by twisting it clockwise or pushing it firmly until it clicks into place. Ensure that it is secured properly.
- Turn on the water supply: After reinstalling the water filter, turn on the water supply by opening the water supply valve or turning on the main water supply.
After completing these steps, test the water dispenser to check if the water flow has improved. If the issue persists, move on to the next troubleshooting step.
Read more: How To Fix Refrigerator Water Dispenser Leak
Step 3: Inspect the Water Inlet Valve
If the water dispenser on your Kitchenaid refrigerator is still not working or the water flow is inadequate, it’s time to inspect the water inlet valve. The water inlet valve is responsible for controlling the flow of water into the dispenser. Follow these steps to inspect the valve:
- Locate the water inlet valve: The water inlet valve is usually located behind the refrigerator or at the bottom back panel. It is connected to the water supply line.
- Turn off the water supply: Before proceeding, ensure that you have turned off the water supply to the refrigerator. This can be done by shutting off the water supply valve or turning off the main water supply to your home.
- Disconnect the water supply line: Carefully disconnect the water supply line from the water inlet valve. Have a towel or small container ready to catch any water that may spill out.
- Inspect the water inlet valve: Examine the water inlet valve for any visible signs of damage, such as cracks, leaks, or clogs. If you notice any issues, it may indicate that the valve needs to be replaced.
- Clean or replace the water inlet valve: If the water inlet valve appears dirty or clogged, you can try cleaning it by gently removing any debris or sediment using a soft brush or cloth. If the valve is damaged or cannot be cleaned, it will need to be replaced with a new one.
- Reconnect the water supply line: Once the water inlet valve has been inspected or replaced, reconnect the water supply line to the valve. Ensure it is securely attached.
- Turn on the water supply: Once everything is properly reconnected, turn on the water supply by opening the water supply valve or turning on the main water supply.
After completing these steps, test the water dispenser to check if the water flow has improved. If the problem persists, continue to the next troubleshooting step.
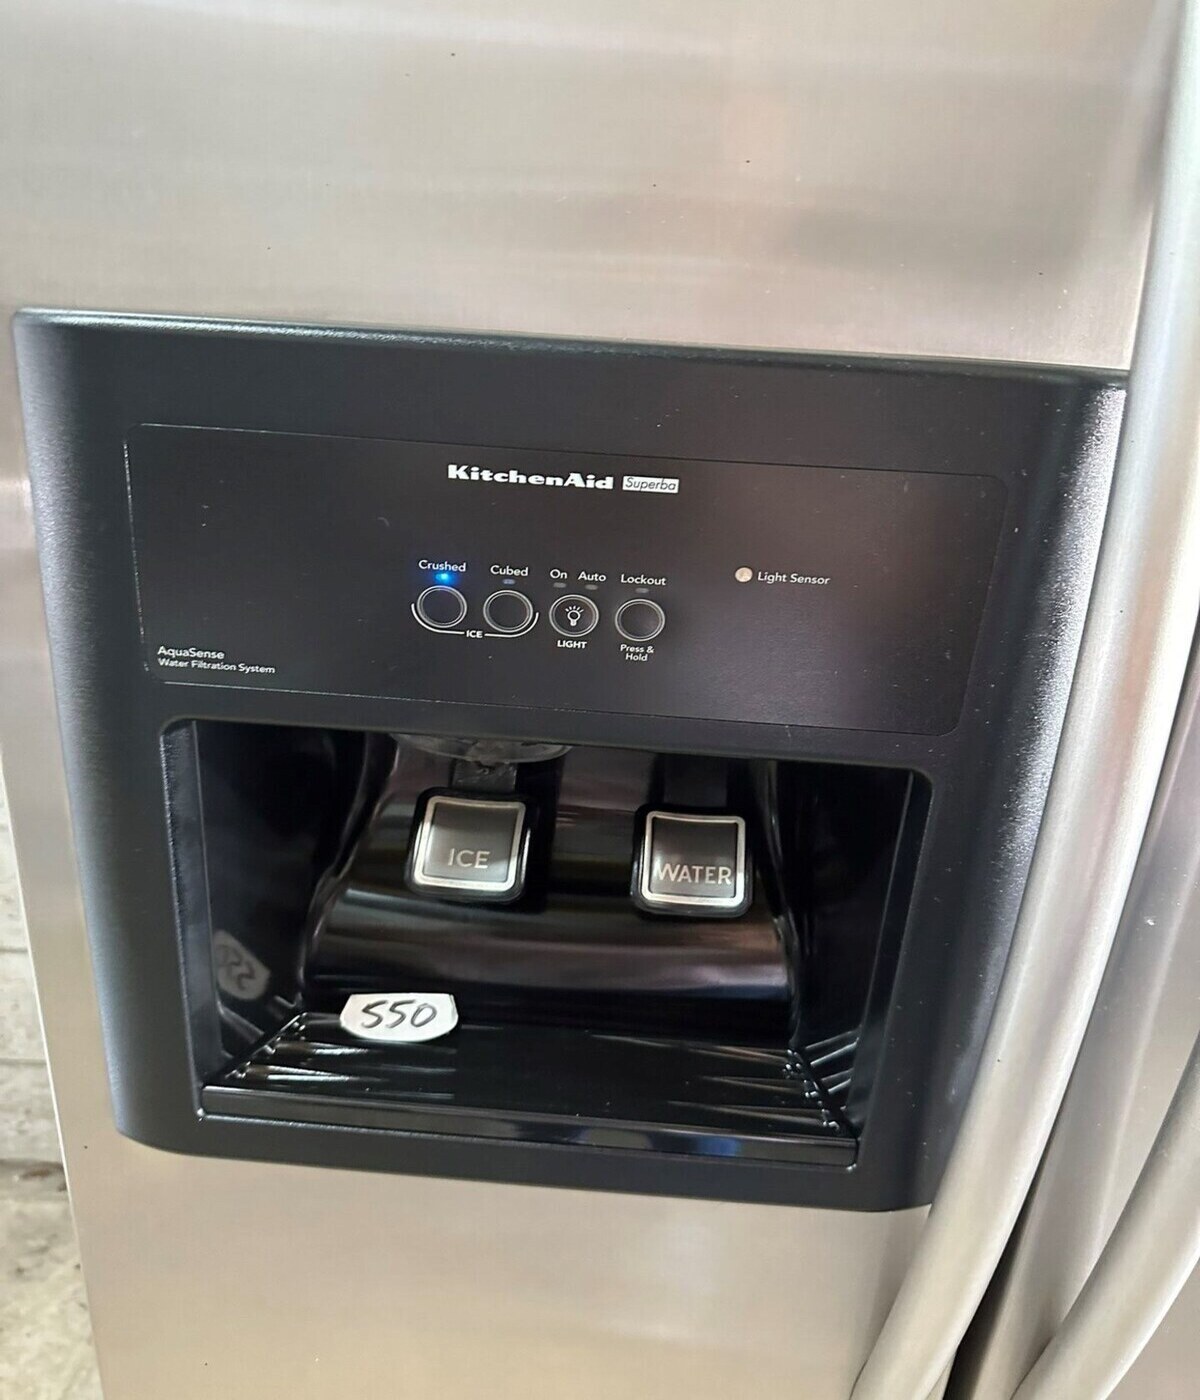
Step 4: Check the Water Dispenser Actuator
If the water dispenser on your Kitchenaid refrigerator is still not working, the next step is to check the water dispenser actuator. The actuator is the part that is responsible for activating the water dispenser when you press the lever or button. Follow these steps to inspect the actuator:
- Locate the water dispenser actuator: The water dispenser actuator is usually located behind the front panel of the refrigerator door. It is connected to the dispenser switch.
- Remove the front panel: Carefully remove the front panel of the refrigerator door to access the water dispenser actuator. Refer to your owner’s manual for specific instructions on how to remove the panel on your model.
- Inspect the water dispenser actuator: Examine the actuator for any visible damage or misalignment. Check if it moves smoothly when you press or release it. If the actuator appears to be damaged or malfunctioning, it may need to be replaced.
- Clean or replace the water dispenser actuator: If the actuator is dirty or sticky, gently clean it using a damp cloth. Ensure it moves freely without any obstruction. If the actuator cannot be cleaned or is not functioning properly, it will need to be replaced.
- Reinstall the front panel: After inspecting and potentially cleaning or replacing the water dispenser actuator, reattach the front panel of the refrigerator door. Make sure it is securely fastened.
Once you have completed these steps, test the water dispenser to see if it is now working properly. If the issue persists, continue to the next troubleshooting step.
Check the water supply line for any kinks or blockages. Also, inspect the water filter and replace if necessary. If the issue persists, consider calling a professional for further diagnosis.
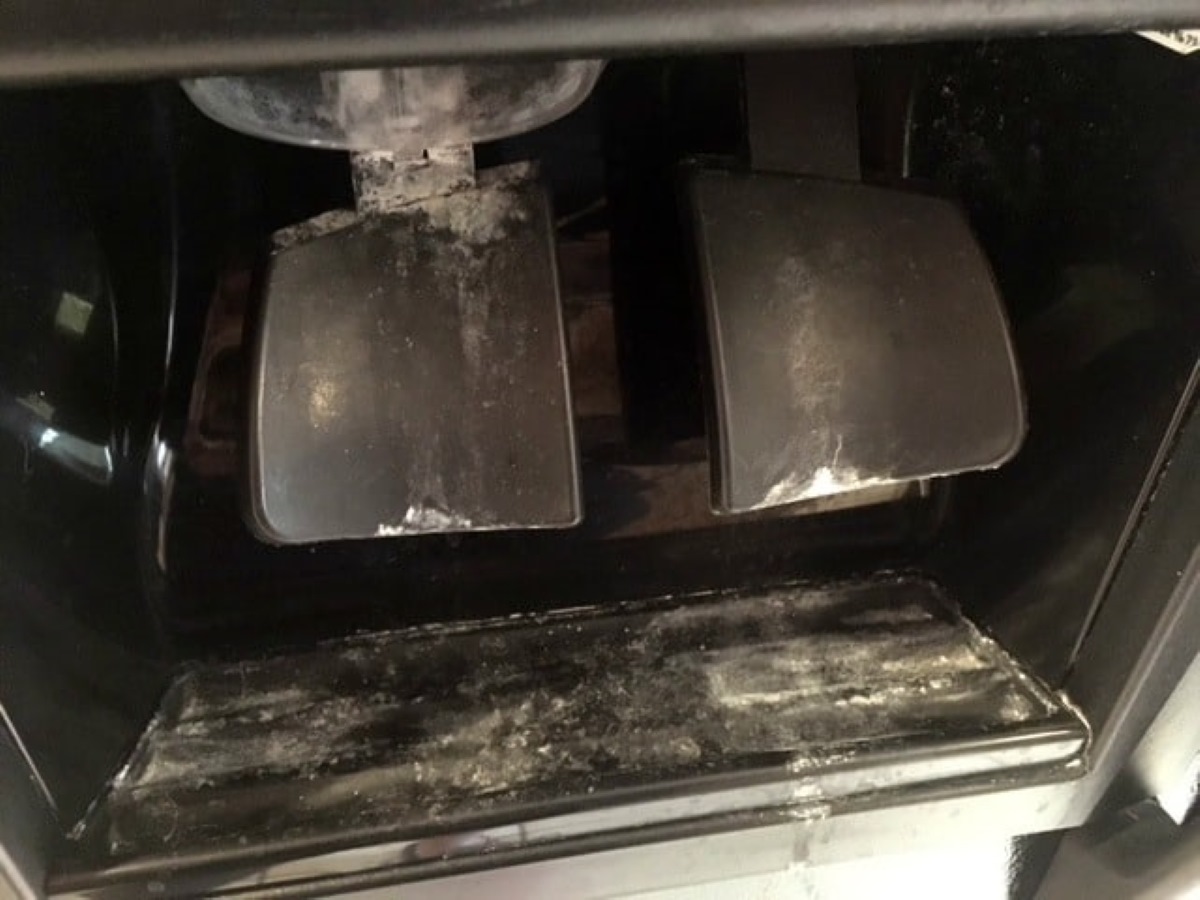
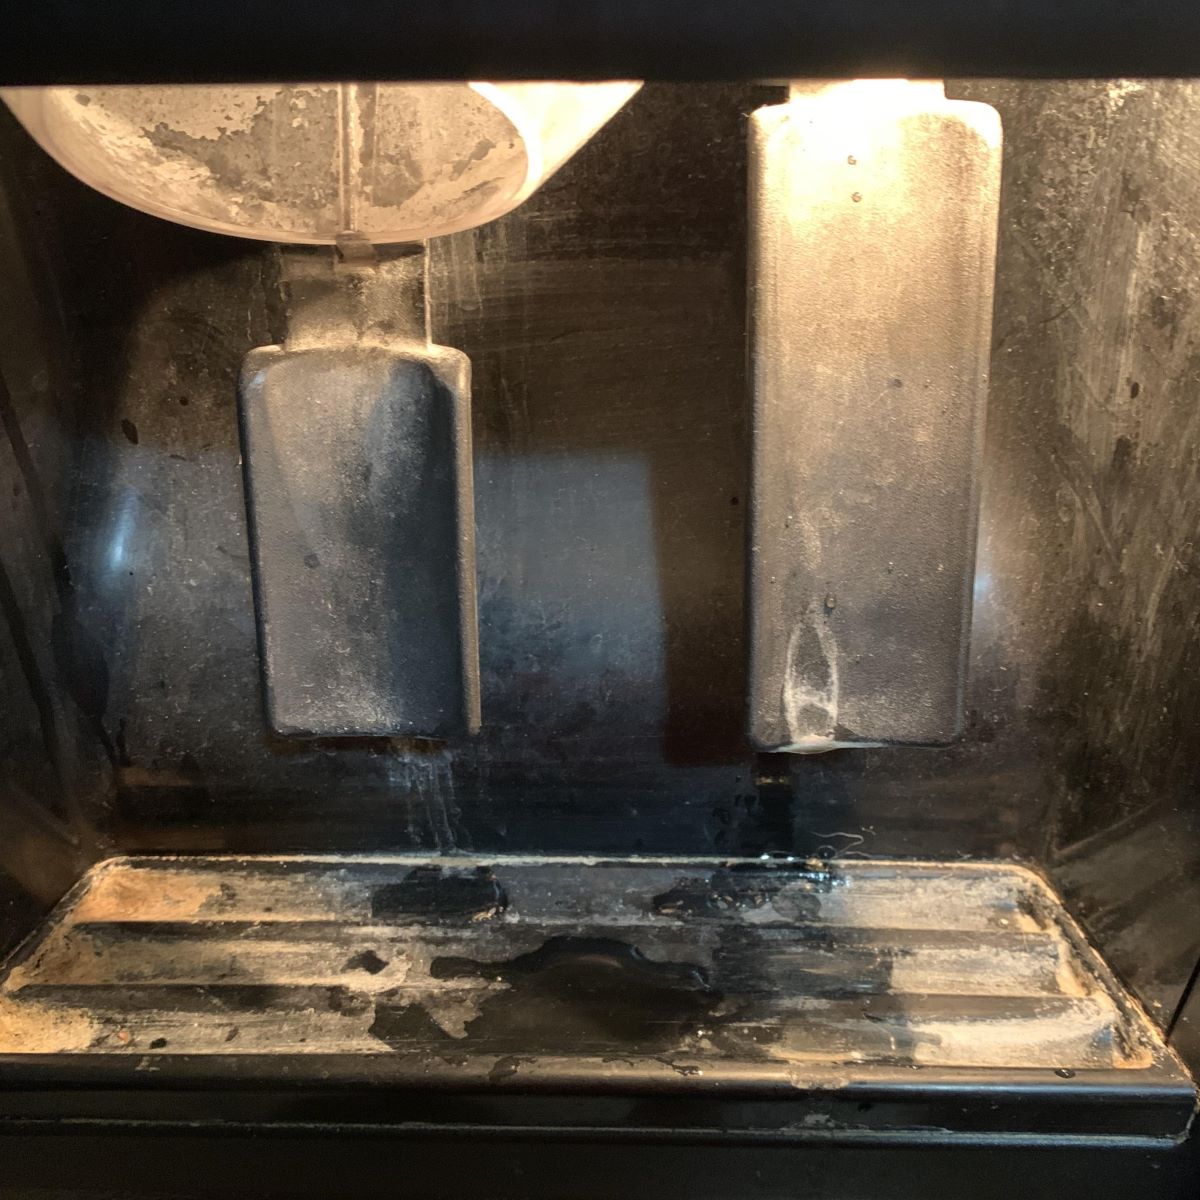
Step 5: Check the Tubing for Blockages
If the water dispenser on your Kitchenaid refrigerator continues to have issues, it’s time to check the tubing for any blockages. Blockages in the tubing can impede the water flow and cause the dispenser to malfunction. Follow these steps to inspect the tubing:
- Locate the water tubing: The water tubing is typically located behind the refrigerator, running from the water inlet valve to the dispenser.
- Turn off the water supply: Before proceeding, ensure that you have turned off the water supply to the refrigerator. This can be done by shutting off the water supply valve or turning off the main water supply to your home.
- Disconnect the water tubing: Carefully disconnect the water tubing from the water inlet valve and the dispenser. Have a towel or small container ready to catch any water that may spill out.
- Check for blockages: Inspect the tubing for any visible blockages or clogs. Common culprits include mineral deposits, sediment, or ice buildup. Use a flashlight to help identify any obstructions.
- Clean the tubing: If you find any blockages, gently clean the tubing using a soft brush or a pipe cleaner. Be cautious not to use anything abrasive that could damage the tubing. Alternatively, you can flush the tubing with warm water to remove any debris.
- Reconnect the water tubing: Once the tubing is clean, reconnect it to the water inlet valve and the dispenser. Ensure that the connections are secure and free from any leaks.
- Turn on the water supply: After reconnecting the tubing, turn on the water supply by opening the water supply valve or turning on the main water supply.
After completing these steps, test the water dispenser to check if the water flow has improved. If the problem persists, proceed to the next troubleshooting step.
Step 6: Examine the Dispenser Control Board
If you’re still experiencing issues with your Kitchenaid refrigerator water dispenser, it’s time to examine the dispenser control board. The control board controls the various functions of the water dispenser and can be a potential source of problems. Follow these steps to inspect the dispenser control board:
- Locate the dispenser control board: The dispenser control board is typically located behind the front panel of the refrigerator, near the water dispenser area. Refer to your owner’s manual for the specific location on your model.
- Disconnect the power supply: Before proceeding, ensure that you have disconnected the power supply to the refrigerator. This can be done by either unplugging the refrigerator or switching off the circuit breaker.
- Remove the front panel: Carefully remove the front panel of the refrigerator to access the dispenser control board. Refer to your owner’s manual for specific instructions on how to remove the panel on your model.
- Inspect the dispenser control board: Take a close look at the dispenser control board for any visible signs of damage, such as burnt components, loose connections, or corrosion. Examine the wiring harnesses and connectors as well. If you notice any issues, it may indicate that the control board needs to be replaced.
- Clean or replace the dispenser control board: If the control board appears dirty or corroded, you can try cleaning it by using a soft brush or cloth to remove any dust or debris. However, if there are significant signs of damage or the board is not functioning properly, it will need to be replaced with a new one.
- Reinstall the front panel: After inspecting and potentially cleaning or replacing the dispenser control board, reattach the front panel of the refrigerator. Ensure that it is securely fastened.
- Reconnect the power supply: Once everything is properly reconnected, restore the power supply to the refrigerator by either plugging it back in or switching on the circuit breaker.
After completing these steps, test the water dispenser to see if it is now working correctly. If the issue persists, proceed to the next troubleshooting step.
Step 7: Replace the Water Dispenser Solenoid
If you’ve gone through the previous troubleshooting steps and are still experiencing issues with your Kitchenaid refrigerator water dispenser, it may be time to replace the water dispenser solenoid. The solenoid is responsible for controlling the flow of water to the dispenser. Follow these steps to replace the solenoid:
- Order a replacement solenoid: Contact Kitchenaid or a reputable appliance parts supplier to order a compatible replacement solenoid for your specific refrigerator model.
- Disconnect the power supply: Before proceeding, ensure that you have disconnected the power supply to the refrigerator. This can be done by either unplugging the refrigerator or switching off the circuit breaker.
- Locate the water dispenser solenoid: The solenoid is usually located behind the back panel of the refrigerator, near the dispenser area. Refer to your owner’s manual or the replacement part instructions for the exact location.
- Remove the back panel: Carefully remove the back panel of the refrigerator to access the solenoid. Refer to your owner’s manual for specific instructions on how to remove the panel on your model.
- Disconnect the solenoid: Once you have accessed the solenoid, disconnect the electrical connectors and tubing connected to it. Take note of how the connectors and tubing are attached to aid in the installation of the new solenoid.
- Replace the solenoid: Remove the old solenoid from its mounting bracket and install the new solenoid in its place. Make sure the new solenoid is securely attached and aligned correctly.
- Reconnect the electrical connectors and tubing: Attach the electrical connectors and tubing to the corresponding connections on the new solenoid. Ensure that the connections are secure and tight.
- Reinstall the back panel: After replacing the solenoid and reconnecting all the necessary components, reattach the back panel of the refrigerator. Ensure that it is securely fastened.
- Reconnect the power supply: Once everything is properly reconnected, restore the power supply to the refrigerator by either plugging it back in or switching on the circuit breaker.
After completing these steps, test the water dispenser to see if it is now functioning properly with the new solenoid. If the issue persists, continue to the next troubleshooting step or consider contacting Kitchenaid customer support for further assistance.
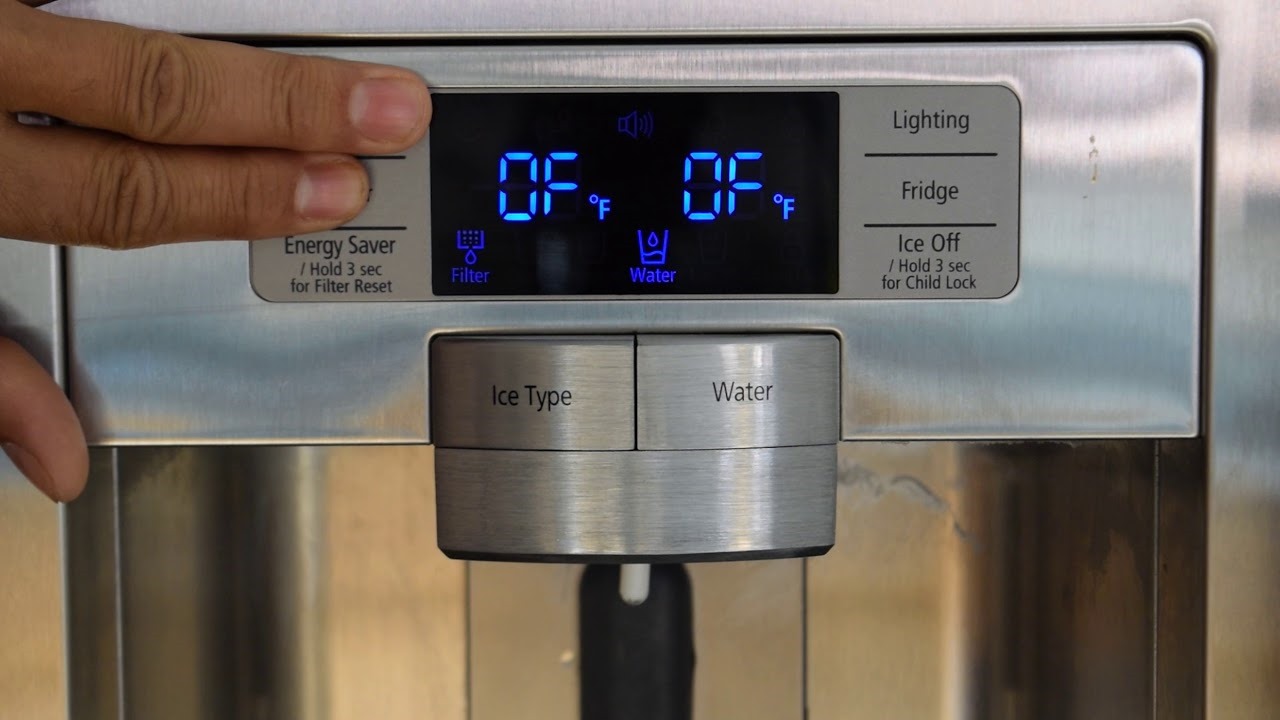
Step 8: Verify Proper Temperature Settings
Sometimes, the improper temperature settings in your Kitchenaid refrigerator can affect the performance of the water dispenser. It’s important to ensure that the refrigerator is set at the correct temperature. Follow these steps to verify the proper temperature settings:
- Locate the temperature controls: Depending on your Kitchenaid refrigerator model, the temperature controls may be found on the interior or exterior of the unit. Consult your owner’s manual for the exact location.
- Check the recommended temperature settings: Refer to the owner’s manual or the manufacturer’s guidelines to determine the recommended temperature settings for your specific model. It’s essential to ensure that both the freezer and refrigerator compartments are set to the appropriate temperatures.
- Adjust the temperature settings: Use the temperature control buttons or dials to adjust the settings as needed. Make sure to follow the specified temperature range provided in the manual. For most refrigerators, the recommended freezer temperature is between 0 to 5 degrees Fahrenheit (-18 to -15 degrees Celsius), while the refrigerator temperature should be between 36 to 38 degrees Fahrenheit (2 to 3 degrees Celsius).
- Allow time for temperature stabilization: After adjusting the temperature settings, allow the refrigerator some time to stabilize before checking the water dispenser. It may take a few hours for the temperature to reach the desired level and for the water dispenser to function optimally.
Once you have verified and adjusted the temperature settings, test the water dispenser to see if it is now working correctly. If the issue persists, continue to the next troubleshooting step.
Step 9: Reset the Refrigerator
If you’re still experiencing issues with your Kitchenaid refrigerator water dispenser, performing a reset can often help resolve any glitches or electronic malfunctions. Here’s how to reset your refrigerator:
- Locate the refrigerator’s control panel: The control panel is usually located on the front of the refrigerator, either inside the refrigerator compartment or on the exterior surface.
- Unplug the refrigerator: Disconnect the refrigerator from the power source by unplugging it from the electrical outlet. This will ensure a complete power reset.
- Wait for a few minutes: Allow the refrigerator to remain unplugged for at least 5 minutes. This will give enough time for the electronics to reset and any potential issues to resolve.
- Plug in the refrigerator: After the waiting period, plug the refrigerator back into the electrical outlet.
- Power on the refrigerator: Turn on the refrigerator using the control panel or power switch.
- Verify water dispenser operation: Once the refrigerator has powered on, check the water dispenser to see if it is now functioning properly. Test both the water flow and the dispense mechanism to ensure they are working as intended.
Performing a reset can often resolve minor electronic or control related issues. If the water dispenser is still not working correctly after the reset, proceed to the next troubleshooting step or consider contacting Kitchenaid customer support for further assistance.
Step 10: Contact Kitchenaid Customer Support
If you have followed all the previous troubleshooting steps and your Kitchenaid refrigerator water dispenser is still not working properly, it’s time to reach out to the experts. Contacting Kitchenaid customer support can provide you with professional assistance and guidance specific to your refrigerator model. Here’s how to get in touch with Kitchenaid customer support:
- Gather your appliance information: Before contacting customer support, gather the necessary information about your refrigerator, such as the model number, serial number, and any warranty details. This will help expedite the troubleshooting process.
- Visit the Kitchenaid website: Go to the Kitchenaid official website and navigate to their customer support or contact page. Look for the appropriate contact information or resources specific to your region.
- Call Kitchenaid customer support: If a phone number is provided, call the Kitchenaid customer support team and explain the issue you are experiencing with your refrigerator water dispenser. Be prepared to provide the necessary information about your appliance.
- Chat or email support: Alternatively, if chat or email support options are available, you can initiate a conversation or send an email detailing the issue you’re facing. Include all relevant information and be as specific as possible.
- Follow the instructions: Once you’ve reached out to customer support, follow their instructions and provide any additional information or documentation they may require. They will guide you through additional troubleshooting steps or help arrange for a service appointment if necessary.
Remember, Kitchenaid customer support is there to assist you and provide expert advice. They have the knowledge and expertise to address specific issues with your refrigerator water dispenser and can offer further solutions or arrange for professional service if needed.
By following these troubleshooting steps and reaching out to Kitchenaid customer support, you can hopefully resolve the issues with your refrigerator water dispenser and get it back to working order.
Good luck with your troubleshooting, and enjoy the convenience of a properly functioning Kitchenaid refrigerator water dispenser!
Conclusion
The water dispenser on your Kitchenaid refrigerator is a convenient feature that provides chilled water whenever you need it. However, if you’re experiencing problems with your water dispenser, it can be frustrating. By following the troubleshooting steps outlined in this article, you can effectively diagnose and resolve common issues with the Kitchenaid refrigerator water dispenser.
We began by checking the water supply and ensuring it was properly connected and flowing freely. Next, we unclogged the water filter to ensure optimal water flow. Then, we inspected the water inlet valve and the dispenser actuator to identify any potential issues and clean or replace them as needed. We also checked the tubing for blockages and examined the dispenser control board to ensure it was functioning correctly.
If the troubleshooting steps did not resolve the issue, we recommended verifying the proper temperature settings and performing a reset of the refrigerator. Finally, we advised contacting Kitchenaid customer support for further assistance and professional guidance tailored to your specific refrigerator model.
Remember to always prioritize safety by disconnecting the power supply and turning off the water source before attempting any repairs or maintenance on your refrigerator. If you lack the confidence or expertise to resolve the issue on your own, it is advisable to consult a professional technician.
We hope that this article has provided you with valuable insights and guidance to troubleshoot and fix common problems with your Kitchenaid refrigerator water dispenser. By following these steps, you can enjoy the convenience and functionality of your water dispenser once again.
Thank you for reading, and may you soon enjoy a properly functioning Kitchenaid refrigerator water dispenser!
Frequently Asked Questions about How To Fix Kitchenaid Refrigerator Water Dispenser
Was this page helpful?
At Storables.com, we guarantee accurate and reliable information. Our content, validated by Expert Board Contributors, is crafted following stringent Editorial Policies. We're committed to providing you with well-researched, expert-backed insights for all your informational needs.


0 thoughts on “How To Fix Kitchenaid Refrigerator Water Dispenser”