Articles
How To Fix A Bath Faucet
Modified: January 6, 2024
Learn how to fix a bath faucet with our informative articles. Find step-by-step guides, troubleshooting tips, and expert advice to resolve faucet issues.
(Many of the links in this article redirect to a specific reviewed product. Your purchase of these products through affiliate links helps to generate commission for Storables.com, at no extra cost. Learn more)
Introduction
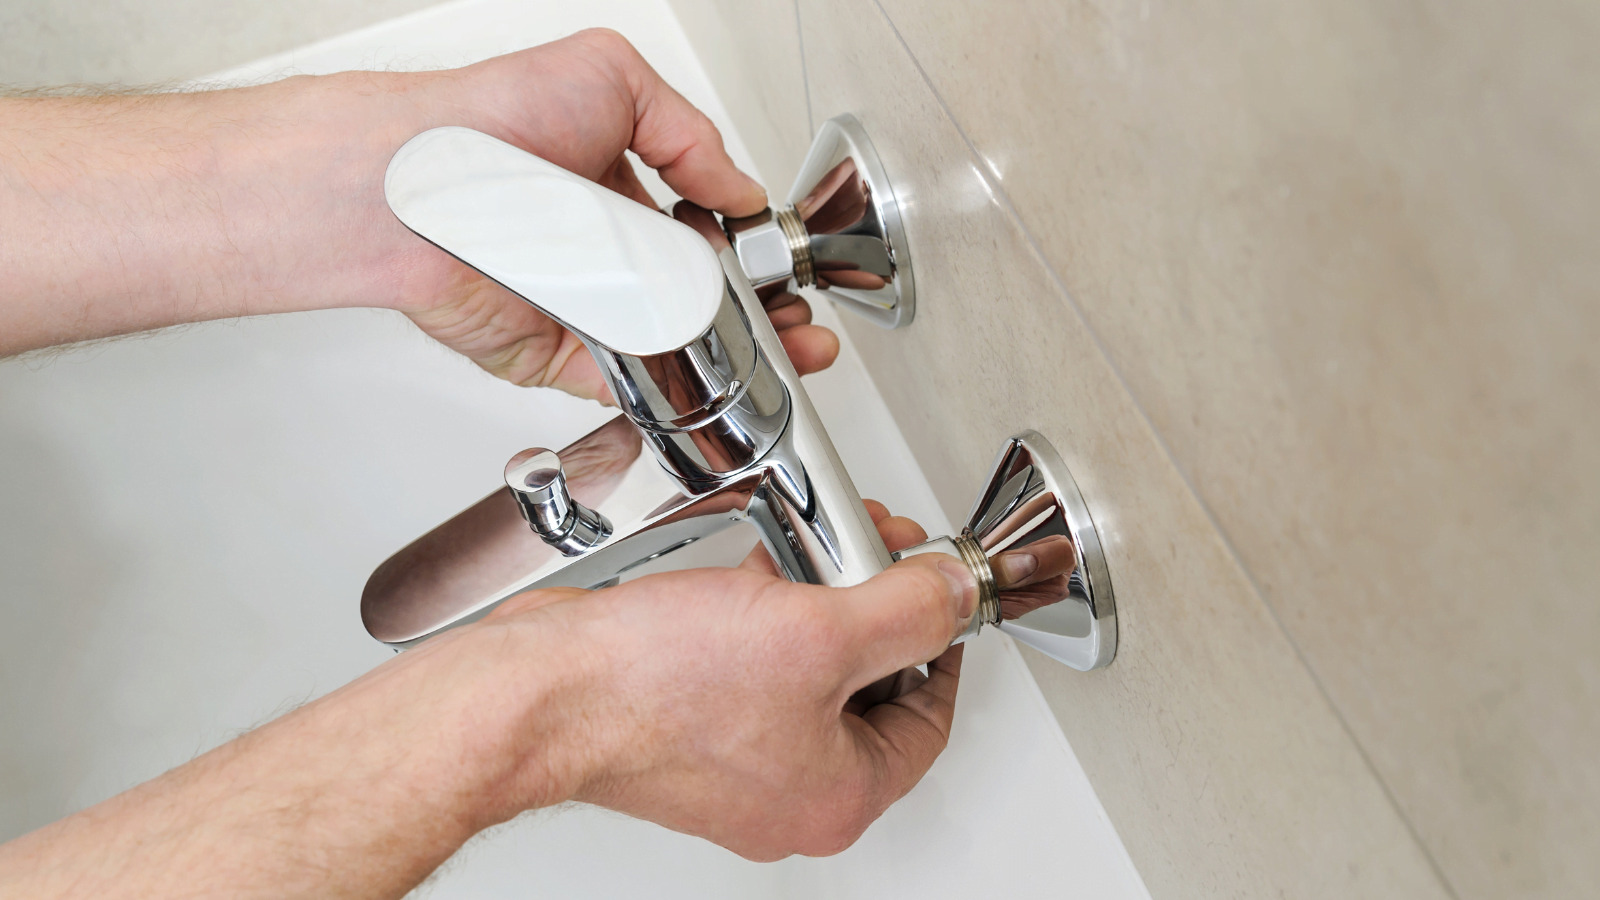
Having a well-functioning bath faucet is essential for a comfortable and enjoyable bathing experience. However, over time, faucets can develop issues such as leaks, drips, or difficulty in turning on and off. These problems can be frustrating and even lead to water wastage and higher utility bills.
The good news is that many faucet issues can be resolved easily with a few simple steps. By understanding the basic workings of a bath faucet and having the right tools, you can save time and money by fixing it yourself. In this article, we will guide you through the process of fixing a bath faucet, step by step.
Before we dive into the steps, it’s important to mention that safety should be your top priority. Always take precautions and ensure that you have the necessary tools and knowledge before attempting any repairs. If you’re not confident in your abilities, it’s best to seek the help of a professional plumber.
Now, let’s get started with fixing your bath faucet!
Key Takeaways:
- Fixing a bath faucet is a manageable DIY project with the right tools and step-by-step approach. Prioritize safety, inspect, replace, and test to restore proper functionality and enjoy a hassle-free bathing experience.
- Regular maintenance and prompt attention to minor issues can prevent future faucet problems. With the confidence to troubleshoot and fix common issues, you can save time and money while ensuring a smoothly functioning bath faucet.
Read more: How To Clean Bath Faucet
Step 1: Gather the necessary tools
Before you begin working on your bath faucet, it’s important to gather all the necessary tools. Here’s a list of common tools you might need:
- Adjustable wrench
- Screwdriver (Phillips or flat head, depending on your faucet)
- Plumber’s tape
- Replacement parts (such as a new cartridge or valve)
- Towel or rag
- Bucket or container (to catch water)
Make sure you have all these tools handy before you start working on your faucet. It’s important to have the right tools to avoid any unnecessary complications during the repair process.
Once you have your tools ready, you can move on to the next step.
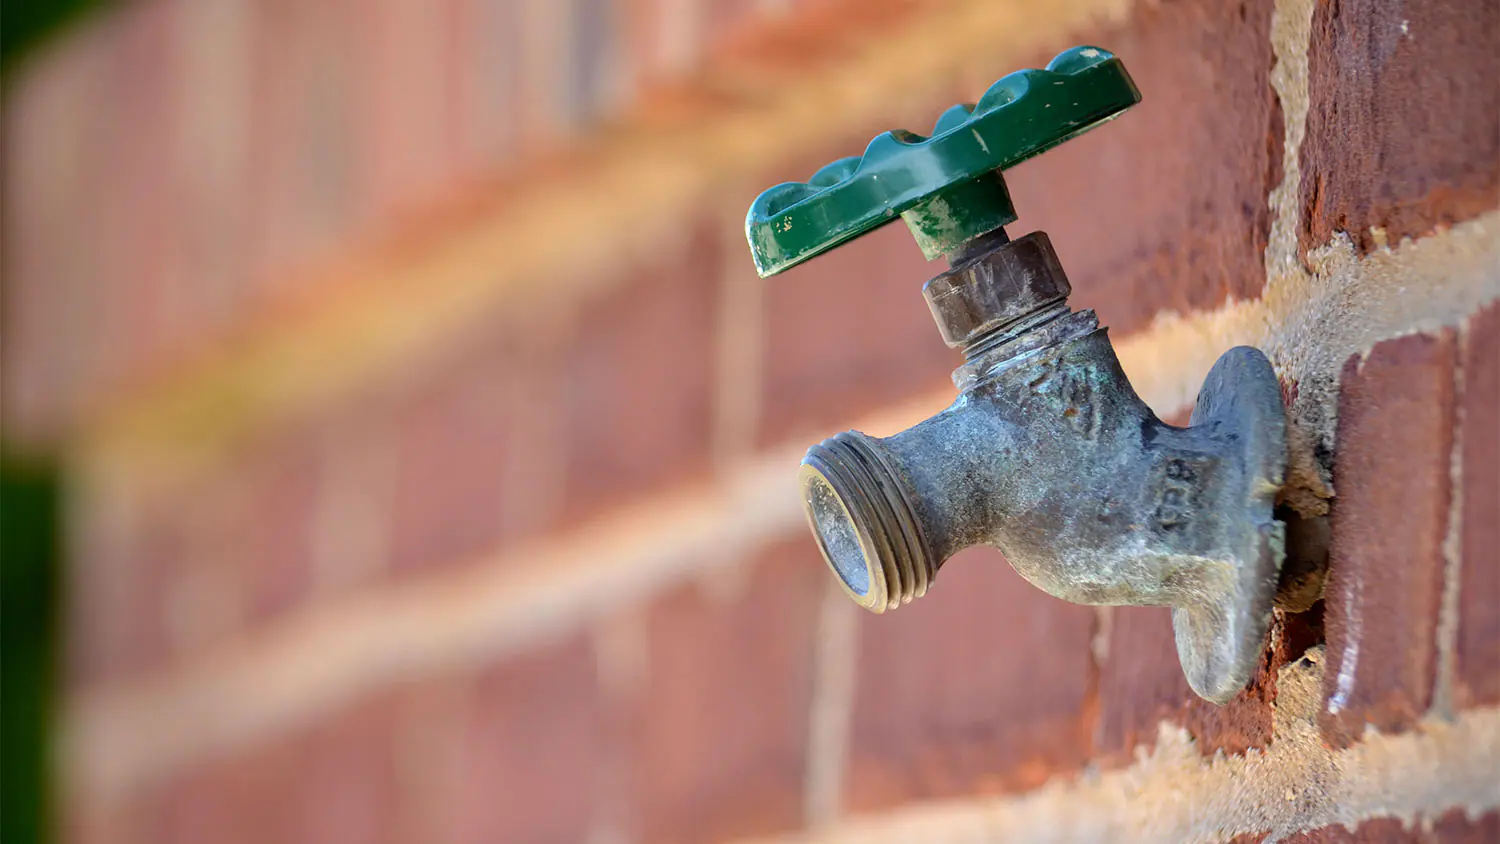
Step 2: Turn off the water supply
Before you start disassembling your bath faucet, it is crucial to turn off the water supply to prevent any water leakage or accidents. Here’s how you can do it:
- Locate the shut-off valves: Typically, there are shut-off valves located under the sink or behind the access panel of the bathtub. These valves control the flow of water to the faucet.
- Close the shut-off valves: Turn the shut-off valves clockwise (to the right) until they are fully closed. This will stop the water supply to the faucet.
Once you have successfully turned off the water supply, it is advisable to open the faucet and let any remaining water drain out. This will help relieve any pressure in the lines and make the repair process smoother.
Remember, safety should always be your priority. By turning off the water supply, you ensure that you can work on the faucet without the risk of water damage or accidental flooding.
With the water supply turned off, you can now move on to the next step: removing the faucet handle.
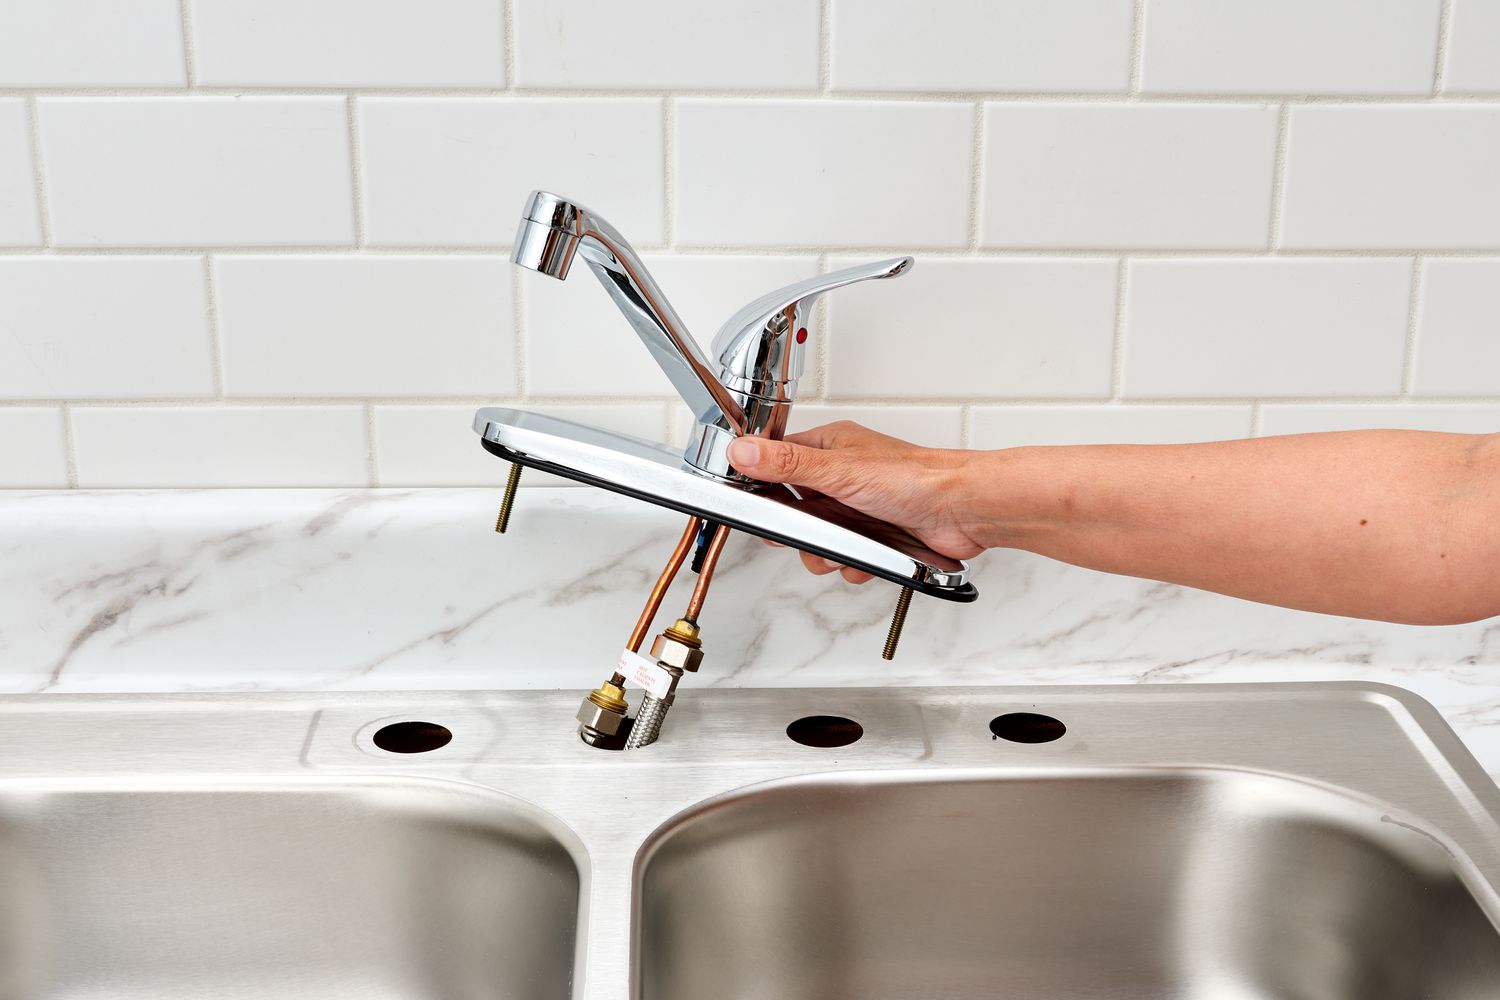
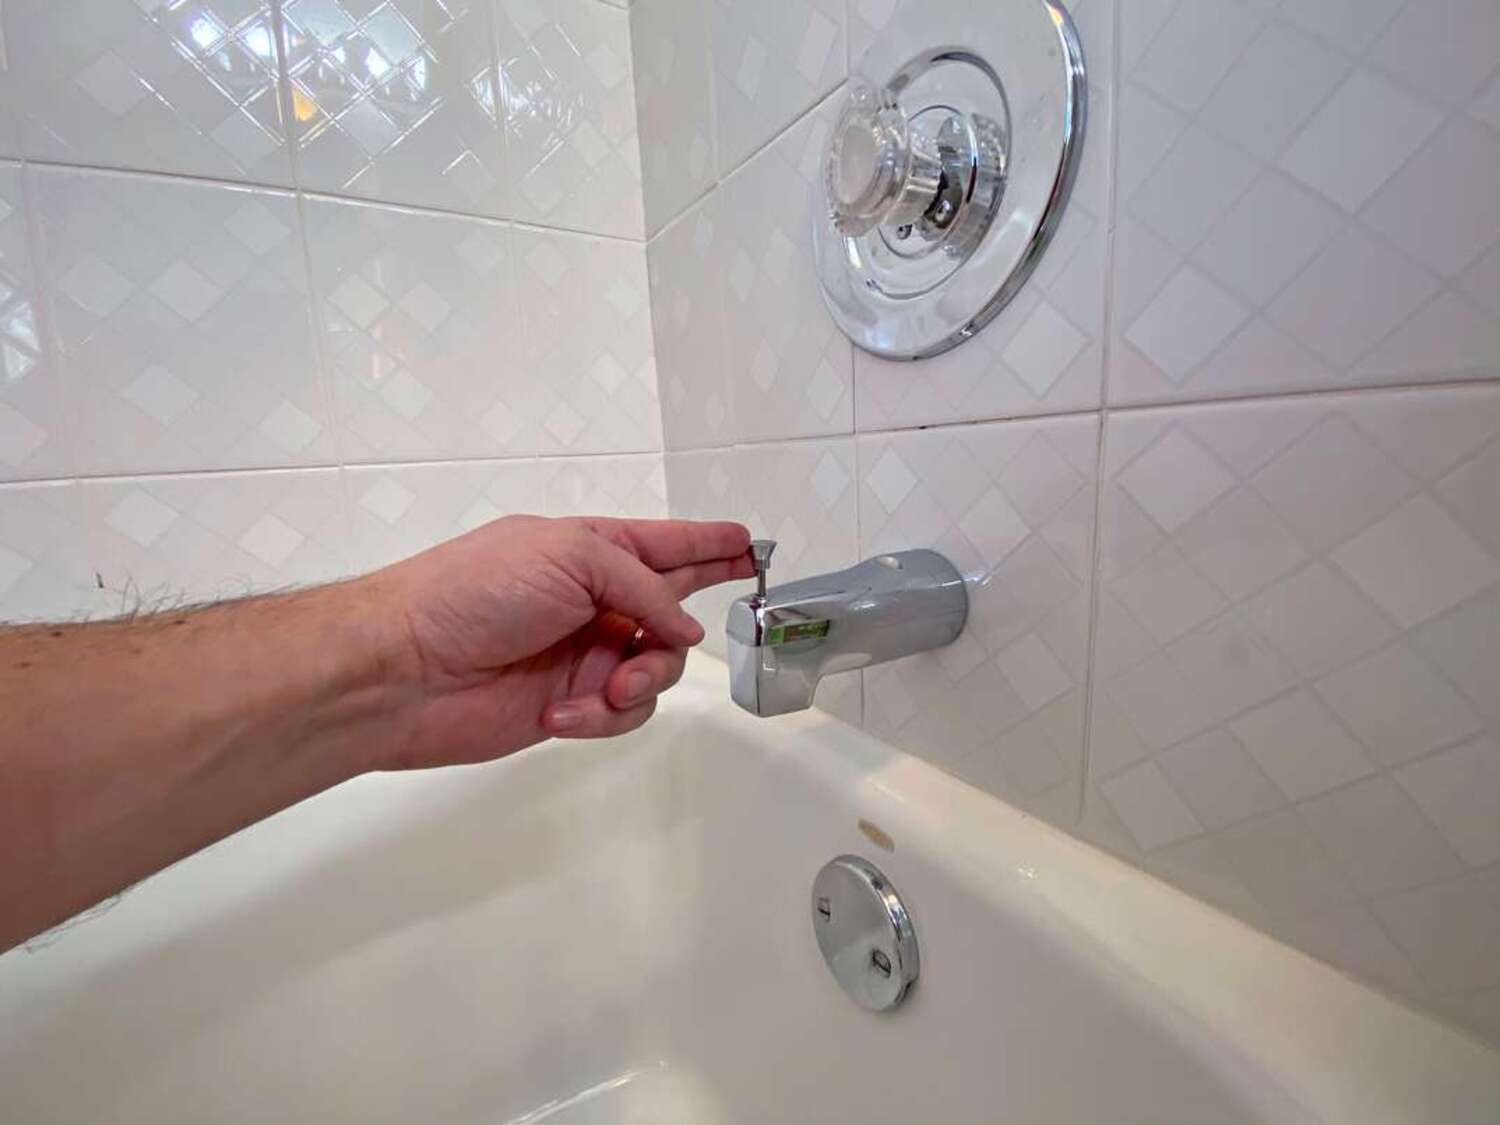
Step 3: Remove the faucet handle
Now that you have successfully turned off the water supply, it’s time to remove the faucet handle. Here’s how you can do it:
- Inspect the handle: Take a close look at the handle and search for any visible screws or caps. Some faucets have a screw that is hidden under a decorative cap or cover.
- Remove the screws or caps: If you find any screws or caps, use a screwdriver or a small tool to unscrew or pry them off. Set them aside in a safe place.
- Remove the handle: Once the screws or caps are removed, gently pull or twist the handle to detach it from the faucet body. Be careful not to apply excessive force, as it could damage the handle or the faucet.
Depending on the type of faucet you have, the handle removal process might vary slightly. Some faucets have a lever handle that can be easily lifted off, while others have a knob handle that requires twisting or pulling. If you’re unsure about how to remove the handle, refer to the manufacturer’s instructions or seek professional assistance.
After removing the handle, you will have access to the inner components of the faucet, allowing you to further diagnose and fix any issues. In the next step, we will examine the faucet cartridge or valve.
Step 4: Inspect the faucet cartridge or valve
Now that you have successfully removed the faucet handle, it’s time to inspect the faucet cartridge or valve. This step will help you identify any potential issues that may be causing the problem with your bath faucet. Here’s what you need to do:
- Examine the cartridge or valve: Take a close look at the cartridge or valve inside the faucet body. Look for any signs of wear, damage, or debris buildup.
- Check for leaks: Turn on the water supply for a brief moment to see if there are any leaks coming from the exposed area. If you notice any leaks, it’s a clear indication that the cartridge or valve needs to be repaired or replaced.
- Clear any debris: If you see any debris or mineral deposits on the cartridge or valve, use a soft brush or cloth to gently clean it. This can sometimes resolve minor issues and restore the functionality of the faucet.
During the inspection, pay attention to any unusual signs such as rust, corrosion, or excessive wear. These are indicators that the cartridge or valve may need to be replaced. It’s important to note that some faucets may have a separate cartridge, while others have an integrated valve assembly.
If you’re unsure about the condition of the cartridge or valve, take a picture or note down any identifying information. This will help you accurately choose the right replacement parts in the next step.
Once you have inspected the cartridge or valve, you’re ready to move on to the next step: replacing the faulty cartridge or valve.
If your bath faucet is leaking, try replacing the O-ring or cartridge to fix the issue. Make sure to turn off the water supply before starting the repair.
Read more: Bath Faucet Leaking When Shower Is On
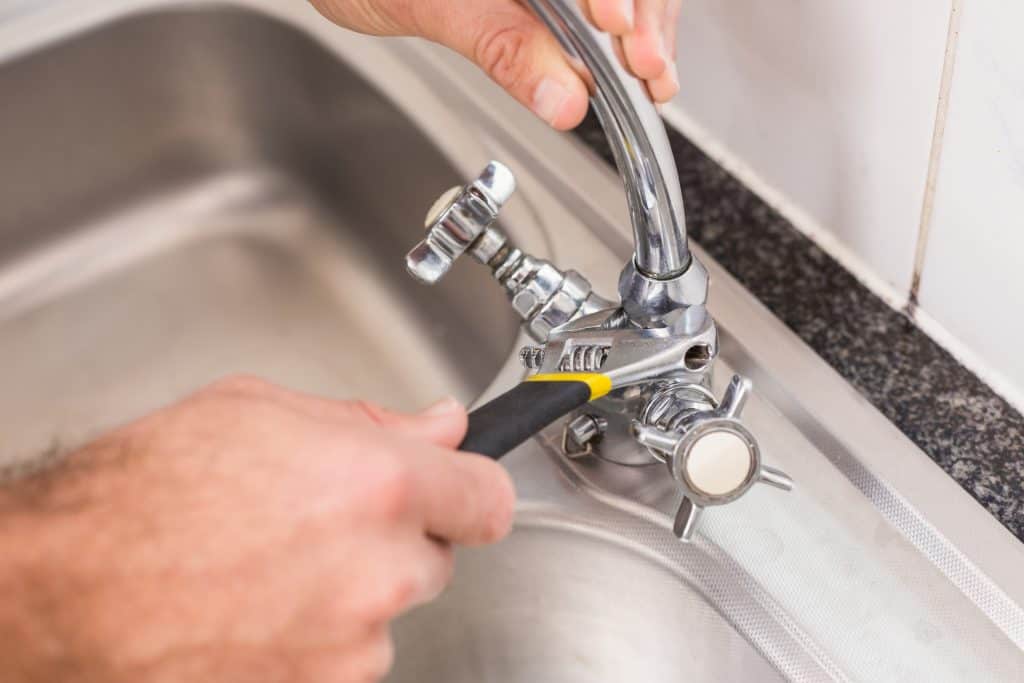
Step 5: Replace the faulty cartridge or valve
After inspecting the faucet cartridge or valve and identifying any issues, it’s time to replace the faulty component. Here’s a step-by-step guide on how to replace the cartridge or valve:
- Turn off the water supply: Before proceeding with the replacement, make sure that the water supply to the faucet is turned off. Refer to Step 2 for instructions on how to do this.
- Remove the old cartridge or valve: Depending on the type of faucet you have, you may need to use a wrench or a screwdriver to loosen and remove the old cartridge or valve. Follow the manufacturer’s instructions or consult a professional if you encounter any difficulties.
- Install the new cartridge or valve: Take the new cartridge or valve and carefully insert it into the faucet body. Make sure it is properly aligned and seated securely. Follow any specific instructions provided by the manufacturer to ensure proper installation.
- Tighten everything: Use a wrench or screwdriver to tighten the cartridge or valve, ensuring it is secure in place. Be careful not to overtighten, as this can cause damage to the faucet.
It’s important to note that replacement parts may vary depending on the specific make and model of your faucet. It is recommended to use genuine manufacturer parts or consult with a plumbing professional to ensure compatibility and proper functioning.
Once the new cartridge or valve is in place, you can move on to the next step: reassembling the faucet handle.
Step 6: Reassemble the faucet handle
Now that you have successfully replaced the faulty cartridge or valve, it’s time to reassemble the faucet handle. Follow these steps to complete the reassembly:
- Retrieve the handle components: Gather all the components of the faucet handle that you previously removed, including any screws or caps.
- Position the handle: Align the handle with the faucet body and carefully slide it back into place. Make sure it fits snugly and is in the correct position.
- Secure the handle: Use the screws or caps to securely fasten the handle to the faucet body. Tighten them using a screwdriver or the appropriate tool.
It’s essential to ensure that the handle is properly aligned and securely attached to the faucet body. This will prevent any wobbling or loose connection, ensuring the smooth operation of your bath faucet.
Once you have reassembled the faucet handle, you’re ready to move on to the next step: turning on the water supply.
Step 7: Turn on the water supply
With the faucet handle reassembled, it’s time to turn on the water supply and test your newly repaired bath faucet. Follow these steps to turn on the water supply:
- Locate the shut-off valves: Refer back to Step 2 to locate the shut-off valves that control the water supply to the faucet.
- Open the shut-off valves: Turn the shut-off valves counterclockwise (to the left) to gradually open them. This will allow the water to flow back into the faucet.
As you open the shut-off valves, be sure to do so slowly to avoid sudden water pressure surges. This cautious approach will help prevent any potential damage or leaks.
After opening the shut-off valves, give the water a few moments to flow through the faucet and clear any air bubbles that might have formed during the repair process.
With the water supply turned on, you’re ready for the final step: testing the faucet for proper functionality.
Step 8: Test the faucet for proper functionality
Now that you have turned on the water supply, it’s time to test your repaired bath faucet to ensure it’s functioning properly. Follow these steps to test the faucet:
- Turn on the faucet: Gently turn the handle or knob of the faucet to the “on” position. Gradually increase the water flow to the desired level.
- Check for leaks: While the faucet is running, closely inspect the area around the faucet for any signs of leaks. Pay attention to the base of the faucet, the handle, and any connections. If you notice any leaks, turn off the water supply and double-check the installation and tightness of the components.
- Test hot and cold water: Adjust the faucet handle or knob to the hot and cold positions individually, and ensure that the water temperature changes accordingly. This will ensure that the mixing of hot and cold water is functioning correctly.
- Test the handle or knob: Check that the handle or knob operates smoothly and easily, allowing you to turn the faucet on and off without any difficulty. If the handle feels stiff or unresponsive, double-check the installation and alignment of the components.
By following these steps and thoroughly testing your bath faucet, you can ensure that the repair has been successful and that your faucet is in proper working condition.
If you encounter any issues or notice persistent leaks or malfunctions, it may be necessary to seek assistance from a professional plumber to diagnose and address the problem further.
With the faucet functioning properly, you can now enjoy your bath or shower without any worries or inconvenience!
Read also: 14 Best Bath Faucet for 2025
Conclusion
Fixing a bath faucet can seem like a daunting task, but with the right tools and a step-by-step approach, it’s a DIY project that you can tackle yourself. By following the eight steps outlined in this guide, you can successfully repair your bath faucet and restore its proper functionality.
Remember, safety should always be a priority. Before starting any repairs, be sure to turn off the water supply to avoid accidents or water damage. Additionally, if you’re unsure about any step or encounter difficulties during the process, don’t hesitate to seek the assistance of a professional plumber.
By gathering the necessary tools, turning off the water supply, removing the faucet handle, inspecting the cartridge or valve, replacing any faulty components, reassembling the handle, turning on the water supply, and testing the faucet for proper functionality, you can troubleshoot and fix common faucet issues such as leaks, drips, or difficulty in turning on and off.
Proper maintenance and regular inspections can help prevent future faucet problems. Consider cleaning the aerator regularly, addressing any minor issues promptly, and staying updated on manufacturer guidelines for maintenance and care.
Now, armed with this knowledge and the confidence to fix a bath faucet, you can save time and money by avoiding unnecessary repairs or calling a professional. Enjoy the satisfaction of a beautifully functioning faucet and a relaxing bathing experience!
Frequently Asked Questions about How To Fix A Bath Faucet
Was this page helpful?
At Storables.com, we guarantee accurate and reliable information. Our content, validated by Expert Board Contributors, is crafted following stringent Editorial Policies. We're committed to providing you with well-researched, expert-backed insights for all your informational needs.


0 thoughts on “How To Fix A Bath Faucet”