
Articles
How To Fix Refrigerator Door Seal
Modified: January 6, 2024
Learn how to fix your refrigerator door seal with these helpful articles. Find step-by-step instructions and tips to ensure your fridge stays properly sealed.
(Many of the links in this article redirect to a specific reviewed product. Your purchase of these products through affiliate links helps to generate commission for Storables.com, at no extra cost. Learn more)
Introduction
Welcome to this comprehensive guide on how to fix a refrigerator door seal. Your refrigerator plays a crucial role in keeping your perishable goods fresh and maintaining their quality. A properly functioning door seal is essential to ensure that your refrigerator maintains the optimal temperature and keeps your food safe from spoilage.
Over time, the door seal of your refrigerator can become worn out or damaged, resulting in various issues such as temperature fluctuations, increased energy consumption, and decreased efficiency. It is important to address these problems promptly to avoid food waste and additional expenses on your energy bills.
In this article, we will explore the importance of a refrigerator door seal, the signs of a faulty seal, and provide you with step-by-step instructions on how to fix it. We will also discuss the tools and materials needed for the repair, as well as offer some additional tips for maintaining a healthy door seal. By following this guide, you will be able to restore your refrigerator door seal and ensure your appliance functions optimally once again.
So, let’s dive in and learn how to fix your refrigerator door seal!
Key Takeaways:
- A properly functioning refrigerator door seal is essential for energy efficiency, food preservation, and extended appliance lifespan. Regular maintenance and timely repairs can ensure optimal performance and lower energy bills.
- Signs of a faulty refrigerator door seal include poor suction, visible gaps, condensation, frost buildup, and inefficient cooling. Assessing the damage and following step-by-step repair instructions can help restore the seal’s functionality.
Read also: 9 Amazing Refrigerator Door Seal for 2024
Understanding the importance of a refrigerator door seal
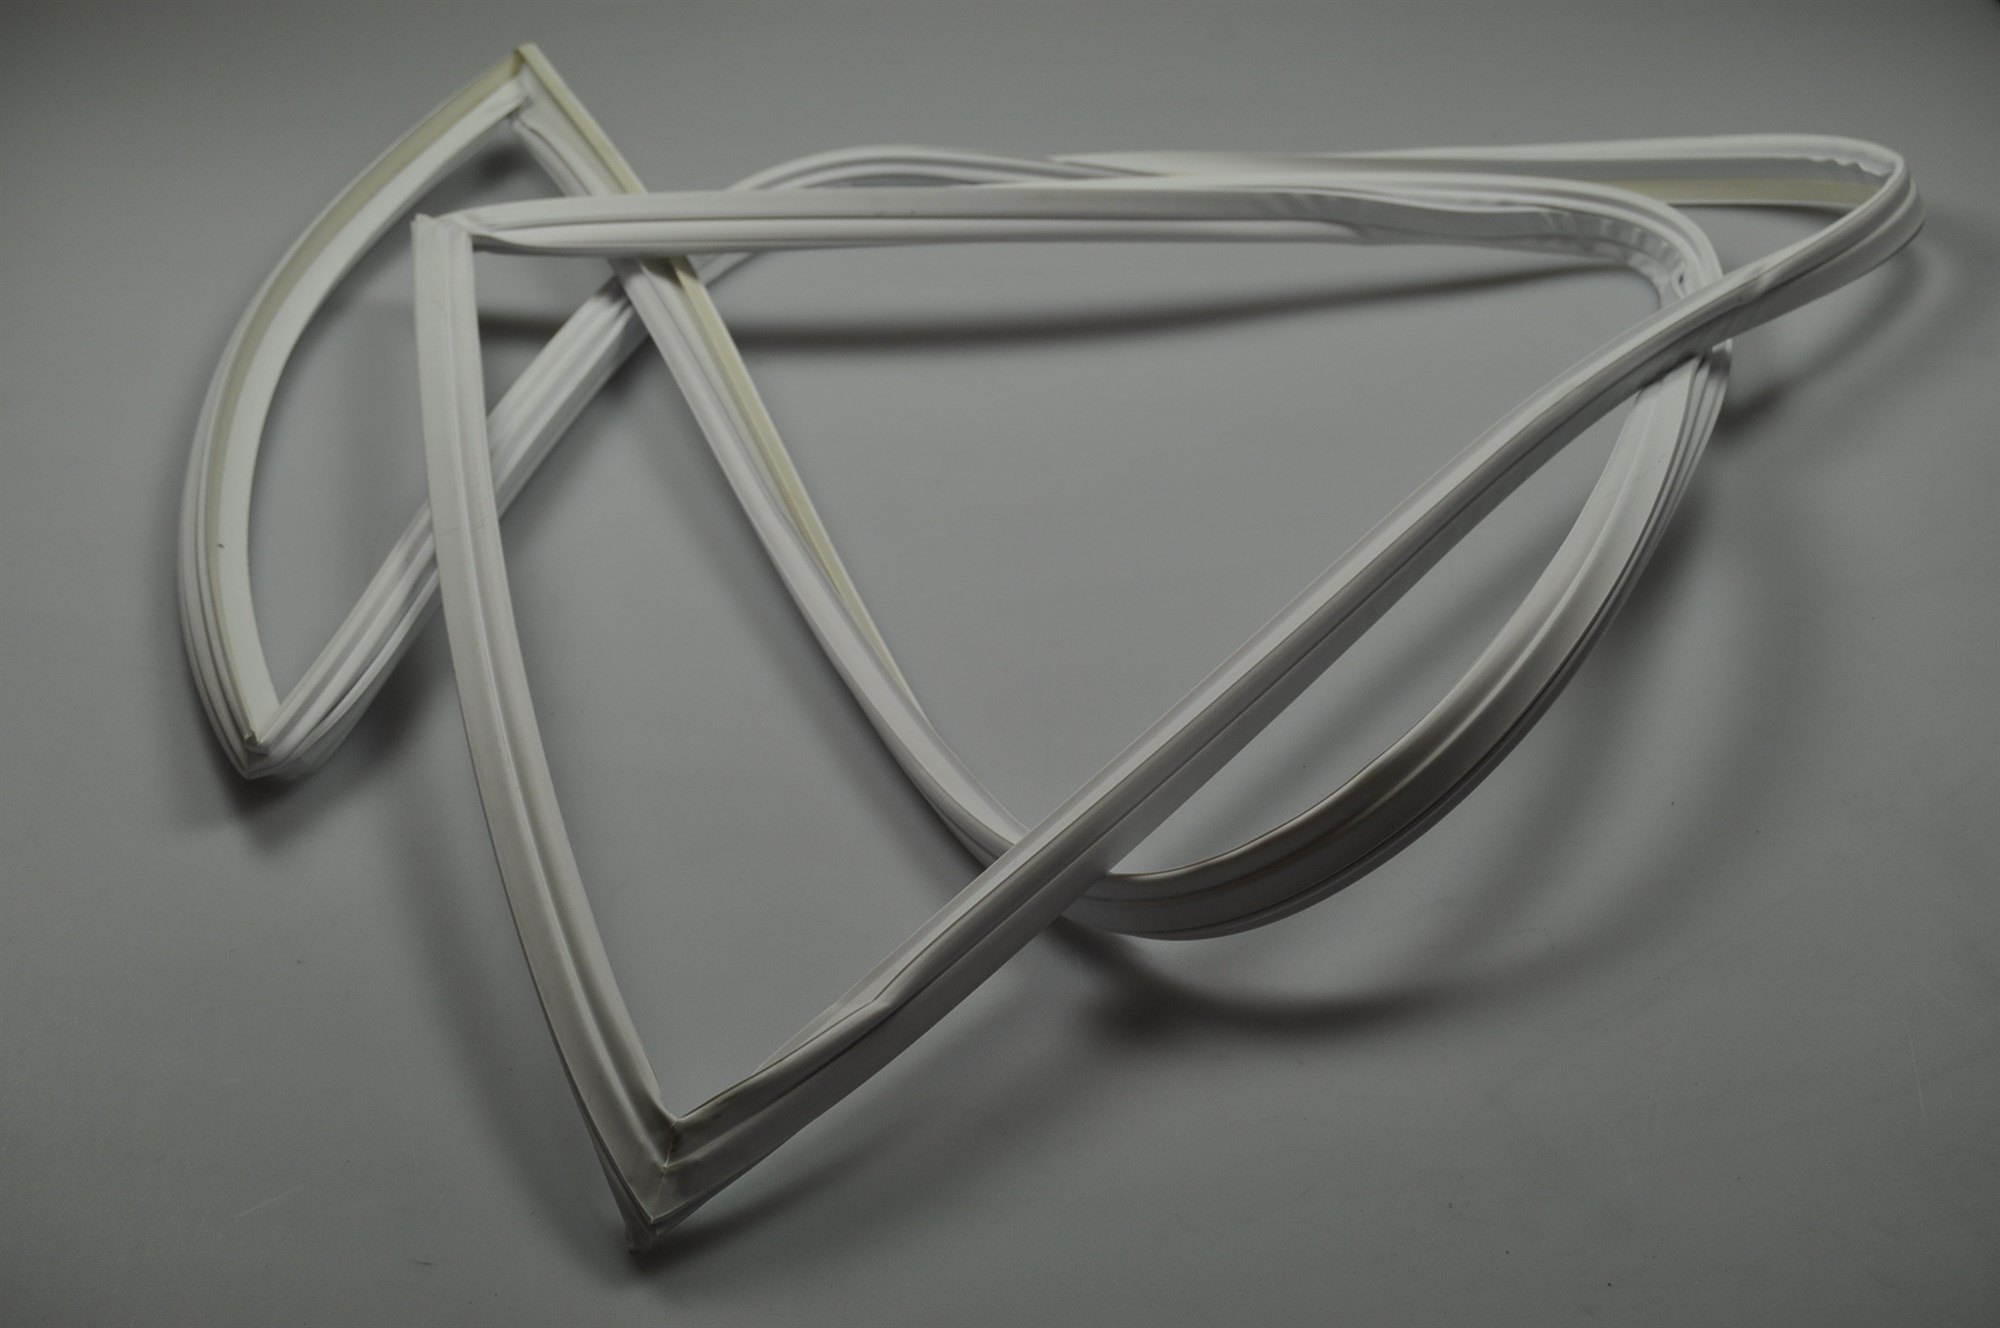
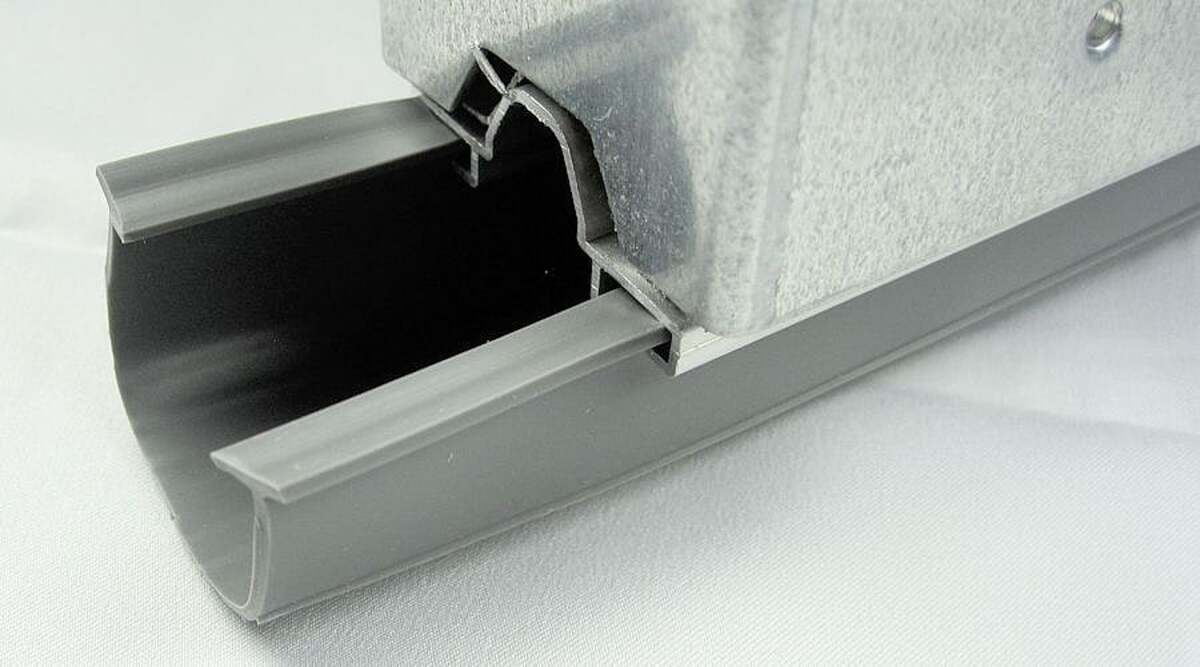
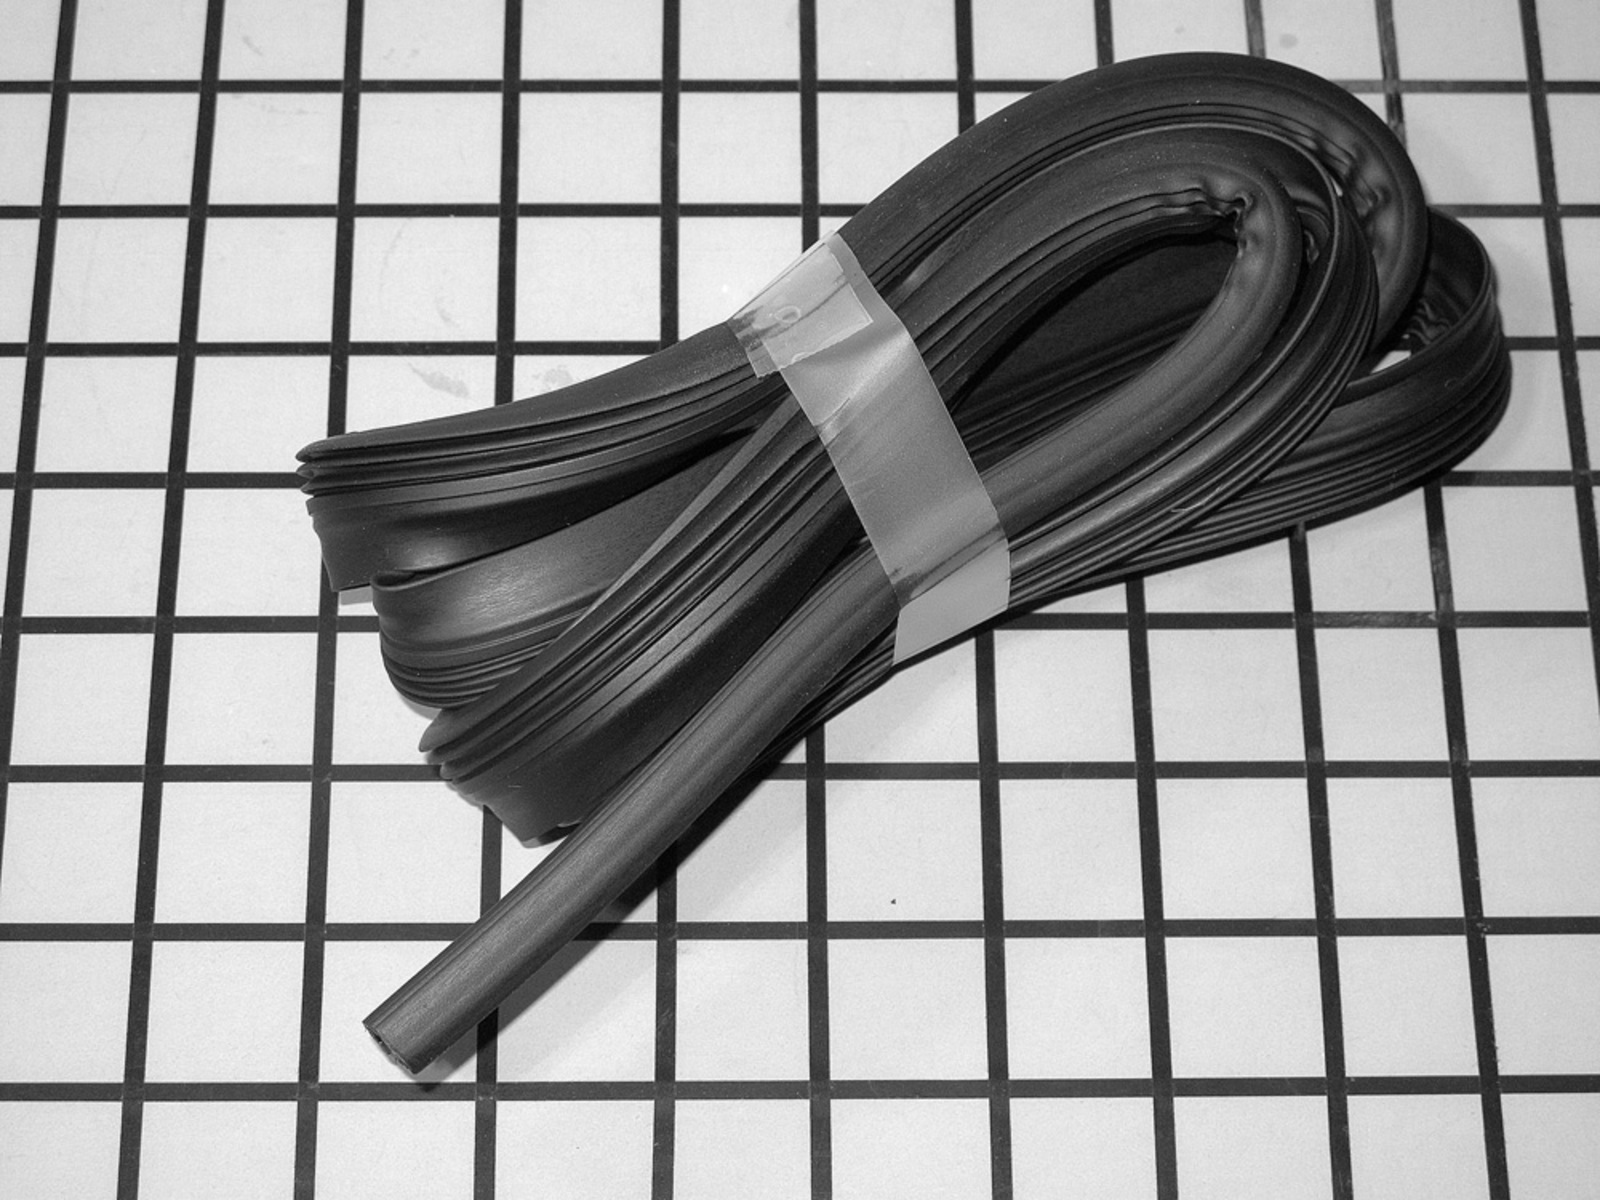
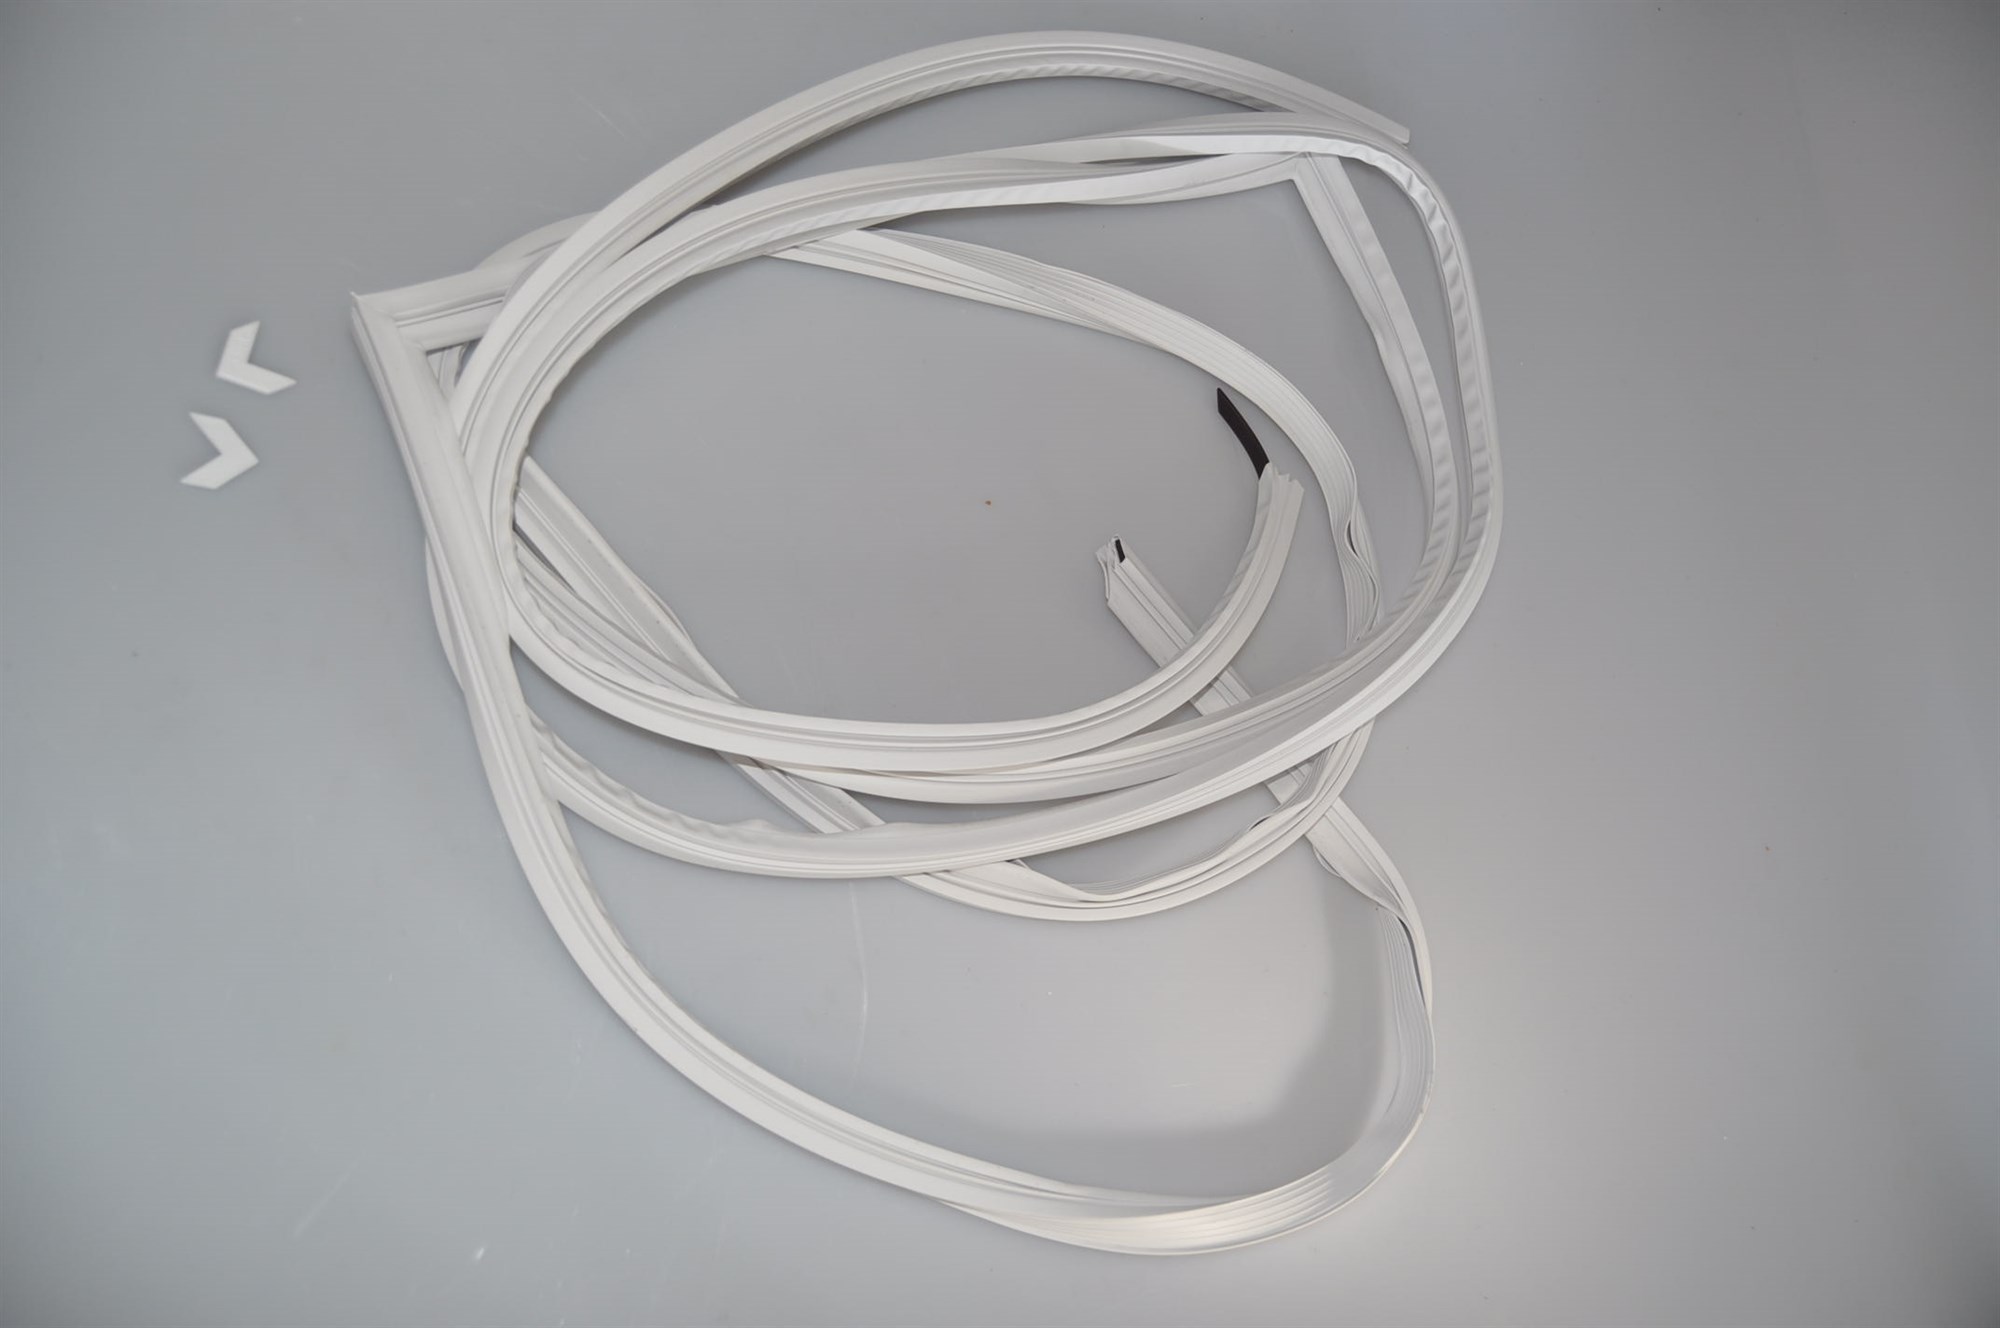
A refrigerator door seal, also known as a gasket, is the rubber strip that surrounds the perimeter of the refrigerator door. Its main function is to create an airtight seal when the door is closed, preventing cold air from escaping and warm air from entering the refrigerator.
A good door seal is essential for several reasons:
- Energy efficiency: A properly sealed refrigerator door ensures that the cold air stays inside the appliance, reducing the need for the compressor to work harder to maintain the desired temperature. This translates to lower energy consumption and decreased utility bills.
- Food preservation: An airtight seal keeps the temperature inside the refrigerator consistent, preventing fluctuations that can accelerate food spoilage. This is particularly important for perishable items such as dairy products, meats, and fruits and vegetables.
- Extended appliance lifespan: When the door seal is functioning well, the refrigerator doesn’t have to work as hard to maintain the temperature, putting less strain on the compressor and other components. This can prolong the lifespan of your refrigerator.
- Noise reduction: A proper door seal helps to block out noise from the compressor and other internal components, resulting in a quieter and more pleasant kitchen environment.
Understanding the importance of a refrigerator door seal highlights the need to address any issues or damage promptly. Even small gaps or tears in the seal can have a significant impact on the performance and efficiency of your refrigerator. By maintaining a good door seal, you can ensure that your appliance operates optimally, keeping your food fresh and your energy bills in check.
Signs of a faulty refrigerator door seal
A faulty refrigerator door seal can lead to various problems that can impact the performance of your appliance. It is important to be able to identify these issues so that you can take the necessary steps to fix the door seal. Here are some common signs of a faulty refrigerator door seal:
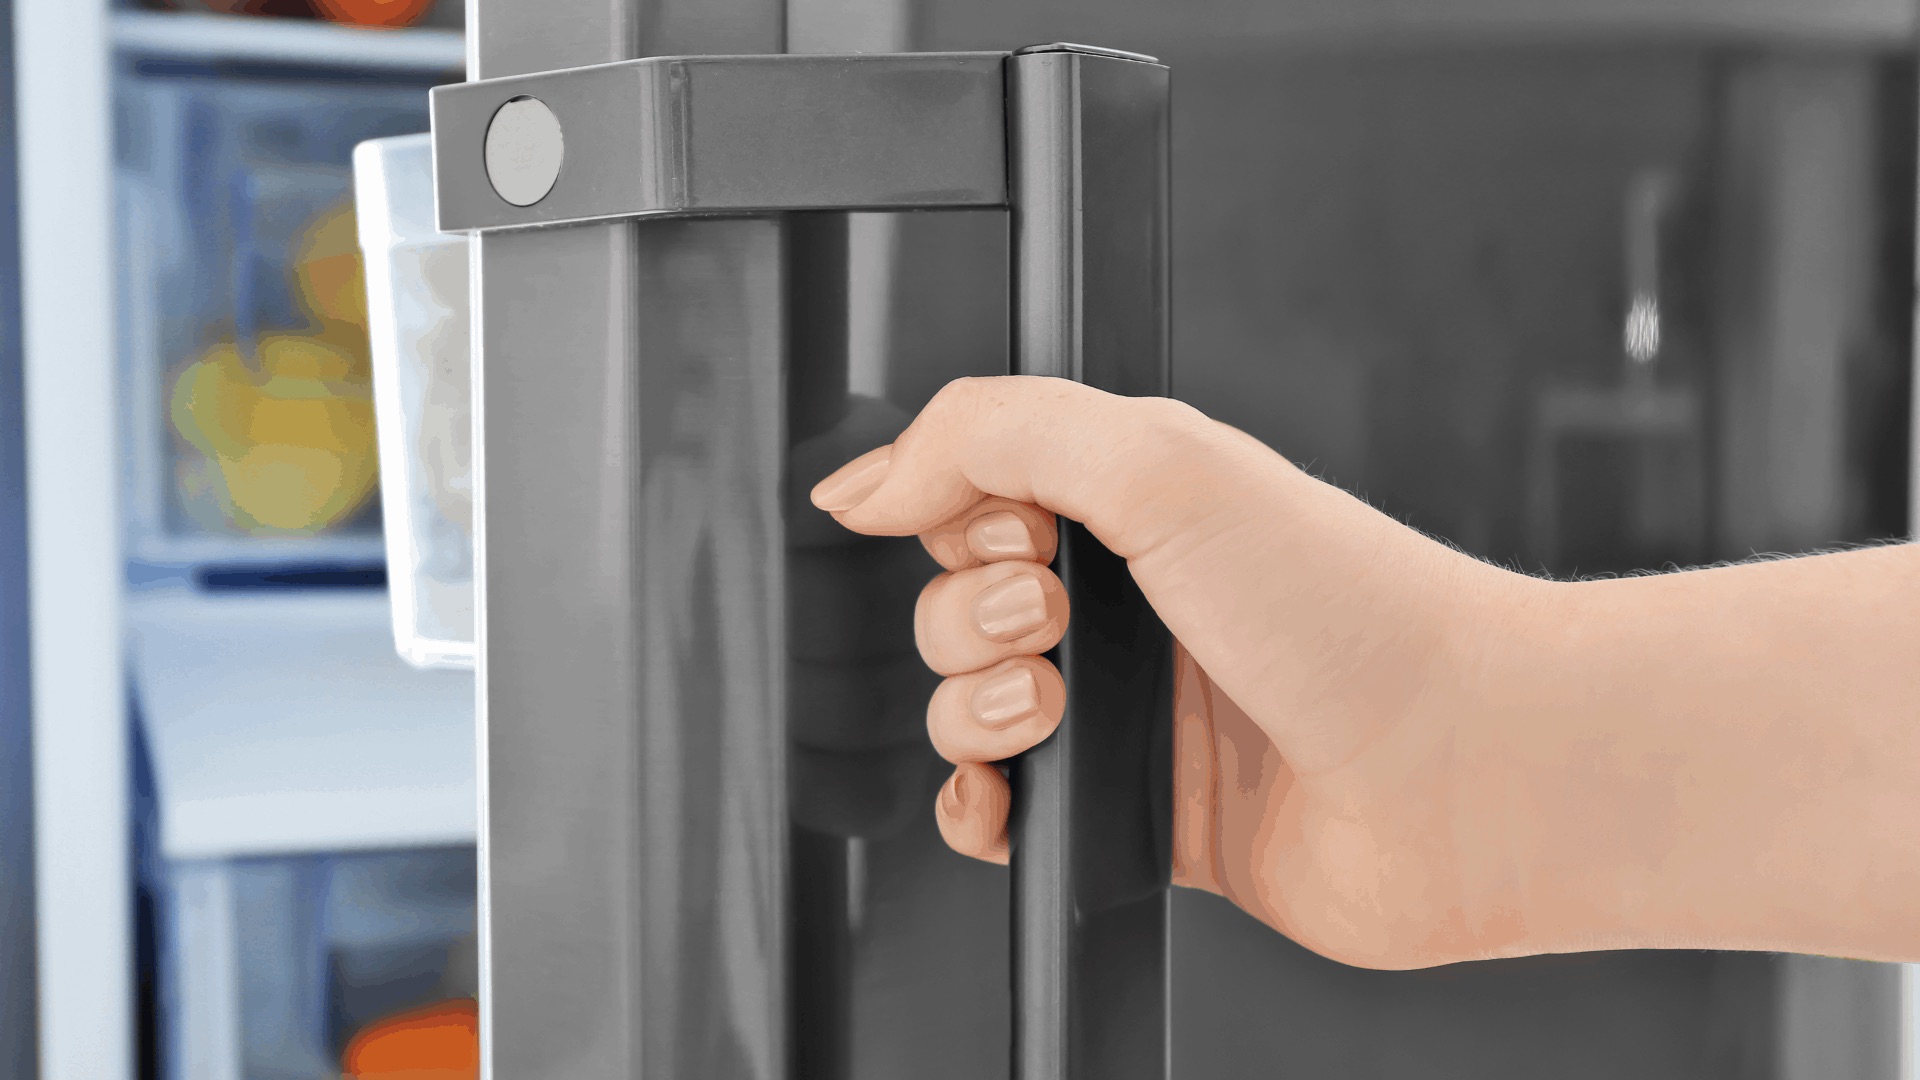
- Poor suction: When closing the refrigerator door, you may notice that it does not close securely or requires extra force to fully shut. This can indicate a problem with the door seal, as it is not creating the necessary suction to keep the door tightly closed.
- Visible gaps: Inspect the door seal closely and look for any visible gaps or tears. Even small openings can compromise the seal and allow cold air to escape, leading to temperature fluctuations inside the refrigerator.
- Condensation: Excessive condensation or moisture on the inside of the refrigerator or around the door area can be a sign of a faulty seal. The presence of moisture indicates that warm air is entering the refrigerator, causing water vapor to condense.
- Frost buildup: If you notice a buildup of frost on the inside of the refrigerator, particularly around the edges of the door, it could be an indication of a faulty door seal. When warm air enters the refrigerator, it can mix with the cold air, leading to frost formation.
- Inefficient cooling: If your refrigerator is struggling to maintain the desired temperature or if you notice that your food is spoiling faster than usual, it could be due to a faulty door seal. The lack of a proper seal allows cold air to escape, impacting the cooling efficiency of your appliance.
These signs indicate that your refrigerator door seal may need attention. If you notice any of these issues, it is essential to address them promptly to prevent further damage and ensure the optimal performance of your refrigerator.
In the next section, we will discuss how to assess the damage and determine if your refrigerator door seal needs fixing.
Assessing the damage – How to determine if your refrigerator door seal needs fixing
Before proceeding with the repair, it is important to assess the damage to your refrigerator door seal and determine if it needs fixing. Here are some steps to help you evaluate the condition of the door seal:
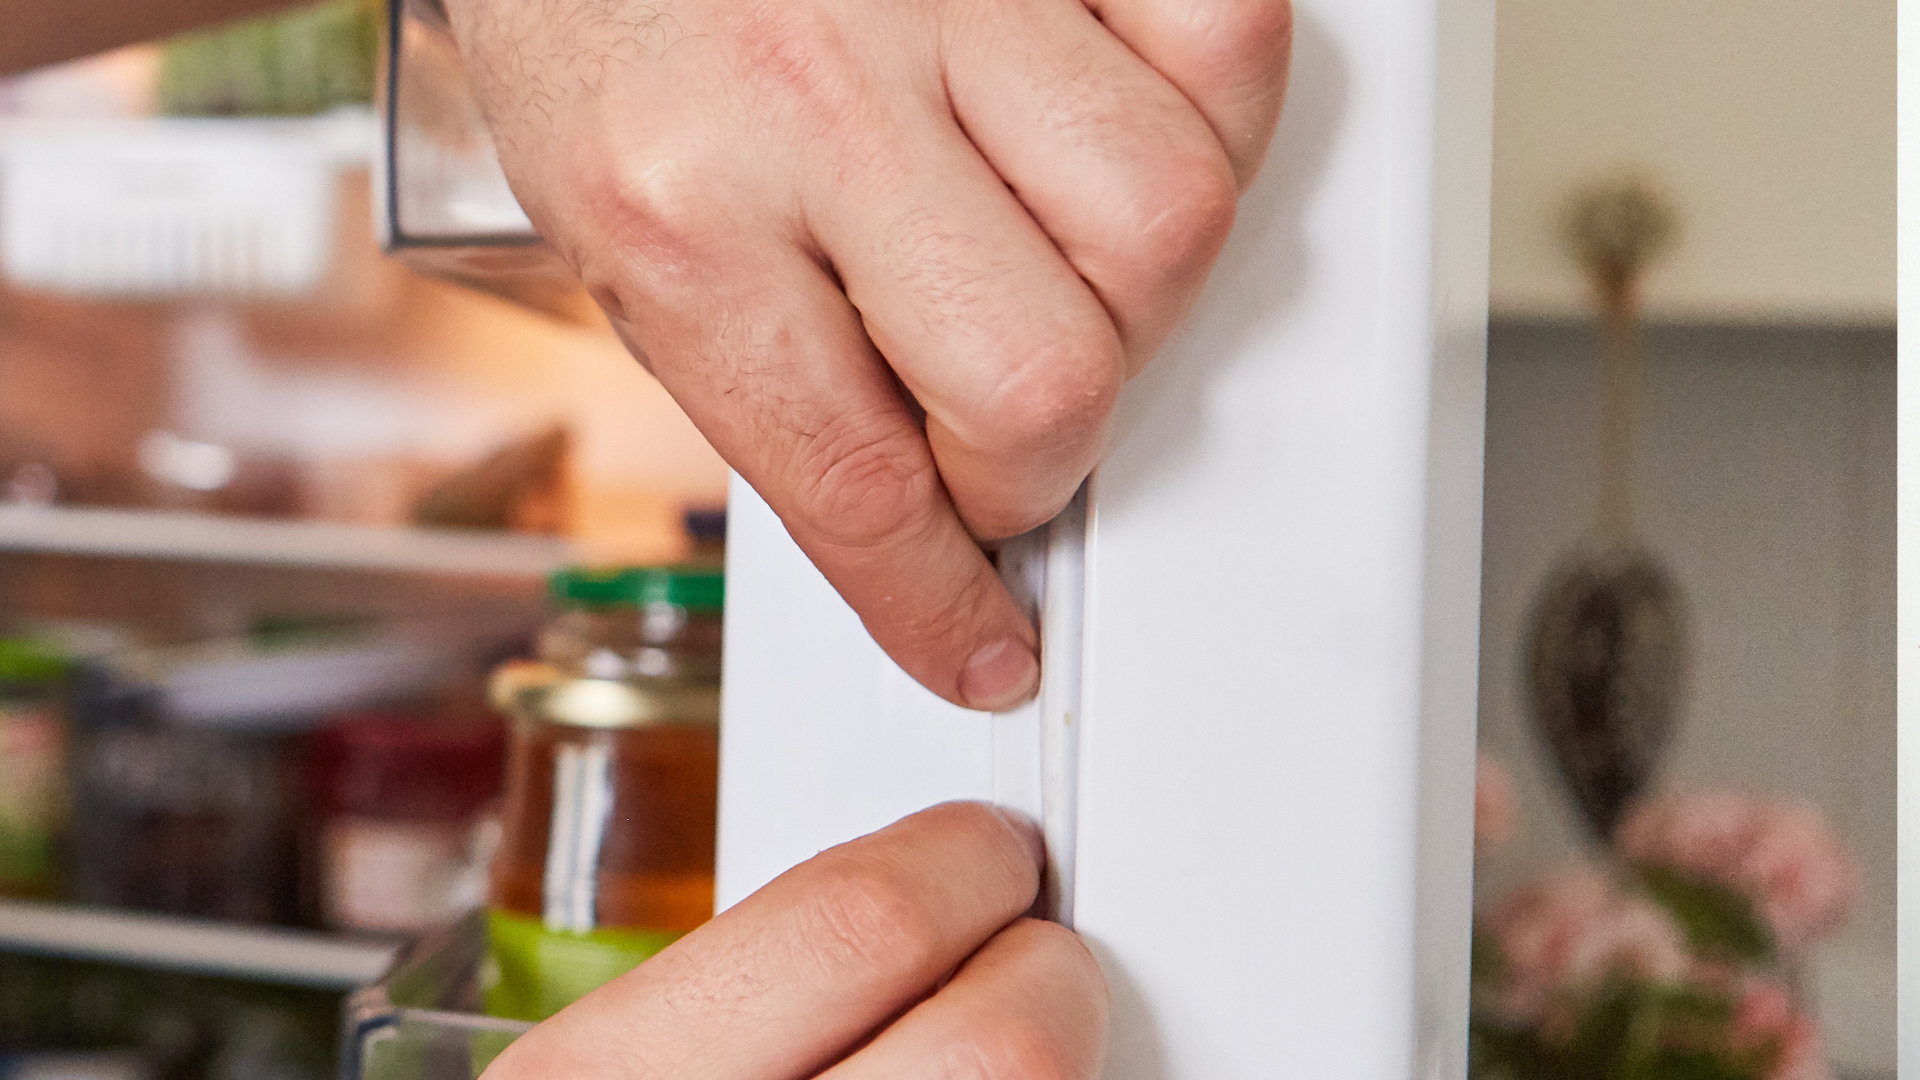
1. Visual inspection: Take a close look at the entire perimeter of the refrigerator door seal. Look for any visible signs of damage such as cracks, tears, or gaps. Pay attention to areas that are most susceptible to wear and tear, such as the corners and the bottom of the door.
2. Check for proper alignment: Ensure that the door is properly aligned and sits flush with the refrigerator when closed. If there is any misalignment, it could indicate a problem with the door seal.
3. Perform the dollar bill test: To test the effectiveness of your door seal, place a dollar bill between the seal and the refrigerator frame. Close the door and try to pull out the bill. If you can easily remove the bill without any resistance, it suggests that the seal is not creating a tight seal and needs attention.
4. Check for condensation: Look for any excessive condensation or moisture inside the refrigerator. If you notice moisture buildup, it could be a sign that warm air is entering through a faulty door seal.
5. Monitor temperature fluctuations: Keep an eye on the temperature inside your refrigerator. If you notice significant fluctuations or difficulty in maintaining a consistent temperature, it could be an indication of a faulty door seal.
By conducting these assessments, you can determine the extent of the damage to your refrigerator door seal and decide if it can be repaired or if a replacement is necessary. Minor issues such as small gaps or tears can often be fixed, while more significant damage may require a replacement seal.
In the next section, we will discuss the tools and materials needed for fixing the refrigerator door seal.
Check the condition of the door seal for any tears or damage. Clean the seal and the mating surface on the refrigerator with warm, soapy water. Use a hairdryer to soften the seal and reshape it if necessary. If the seal is damaged, consider replacing it.
Tools and materials needed – Gathering the necessary items for repairing the door seal
When it comes to repairing a refrigerator door seal, having the right tools and materials is essential for a successful fix. Here is a list of items you will need to gather before starting the repair process:
1. Screwdriver: Depending on the type of refrigerator, you may need a Phillips or flathead screwdriver to remove any screws holding the door seal in place.
2. Replacement door seal: If your assessment determines that the current door seal is irreparable or severely damaged, you will need to purchase a replacement seal. Make sure to check the model number of your refrigerator to ensure compatibility with the new door seal.
3. Warm, soapy water: Before installing the new door seal, it is important to clean the area where the old seal was attached. Prepare a solution of warm water and mild detergent to wipe down the surface and remove any dirt or residue.
4. Towels or rags: Keep some clean towels or rags handy to dry the cleaned surface and any excess moisture during the repair process.
5. Rubber lubricant: Lubricating the door seal can help with the installation and ensure a snug fit. Use a rubber lubricant specifically designed for refrigerator door seals.
6. Adhesive: In some cases, you may need adhesive or sealant to secure the replacement door seal. Check the instructions for the specific door seal you purchased to see if adhesive is required.
7. Patience and attention: While not a physical tool, patience and attention to detail are crucial for a successful repair. Take your time and follow the instructions carefully to ensure a proper installation.
By gathering these tools and materials before starting the repair, you can ensure a smoother and more efficient process. It’s always a good idea to have everything ready and easily accessible to avoid any unnecessary delays during the repair.
In the next section, we will provide step-by-step instructions for fixing the refrigerator door seal.
Read more: How To Seal A Shed Door
Step-by-step instructions for fixing the refrigerator door seal – Properly securing the door seal back in place
Now that you have gathered the necessary tools and materials, it’s time to proceed with fixing the refrigerator door seal. Follow these step-by-step instructions to properly secure the door seal back in place:
1. Turn off the refrigerator: Before starting any repair work, it is important to turn off the refrigerator and unplug it from the power source for safety.
2. Remove the old door seal: Using a screwdriver, carefully remove any screws holding the door seal in place. Slowly peel off the old door seal from the refrigerator door. If there is adhesive residue, use a mild solvent or adhesive remover to clean the surface and ensure a clean, smooth area for the new seal.
3. Prepare the new door seal: Prior to installation, carefully unroll the new door seal and allow it to relax and adjust to room temperature if needed. This will prevent any potential warping or stretching during the installation process.
4. Apply lubricant: With a clean cloth or sponge, lightly apply rubber lubricant to the area where the seal will be installed. This will help the new seal slide into place easily and ensure a proper fit.
5. Start attaching the door seal: Beginning at one corner of the refrigerator door, align the new seal with the edge. Press firmly to secure it in place. Continue to work your way along the door, pressing the seal firmly against the surface as you go. Take care to avoid stretching or twisting the seal to maintain its integrity.
6. Use adhesive (if necessary): If the new door seal requires adhesive, follow the manufacturer’s instructions for application. Apply the adhesive sparingly, ensuring it is evenly distributed along the back of the seal. Press the seal firmly against the refrigerator door to secure it in place.
7. Reattach any screws: If there were screws holding the old door seal in place, reattach them to secure the new seal. Make sure they are tightened appropriately but be careful not to overtighten and damage the seal.
8. Check the seal: Once the new seal is installed, close the refrigerator door and perform the dollar bill test mentioned earlier. Place a dollar bill between the seal and the refrigerator frame, then try to pull it out. If you feel resistance and the bill doesn’t easily slide out, it indicates a properly sealed door.
9. Plug in the refrigerator and test: Once you are satisfied with the installation, plug in the refrigerator and turn it back on. Allow it to run for a while and monitor the temperature to ensure that it remains consistent.
By following these step-by-step instructions, you can effectively fix your refrigerator door seal and restore it to proper functionality. Remember to take your time, follow the manufacturer’s instructions, and exercise patience during the process to ensure a successful repair.
In the next section, we will provide additional tips for maintaining a healthy refrigerator door seal.
Additional tips for maintaining a healthy door seal – Preventive measures to ensure the longevity of your refrigerator door seal
Once you have fixed your refrigerator door seal, it is important to take preventive measures to ensure its longevity and optimal performance. Here are some additional tips to help you maintain a healthy door seal:
1. Regular cleaning: Keep the door seal clean by wiping it down regularly with warm, soapy water. This will help remove any dirt, debris, or food particles that may accumulate and potentially damage the seal.
2. Avoid excessive force: When closing the refrigerator door, avoid slamming it or applying excessive force. Handle the door gently to prevent any unnecessary strain or damage to the door seal.
3. Check for obstructions: Ensure that there are no obstructions or items blocking the door from closing fully. This can cause stress on the door seal and compromise its integrity.
4. Inspect for damage: Routinely inspect the door seal for any signs of wear, tears, or gaps. Address any small issues immediately before they worsen and require more extensive repairs.
5. Keep the refrigerator level: Ensure that the refrigerator is properly leveled to prevent any strain on the door seal. If the refrigerator is unbalanced, it can affect the seal’s effectiveness and lead to premature wear.
6. Avoid overfilling: Do not overcrowd your refrigerator with too many items. Overpacking the refrigerator can put pressure on the door seal, preventing it from properly sealing and causing damage over time.
7. Regularly check the temperature: Monitor the temperature inside the refrigerator to ensure it remains within the recommended range. Extreme temperature fluctuations can impact the door seal’s performance and lead to issues.
8. Replace worn-out seals: Over time, even with proper maintenance, door seals can wear out. If you notice significant damage or deterioration, consider replacing the seal to maintain optimal performance.
By following these tips, you can extend the lifespan of your refrigerator door seal and ensure the efficient operation of your appliance. Remember, preventive maintenance is key to preventing costly repairs and ensuring your refrigerator functions optimally for years to come.
In the final section, we will conclude this guide on fixing a refrigerator door seal.
Conclusion
In conclusion, a properly functioning refrigerator door seal is crucial for maintaining the efficiency and performance of your appliance. Understanding the importance of the door seal and being able to identify signs of a faulty seal is essential for timely repairs.
By assessing the damage, gathering the necessary tools and materials, and following the step-by-step instructions provided, you can successfully fix your refrigerator door seal. Remember to take your time, pay attention to detail, and ensure a snug and secure fit.
Additionally, implementing preventive measures such as regular cleaning, avoiding excessive force, and maintaining proper temperature levels can help prolong the life of your door seal.
If you’re unsure about your repair skills or if the damage is extensive, it is always recommended to consult a professional technician to ensure the job is done correctly and safely.
By taking care of your refrigerator door seal, you can enjoy energy efficiency, food preservation, and a longer lifespan for your appliance. So, don’t wait any longer – fix that door seal and keep your refrigerator running in top shape!
Frequently Asked Questions about How To Fix Refrigerator Door Seal
Was this page helpful?
At Storables.com, we guarantee accurate and reliable information. Our content, validated by Expert Board Contributors, is crafted following stringent Editorial Policies. We're committed to providing you with well-researched, expert-backed insights for all your informational needs.


0 thoughts on “How To Fix Refrigerator Door Seal”