Articles
How To Seal Garage Door Sides
Modified: August 17, 2024
Learn how to effectively seal the sides of your garage door with these informative articles. Prevent drafts and reduce energy loss for a more efficient and comfortable space.
(Many of the links in this article redirect to a specific reviewed product. Your purchase of these products through affiliate links helps to generate commission for Storables.com, at no extra cost. Learn more)
Introduction
When it comes to your garage, ensuring that it is properly sealed is essential. One often overlooked area for sealing is the sides of the garage door. While most people focus on sealing the bottom of the door, neglecting the sides can lead to drafts, moisture seepage, and energy loss. If you want to maintain a well-insulated and secure garage, it’s important to know how to seal the sides of your garage door.
Sealing the sides of your garage door has numerous benefits. Firstly, it helps to regulate the temperature inside your garage. By eliminating drafts, you can keep your garage cool in the summer and warm in the winter, making it a more comfortable environment for working or storing vehicles and belongings. Additionally, sealing the sides of your garage door helps to prevent dust, dirt, and pests from entering your garage, keeping it cleaner and reducing the need for frequent cleaning and pest control.
Furthermore, sealing the sides of your garage door aids in reducing energy loss. Insufficient insulation in your garage can result in heat transfer, causing your heating or cooling system to work harder to maintain a consistent temperature. By sealing the sides of your garage door, you can improve energy efficiency, saving on utility bills and reducing your carbon footprint.
To seal the sides of your garage door, you will need a few tools and materials. These include a tape measure, a utility knife, a caulking gun, weatherstripping, door seals, foam insulation, and a silicone-based caulk. These items can be easily found at your local hardware store and are relatively inexpensive.
In the following sections, we will guide you through the step-by-step process of sealing the sides of your garage door. By following these instructions, you can improve the insulation, security, and overall functionality of your garage.
Key Takeaways:
- Properly sealing the sides of your garage door is crucial for maintaining a well-insulated, secure, and energy-efficient garage, providing comfort, protection, and cost savings.
- By following the step-by-step process and using the right tools and materials, you can effectively seal the sides of your garage door, creating a comfortable, pest-free, and well-protected space.
Read more: How To Replace Garage Door Bottom Seal
Why it’s important to seal garage door sides
Many homeowners focus on sealing the bottom of their garage door, often overlooking the importance of sealing the sides. However, sealing the sides of your garage door is just as crucial to maintaining a well-insulated and secure garage. Here are a few key reasons why it’s important to seal the garage door sides:
- Prevent drafts and air leaks: The sides of the garage door are common entry points for drafts and air leaks. Even small gaps or cracks can allow outside air to seep into the garage, compromising its insulation. By sealing the sides, you can create a barrier against drafts, keeping the temperature inside more consistent and comfortable.
- Reduce energy loss: Inadequate insulation in the garage can result in significant energy loss. When the sides of the garage door are not properly sealed, heat or cool air can escape, leading to increased energy consumption and higher utility bills. Sealing the garage door sides helps to improve energy efficiency, reducing energy waste and saving you money in the long run.
- Enhance security: Unsealed garage door sides can provide an opportunity for unwanted intruders to gain access to your garage. By properly sealing the sides, you create a more secure barrier, making it more difficult for burglars or pests to enter your garage.
- Prevent moisture and water damage: Moisture from rain or snow can seep through unsealed gaps in the garage door sides, leading to water damage, mold growth, and rot. Sealing the sides helps to keep moisture out, protecting your garage and its contents from potential water damage and costly repairs.
- Keep pests out: Gaps in the garage door sides can serve as entry points for insects, rodents, and other pests. These unwanted visitors can create a nuisance, cause damage to stored items, and pose health risks. By sealing the sides, you can effectively block their access, creating a pest-free environment in your garage.
Sealing the sides of your garage door is an important step in maintaining the overall integrity, functionality, and energy efficiency of your garage. It not only helps to create a more comfortable and secure space but also saves you money on energy bills and reduces the risk of damage. By taking the time to properly seal the garage door sides, you can enjoy a well-insulated, protected, and pest-free garage for years to come.
Tools and materials needed
Before you begin sealing the sides of your garage door, it’s important to gather the necessary tools and materials. Having everything ready beforehand will make the process smoother and more efficient. Here’s a list of tools and materials you’ll need:
- Tape measure: A tape measure is essential for accurately measuring the dimensions of your garage door sides. This will ensure that you get the right size weatherstripping and seals.
- Utility knife: A utility knife is necessary for cutting the weatherstripping and foam insulation to the appropriate lengths and sizes.
- Caulking gun: A caulking gun is used to apply silicone-based caulk along the edges of the garage door sides. This helps to seal any gaps or cracks and improve the overall insulation.
- Weatherstripping: Weatherstripping is a strip of material that is applied to the sides of the garage door to create a seal against drafts and air leaks. It is available in various materials, such as rubber or vinyl, and comes in different sizes to fit different garage door dimensions.
- Door seals: Door seals are specifically designed to be installed on the sides of the garage door. They provide an additional layer of insulation and help to minimize noise and dust penetration. Door seals are available in different types, such as brush seals or vinyl seals.
- Foam insulation: Foam insulation can be applied to larger gaps or areas where the weatherstripping alone may not be sufficient. Foam insulation comes in spray or sheet form and helps to fill in larger gaps, providing additional insulation and sealing.
- Silicone-based caulk: Silicone-based caulk is used to seal any small gaps or cracks around the garage door sides. It adheres well to different surfaces and provides a durable and flexible seal.
Most of these tools and materials can be found at your local hardware store. Be sure to measure the dimensions of your garage door sides accurately before purchasing the weatherstripping and door seals to ensure a proper fit.
With these tools and materials in hand, you’re ready to begin sealing the sides of your garage door. The next steps will guide you through the process, ensuring that your garage is well-insulated and protected from drafts, moisture, and pests.
Step 1: Measure the sides of your garage door
Before you can start sealing the sides of your garage door, it’s essential to accurately measure the dimensions of the door. This will ensure that you purchase the right size weatherstripping and door seals. Follow these steps to measure the sides of your garage door:
- Prepare your measuring tools: Get a tape measure and ensure it is extended fully and functional.
- Start with one side: Begin measuring from the top corner of one side of the garage door. Extend the tape measure all the way down to the ground, ensuring it runs parallel to the side of the door. Take note of the measurement in either inches or centimeters.
- Repeat for the other side: Move to the other side of the garage door and repeat the measuring process. Again, start from the top corner and extend the tape measure all the way down. Write down the measurement for this side as well.
- Check for any discrepancies: Compare the measurements of both sides to ensure they are relatively close. If there is a significant difference, recheck your measurements to ensure accuracy.
- Measure the height: Next, measure the height of each side of the garage door. Start from the bottom and extend your tape measure to the top, keeping it parallel to the side. Jot down the measurements.
It’s important to note that garage doors may have slight variations in dimensions due to installation or wear and tear. By measuring each side separately, you can account for any discrepancies and ensure that you purchase the right size seals and weatherstripping.
Once you have accurately measured the sides and height of your garage door, you can proceed to the next step: preparing the surfaces for sealing. This step involves cleaning and prepping the garage door sides to ensure a secure and long-lasting seal.
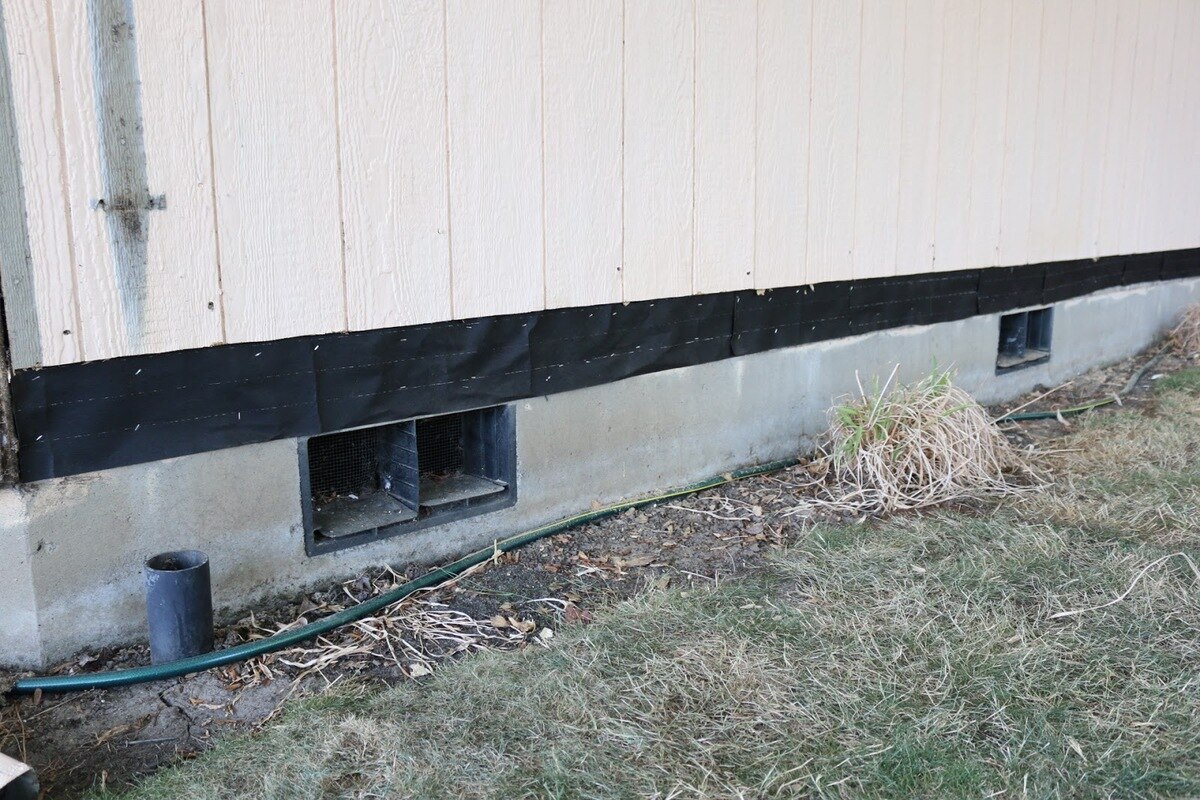
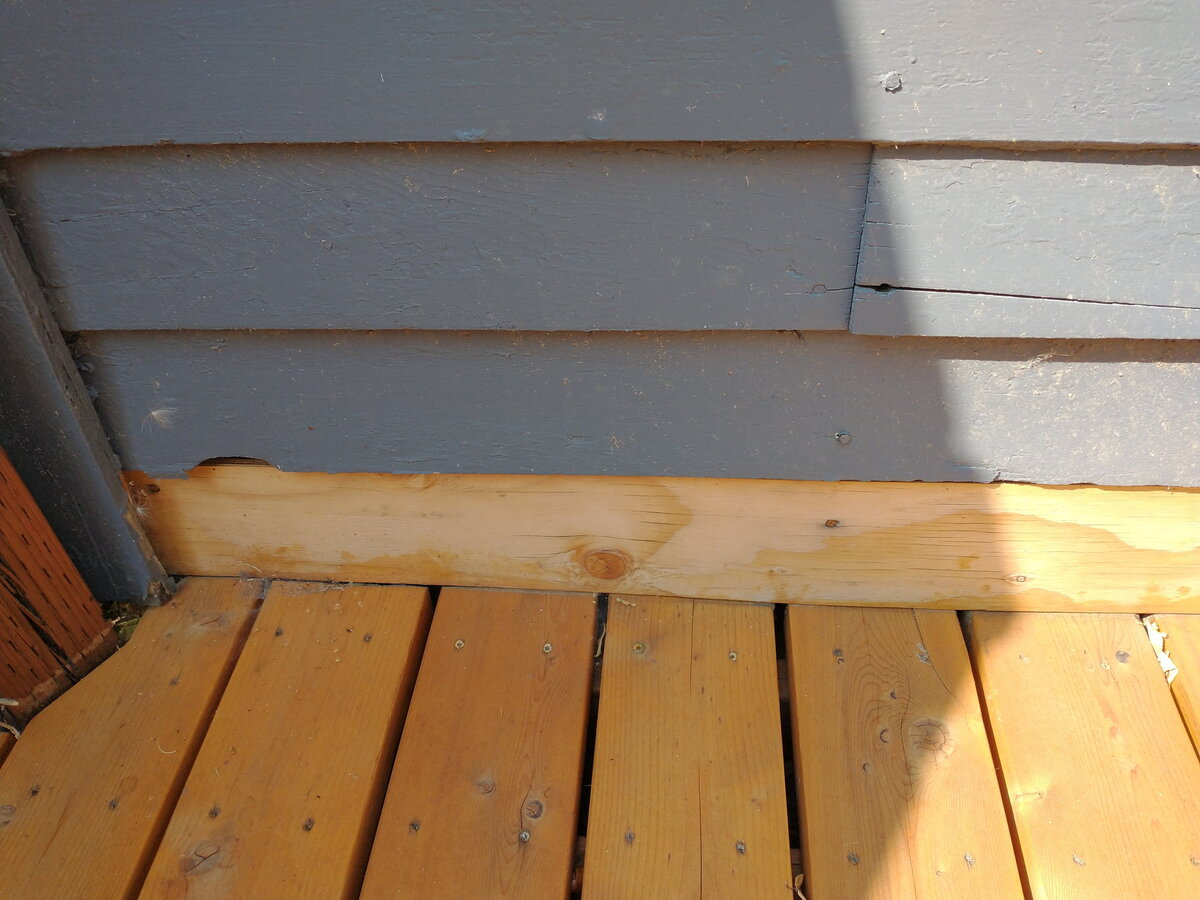
Step 2: Clean and prep the surfaces
Before applying weatherstripping and seals to the sides of your garage door, it’s important to properly clean and prep the surfaces. This will ensure better adhesion and a more effective seal. Follow these steps to clean and prep the surfaces:
- Gather your cleaning supplies: Get a bucket, mild detergent or soap, water, and a clean cloth or sponge.
- Start with a thorough cleaning: Fill the bucket with water and add a small amount of mild detergent or soap. Dip the cloth or sponge into the soapy water and gently scrub the sides of the garage door, paying attention to any dirt, dust, or residue. Rinse the surfaces with clean water to remove any soap residue.
- Remove any existing weatherstripping or adhesive: If there is existing weatherstripping or adhesive on the sides of the garage door, carefully remove it using a utility knife or scraper. Be cautious not to damage the surface of the door while doing so.
- Dry the surfaces: After cleaning, use a clean, dry cloth or towel to thoroughly dry the sides of the garage door. Ensure that there is no moisture left on the surfaces before proceeding.
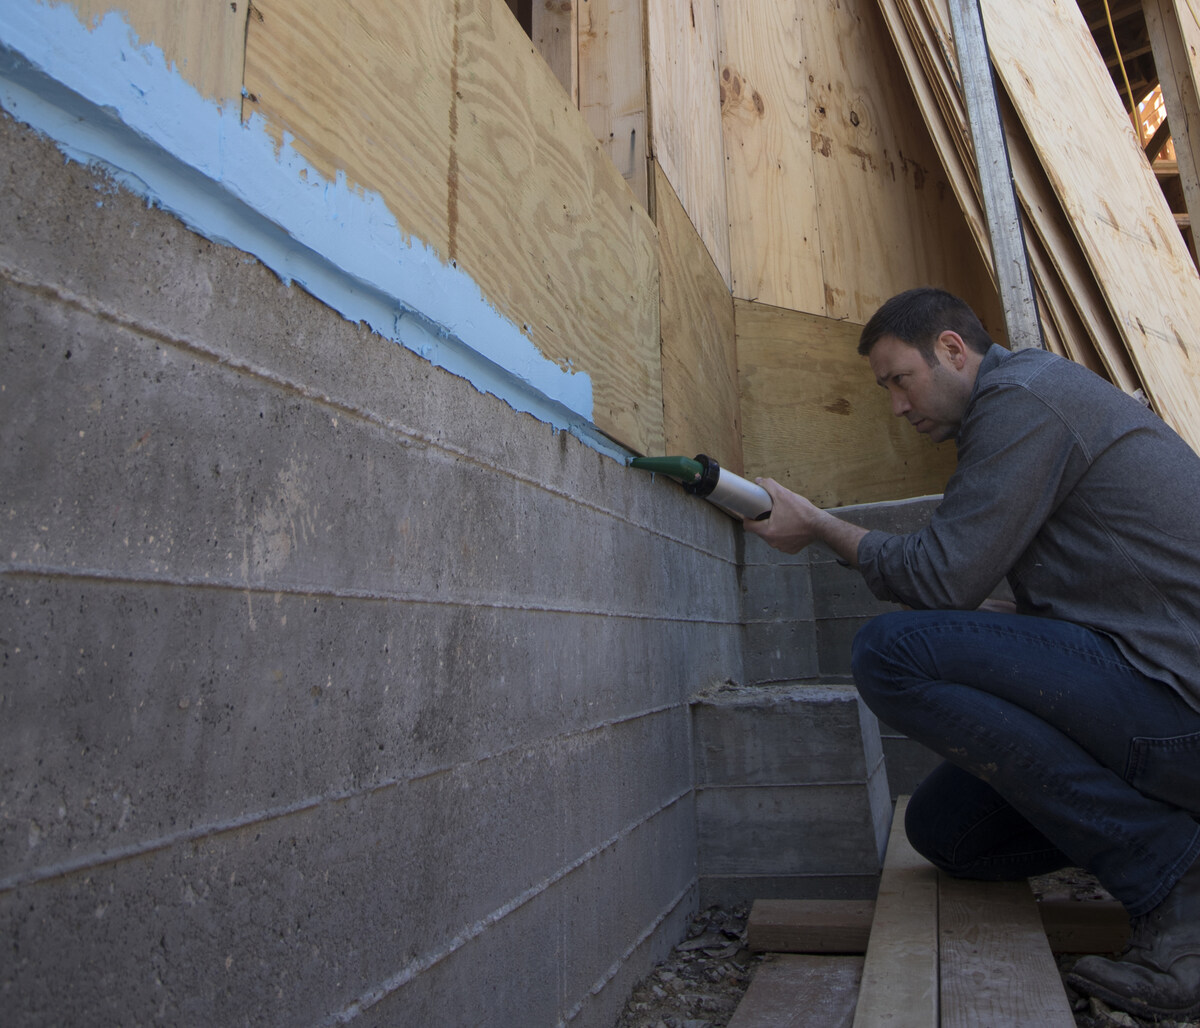
- Inspect for cracks or gaps: Take a close look at the sides of the garage door for any cracks, gaps, or damaged areas. If you find any, use a silicone-based caulk to fill in the gaps. Apply the caulk evenly along the cracks and smooth it out with your finger or a caulking tool. Allow the caulk to dry completely before moving on to the next step.
By cleaning and prepping the surfaces, you create a clean and smooth base for the weatherstripping and door seals to adhere to. This step helps to ensure a secure and long-lasting seal.
Once the surfaces are clean and prepped, you’re ready to proceed to the next step: applying weatherstripping to the sides of your garage door. This will further enhance the insulation and sealing of your garage door.
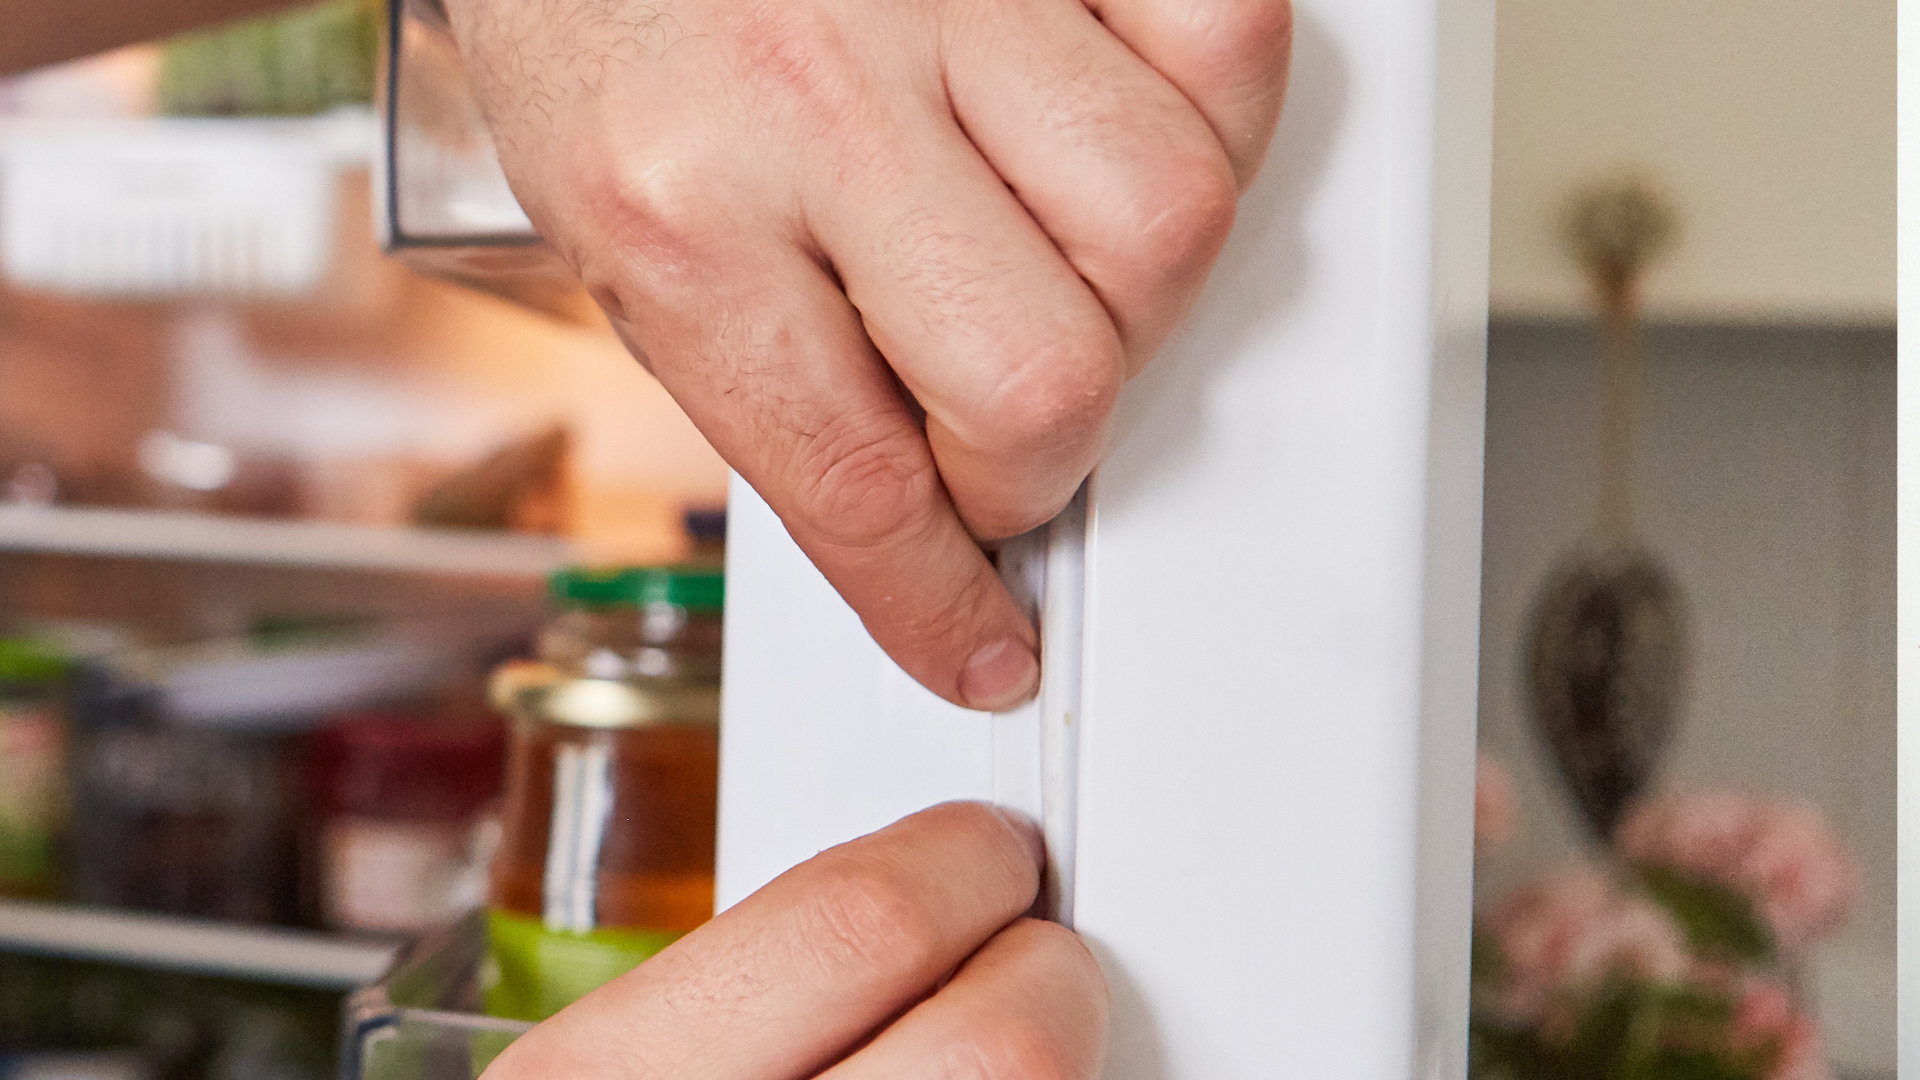
Apply a weatherstripping or rubber seal to the sides of the garage door to prevent drafts and moisture from entering. This will also help to improve energy efficiency.
Read more: How To Fix Gap On Side Of Garage Door
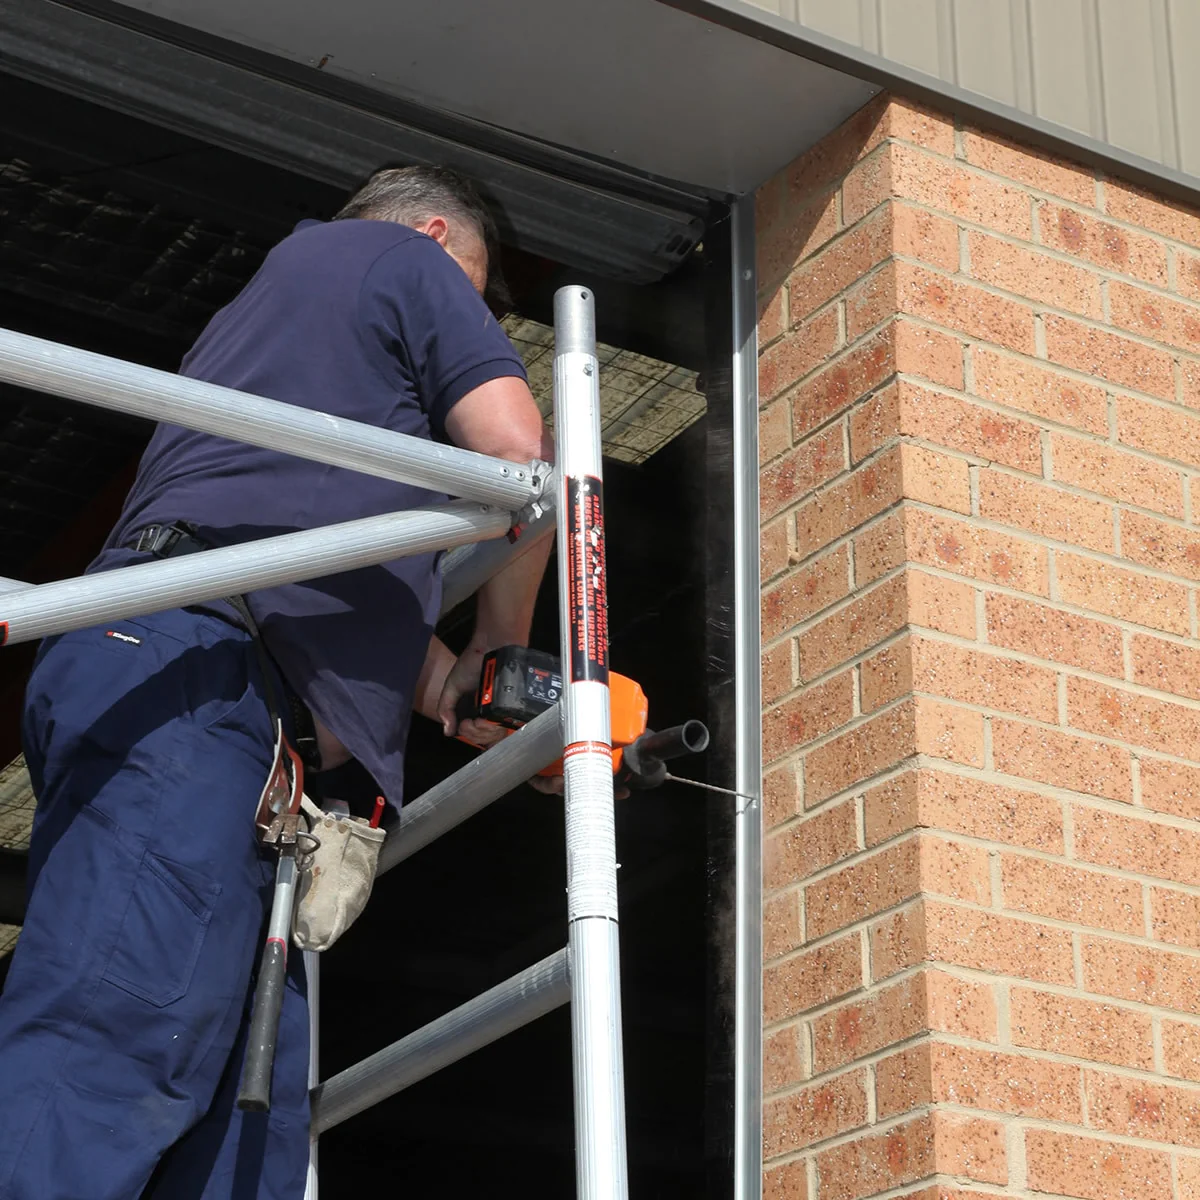
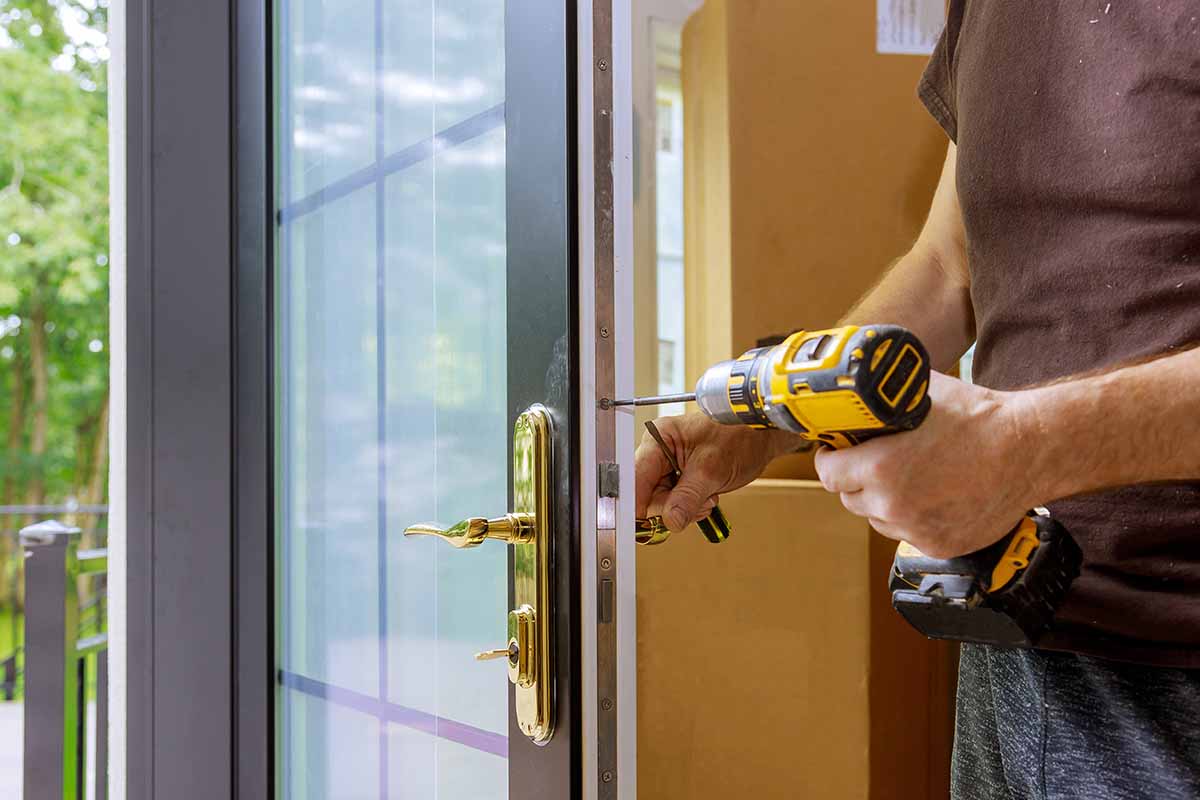
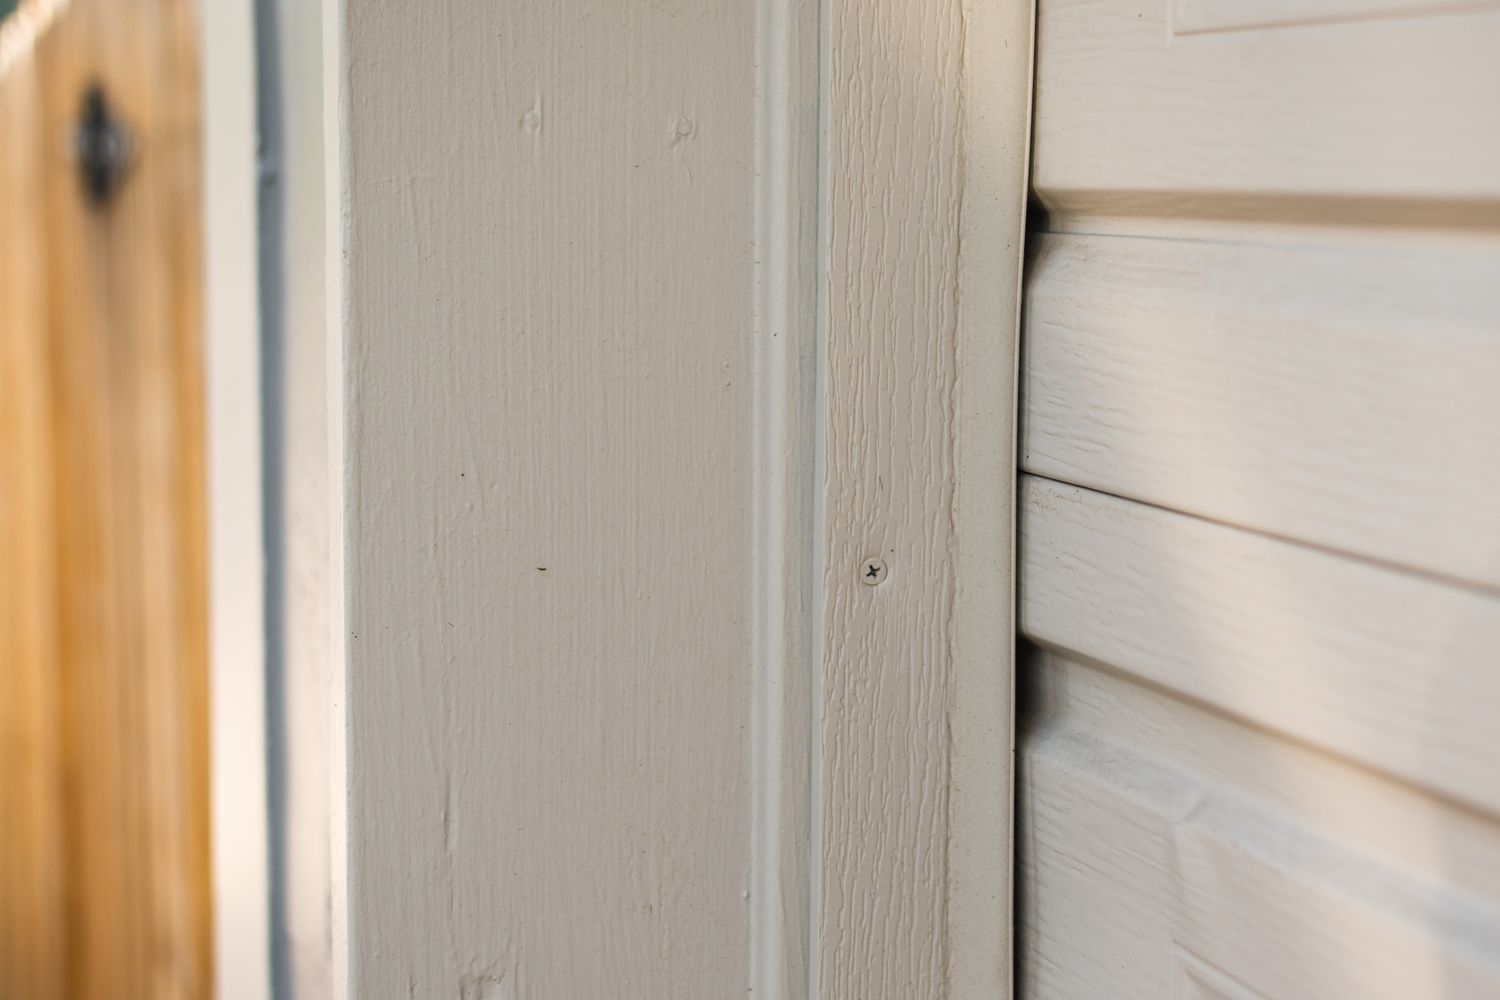
Step 3: Apply weatherstripping to the sides
Applying weatherstripping to the sides of your garage door is an effective way to create a seal against drafts and air leaks. Weatherstripping helps to improve insulation and keep your garage more comfortable throughout the year. Follow these steps to apply weatherstripping to the sides of your garage door:
- Choose the right weatherstripping: Measure the length of each side of your garage door from Step 1. Purchase weatherstripping rolls or strips that match the dimensions of your garage door sides. Remember to consider the type of weatherstripping material that suits your needs, such as rubber or vinyl.
- Cut the weatherstripping to size: Use a utility knife or a pair of scissors to cut the weatherstripping to the measured length for each side. Be precise and ensure straight cuts for a proper fit.
- Prepare the adhesive side: Most weatherstripping comes with an adhesive backing. Carefully peel off the backing to expose the adhesive side of the weatherstripping. Make sure not to touch the adhesive surface with your hands as it may affect its stickiness.
- Apply the weatherstripping: Starting from the top corner of one side, align the weatherstripping with the edge of the garage door. Press it firmly onto the surface and continue applying it all the way down to the bottom corner. Repeat this process for the other side of the garage door, ensuring proper alignment and tight adhesion.
- Trim any excess weatherstripping: If there is any excess length of weatherstripping hanging beyond the bottom corner, use a utility knife or scissors to trim it off for a neater appearance.
- Repeat the process for the other side: Once you have finished applying weatherstripping to one side, repeat the same steps for the other side of the garage door.
By applying weatherstripping to the sides of your garage door, you create a barrier against drafts, air leaks, and moisture. This will help to regulate the temperature and improve energy efficiency in your garage, making it a more comfortable and cost-effective space.
Now that the weatherstripping is in place, you can proceed to the next step: installing side door seals for additional insulation and protection.
Step 4: Install side door seals
In addition to weatherstripping, installing side door seals on your garage door provides an extra layer of insulation and helps to improve the sealing effectiveness. Side door seals are designed to fill any gaps between the door panels and the sides of the garage, preventing drafts, noise, and pests from entering. Follow these steps to install side door seals:
- Measure the length of the door panels: Using a tape measure, measure the height of each door panel on both sides of the garage door. Take note of the measurements as this will guide you when choosing the appropriate size of side door seals.
- Choose the right side door seals: Look for side door seals that are specifically designed for your garage door model and match the measurements you took earlier. They typically come in various materials, such as brush seals or vinyl seals.
- Cut the side door seals: Using a utility knife or scissors, cut the side door seals according to the measurements of each door panel. It’s important to ensure accurate and straight cuts for a proper fit.
- Attach the side door seals: Starting from the top, position the side door seal against the edge of the door panel. Secure it in place using screws or adhesive, depending on the type of seals you have. Make sure the seals are tightly fitted against the door panel to prevent any gaps.
- Repeat the process for each door panel: Install side door seals on each door panel, working your way down to the bottom. Ensure proper alignment and tight attachment for consistent insulation and sealing.
- Test the seals: After installing the side door seals, close your garage door and check for any visible gaps between the door panels and the new seals. If you notice any gaps, adjust or tighten the seals as necessary to achieve a secure and snug fit.
By installing side door seals, you create a stronger barrier against drafts, noise, pests, and various environmental elements. This further improves the insulation and overall effectiveness of sealing your garage door, providing you with a more comfortable and protected space.
With the side door seals in place, you can proceed to the final step: testing the effectiveness of the seal to ensure that your efforts have paid off.
Step 5: Test the effectiveness of the seal
After sealing the sides and installing door seals on your garage door, it’s important to test the effectiveness of the seal to ensure that it is providing the desired insulation and protection. Follow these steps to test the effectiveness of the seal:
- Close the garage door: Close the garage door completely, ensuring that it is securely shut.
- Check for any visible gaps: Carefully examine the sides of the garage door for any visible gaps or openings. Pay close attention to the areas where you have applied weatherstripping and installed door seals.
- Feel for drafts: Place your hand near the sides of the garage door, paying attention to any drafts or air movement. Move your hand along the edges, from top to bottom, to thoroughly check for any air leaks.
- Listen for noise: Stand inside the garage while the door is closed and listen for any noise from outside. If there are no noticeable sounds or reduced noise levels, it is a good indication that the seal is effectively blocking sound transmission.
- Inspect for light penetration: During the daytime, turn off any lights inside the garage and carefully inspect the sides of the door for any light penetration. If you see light coming through, it indicates the presence of gaps in the seal that need to be addressed.
- Make necessary adjustments: If you notice any gaps, drafts, or light penetration, make the necessary adjustments by repositioning or tightening the weatherstripping and door seals. This will help to improve the effectiveness of the seal and enhance the insulation.
- Re-test as needed: After making adjustments, repeat the testing process to ensure that the seal is now providing the desired insulation, blocking drafts, and minimizing noise and light penetration.
Regularly testing the effectiveness of the seal is important to maintain a well-insulated and protected garage. Over time, weatherstripping may wear out or door seals may become loose, so it’s essential to periodically check and make any necessary adjustments.
By properly testing and maintaining the seal, you can enjoy a garage that is well-insulated against outside elements, provides better energy efficiency, and offers a more comfortable and secure space.
Congratulations on successfully sealing the sides of your garage door. With proper insulation and sealing, you can now enjoy the benefits of a well-protected and energy-efficient garage.
Conclusion
Sealing the sides of your garage door is an important step in maintaining a well-insulated and secure garage. By following the steps outlined in this guide, you can effectively seal the sides of your garage door, providing numerous benefits.
Properly sealing the sides of your garage door helps to regulate the temperature inside, keeping the garage cool in the summer and warm in the winter. This creates a more comfortable environment for various activities and helps to protect your belongings from extreme temperatures.
In addition to temperature control, sealing the sides of your garage door also reduces energy loss. By creating a tighter seal, you can prevent heat or cool air from escaping, leading to improved energy efficiency and cost savings on your utility bills.
Sealing the sides of your garage door also enhances security by creating a barrier against unwanted intruders. Properly sealed sides make it more difficult for burglars or pests to gain access to your garage, providing you with peace of mind and protecting your belongings.
Furthermore, sealing the sides of your garage door helps to prevent moisture and water damage. Moisture can seep through unsealed gaps and cracks, leading to mold growth, rot, and potential structural damage. By sealing the sides, you can keep your garage dry and protect your belongings from water-related issues.
Regularly testing the effectiveness of the seal and making any necessary adjustments will ensure that your garage door remains properly sealed and functional. Over time, weatherstripping may wear out or door seals may become loose, so it’s important to periodically check and maintain the seal.
Sealing the sides of your garage door is a simple yet effective way to enhance insulation, energy efficiency, security, and protection. By following the steps outlined in this guide and using the necessary tools and materials, you can achieve a well-insulated, secure, and comfortable garage space.
So, take the time to seal the sides of your garage door and enjoy the benefits of a properly sealed and functioning garage.
Frequently Asked Questions about How To Seal Garage Door Sides
Was this page helpful?
At Storables.com, we guarantee accurate and reliable information. Our content, validated by Expert Board Contributors, is crafted following stringent Editorial Policies. We're committed to providing you with well-researched, expert-backed insights for all your informational needs.


0 thoughts on “How To Seal Garage Door Sides”