Articles
How To Replace Freezer Door Seal
Modified: August 16, 2024
Learn how to replace your freezer door seal with our helpful articles. Get step-by-step instructions and expert tips to ensure a proper seal and optimal freezer performance.
(Many of the links in this article redirect to a specific reviewed product. Your purchase of these products through affiliate links helps to generate commission for Storables.com, at no extra cost. Learn more)
Introduction
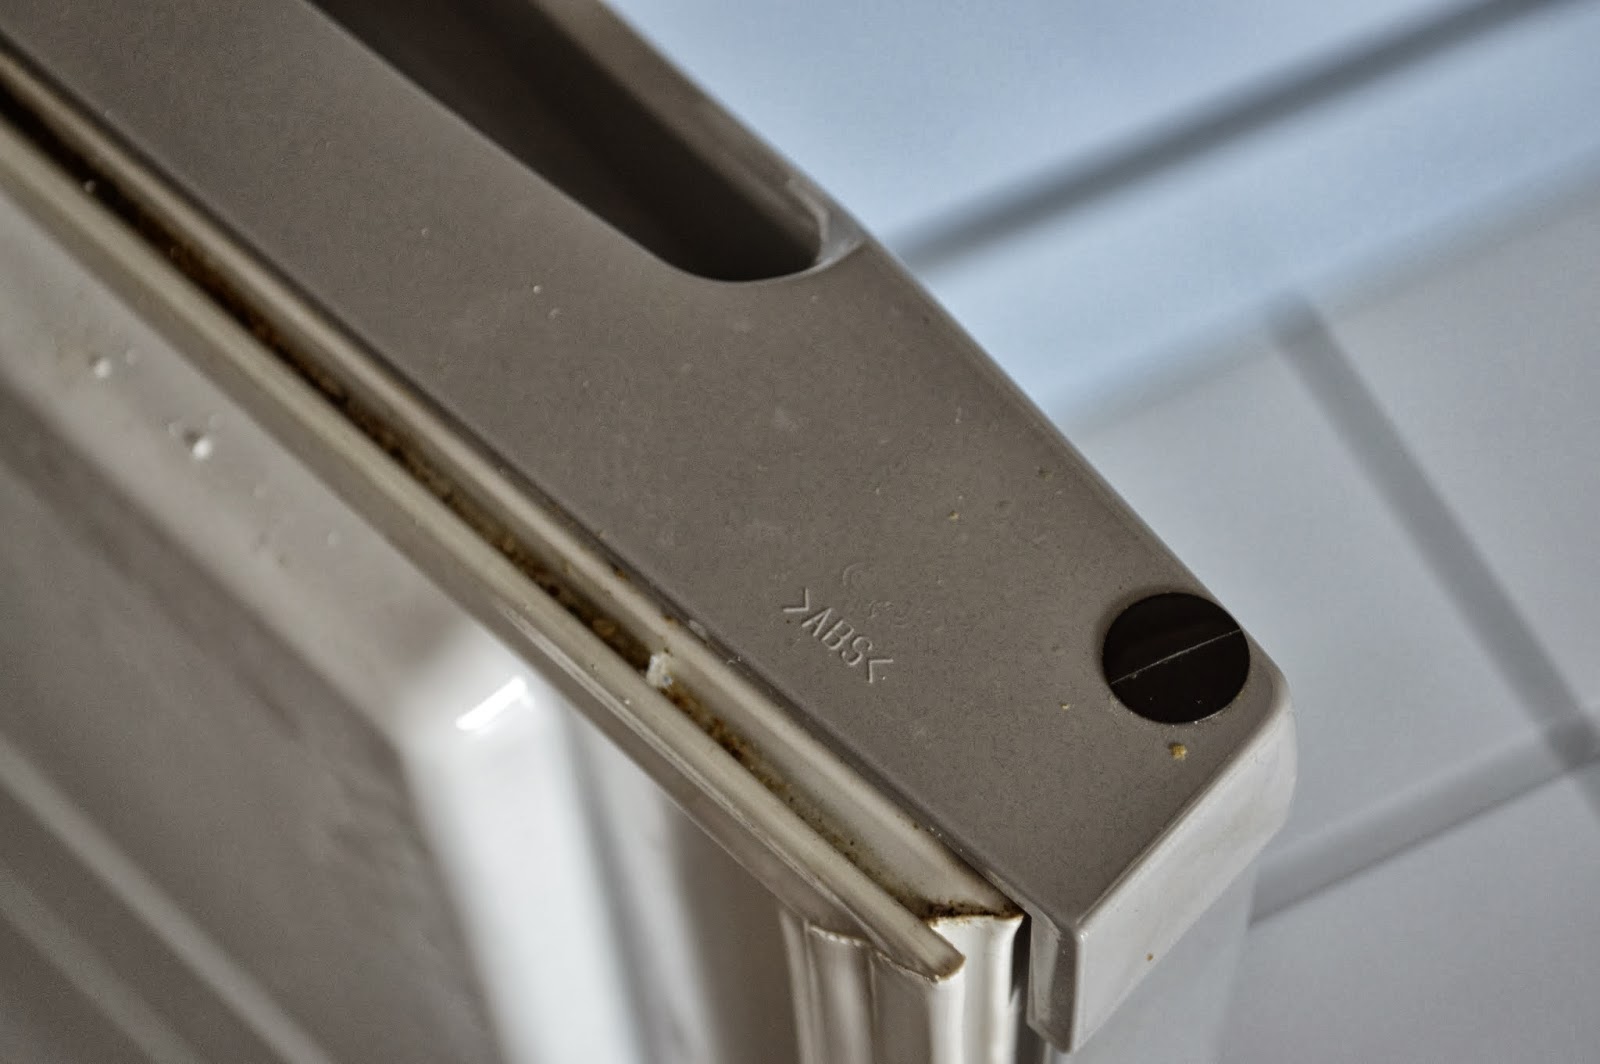
Replacing the freezer door seal is an essential maintenance task that every freezer owner should know how to do. The door seal, also known as a gasket, is responsible for maintaining a tight seal between the freezer door and the cabinet. A properly functioning door seal is crucial in ensuring that the freezer maintains its temperature, prevents frost buildup, and keeps your food items fresh. Over time, the door seal may deteriorate, become worn out, or develop tears or cracks, compromising its effectiveness.
Fortunately, replacing a freezer door seal is a relatively simple and straightforward process that you can do yourself with the right tools and materials. In this article, we will guide you through each step of the process, from gathering the necessary tools and materials to checking for proper sealing after installation. By following these steps, you will be able to restore the functionality of your freezer door seal and maintain the optimal performance of your freezer.
Key Takeaways:
- Proper maintenance of the freezer door seal is crucial for preserving food freshness and preventing frost buildup. By following the simple steps outlined in this article, you can easily replace the seal and maintain your freezer’s optimal performance.
- Regularly checking and replacing the freezer door seal as needed will help you avoid energy wastage and ensure the longevity of your freezer. With the right tools and materials, this maintenance task can be easily accomplished at home.
Read more: How To Replace Garage Door Bottom Seal
Step 1: Gather the necessary tools and materials
Before you begin the process of replacing the freezer door seal, it is important to ensure that you have all the required tools and materials. This will help you work efficiently and avoid any delays or interruptions during the process. Here is a list of the tools and materials you will need:
- Screwdriver (flathead or Phillips, depending on the type of screws used on your freezer door)
- Putty knife or scraper
- New freezer door seal
- Warm, soapy water
- Towel or cloth
Start by inspecting the current freezer door seal to determine the type and size you will need for the replacement. You can find this information in the freezer’s user manual or by measuring the dimensions of the existing seal. It is crucial to ensure that you purchase the correct size and type of seal to guarantee a proper fit and functionality.
Once you have all the necessary tools and materials ready, you can proceed to the next step of the process: removing the old freezer door seal.
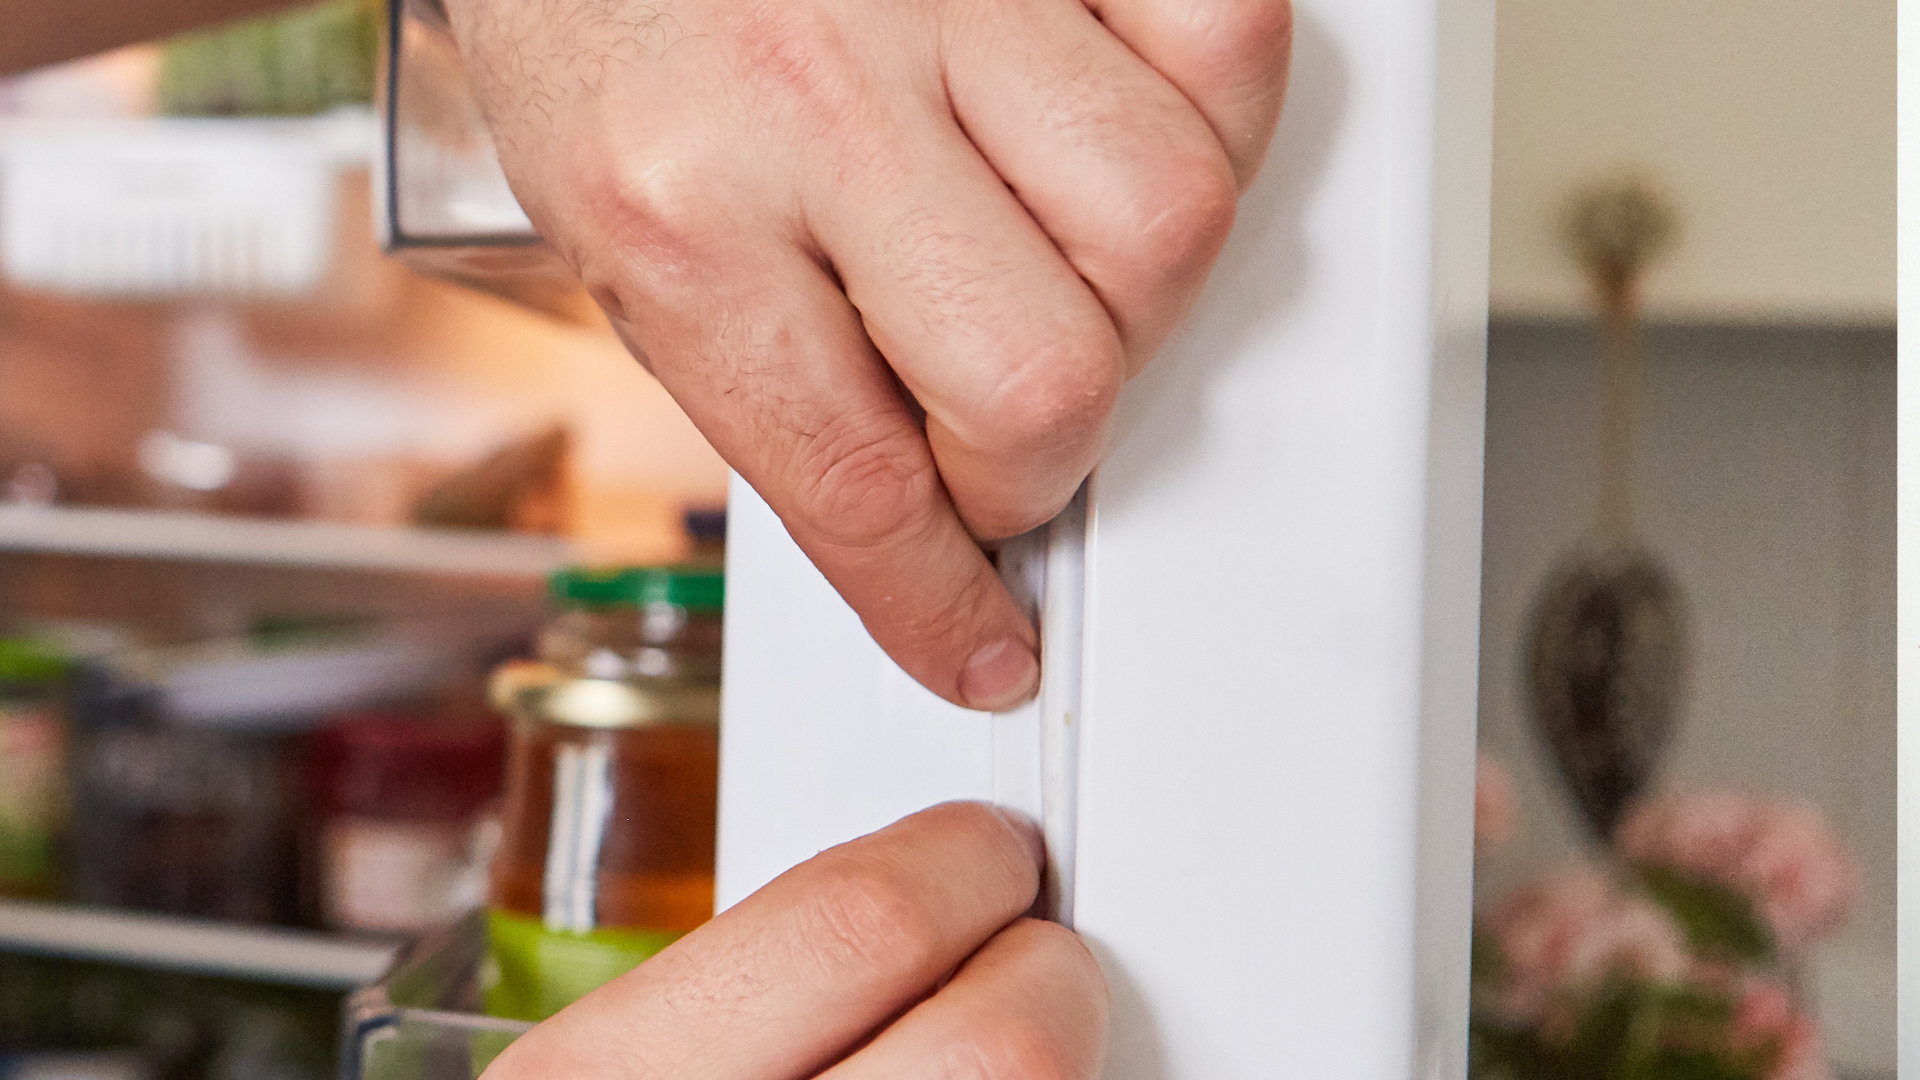
Step 2: Remove the old freezer door seal
Now that you have gathered all the necessary tools and materials, it’s time to remove the old freezer door seal. Follow these steps to ensure a smooth and successful removal process:
- Start by opening the freezer door fully, giving you easy access to the entire seal.
- Inspect the seal for any screws or fasteners holding it in place. Use a screwdriver to remove these screws, if present.
- Using a putty knife or scraper, gently pry the old seal away from the freezer door. Start at one corner and work your way along the seal, loosening it gradually.
- Be careful not to damage the freezer door or any surrounding components during this process. Take your time and be patient to avoid any unnecessary mishaps.
- Once you have loosened the entire seal, carefully pull it away from the door, ensuring that any adhesive or residue is also removed.
- Dispose of the old seal properly, ensuring it is safely discarded.
By following these steps, you will be able to successfully remove the old freezer door seal and prepare the door for the installation of the new seal. Now, it’s time to move on to the next step: cleaning and preparing the freezer door.
Step 3: Clean and prepare the freezer door
Once you have removed the old freezer door seal, it’s important to clean and prepare the surface of the freezer door before installing the new seal. This will ensure a proper and secure fit for the replacement seal. Follow these steps to clean and prepare the freezer door:
- Inspect the surface of the freezer door for any dirt, debris, or residue left behind from the old seal. Use a towel or cloth to wipe away any loose particles.
- Prepare a mixture of warm, soapy water by adding a few drops of mild dish soap to a bowl of warm water.
- Dip the towel or cloth into the soapy water and wring out any excess moisture. Gently clean the surface of the freezer door, paying extra attention to the areas where the old seal was attached.
- Remove any stubborn residue or adhesive by using a scraper or putty knife. Be cautious not to scratch or damage the surface of the freezer door.
- Once the surface is clean, rinse it with clean water and dry thoroughly with a towel or cloth.
Ensuring that the surface of the freezer door is clean and free from debris will provide a smooth and secure contact for the new seal. With the freezer door properly prepared, you are now ready to move on to the next step: installing the new freezer door seal.
Before replacing the freezer door seal, make sure to measure the dimensions of the current seal and purchase a replacement that matches those dimensions. This will ensure a proper fit and seal for your freezer door.
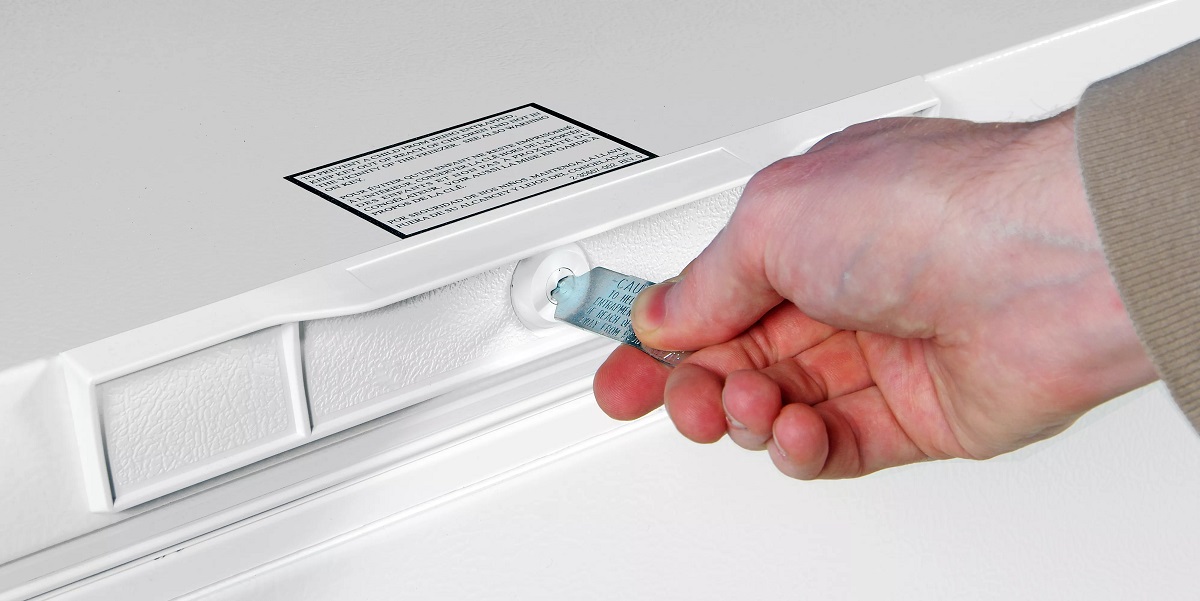
Step 4: Install the new freezer door seal
With the freezer door cleaned and prepared, it’s time to install the new freezer door seal. Follow these steps to ensure a successful installation:
- Start by unrolling the new freezer door seal and allowing it to relax for a few minutes. This will help remove any creases or bends.
- Begin attaching the seal to the freezer door at one corner. Ensure that the seal lines up with the edge of the door, with the magnet strip facing inward towards the freezer.
- Slowly and carefully press the seal onto the door, ensuring it adheres securely as you move along each side. Pay attention to any alignment markers or guides provided by the manufacturer.
- If your new seal comes with adhesive backing, remove the protective cover and press firmly to ensure proper adhesion. If not, use screws or fasteners to secure the seal to the door, following the manufacturer’s instructions.
- Continue attaching the seal to the door until you reach the starting point.
- Once the seal is fully attached, check for any gaps or areas where the seal is not adhering properly. Adjust the position and press down to ensure a tight seal.
It is important to take your time during the installation process to ensure a proper and secure fit. The new freezer door seal should be snugly attached to the door, with no gaps or loose sections. With the new seal installed, you are now ready to move on to the final step: checking for proper sealing.
Read also: 8 Unbelievable Freezer Door Seal For 2025
Step 5: Check for proper sealing
After installing the new freezer door seal, it’s essential to check for proper sealing to ensure that your freezer door is functioning effectively. Follow these steps to confirm that the seal is working correctly:
- Carefully close the freezer door and ensure that it latches securely.
- Wait for a few minutes to allow the seal to settle into its proper position.
- Inspect the entire perimeter of the freezer door for any gaps or openings.
- If you notice any gaps or areas where the seal is not adhering properly, try readjusting the position and pressing down to create a tighter seal.
- To further test the sealing, you can perform a simple dollar bill test. Close the freezer door with a dollar bill halfway sticking out. Gently pull the dollar bill. If there is resistance and you are unable to easily remove it, then the seal is working correctly. However, if the dollar bill slides out easily, it indicates that there is a gap in the seal that needs to be addressed.
If you find any issues with the sealing, you may need to readjust or replace the seal. Double-check the alignment and ensure that the seal is firmly pressed against the freezer door. It is important to have a proper seal to maintain the efficiency and effectiveness of your freezer.
Congratulations! You have successfully replaced the freezer door seal. Regularly check the seal for any signs of wear or damage, and replace it as needed to keep your freezer in optimal condition. By following these steps, you can ensure that your freezer door maintains a tight seal, helping to preserve the quality and freshness of your frozen food items.
Remember, if you are unsure or uncomfortable performing this task yourself, it is always recommended to seek professional assistance to avoid any potential damage or improper installation.
Conclusion
In conclusion, knowing how to replace the freezer door seal is an essential skill for any freezer owner. A properly functioning door seal is crucial in maintaining the temperature, preventing frost buildup, and preserving the freshness of your food items. By following the step-by-step guide outlined in this article, you can easily replace the old door seal with a new one and restore the optimal functionality of your freezer.
Remember to gather all the necessary tools and materials before starting the process. Take your time when removing the old seal, ensuring that you don’t damage the freezer door. Clean and prepare the surface of the door before installing the new seal to guarantee a secure fit. Always check for proper sealing once the installation is complete, making any necessary adjustments to ensure a tight and effective seal.
Maintaining a properly sealed freezer door will not only help you avoid energy wastage but also ensure the longevity and performance of your freezer. Regularly inspect your freezer door seal for signs of wear and replace it whenever necessary to prevent any potential issues.
With the knowledge and confidence gained from this article, you are now equipped to handle the task of replacing the freezer door seal. By taking care of this simple maintenance task, you can enjoy the benefits of a well-functioning freezer that keeps your food fresher for longer.
Remember, if you are unsure or uncomfortable performing this task yourself, it is always recommended to seek professional assistance to avoid any potential damage or improper installation.
Frequently Asked Questions about How To Replace Freezer Door Seal
Was this page helpful?
At Storables.com, we guarantee accurate and reliable information. Our content, validated by Expert Board Contributors, is crafted following stringent Editorial Policies. We're committed to providing you with well-researched, expert-backed insights for all your informational needs.

0 thoughts on “How To Replace Freezer Door Seal”