Home>Gardening & Outdoor>Outdoor Structures>How To Seal A Shed Door
Outdoor Structures
How To Seal A Shed Door
Modified: October 19, 2024
Learn how to properly seal a shed door to protect your outdoor structures from the elements. Follow our step-by-step guide for effective and long-lasting results.
(Many of the links in this article redirect to a specific reviewed product. Your purchase of these products through affiliate links helps to generate commission for Storables.com, at no extra cost. Learn more)
Introduction
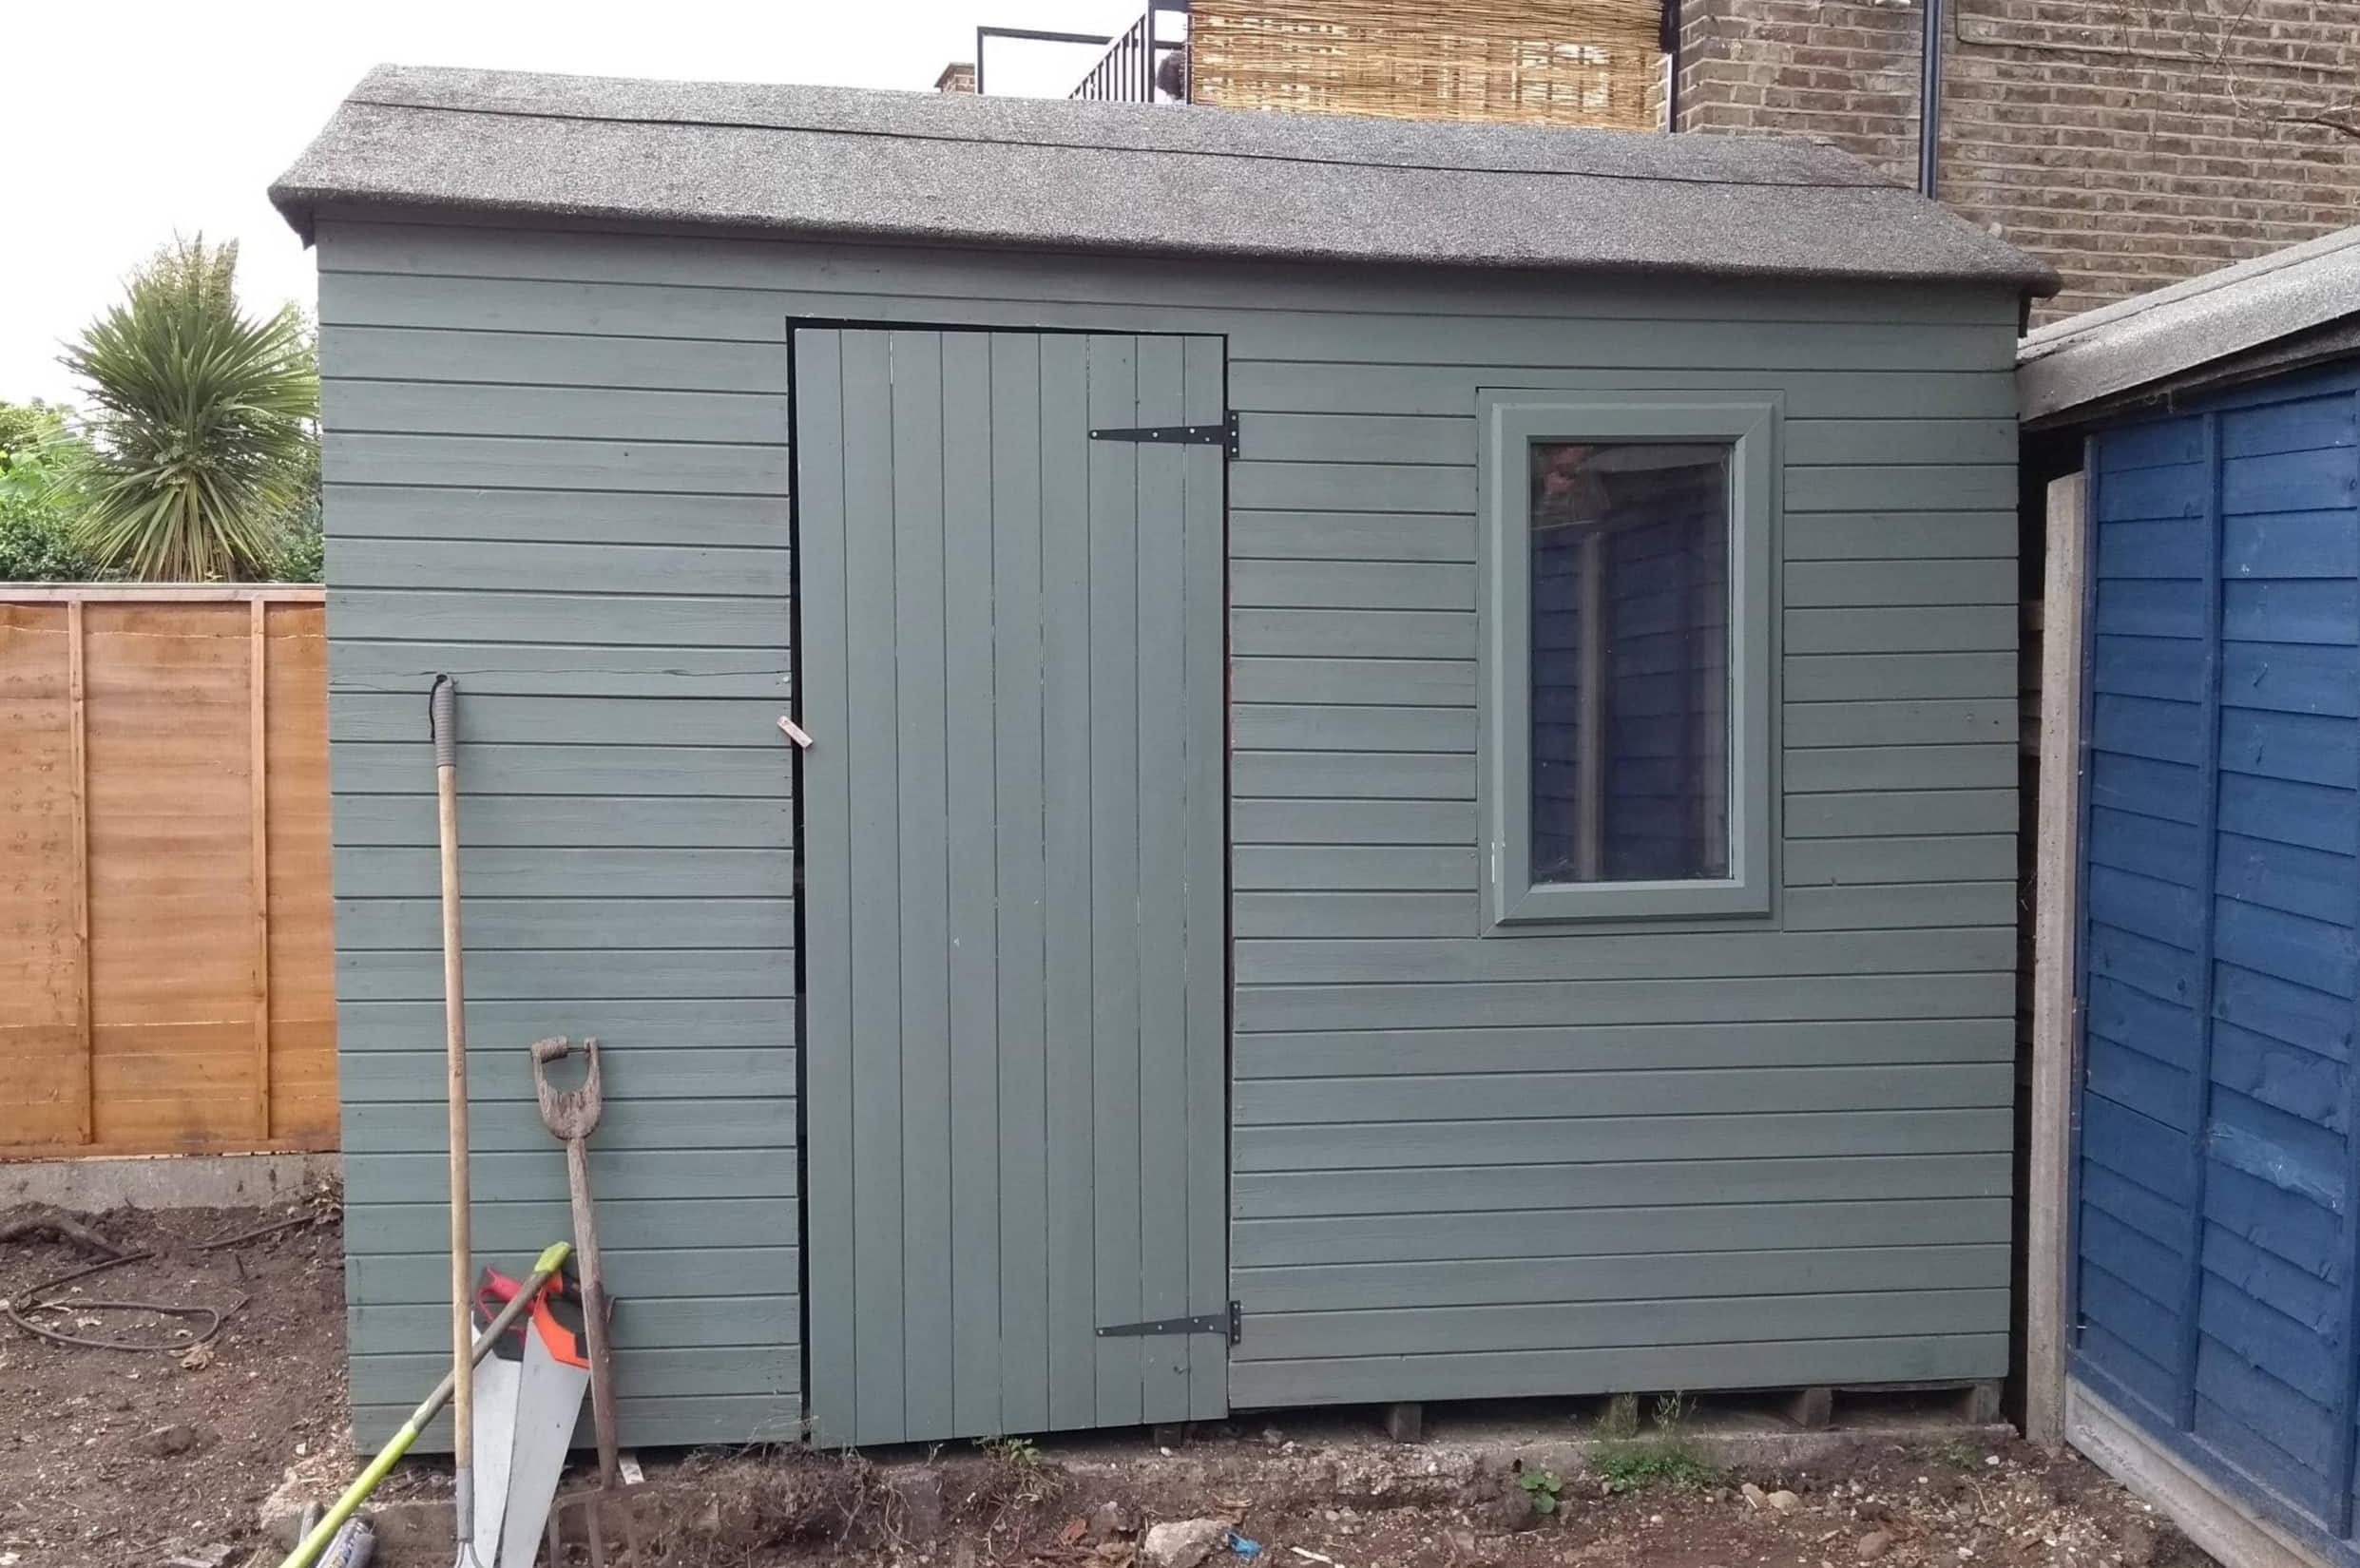
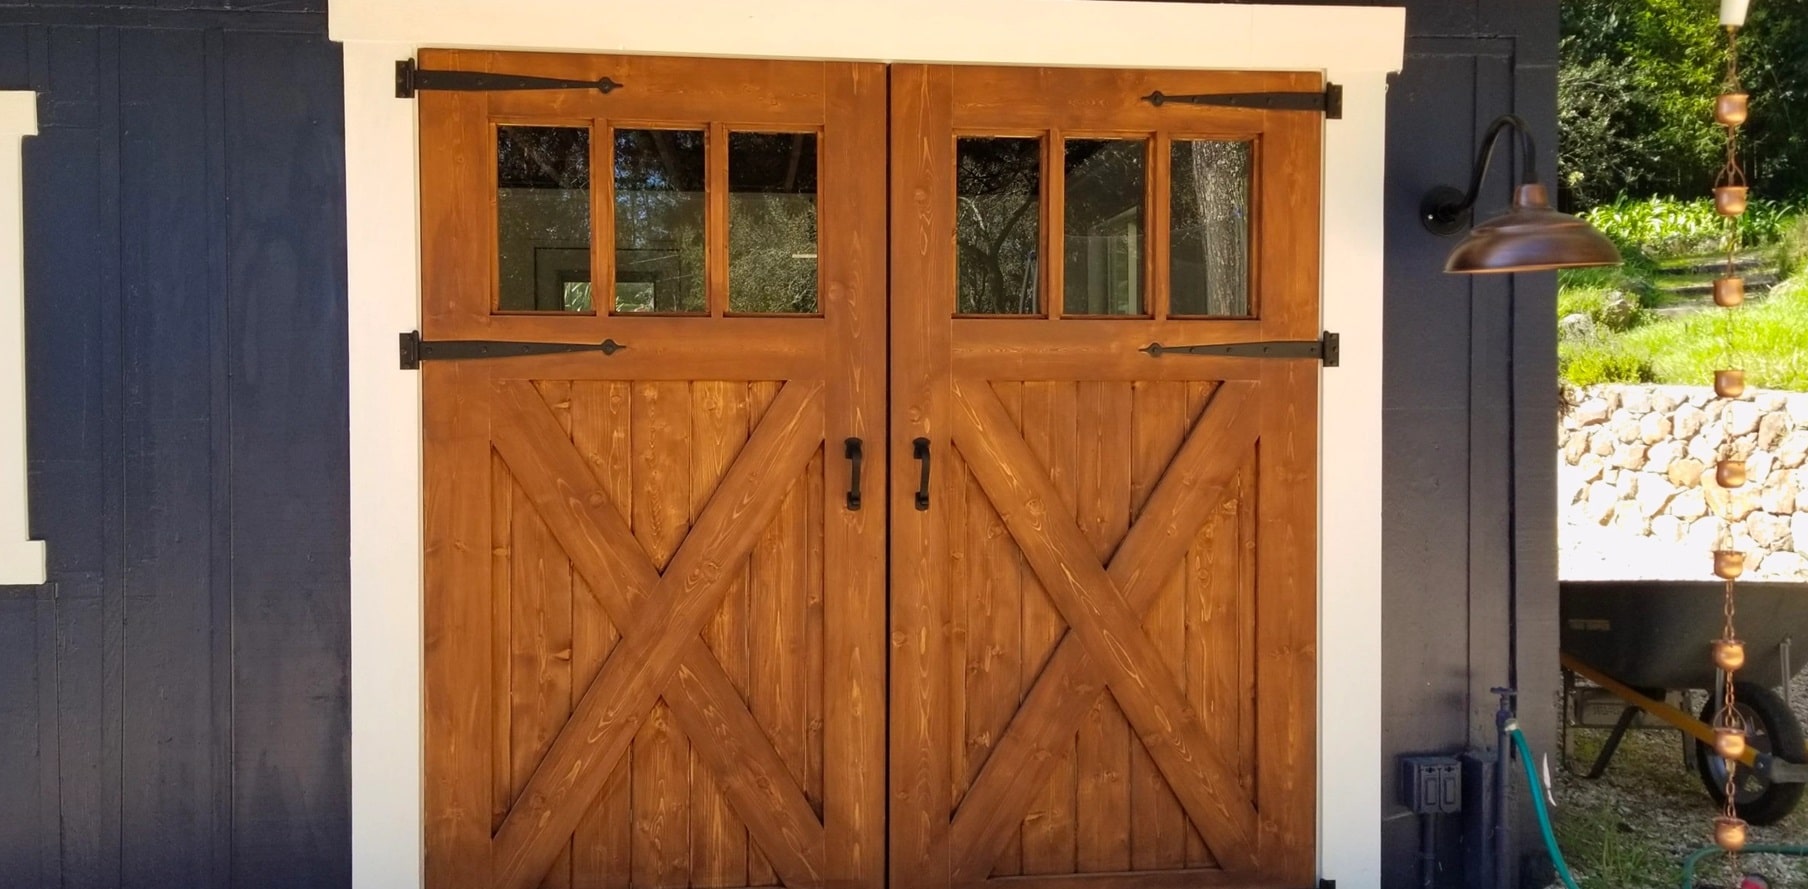
Welcome to the ultimate guide on how to effectively seal a shed door. A well-sealed shed door not only enhances the overall aesthetics of your outdoor structure but also plays a crucial role in safeguarding the contents of your shed from the elements. Whether you use your shed for storage, as a workshop, or any other purpose, ensuring that the door is properly sealed is essential for maintaining a dry, secure, and well-protected space.
In this comprehensive guide, we will walk you through the step-by-step process of sealing a shed door, providing valuable insights and practical tips to help you achieve optimal results. By following these instructions, you can effectively prevent moisture, drafts, and pests from infiltrating your shed, thus prolonging the lifespan of your tools, equipment, and other stored items.
Sealing a shed door is a relatively straightforward yet highly rewarding task that can be accomplished with basic tools and materials. Whether you are a seasoned DIY enthusiast or a novice looking to enhance your shed maintenance skills, this guide is tailored to equip you with the knowledge and confidence needed to tackle this project with ease.
So, roll up your sleeves, gather your supplies, and let's dive into the process of sealing your shed door to ensure a well-protected and functional outdoor space.
Key Takeaways:
- Sealing your shed door with weather stripping, a door sweep, and sealant protects your belongings, saves energy, and extends the door’s lifespan, creating a more secure and visually appealing outdoor space.
- Regular maintenance of the weather stripping, door sweep, sealant, and protective finish ensures long-lasting benefits, allowing you to enjoy a well-protected and comfortable shed for years to come.
Read more: How To Seal A Shed Roof
Step 1: Gather Necessary Materials
Before embarking on the task of sealing your shed door, it’s essential to gather all the necessary materials and tools. Having everything at hand will streamline the process and ensure that you can complete the project without interruptions. Here’s a list of the materials you will need:
- Weather Stripping: Choose high-quality weather stripping that is suitable for exterior use and can effectively seal the gaps around the door.
- Door Sweep: A durable door sweep will help prevent drafts and debris from entering under the door.
- Sealant: Select a reliable sealant or caulk that is designed for outdoor applications and is capable of adhering to various materials such as wood, metal, or vinyl.
- Sandpaper: Use sandpaper to smooth any rough areas on the door and create a suitable surface for applying the weather stripping and sealant.
- Cleaner and Rags: Prepare a mild cleaner and some rags to thoroughly clean the door and remove any dirt, dust, or residues before applying the weather stripping and sealant.
- Protective Finish: If you plan to apply a protective finish to the door, ensure that you have the appropriate finish and any necessary application tools.
- Measuring Tape and Scissors: These tools will be essential for accurately measuring and cutting the weather stripping and door sweep to fit the dimensions of your shed door.
- Screwdriver or Drill: Depending on the type of door sweep you choose, you may need a screwdriver or drill for proper installation.
By gathering these materials in advance, you can proceed with confidence, knowing that you have everything needed to effectively seal your shed door and create a more secure and weather-resistant outdoor space.
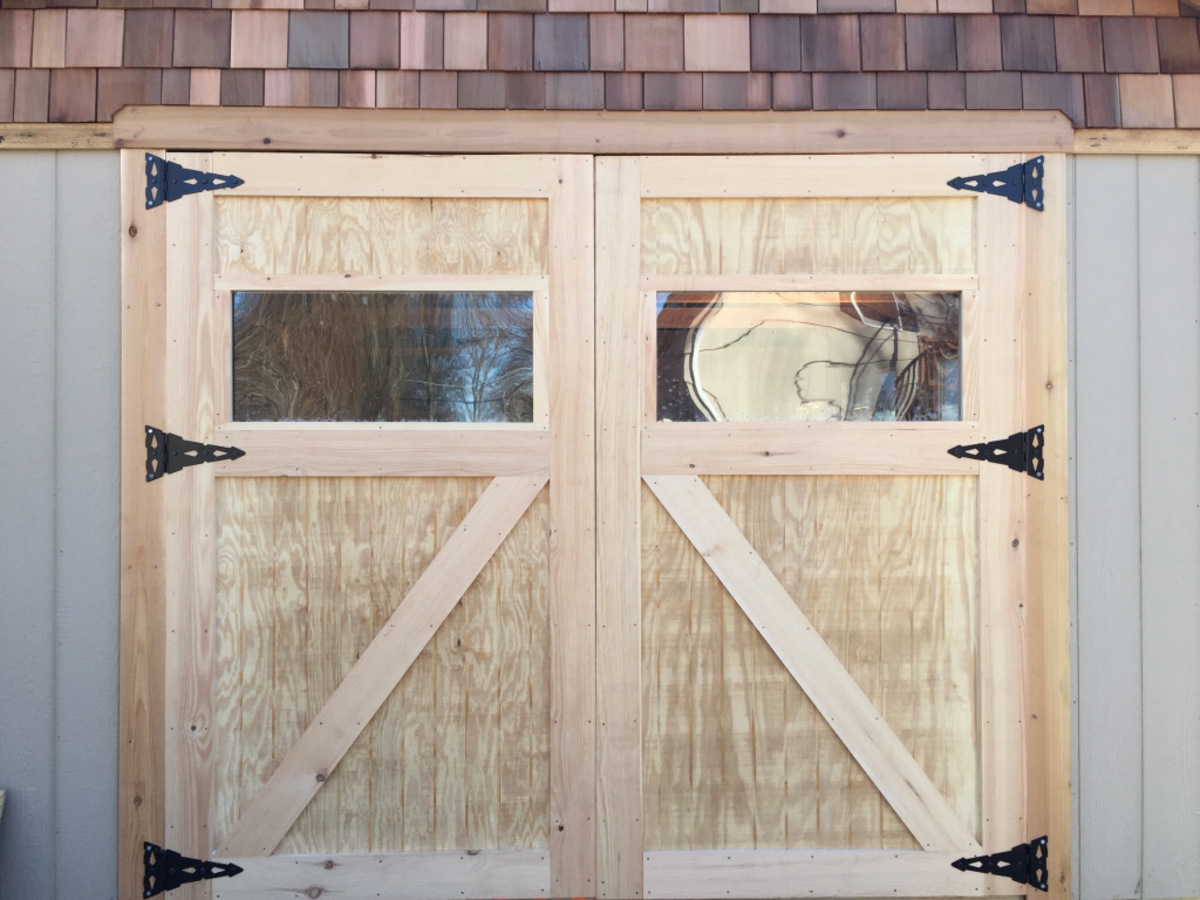
Step 2: Prepare the Door
Before applying weather stripping and sealant, it’s crucial to prepare the door surface to ensure optimal adhesion and long-lasting results. Follow these steps to properly prepare the door for sealing:
- Clean the Door: Begin by thoroughly cleaning the door surface. Use a mild cleaner and a rag to remove any dirt, dust, or debris. Pay close attention to the areas around the edges and corners where the weather stripping will be applied.
- Remove Old Sealant: If there is old or deteriorating sealant around the door frame, carefully remove it using a putty knife or a suitable tool. Ensure that the surface is clean and free of any remnants of the old sealant.
- Smooth Any Imperfections: Inspect the door for any rough or uneven areas. Use sandpaper to smooth out any imperfections, ensuring that the surface is uniform and free of bumps or rough edges. This step is essential for promoting proper adhesion of the weather stripping and sealant.
- Inspect for Damage: Check the door for any signs of damage, such as cracks, warping, or rot. Address any structural issues before proceeding with the sealing process to ensure that the door is in good condition and capable of effectively sealing the shed.
By diligently preparing the door surface, you create an ideal foundation for the subsequent application of weather stripping and sealant. This proactive approach enhances the effectiveness and longevity of the sealing process, ultimately contributing to a more secure and weather-resistant shed door.
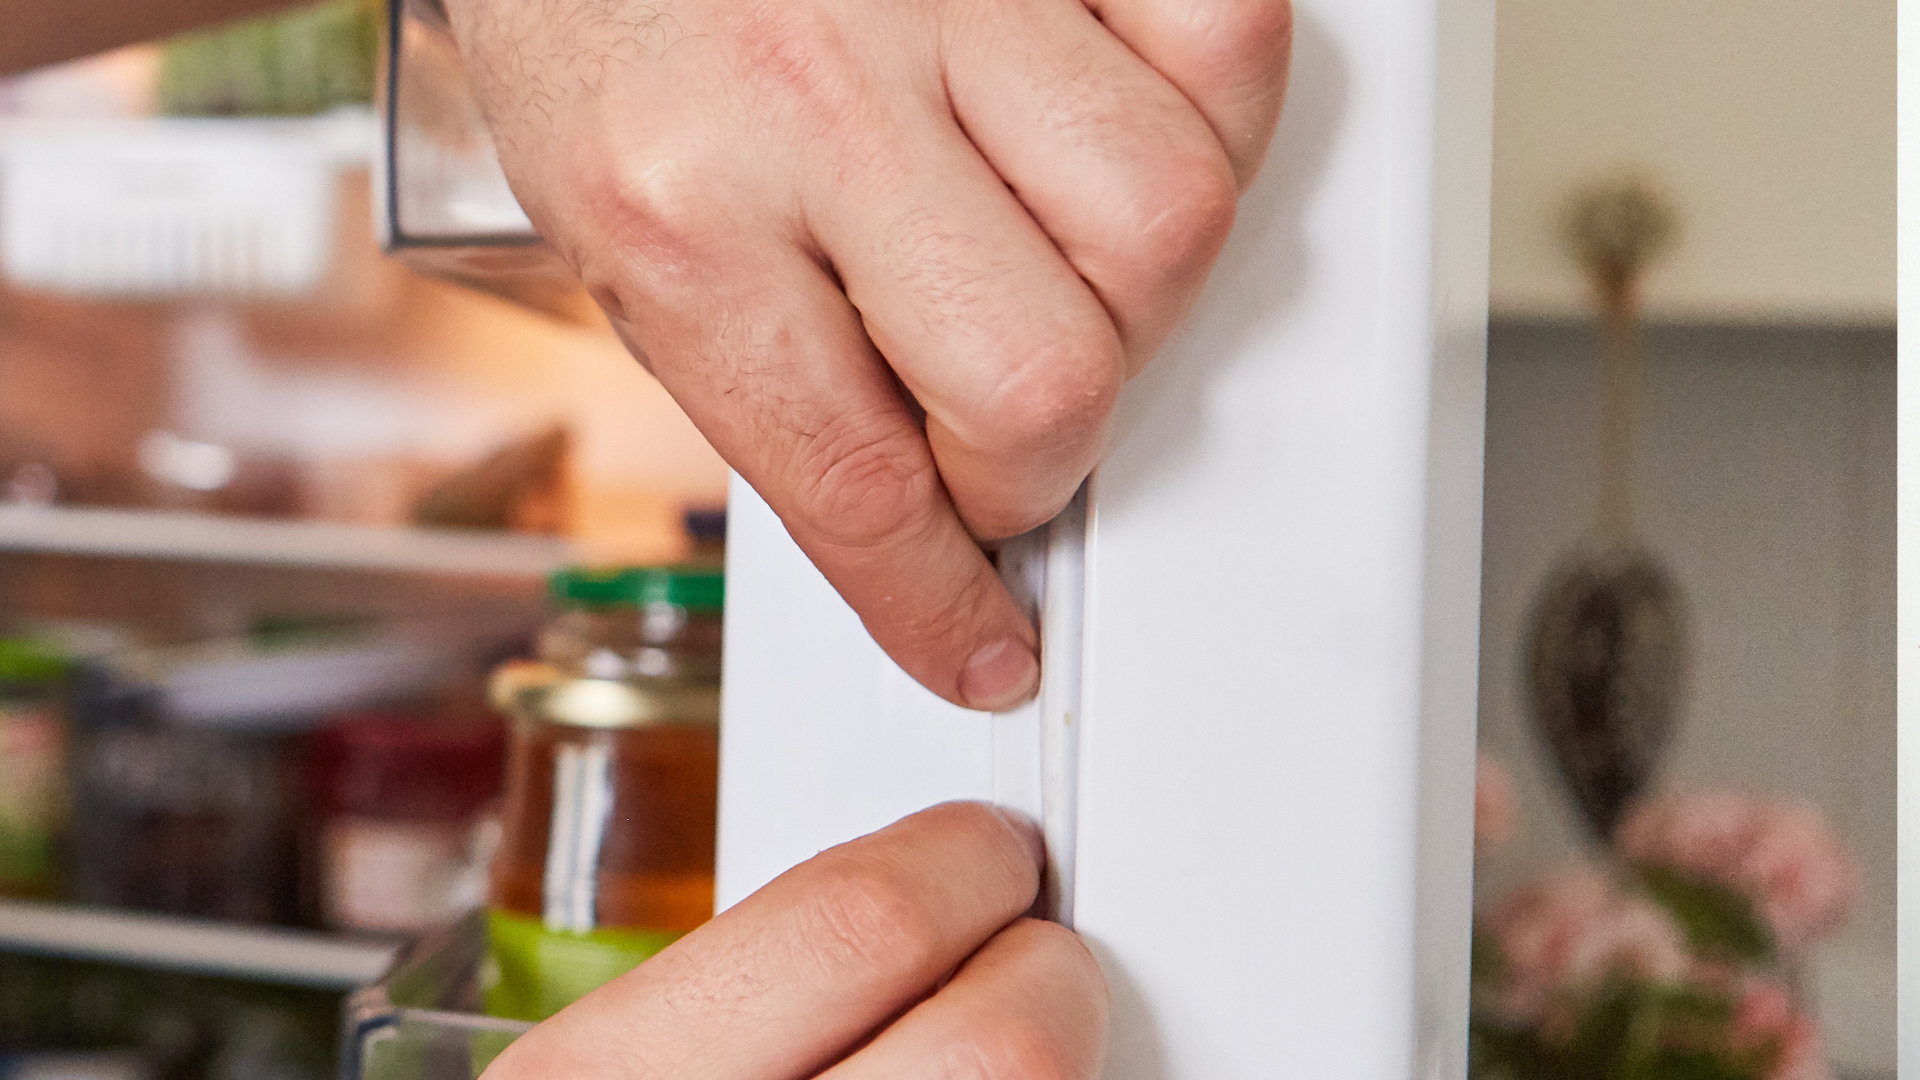
Step 3: Apply Weather Stripping
Weather stripping is a vital component in effectively sealing a shed door, as it helps to prevent drafts, moisture, and pests from infiltrating the interior space. Follow these steps to correctly apply weather stripping to your shed door:
- Measure and Cut: Begin by measuring the dimensions of the door frame and determining the required length of weather stripping. Use a measuring tape to accurately assess the areas where the weather stripping will be applied. Once measured, carefully cut the weather stripping to fit each section of the door frame.
- Apply Adhesive: Depending on the type of weather stripping you have, apply the appropriate adhesive to the back of the weather stripping. Ensure that the adhesive is evenly distributed to promote secure adhesion to the door frame.
- Position and Press: Carefully position the weather stripping along the door frame, starting with the top and working your way down the sides. Press firmly to secure the weather stripping in place, ensuring that it forms a tight seal against the door when closed.
- Test the Seal: After applying the weather stripping, test the door to ensure that it closes securely and that the weather stripping forms a consistent seal around the entire perimeter. Make any necessary adjustments to optimize the seal.
Properly installed weather stripping effectively seals the gaps around the shed door, significantly reducing the infiltration of external elements and enhancing the overall insulation of the shed. This essential step contributes to a more energy-efficient, secure, and comfortable outdoor space.
Apply a weatherproof sealant around the edges of the shed door to prevent water and air from seeping in. Make sure to clean and dry the area before applying the sealant for best results.
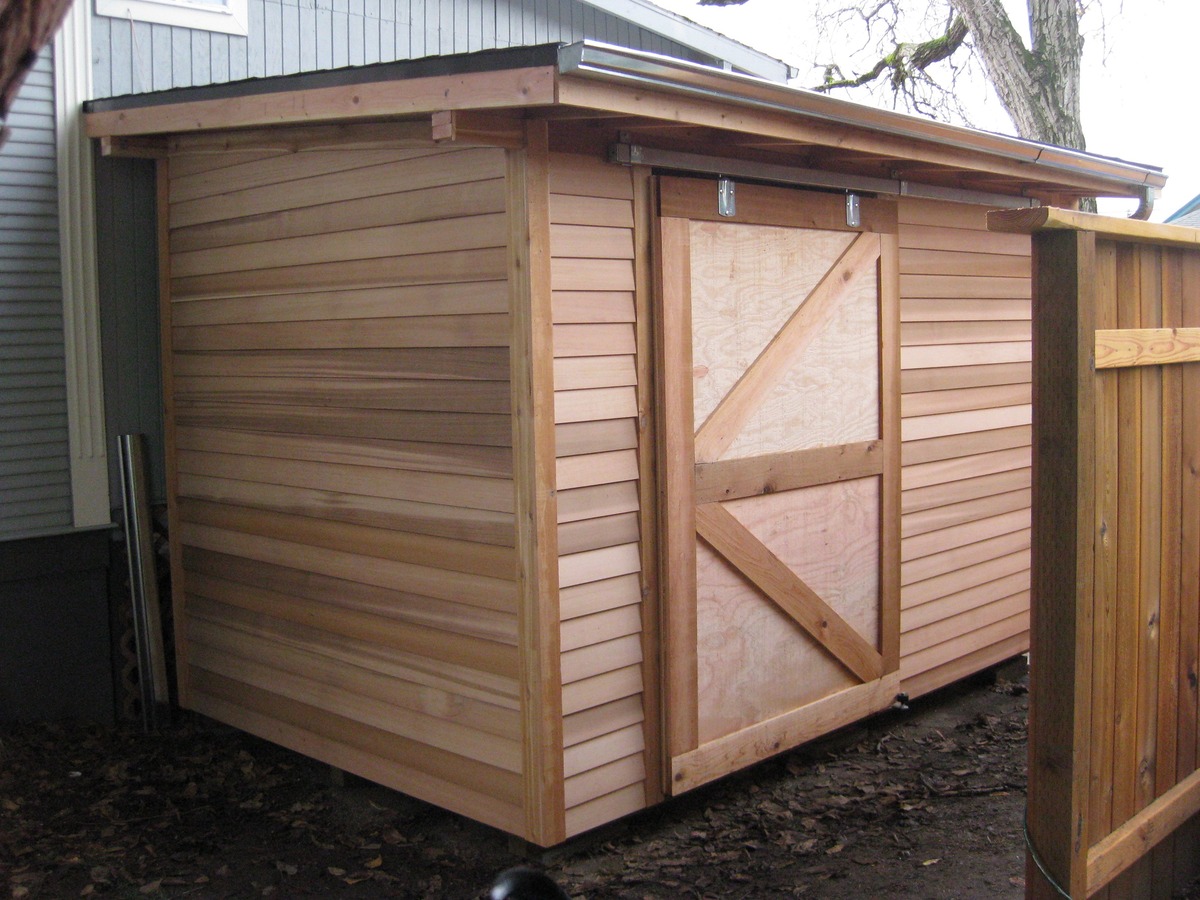
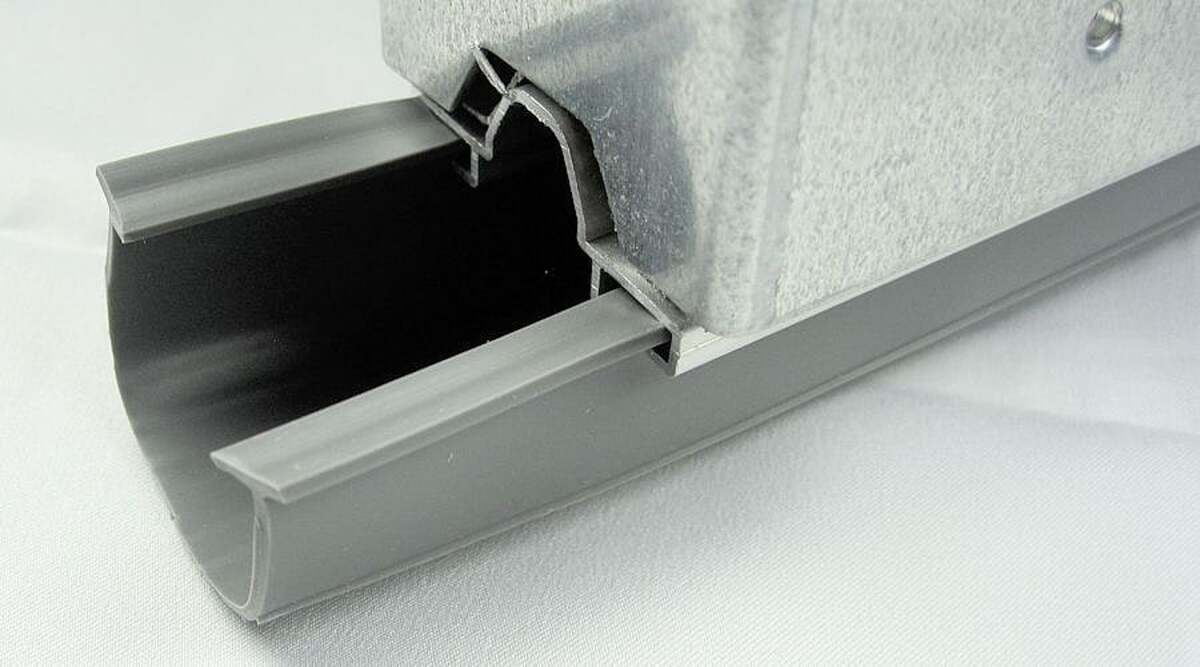
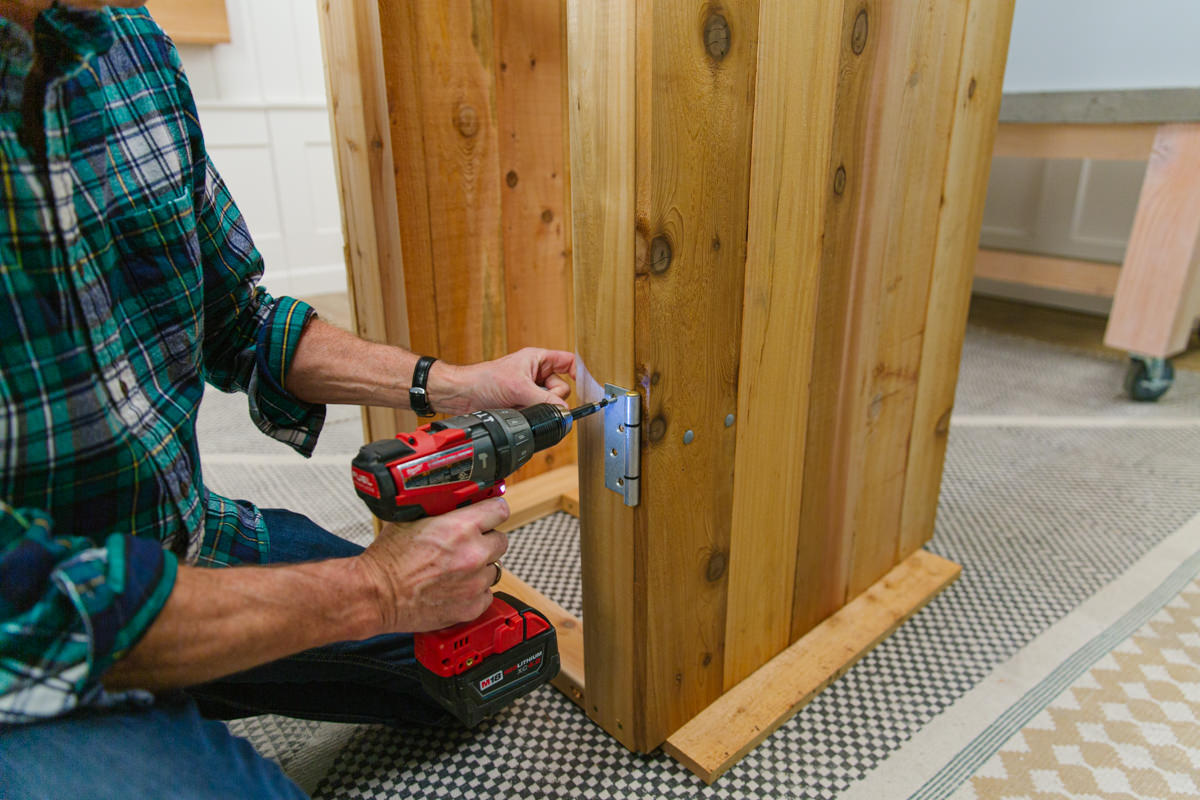
Step 4: Install a Door Sweep
Installing a door sweep is a highly effective way to further enhance the seal of your shed door, particularly along the bottom edge where drafts, pests, and debris can easily enter. Follow these steps to correctly install a door sweep:
- Measure and Trim: Measure the width of the door and trim the door sweep to fit using a saw or suitable cutting tool. Ensure that the door sweep spans the entire width of the door to provide comprehensive coverage.
- Position the Door Sweep: With the door open, position the door sweep along the inner bottom edge of the door. Ensure that it is aligned parallel to the door and extends slightly beyond the edge to effectively block drafts and debris.
- Secure in Place: Depending on the type of door sweep, use screws or adhesive to secure it in place. Ensure that it is firmly attached and forms a tight seal when the door is closed.
- Test for Effectiveness: Close the door and observe the seal created by the door sweep. Verify that it effectively prevents drafts, pests, and dirt from entering under the door. Make any necessary adjustments to optimize the seal.
By installing a door sweep, you further fortify the bottom edge of the shed door, minimizing the potential for drafts, moisture, and unwanted intruders. This simple yet impactful addition contributes to a more secure, clean, and well-insulated shed interior.
Read more: How To Seal A Shed Floor
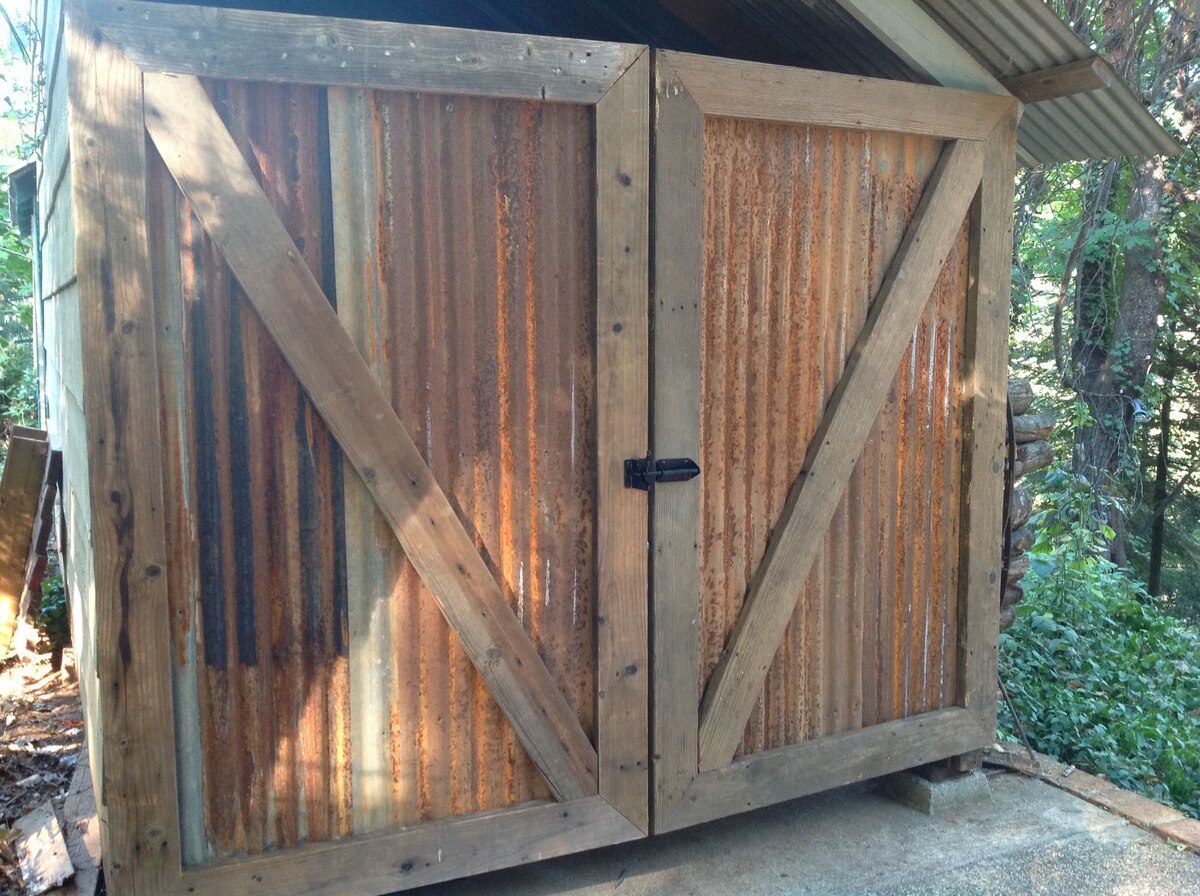
Step 5: Seal Any Gaps
Ensuring that all gaps and potential entry points along the shed door are effectively sealed is crucial for maintaining a secure and weather-resistant outdoor space. Follow these steps to identify and seal any remaining gaps:
- Inspect for Gaps: Carefully examine the entire perimeter of the shed door, including the frame and the areas surrounding the hinges and handle. Look for any gaps, cracks, or spaces where external elements could penetrate.
- Apply Sealant: Using a high-quality outdoor sealant or caulk, fill any identified gaps and cracks around the door frame, hinges, and handle. Ensure that the sealant forms a continuous barrier to prevent moisture, drafts, and pests from entering.
- Smooth and Blend: After applying the sealant, use a putty knife or your finger to smooth and blend the sealant into the surrounding surfaces. This creates a neat and effective seal while ensuring a professional finish.
- Allow for Drying Time: Follow the manufacturer’s instructions regarding the drying time for the sealant. Allow sufficient time for the sealant to cure and form a durable, long-lasting barrier.
By meticulously sealing any remaining gaps around the shed door, you significantly enhance its ability to withstand external elements and maintain a secure, well-protected interior. This proactive measure contributes to the longevity and functionality of your shed, ensuring that it remains a reliable storage and workspace for years to come.
Step 6: Apply a Protective Finish
Applying a protective finish to your shed door serves as the final touch in the sealing process, providing an additional layer of defense against the elements and enhancing the door’s durability. Follow these steps to apply a protective finish:
- Select the Appropriate Finish: Choose a protective finish that is suitable for the material of your shed door, such as wood, metal, or vinyl. Consider finishes that offer weather resistance and UV protection to ensure long-term durability.
- Prepare the Surface: If the door has an existing finish, thoroughly clean and, if necessary, lightly sand the surface to promote adhesion. Ensure that the door is clean and free of any debris before applying the protective finish.
- Apply the Finish: Using a paintbrush, roller, or sprayer, apply the protective finish to the entire surface of the door, following the manufacturer’s instructions. Ensure even coverage and pay special attention to the edges and corners.
- Allow for Drying and Curing: After applying the protective finish, allow sufficient time for drying and curing as per the manufacturer’s recommendations. This ensures that the finish forms a robust barrier and provides long-lasting protection.
- Inspect and Reapply if Necessary: Once the finish has dried, inspect the door for any missed areas or uneven coverage. If needed, apply an additional coat of the protective finish to ensure comprehensive protection.
By applying a protective finish, you not only enhance the aesthetic appeal of the shed door but also fortify it against the effects of sun, rain, and other environmental factors. This proactive measure contributes to the longevity and resilience of the door, ensuring that it remains a reliable and visually appealing component of your outdoor structure.
Conclusion
Congratulations on successfully completing the process of sealing your shed door! By following the comprehensive steps outlined in this guide, you have taken proactive measures to enhance the security, weather resistance, and longevity of your shed door, ultimately contributing to a more functional and well-protected outdoor space.
Sealing a shed door is a valuable investment that offers a multitude of benefits, including:
- Protection from the Elements: A well-sealed door minimizes the infiltration of moisture, drafts, and pests, safeguarding the contents of your shed from potential damage.
- Energy Efficiency: By reducing air leaks and improving insulation, a properly sealed door contributes to a more energy-efficient shed, potentially lowering heating and cooling costs.
- Enhanced Durability: The application of weather stripping, door sweeps, sealants, and protective finishes fortifies the door against wear and tear, extending its lifespan.
- Improved Aesthetics: A sealed and well-maintained door enhances the overall appearance of your shed, creating a more visually appealing outdoor space.
As you admire your newly sealed shed door, take pride in the proactive steps you have taken to ensure the integrity of your outdoor structure. Whether your shed serves as a storage space, workshop, or recreational area, a properly sealed door is a fundamental element in maintaining a functional and inviting environment.
Remember that periodic inspections and maintenance will further prolong the benefits of your sealing efforts. Regularly check the condition of the weather stripping, door sweep, sealant, and protective finish, and make any necessary repairs or replacements to uphold the door’s effectiveness.
With a properly sealed shed door, you can confidently store your belongings, pursue hobbies, or simply relax in a well-protected and comfortable space, knowing that your outdoor structure is equipped to withstand the elements and serve your needs for years to come.
Thank you for entrusting us with the guidance to seal your shed door. We hope this comprehensive guide has empowered you to enhance the functionality, security, and resilience of your shed, creating a space that truly reflects your care and attention to detail.
Now that you've mastered sealing your shed door, why stop there? Winter is around the corner, and optimal door insulation can significantly cut energy costs and enhance comfort. Check out our detailed guide on superior door insulation for the upcoming year. Additionally, if you're tired of battling pantry moths, our expert tips on effective pest control tactics will help ensure your home is pest-free. Dive into these articles for more practical advice!
Frequently Asked Questions about How To Seal A Shed Door
Was this page helpful?
At Storables.com, we guarantee accurate and reliable information. Our content, validated by Expert Board Contributors, is crafted following stringent Editorial Policies. We're committed to providing you with well-researched, expert-backed insights for all your informational needs.


0 thoughts on “How To Seal A Shed Door”