Articles
How To Fix Water Dispenser On Fridge
Modified: February 27, 2024
Looking for articles on how to fix the water dispenser on your fridge? Get expert tips and step-by-step instructions to resolve the issue and enjoy clean, refreshing water at home.
(Many of the links in this article redirect to a specific reviewed product. Your purchase of these products through affiliate links helps to generate commission for Storables.com, at no extra cost. Learn more)
Introduction
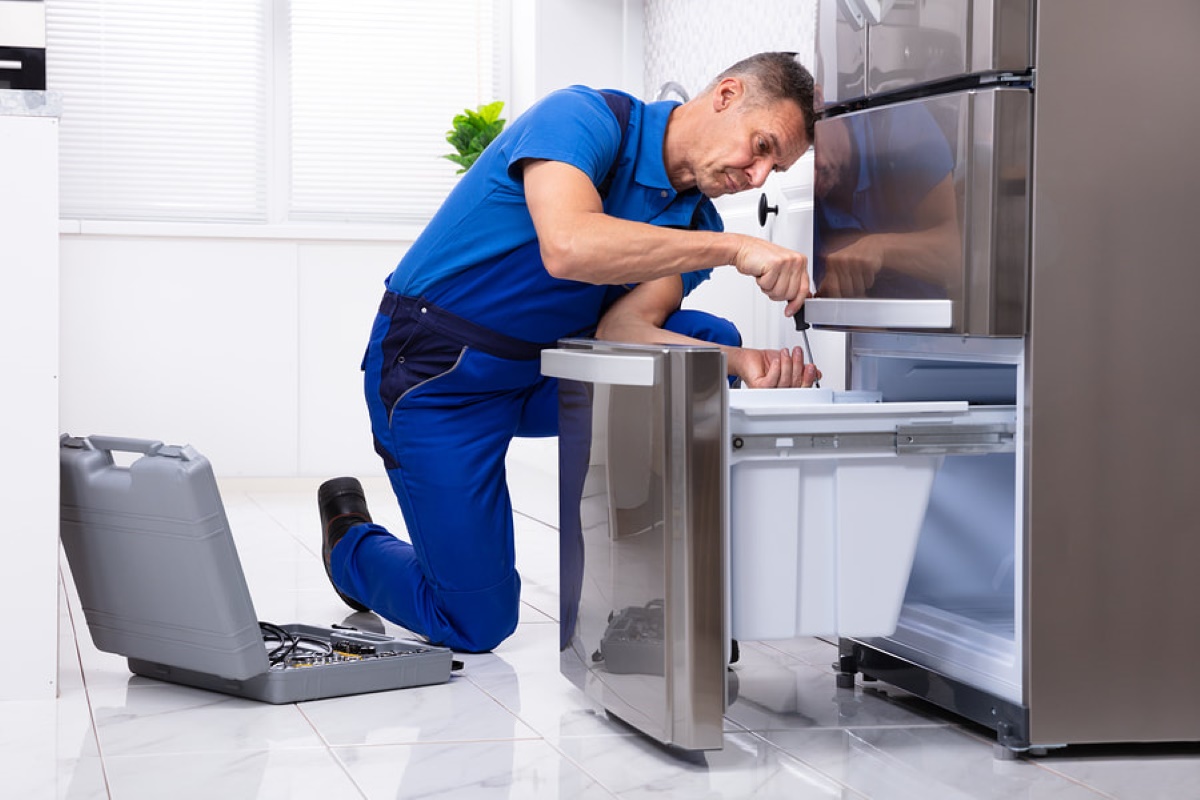
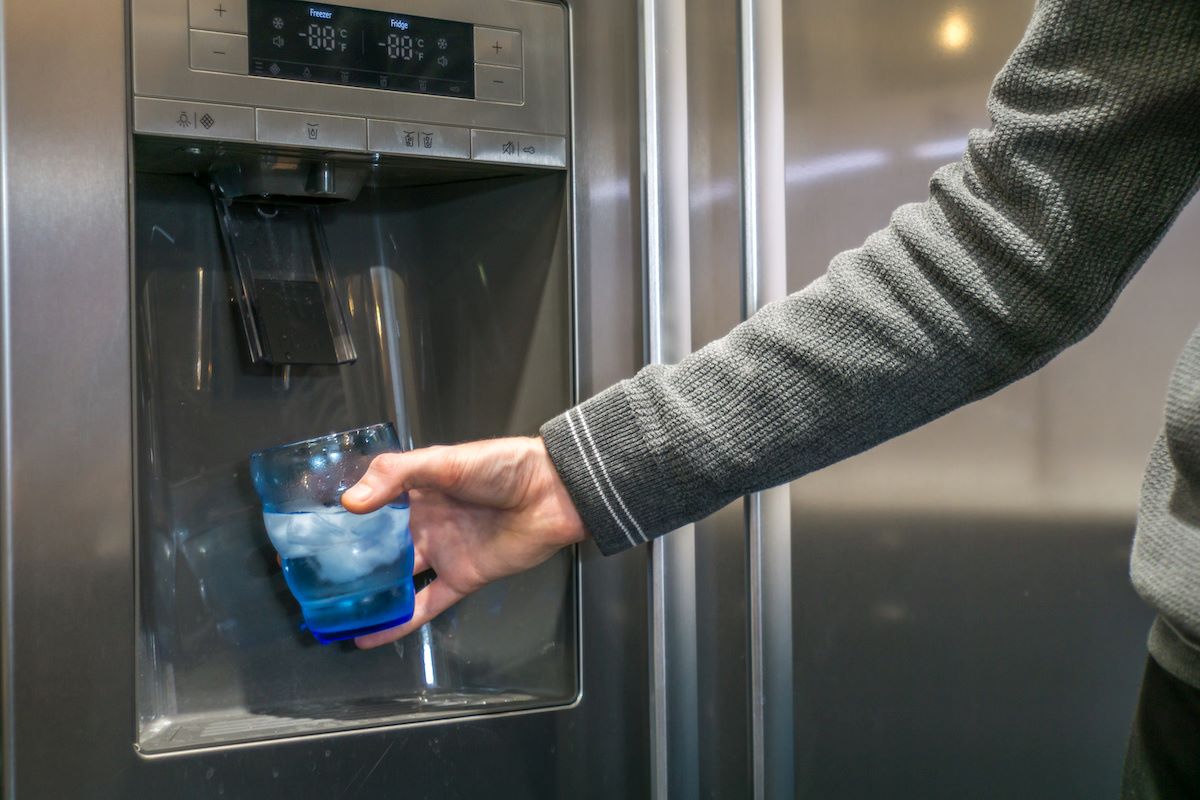
The water dispenser on your fridge is a convenient feature that provides you with instant access to fresh, cold water whenever you need it. However, like any other appliance, it may encounter issues that require attention and troubleshooting. In this article, we will guide you through the common problems that can occur with a water dispenser on a fridge and provide step-by-step instructions on how to fix them.
Before diving into the troubleshooting process, it is important to note that safety should always be a top priority. Make sure to disconnect your fridge from the power supply and follow any additional safety instructions mentioned in the user manual. Additionally, be cautious when handling any components or tools to avoid injuries.
Now, let’s take a look at the most common issues you may encounter with your fridge’s water dispenser.
Key Takeaways:
- Ensure safety first by disconnecting power and following user manual instructions. Troubleshoot water supply, inlet valve, filter, and dispenser components to fix fridge water dispenser issues effectively.
- Gather necessary tools, follow safety precautions, and systematically troubleshoot water dispenser issues to restore functionality. Seek professional assistance if uncomfortable with advanced repairs.
Read more: How To Install Fridge With Water Dispenser
Common Issues with Water Dispenser on Fridge
The water dispenser on your fridge may experience various problems that can hinder its proper functioning. Here are some of the most common issues you may encounter:
- No water flow: One of the common issues is when the water dispenser does not dispense any water. This can be caused by a variety of factors such as a clogged water line or a malfunctioning water inlet valve.
- Low water pressure: Another issue is when the water dispenser has low water pressure, resulting in a weak stream of water. This can be caused by a partially-clogged water filter or a problem with the supply line.
- Leaking water: A leaking water dispenser can create a mess and potentially damage your fridge or flooring. Leaks can be caused by a damaged or misaligned water line, a faulty water inlet valve, or a cracked dispenser unit.
- Strange taste or odor: If the water from your fridge’s dispenser has an unpleasant taste or odor, it could be a sign of a dirty or expired water filter that needs to be replaced.
- Frozen water line: In colder climates or due to prolonged periods of inactivity, the water line leading to the dispenser may freeze, preventing water from flowing. This can be resolved by thawing the line or adjusting the fridge’s temperature settings.
Now that we have identified the common problems, let’s move on to the tools and materials you will need to fix these issues.
Tools and Materials Needed
To effectively troubleshoot and fix the issues with your fridge’s water dispenser, you will need the following tools and materials:
- Screwdriver: A screwdriver will be necessary to remove any screws or panels that may be blocking access to the dispenser components.
- Adjustable wrench: An adjustable wrench will be useful for loosening and tightening connections, such as those on the water inlet valve.
- Bucket or container: Keep a bucket or container nearby to catch any water that may leak during the troubleshooting process.
- Soft brush or cloth: You will need a soft brush or cloth to clean the water line, dispenser unit, and other components.
- Replacement parts: Depending on the specific problem, you may need to have replacement parts on hand, such as a new water filter, water inlet valve, or dispenser switch.
- User manual: It is always a good idea to have the user manual for your fridge on hand. It will provide you with specific instructions and diagrams relevant to your model.
- Teflon tape: Teflon tape can be useful for ensuring a tight and leak-free connection between water line fittings.
Make sure to gather all the necessary tools and materials before starting the troubleshooting process to ensure a smooth and efficient experience. Additionally, it’s important to take proper safety precautions to avoid any mishaps or damage to your fridge.
Next, we will discuss the safety precautions that need to be taken while working on your fridge’s water dispenser.
Safety Precautions
When working on your fridge’s water dispenser, it is crucial to prioritize safety to prevent any accidents or damage. Here are some essential safety precautions to keep in mind:
- Disconnect power supply: Before starting any troubleshooting or repair work, always unplug your fridge from the power outlet. This will eliminate the risk of electric shock while handling electrical components.
- Wear protective gloves and goggles: To protect your hands from any sharp edges or chemicals, wear a pair of protective gloves. Additionally, wearing goggles will safeguard your eyes from any debris or splashes.
- Read the user manual: Familiarize yourself with the user manual for your fridge. It will provide specific safety instructions and guidance for working on the water dispenser.
- Use proper lifting techniques: If you need to move or lift any heavy components, make sure to use proper lifting techniques to avoid strain or injuries. If necessary, ask for assistance.
- Be cautious around electrical connections: When working on the water inlet valve or any electrical connections, be careful not to touch any live wires. If needed, use an insulated tool to handle electrical components.
- Turn off water supply: Before disconnecting any water lines or valves, ensure that the water supply to the refrigerator is turned off. This will prevent flooding or water damage during the repair process.
- Handle chemicals safely: If you need to use any cleaning agents or chemicals during the troubleshooting process, ensure proper ventilation and follow the manufacturer’s instructions for safe usage and disposal.
- Take your time: Rushing through the troubleshooting process can lead to mistakes or accidents. Take your time to carefully assess and address each issue, following the recommended steps and instructions.
By following these safety precautions, you can ensure a safer working environment and minimize the risk of injuries or damage. Now that we have covered the safety aspects, we can move on to the step-by-step troubleshooting process to fix your fridge’s water dispenser issues.
Step 1: Check Water Supply
The first step in troubleshooting your fridge’s water dispenser is to check the water supply. A lack of water flow or low water pressure could indicate a problem with the water supply itself. Follow these steps to check the water supply:
- Inspect the water line: Start by examining the water line that connects your fridge to the main water supply. Ensure that it is properly connected and not bent, kinked, or damaged.
- Turn on the water supply valve: Locate the water supply valve usually located near the back of the fridge or underneath the sink. Make sure the valve is fully open to allow water to flow to the fridge.
- Check for blockages: If the water line appears to be fine and the valve is fully open, check for any blockages in the line. Disconnect the water line from the back of the fridge and use a bucket or container to catch any water. Run the water through the line to check for any obstructions or debris.
- Check water pressure: If the water flow seems weak, check the water pressure in your home. Low water pressure can affect the performance of your fridge’s water dispenser. Contact a plumber if you suspect an issue with the water pressure.
- Test other faucets: Check if other faucets in your home are experiencing similar water flow or pressure issues. If they are, it could indicate a problem with the main water supply and should be addressed by a professional.
If the water supply checks out and appears to be functioning properly, proceed to the next step of troubleshooting. If there are any issues with the water supply, resolve them first before moving on to other troubleshooting steps. In the next step, we will inspect the water inlet valve.
Step 2: Inspect Water Inlet Valve
The water inlet valve is responsible for controlling the flow of water into your fridge’s water dispenser. If the water supply is fine but there is still no water flow, the water inlet valve may be the culprit. Follow these steps to inspect and troubleshoot the water inlet valve:
- Locate the water inlet valve: The water inlet valve is typically located at the back of the fridge, near the bottom. It is connected to the water line.
- Disconnect power and water supply: Before proceeding, make sure to disconnect your fridge from the power supply and turn off the water supply.
- Inspect for leaks or damage: Carefully examine the water inlet valve for any signs of leaks or visible damage. Look for cracks, corrosion, or loose connections. If you notice any issues, the valve may need to be replaced.
- Clean the valve: If there are no visible leaks or damage, the valve may be clogged with debris or mineral deposits. Use a soft brush or cloth to clean the valve and remove any built-up residue. Be gentle to avoid damaging the valve.
- Test the valve: Reconnect the water supply and power to the fridge. With caution, turn on the water supply and observe the water inlet valve’s operation. If it is not functioning properly or still causing issues, consider replacing the valve.
If the water inlet valve is the cause of the problem, replacing it with a new one may be necessary. Consult your fridge’s user manual for the specific steps and guidelines on replacing the water inlet valve.
Once you have inspected and addressed any issues with the water inlet valve, move on to the next step of troubleshooting, which involves cleaning or replacing the water filter.
Step 3: Clean or Replace Filter
The water filter in your fridge is responsible for removing impurities and contaminants from the water, ensuring that you have clean and fresh-tasting water from the dispenser. Over time, the filter can become clogged or reach its lifespan, resulting in reduced water flow or strange taste/odor. Follow these steps to clean or replace the water filter:
- Locate the water filter: The water filter is usually found inside the fridge, either in the grille or at the back. Consult your fridge’s user manual if you are unsure about its location.
- Turn off the water supply: Before removing the water filter, turn off the water supply to prevent any leaks or spills.
- Remove the filter: Depending on the model, you may need to twist, pull, or push a button to remove the filter. Follow the instructions provided in the manual for your specific fridge.
- Clean the filter: If your filter is washable, follow the manufacturer’s instructions on how to clean it properly. Usually, rinsing it under running water or soaking it in a solution of water and mild detergent is sufficient. Make sure the filter is completely dry before reinstalling.
- Replace the filter: If your filter is not washable or if it is beyond cleaning, it is time to replace it. Purchase a compatible replacement filter and install it according to the manufacturer’s instructions.
- Reset the filter indicator: After installing a new filter, be sure to reset the filter indicator light (if your fridge has one) to ensure accurate monitoring of the filter’s lifespan.
By cleaning or replacing the water filter, you can improve water flow and eliminate any strange tastes or odors. If the water flow issue persists after cleaning or replacing the filter, continue to the next step of troubleshooting.
Next, we will examine the water line leading to the dispenser to check for any possible issues.
Check the water supply line for any kinks or blockages. Clean the water filter and replace if necessary. If the issue persists, the water inlet valve may need to be replaced.
Step 4: Examine Water Line
The water line that supplies water to your fridge’s dispenser can sometimes become blocked, kinked, or damaged, leading to restricted or no water flow. In this step, we will examine the water line and address any issues that may be affecting the dispenser’s performance. Follow these steps to examine the water line:
- Disconnect power and water supply: Before starting any work, disconnect your fridge from the power supply and turn off the water supply.
- Locate the water line: The water line is usually located at the back of the fridge. It connects to the water inlet valve and runs to the dispenser area.
- Check for blockages: Carefully examine the water line for any blockages, such as ice, debris, or mineral deposits. If any blockages are found, clear them using a soft brush or cloth. Be cautious not to damage or puncture the line.
- Inspect for kinks or damage: Look for any kinks, bends, or visible damage in the water line. Straighten out any kinks or replace the line if it is damaged beyond repair.
- Reconnect the water supply: After examining and addressing any issues with the water line, reconnect the water supply and turn it on. Check for any leaks or abnormalities in the water flow.
- Test the dispenser: With caution, turn on the dispenser and observe if the water flow has improved. If it is still not functioning properly, continue to the next step of troubleshooting.
Addressing any blockages, kinks, or damage in the water line can restore proper water flow to your fridge’s dispenser. If the dispenser’s performance has not improved after examining the water line, proceed to the next step to test the dispenser switch.
Let’s move on to Step 5: Test Dispenser Switch.
Step 5: Test Dispenser Switch
The dispenser switch is responsible for activating the water flow when you press the water dispenser lever. If the switch is faulty or not functioning correctly, it can hinder the water dispenser’s performance. Follow these steps to test the dispenser switch:
- Disconnect power supply: Before proceeding, disconnect your fridge from the power supply for safety.
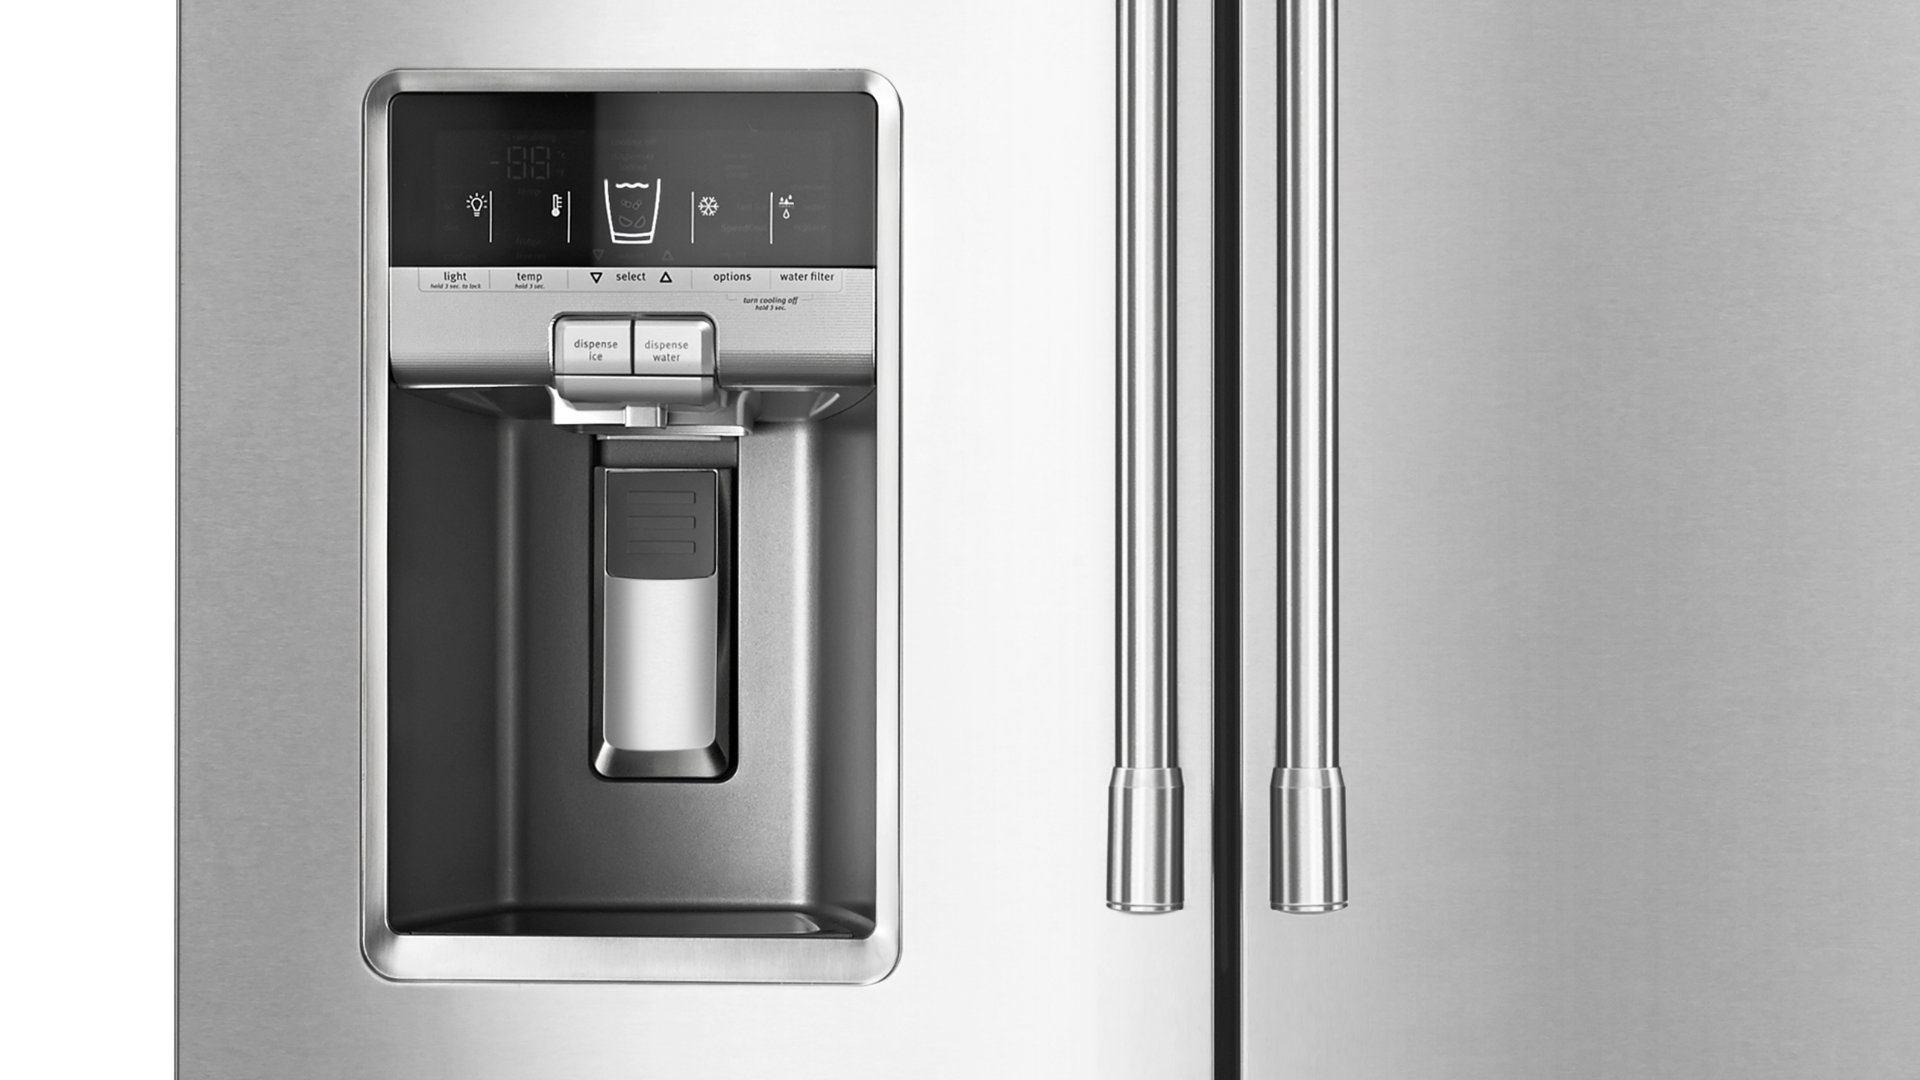
- Locate the dispenser switch: The dispenser switch is typically located behind the dispenser panel or inside the control panel. Refer to your fridge’s user manual for specific instructions on accessing the switch.
- Inspect the switch: Carefully examine the dispenser switch for any visible damage, loose connections, or signs of wear. If you notice any issues, consider replacing the switch.
- Test the switch: With caution, press the dispenser switch while the power supply is still disconnected. Listen for a clicking sound, indicating that the switch is activating properly. If there is no click or the switch feels stiff, it may need to be replaced.
- Reconnect power supply: Once you have completed the testing, reconnect the power supply to the fridge.
- Test the dispenser: Turn on the dispenser to check if the water flow has improved. If the water is still not dispensing correctly, move on to the next step to check for a frozen water line.
If the dispenser switch is faulty or not functioning correctly, replacing it should resolve the issue. Consult your fridge’s user manual for specific instructions on replacing the dispenser switch or consider seeking professional assistance.
Now, let’s move on to Step 6: Check for a Frozen Water Line.
Read more: Why Is Water Dispenser On Fridge Not Working
Step 6: Check for Frozen Water Line
In colder climates or during periods of inactivity, the water line leading to the dispenser can freeze, resulting in no water flow. If you suspect a frozen water line, follow these steps to check and thaw it:
- Disconnect power supply: As always, disconnect your fridge from the power supply for safety.
- Locate the water line: Identify the water line that runs to the dispenser area. It is typically located at the back of the fridge.
- Inspect for ice: Carefully examine the water line for any signs of ice buildup. Look for frost or a solid blockage in the line. If you notice ice, proceed to thaw it.
- Thaw the water line: There are a few methods to thaw a frozen water line. Here are a couple of options:
- Warm air method: Use a hairdryer on a low or medium setting to blow warm air along the water line. Move the hairdryer in a sweeping motion to avoid applying too much heat to a single area.
- Towel method: Soak a towel in warm water and wrap it around the frozen section of the water line. This can help transfer heat and thaw the ice.
Be patient and avoid using excessive heat, as it can damage the water line or other components.
- Reconnect power supply: Once you have thawed the water line, reconnect the power supply to the fridge.
- Test the dispenser: Turn on the dispenser to check if the water flow has been restored. If the water is now dispensing properly, you have successfully resolved the issue. If not, proceed to the next step to inspect the dispenser motor.
Thawing the frozen water line should restore the water flow to your fridge’s dispenser. However, if the problem persists or the water line continues to freeze, you may need to consider adjusting the fridge’s temperature settings or seeking assistance from a professional.
Now, let’s move on to Step 7: Inspect the Dispenser Motor.
Step 7: Inspect Dispenser Motor
The dispenser motor plays a crucial role in activating the water flow when you press the dispenser lever. If the motor is not working correctly, it can lead to issues with water dispensing. Follow these steps to inspect the dispenser motor:
- Disconnect power supply: Before beginning any work, disconnect your fridge from the power supply to ensure safety.
- Locate the dispenser motor: The dispenser motor is typically located behind the dispenser panel or inside the control panel. Refer to your fridge’s user manual for specific instructions on accessing the motor.
- Inspect the motor: Carefully examine the dispenser motor for any signs of damage, loose connections, or burnt-out components. If you notice any issues, the motor may need to be replaced.
- Test the motor: With caution, reconnect the power supply and press the dispenser lever. Listen for any noise or humming sound coming from the motor. If you do not hear anything or if the motor does not activate, it indicates a problem.
- Consider professional assistance: If the motor is not functioning correctly, it is recommended to seek professional help in diagnosing and replacing the motor.
If the dispenser motor is indeed faulty, replacing it should resolve the issue with water dispensing. Consult your fridge’s user manual for specific instructions, and consider contacting a professional if you are unsure or uncomfortable with the replacement process.
If the dispenser motor is working properly but the water flow issue persists, it may be necessary to replace the entire water dispenser unit. Let’s move on to the final step, Step 8: Replace Water Dispenser Unit.
Step 8: Replace Water Dispenser Unit
If you have exhausted all troubleshooting options and the water flow issue with your fridge’s dispenser persists, it may be necessary to replace the entire water dispenser unit. This step should only be done if all other potential causes have been ruled out. Follow these steps to replace the water dispenser unit:
- Disconnect power supply: Before beginning any work, ensure that your fridge is disconnected from the power supply for safety.
- Consult the user manual: Refer to your fridge’s user manual for specific instructions on how to remove and replace the water dispenser unit. It may involve removing panels or accessing the dispenser assembly from behind.
- Remove the old dispenser unit: Carefully follow the instructions provided in the user manual to remove the old water dispenser unit. Take note of any screws, connectors, or clips that need to be detached.
- Install the new dispenser unit: Once the old unit is removed, carefully install the new water dispenser unit in its place. Follow the instructions in the user manual to ensure proper installation.
- Reconnect power supply: Once the new dispenser unit is securely in place, reconnect the power supply to the fridge.
- Test the new dispenser unit: Turn on the dispenser and check if the water flow has been successfully restored. Verify that the unit is functioning correctly and dispensing water as expected.
Replacing the water dispenser unit is a more advanced step and may require professional assistance, especially if you are not comfortable or experienced in handling appliance repairs. Consider reaching out to a qualified technician if you are unsure about the replacement process or encounter any difficulties.
With the new water dispenser unit in place, your fridge’s water flow issues should be resolved. Ensure that you follow the manufacturer’s instructions and recommendations for the proper maintenance and care of the new unit to prevent future problems.
By following these troubleshooting steps and replacing any faulty components if needed, you can successfully fix the water dispenser on your fridge and enjoy fresh, cold water whenever you need it.
I hope this guide has been helpful in resolving your water dispenser issues. If you have any further questions or concerns, do not hesitate to seek professional assistance or contact the manufacturer for additional support.
Thank you for reading and best of luck with repairing your fridge’s water dispenser!
Conclusion
Fixing a water dispenser on a fridge requires patience, troubleshooting skills, and some basic tools. By following the step-by-step process outlined in this guide, you can diagnose and resolve common issues that may be affecting the water flow and performance of your fridge’s dispenser.
We began by addressing common problems with the water dispenser, such as no water flow, low water pressure, leaks, and strange taste or odor. We then discussed the tools and materials needed for the troubleshooting process, emphasizing the importance of safety precautions.
Throughout the troubleshooting steps, we covered various aspects, including checking the water supply, inspecting the water inlet valve, cleaning or replacing the water filter, examining the water line, testing the dispenser switch, checking for a frozen water line, inspecting the dispenser motor, and, ultimately, replacing the water dispenser unit when necessary.
It is worth mentioning that if you encounter any issues during the troubleshooting process or feel uncomfortable handling certain tasks, it is advisable to seek professional assistance. Refrigerators can be complex appliances, and it is crucial to prioritize your safety and the proper functioning of the unit.
By following the steps outlined in this guide and taking the necessary precautions, you can successfully troubleshoot and fix common water dispenser issues on your fridge. Enjoy the convenience and refreshing joy of having a fully functional water dispenser in your kitchen!
Thank you for reading, and best of luck with repairing your fridge’s water dispenser!
Frequently Asked Questions about How To Fix Water Dispenser On Fridge
Was this page helpful?
At Storables.com, we guarantee accurate and reliable information. Our content, validated by Expert Board Contributors, is crafted following stringent Editorial Policies. We're committed to providing you with well-researched, expert-backed insights for all your informational needs.

0 thoughts on “How To Fix Water Dispenser On Fridge”