Articles
How To Fix Siding That Fell Off
Modified: August 31, 2024
Learn how to easily fix siding that has fallen off with our informative articles. Find step-by-step instructions and helpful tips for repairing your damaged siding.
(Many of the links in this article redirect to a specific reviewed product. Your purchase of these products through affiliate links helps to generate commission for Storables.com, at no extra cost. Learn more)
Introduction
Having siding that falls off can be a frustrating and unsightly issue that many homeowners face. Whether it’s due to age, weather damage, or improper installation, a fallen siding can compromise the integrity of your home’s exterior and leave it vulnerable to further damage. However, with the right tools and techniques, you can easily fix the siding that has fallen off and restore the beauty and functionality of your home.
In this article, we will guide you through the step-by-step process of fixing siding that has fallen off. We will discuss the common causes of siding falling off, how to assess the damage, and the necessary tools and materials you’ll need to complete the repair. Additionally, we will provide a detailed guide on how to properly remove and reattach the siding, as well as important maintenance tips to prevent future issues.
Before we dive into the repair process, it’s important to note that if you are not comfortable or confident in your DIY skills, it’s always best to consult a professional. They have the expertise and experience to handle siding repairs efficiently and effectively.
By taking the time to repair your siding, you’ll not only improve the appearance of your home but also protect it from further damage and increase its overall value. So, let’s get started and learn how to fix siding that has fallen off!
Key Takeaways:
- Understanding the causes of siding falling off, assessing the damage, and having the necessary tools and materials are crucial for a successful repair process.
- Properly preparing the surface, applying adhesive or caulk, reattaching the siding, and implementing maintenance tips are essential steps in fixing fallen siding and ensuring its longevity.
Understanding the Causes of Siding Falling Off
Before you can effectively fix siding that has fallen off, it’s important to understand the underlying causes of this issue. By identifying the root cause, you can take appropriate measures to prevent future siding failures. Here are some common causes of siding falling off:
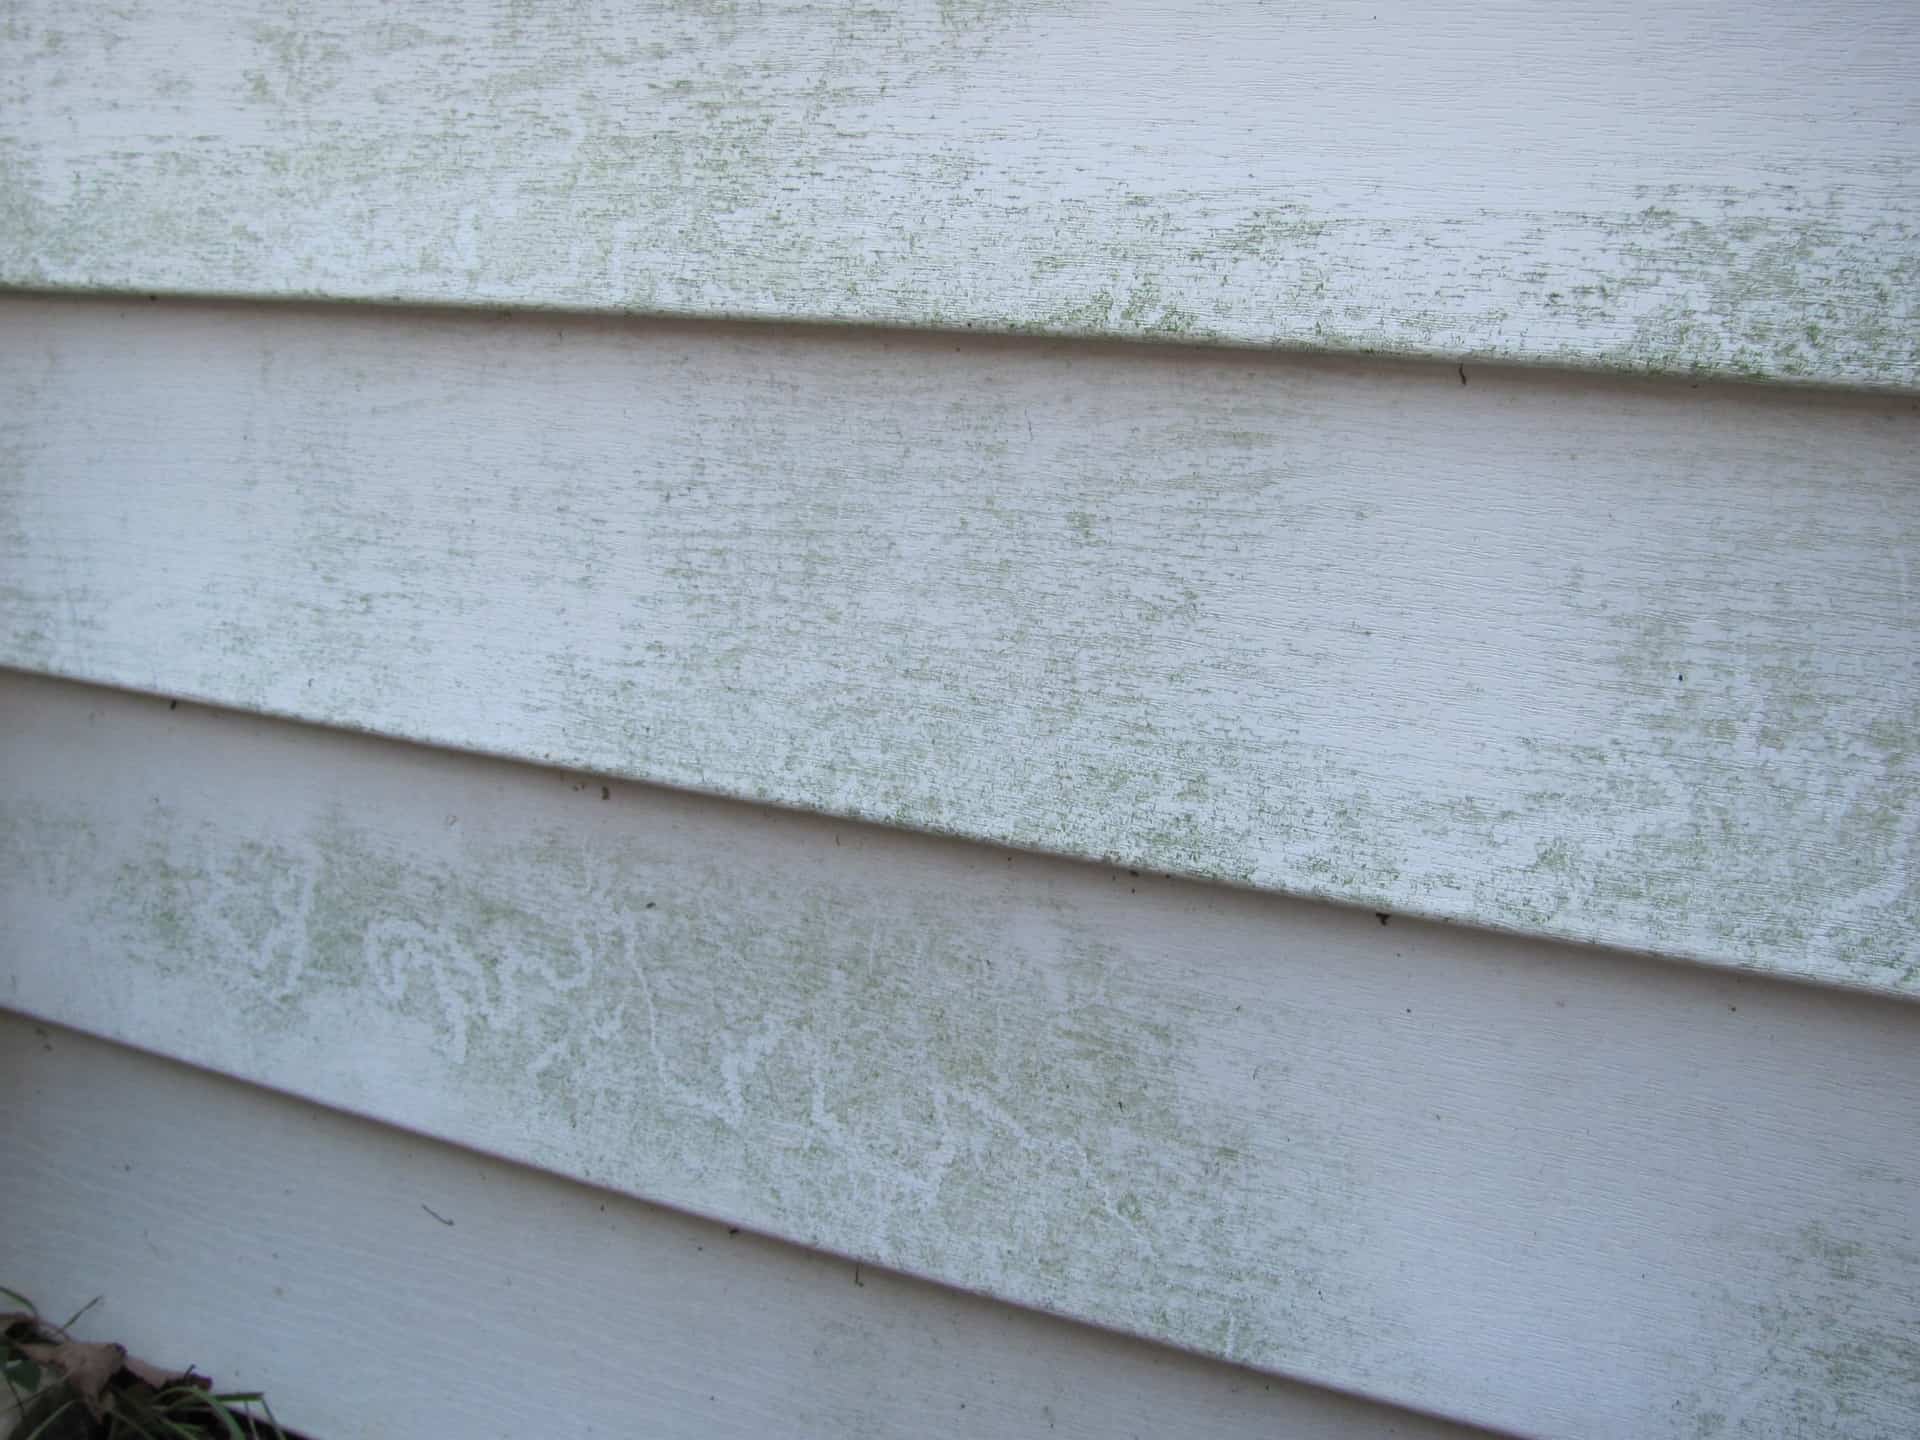
- Weather Damage: One of the main reasons for siding falling off is extreme weather conditions. Heavy winds, hailstorms, and torrential rain can loosen and damage the siding, making it more susceptible to falling off. Additionally, prolonged exposure to harsh sunlight and extreme temperatures can cause the siding materials to weaken and deteriorate over time.
- Poor Installation: Improper installation of siding can also lead to it falling off prematurely. If the siding was not securely fastened or if the nails were not properly driven into the studs, the siding may become loose and eventually detach from the house.
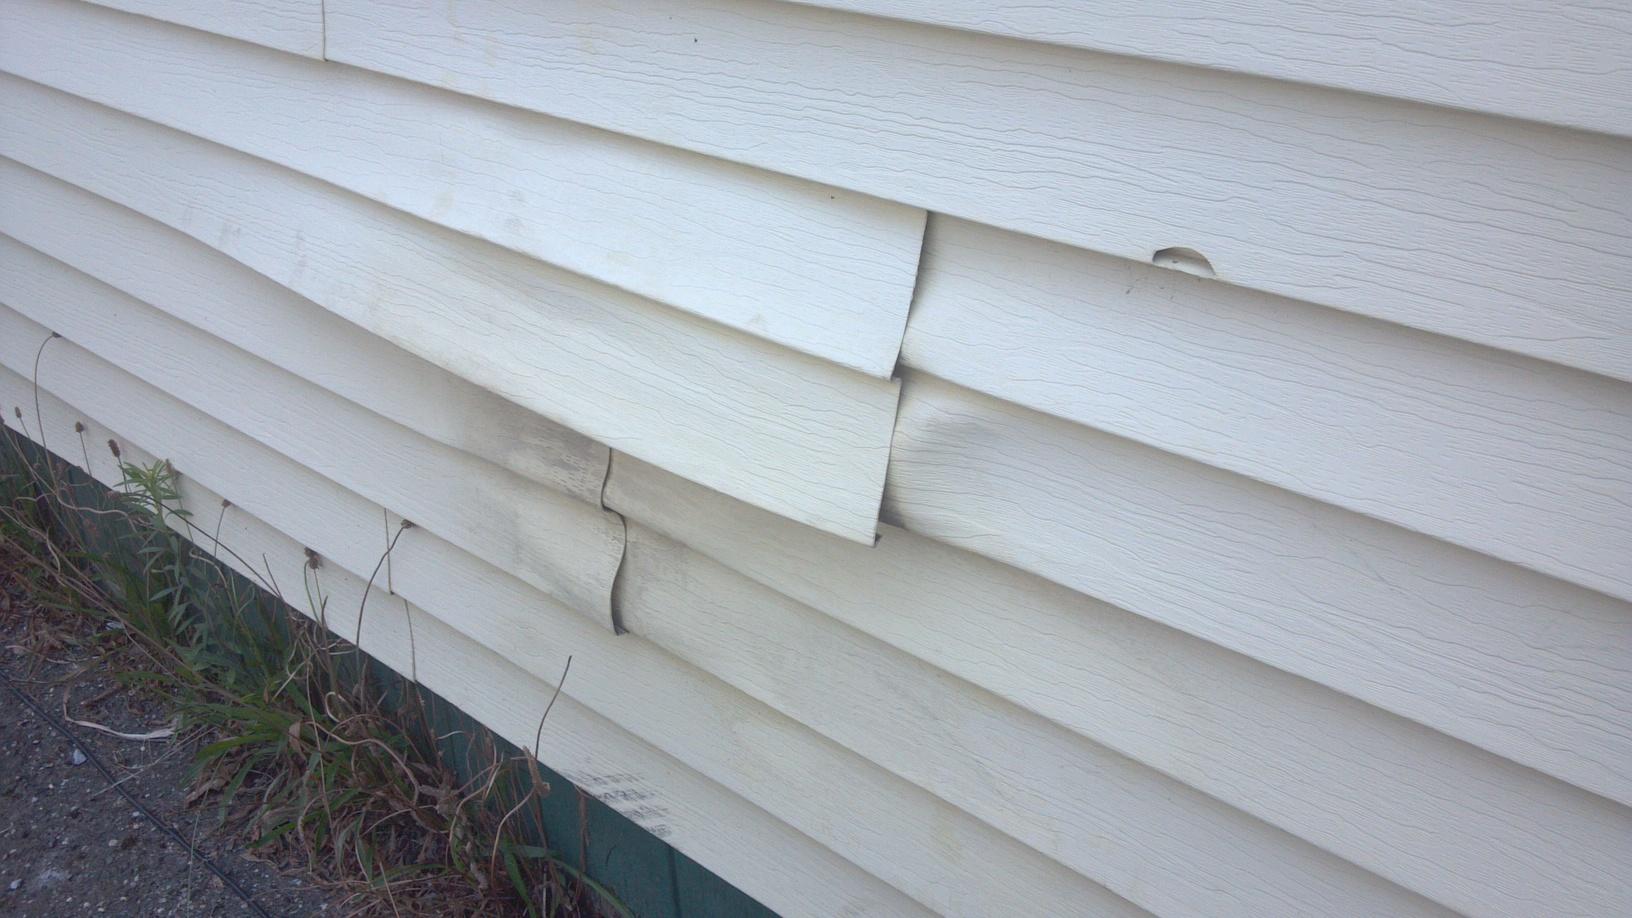
- Aging and Wear: Over time, siding materials can age and wear out, losing their original strength and flexibility. This can cause the siding to crack, warp, or become brittle, making it more prone to falling off.
- Moisture and Rot: Moisture infiltration is another common cause of siding failure. If water manages to seep behind the siding, it can lead to rot and decay, weakening the structure and eventually causing the siding to detach from the wall.
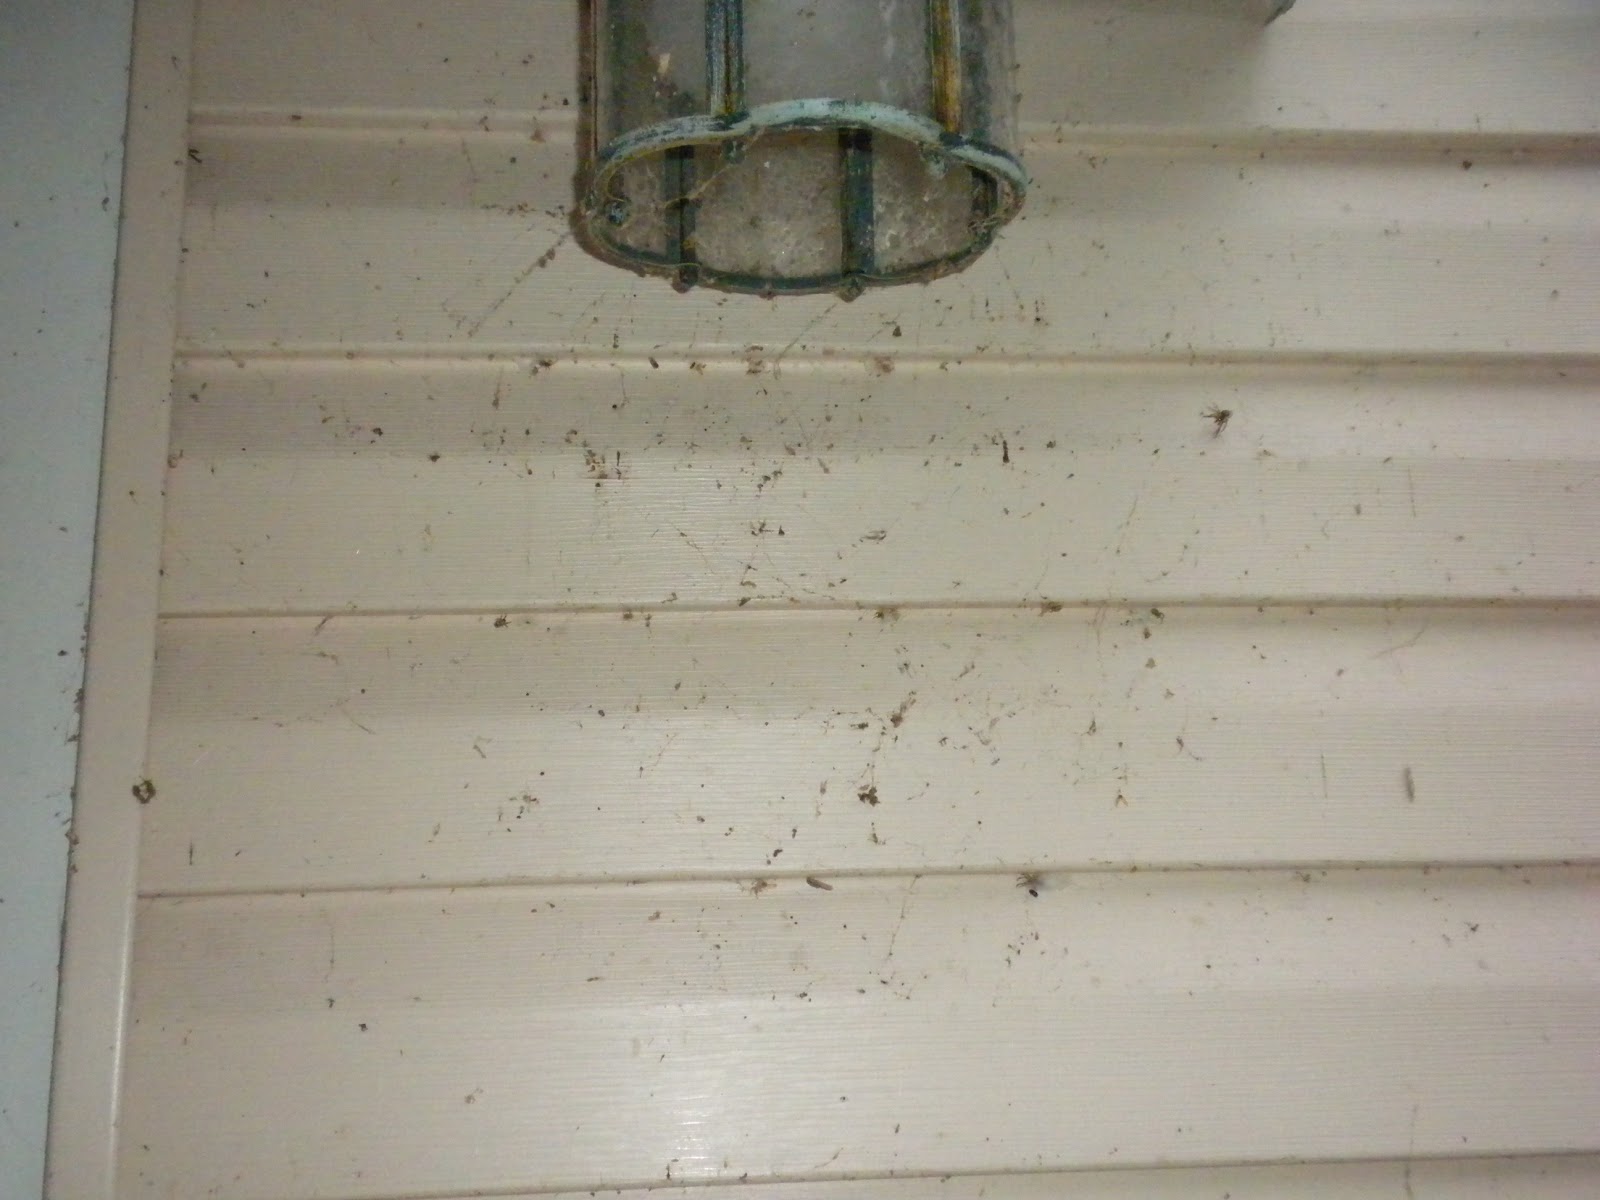
- Pest Infestation: In some cases, pests like termites and carpenter ants can damage the siding, causing it to become loose or fall off. These pests can tunnel through the wood and compromise its structural integrity.
To determine the cause of your siding failure, carefully inspect the area where the siding has fallen off. Look for signs of damage, wear, or decay, and assess the overall condition of the surrounding siding. This will help you make an informed decision on the best course of action to repair and prevent future issues.
Now that you have a better understanding of the causes of siding falling off, let’s move on to the next step: assessing the damage.
Assessing the Damage
Before you begin the repair process, it’s important to assess the extent of the damage to determine the appropriate steps to take. Here’s how you can assess the damage to your siding:
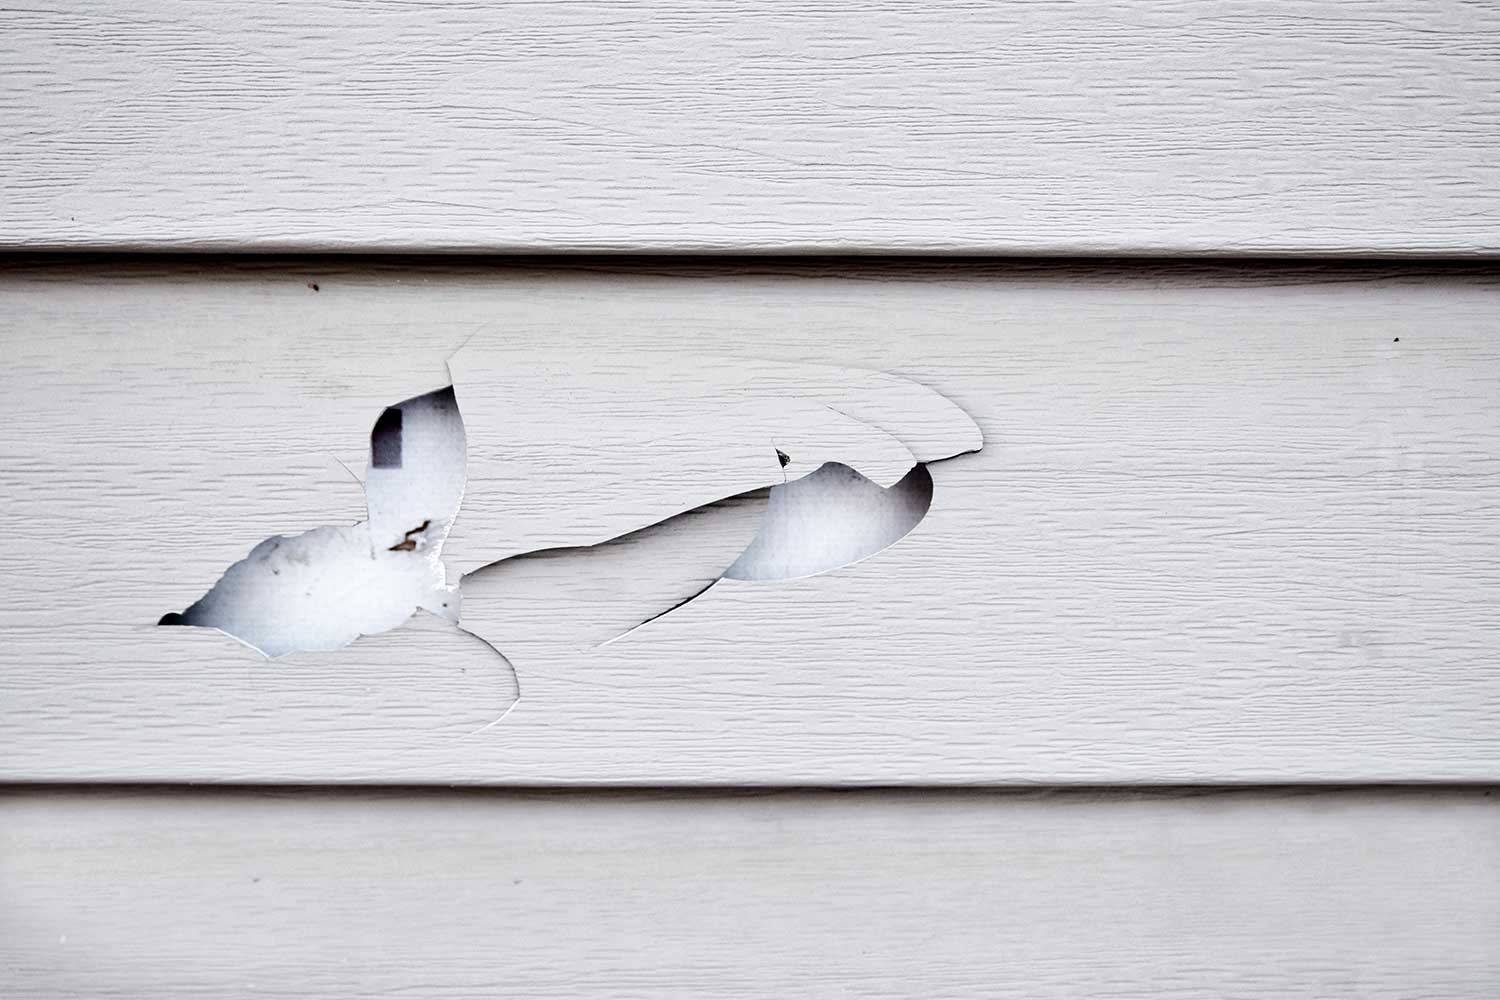
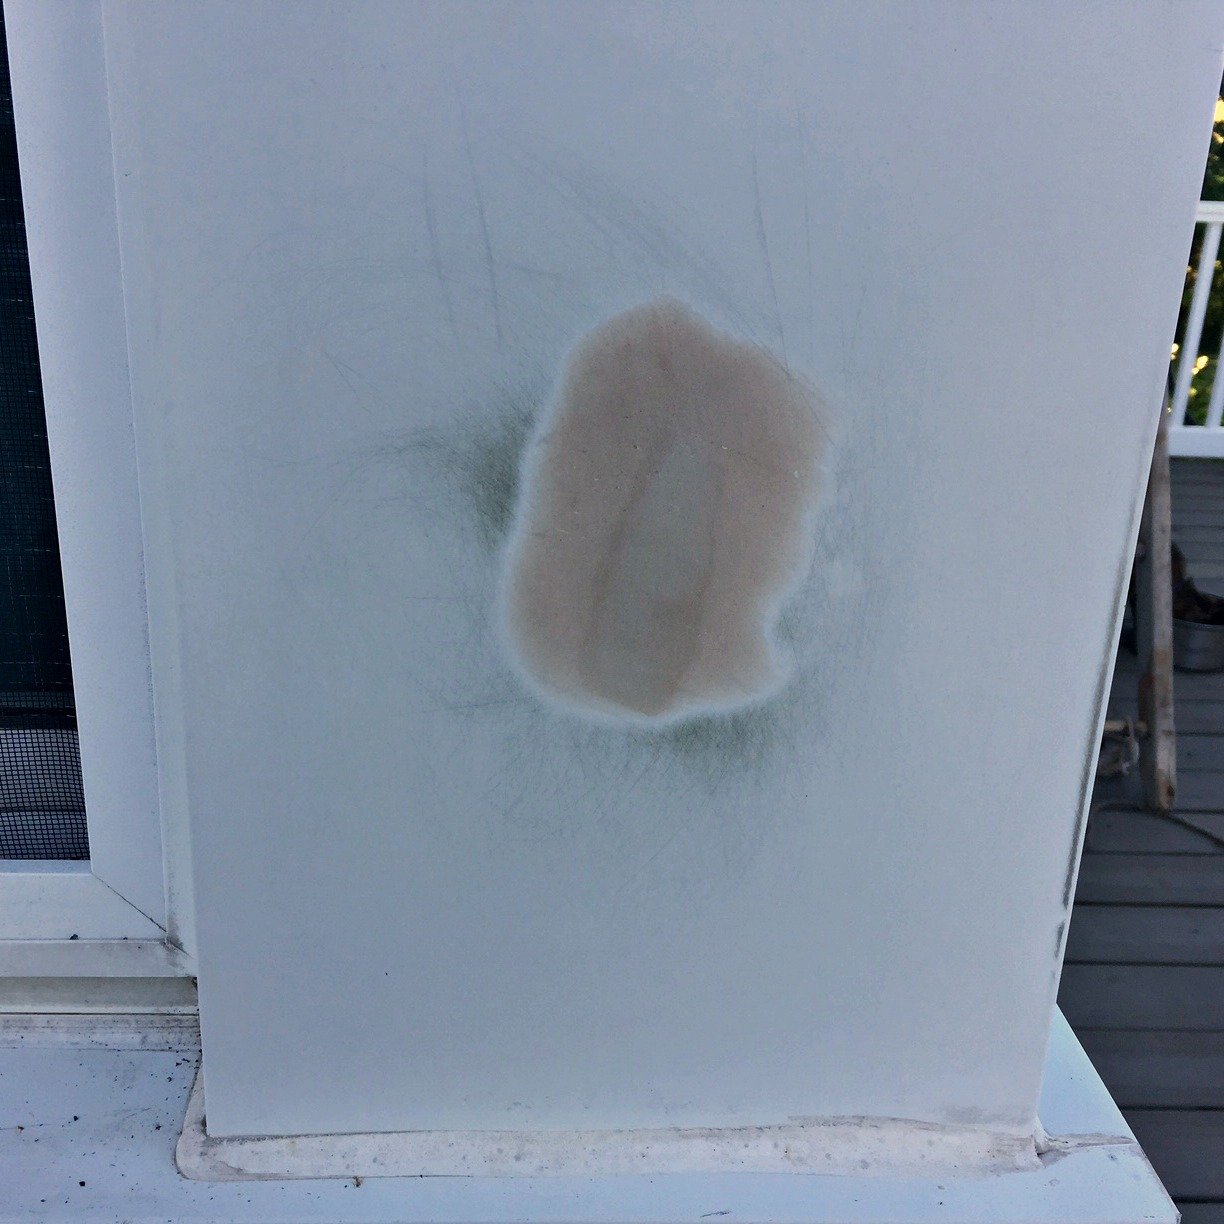
- Inspect the Fallen Section: Carefully examine the area where the siding has fallen off. Look for any signs of damage, such as cracks, breaks, or warping. Take note of the size and shape of the fallen section and consider whether it can be repaired or if it needs to be replaced entirely.
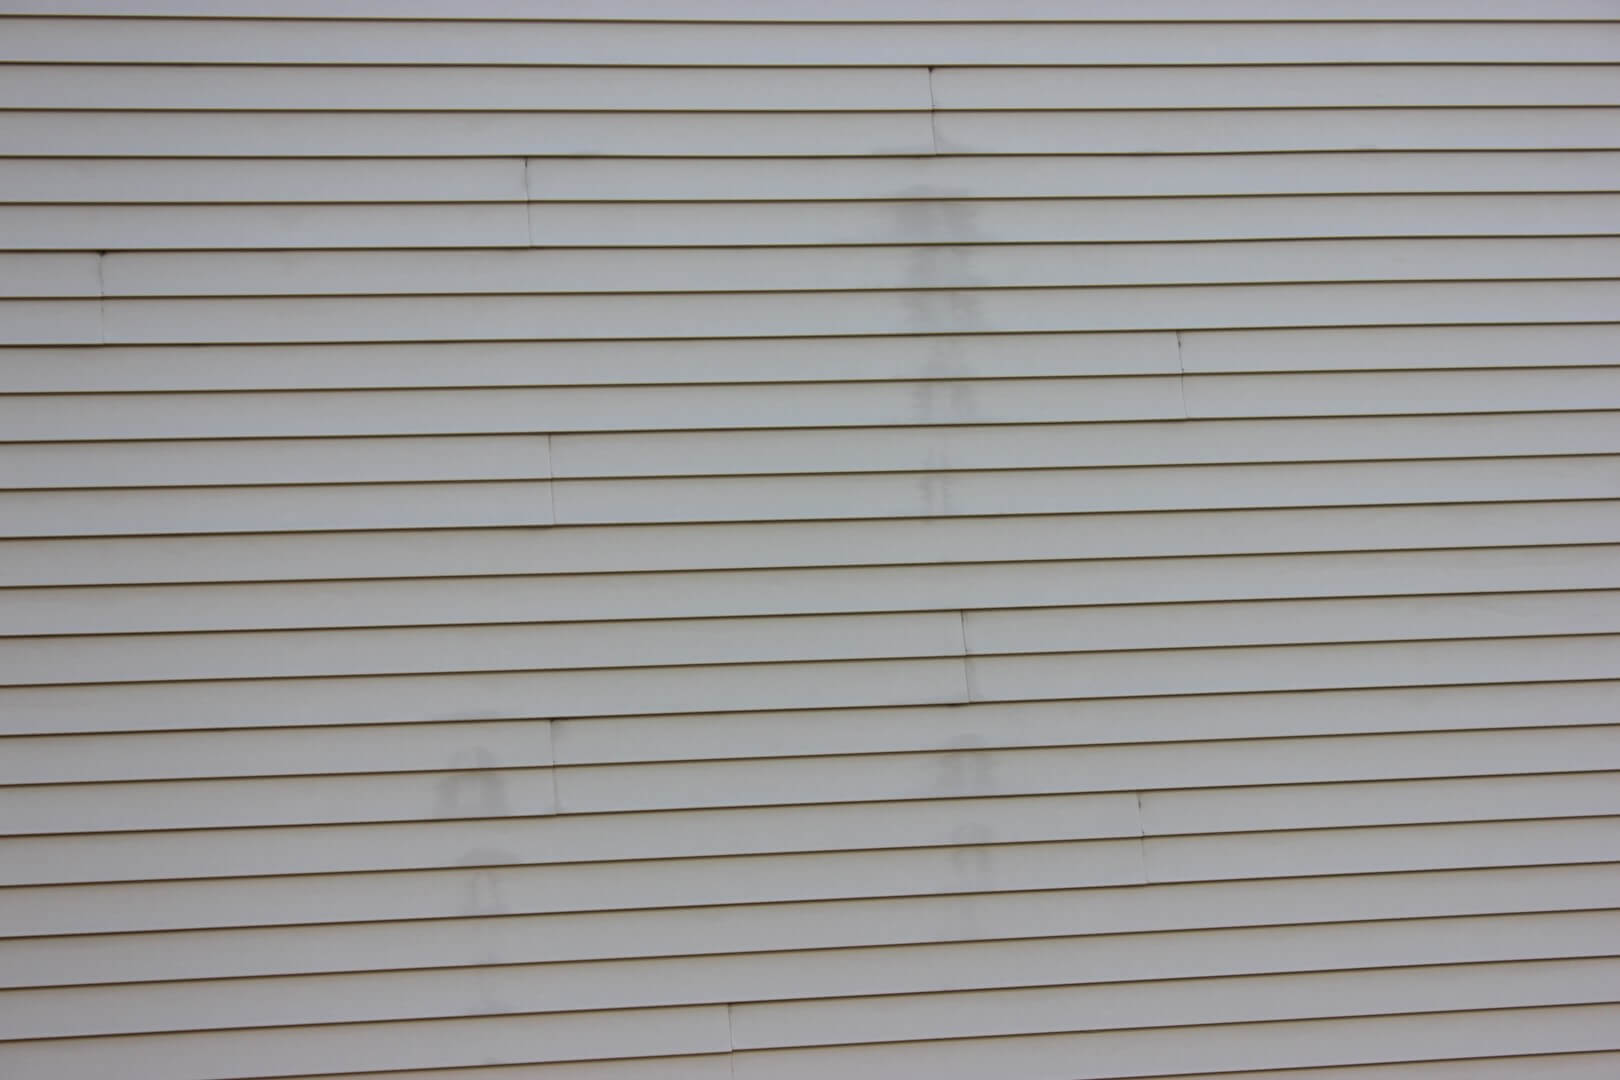
- Check the Surrounding Siding: Inspect the adjacent siding panels to see if they are in good condition. Check for any signs of damage, loose siding, or gaps between the panels. It’s important to ensure that the surrounding siding is structurally sound before reattaching the fallen section.
- Examine the Framing and Sheathing: If possible, inspect the underlying framing and sheathing to check for any signs of water damage, rot, or pest infestation. These issues may need to be addressed before proceeding with the siding repair.
Based on your assessment, you can determine whether the damage can be repaired by reattaching the fallen section or if it requires more extensive measures, such as replacing the siding or repairing the underlying structure.
If you’re unsure about the extent of the damage or how to proceed with the repair, it’s recommended to consult a professional contractor or a knowledgeable expert in siding repairs. They can provide you with an accurate assessment and recommend the best course of action to fix the fallen siding.
Once you have assessed the damage, you’ll need to gather the necessary tools and materials for the repair process. Let’s explore what you’ll need in the next section.
Necessary Tools and Materials
Before you begin repairing the siding that has fallen off, it’s essential to gather the necessary tools and materials. Having the right equipment will make the repair process smoother and more efficient. Here’s a list of the tools and materials you’ll need:
Tools:
- Hammer: For removing nails and securing the siding.
- Pry Bar: To gently pry off the damaged or loose siding.
- Utility Knife: For cutting and trimming the siding.
- Saw: If you need to trim or make adjustments to the siding.
- Chalk Line: For marking straight lines on the siding.
- Tape Measure: To ensure accurate measurements for cutting and aligning the siding.
- Caulking Gun: For applying adhesive or caulk to secure the siding.
- Screwdriver: If your siding is attached with screws instead of nails.
- Level: To ensure that the siding is aligned properly.
- Ladder or Scaffold: Depending on the height of the siding, you may need a ladder or scaffold for safe access.
Materials:
- Replacement Siding: If the fallen section is beyond repair or if you need to replace damaged siding panels.
- Nails or Screws: To secure the siding in place.
- Adhesive or Caulk: To provide additional support and prevent water infiltration.
- Primer and Paint: If you plan on painting the siding after the repair.
- Siding Cleaner: If you need to clean the remaining siding before reattaching the fallen section.
Make sure to gather all the necessary tools and materials before you start the repair process. This will save you time and ensure a smoother workflow.
Now that you have the tools and materials ready, it’s time to move on to the step-by-step guide on fixing the siding that has fallen off. We will cover the removal of nails and old sidings, preparing the surface, reattaching the siding, and finishing touches. Stay tuned!
Step-by-Step Guide to Fixing Siding That Fell Off
Now that you have gathered all the necessary tools and materials, it’s time to dive into the step-by-step process of fixing the siding that has fallen off. Follow these instructions to efficiently repair and reattach the fallen siding:
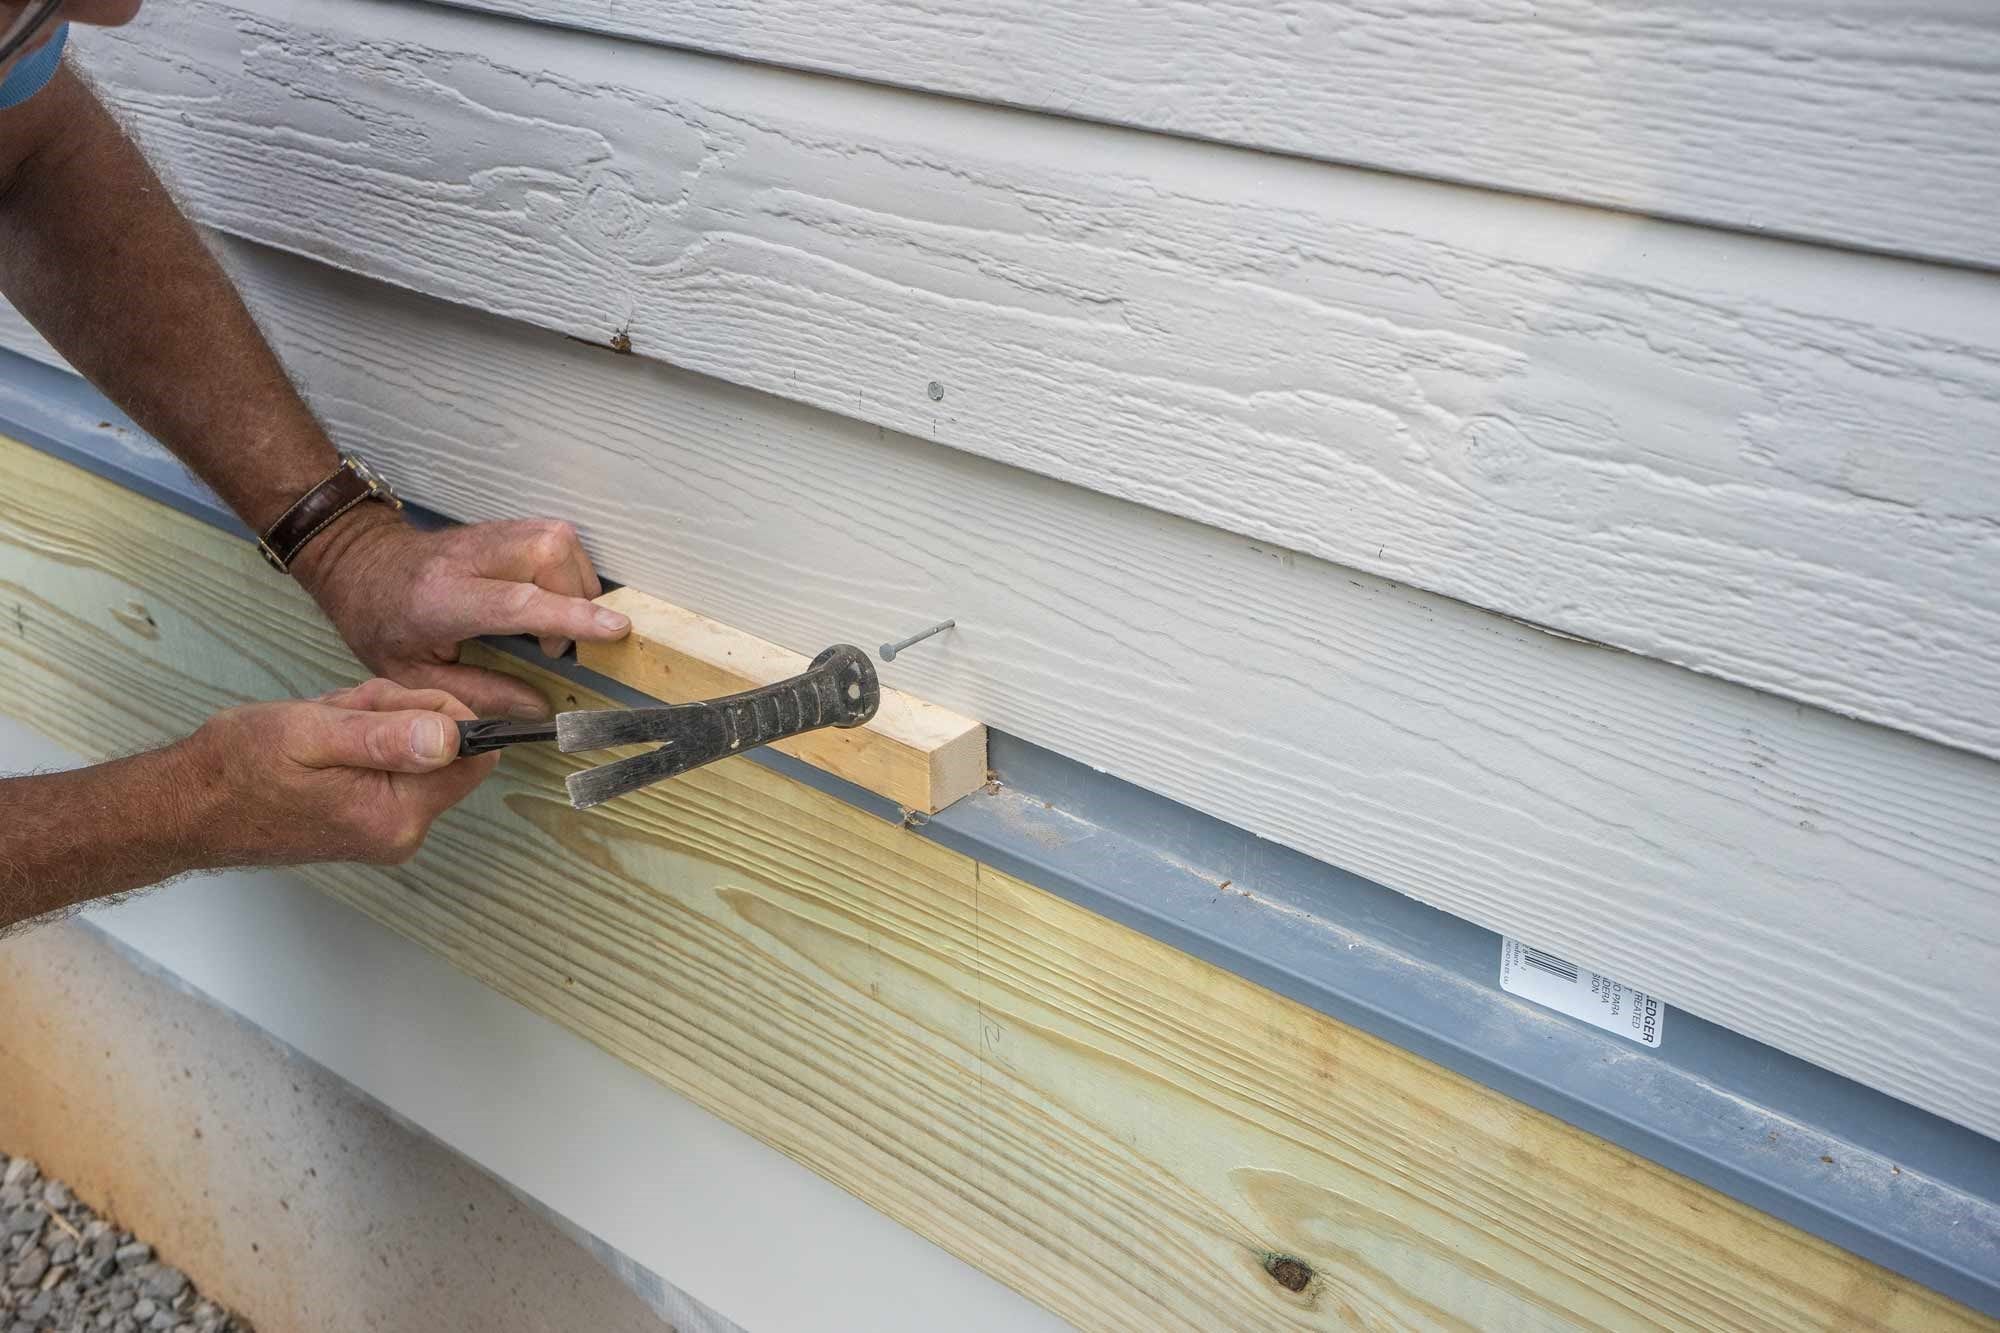
- Remove Nails and Old Sidings: Use a pry bar and hammer to gently remove any nails or screws that are holding the damaged or loose siding in place. Carefully pry off the siding, starting from the bottom and working your way up. Be cautious not to damage the surrounding siding panels or the underlying structure.
- Prepare the Surface: After removing the old siding, inspect the area for any debris or remaining adhesive. Clean the surface using a siding cleaner and a cloth or brush. Ensure that the area is clean and dry before proceeding to the next step.
- Apply Adhesive or Caulk: Apply a generous amount of adhesive or caulk along the backside of the siding panel that you removed. This will provide additional support and ensure a secure attachment to the wall. Spread the adhesive evenly using a caulk gun.
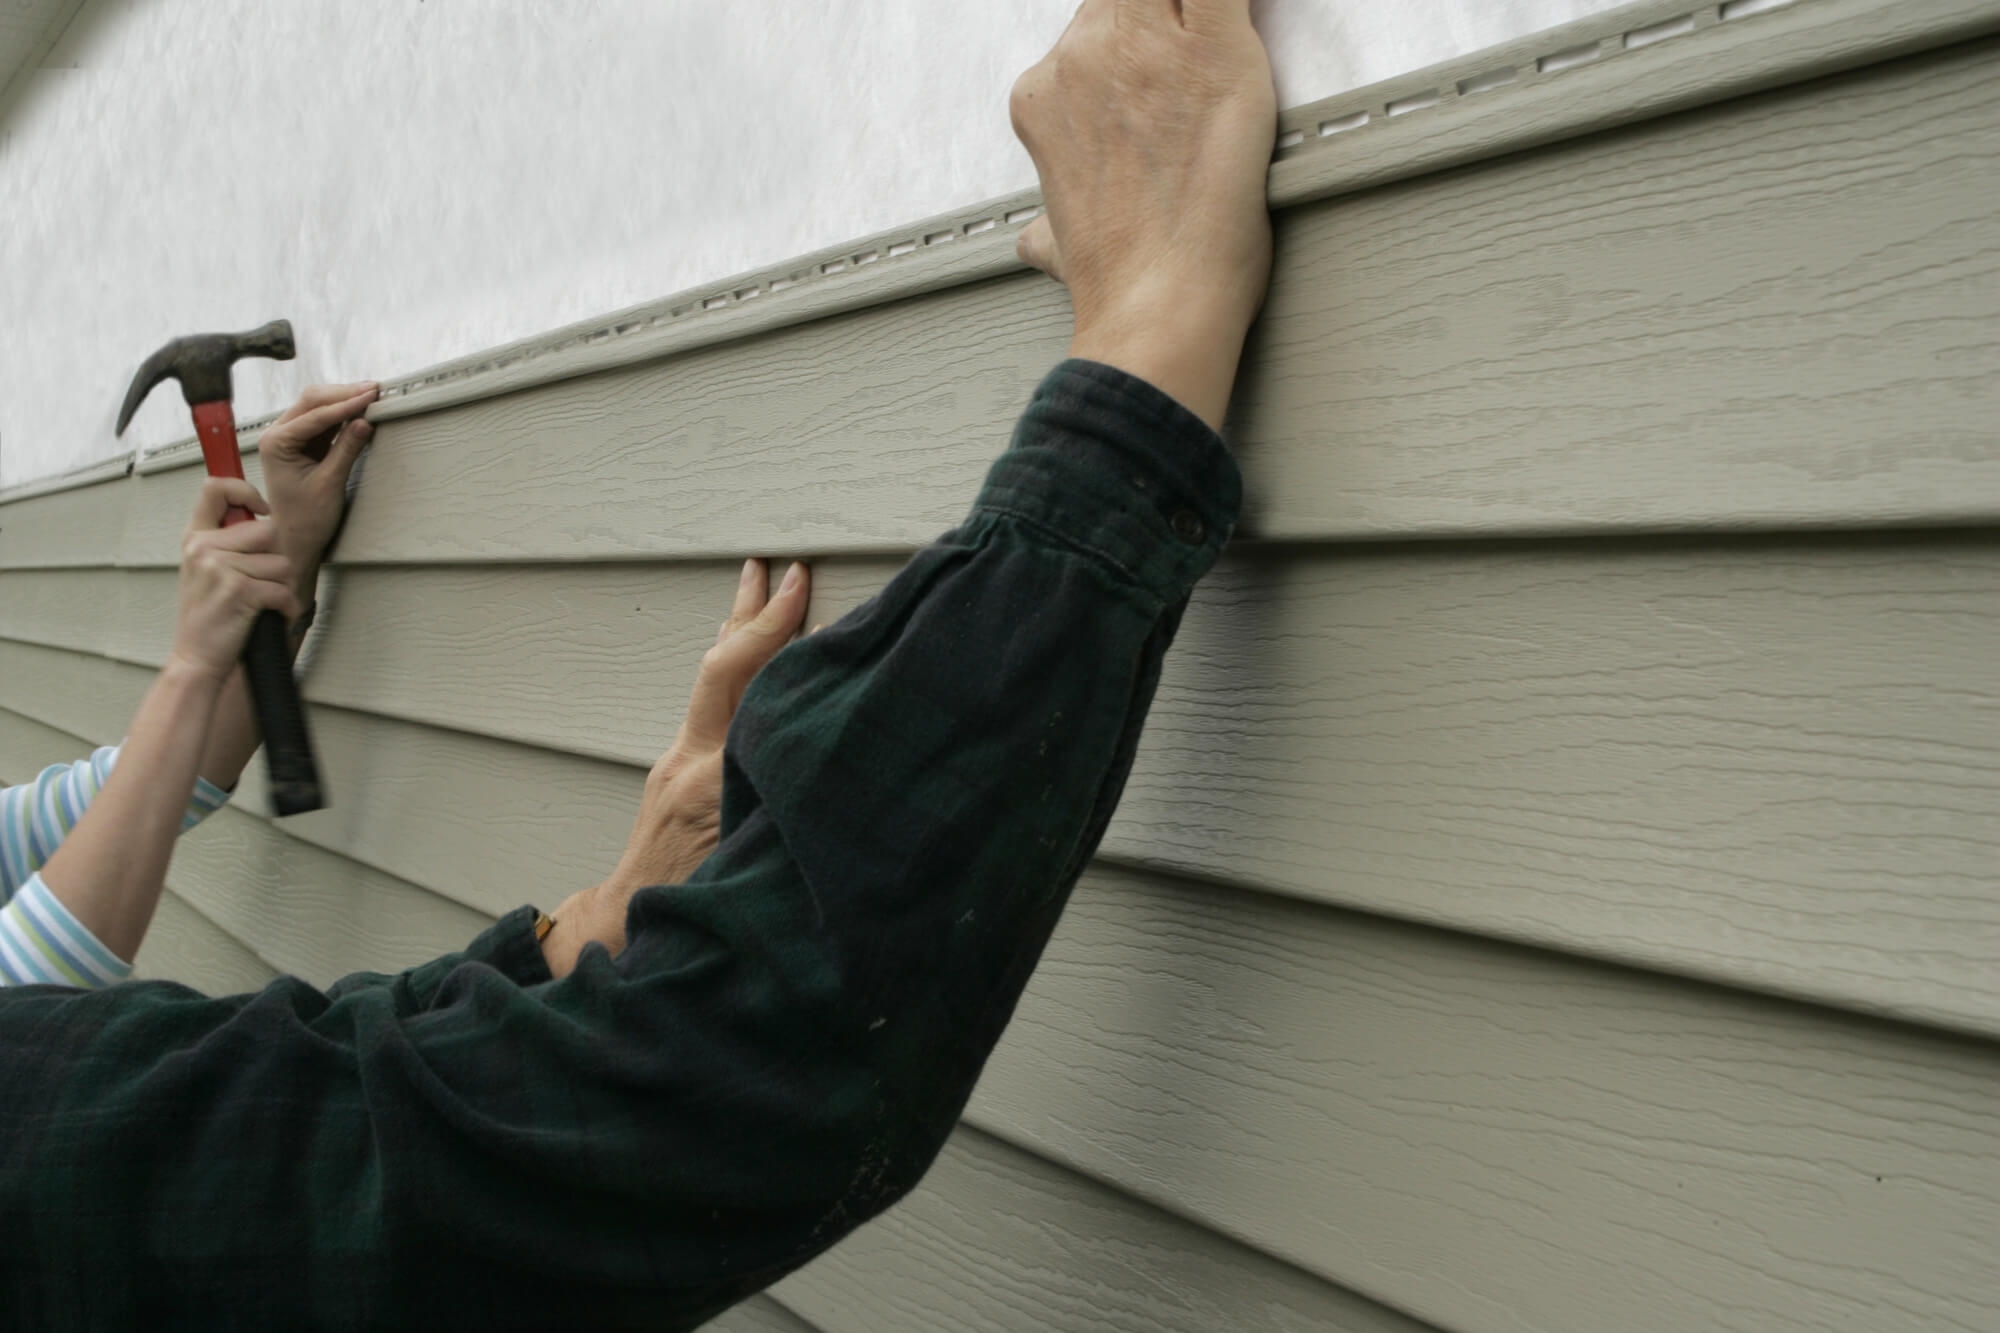
- Reattach the Siding: Position the siding panel back in its original place, aligning it with the surrounding panels. Press firmly to ensure a strong bond between the siding and the wall. Use nails or screws to secure the siding in place, making sure to drive them into the studs for maximum stability. If necessary, use a level to ensure that the siding is straight and aligned properly.
- Finishing Touches and Maintenance Tips: Once the siding is reattached, inspect the area to ensure a seamless appearance. If there are any gaps or uneven edges, trim the siding using a utility knife or saw. If you plan on painting the siding, apply primer and paint according to the manufacturer’s instructions. Lastly, consider applying a sealant or weather-resistant coating to protect the siding from future damage. It’s also important to regularly inspect your siding for any signs of wear or damage and address any issues promptly.
By following these step-by-step instructions, you can effectively fix the siding that has fallen off and restore the integrity and aesthetic appeal of your home’s exterior. Remember to take your time and work carefully to ensure a successful repair.
Now that you have completed the repair process, you can enjoy the satisfaction of a job well done and the peace of mind that your home’s siding is secure and protected. With proper maintenance and regular inspections, your siding will continue to enhance the beauty and durability of your home for years to come.
Read more: How To Clean Mold Off Siding
Removing Nails and Old Sidings
Before you can fix the siding that has fallen off, you’ll need to remove any nails or screws that are holding the damaged or loose siding in place. Here’s how you can safely remove the nails and old sidings:
- Gather the Necessary Tools: To remove the nails and old sidings, you’ll need a pry bar and a hammer. These tools will help you gently pry off the siding without causing damage to the surrounding areas.
- Start from the Bottom: Begin removing the old siding from the bottom and work your way up. This will help you maintain stability and prevent any further damage to the remaining siding panels.
- Locate the Nails or Screws: Look for the nails or screws that are securing the siding to the wall. They are typically found along the top edge of each siding panel.
- Pry Off the Siding: Using the pry bar, carefully insert the flat end under the bottom edge of the siding panel that needs to be removed. Gently apply pressure to lift the siding away from the wall.
- Remove the Nails or Screws: Once you have lifted the siding, you’ll be able to access the nails or screws. Use a hammer or a screwdriver to remove them. Be careful not to damage the surrounding siding or the underlying structure.
- Continue Removing the Sidings: Repeat the process for each siding panel that you need to remove. Take your time and work methodically to ensure a smooth removal process.
After you have successfully removed the nails and old sidings, you can proceed with the next steps of preparing the surface and reattaching the siding. Remember to handle the tools with care and exercise caution to prevent any personal injury or damage to your home’s exterior.
Following these steps will help you safely remove the nails and old sidings, allowing you to proceed with the repair process and restore the beauty and functionality of your home’s siding. Now, let’s move on to preparing the surface for reattachment.
Use a pry bar to gently remove any remaining pieces of the old siding. Clean the area and apply a new piece of siding, making sure to secure it properly with nails or screws. Paint to match the rest of the siding.
Preparing the Surface
Once you have removed the nails and old siding, it’s important to properly prepare the surface before reattaching the new siding. Preparing the surface ensures a clean and smooth base for the new siding to be installed. Follow these steps to prepare the surface:
- Clean the Area: Use a siding cleaner or a mixture of mild detergent and water to clean the area where the old siding was attached. Remove any dirt, grime, or adhesive residue using a cloth or brush. This step will help create a clean surface for the new siding to adhere to.
- Inspect for Damage: Take a close look at the exposed wall to check for any signs of damage, such as cracks, rot, or insect infestation. If you notice any significant damage, it’s crucial to address it before proceeding with the repair. Consult a professional if needed.
- Repair Any Issues: If you discover minor damage, such as small cracks or holes, you can repair them using an appropriate filler or patching compound. Follow the manufacturer’s instructions and allow sufficient time for the repairs to dry and cure.
- Ensure a Smooth Surface: If the surface is uneven or rough, sand it lightly to achieve a smoother finish. This will help the new siding lay flat against the wall and provide a professional-looking result.
- Inspect the Flashing: Check the flashing, which is the material used to prevent water intrusion, to ensure that it is in good condition. Replace any damaged or deteriorated flashing as necessary. Proper installation and maintenance of the flashing are essential in preventing future siding issues.
By taking the time to properly prepare the surface, you are setting a solid foundation for the new siding to be installed. This step is crucial in ensuring a long-lasting and secure siding repair. Once you have prepared the surface, you are ready to move on to the next step: applying adhesive or caulk to securely attach the siding.
Applying Adhesive or Caulk
Once the surface is prepared, it’s time to apply adhesive or caulk to securely attach the new siding. This step is crucial in ensuring a strong bond between the siding and the wall, providing stability and preventing water infiltration. Follow these steps to apply adhesive or caulk:
- Select the Right Adhesive or Caulk: Choose an adhesive or caulk that is specifically designed for siding installation and is compatible with the materials you are working with. Consult the manufacturer’s instructions for guidance on the appropriate product to use.
- Prepare the Adhesive or Caulk: If you are using adhesive, ensure that you have a caulk gun ready for applying it. If you are using caulk, cut the tip of the caulk tube at a 45-degree angle to create an opening. Place the tube in a caulk gun for easier application.
- Apply the Adhesive or Caulk: Starting from the bottom of the siding panel, apply a continuous bead of adhesive or caulk along the backside of the panel. Ensure that the bead is approximately ¼-inch in diameter and runs vertically along the length of the panel.
- Spread the Adhesive or Caulk: Use a caulk spreader or putty knife to spread the adhesive or caulk evenly over the backside of the panel. This will ensure that the adhesive or caulk covers the entire surface and provides a strong bond between the siding and the wall.
- Continue Applying: Repeat the process of applying and spreading the adhesive or caulk for each siding panel that you will be installing. Take your time to ensure thorough and consistent coverage.
By applying adhesive or caulk, you are providing additional support and reinforcement to prevent the siding from coming loose or allowing moisture to infiltrate behind the panels. This step is crucial in ensuring the longevity and stability of your repaired siding.
After applying the adhesive or caulk, you are ready to reattach the siding panels. In the next step, we will guide you through the process of reattaching the siding securely to the wall.
Reattaching the Siding
Now that you have prepared the surface and applied the adhesive or caulk, it’s time to reattach the siding panels securely to the wall. Follow these steps to ensure a proper and secure attachment:
- Position the Siding Panel: Carefully align the bottom of the siding panel with the bottom edge of the wall, making sure it is level and straight. Hold the panel firmly in place to maintain the alignment throughout the attachment process.
- Secure with Nails or Screws: Use nails or screws that are appropriate for the type of siding you are working with and the material of your home’s exterior. Drive the fasteners into the pre-drilled holes in the siding panel, making sure to hit the studs or solid backing behind the wall.
- Space the Fasteners: Space the nails or screws evenly along the length of the siding panel, typically leaving a gap of 16-24 inches between fasteners. This will ensure proper attachment and prevent the siding from warping or buckling.
- Continue with Additional Panels: Repeat the process of positioning and securing the remaining siding panels, ensuring that each one is properly aligned and attached. If necessary, trim the panels to fit around windows, doors, or other obstacles using a utility knife or saw.
- Check for Proper Alignment: Use a level to check that the siding panels are installed horizontally and are aligned with adjacent panels. This will help maintain a cohesive and visually appealing appearance.
As you reattach the siding panels, take care to maintain a consistent and even attachment. This will ensure the stability and durability of the repaired siding. Double-check that each panel is securely fastened and properly aligned before moving on to the next one.
Once all the siding panels are reattached, step back and inspect the overall appearance to ensure a seamless and professional finish. Make any necessary adjustments or corrections before moving on to the final step: adding finishing touches and implementing maintenance tips to preserve the integrity of the repaired siding.
Read more: How To Fix Siding That Is Loose
Finishing Touches and Maintenance Tips
With the siding panels securely reattached, it’s time to add the finishing touches and implement maintenance tips to ensure the longevity and durability of the repaired siding. Follow these steps and tips:
- Trimming and Sealing: Inspect the edges and corners of the newly installed siding panels. If there are any gaps or uneven edges, use a utility knife to trim and shape the siding for a clean and seamless look. Additionally, apply a sealant or weather-resistant coating to protect the siding from moisture damage and UV rays.
- Priming and Painting: If you plan to paint the repaired siding, apply a primer before painting to ensure better adhesion and longevity of the paint. Choose a high-quality exterior paint that is specifically formulated for siding. Follow the manufacturer’s instructions for painting and allow the paint to dry thoroughly.
- Regular Inspections: To maintain the integrity of your siding, perform regular inspections. Check for any signs of damage, such as cracks, warping, or loose panels. Address any issues promptly to prevent further damage and ensure that your siding remains in optimal condition.
- Cleaning and Maintenance: Keep your siding clean by regularly washing it with a mild detergent and water. Use a soft brush or cloth to remove dirt, debris, and any stains. Avoid using abrasive materials or harsh chemicals that can damage the siding. Additionally, trim any nearby trees or shrubs that may rub against the siding and cause damage.
- Addressing Issues Promptly: If you notice any issues with your siding, such as loose panels, cracks, or signs of water damage, address them promptly. Ignoring these issues can lead to further damage and more costly repairs in the future. Consult a professional if the damage is extensive or if you are unsure how to proceed.
By implementing these finishing touches and practicing regular maintenance, you can ensure that your repaired siding stays in great condition for years to come. Not only will this maintain the aesthetic appeal of your home, but it will also protect it from weather damage and extend the life of your siding.
Remember, if you ever feel unsure or overwhelmed with the repair process or if the damage is extensive, don’t hesitate to seek the help of a professional contractor who specializes in siding repairs. They have the expertise and experience to handle the job efficiently and effectively.
With proper care and maintenance, your repaired siding will continue to enhance the beauty, functionality, and value of your home for years to come.
Conclusion
Fixing siding that has fallen off is a task that requires careful attention, patience, and the right tools. By understanding the causes of siding falling off, assessing the damage, and following a step-by-step guide, you can successfully repair and reattach the siding, restoring the beauty and functionality of your home’s exterior.
Weather damage, poor installation, aging, moisture, and pest infestation are common causes of siding falling off. By identifying the underlying issue, you can take preventive measures to avoid future problems.
Assessing the damage is crucial in determining the extent of the repair needed. By carefully inspecting the fallen section and checking the surrounding siding, framing, and sheathing, you can plan your repair accordingly.
Having the necessary tools and materials is essential for a successful repair. From hammers and pry bars to replacement siding and adhesives, make sure you have everything you need before you begin the repair process.
The step-by-step guide we provided offers a clear roadmap to fixing siding that has fallen off. Removing nails and old sidings, preparing the surface, applying adhesive or caulk, reattaching the siding, and adding finishing touches are all key steps in the repair process.
Once the repair is complete, properly maintaining your siding is crucial in preventing future issues. Regular inspections, cleaning, addressing issues promptly, and implementing maintenance tips will help ensure that your siding remains in excellent condition for years to come.
In conclusion, with the right knowledge, tools, and attention to detail, you can successfully fix siding that has fallen off. Whether you undertake the repair as a DIY project or seek professional help, the end result will be a restored and beautiful home exterior that provides protection and value for you and your family.
Frequently Asked Questions about How To Fix Siding That Fell Off
Was this page helpful?
At Storables.com, we guarantee accurate and reliable information. Our content, validated by Expert Board Contributors, is crafted following stringent Editorial Policies. We're committed to providing you with well-researched, expert-backed insights for all your informational needs.


0 thoughts on “How To Fix Siding That Fell Off”