Articles
How To Fix Gap On Side Of Garage Door
Modified: August 20, 2024
Learn how to fix the annoying gap on the side of your garage door with our detailed articles. Say goodbye to drafts and improve your home's energy efficiency.
(Many of the links in this article redirect to a specific reviewed product. Your purchase of these products through affiliate links helps to generate commission for Storables.com, at no extra cost. Learn more)
Introduction
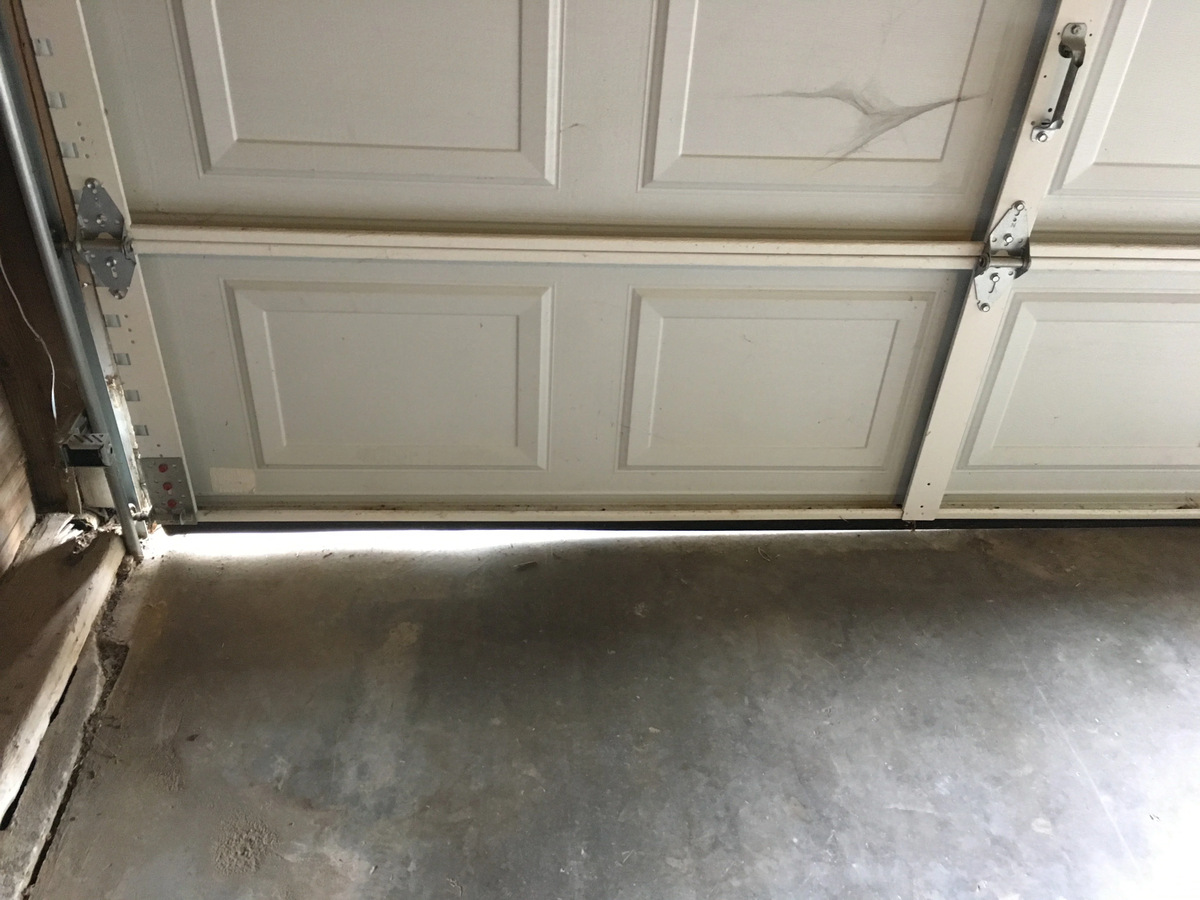
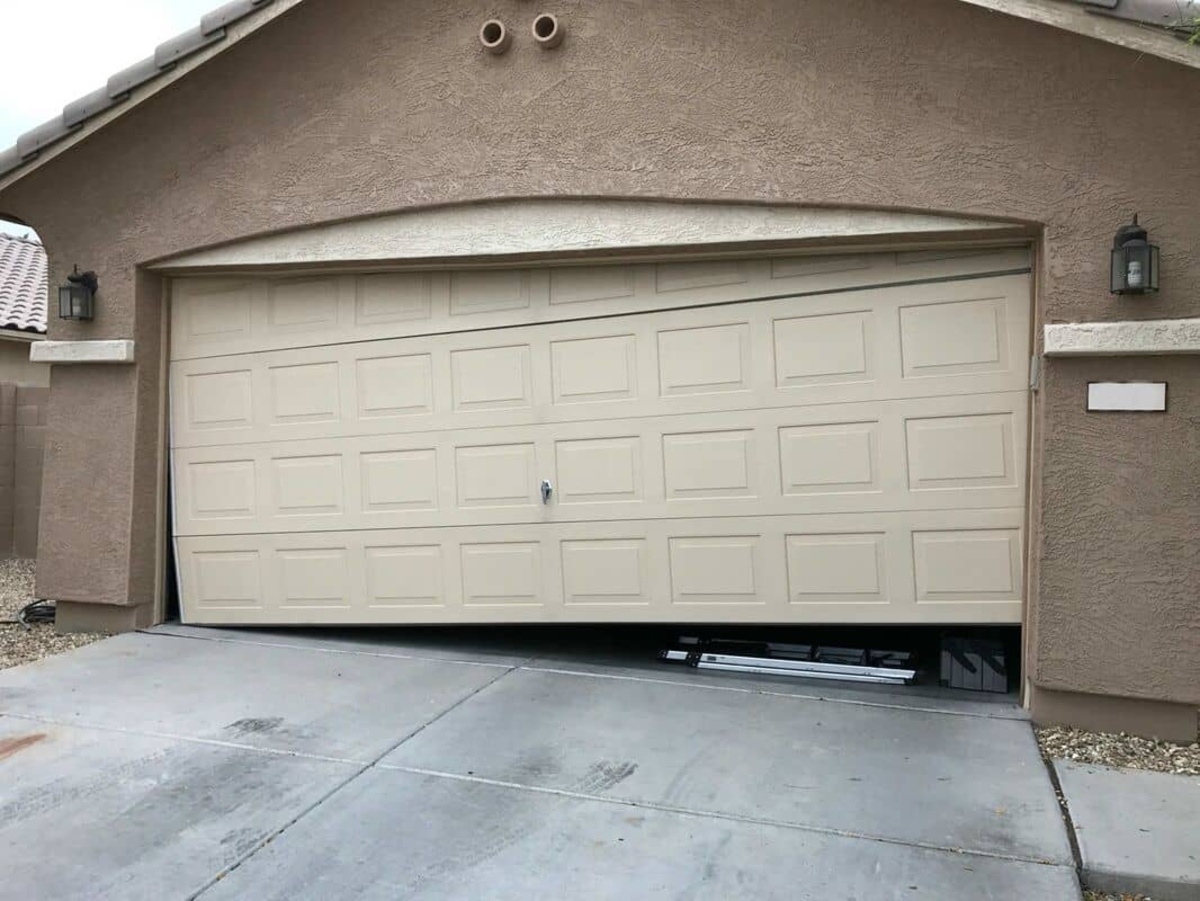
Welcome to our comprehensive guide on how to fix the gap on the side of a garage door. If you’ve noticed a noticeable space or opening between your garage door and the surrounding wall, it is important to address it promptly. A gap on the side of a garage door can be a potential security risk, allowing pests, debris, and even unwanted weather conditions to enter your garage.
In this article, we will provide you with step-by-step instructions and valuable tips on how to fix the gap on the side of your garage door effectively. By following these instructions, you can regain the security and functionality of your garage while protecting it from outside elements.
Before we delve into the details of the process, let’s first understand why a gap can occur on the side of a garage door.
Key Takeaways:
- Addressing a gap on the side of your garage door is crucial for security and functionality. Regular maintenance, proper alignment, and sealing the gap can prevent pests and weather from entering your garage.
- Prioritize safety, gather necessary tools, and follow the step-by-step guide to fix the gap. Consider professional help for complex issues, and maintain regular inspections and lubrication for optimal garage door performance.
Read more: How To Seal Garage Door Sides
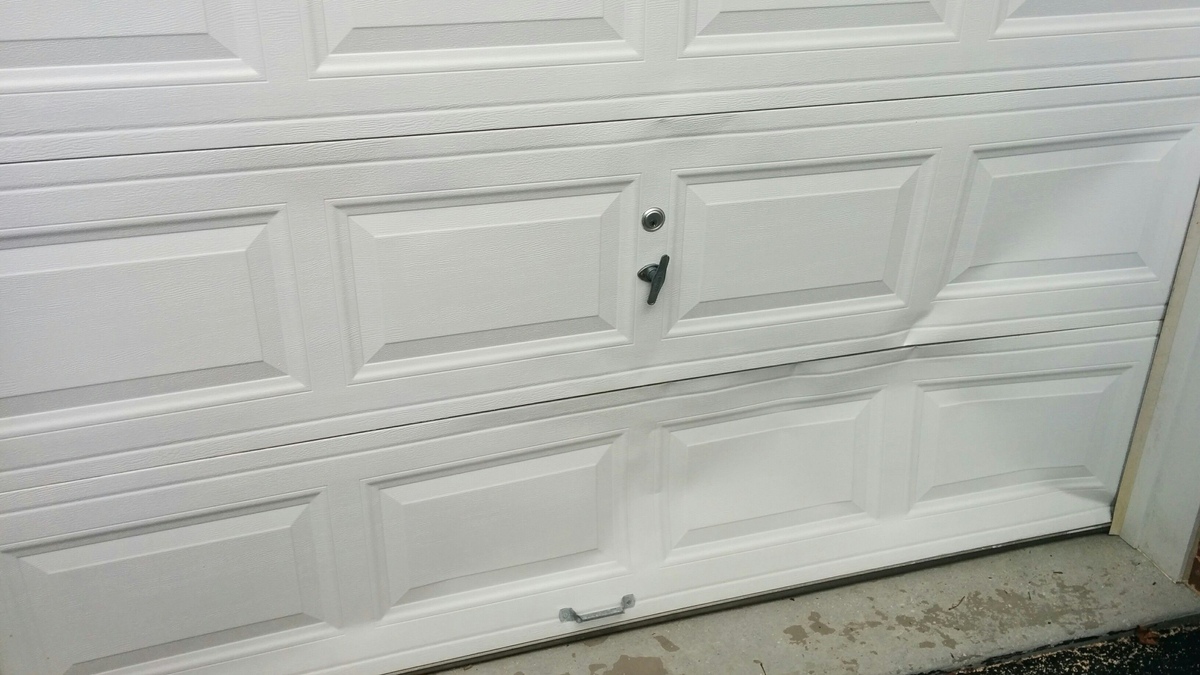
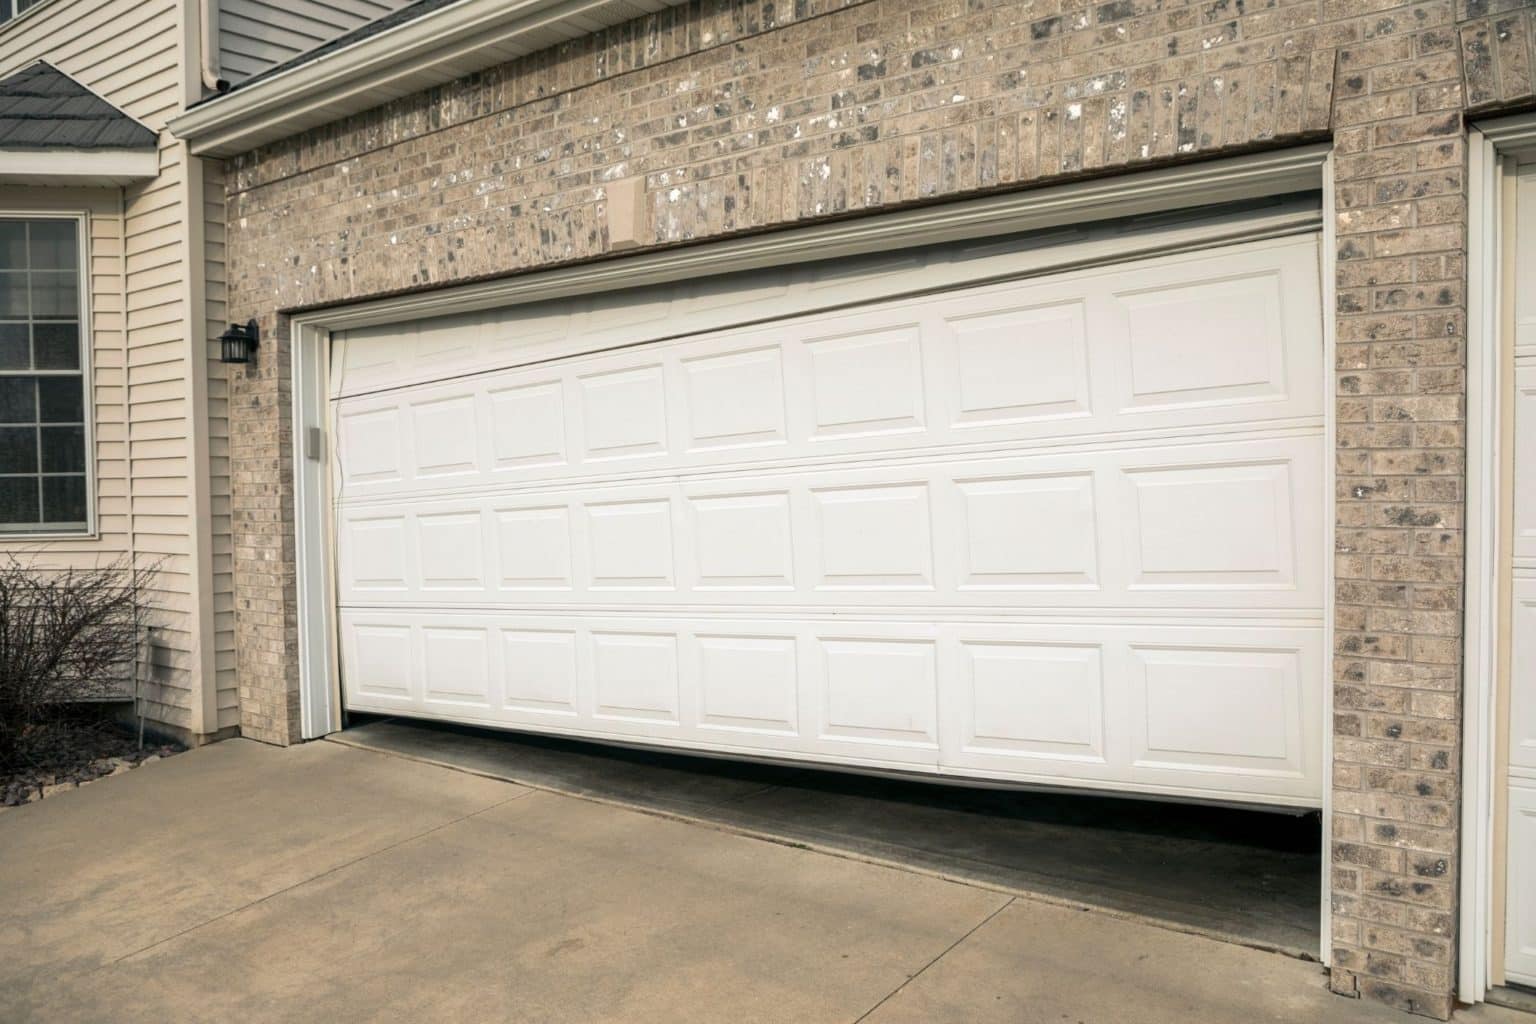
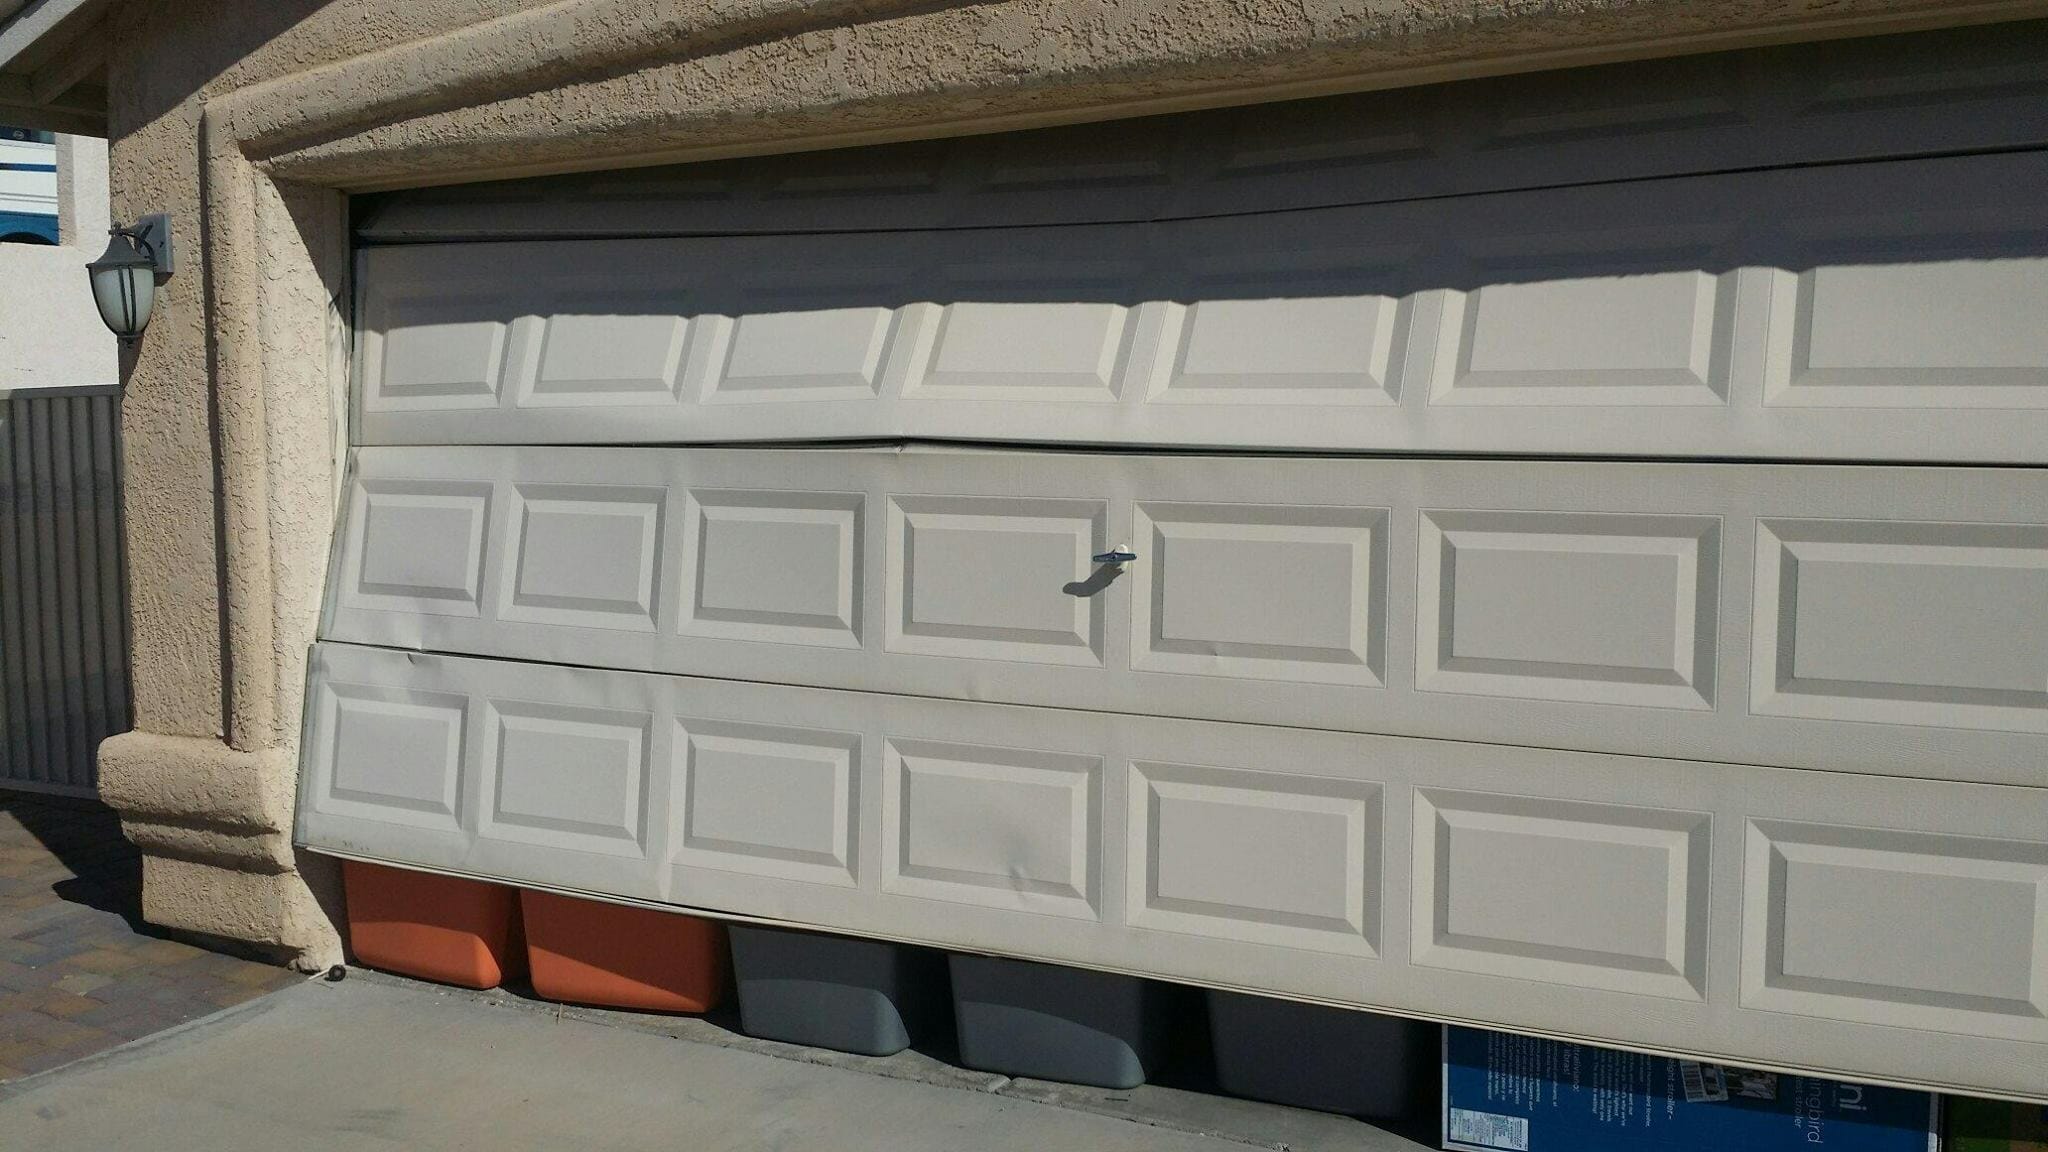
Understanding the Gap on the Side of the Garage Door
A gap on the side of a garage door can occur due to various reasons. It is essential to understand the underlying cause before attempting to fix it. Here are some common causes of the gap on the side of the garage door:
- Improper Installation: One of the main reasons for gaps is inadequate installation. If the door was not installed correctly, it may not fit properly in its frame, resulting in a gap on the side.
- Wear and Tear: Over time, the components of the garage door may wear down, causing misalignment and gaps to appear. Regular use, exposure to weather conditions, and lack of maintenance can contribute to the deterioration of the door’s functionality.
- Settling of the Foundation: If your garage or the surrounding foundation has experienced settling, it can lead to an uneven floor or wall, which may cause the door to be out of alignment and result in a gap.
- Damage from Impact: Accidental impact from a vehicle or other objects can cause the garage door to become misaligned or damaged, leading to gaps and compromising the door’s performance.
- Climate Changes: Extreme temperature fluctuations can cause the materials of the garage door and its surrounding frame to expand and contract. This expansion and contraction can result in gaps appearing over time.
Identifying the cause of the gap is crucial as it will help you determine the appropriate fix or solution. In some cases, a simple adjustment or realignment may be sufficient, while in other instances, more extensive repairs or replacement of certain components may be necessary.
Now that we have a better understanding of why gaps can occur, let’s move on to the tools and materials you will need to fix the gap on the side of your garage door.
Tools and Materials Needed
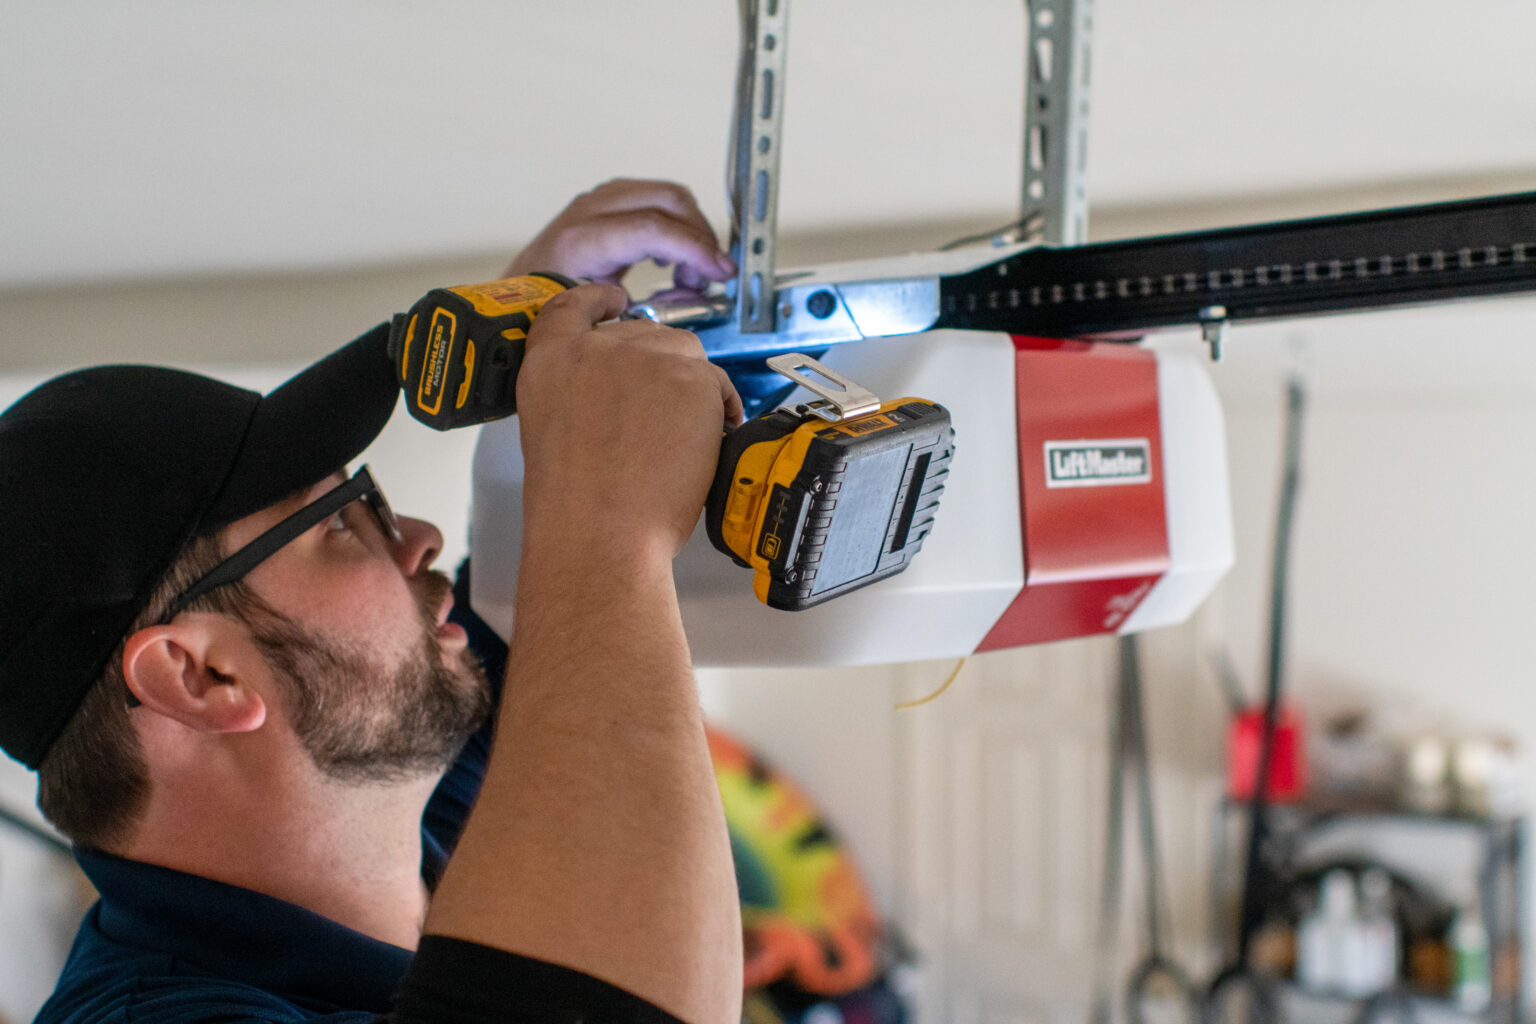
Before you begin fixing the gap on the side of your garage door, it’s important to gather all the necessary tools and materials. Having these items ready will ensure a smoother and more efficient repair process. Here is a list of the tools and materials you will likely need:
Tools:
- Screwdriver set – including a flathead and Phillips head screwdriver.
- Wrench set – for loosening or tightening bolts and nuts.
- Tape measure – for taking accurate measurements.
- Level – to ensure the door is properly aligned.
- Hammer – for minor adjustments or tapping components into place.
- Pliers – for holding or bending wires or brackets.
- Power drill – for removing or installing screws.
- Safety glasses and gloves – to protect your eyes and hands during the repair process.
Materials:
- Weatherstripping – for sealing any gaps or cracks.
- Garage door seal – to help create a tight seal between the door and the frame.
- Replacement brackets or hinges – if any of the existing components are damaged or worn out.
- Adjustable tracks – if the tracks supporting the garage door need adjustment or replacement.
- Bolts, nuts, and screws – for securing various parts of the garage door.
- Lubricant – such as silicone spray or garage door lubricant, to ensure smooth operation of moving parts.
Make sure to check the requirements specific to your garage door model and consult the manufacturer’s recommendations for any additional tools or materials necessary.
Now that you have the necessary tools and materials ready, let’s proceed to the step-by-step guide on how to fix the gap on the side of your garage door.
Read more: How To Fix Gap Between Door And Floor
Step-by-Step Guide to Fixing the Gap on the Side of Garage Door
Follow these step-by-step instructions to effectively fix the gap on the side of your garage door:
- Inspect the Gap: Begin by carefully examining the gap on the side of your garage door. Take note of the size of the gap and any visible damage or misalignment.
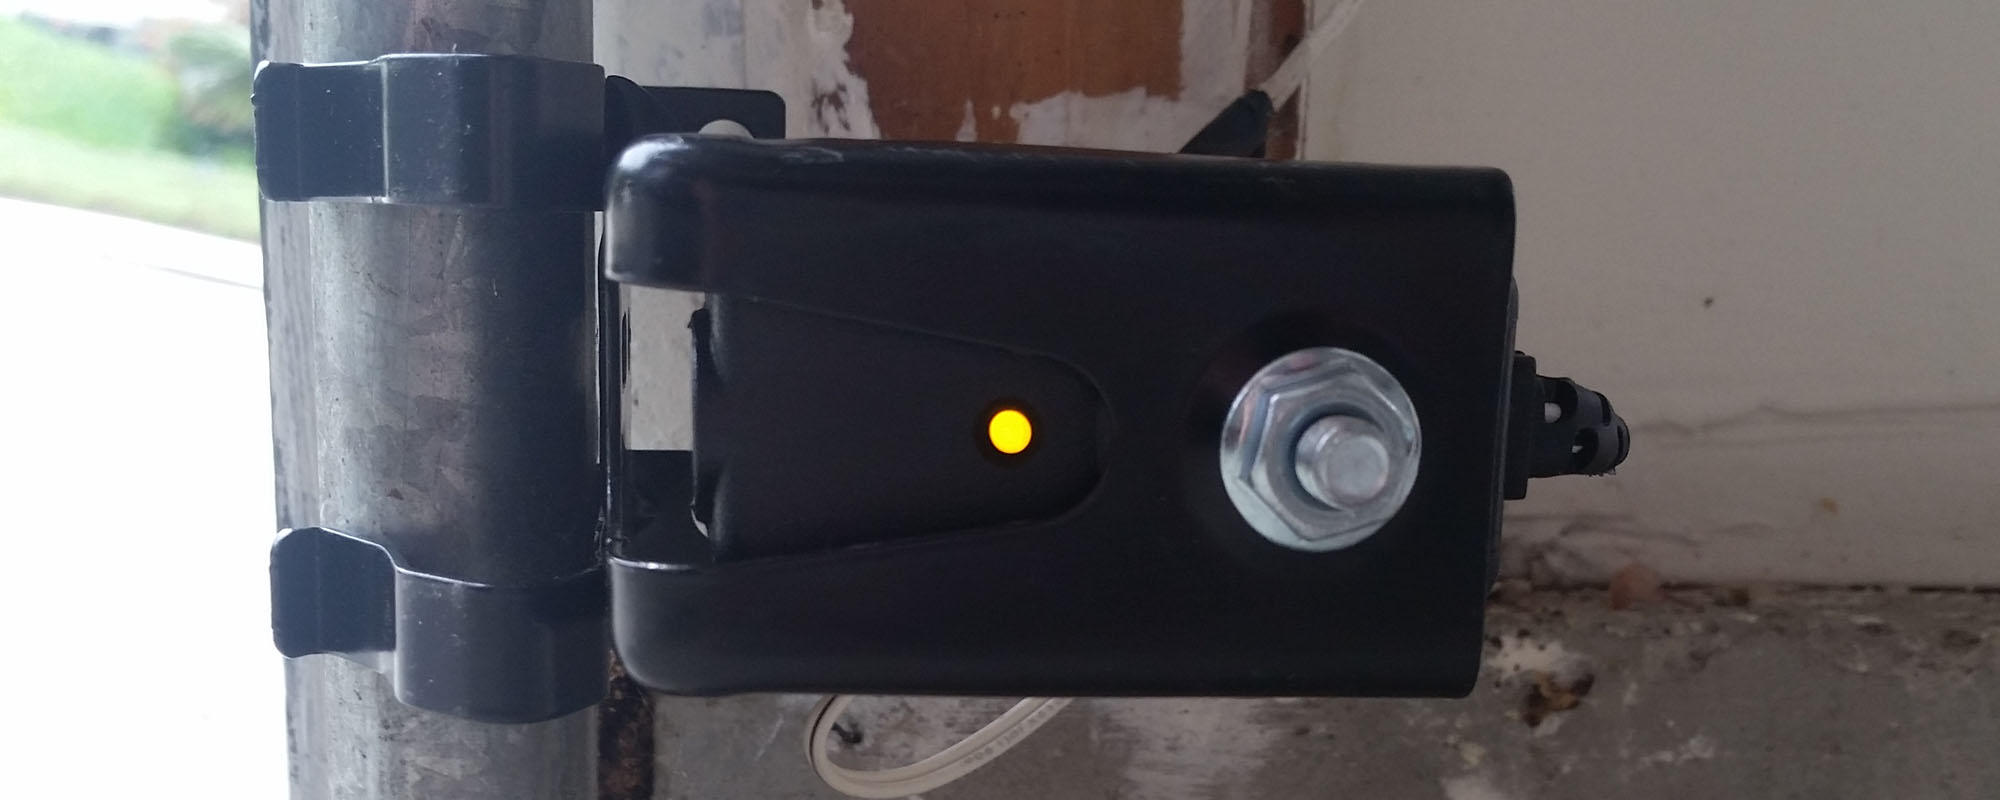
- Tighten Bolts and Nuts: Using a wrench, check all the bolts and nuts holding the garage door tracks, brackets, and hinges. Tighten any loose connections to ensure stability and proper alignment.
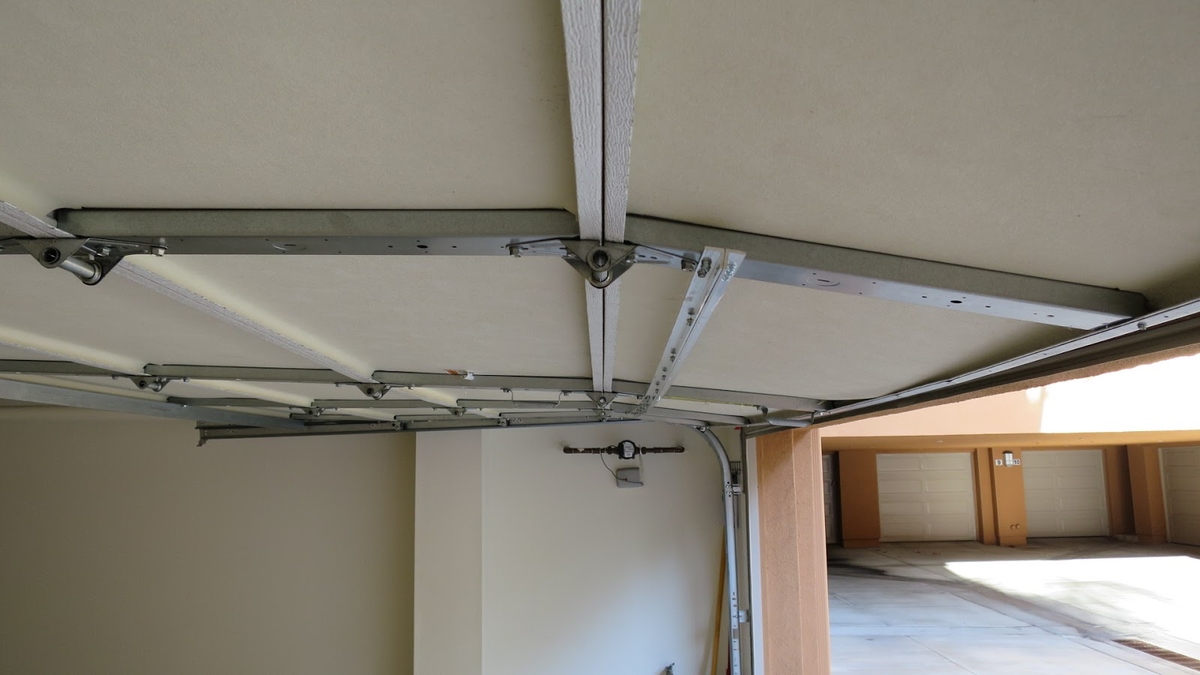
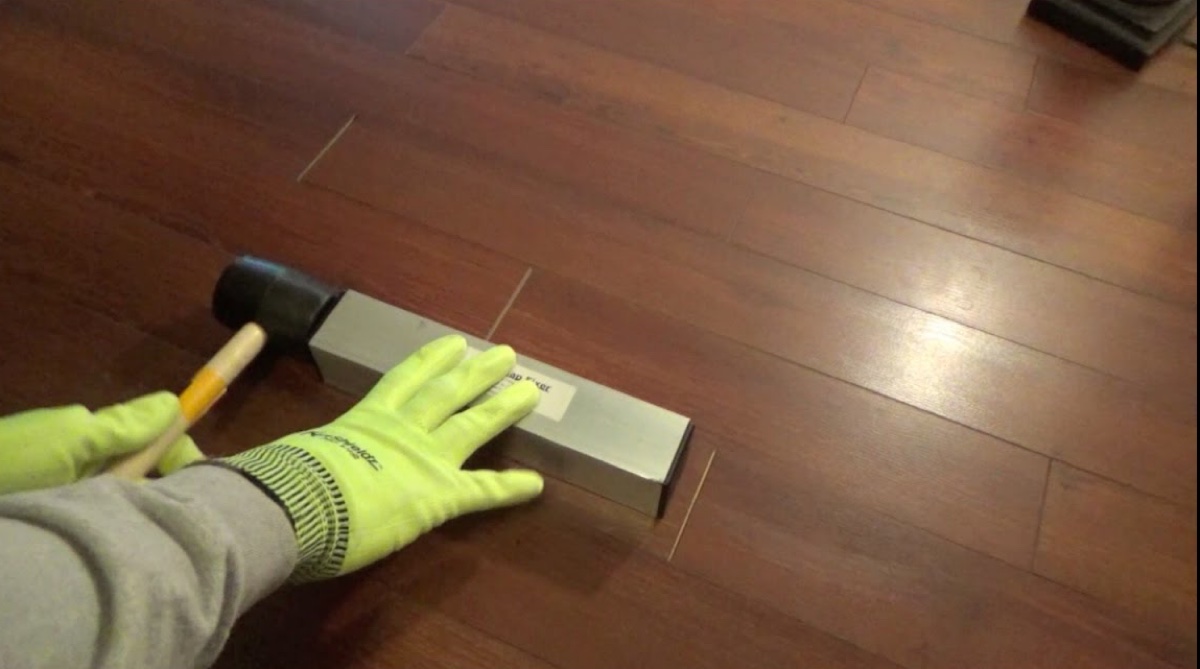
- Adjust the Tracks: Inspect the tracks that guide the garage door’s movement and ensure they are properly aligned. Use a level to check if the tracks are plumb. If they are not, adjust them by loosening the screws and gently tapping the tracks with a hammer until they are straight.
- Align the Rollers: Check that the rollers inside the tracks are properly aligned. Adjust any misaligned rollers by loosening the screws holding them in place and repositioning them to align with the tracks.
- Replace Damaged Brackets or Hinges: If any of the brackets or hinges are damaged, worn out, or bent, consider replacing them with new ones. Follow the manufacturer’s instructions for removing and installing the replacement components.
- Seal the Gap: Apply weatherstripping along the side of the garage door where the gap is present. Ensure the weatherstripping creates a tight seal between the door and the frame to prevent any further gaps or drafts.
- Test the Door: Once you have made the necessary adjustments and sealed the gap, test the garage door to ensure smooth and proper operation. Open and close the door multiple times to check for any remaining gaps or alignment issues.
- Maintain Regular Maintenance: To prevent future gaps and keep your garage door in optimal condition, establish a regular maintenance routine. Lubricate all moving parts, such as rollers, springs, and tracks, and inspect for any signs of wear or damage.
Remember, if you are unsure or uncomfortable performing any of these steps yourself, it is recommended to seek professional help from a garage door repair specialist.
Now that you’ve successfully fixed the gap on the side of your garage door, let’s consider some additional tips and considerations to keep in mind.
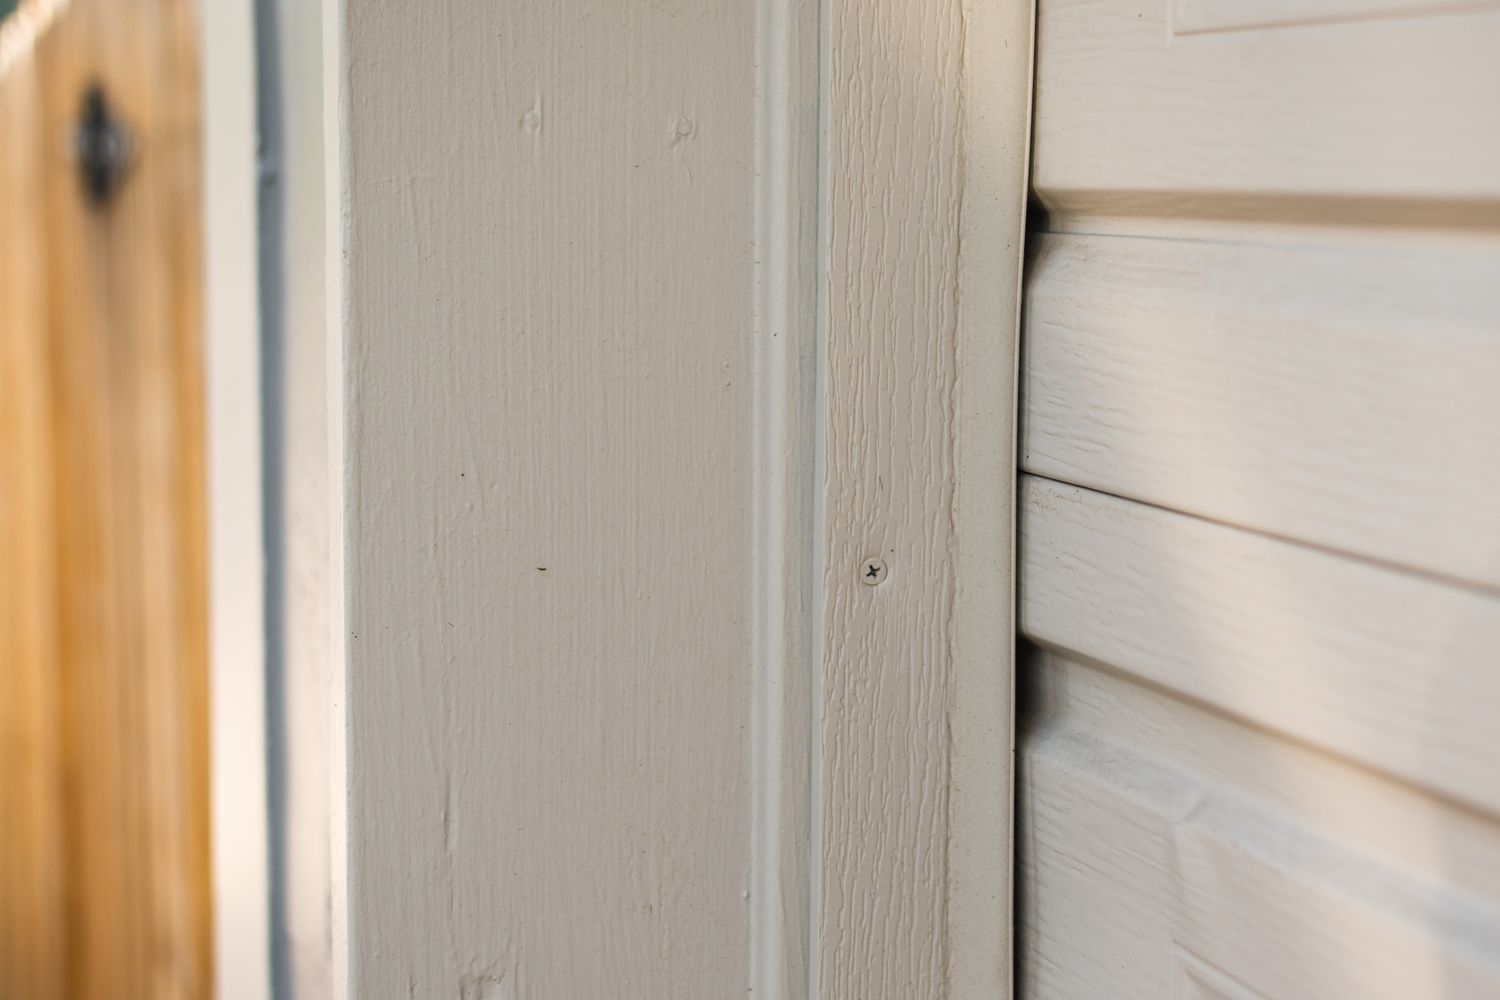
Check the weatherstripping on the side of the garage door for wear and tear. Replace it if necessary to create a better seal and eliminate the gap.
Additional Tips and Considerations
Here are some additional tips and considerations to keep in mind when fixing the gap on the side of your garage door:
- Safety First: Before starting any repair work, ensure the garage door is fully closed and disconnected from the opener to prevent any accidental movement or injuries.
- Measurements Matter: Take accurate measurements of the gap and other components to ensure that any adjustments or replacements are done correctly. This will help prevent further issues and ensure a proper fit.
- Use Proper Lubrication: Regularly lubricate the moving parts of the garage door, such as rollers, springs, and hinges, with a silicon-based spray or specialized garage door lubricant. This will help reduce friction and promote smooth operation.
- Regular Inspections: Perform routine inspections of your garage door to identify any signs of wear, damage, or potential issues. Addressing problems early can prevent them from escalating and save you from costly repairs in the long run.
- Consider Professional Help: If you encounter any complex issues or are unsure about the repair process, it is advisable to seek the assistance of a professional garage door repair technician. They have the expertise and experience to handle a wide range of garage door problems efficiently and safely.
By following these additional tips and considerations, you can ensure the longevity and optimal performance of your garage door.
Now that you have a thorough understanding of how to fix the gap on the side of your garage door, you can confidently tackle this repair project. Remember to prioritize safety, gather the necessary tools and materials, and follow the step-by-step guide we’ve provided. With a little effort and attention, you’ll have your garage door looking and functioning like new in no time!
Good luck with your garage door repair!
Conclusion
Fixing the gap on the side of your garage door is an essential task to maintain the security and functionality of your garage. By addressing gaps promptly, you can prevent pests, debris, and unwanted weather conditions from entering your garage space. Additionally, fixing the gap can improve the overall appearance and curb appeal of your home.
In this comprehensive guide, we’ve provided you with a step-by-step process, tools, and materials needed, as well as additional tips and considerations to successfully fix the gap on the side of your garage door. Remember to prioritize safety, carefully inspect the gap and surrounding components, and make necessary adjustments or replacements as needed.
Regular maintenance and inspections of your garage door will help prevent gaps and other issues from occurring in the future. Be sure to lubricate moving parts, such as rollers and hinges, and address any signs of wear or damage promptly. When in doubt, it is always advisable to seek the assistance of a professional garage door repair technician.
With the information provided in this guide, you now have the knowledge and confidence to tackle the task of fixing the gap on the side of your garage door. Take the necessary steps, follow the instructions, and enjoy the benefits of a secure and functional garage space.
Thank you for reading, and best of luck with your garage door repair!
Now that you've tackled fixing that pesky garage door gap, consider enhancing your garage’s energy efficiency even further with optimal insulation solutions. Our next article on choosing the best insulation for your garage provides practical advice to keep your space warmer in winter and cooler in summer. Also, don't overlook the importance of securing your home. Our insightful piece on bolstering home security offers valuable tips to protect your property and loved ones effectively.
Frequently Asked Questions about How To Fix Gap On Side Of Garage Door
Was this page helpful?
At Storables.com, we guarantee accurate and reliable information. Our content, validated by Expert Board Contributors, is crafted following stringent Editorial Policies. We're committed to providing you with well-researched, expert-backed insights for all your informational needs.


0 thoughts on “How To Fix Gap On Side Of Garage Door”