Articles
How To Fix Top Down Bottom Up Blinds
Modified: October 20, 2024
Discover helpful articles on how to fix top-down bottom-up blinds and get them working perfectly again. Expert tips and step-by-step instructions available for easy DIY repairs.
(Many of the links in this article redirect to a specific reviewed product. Your purchase of these products through affiliate links helps to generate commission for Storables.com, at no extra cost. Learn more)
Introduction
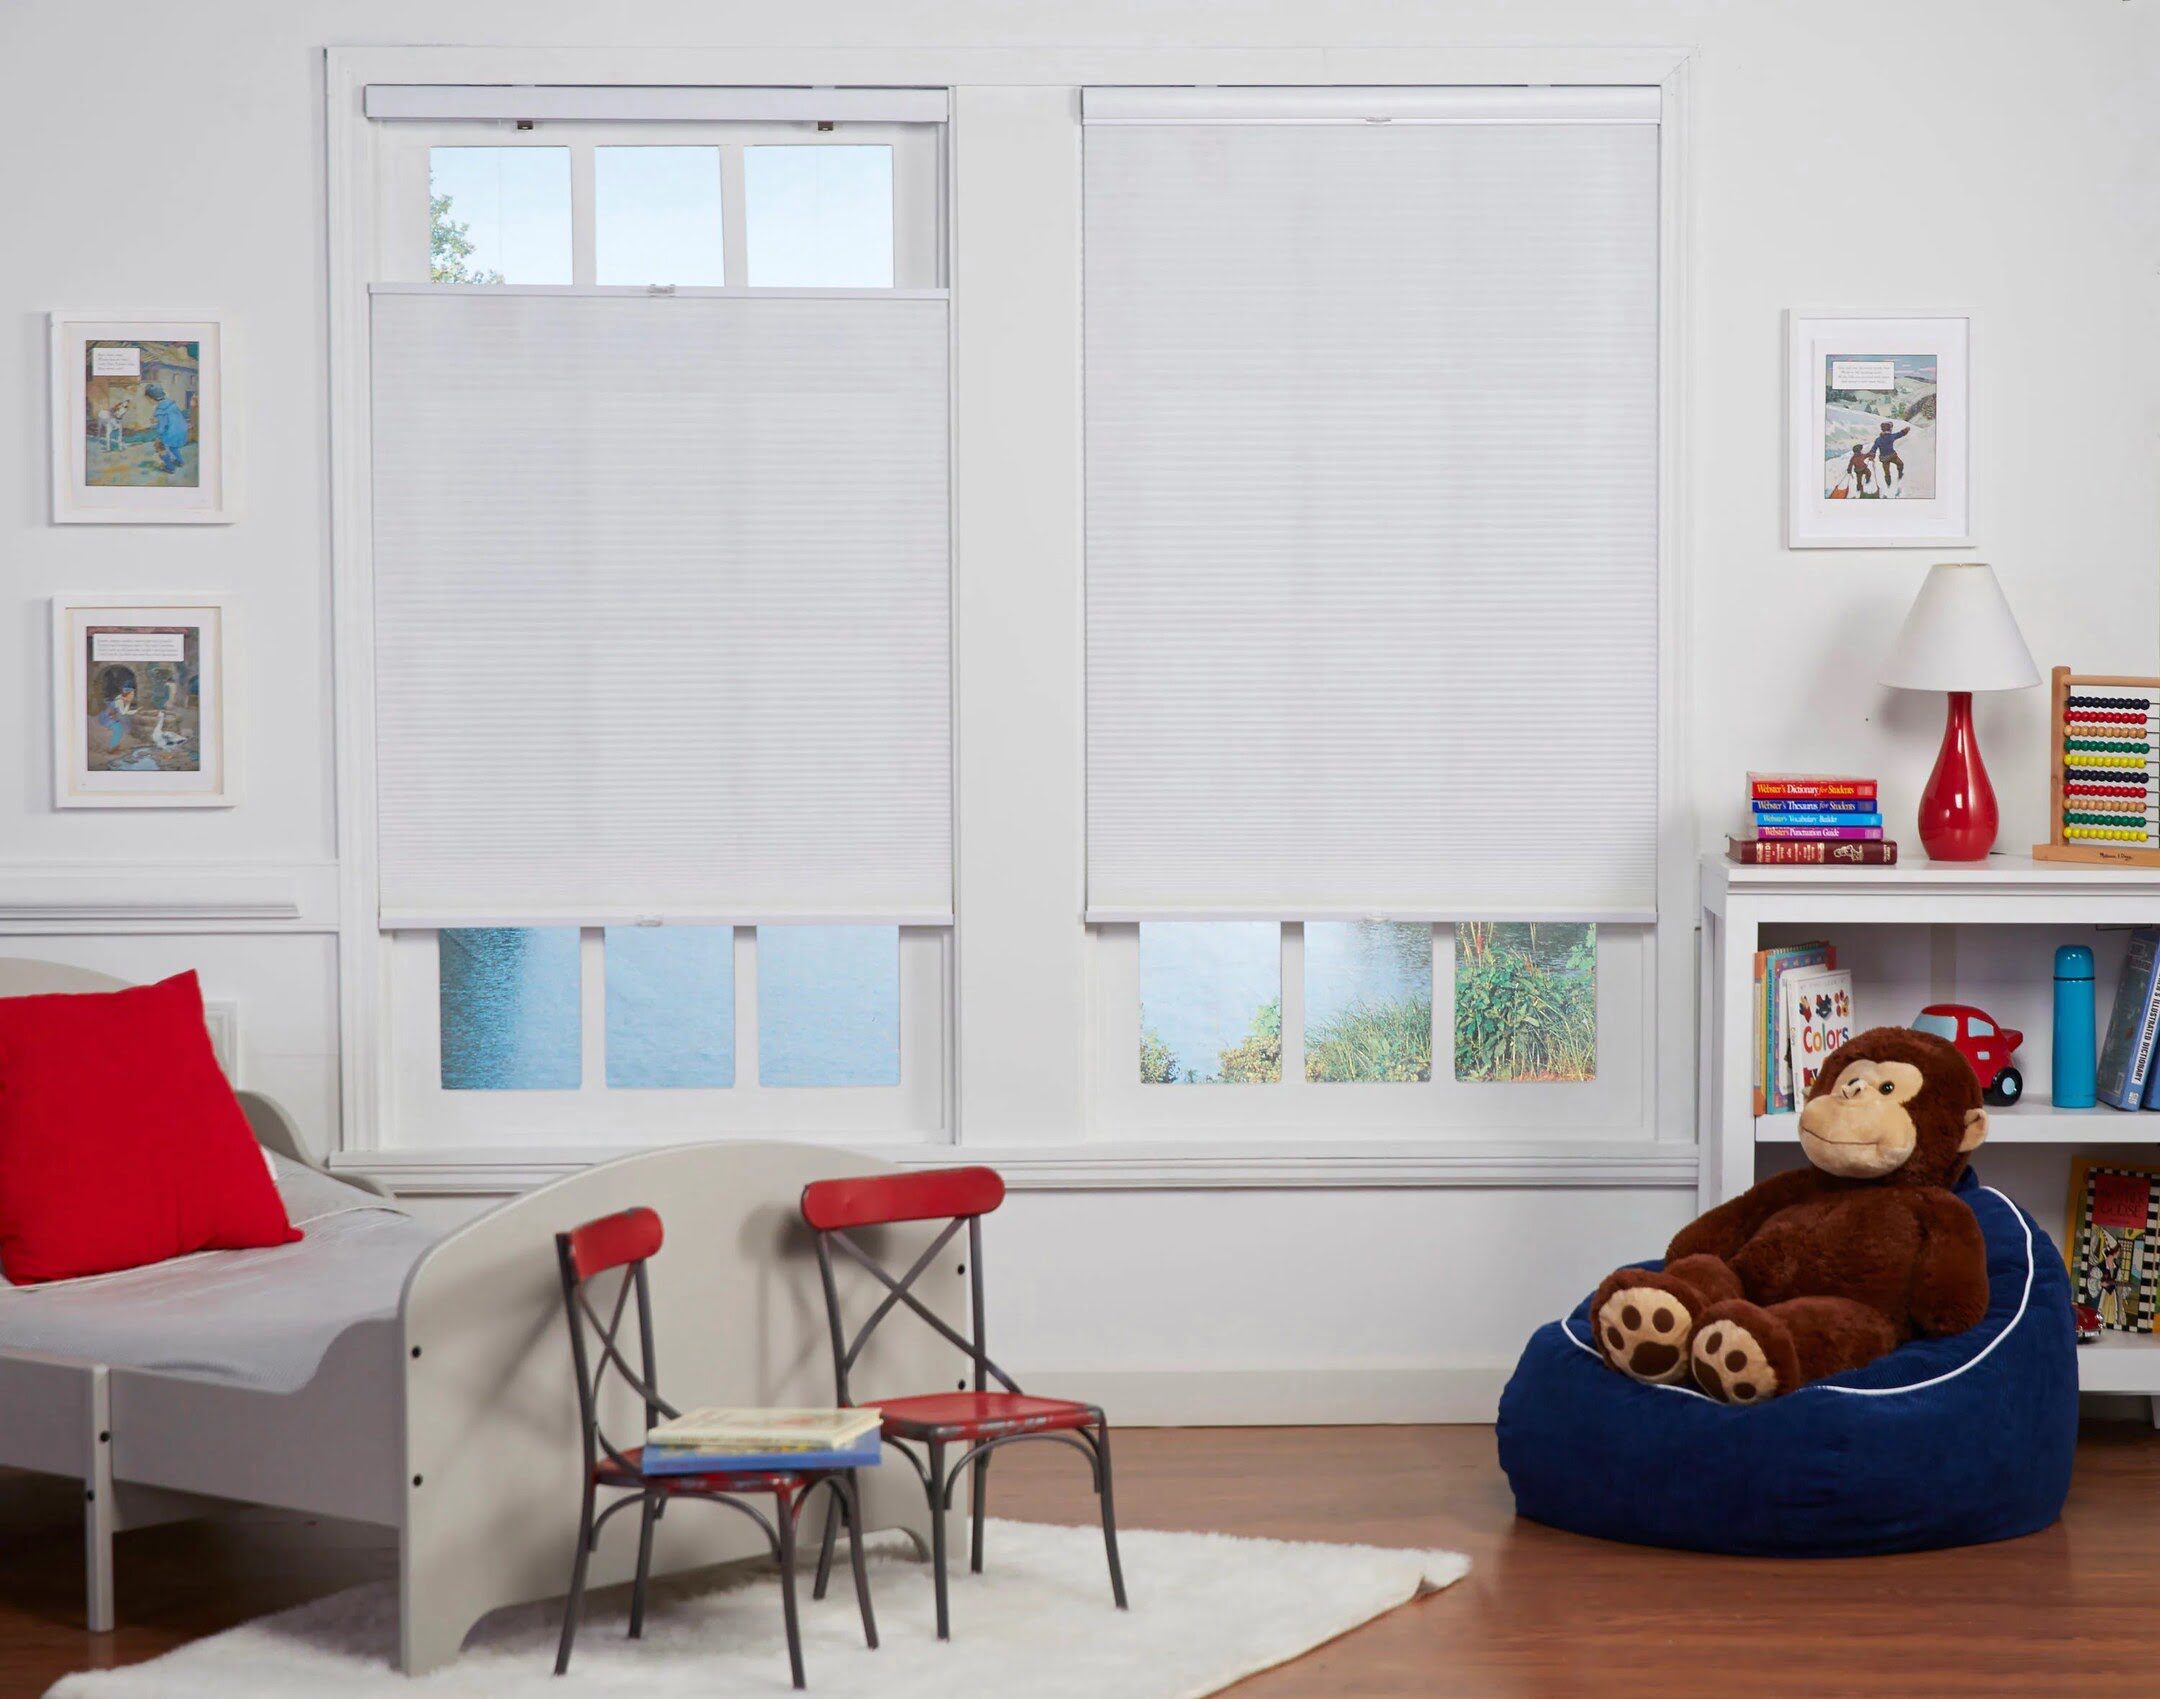
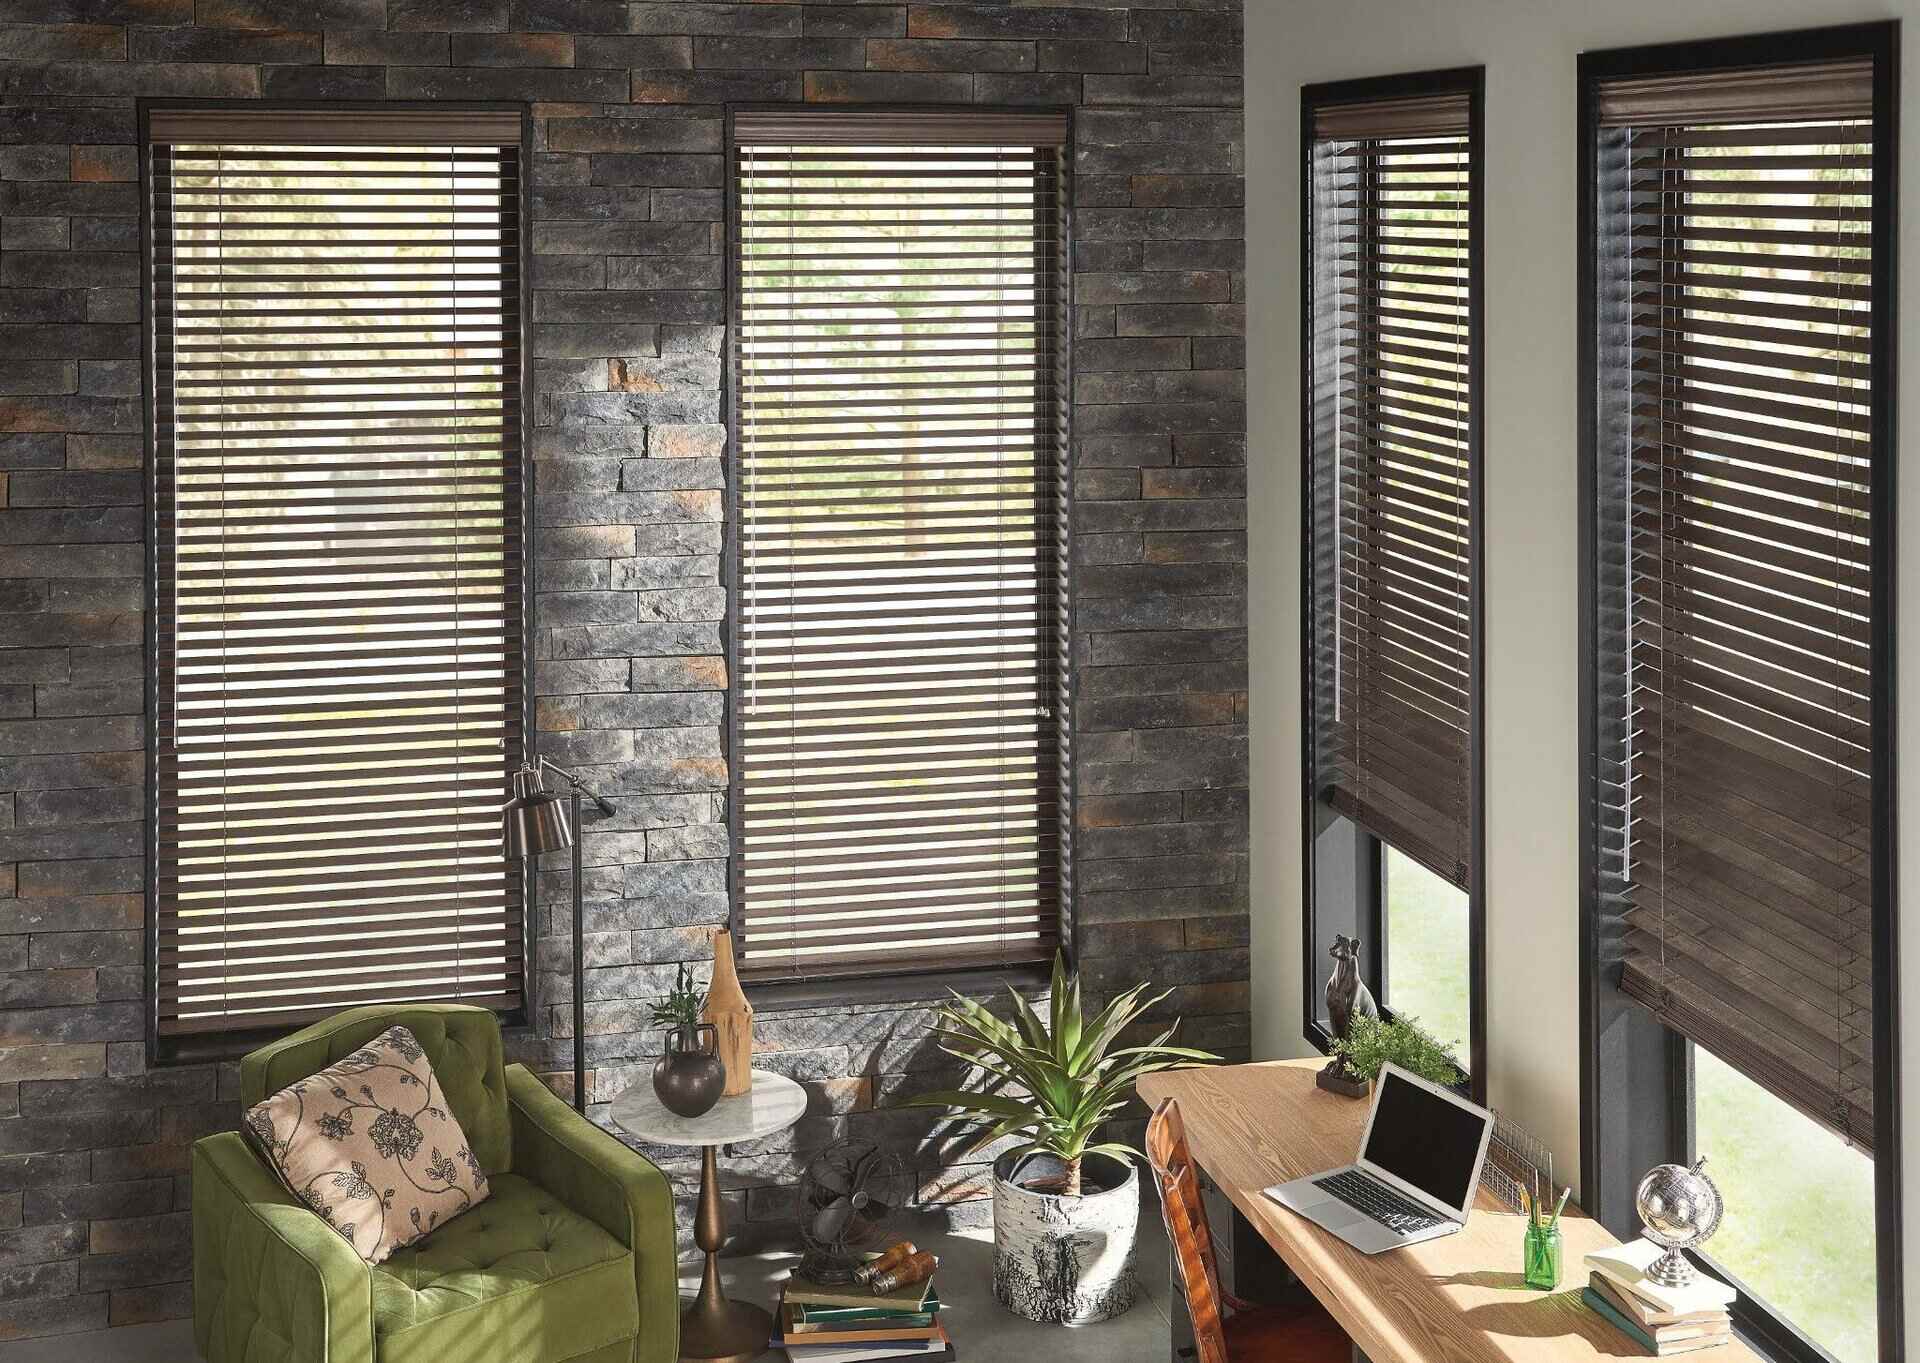
Top down bottom up blinds are a popular choice for many homeowners due to their versatile design and ability to control light and privacy. These blinds allow you to adjust both the top and bottom sections independently, giving you total control over the amount of light that enters your room while still maintaining your privacy.
However, like any other window treatment, top down bottom up blinds can encounter issues over time. Cords or strings may break, the control mechanism may become jammed, or the blinds may not operate as smoothly as they once did. When faced with these problems, it’s important to know how to fix them to ensure the continued functionality and aesthetic appeal of your blinds.
In this article, we will guide you through the process of troubleshooting and repairing common issues with top down bottom up blinds. We’ll also provide some tips and advice on maintenance and cleaning to help prolong the lifespan of your blinds.
Before we delve into the specific steps to fix top down bottom up blinds, it’s essential to gather the necessary tools and materials. This will ensure that you have everything you need to successfully carry out the repairs.
Key Takeaways:
- Troubleshooting and repairing top down bottom up blinds is achievable with the right tools and guidance. From replacing broken cords to adjusting tension, maintaining these blinds ensures long-lasting functionality and aesthetic appeal.
- Regular cleaning and maintenance are essential for preserving the condition of top down bottom up blinds. By incorporating simple upkeep tasks, such as dusting and inspecting cords, homeowners can extend the lifespan of their blinds and enjoy optimal performance.
Read also: 15 Best Top Down Bottom Up Blinds for 2025
Understanding Top Down Bottom Up Blinds
Top down bottom up blinds are a unique type of window covering that offers a high level of flexibility and control. Unlike traditional blinds, which only allow for full opening or closing, top down bottom up blinds can be adjusted to different positions along the window frame.
The top down feature allows you to lower the blinds from the top, allowing natural light to enter the room while still maintaining privacy. This is especially useful in rooms where privacy is important, such as bedrooms or bathrooms. The bottom up feature, on the other hand, allows you to raise the blinds from the bottom, giving you the option to partially or fully uncover the window while still blocking out unwanted light or views from the outside.
Top down bottom up blinds come in a variety of styles, materials, and colors to suit different preferences and decor themes. They can be found in various sizes to fit different window sizes and shapes. Whether you prefer the classic and timeless look of wooden blinds or the sleek and modern aesthetic of cellular shades, there’s a top down bottom up option available to match your style.
These blinds provide a high level of versatility and functionality, making them an excellent choice for any room in your home. In addition to the control over lighting and privacy, top down bottom up blinds also offer insulation benefits. The ability to adjust the position of the blinds allows you to effectively manage the amount of heat or cold that enters your room, helping to regulate your indoor temperature and reduce energy consumption.
When it comes to installation, top down bottom up blinds can be mounted inside the window frame or outside. The choice between the two depends on the specific requirements and measurements of your window. With proper installation and maintenance, these blinds can not only enhance the overall look of your home but also provide long-lasting functionality and value.
Common Issues with Top Down Bottom Up Blinds
While top down bottom up blinds are designed to be durable and reliable, there are a few common issues that may arise over time. These issues can affect the functionality and appearance of your blinds. Here are some of the most common problems that you may encounter:
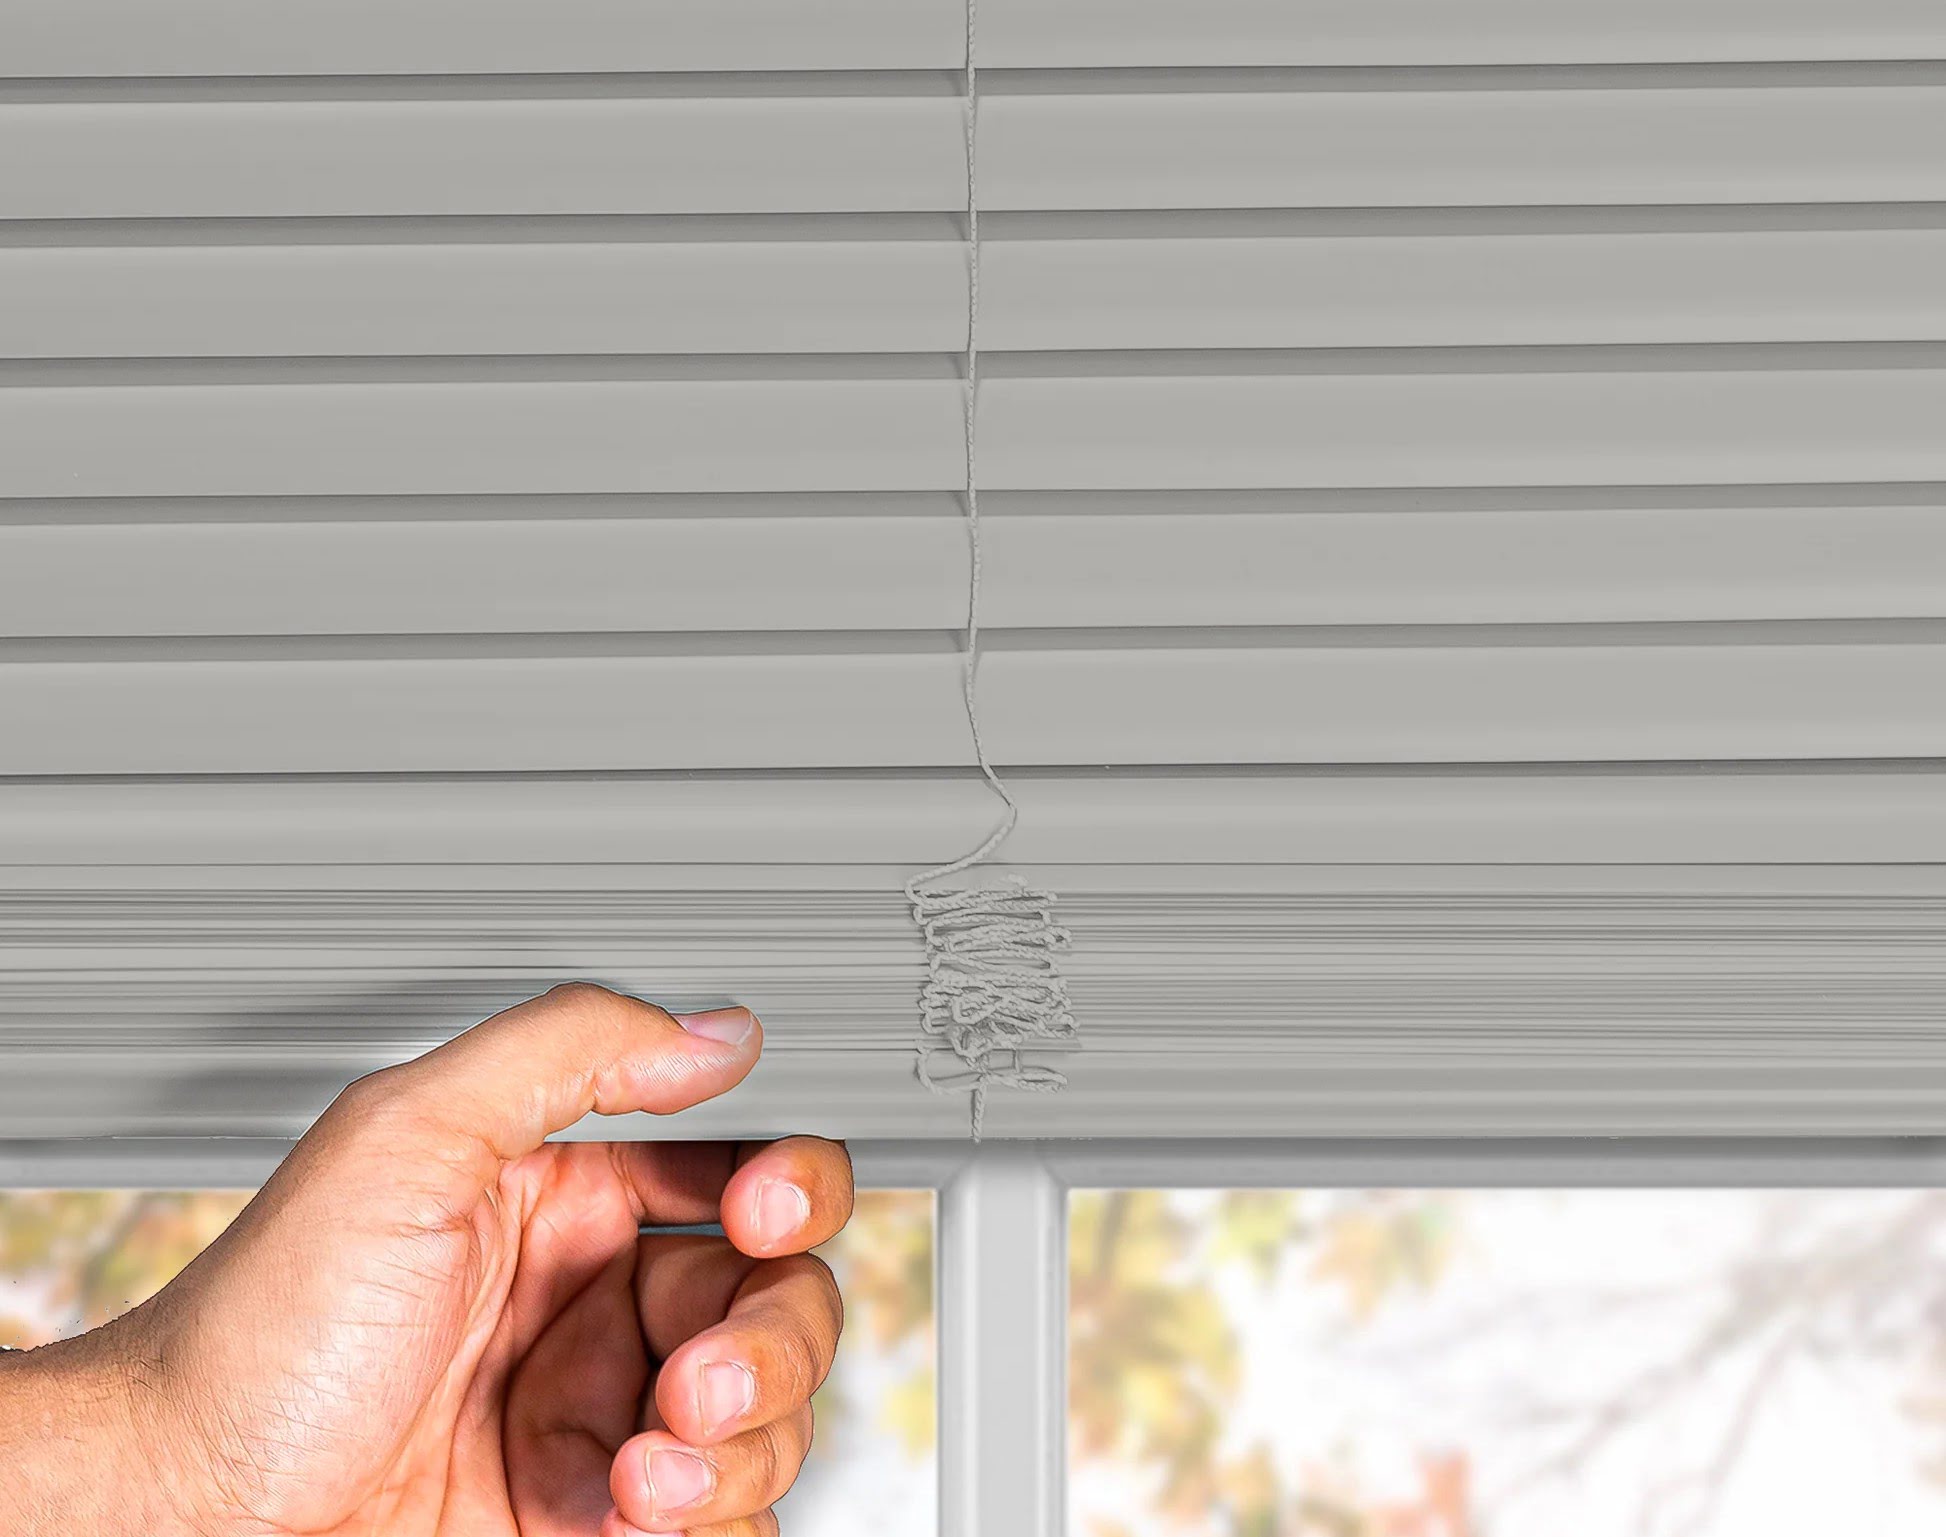
- Cord or string breakage: The cords or strings that control the movement of the blinds can become worn or break. This can make it difficult or impossible to raise or lower the blinds smoothly.
- Control mechanism jamming: The control mechanism, which allows you to adjust the position of the blinds, may become jammed or stuck. This can result in the blinds not moving or getting stuck in one position.
- Uneven operation: Over time, the blinds may start to operate unevenly, with one side going up or down faster than the other. This can lead to an unbalanced appearance and difficulty in achieving the desired level of light and privacy.
- Alignment issues: If the blinds are not properly aligned, they may not close tightly or evenly, leaving gaps for light to enter or compromising your privacy.
- Dirty or damaged slats: The individual slats of the blinds can accumulate dirt, dust, or debris, making them appear dull and affecting their overall aesthetic appeal. Additionally, slats can get bent or damaged, compromising the appearance and functionality of the blinds.
If you’re experiencing any of these issues with your top down bottom up blinds, don’t worry. Most of these problems can be fixed with some simple troubleshooting and basic repairs. In the next section, we’ll guide you through the steps to address these issues and get your blinds back in optimal working condition.
Tools and Materials Needed
Before you begin troubleshooting and repairing your top down bottom up blinds, it’s important to gather the necessary tools and materials. Having these items on hand will ensure that you can efficiently complete the repairs and achieve the best results. Here’s a list of the tools and materials you will need:
- Scissors or utility knife: These will be used for cutting cords or strings.
- Needle-nose pliers: Pliers will come in handy for various tasks, such as removing broken cords or strings, manipulating the control mechanism, or adjusting tension.
- Cord or string replacement: Depending on the issue, you may need to replace the broken cords or strings. Make sure to measure and cut the new cords to the appropriate length.
- Screwdriver: A screwdriver may be necessary if you need to disassemble any parts of the blind, such as the control mechanism.
- Clean, dry cloth: You’ll want to have a cloth on hand for cleaning the blinds and removing any accumulated dust or debris.
- Lubricant: If the control mechanism is jammed or not operating smoothly, a lubricant such as silicone spray can help resolve the issue. Ensure the lubricant is safe for use on blinds.
- Replacement slats: If you have damaged or bent slats, you may need to replace them. Measure the length of the slats and purchase replacements that match your blind style.
- Replacement control mechanism: In some cases, if the existing control mechanism is beyond repair, you may need to replace it. Consult the manufacturer or a blinds specialist to ensure you have the correct replacement part.
Having these tools and materials readily available will simplify the repair process and ensure that you can fix your top down bottom up blinds effectively. Now that you’re prepared, let’s move on to the troubleshooting and repair steps.
Step 1: Assess the Problem
Before you start making any repairs, it’s crucial to assess the problem with your top down bottom up blinds. Take a close look at the blinds and identify the specific issue you’re facing. This will help you determine the appropriate course of action and the specific steps required to fix the problem.
Here are some common issues you may encounter and how to assess them:
- Cord or string breakage: Inspect the cords or strings on both the top and bottom sections of the blinds. If you notice any breakage, fraying, or signs of damage, this is likely the cause of the problem. Check if the cord or string is fully detached or if it’s still partially connected.
- Control mechanism jamming: Test the control mechanism by attempting to raise or lower the blinds. If you encounter resistance or the blinds get stuck at certain points, the control mechanism may be jammed. Check if there are any obstructions or signs of damage.
- Uneven operation: Observe the movement of the blinds as you adjust them. If one side is moving faster or slower than the other, there may be an issue with the tension or alignment. Look for any visible signs of misalignment or tension imbalance.
- Alignment issues: Examine the blinds when they are fully closed. If you notice gaps or unevenness in their positioning, the blinds may be misaligned. Look for any bent or damaged slats that could be causing the alignment problem.
- Dirty or damaged slats: Inspect the individual slats of the blinds for any accumulated dirt, dust, or debris. If the slats appear dull or discolored, they may need cleaning. Additionally, check for any visible signs of bent or broken slats.
By carefully assessing the problem, you will have a clear understanding of what needs to be fixed or replaced. This will help you determine the appropriate repair steps to take, whether it’s replacing cords or strings, repairing the control mechanism, adjusting tension, or cleaning and replacing slats.
Once you have assessed the problem, you can move on to the next step, which is identifying the type of blind mechanism you have. This will ensure that you choose the correct repair method and replacement parts, if necessary.
Step 2: Identify the Type of Blind Mechanism
Identifying the type of blind mechanism in your top down bottom up blinds is crucial for two reasons. First, it will help you understand how the blinds operate and how to troubleshoot any issues. Second, it will ensure that you choose the correct replacement parts, if needed.
There are a few different types of blind mechanisms commonly used in top down bottom up blinds. Here are some of the most common ones:
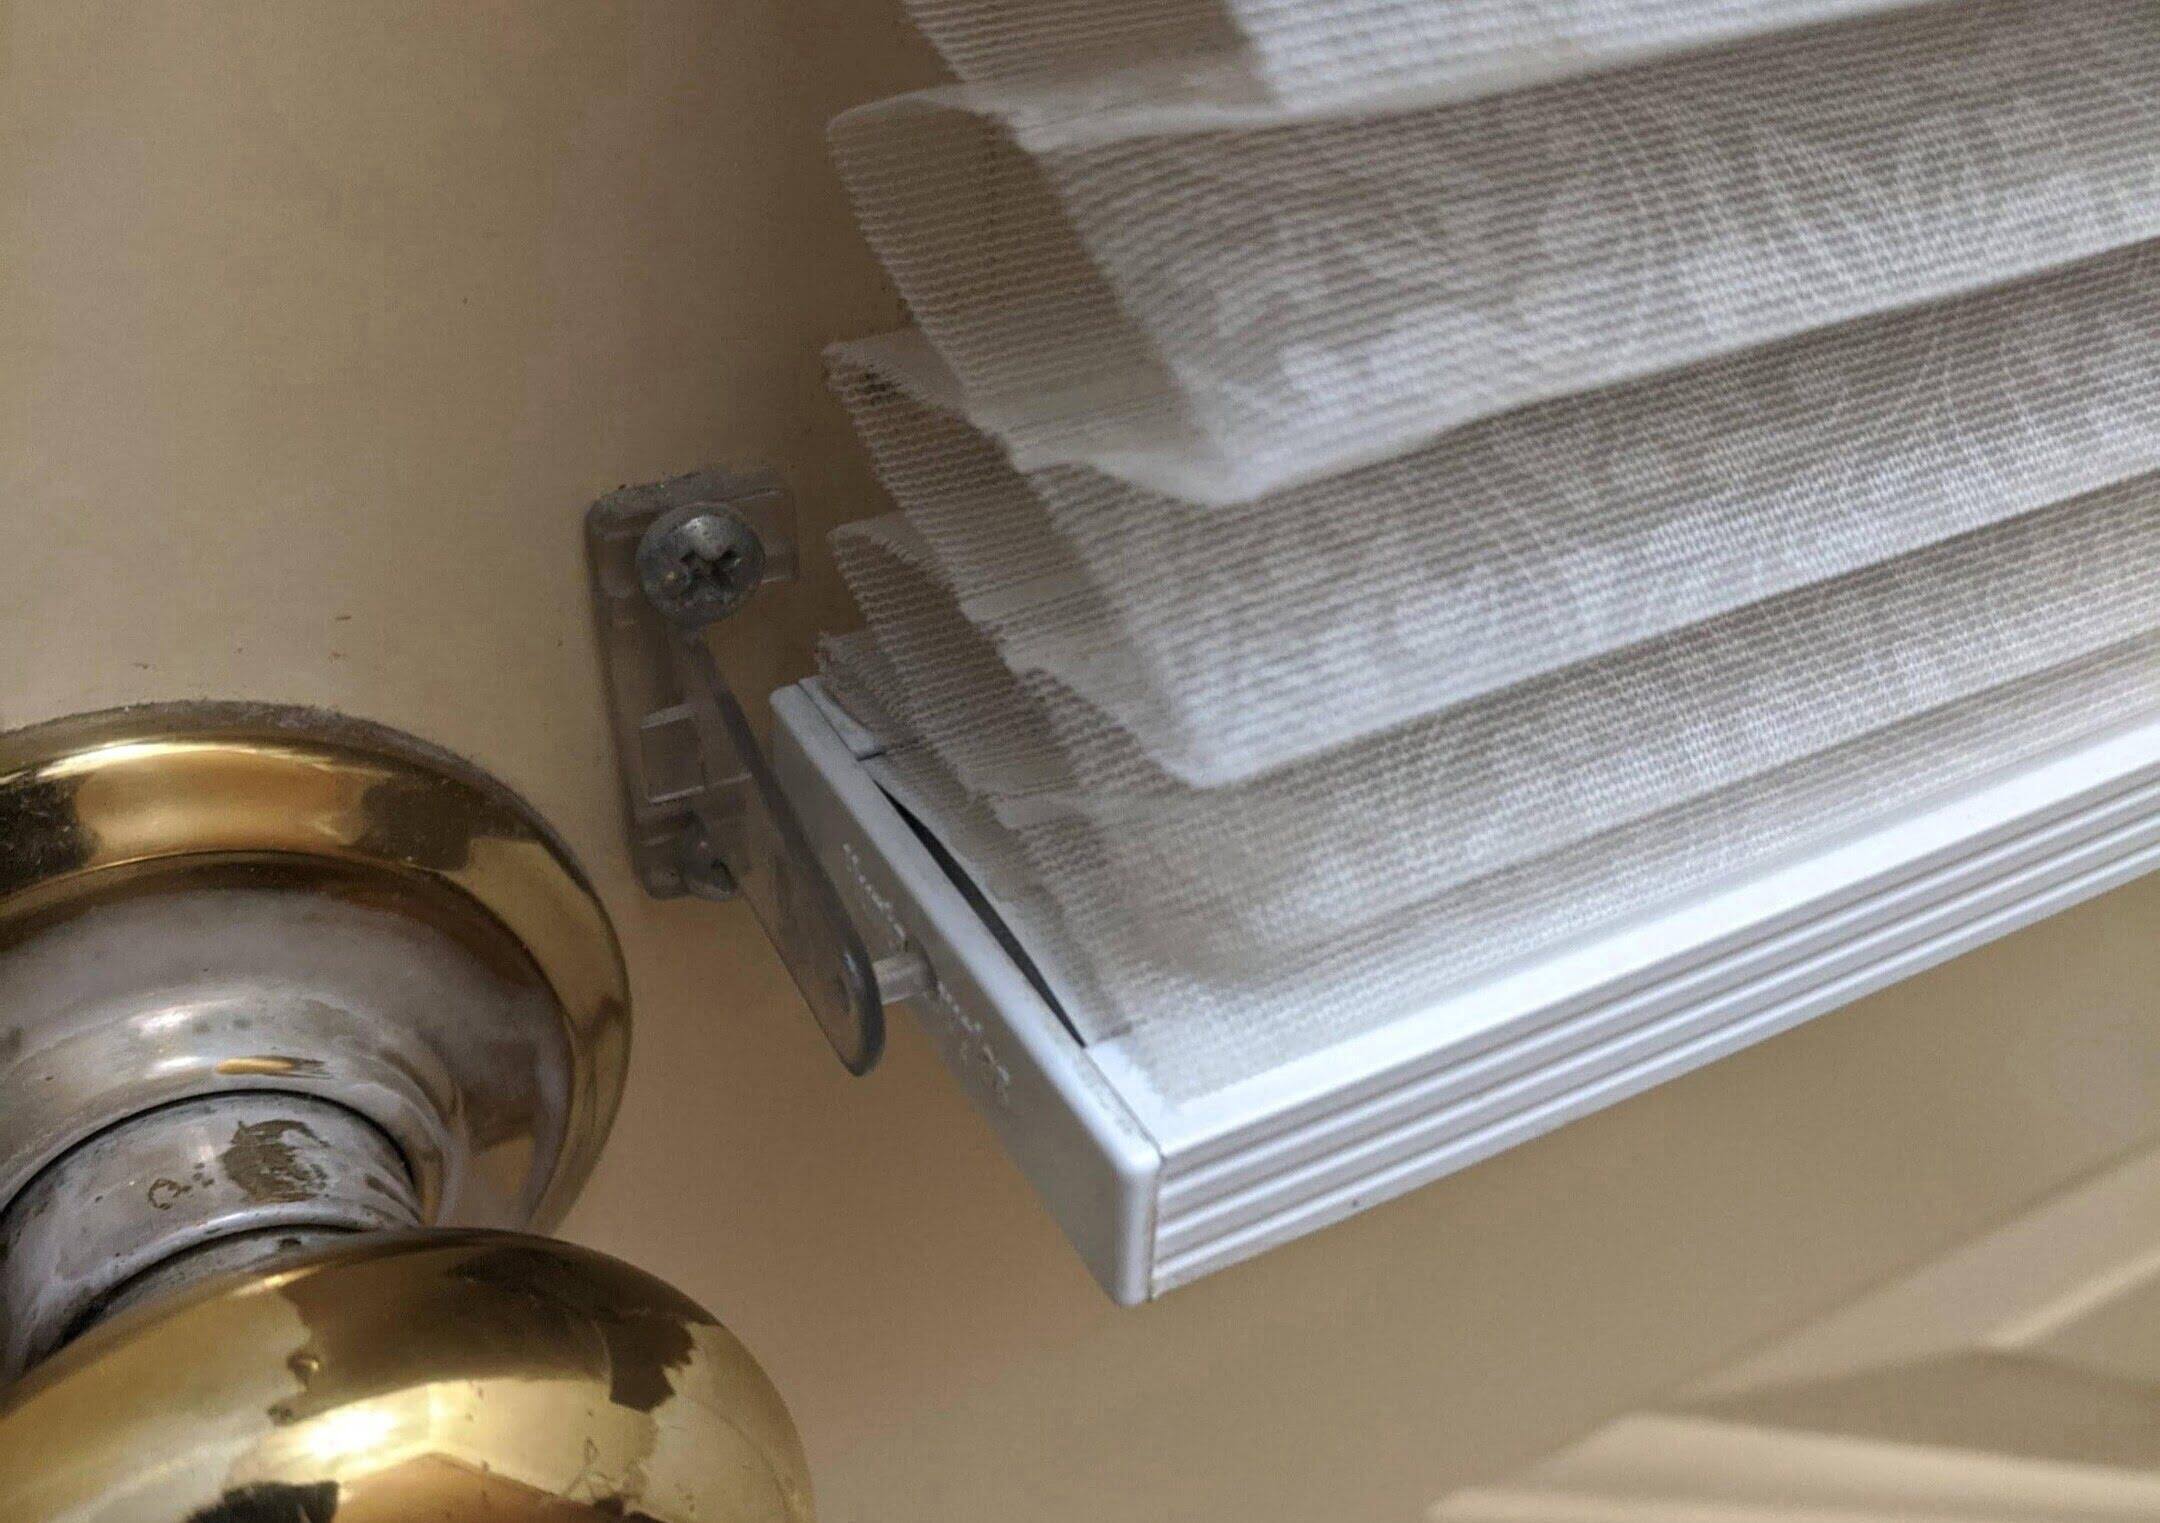
- Cord lock mechanism: In this type of mechanism, the cords or strings are locked into place by a cord lock located on the top rail of the blinds. The cord lock allows you to secure the blinds at your desired height.
- Continuous cord loop: This mechanism uses a continuous loop of cord that is attached to a clutch or mechanism located on one side of the blinds. The loop is pulled or released to raise or lower the blinds.
- Wand control: With a wand control mechanism, instead of cords or strings, there is a wand or rod that is used to control the movement of the blinds. By rotating the wand, you can raise or lower the blinds.
To identify the type of blind mechanism you have, take a close look at the top rail or control mechanism of your blinds. The type of mechanism will be evident based on the presence of cords, loops, or a wand. If you’re unsure, refer to the manufacturer’s instructions or consult a blinds specialist for assistance.
Understanding the type of blind mechanism will guide you in troubleshooting and fixing any issues specific to that mechanism. For example, if you have a cord lock mechanism and the cord is broken, you will need to replace the broken cord and rethread it through the cord lock. On the other hand, if you have a continuous cord loop mechanism and the loop is tangled or damaged, you will need to untangle it or replace the loop.
Once you have identified the type of blind mechanism, you can proceed to the next step, which is troubleshooting and implementing quick fixes to address common issues.
When fixing top down bottom up blinds, start by checking the cords and pulleys for any tangles or obstructions. If the blinds are still not functioning properly, consider replacing the cord lock mechanism.
Step 3: Troubleshooting and Quick Fixes
Once you have assessed the problem and identified the type of blind mechanism, it’s time to troubleshoot the issues and implement quick fixes to resolve them. In this step, we will provide some common troubleshooting techniques and quick fixes for various problems you may encounter with your top down bottom up blinds.
Here are some troubleshooting steps and quick fixes:
- Cord or string breakage: If you have a cord or string that is broken or frayed, you will need to replace it. Start by removing any remaining pieces of the broken cord or string. Then, cut a new cord or string to the appropriate length. Thread the new cord or string through the loops or mechanisms, making sure it is properly secured and balanced.
- Control mechanism jamming: If the control mechanism is jammed or stuck, try applying a lubricant to the affected areas. Use a silicone spray or a lubricant specifically designed for blinds. Apply a small amount of lubricant to the mechanisms and gently work them back and forth to loosen any debris or obstructions. Test the blinds to see if they operate smoothly.
- Uneven operation: To address uneven operation, you may need to adjust the tension or alignment of the blinds. Start by ensuring that the blinds are properly aligned and level. If needed, adjust the tension by either tightening or loosening the cords or strings. This can be done by accessing the tensioning device or mechanism for your specific blind type.
- Alignment issues: If you notice gaps or unevenness in the positioning of the blinds, check for any bent or damaged slats that may be causing the misalignment. Replace any damaged slats and make sure all slats are properly seated and aligned within the blind mechanism.
- Dirty or damaged slats: Clean the slats with a dry, clean cloth to remove any accumulated dirt or debris. If the slats are excessively dirty, you can use a mild solution of water and gentle detergent. Be sure to dry the slats thoroughly before raising or lowering the blinds. For damaged slats, remove and replace them with new ones that match the style and size of your blinds.
By following these troubleshooting steps and implementing the quick fixes, you should be able to address the common issues that may arise with your top down bottom up blinds. However, if you encounter more complex problems or are unable to resolve the issue on your own, it’s advisable to seek assistance from a blinds specialist or contact the manufacturer for further guidance.
Now that you’ve addressed the immediate issues, it’s important to move on to the next steps, which involve more in-depth repairs such as replacing cords or strings and repairing or replacing the control mechanism.
Step 4: Replacing Broken Cords or Strings
If you have identified that the cords or strings in your top down bottom up blinds are broken or damaged, it’s important to replace them to restore the functionality of your blinds. Follow these steps to replace the broken cords or strings:
- Remove the blinds: Start by removing the blinds from the window. This will make it easier to access and work on the blind mechanism.
- Locate the broken cords or strings: Identify the cords or strings that are broken or damaged. Carefully detach any remaining pieces of the broken cords or strings from the blind mechanism.
- Measure and cut the new cords or strings: Measure the length of the old cords or strings to determine the appropriate length for the replacement. Use sharp scissors or a utility knife to cut the new cords or strings to the correct length.
- Thread the new cords or strings: Begin by threading one end of the new cord or string through the appropriate loops or mechanisms. Follow the same path as the original cords or strings. Ensure that the cord or string is secured and balanced, with no excessive slack or tension.
- Secure the cords or strings: Make sure the new cords or strings are properly secured in place. This may involve tying knots, using cord locks, or attaching them to specific mechanisms, depending on the type of blind mechanism you have.
- Test the blinds: Once the new cords or strings are securely in place, reattach the blinds to the window. Test the blinds by raising and lowering them to ensure that they operate smoothly and evenly.
It’s important to refer to the manufacturer’s instructions or consult a blinds specialist if you encounter any difficulties or have questions specific to your blind mechanism. They can provide additional guidance and ensure that you complete the cord or string replacement correctly.
Replacing broken cords or strings is a fundamental repair for top down bottom up blinds. By completing this step, you will ensure that your blinds are fully functional and can be operated with ease. When the cords or strings are in good condition, you can proceed to the next step, which involves repairing or replacing the control mechanism if necessary.
Step 5: Repairing or Replacing the Control Mechanism
If you have determined that the control mechanism of your top down bottom up blinds is damaged or malfunctioning, you will need to repair or replace it to restore proper operation. Follow these steps to effectively address the control mechanism issue:
- Remove the blinds: Start by removing the blinds from the window. This will allow you to access the control mechanism more easily.
- Inspect the control mechanism: Carefully examine the control mechanism, looking for any visible signs of damage, such as broken parts or obstructions. Determine whether the mechanism can be repaired or if it needs to be completely replaced.
- Repairing the control mechanism: If the control mechanism can be repaired, follow the manufacturer’s instructions or use the appropriate tools to address the specific issue. This may involve tightening or adjusting screws, realigning components, or replacing small damaged parts, such as gears or springs. Take caution and follow all safety guidelines during the repair process.
- Replacing the control mechanism: If the control mechanism is beyond repair or you are unsure of how to fix it, it may be necessary to replace the entire mechanism. Contact the manufacturer or a blinds specialist to obtain the correct replacement part. Follow the instructions provided to remove the old control mechanism and install the new one. Ensure that all components are secure and aligned properly.
- Test the blinds: Once the control mechanism has been repaired or replaced, reattach the blinds to the window. Test the blinds by raising and lowering them, ensuring that the control mechanism operates smoothly and that the blinds are properly aligned and balanced.
Repairing or replacing the control mechanism may require some technical knowledge or experience, so don’t hesitate to seek assistance if needed. Properly addressing the control mechanism issue will ensure that your top down bottom up blinds can be operated effectively and that you have total control over lighting and privacy.
Once the control mechanism is repaired or replaced and functioning properly, you can move on to the next step, which involves adjusting the tension of the blinds for smooth operation.
Read more: How Do You Fix Pull Down Blinds
Step 6: Adjusting Tension for Smooth Operation
To ensure that your top down bottom up blinds operate smoothly and evenly, it is important to adjust the tension properly. The tension controls how easily the blinds raise and lower, allowing for a seamless operation. Here are the steps to adjust the tension of your blinds:
- Remove the blinds: Begin by removing the blinds from the window. This will provide easier access to the mechanisms for adjusting the tension.
- Locate the tension device: Look for the tension device or mechanisms on the blinds. Depending on the type of blind mechanism, this may be a tensioning screw, a clutch, or another component that controls the tension.
- Loosen or tighten the tension: Using a screwdriver or the appropriate tool, adjust the tension by loosening or tightening the tension device. Turning the device clockwise typically increases the tension, while turning it counterclockwise decreases the tension. Make small adjustments at a time and test the blinds after each adjustment to achieve the desired tension.
- Test the blinds: Reattach the blinds to the window and test their operation. Raise and lower the blinds to check if they move smoothly and evenly. If the blinds are still too loose or too tight, make further adjustments to the tension device until you achieve the desired level of tension.
- Ensure proper alignment: As you adjust the tension, take note of the alignment of the blinds. Ensure that they are level and aligned properly when fully raised or fully lowered. Adjust the cords or strings if necessary to achieve ideal alignment.
It is crucial to make small adjustments to the tension and test the blinds after each adjustment to avoid excessive tension or damage to the blinds. Taking the time to properly adjust the tension will result in smooth, effortless operation and prevent any potential issues in the future.
Once you have achieved the desired tension and ensured proper alignment, you can proceed to the final step, which involves some helpful cleaning and maintenance tips to keep your top down bottom up blinds in excellent condition.
Step 7: Cleaning and Maintenance Tips for Top Down Bottom Up Blinds
To keep your top down bottom up blinds looking their best and functioning properly, regular cleaning and maintenance are crucial. Here are some cleaning and maintenance tips to help you maintain the condition and extend the lifespan of your blinds:
- Dust regularly: Use a clean, dry cloth or a feather duster to remove dust from the slats of your blinds. Regular dusting will prevent dirt buildup and keep your blinds looking clean and fresh.
- Deep clean when necessary: If the blinds become heavily soiled or stained, a deeper cleaning may be required. Check the manufacturer’s instructions for specific cleaning recommendations, as different materials may require different cleaning methods. Generally, you can use a mild solution of water and gentle detergent to spot clean or gently wipe the blinds with a damp cloth. Avoid soaking or submerging the blinds in water, as this can damage the mechanisms.
- Avoid harsh chemicals: When cleaning your blinds, avoid using harsh chemicals or abrasive cleaners, as they can cause damage to the blinds’ materials, paint, or finish.
- Maintain the control mechanism: Periodically inspect the control mechanism for any signs of wear, damage, or buildup. Clean and lubricate any moving parts as needed to ensure smooth and efficient operation.
- Repair or replace damaged slats: If you notice any bent, broken, or damaged slats, it is important to replace them promptly. This will not only improve the appearance of your blinds but also prevent further damage to the surrounding slats or mechanisms.
- Inspect cords and strings: Regularly check the condition of the cords or strings that control the blinds. If you notice any signs of wear, fraying, or damage, consider replacing them to prevent further issues.
- Keep an eye on alignment: Periodically check the alignment of the blinds when they are fully raised and fully lowered. If you notice any misalignment, adjust the cords or strings and ensure that the blinds are level and sitting evenly.
By incorporating these cleaning and maintenance tips into your routine, you can keep your top down bottom up blinds in optimal condition and enjoy their functionality and aesthetic appeal for years to come.
Congratulations! You have successfully completed the steps to troubleshoot, repair, and maintain your top down bottom up blinds. By following these guidelines, you can ensure that your blinds operate smoothly, enhance the appearance of your space, and provide the desired level of privacy and light control.
As a final reminder, always refer to the manufacturer’s instructions or consult a blinds specialist if you have any specific concerns or encounter difficulties during the repair or maintenance process. They will be able to offer expert guidance and ensure that you achieve the best possible outcome.
Conclusion
Top down bottom up blinds offer a versatile and stylish window treatment option that allows you to control light and privacy with ease. However, over time, these blinds may encounter common issues such as cord breakage, control mechanism jamming, uneven operation, alignment problems, and dirty or damaged slats. Understanding how to troubleshoot and repair these issues is essential in maintaining the functionality and appearance of your blinds.
In this article, we have provided a comprehensive guide to fixing top down bottom up blinds. We started by explaining the benefits and features of these blinds, emphasizing their flexibility and energy efficiency. Then, we discussed the common issues that may arise and the tools and materials needed for the repairs.
We walked through the step-by-step process of troubleshooting and addressing the problems, including assessing the issue, identifying the blind mechanism, implementing quick fixes, replacing broken cords or strings, repairing or replacing the control mechanism, adjusting tension, and finally, cleaning and maintaining the blinds.
By following these steps and tips, you can effectively troubleshoot and repair your top down bottom up blinds, ensuring their smooth operation and longevity. Regular cleaning and maintenance will also help to keep your blinds looking their best and functioning optimally.
Remember that if you are unsure or encounter complex issues, it’s always a good idea to consult a blinds specialist or refer to the manufacturer’s instructions for further guidance. They can provide expert assistance and ensure that you achieve the best possible results.
With the knowledge and skills gained from this guide, you can confidently tackle any issues that may arise with your top down bottom up blinds and enjoy the benefits of these versatile window treatments for years to come.
Now that you've tackled fixing your top-down bottom-up blinds, why stop there? Dive into our comprehensive guide on DIY home improvement, where you'll find practical tips and innovative strategies to elevate your living space. Ready for more? Don't miss our essential article on home maintenance, designed to keep your home in tip-top shape year-round. Both pieces are packed with actionable advice, ensuring your home not only looks great but functions beautifully too.
Frequently Asked Questions about How To Fix Top Down Bottom Up Blinds
Was this page helpful?
At Storables.com, we guarantee accurate and reliable information. Our content, validated by Expert Board Contributors, is crafted following stringent Editorial Policies. We're committed to providing you with well-researched, expert-backed insights for all your informational needs.


0 thoughts on “How To Fix Top Down Bottom Up Blinds”