Articles
How To Install Add-On Blinds For Doors
Modified: December 7, 2023
Learn how to easily install add-on blinds for doors with our comprehensive articles. Improve your privacy and enhance your home decor effortlessly.
(Many of the links in this article redirect to a specific reviewed product. Your purchase of these products through affiliate links helps to generate commission for Storables.com, at no extra cost. Learn more)
Introduction
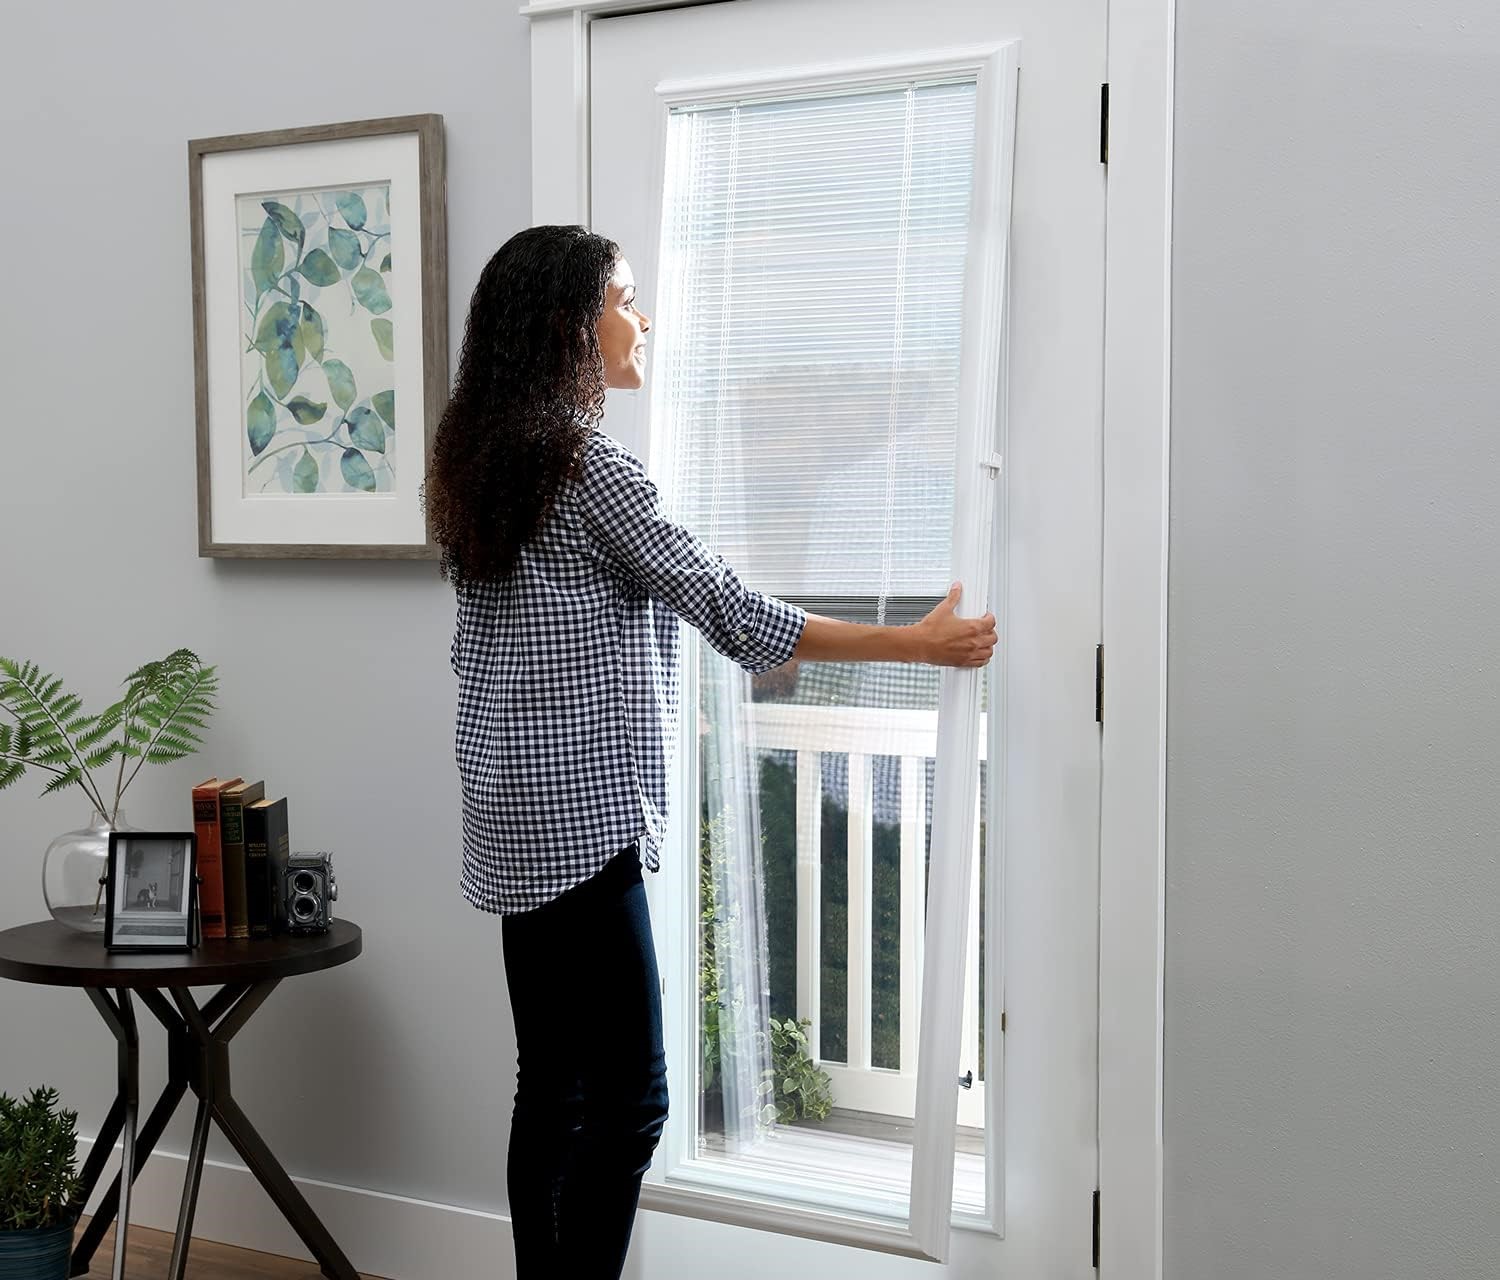
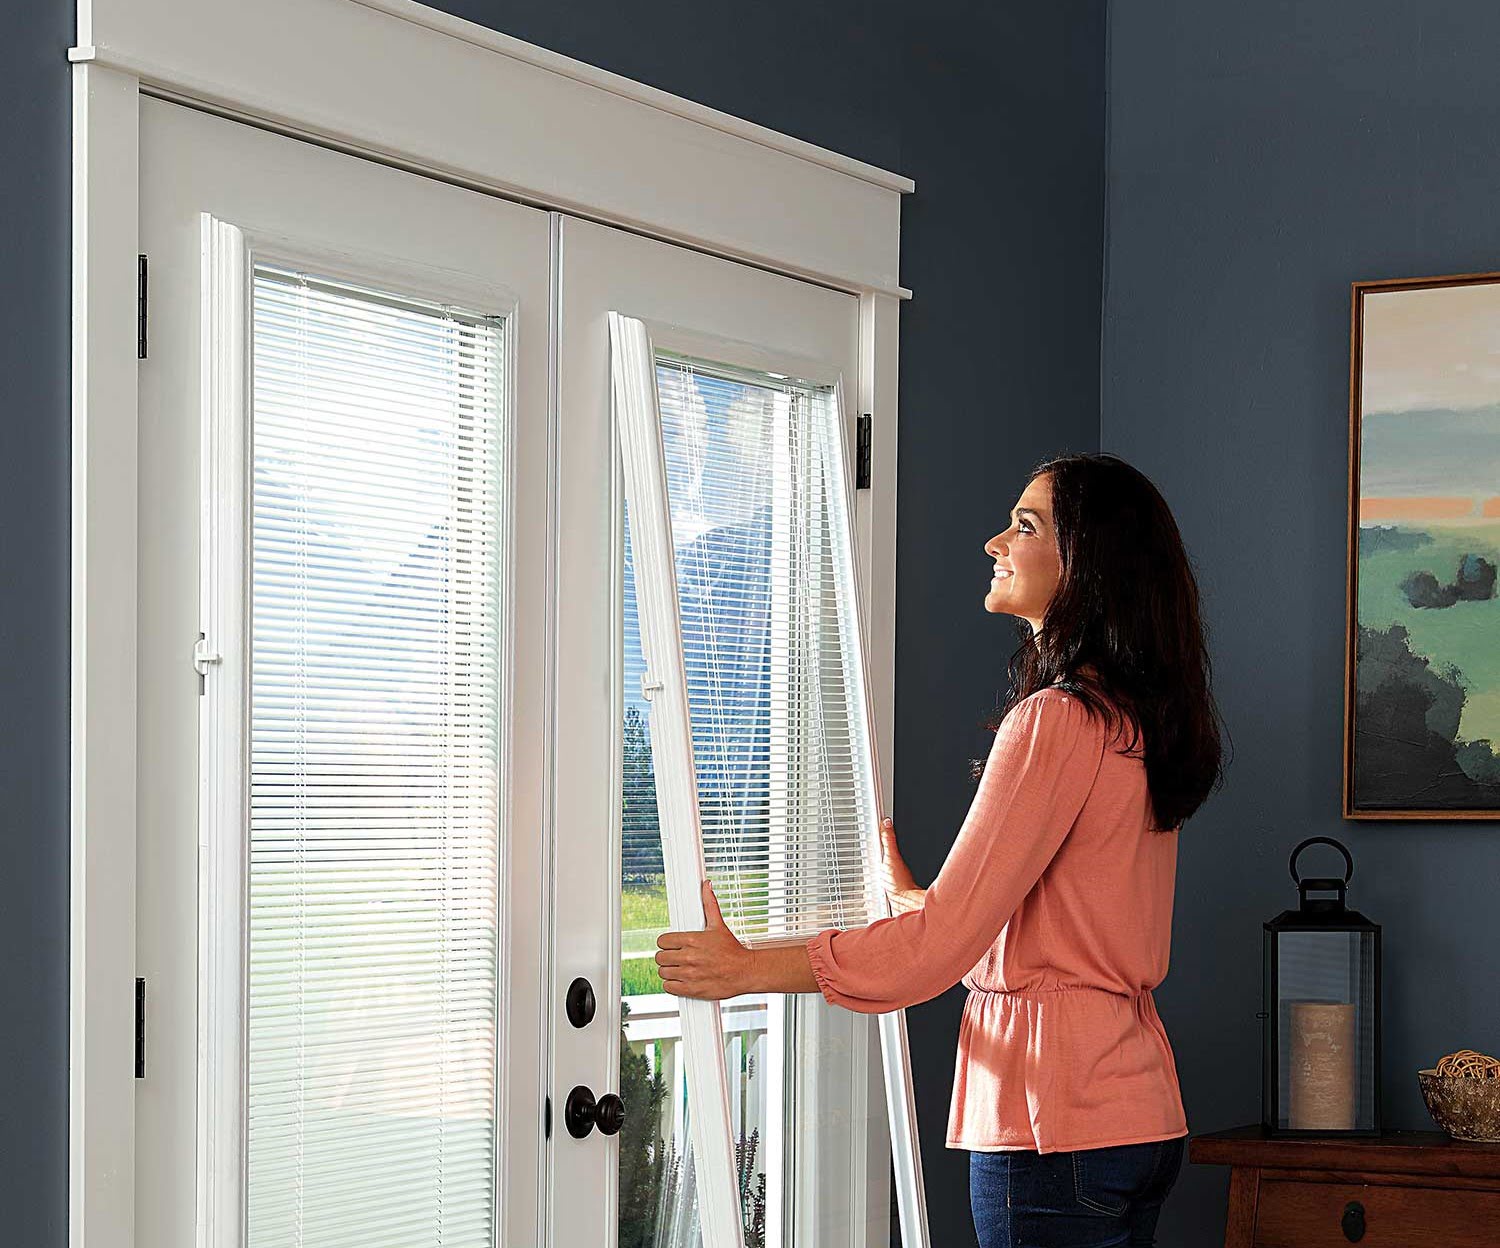
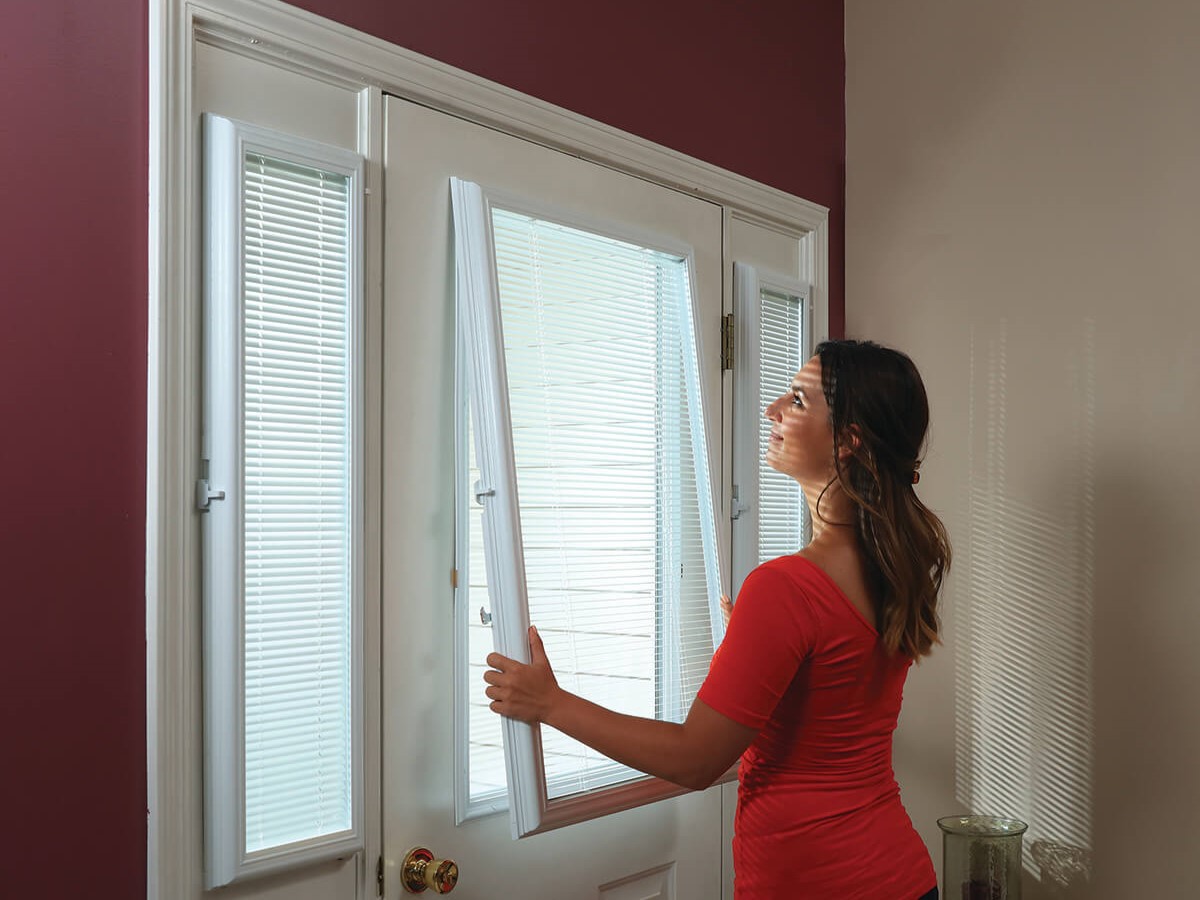
Welcome to our comprehensive guide on how to install add-on blinds for doors. Add-on blinds are a fantastic solution for adding privacy and controlling sunlight in your home, all while maintaining the sleek appearance of your doors. Whether you have French doors, patio doors, or any other type of door, the process of installing add-on blinds is relatively straightforward.
In this article, we will walk you through the step-by-step process of measuring your door, choosing the right add-on blinds, preparing the door, mounting the brackets, and installing the blinds. We will also provide tips on adjusting and testing the blinds, as well as maintenance and troubleshooting tips to ensure they function optimally for years to come.
Before we dive into the installation process, let’s take a moment to discuss the materials you will need. This way, you can ensure you have everything on hand before you get started.
Key Takeaways:
- Installing add-on blinds for doors is a straightforward process that involves measuring the door, choosing the right blinds, preparing the door, mounting the brackets, and installing the blinds. Proper preparation and attention to detail are key for a successful installation.
- Regular maintenance, such as cleaning, inspecting brackets and screws, and addressing operating issues, is essential for ensuring the longevity and optimal performance of add-on blinds. Seeking professional assistance for significant issues is also recommended.
Read more: How To Install Blinds On A Door
Materials Needed
Before you begin installing add-on blinds for your doors, it’s important to gather all the necessary materials. Having everything on hand will make the installation process smooth and efficient. Here are the materials you will need:
- Add-on blinds kit (available at hardware stores or online)
- Tape measure
- Pencil
- Screwdriver
- Drill (if necessary)
- Level
- Hammer
- Masking tape
- Screws
- An assistant (optional, but recommended for larger doors)
Make sure to double-check that you have all these items before starting the installation process. This will save you time and frustration of having to pause midway to gather missing materials.
Now that you have everything you need, let’s move on to the first step: measuring your door.
Step 1: Measure Your Door
The first step in installing add-on blinds for your doors is to accurately measure the dimensions of your door. This will ensure that you choose the right size blinds and create a proper fit. Here’s how to measure your door:
- Start by measuring the width of the door frame. Use a tape measure to measure the width at the top, middle, and bottom of the frame. Record the narrowest measurement to ensure a snug fit for your blinds.
- Next, measure the height of the door frame. Again, measure at the left, center, and right sides of the frame and record the tallest measurement. It’s important to measure both the width and height accurately to ensure that the blinds cover the entire opening.
- Once you have recorded the measurements, subtract a small amount (about 1/8 inch) from the width and height to allow for proper clearance and operating space for the add-on blinds.
It’s important to note that add-on blinds come in various sizes, so be sure to choose a kit that is appropriate for the measurements of your door. If you are unsure about the size or have unusually sized doors, it may be helpful to consult a professional or contact the manufacturer for guidance.
With the measurements in hand, you can now move on to the next step of selecting the right add-on blinds for your door.
Step 2: Choose the Right Add-On Blinds
Now that you have measured your door, it’s time to select the right add-on blinds for a perfect fit. There are a few factors to consider when choosing the blinds:
- Size: Ensure that you choose add-on blinds that are suitable for the measurements you took in Step 1. Most add-on blinds kits provide a range of sizes, so you can find one that matches your door dimensions.
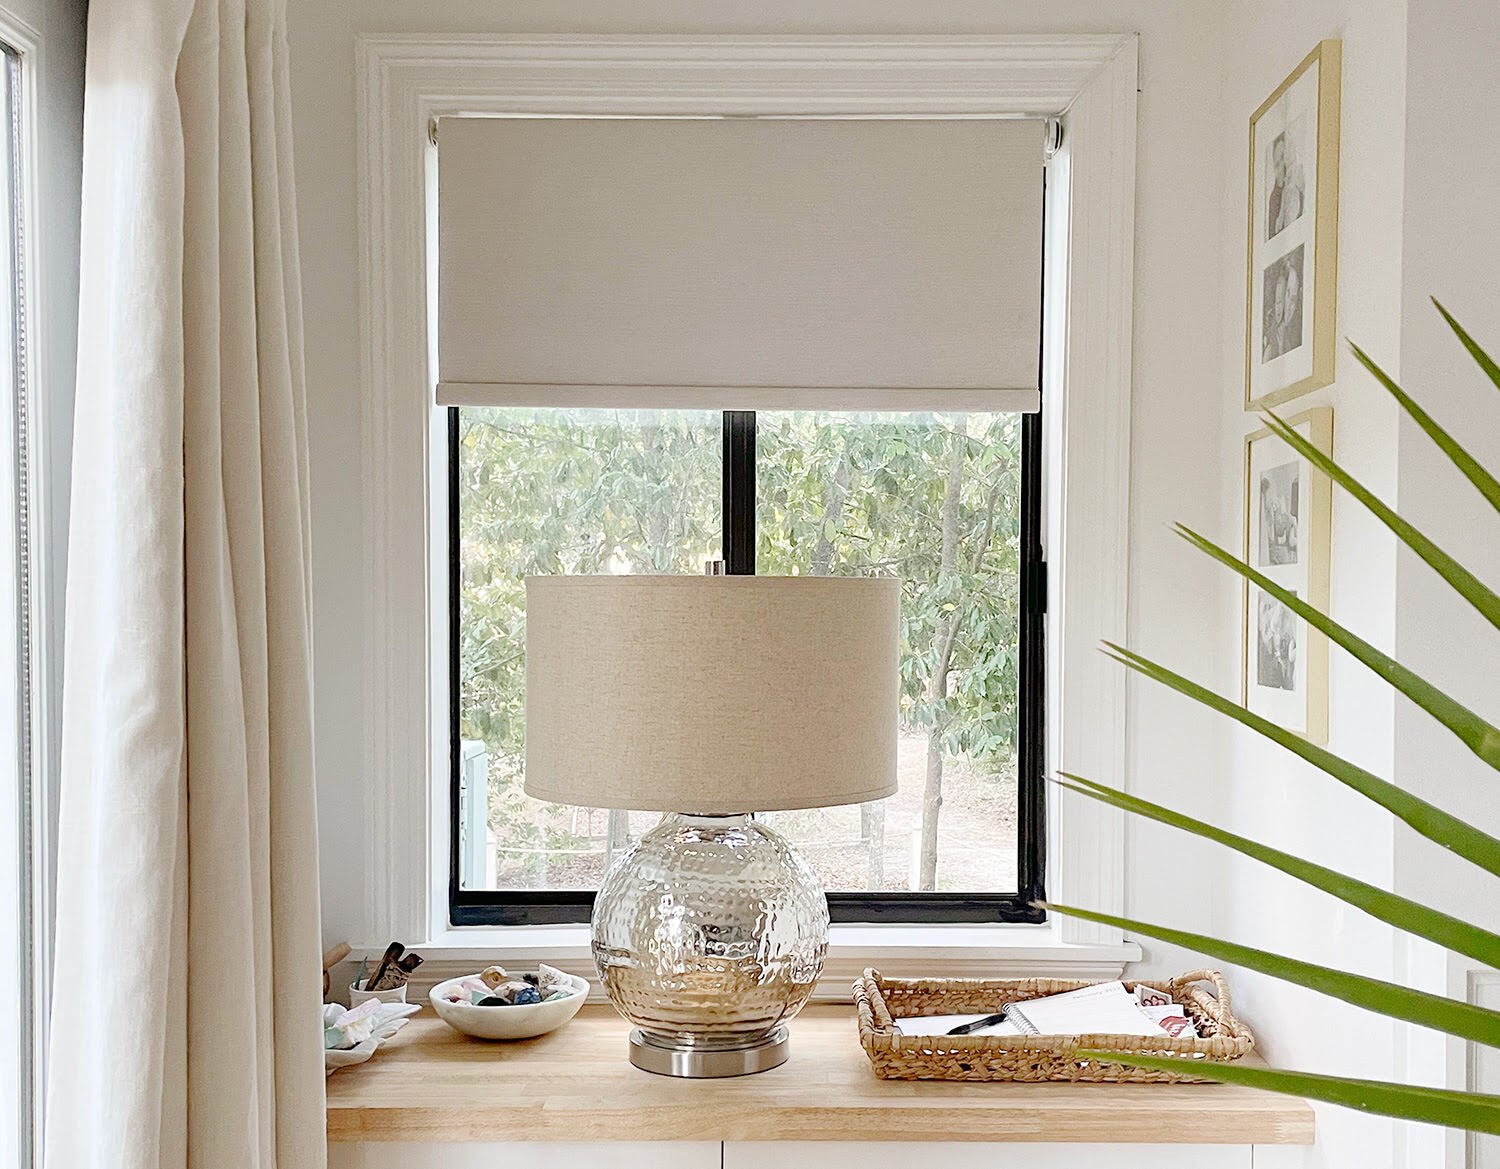
- Style: Consider the style of your existing door and the overall aesthetic of your home. Add-on blinds come in various styles and colors, so opt for a design that complements your decor and personal taste.
- Privacy and Light Control: Determine the level of privacy and light control you desire. Some add-on blinds feature adjustable slats that allow you to control the amount of light entering the room, while others offer blackout options for maximum privacy.
- Quality: Look for add-on blinds made from durable materials, such as aluminum or PVC, that can withstand daily use and provide long-lasting functionality.
Take your time to explore different options and read customer reviews to ensure you are selecting a reputable brand. Additionally, consider reaching out to the manufacturer or a professional for expert advice if you have any specific requirements or concerns.
Once you have chosen the right add-on blinds, you can move on to preparing your door for installation in the next step.
Step 3: Prepare the Door
Before you can proceed with the installation of the add-on blinds, it’s important to properly prepare the door. This involves cleaning the surface, removing any obstacles, and ensuring the door is in good condition. Follow these steps to prepare your door:
- Clean the surface: Use a mild cleaning solution and a soft cloth or sponge to clean the door surface. This will remove any dust, dirt, or grease that may interfere with the adhesion of the mounting brackets.
- Remove obstacles: Check the area around the door to ensure there are no obstacles that could obstruct the opening or closing of the blinds. Remove any furniture, decorations, or objects that may be in the way.
- Inspect the door: Examine the door for any damage or structural issues that may affect the installation or operation of the blinds. Repair or replace any damaged components before proceeding.
- Mark the mounting points: Using a pencil, mark the desired location for the mounting brackets. Make sure they are evenly spaced and aligned with the measurements you took earlier.
It’s important to follow these preparation steps to ensure a smooth and successful installation process. Taking the time to clean and inspect the door will help ensure that the add-on blinds can be installed securely and function properly.
With the door now prepared, you can proceed to the next step, which involves mounting the brackets.
When installing add-on blinds for doors, make sure to measure the door frame accurately to ensure a proper fit. It’s also important to follow the manufacturer’s instructions carefully for a successful installation.
Read more: How To Install Blinds On Sliding Doors
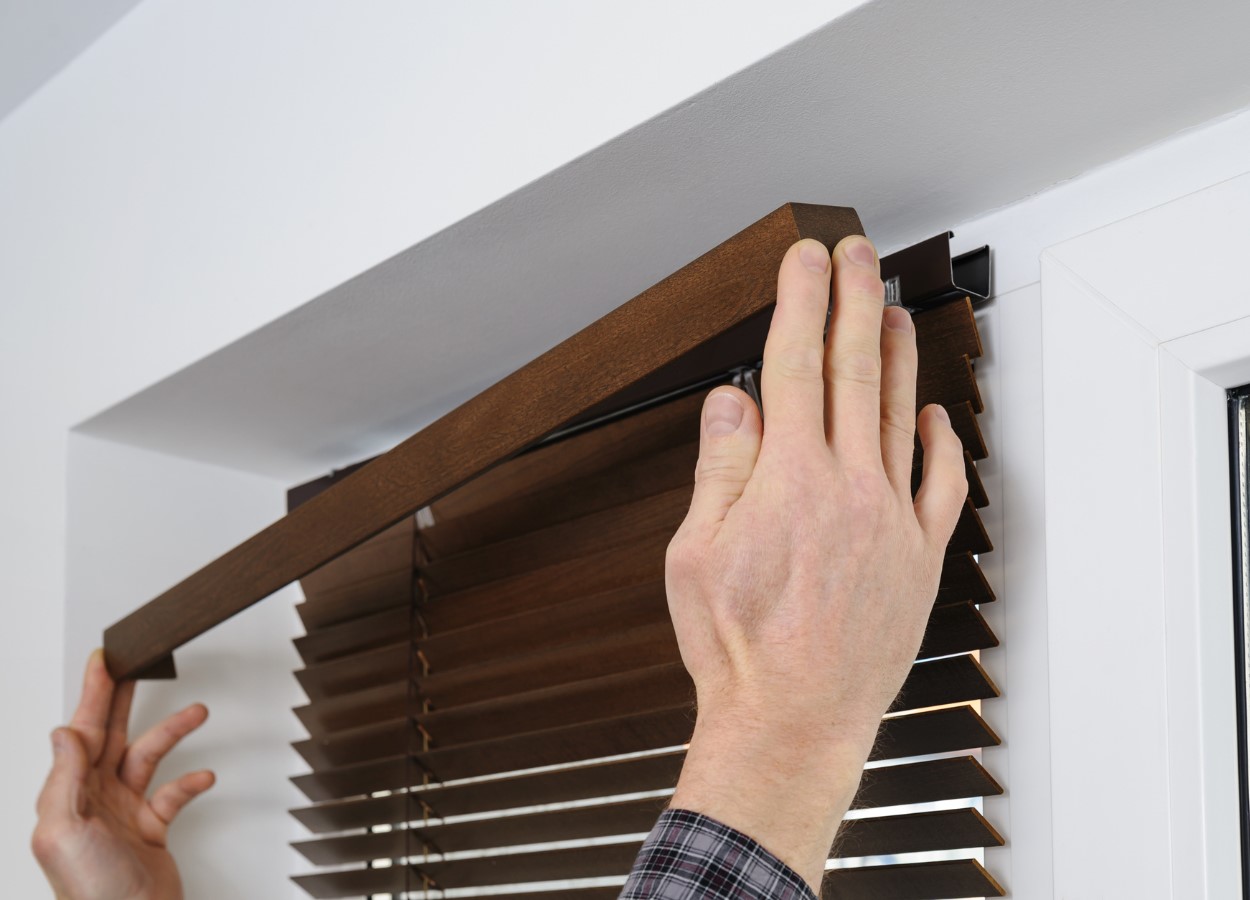
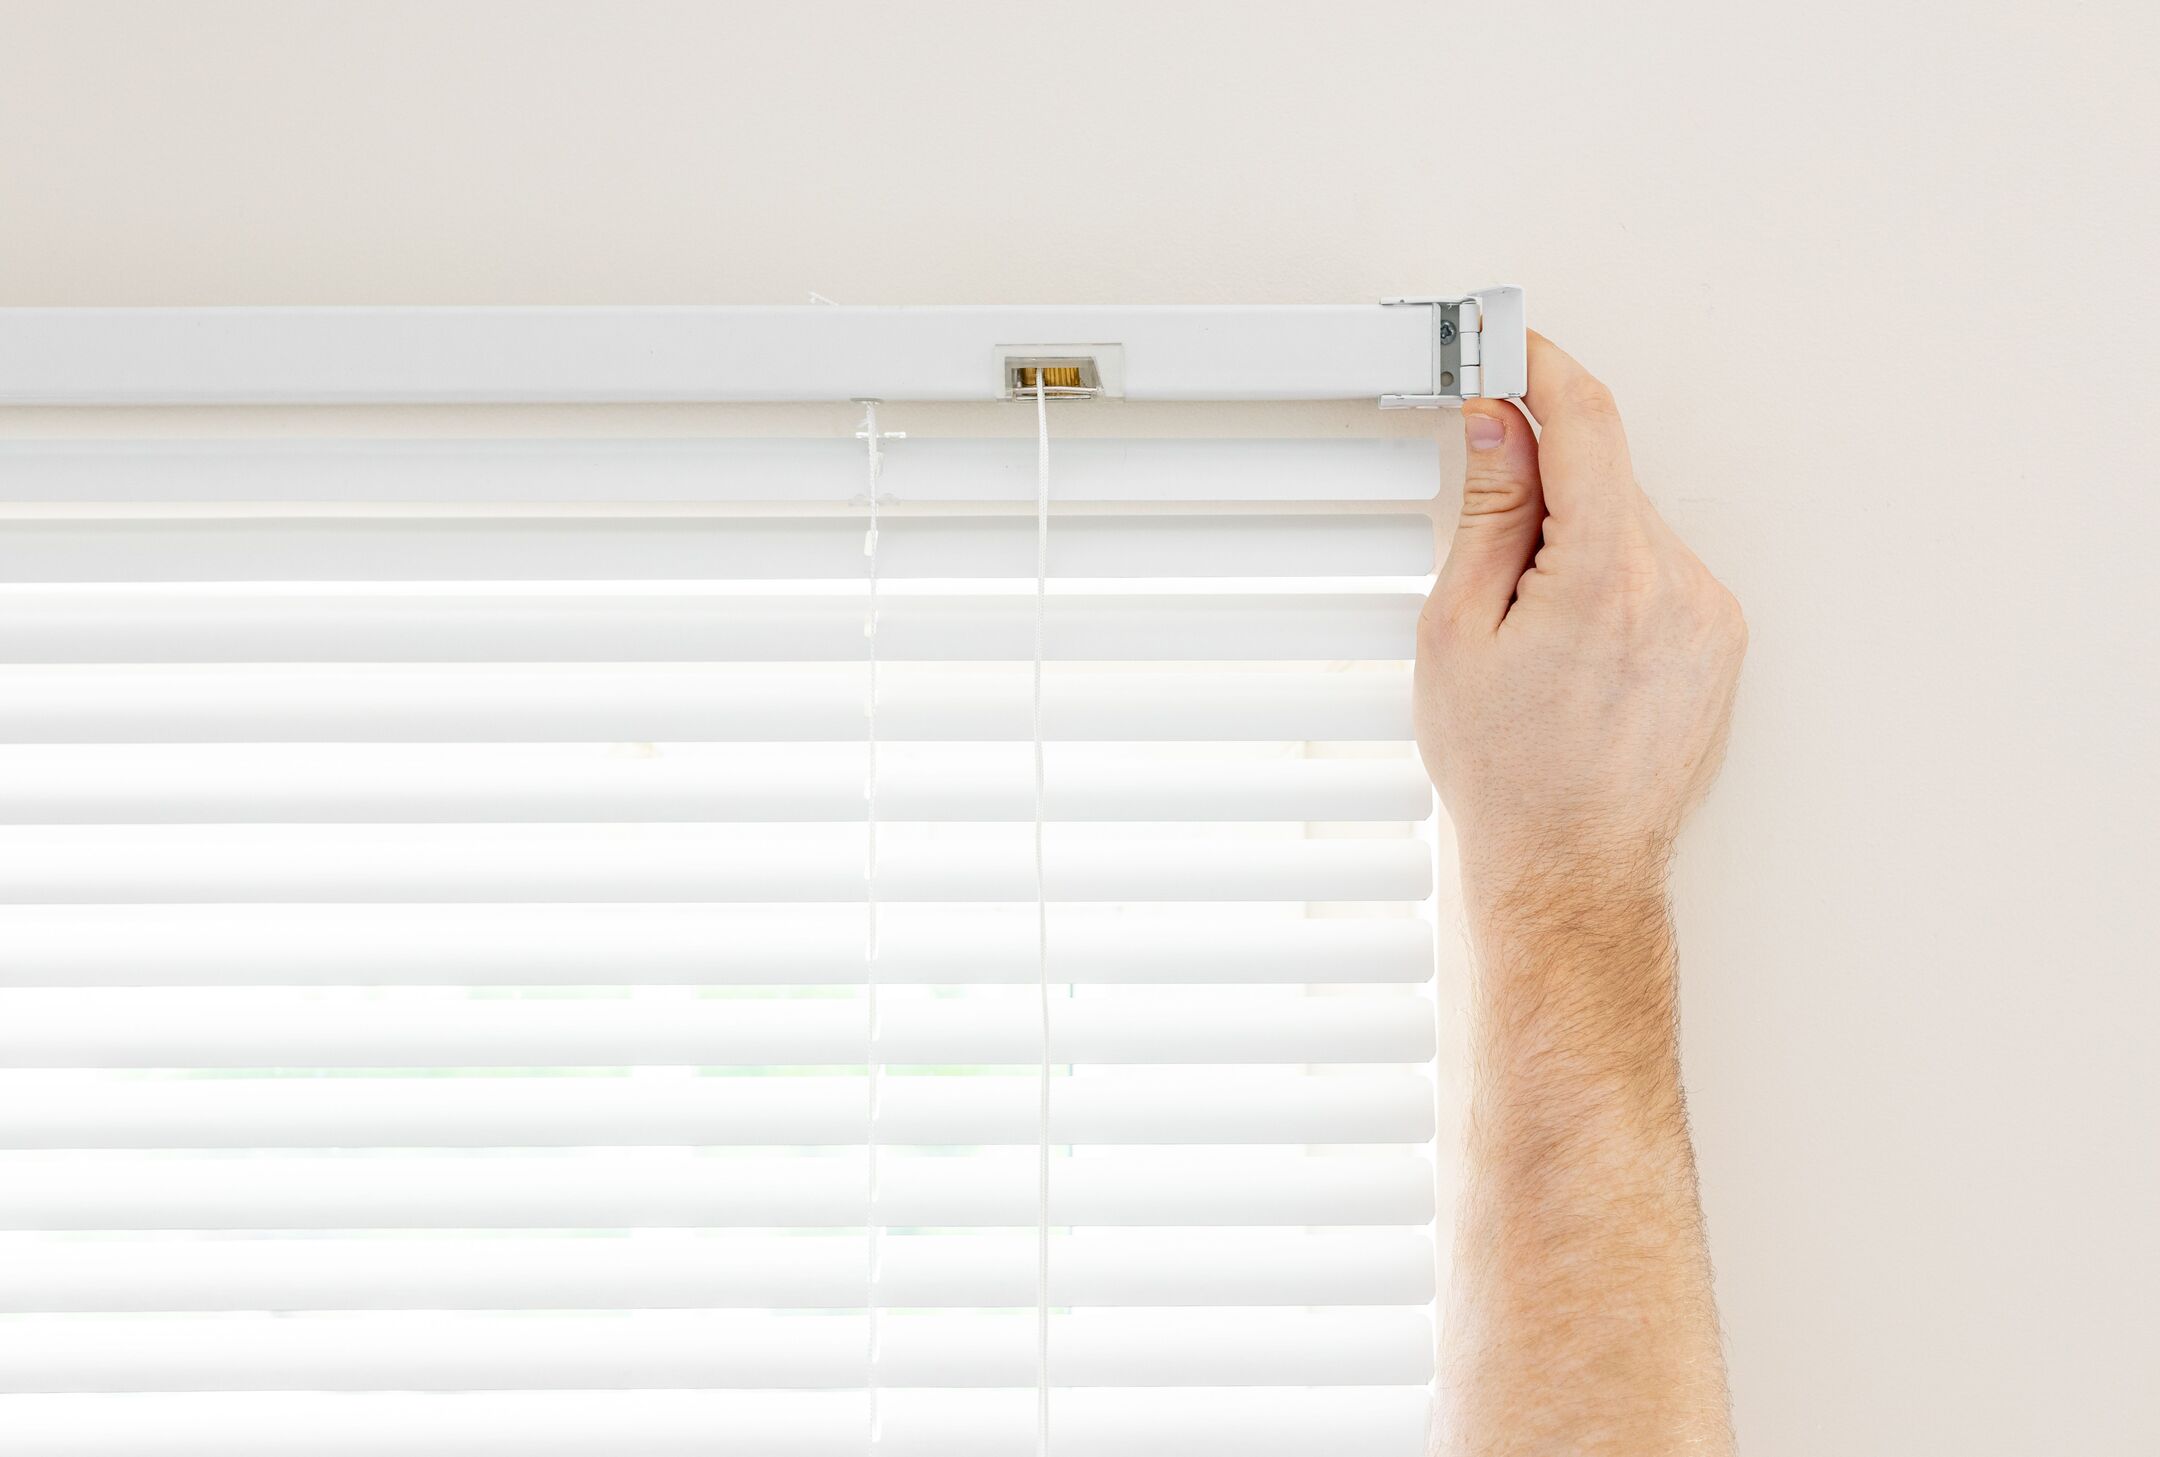
Step 4: Mounting the Brackets
With your door prepared, it’s time to mount the brackets that will hold the add-on blinds in place. Follow these steps to properly mount the brackets:
- Align the brackets: Hold the first bracket against the marked location on the door. Use a level to ensure it is perfectly straight horizontally and vertically. Adjust the position if needed.
- Mark the screw holes: Once the bracket is aligned, use a pencil or a small nail to mark the screw hole locations through the holes in the bracket. Repeat this step for all the remaining brackets.
- Pre-drill the holes (if necessary): If your door material is particularly hard or if the brackets require it, use a drill with an appropriate-sized bit to pre-drill pilot holes at the marked locations. This will make it easier to insert the screws later.
- Attach the brackets: Using a screwdriver or power drill, secure the brackets to the door using the provided screws. Make sure they are tight but not over-tightened to avoid damaging the door.
- Double-check the alignment: After all the brackets are attached, check again using a level to ensure they are properly aligned and straight.
Following these steps will ensure that the brackets are securely mounted to the door, creating a stable foundation for the add-on blinds. It’s important to take your time and double-check the alignment to avoid any issues during the next step of installing the blinds themselves.
Now that the brackets are in place, it’s time to move on to the next step and install the add-on blinds on your door.
Step 5: Installing the Add-On Blinds
Now that the brackets are securely mounted on your door, it’s time to install the add-on blinds. Follow these steps to properly install the blinds:
- Attach the blinds to the brackets: Depending on the specific design of your add-on blinds, there may be clips or hooks that need to be inserted into the brackets. Follow the manufacturer’s instructions to attach the blinds securely.
- Test the blinds: Once the blinds are attached, test them by carefully opening and closing them to ensure they move smoothly and without any obstruction. Make any necessary adjustments to the position or alignment of the blinds if needed.
- Secure any loose parts: Check the blinds for any loose parts or screws. Tighten them as necessary to ensure stability and proper functioning.
- Add finishing touches: Inspect the blinds and door to ensure everything looks even and aligned. Adjust the blinds or brackets as needed to achieve a clean and polished appearance.
- Clean up: Lastly, clean up any installation debris or tools from the area and wipe down the blinds and door to remove any fingerprints or smudges.
By following these steps, you will be able to successfully install the add-on blinds onto your door. It’s important to take your time and ensure that the blinds are properly attached and functioning smoothly before moving on to the next step.
With the add-on blinds installed, it’s time to move on to the next step and adjust and test the blinds to ensure optimal performance.
Step 6: Adjusting and Testing the Blinds
Now that the add-on blinds are installed on your door, it’s important to adjust and test them to ensure they are working properly and meeting your needs. Follow these steps to adjust and test the blinds:
- Adjust the slats: If your add-on blinds have adjustable slats, carefully tilt them to your desired angle to control the amount of light and privacy in the room.
- Test the opening and closing: Open and close the blinds using the control mechanism provided. Ensure that they move smoothly and without resistance. If you encounter any issues, check for any obstructions or misaligned parts and make the necessary adjustments.
- Check for light gaps: Observe the blinds when they are closed to ensure there are no significant light gaps between the slats. If you notice any gaps, adjust the blinds or brackets to minimize them.
- Test the operating controls: If your add-on blinds have additional operating controls such as a cord or wand, test them to ensure they are functioning properly and are easy to use.
- Make fine adjustments: If needed, make any additional fine adjustments to the blinds, such as alignment or tilt tension, until you are satisfied with their appearance and functionality.
Take your time during this step to carefully adjust and test the blinds to ensure they meet your expectations. This will ensure optimal performance and satisfaction with your newly installed add-on blinds.
Now that the blinds have been adjusted and tested, it’s time to move on to the final step: maintenance and troubleshooting tips to keep your add-on blinds in great condition.
Step 7: Maintenance and Troubleshooting Tips
To keep your add-on blinds in great condition and functioning smoothly, it’s important to perform regular maintenance and be aware of common troubleshooting tips. Follow these maintenance and troubleshooting tips:
- Clean the blinds regularly: Dust and debris can accumulate on the blinds over time. Use a soft cloth or duster to regularly remove any dust and keep the blinds clean. For tougher stains, gently wipe them with a damp cloth.
- Inspect the brackets and screws: Periodically check the brackets and screws to ensure they are secure. If any screws become loose, tighten them as necessary to maintain stability.
- Lubricate moving parts: If you notice any parts of the blinds are not moving smoothly, you can apply a small amount of silicone or dry lubricant to the affected areas to improve their functionality.
- Address operating issues: If the blinds begin to have difficulty opening or closing, check for any obstacles or misalignments that may be causing the issue. Adjust or correct the problem accordingly.
- Repair or replace damaged parts: If you notice any damaged or broken parts, such as slats or the control mechanism, it’s best to repair or replace them promptly to avoid further issues.
- Consult the manufacturer or professional: If you encounter any significant issues or if you’re unsure how to address a problem with your add-on blinds, don’t hesitate to reach out to the manufacturer or consult a professional for guidance and assistance.
By following these maintenance and troubleshooting tips, you can ensure that your add-on blinds remain in good condition and continue to provide you with privacy and light control for years to come.
Congratulations! You have now completed the steps for installing, adjusting, and maintaining add-on blinds for your doors. Enjoy the benefits of increased privacy and control over natural light in your living spaces.
If you have any further questions or need additional assistance, feel free to seek help from experts or refer to the manufacturer’s instructions. Happy blinds installation!
Read more: How To Install Patio Door Blinds
Conclusion
Installing add-on blinds for your doors is a practical and stylish way to enhance privacy and control sunlight in your home. With the step-by-step guide provided in this article, you now have the knowledge and confidence to successfully install and maintain add-on blinds on your doors.
Remember to start by measuring your door accurately to ensure a proper fit. Then, choose the right add-on blinds that complement your door style and meet your privacy and light control needs. Prepare the door by cleaning the surface and removing any obstacles. Mount the brackets securely, and install the blinds according to the manufacturer’s instructions.
After installation, take the time to adjust and test the blinds to achieve optimal performance. Regular maintenance, such as cleaning and inspecting the brackets and screws, will help prolong the life of your add-on blinds. If any issues arise, address them promptly by lubricating moving parts or repairing and replacing damaged components.
By following these steps and implementing the maintenance and troubleshooting tips, you can enjoy the benefits of add-on blinds for years to come. Remember, if you ever encounter any difficulties or need further assistance, don’t hesitate to seek advice from the manufacturer or professionals in the field.
Thank you for reading our comprehensive guide on how to install add-on blinds for doors. We hope this article has been helpful, and we wish you success with your add-on blinds installation project!
Frequently Asked Questions about How To Install Add-On Blinds For Doors
Was this page helpful?
At Storables.com, we guarantee accurate and reliable information. Our content, validated by Expert Board Contributors, is crafted following stringent Editorial Policies. We're committed to providing you with well-researched, expert-backed insights for all your informational needs.


0 thoughts on “How To Install Add-On Blinds For Doors”