Articles
How To Install Water Dispenser
Modified: March 19, 2024
Learn how to install a water dispenser with our step-by-step articles. Find helpful tips and tricks for a successful installation.
(Many of the links in this article redirect to a specific reviewed product. Your purchase of these products through affiliate links helps to generate commission for Storables.com, at no extra cost. Learn more)
Introduction
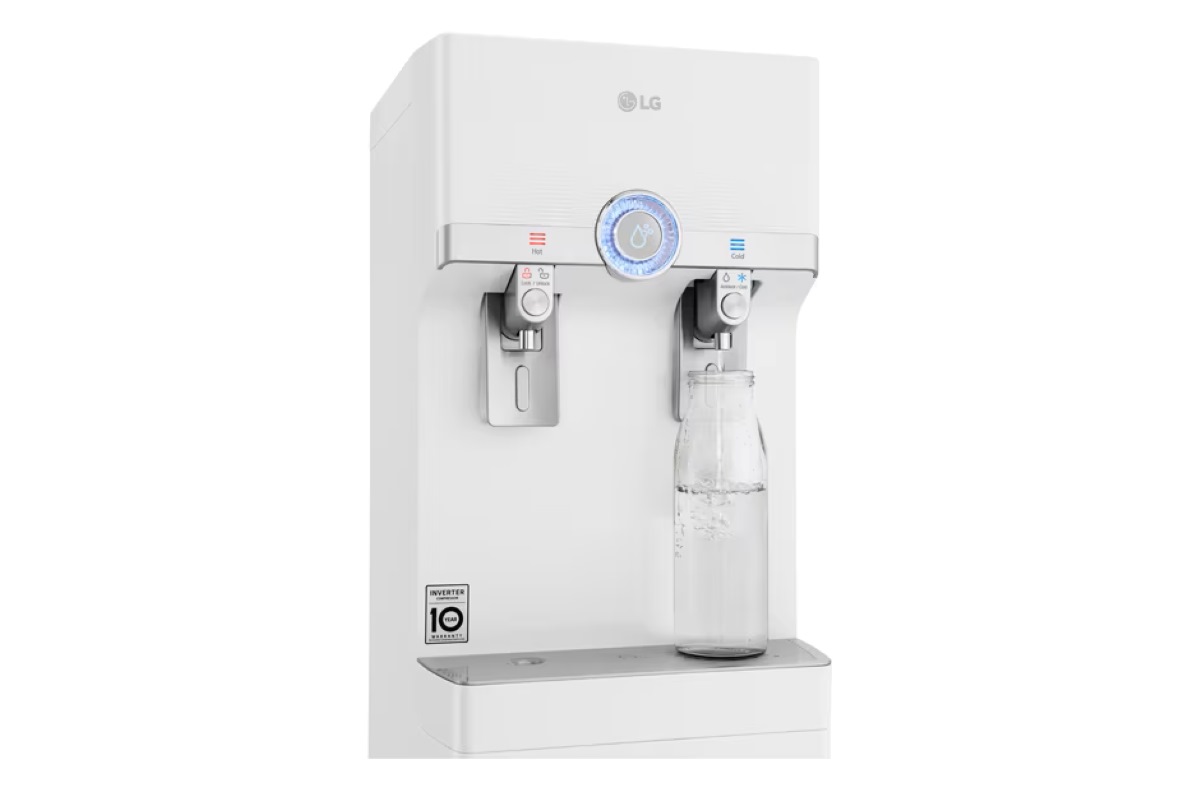
Welcome to this comprehensive guide on how to install a water dispenser. Whether it’s for your home or office, having a water dispenser can provide a convenient and refreshing way to access clean drinking water. Installing a water dispenser may seem like a daunting task, but with the right tools and a little guidance, you’ll have your dispenser up and running in no time.
In this article, we’ll take you through a step-by-step process of installing a water dispenser. We’ll cover everything from gathering the necessary tools and equipment to properly maintaining and cleaning the dispenser. By following these instructions, you’ll ensure a smooth installation process and enjoy the benefits of having a constant supply of fresh, filtered water at your fingertips.
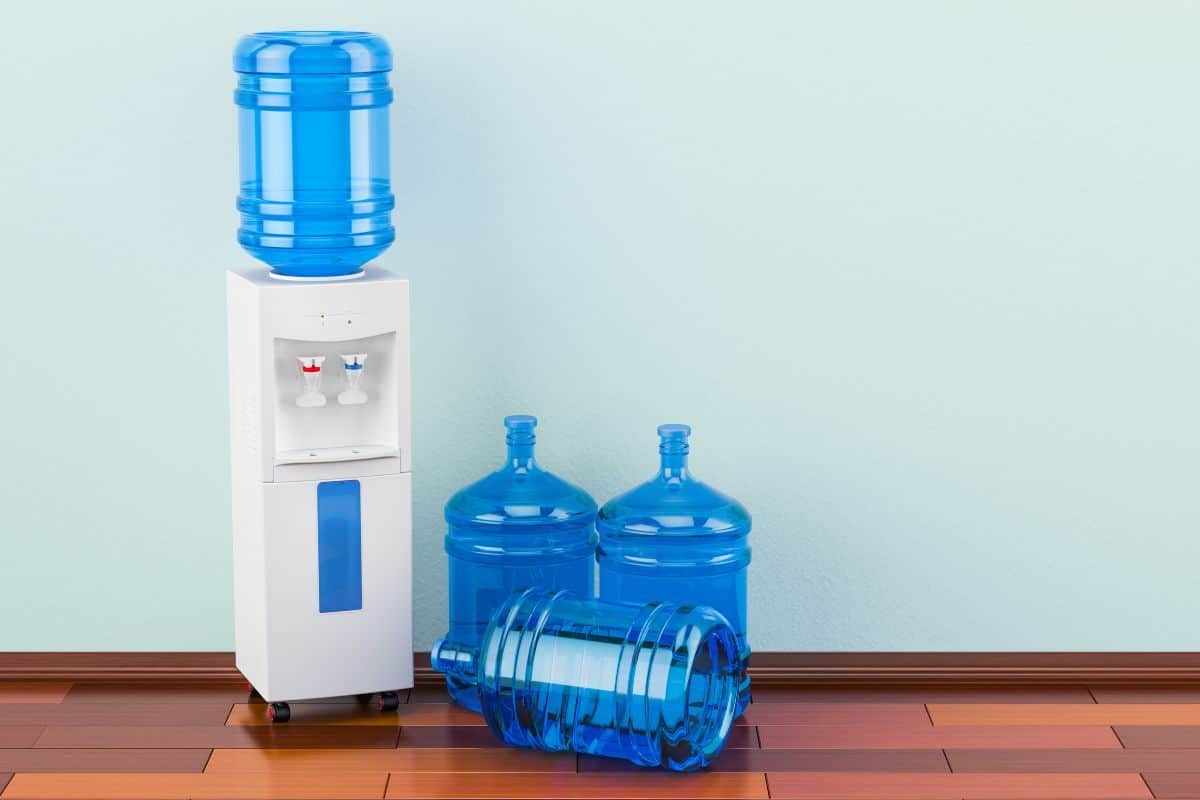
Before we begin, it’s important to note that there are different types of water dispensers available, including freestanding units, countertop models, and even built-in dispensers. The installation process may vary slightly depending on the specific type of dispenser you have, but the general principles remain the same.
Now, let’s dive into the step-by-step process of installing a water dispenser. Gather your tools and get ready for a refreshing experience!
Key Takeaways:
- Proper installation of a water dispenser involves gathering essential tools, choosing an ideal location, connecting to a clean water source, and ensuring functionality. Regular maintenance and cleaning are crucial for long-term performance and water quality.
- Installing a water dispenser requires attention to detail, adherence to manufacturer instructions, and regular upkeep. Enjoy the benefits of convenient access to clean, refreshing water while reducing plastic waste and promoting hydration.
Read more: How To Install Fridge With Water Dispenser
Step 1: Gather necessary tools and equipment
Before you begin the installation process, it’s important to gather all the necessary tools and equipment. This will ensure that you have everything you need within reach, saving you time and potential frustrations during the installation.
Here are the essential tools and equipment you’ll need:
- Water dispenser unit: This is the main component of the installation. Make sure you have the specific model or type of water dispenser you want to install.
- Water source: You’ll need access to a water source for your dispenser. This can be a waterline from your home or office plumbing system, or a refillable water container.
- Power outlet: Most water dispensers require electricity to function, so ensure that you have a nearby power outlet.
- Water filter (optional): If you want to filter your water, you’ll need to have the appropriate water filter for your dispenser model.
- Installation manual: Consult the installation manual that comes with your water dispenser. It will provide specific instructions for your model.
- Adjustable wrench: This tool will come in handy for tightening and loosening fittings.
- Teflon tape: This tape is used to create a watertight seal on threaded plumbing connections.
- Cleaning supplies: Have some cleaning supplies ready to maintain the cleanliness of your dispenser, such as mild soap, sponge, and clean cloth.
- Measuring tape: This will help you ensure that there’s enough space and clearance for the water dispenser.
Once you have everything listed above, double-check to make sure you haven’t missed any essential items. Having all the necessary tools and equipment at hand will make the installation process much smoother.
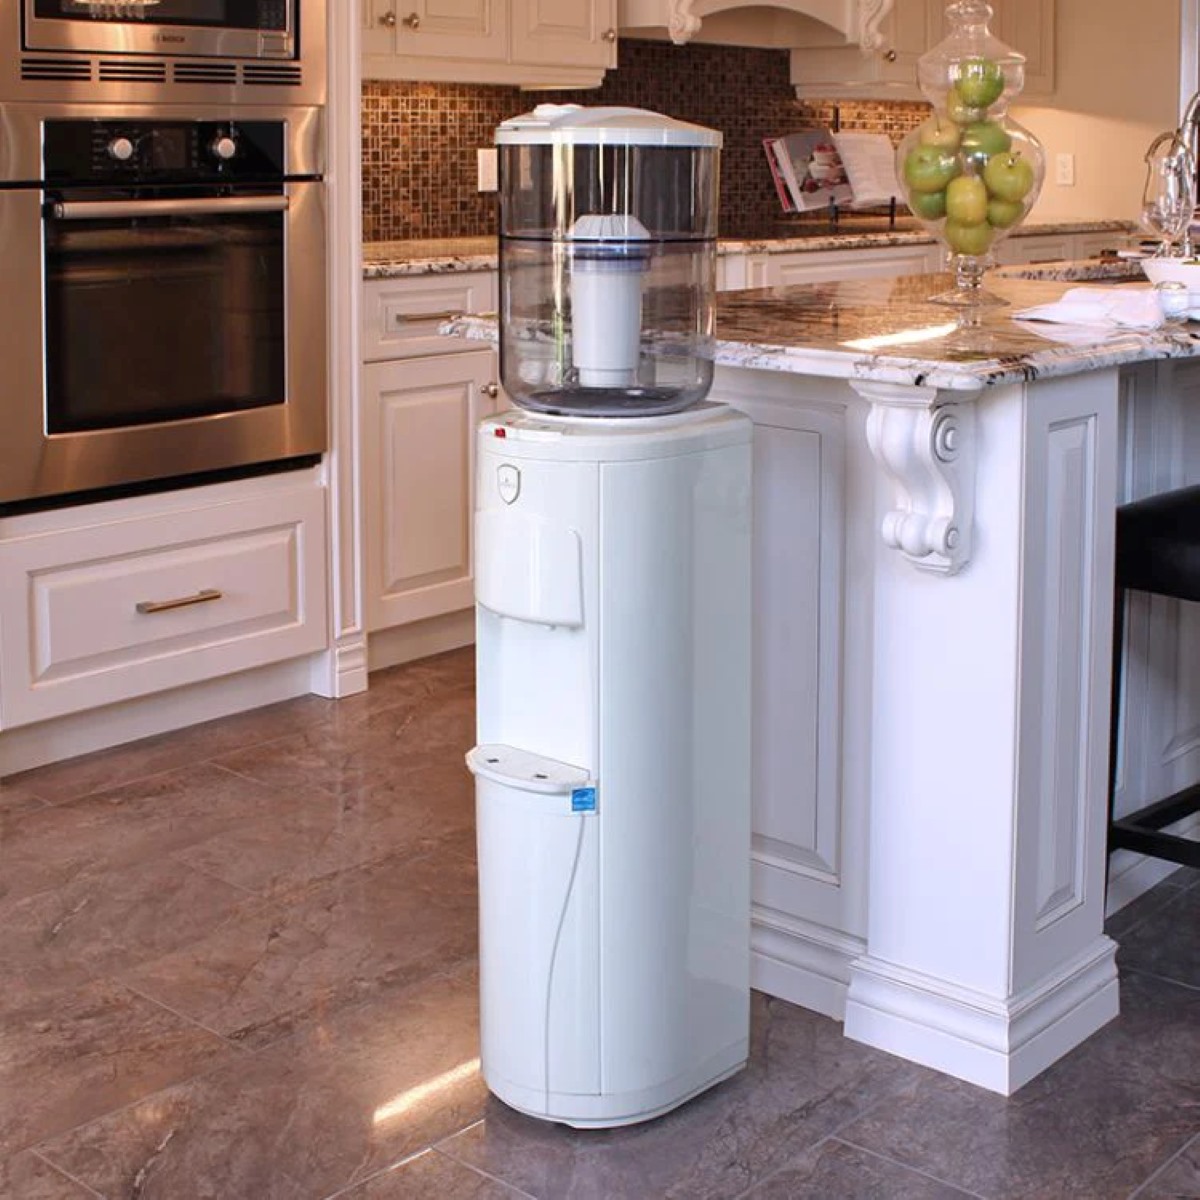
Step 2: Choose a suitable location for the water dispenser
Choosing the right location for your water dispenser is crucial for both convenience and functionality. Here are some factors to consider when selecting a suitable spot:
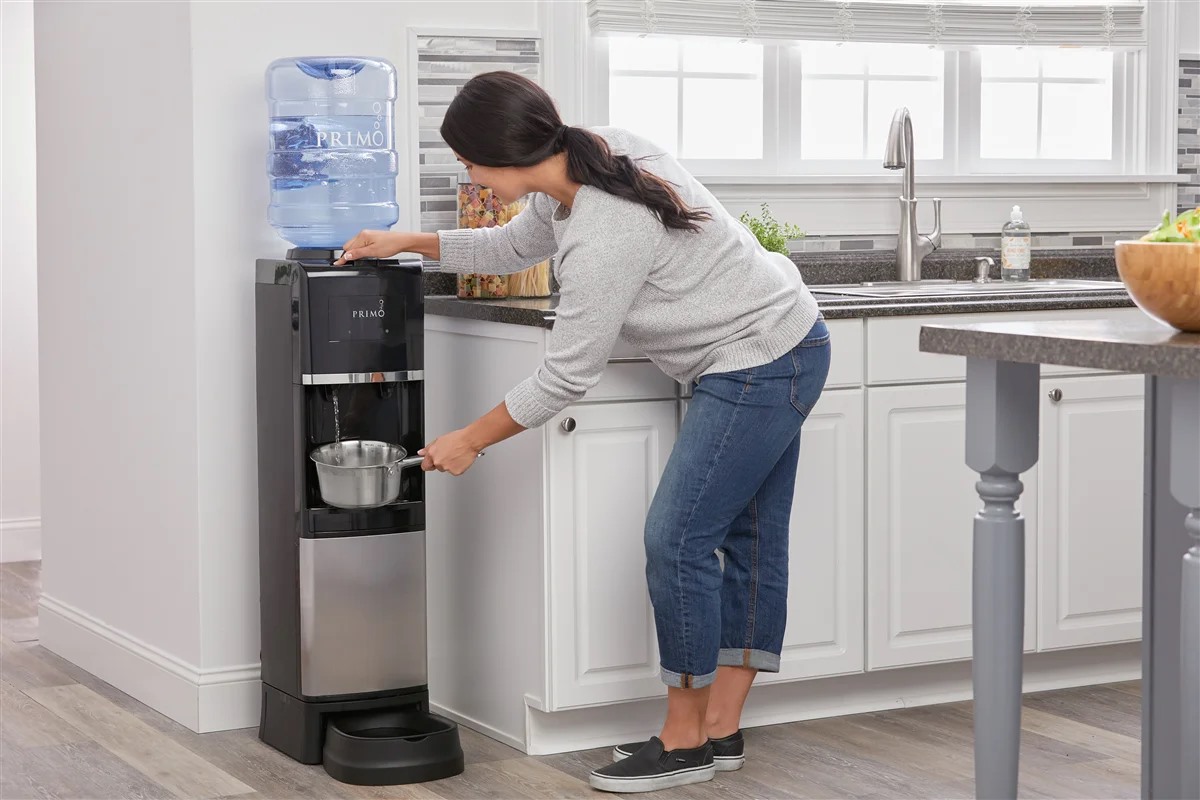
- Accessibility: Place the water dispenser in an easily accessible area where it’s convenient for users to get water without any obstructions. It should be within reach of the intended users, whether it’s in the kitchen, office breakroom, or any other desired location.
- Level surface: Ensure that the area where you plan to install the water dispenser is level and stable. This will prevent any wobbling or potential water spillage.
- Proximity to water source: If you’re planning to connect the dispenser to a waterline, make sure the chosen location is close to the water source. This will help reduce the length of tubing required and make the installation process smoother.
- Power outlet: Consider the proximity of a power outlet to the chosen location. Most water dispensers require electricity to run, so ensure there’s a nearby outlet available to power the unit.
- Plumbing connections: If you’re connecting the dispenser to a waterline, take into account the distance from the water source and the accessibility of the plumbing connections. This will determine the length of tubing needed and the ease of the installation process.
- Space requirements: Check the dimensions of the water dispenser and make sure there’s ample space for it to fit comfortably in the chosen location. Consider any cabinets, shelves, or other objects that might obstruct the installation or prevent easy access to the dispenser.
- Room temperature: Avoid placing the water dispenser near sources of heat or direct sunlight, as this can affect the performance of the machine and the quality of the water. Optimal room temperature is recommended for the dispenser to function properly.
Once you’ve taken these factors into consideration, choose a suitable location that meets all the requirements mentioned above. It’s important to select a spot that ensures ease of use, proper functionality, and convenient access to both the water source and power outlet.
Now that you’ve chosen the ideal location, you’re ready to move on to the next step: preparing the area and cleaning the water source.
Step 3: Prepare the area and clean the water source
Before installing the water dispenser, it’s essential to prepare the area and ensure that the water source is clean and suitable for use. Follow these steps to get started:
- Clean the chosen area: Clear any clutter or obstructions from the chosen location for your water dispenser. Wipe down the surface and ensure it’s clean and free from any debris or dust.
- Inspect the water source: If you’re planning to connect the water dispenser to a waterline, it’s important to inspect the water source for any signs of contamination or issues. Ensure that the water source is clean and safe for consumption.
- Check water quality: If you have concerns about the quality of your tap water, consider getting a water quality test to assess any potential contaminants. This will help determine if additional filtration is required.
- Remove any sediment or debris: If you’re using a refillable water container, clean it thoroughly. Remove any sediment, particles, or residue that may be present inside the container.
- Run the water: For waterline-connected dispensers, run the water for a few minutes to flush out any impurities or buildup in the plumbing. This will ensure that the water flowing to the dispenser is clean.
- Install a water filter (optional): If you’d like to further improve the quality of your water, install a compatible water filter on your dispenser. This will help remove contaminants and provide cleaner and better-tasting water.
By taking these steps to prepare the area and clean the water source, you’ll ensure a clean and hygienic environment for your water dispenser. It’s crucial to start with clean water and maintain the cleanliness of both the source and the dispenser throughout its use.
Now that the area is prepared and the water source is clean, you’re ready to move on to the next step: setting up the water dispenser unit.
Step 4: Set up the water dispenser unit
Now that you’ve prepared the area and cleaned the water source, it’s time to set up the water dispenser unit. Follow these steps to ensure a successful installation:
- Refer to the installation manual: Before you begin, consult the installation manual that came with your water dispenser. It will provide specific instructions for your particular model, including any unique steps or considerations.
- Unpack the water dispenser: Take your water dispenser out of its packaging and place it gently on a flat and stable surface. Be careful not to damage any components during this process.
- Ensure proper positioning: Position the water dispenser in the chosen location, making sure it’s level and stable. Use a measuring tape to ensure there’s enough space for the unit and any clearance requirements specified in the manual.
- Remove protective coverings: If there are any protective coverings or labels on the water dispenser, remove them carefully to avoid damaging the unit.
- Check the water reservoir: Inspect the water reservoir and ensure it’s clean and free from any debris or contaminants. If necessary, rinse it out with clean water before proceeding.
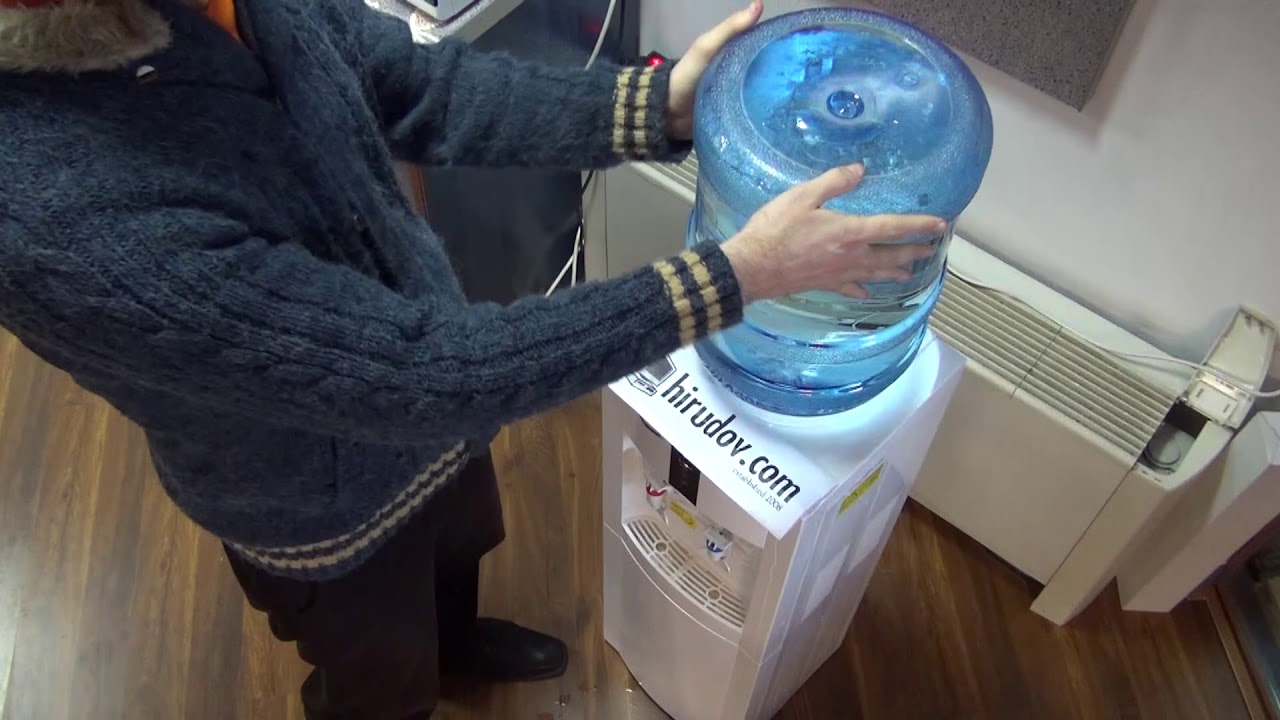
- Connect any required accessories: Some water dispensers may have additional accessories, such as a water bottle cap piercing system or ice maker. Follow the manual instructions to install these accessories properly.
- Verify proper connections: Double-check all the connections on the water dispenser to ensure they’re secure and properly fitted. This includes any tubing connections, filter housings, and electrical connections (if applicable).
- Refer to troubleshooting section (if needed): If you encounter any issues during the setup process, refer to the troubleshooting section of the installation manual. It can provide insights and solutions to common problems.
By following these steps, you’ll successfully set up the water dispenser unit in your chosen location. Taking the time to properly position the unit, verify connections, and consult the manual will ensure a smooth installation process.
Now that the water dispenser unit is set up, you can proceed to the next step: connecting the dispenser to the water source.
Before installing a water dispenser, make sure to read the manufacturer’s instructions carefully. This will ensure that you understand the specific requirements and steps for installation, and will help to avoid any potential issues or mistakes.
Read more: What Is A Water Dispenser
Step 5: Connect the water dispenser to the water source
With the water dispenser unit set up, it’s time to connect it to the water source. Follow these steps to ensure a proper connection:
- Locate the water inlet: Look for the water inlet on the water dispenser unit. It’s usually located at the back or bottom of the dispenser. Consult the installation manual if you’re unsure.
- Turn off the water supply: If you’re connecting the dispenser to a waterline, locate the shut-off valve near the water source and turn it off. This will prevent any water from flowing while you make the connections.
- Prepare the water supply line: If your water dispenser came with a supply line, attach it to the water inlet on the dispenser. Make sure it’s tightly secured but avoid overtightening to prevent any damage.
- Apply Teflon tape: If your water dispenser requires threaded plumbing connections, wrap some Teflon tape around the threaded ends before attaching them. This will create a watertight seal and prevent any leaks.
- Connect the waterline: If you’re using a waterline, connect it to the appropriate plumbing connection on the dispenser. Use an adjustable wrench to tighten the connection, ensuring it’s secure but not overly tightened.
- Turn on the water supply: Once the connections are made, turn on the water supply by opening the shut-off valve. This will allow water to flow into the dispenser.
- Check for leaks: After turning on the water supply, carefully inspect all the connections for any leaks. If you notice any leaks, tighten the connections or apply more Teflon tape as needed.
It’s crucial to ensure a secure and leak-free connection between the water dispenser and the water source. Taking the time to properly attach and test the connections will prevent any potential water damage or operational issues down the line.
Now that the water dispenser is connected to the water source, you can proceed to the next step: installing the filter (if applicable).
Step 6: Install the filter (if applicable)
If your water dispenser includes a filter, installing it is an important step to ensure clean and purified water. Here’s how to install the filter:
- Refer to the filter installation instructions: Check the installation manual for your specific water dispenser model to understand the filter installation process and any unique requirements or considerations.
- Locate the filter housing: The filter housing is usually located near the water inlet on the water dispenser. Identify the filter housing and ensure it’s clean and free from any debris.
- Prepare the filter: If your filter requires activation or cleaning before installation, follow the instructions provided by the manufacturer. This may include rinsing the filter under cold water or soaking it for a certain period of time.
- Insert the filter: Once prepared, insert the filter into the filter housing. Follow the labeled instructions on the filter to ensure proper placement and orientation.
- Secure the filter: Depending on the design of your water dispenser, secure the filter housing by twisting it clockwise or following the specific instructions provided. Ensure that it’s tightly sealed to prevent leaks.
- Flush the filter: After installing the filter, run water through the dispenser for a few minutes to flush out any carbon fines or impurities that may be present initially. Discard the initial water before using the filtered water.
By following these steps, you’ll successfully install the filter in your water dispenser, ensuring that the water you dispense is properly filtered and purified. Regularly check the filter’s lifespan and replace it as recommended by the manufacturer to maintain optimal water quality.
Now that the filter is installed (if applicable), proceed to the next step: powering up the water dispenser and testing for functionality.
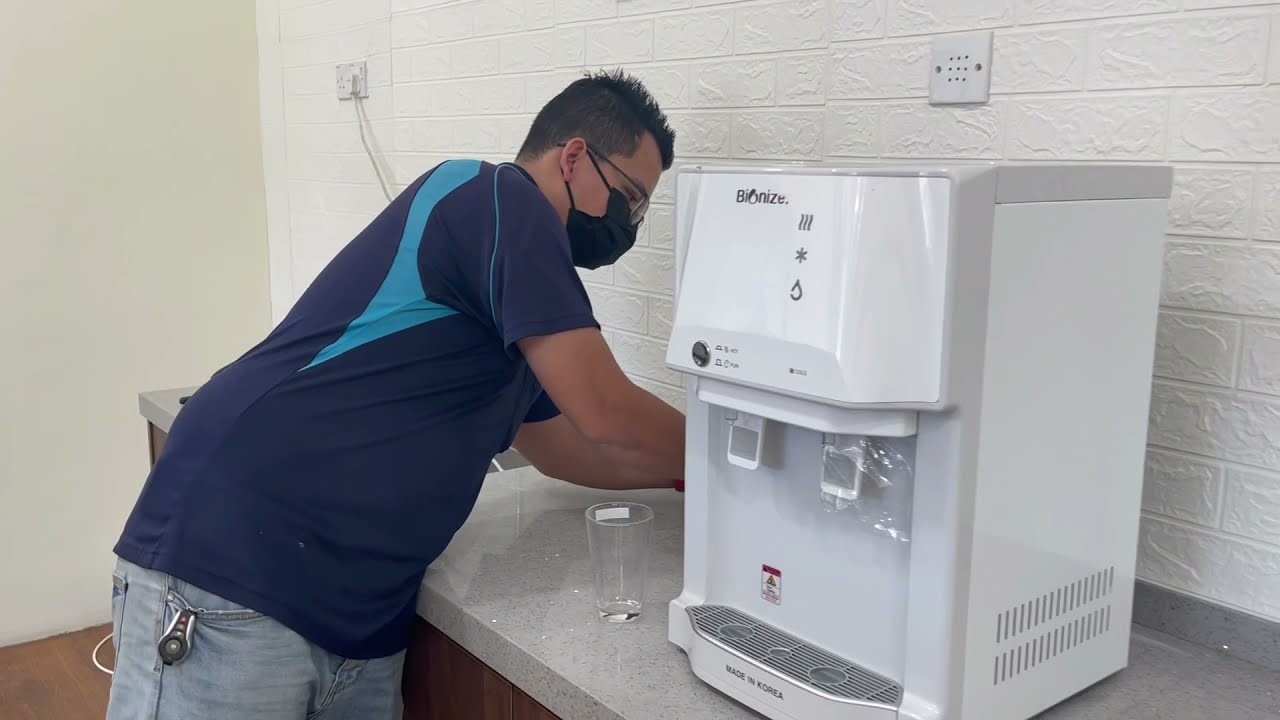
Step 7: Power up the water dispenser and test for functionality
With the filter installed (if applicable), it’s time to power up the water dispenser and ensure that it’s functioning properly. Follow these steps to test the dispenser’s functionality:
- Double-check the electrical connections: Ensure that the power cord is securely plugged into a nearby power outlet. Verify that there are no exposed wires or damage to the cord.
- Turn on the power: Locate the power switch or button on the water dispenser and activate it. This will power up the dispenser and allow it to start functioning.
- Observe the dispenser’s actions: Watch and listen for any normal sounds or movements from the dispenser. Listen for the sound of water flowing and look for any indicator lights or displays that indicate the dispenser is active.
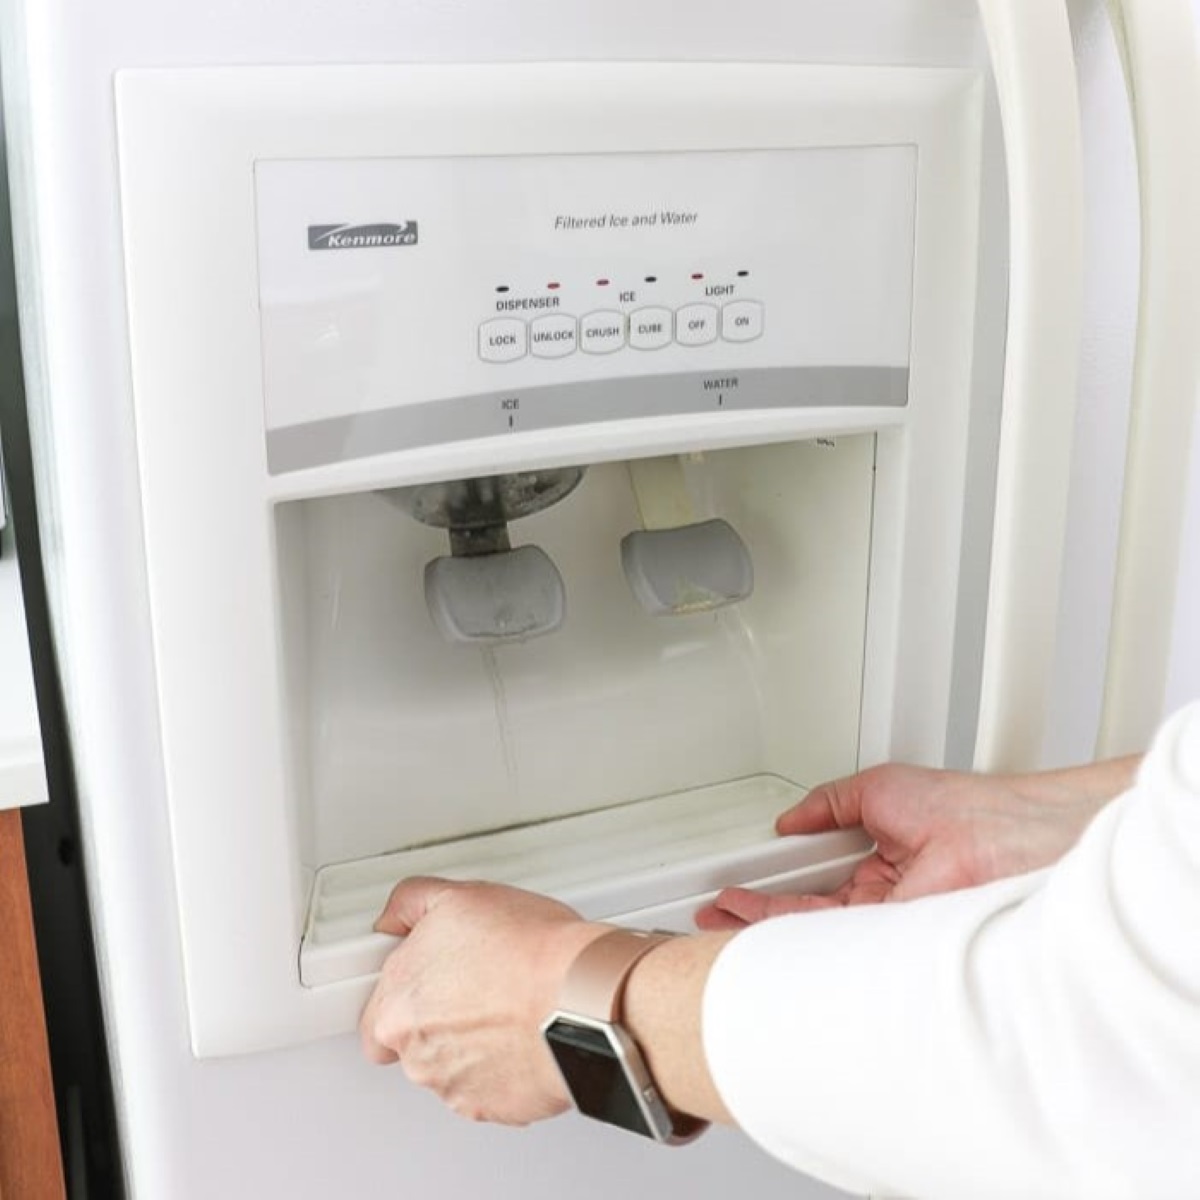
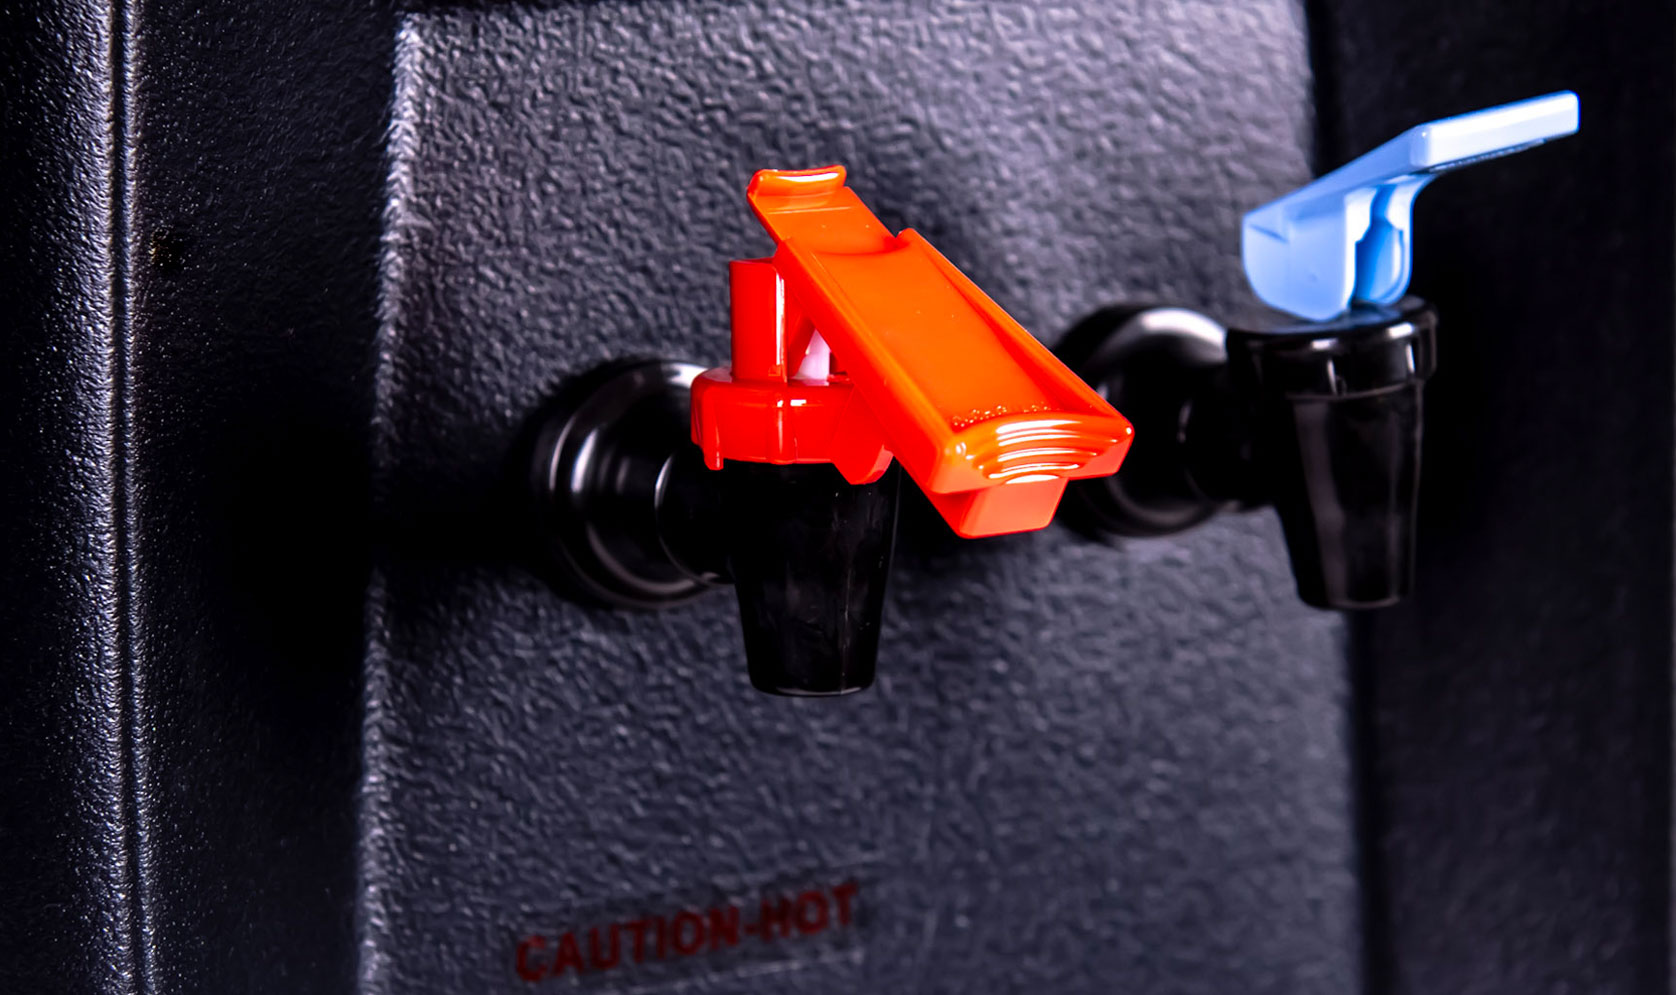
- Test the water dispensing functionality: Place a cup or container under the dispenser’s spout and push the appropriate button or lever to dispense water. Verify that water flows smoothly and consistently without any leaks or unusual taste.
- Check for any error messages or issues: If your dispenser has a digital display or control panel, check for any error messages or issues that may indicate a problem with the dispenser. Consult the user manual or contact customer support for assistance if needed.
- Ensure proper temperature control (if applicable): If your dispenser offers temperature control for hot and cold water, test both settings to ensure they are functioning correctly. Verify that hot water is at the desired temperature and cold water is adequately chilled.
By going through these steps, you’ll be able to determine if your water dispenser is working as intended. If you encounter any issues or inconsistencies during the testing process, consult the troubleshooting section of the user manual or contact the manufacturer for further guidance.
Once you’ve confirmed that the water dispenser is functioning properly, you’re ready to move on to the final step: properly maintaining and cleaning the dispenser.
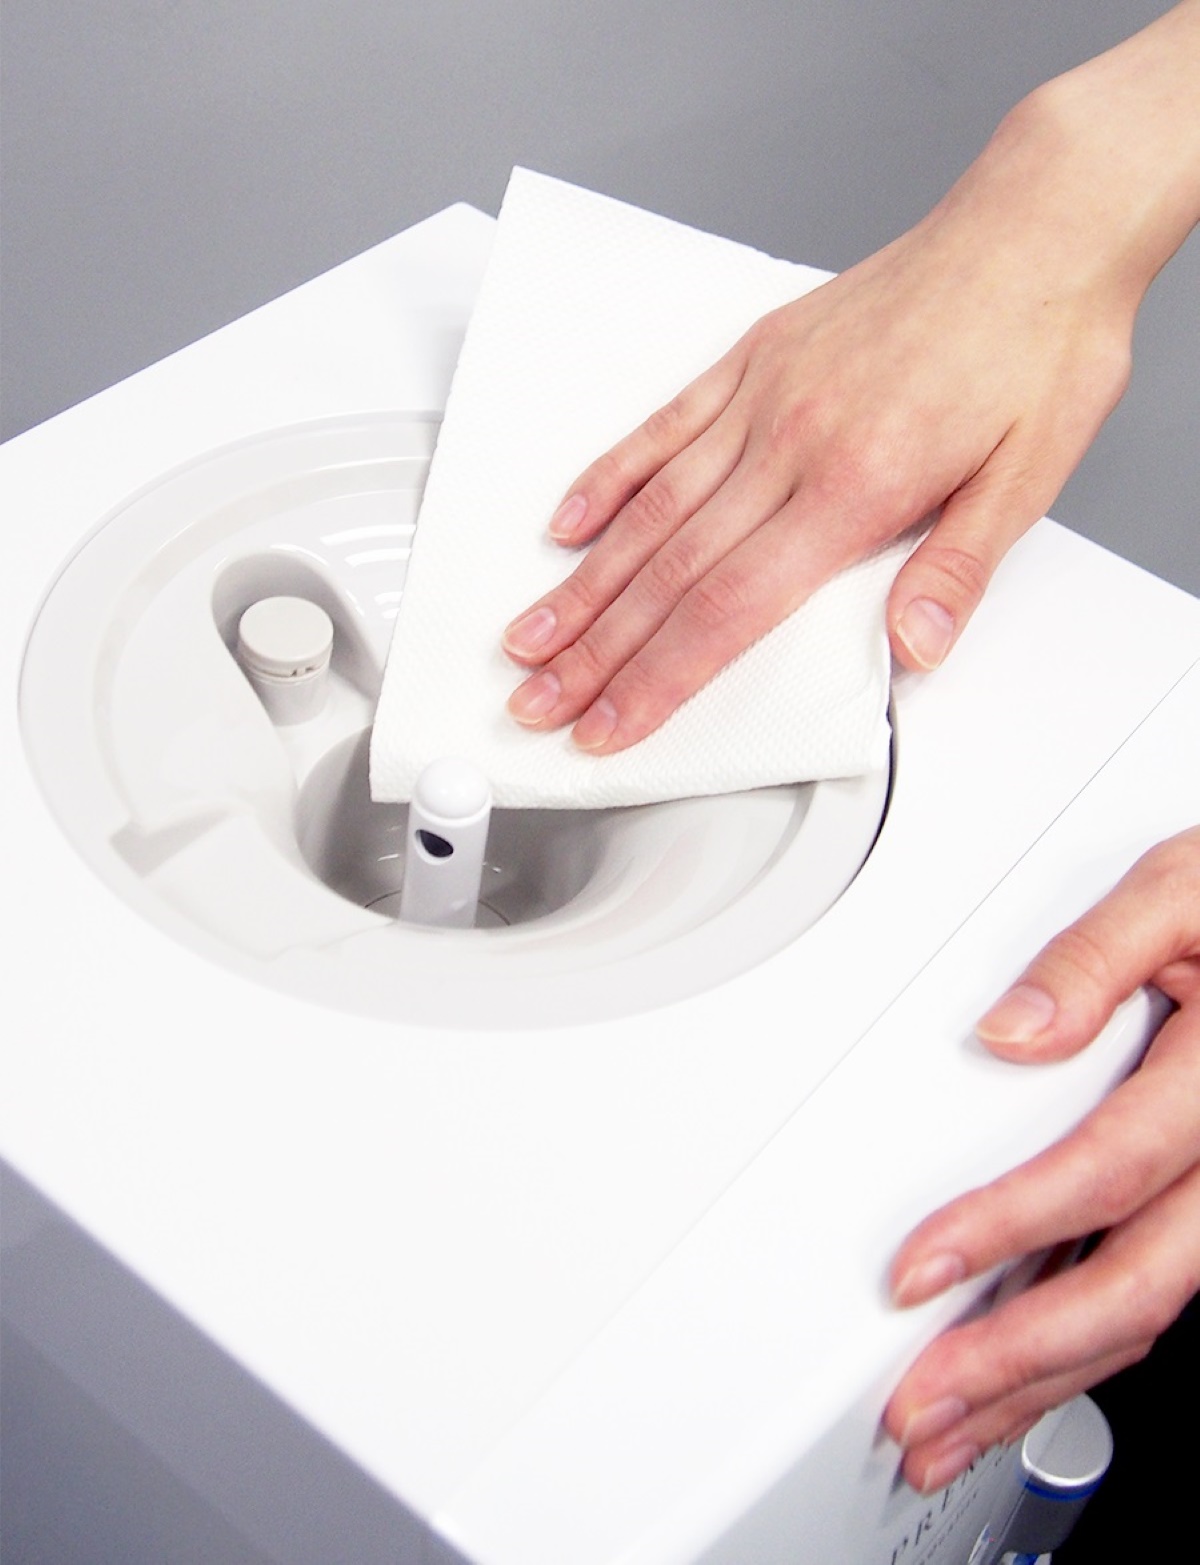
Step 8: Properly maintain and clean the water dispenser
Proper maintenance and cleaning of your water dispenser are essential to ensure its longevity and continued performance. Here’s how to maintain and clean your water dispenser:
- Read the maintenance guidelines: Refer to the user manual or manufacturer’s guidelines for specific maintenance instructions tailored to your water dispenser model.
- Regularly clean the exterior: Wipe down the exterior of the water dispenser with a clean, damp cloth to remove any dust or dirt. Dry it thoroughly to prevent water spots or damage.
- Clean the water reservoir: Follow the manufacturer’s instructions to clean the water reservoir periodically. Typically, this involves using a mild, non-abrasive detergent and warm water to scrub the reservoir. Rinse it thoroughly to remove any residue.
- Replace filters as needed: If your water dispenser has a filter, monitor its lifespan and replace it according to the manufacturer’s recommendations. This will ensure that the water remains clean and free from impurities.
- Empty and sanitize the water container (if applicable): If you’re using a refillable water container, empty it regularly and sanitize it using a mixture of water and a mild bleach solution. Rinse it thoroughly before refilling.
- Provide regular maintenance: Perform routine maintenance tasks such as checking and tightening any loose connections, inspecting tubing for leaks, and cleaning or replacing any clogged or malfunctioning components.
- Keep the dispenser area clean: Clean the area surrounding the dispenser regularly to prevent the accumulation of dust, dirt, or spills. This will help maintain a clean and hygienic environment.
- Monitor water quality: Regularly check the quality of the dispensed water. If you notice any changes in taste, odor, or color, perform additional maintenance or contact the manufacturer for assistance.
By following these maintenance and cleaning practices, you’ll ensure that your water dispenser continues to provide clean and refreshing water for an extended period. Regular upkeep will also help prevent potential issues and maintain the overall performance of the dispenser.
Congratulations! You have successfully completed the installation and maintenance of your water dispenser. Enjoy the convenience and benefits of having a constant supply of fresh and purified water.
If you have any further questions or encounter any issues with your water dispenser, refer to the user manual or contact the manufacturer for assistance.
Read more: How Hot Is Water From Water Dispenser
Conclusion
Installing a water dispenser may seem like a daunting task, but with the right tools, knowledge, and guidance, you can easily set up your dispenser and enjoy the convenience of clean and refreshing drinking water. By following the step-by-step process outlined in this guide, you’ve learned how to gather the necessary tools and equipment, choose a suitable location, prepare the area, connect the dispenser to the water source, install a filter (if applicable), power up the dispenser, and properly maintain and clean it.
Remember, the key to a successful water dispenser installation is to carefully read and follow the instructions provided by the manufacturer. Every water dispenser model may have unique specifications and requirements, so consulting the installation manual is crucial to ensure proper setup.
Additionally, regular maintenance and cleaning of your water dispenser will extend its lifespan and ensure that the water you consume remains clean and of high quality. By adhering to recommended maintenance practices, such as cleaning the exterior, replacing filters, and sanitizing the water reservoir, you can enjoy consistent performance and peace of mind.
Whether you’re installing a water dispenser in your home, office, or any other setting, the benefits of having easy access to filtered and purified water are significant. From staying hydrated and reducing plastic bottle waste to enjoying the convenience and cost savings, a water dispenser offers numerous advantages.
Now that you’ve completed the installation and maintenance process, it’s time to sit back, relax, and enjoy the refreshing experience provided by your newly installed water dispenser. Cheers to a healthy and hydrated lifestyle!
Frequently Asked Questions about How To Install Water Dispenser
Was this page helpful?
At Storables.com, we guarantee accurate and reliable information. Our content, validated by Expert Board Contributors, is crafted following stringent Editorial Policies. We're committed to providing you with well-researched, expert-backed insights for all your informational needs.


0 thoughts on “How To Install Water Dispenser”